Fall Decoupage Bucket
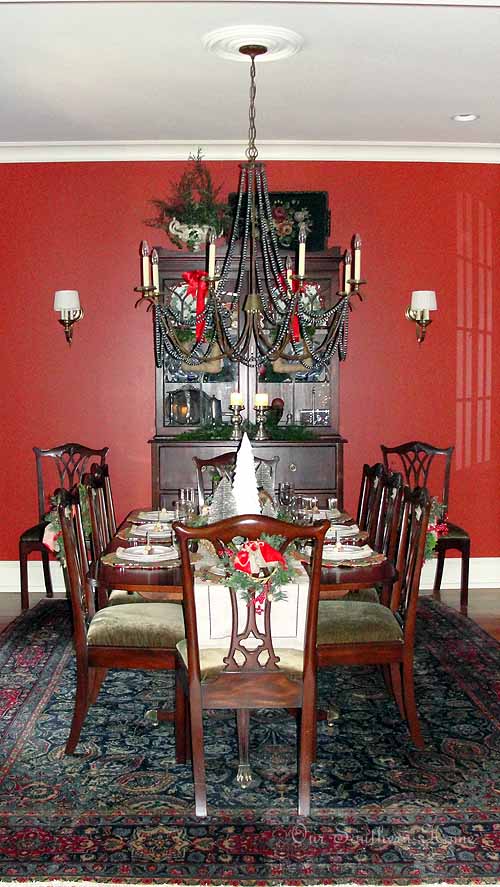
Happy First Day of Fall!!!!! This has to be my favorite season. I love the start of cool mornings and evenings….the crisp feeling in the air. I yearn for that first time that I can wear my knitted scarf creations. Fall decorating for me is a complete and utter joy. As you will see in upcoming posts that I do add Halloween decor as well. I have 2 kiddos that love Halloween. I have areas in my home that I do Halloween and some that are strictly fall like my dining room. I try to add bits or a lot of fall elements so that when I remove the spooky parts, I am left with fall! I simply add a bit of fluff.

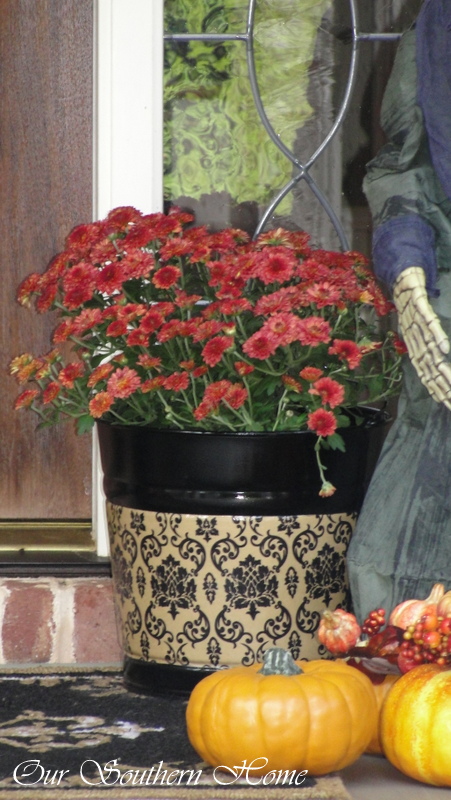
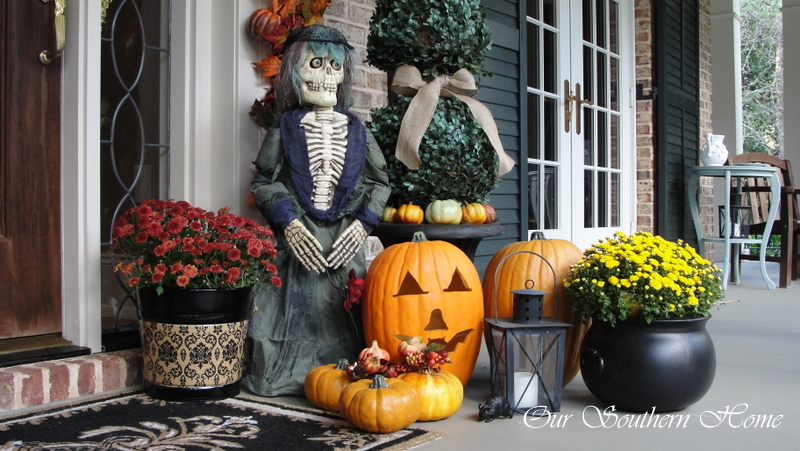
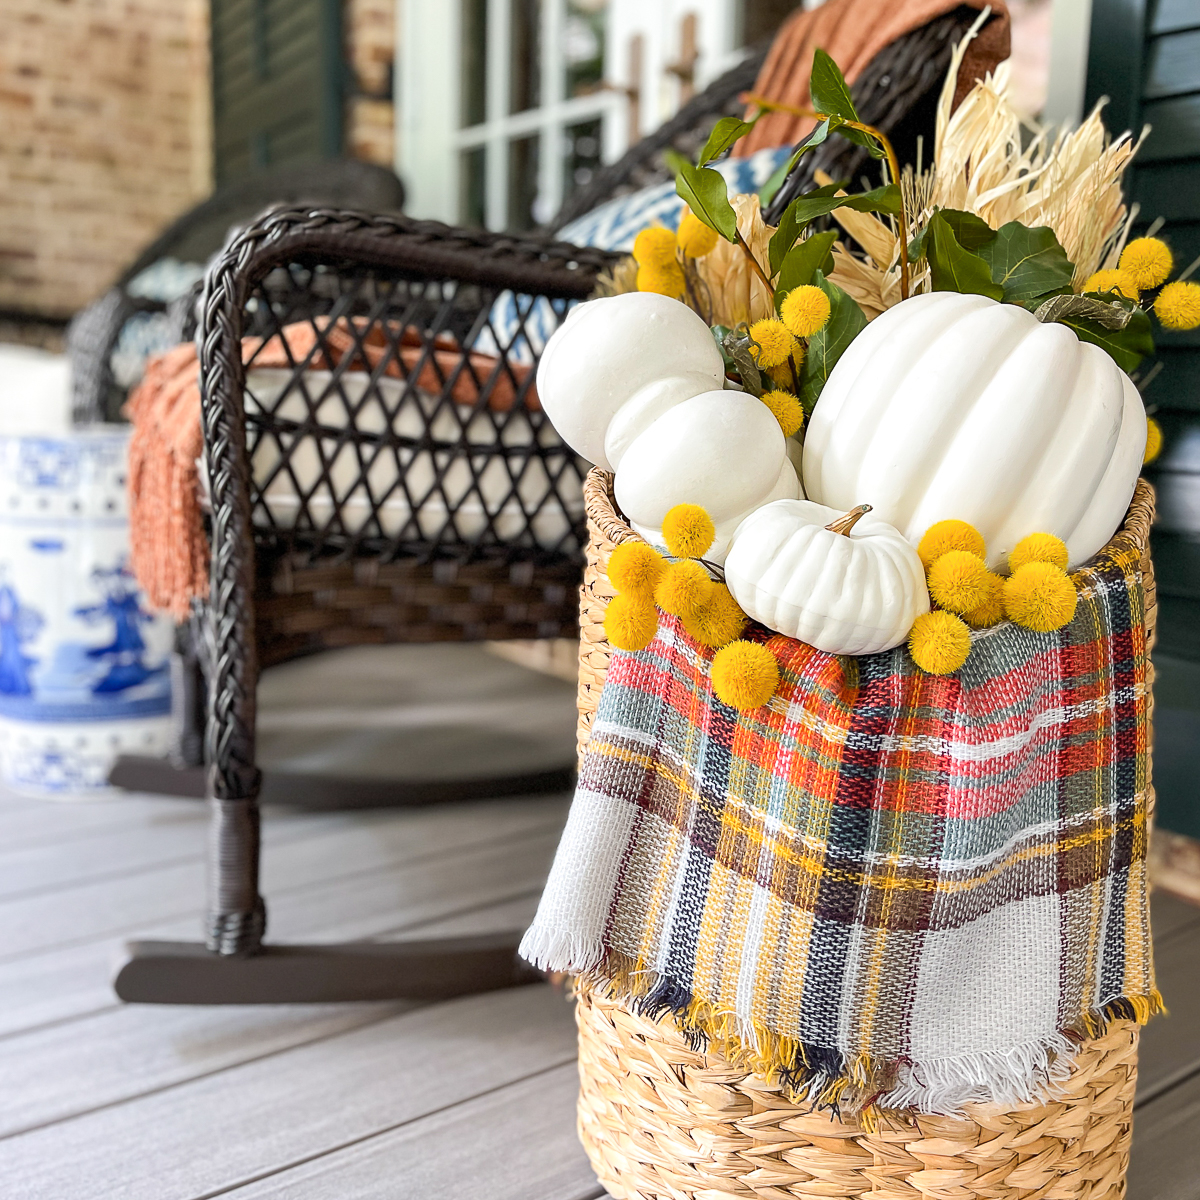
Check out the bucket used here in my Southern Fall Porch post!
Materials List
galvanized buckets
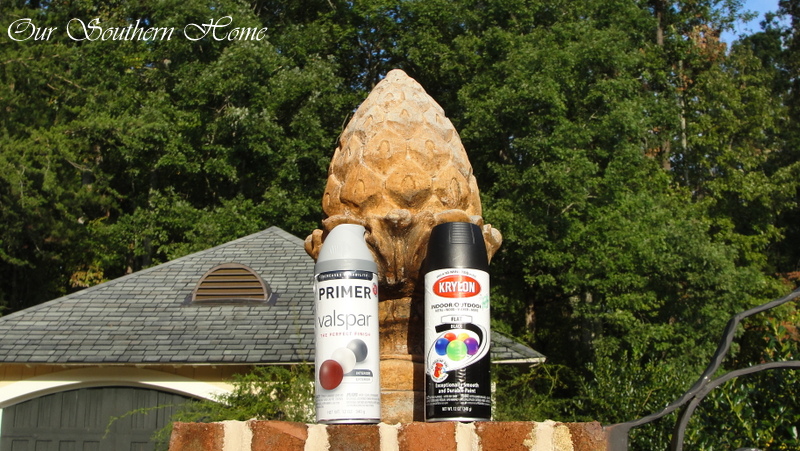
spray primer (I used grey)
black flat spray paint
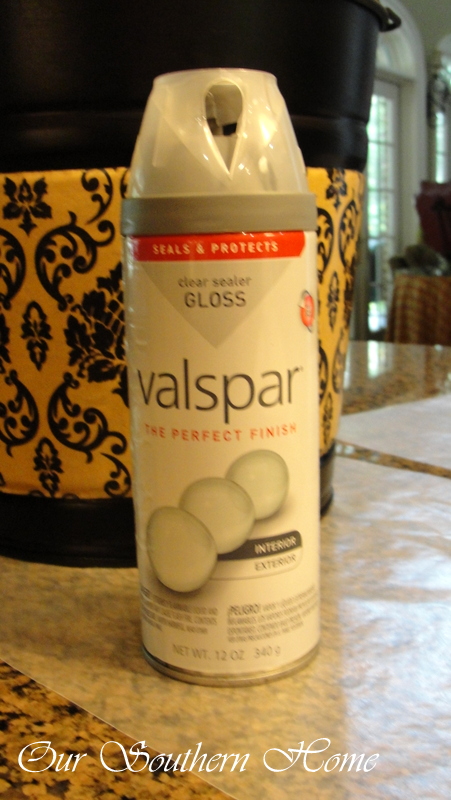
clear spray sealer
paper to make pattern
decorative paper
Mod Podge
measuring tape
scissors
painters tape
mums or any flower
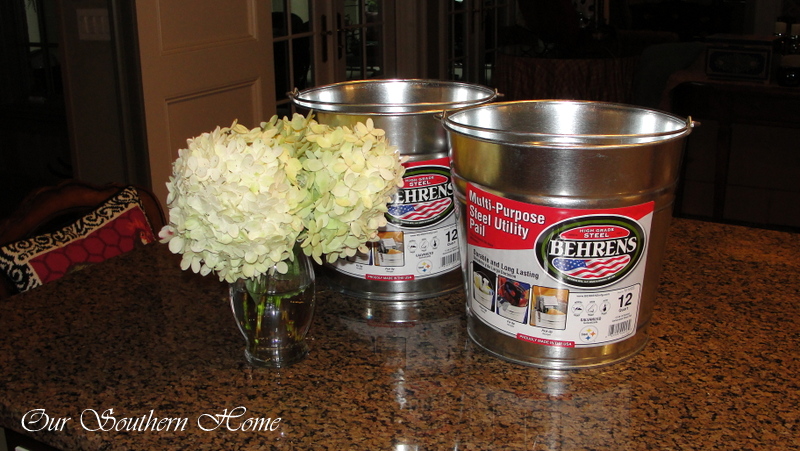
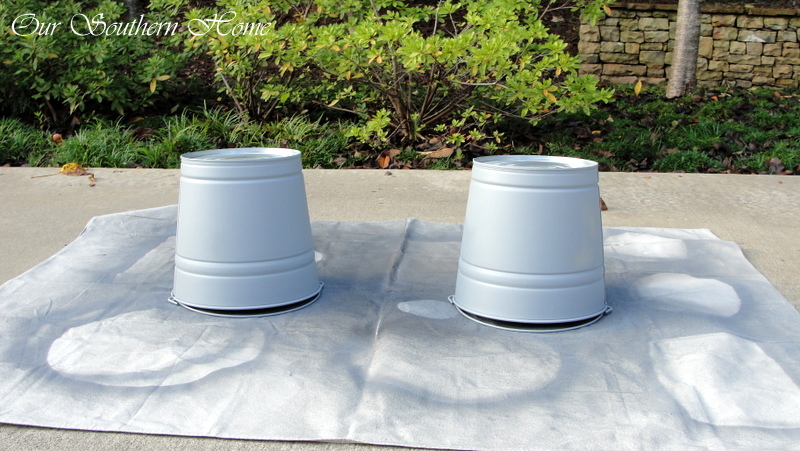
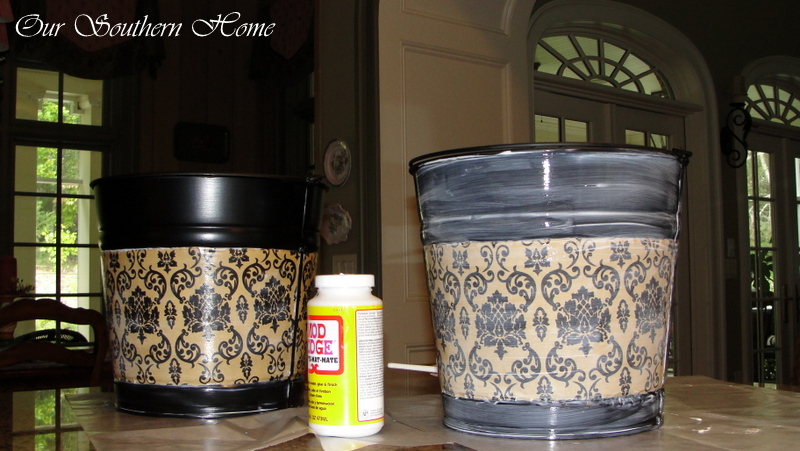
Here are the buckets purchased for just under $10 each at Lowe's.
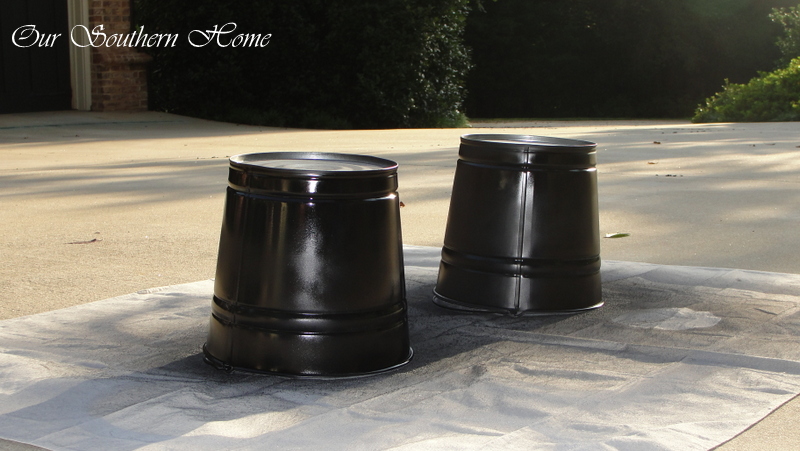
First, you will want to remove the stickers so you have a very clean surface. I used Goo Gone. Make sure the bucket is thoroughly dry before spraying with one coat primer. I used Valspar grey because that is what I had on hand. I do use grey a lot because it is easier for me to see when covering pieces especially in white. It is just a personal preference. Let this dry completely before spraying the black. Don't be tempted to skip the priming step. Always remember that a little primer new hurt anyone! Then spray two coats of your flat black drying in between. Notice that I sprayed the top interior of the bucket so no potential silver would show. I also sprayed the bottom in case I ever decided to use it as a stand. I sprayed one coat upside down and the other right side up. This insured that all grooved areas were coated.
After your buckets have thoroughly dried, you will want to make a pattern for your printed paper. This is a picture of the items that I used for the next set of steps. You could really use any kind of paper you have on hand. I had a roll of craft paper that I used. My decorative paper is wrapping paper.
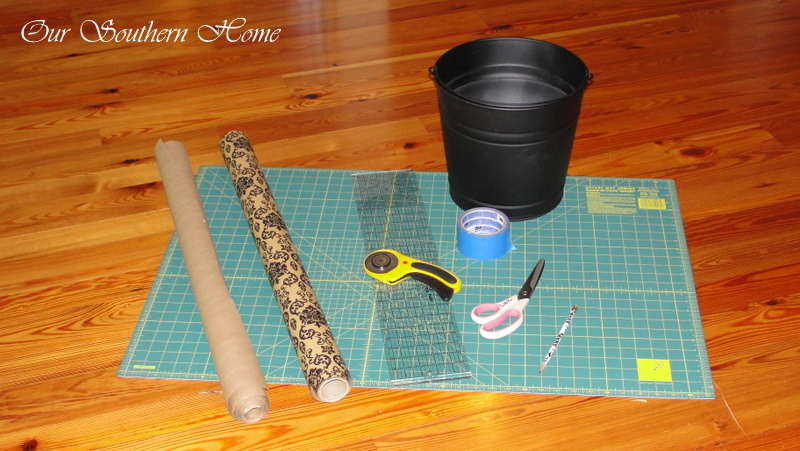
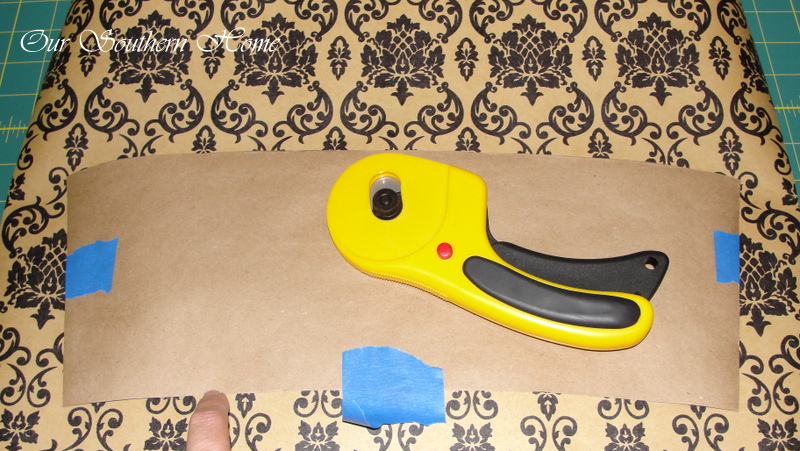
Now, you by no means have to have the rotary cutter and mat. I have had this for several years for various other sewing and craft projects. If you are an avid crafter, this would be a handy investment. My wrapping paper has a definite pattern and I wanted to keep the exact pattern shape. You don't have to be so exact since the paper will wrap around the sides. You could easily use a carpenter's square and yard stick as well. Use what you have!
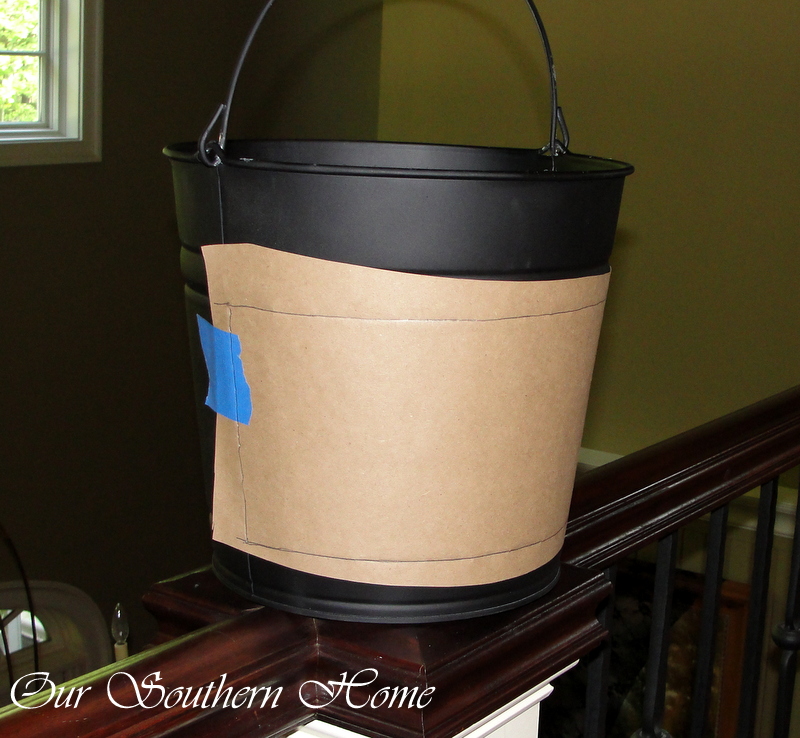
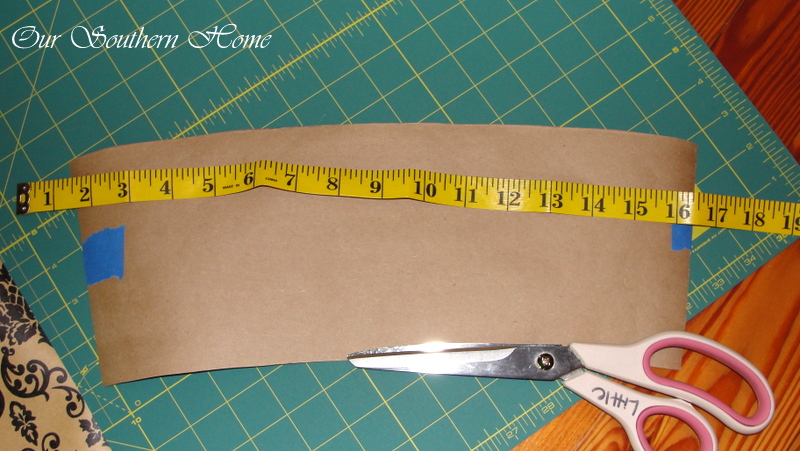
I used a flexible tape measure like you'd use for body measurements or clothing construction since I was working with a rounded surface. As you will see in the next photo, the bucket has a divider band running down each side. This really is great in that you can work with 1/2 the area at a time. I cut a strip of the pattern paper a couple of inches longer and wider than the area needed. Since the bucket is slightly graduated in shape I taped this piece to the bucket using painters tape. Regular scotch tape will not stick-I tried! Painters tape will not cause damage either. Use a pencil and trace out the area to decoupage. This is simple since I used the grove as a guide. You only need to make 1 pattern and use it on each section. Be sure to remember or mark which part is top and bottom since it is graduated. Cut it out and make sure it is a nice fit.
Determine the exact placement of the pattern on top of the design. Make sure to do the same for each section. Tape the pattern onto the decorative paper using painters tape lightly. Do NOT use scotch tape. It would be difficult to remove and tear your paper. Lightly trace the pattern with pencil. Cut out the pattern. Go on and do this for the amount of sections you will need. Much easier to do while the measurements are in your pretty head. Double check that it still lines up nicely on the bucket.


What an awesome idea that can be used for any season! I’ve been busy crafting for a booth that I’m having at a local festival on October 5. I doubt if I’d have time to make any of these, but I know they’d sell if I did!!
Thanks so much, Paula! I just pulled them for the attic to use again, and they still look brand new after a year up there! Good luck at the craft show. I don’t see how you do it all! ~Christy
I love this!!! So pretty and fall-esque! I found your post through the Throwback Thursday party. Stopping by from Hoyby Crafts.
Thanks bunches, Shannon! It was fun to be a part of the first party! I hope you have a great week. ~Christy
This comment has been removed by the author.
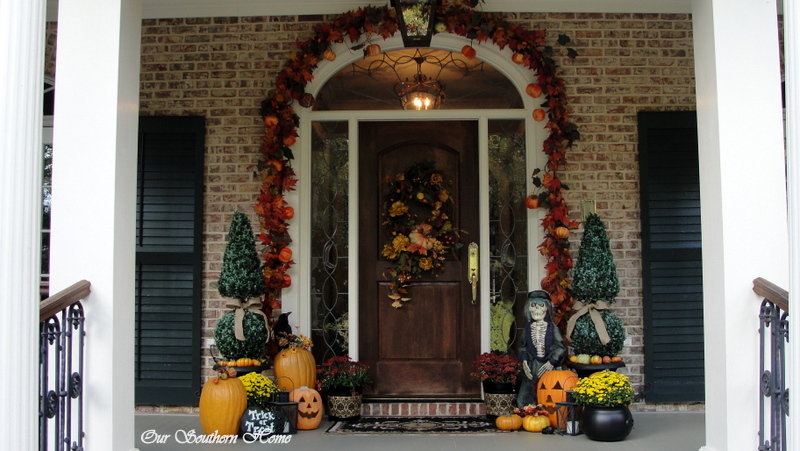
Christy your porch looks gorgeous and full of Halloween! I love your pot. Thanx for linking up to THT!
Thanks bunches, Pam!
Thanks so much!!! It was a fun project that will get a lot of use well beyond fall! I really appreciate you stopping by!
Nice update. I love that pattern.