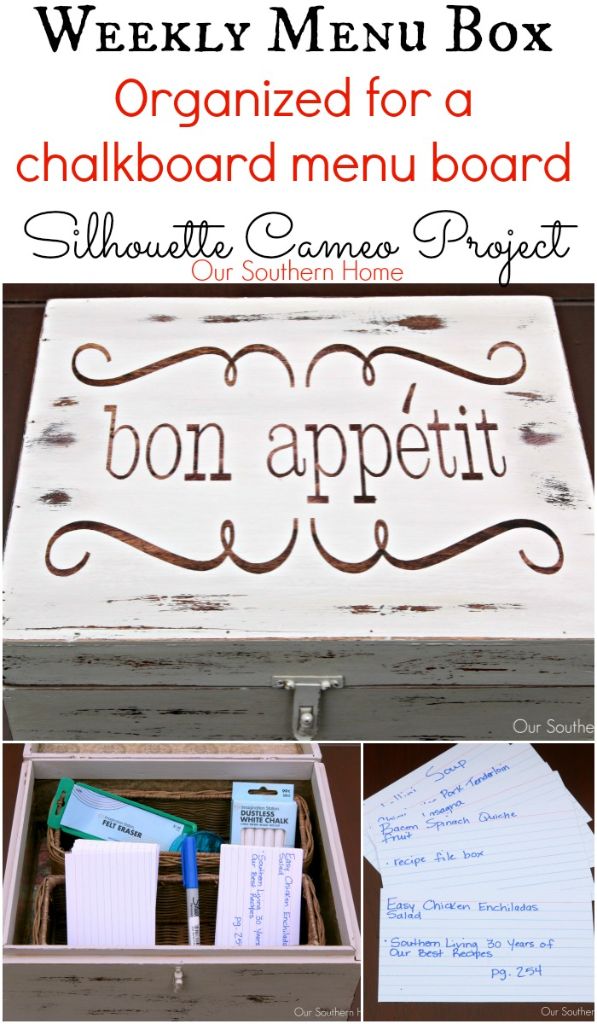
Weekly Menu Box
I've had my Silhouette Cameo for a little over a year now. It is my goal this year to really learn how to use it to its full potential!
In my efforts to do this, I'm participating in this month's Silhouette Challenge: Organizing
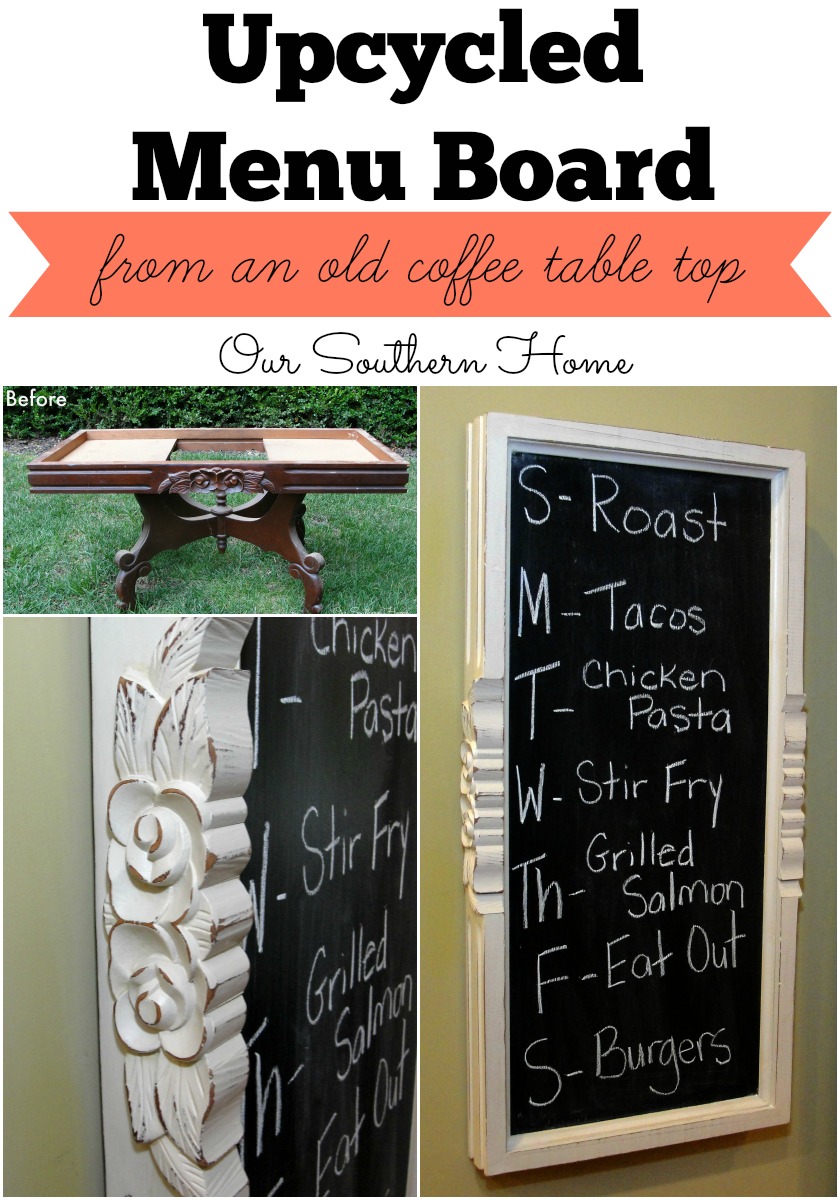
Back in August, I made this chalkboard menu board for the kitchen. I mentioned then that I wanted to create a simple system for my menu planning.
It has taken a few months…. I finally made one.
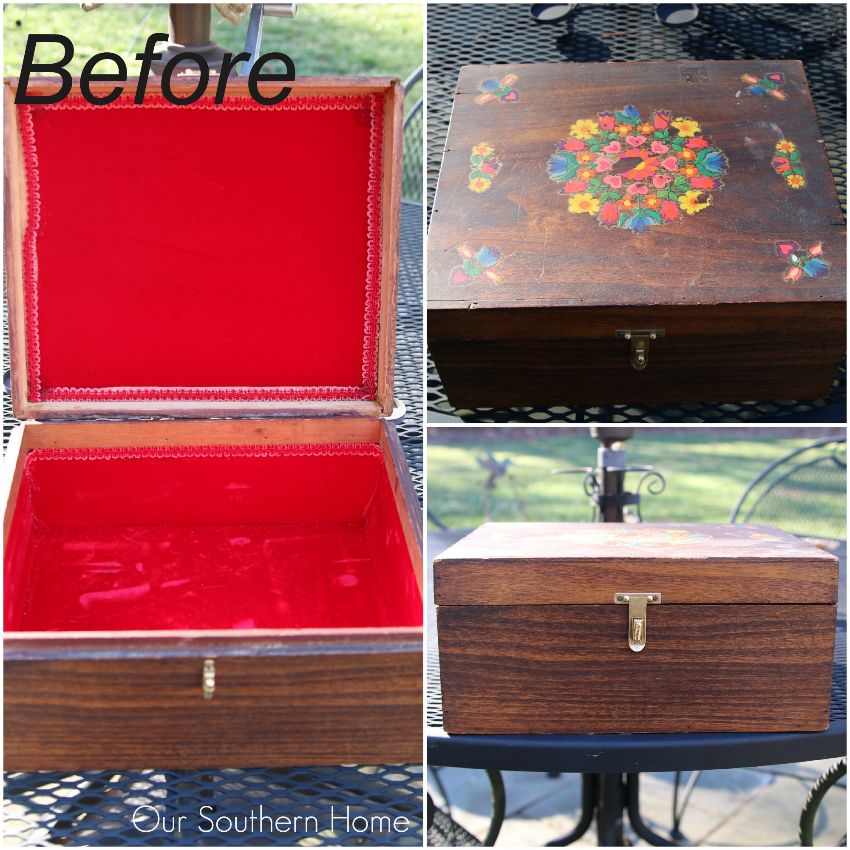
It all started with this thrift store find. It's a generous sized box. It looks hand-made. I'd say it's from the 70s. The floral motif on the top is a decal. It easily sanded off. The inside had GLUED DOWN red velvet. Did I mention that it was GLUED DOWN.
It was a must to remove it. It smelled really bad. The velvet was a nightmare to get out. I was left with an unbelievably tough glue residue with part that I just couldn't get up!
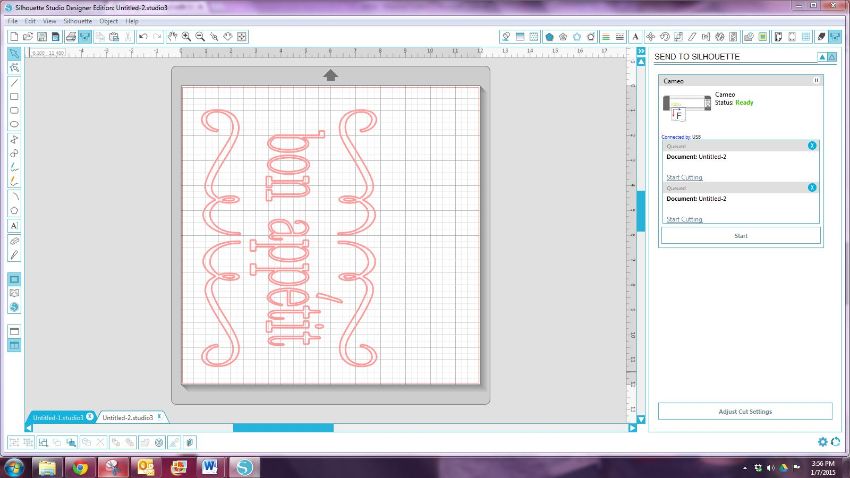
I went into my studio software and decided to shop in the store. I went with the above graphic for .99 cents. It is in the Silhouette Design Store – View Design #1594: bon appetit
Enlarge it to fit the size of your project.
This was my first time working with vinyl. I used the stencil vinyl.
I cut it based on the vinyl settings set in the Cameo.
You will notice it is clear.
Follow the directions on the tube for application.
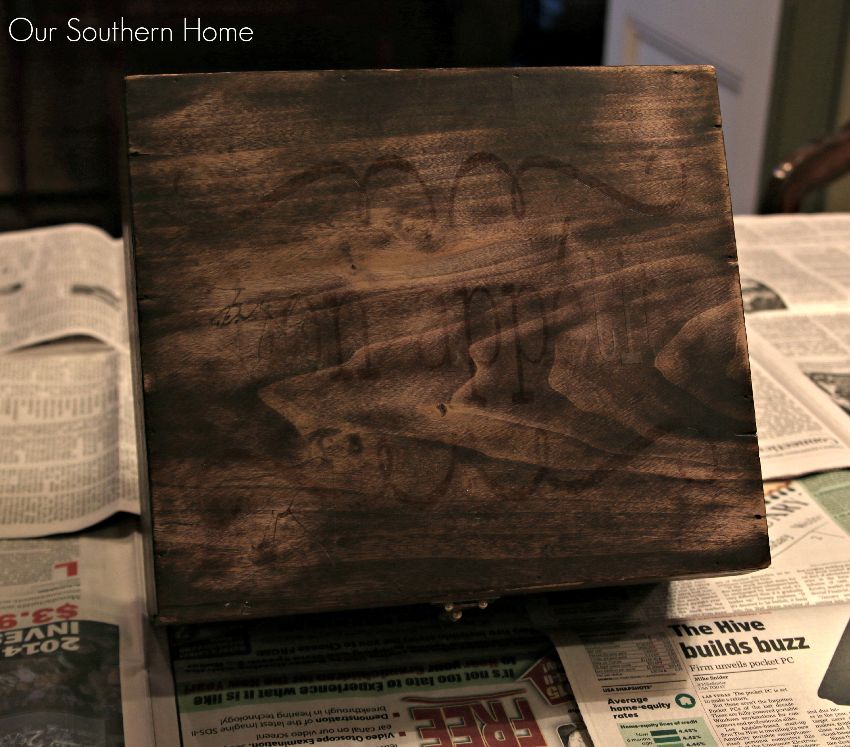
I applied the vinyl stencil directly on top of the stained box with the decal sanded off. I cleaned it well first.
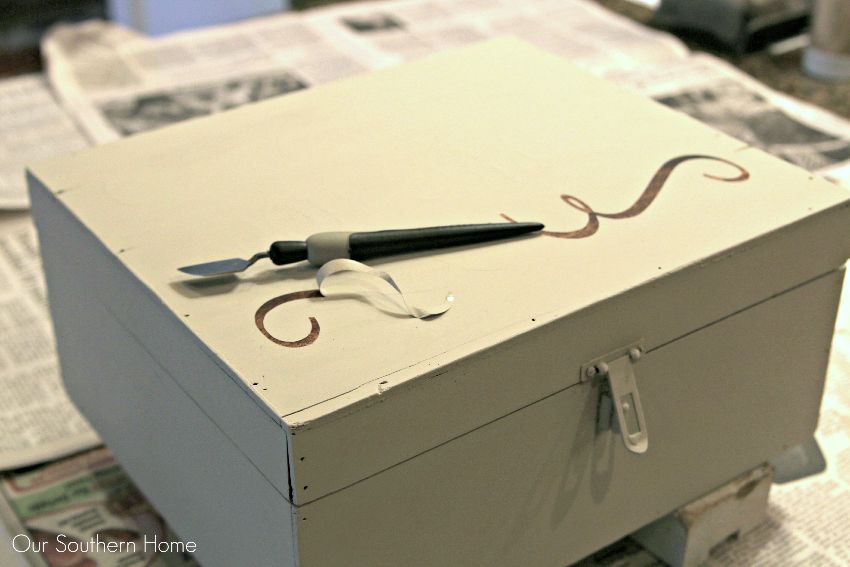
Next you will paint the project piece….all over the decal. I painted this in the color Primitive by Americana Decor Chalky Finish Paints. It is the same color as the menu board. Let it dry thoroughly.
Then you will use your tools to remove the stencil. Be patient! It takes a little time. I used this to get it started and the hook to help lift and remove.
It came off perfectly clean. I was very pleased with my first attempt.
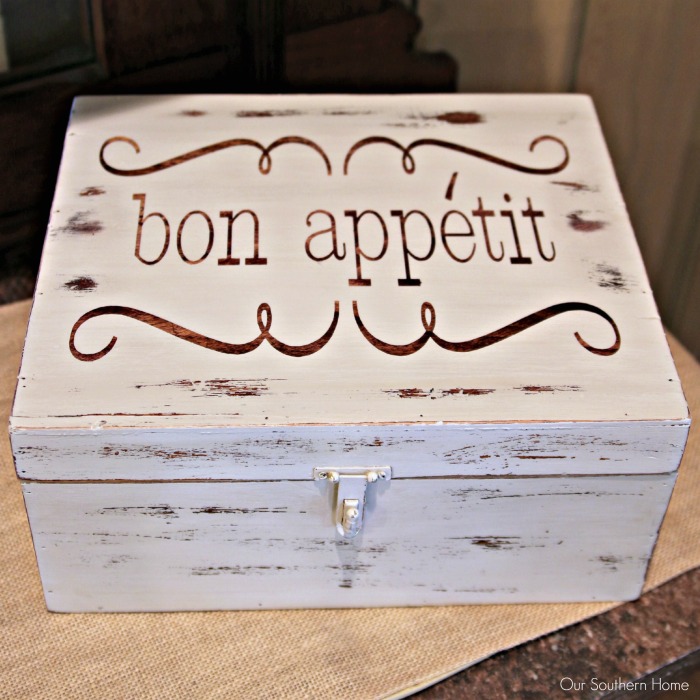
Then I applied a coat of clear wax by American Decor Chalky Finish Paints. When dry, buff to a slight shine. You'll notice that I painted right over the little latch.
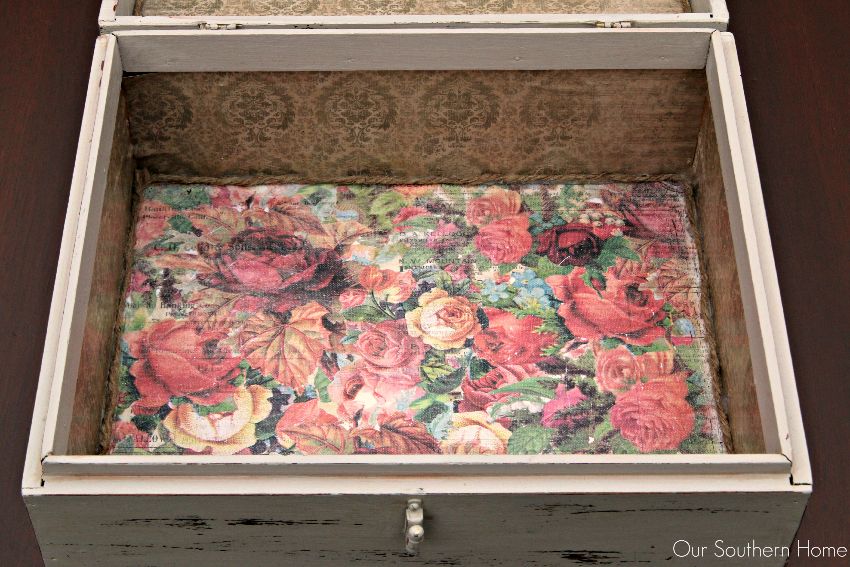
I used Mod Podge to apply scrapbook papers to the interior. It's not perfect. With all of the rough areas of glue that just would not sand off, it's not very smooth. Looks better than the velvet and really adds to the vintage feel…..or at least that's what I'm telling myself!
Where the edges met a new piece of paper, I hot glued some jute twine to cover that and give it a more finished look.
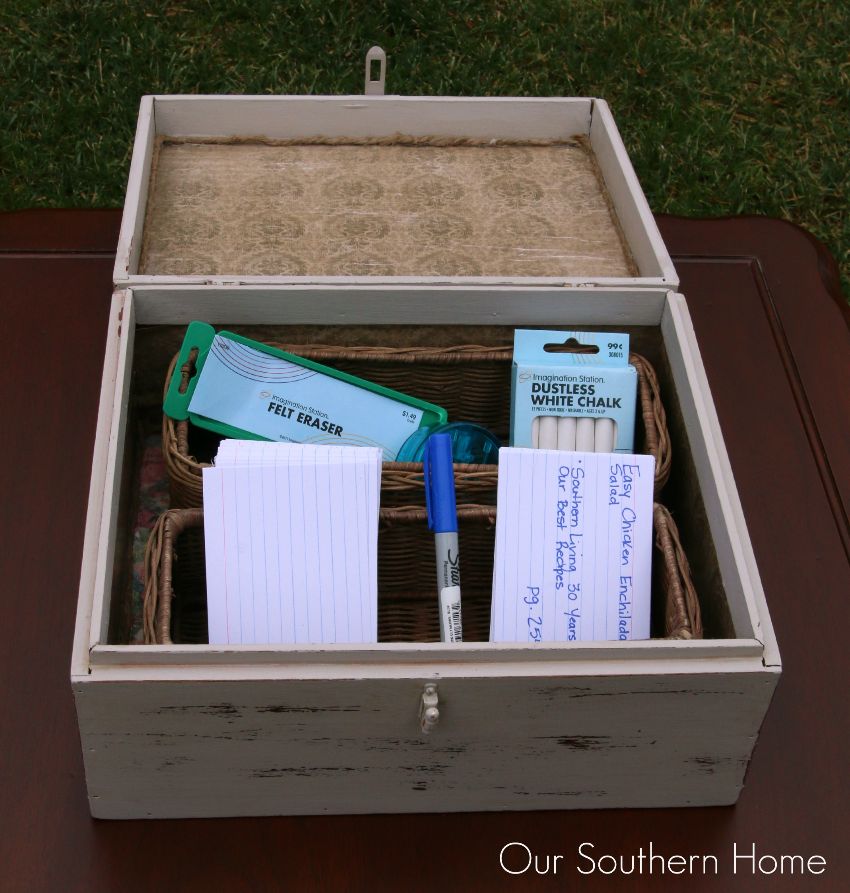
I added 2 baskets. They fit perfectly!
The back basket holds supplies for the chalkboard menu board. Hint: Keep a pencil sharpener with your chalk. It will sharpen your chalk!
The front basket hold cards and a pen for the menu.
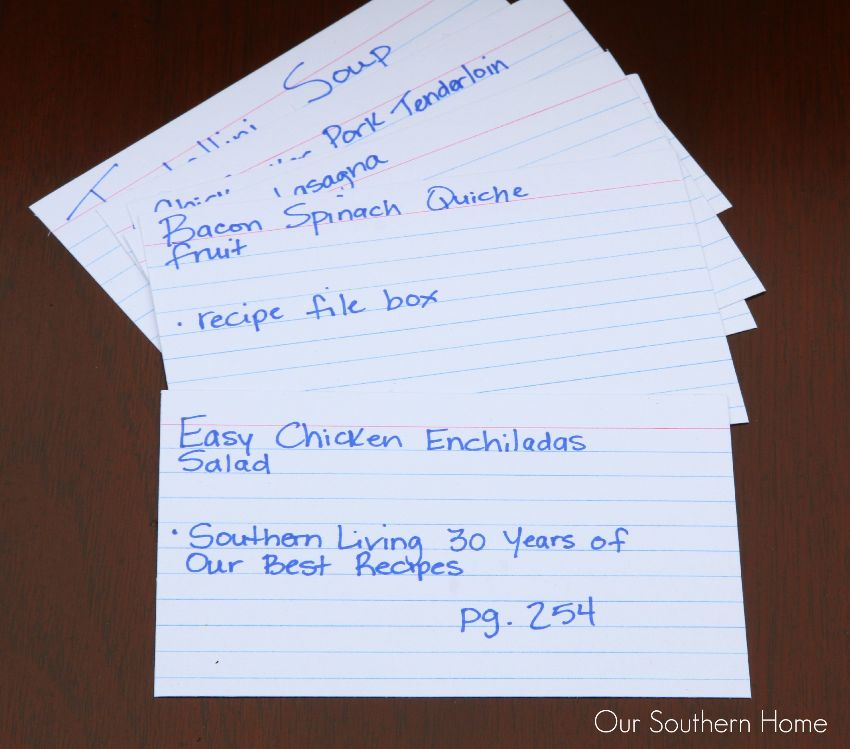
Here is my plan.
I will write one night's menu plan on a card. I will also record where I can find it.
My goal is to create an arsenal of cards to pick from.
I'll build it as I go.
I'll let my teens help in the process. They can each pick 1 item from the cards that they'd like to have that week. I'll fill in with the rest. No fumbling for where a recipe is. It will be on the card. After we go through the seasons, I'll probably section the cards by fall/winter and spring/summer recipes. I rarely break out the crock-pot in the summer. We are cranking up that grill.
Yes, the cards are rather boring. You could make them cute and printed, but if I had to go to that trouble…I'd never follow through. Quickly write and store it. The box will be closed.
I'd love for you to pin the project!
Want to Check Out More Silhouette Projects?
My Silhouette Challenge buddies and I are all sharing projects on our blogs today, so pursue the projects below for a wealth of Silhouette inspiration!
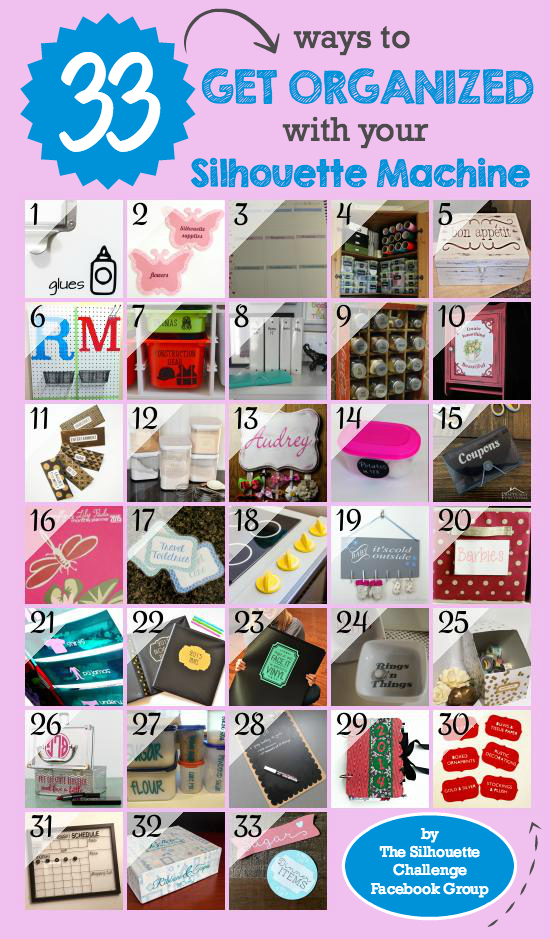
1. Please Excuse My Craftermath… // 2. Simply Kelly Designs // 3. Daily Dwelling // 4. Ginger Snap Crafts // 5. Our Southern Home // 6. Sowdering About // 7. The Moberg Family // 8. Decor Adventures // 9. Pineapples and Pinecones // 10. Patina Paradise // 11. The Thinking Closet // 12. It Happens in a Blink // 13. Adventures in All Things Food // 14. From Wine to Whine // 15. Practically Functional // 16. Dragonfly & Lily Pads // 17. unOriginal Mom // 18. One Dog Woof // 19. Creative Ramblings // 20. My Favorite Finds // 21. Create it. Go! // 22. A Prudent Life // 23. Where The Smiles Have Been // 24. Barb's Life // 25. Everyday Paper // 26. Pitter and Glink // 27. Peanut Life Adventures // 28. Feto Soap Blog // 29. Our Rosey Life // 30. Two Purple Couches // 31. My Paper Craze // 32. TitiCrafty // 33. Lil Mrs Tori

Buffer
That turned out so cute Christy!! I am looking forward to using my Silhouette more!! 🙂
xo
Nancy
Christy ~ What a brilliant idea!! I’m in the process of sorting through YEARS of recipes and trying to come up with a way to organize and find what I want on a given day. Thanks for the idea. Now I need to find an old box to make pretty.
Lovely job and such a good idea. Thanks for the inspiration.
Thanks bunches!
Christy,
I found a friend in you because our tastes are very similar. I Love your project, taking a box and making it beautiful and useful. Capturing your home cooked dinners in a moment. Very resourceful and you are so talented.
Happy Creating,
Karen Marie
I love how well this came out! The distressing looks perfect – and the contrast between the white and the wood underneath makes your text really legible. What a great resource to have available as well! And really, who cares if the cards aren’t pretty? As long as they work! (Plus, I’m totally with you in that if it’s too complicated, it won’t happen.)
Thanks so much! You sound like me!
I love this idea on how to organize your recipes. I need to do something with mine. They are all over the place.
I love how you did this box! It’s pretty and I love the aged look you did on it! Great job!
This is gorgeous!! I don’t even need one, but I want one! Nice work!
Thanks bunches, Susanne!
Oh my I
Love this idea!!! I might just do it! Have a plain wooden box that was my Granny’s! Can’t think of a more appropriate place than the kitchen!! Thank you!!