Vintage Look Christmas Sign
Merry Christmas sweet friends! I hope you are having a wonderful holiday season so far. Mine is very busy right now, but shortly I plan to kick up my feet and enjoy my labor of love in decorating our home for the season.
Today I'm sharing with you probably my absolute favorite Christmas project that I've done! I know…there have been a lot.
This tour is special! I'm so excited to be apart of it.

This year's tour is hosted my Hometalk.com and CountryLiving.com. How cool is that! After you enjoy my post..hopefully….you'll have the opportunity to look through the roundup of projects below. Just click on the ones that interest you, and you'll be taken directly to that blog's project. Have fun pinning and sharing on social media! That's much appreciated by us all!
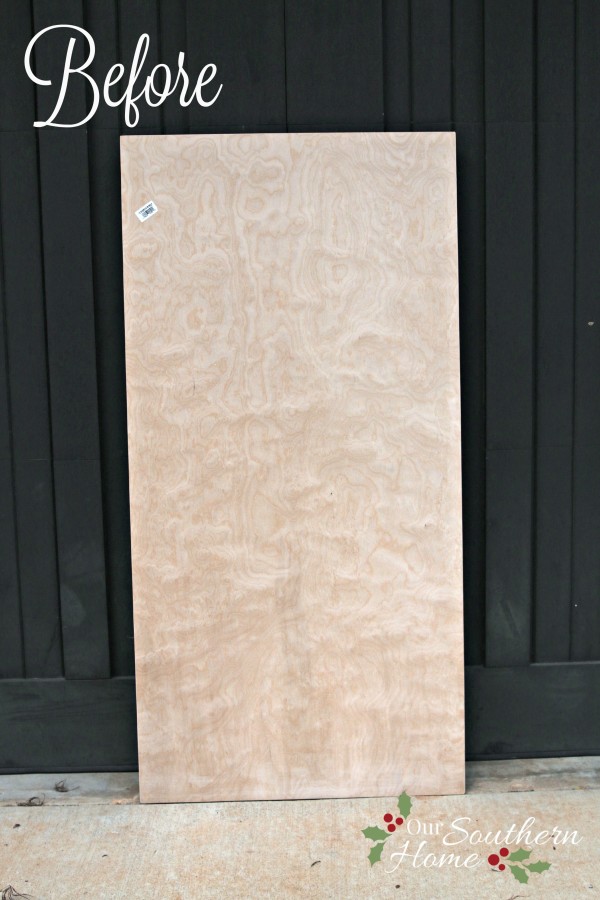
It started out with this plywood board from my local home improvement center. And……..turned into this!

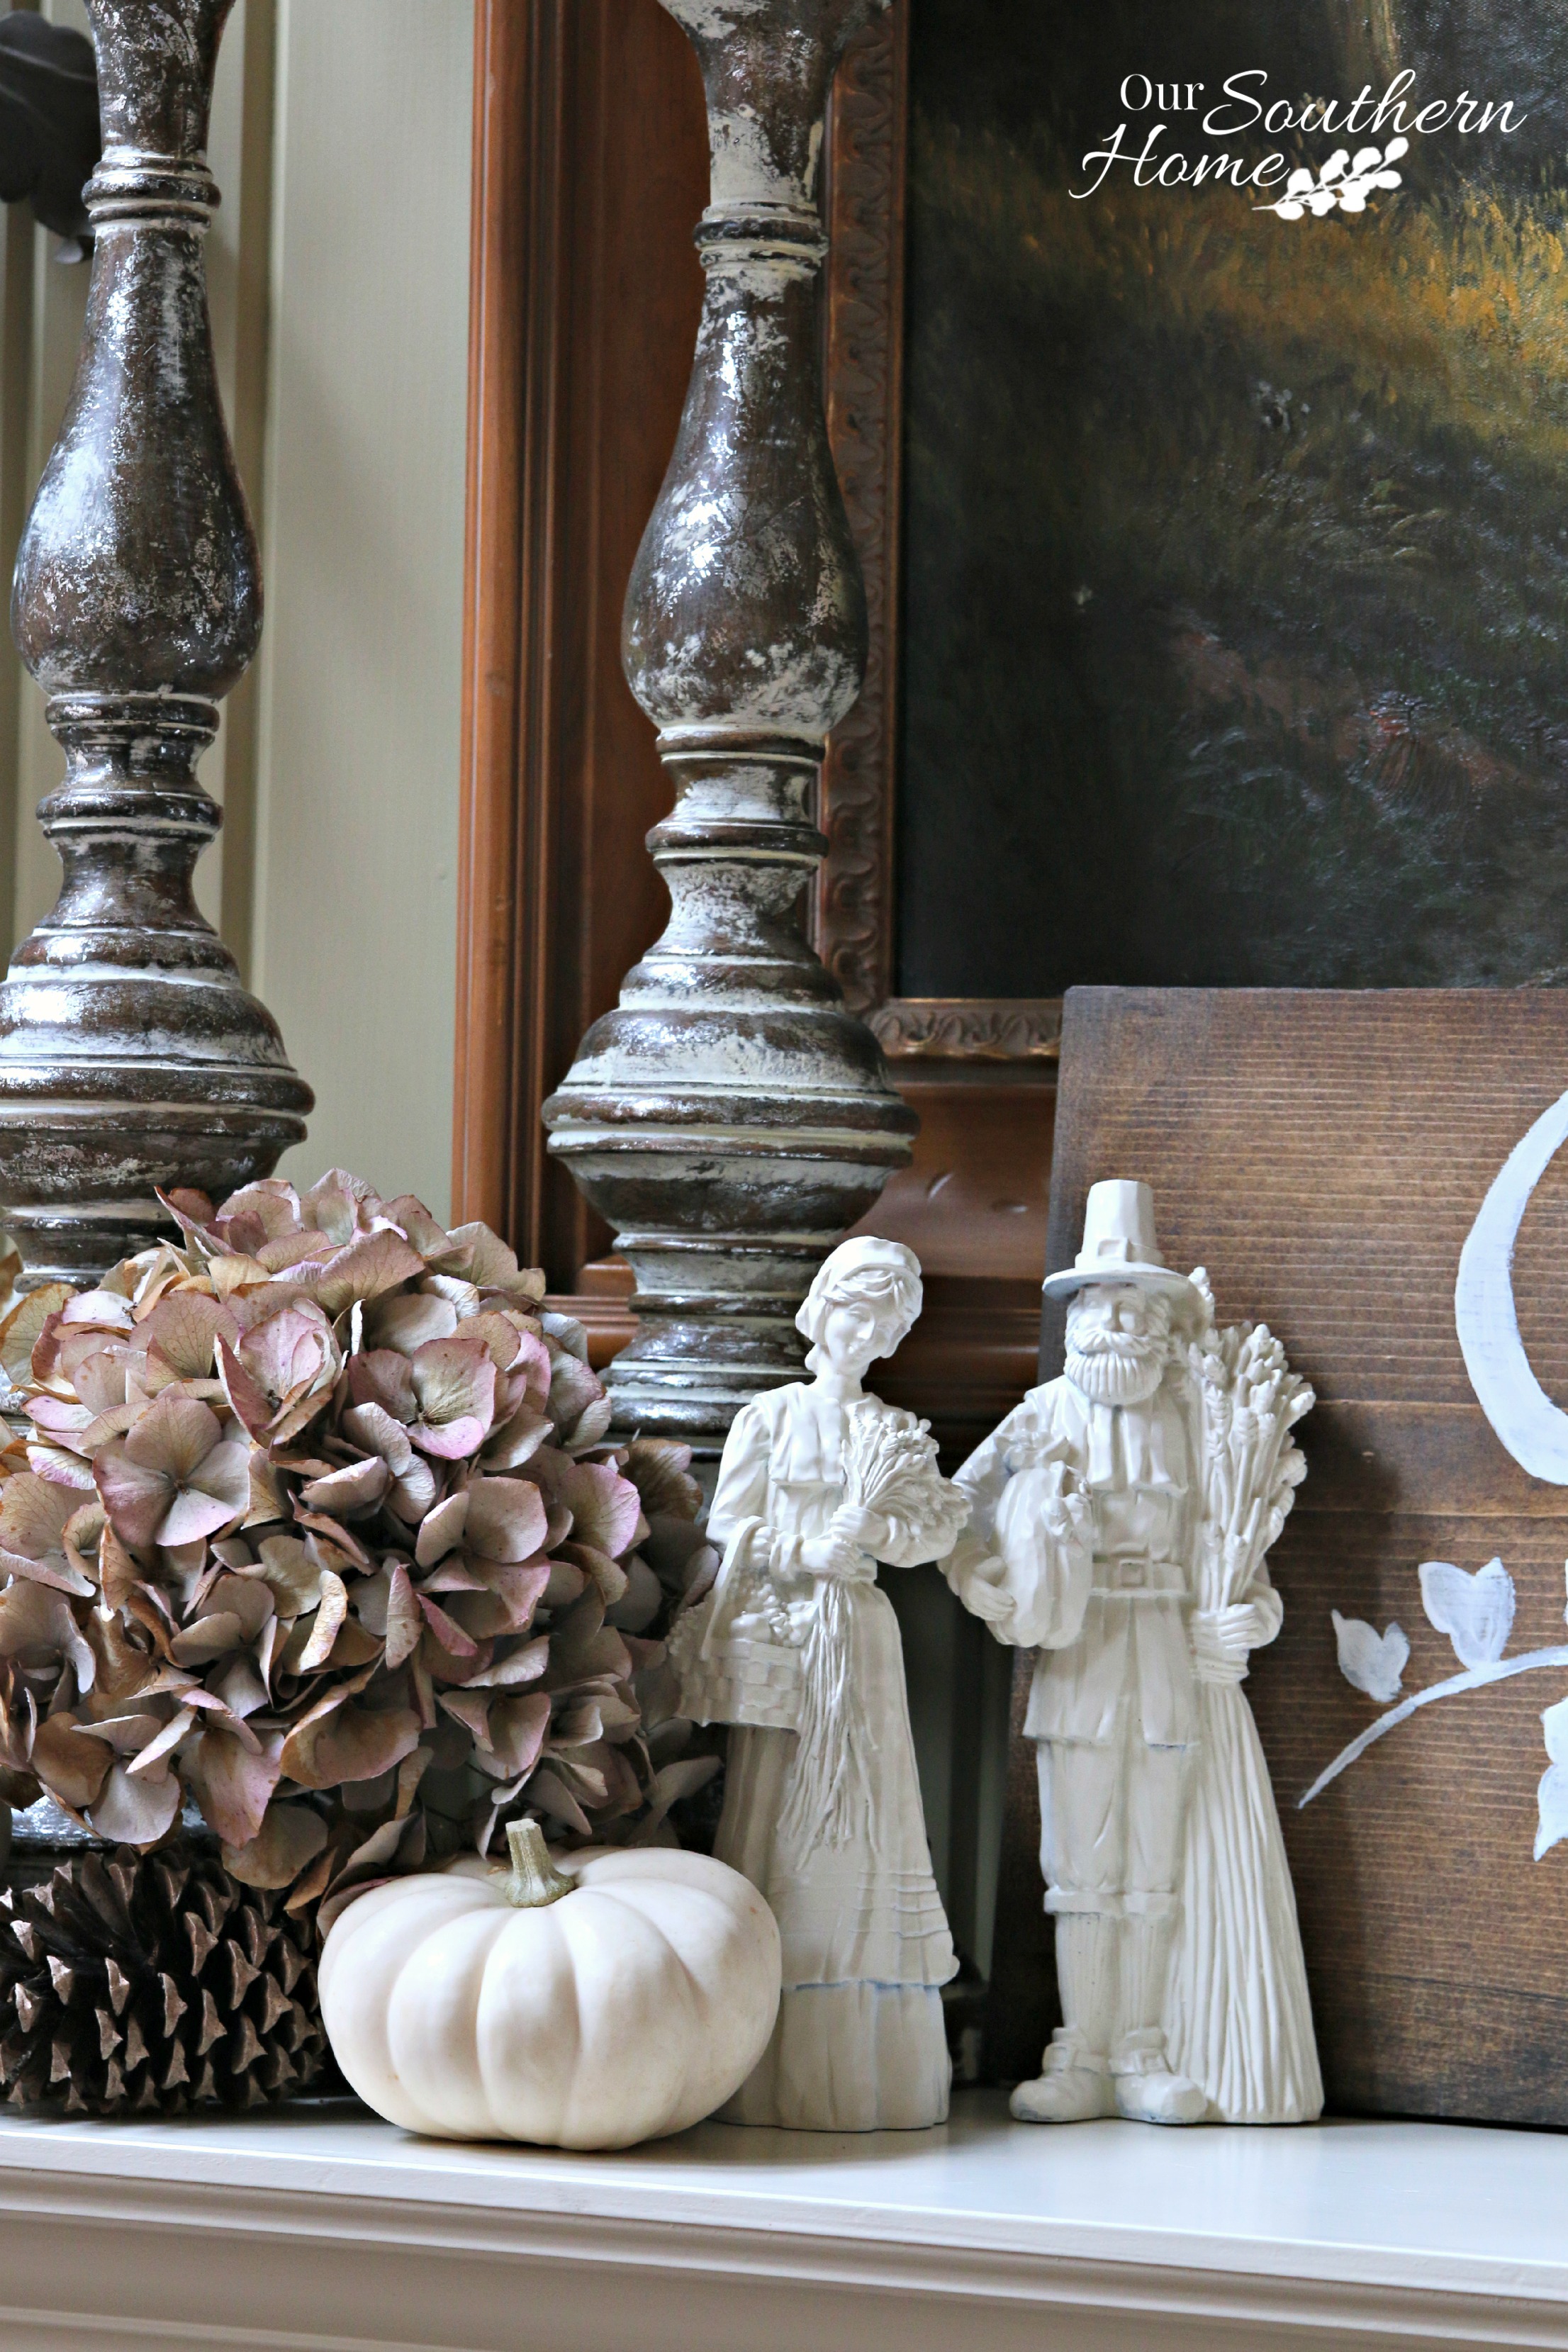
If you are familiar with our front porch, you'll know that I usually have a mirror here. I simply removed the mirror for the season and added my new Vintage Look Christmas Sign. Bently looks so sweet in his tartan bow tie. You can follow Bentley on Instagram @BentleyWestie.
Let's get down to it! You will need the following supplies {Contains Affiliate Links}. I'm a regular crafter so I had everything on hand except the board, hangers and paint pen.
- 24×48 inch piece of plywood (board came in this size from Home Deopt) No cuts required!
- Graphic Printout (see below)
- pencil
- painter's tape

- tracing graphite paper
- Americana Decor Chalky Finish Paint in Everlasting
- Americana Decor Soft Touch Varnish
- Americana acrylic paints in Soft Black, Santa Red and Forest Green
- Fine tip acrylic black paint pen
- Purdy brush
- artist brushes (this set is the best I've ever used!)
- tape measure
- Mod Podge (optional)
- crystal glitter (optional)
- hangers and wire
- Minwax Dark Walnut Stain
- Minwax Pre-Stain
- foam brush
- fine sand paper


 ,
, 


 (optional)


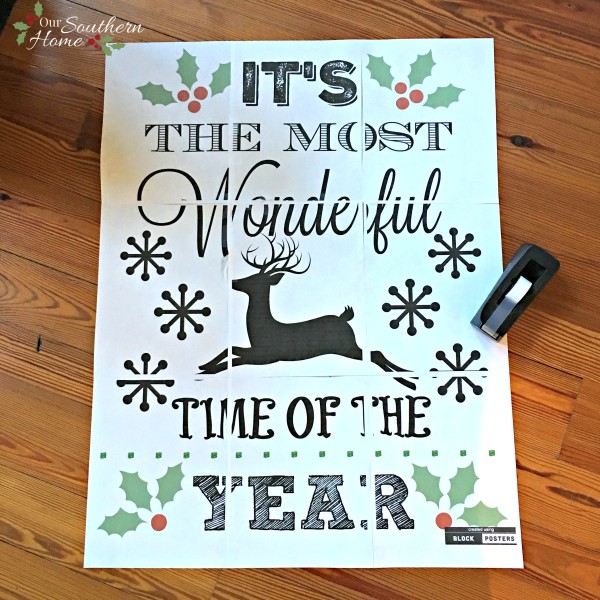
You will want to save this file that I have created for you HERE. It is a jpeg file. Then you will go to Block Posters.com. Then click get started and follow the instructions. You will print this in 3 sheets across and put it together like a puzzle taping the sheets together. Look closely. Some areas you will need to draw in…not a big deal. For this size board, you'll be printing a total of 9 sheets. It's free!!!

You can also save the above image. ONLY for personal use.
Apply the Pre-Stain conditioner to the board after you have lightly sanded the top and sides. After that has dried, apply the dark walnut stain. Let it dry overnight.
Paint 2 coats of Americana Decor Chalky Finish Paints in Everlasting. Let dry.
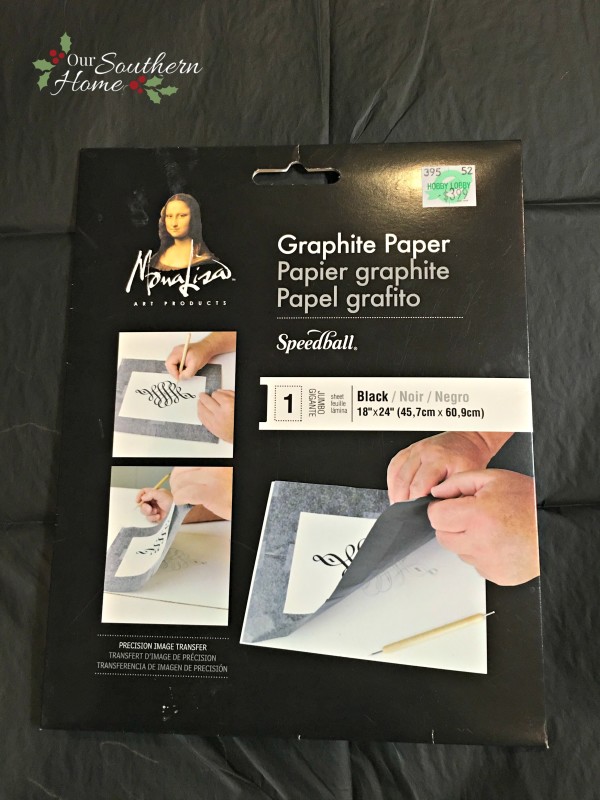
Great thing about this graphite paper, you can use it over and over again! This size sheet turned horizontally in length fits the board perfectly. Just slide it down as you go.
You will position the copy on the board and use painters tape to secure it just at the top. Place the graphite paper UNDER the copy. Use a pencil to simply trace. The carbon will transfer it to the board.
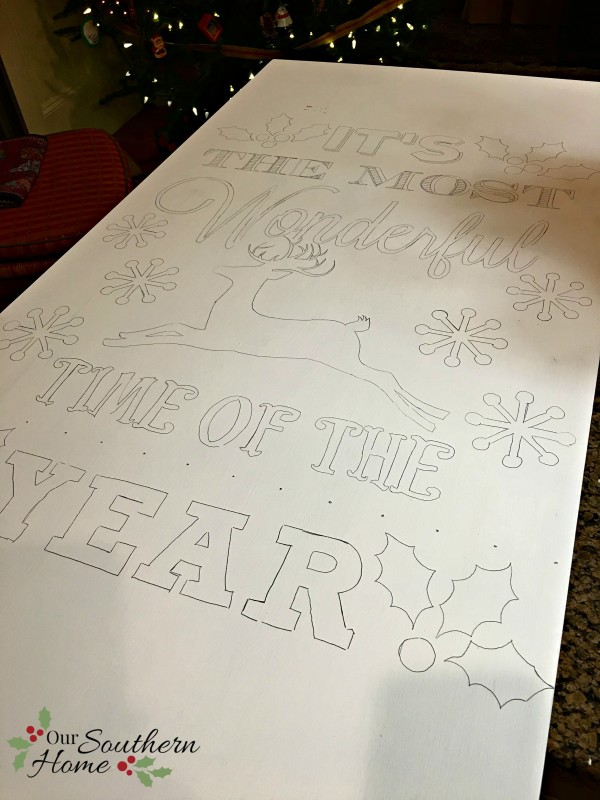
It leaves a nicely traced outline for you to paint.
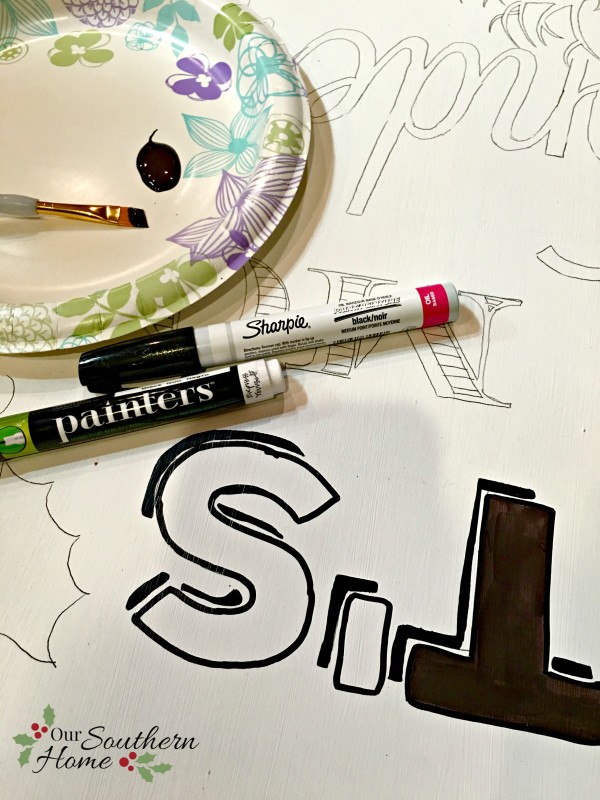
I know this looks upside down. I was working at the top of the sign so easier to do it upside down for the top part. I'm so glad a picked up a fine tip acrylic paint pen. I knew that with the font details, I'd need something precise. What I did was outline the letters with the pen, then I filled in with the soft black paint with the brush. The pen was a lifesaver!!! You'll notice that the pen is darker in color. That's ok. It just added to the dimension.
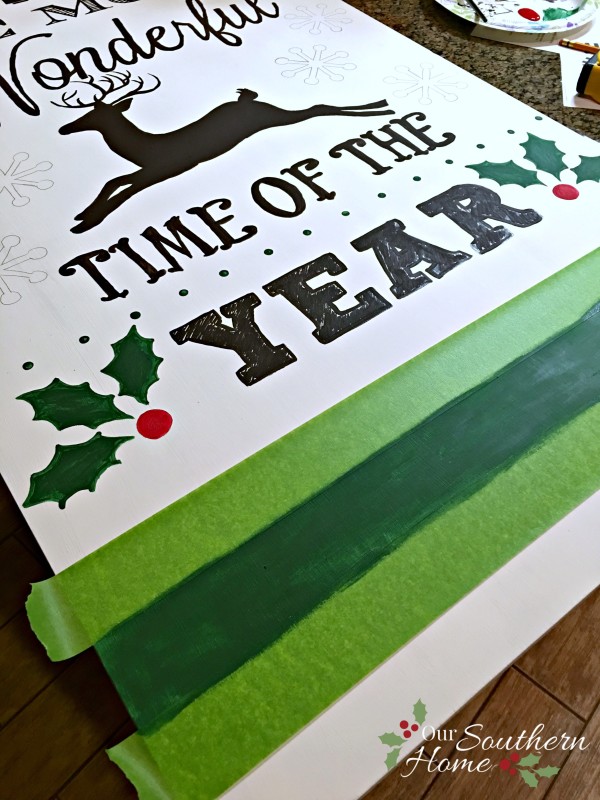
Call me lazy, but I really didn't have to have all of the board, but I really didn't want to have to take the time to cut it. I had empty white space at the top and bottom. I wanted a tall sign to go in the place of the mirror so I really needed the length. Grain sack stripes come to the rescue! I'm a love of grain sack stripes. They filled up the space nicely.
Just use painters tape to mark off your center stripe. Mine is 2 inches wide. I painted 2 light coats one after the other. None of your painting has to be completely opaque and colored in completely. You are going to be distressing so save yourself the effort and paint!
As soon as you paint that stripe in green, remove the tape. Pull at an angle slowly so you don't pull white paint away with you. Let it dry. It dries fast. The I made the narrow stripes a 1/4 inch on either side of the wide center stripe.
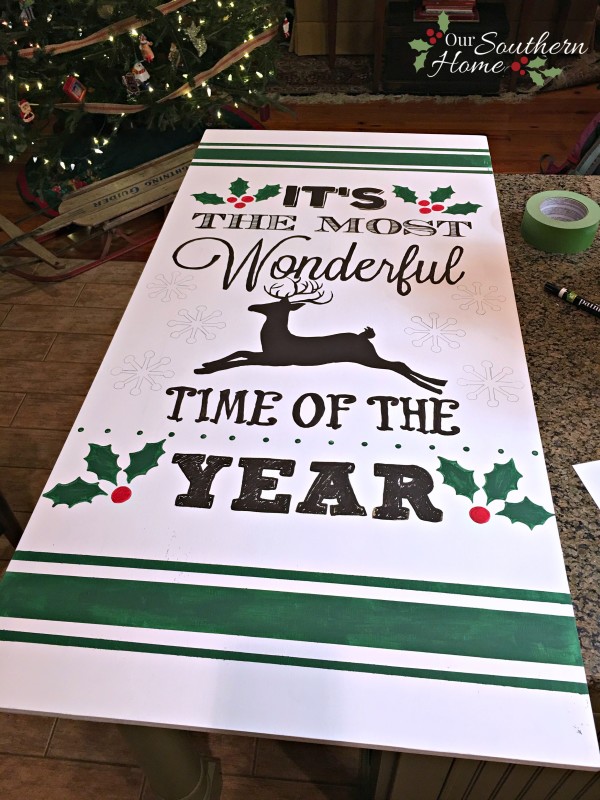
Here it is completely painted. Let it dry overnight. Then sand with a fine-grit sanding paper or block to your desired look. Use a towel to wipe it off as you go to check yourself. Do you notice here that I don't have the snowflakes painted? I was not sure I wanted them or what color so I slept on it.
I ended up sanding the snowflakes off. You could leave them, outline them in black and apply the glitter for a more magical look. You could even leave off the holly and add all snowflakes. Just use the pattern to trace the look you want.

After distressing and thoroughly wiping all of the dust away with a dry cloth, you are ready to seal. I applied 2 coats of Americana Decor Soft Touch Varnish. Let dry in between both coats.
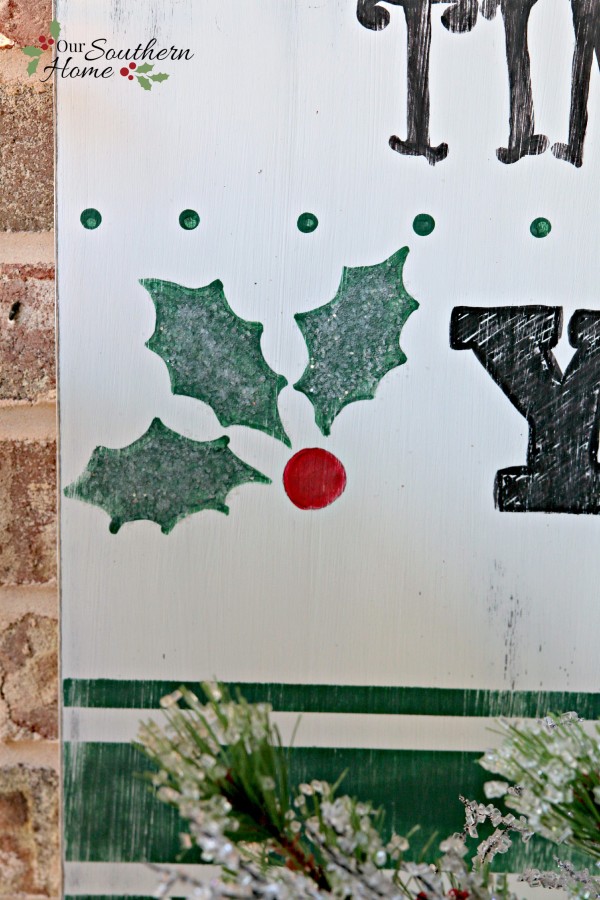
I'm not sure you can tell in the photo…it is very subtle. I applied crystal glitter to just the holly leaves with Mod Podge. HINT: If you apply a thin coat of Mod Podge to the top of the glitter, it will stay in place. It will dry clear.
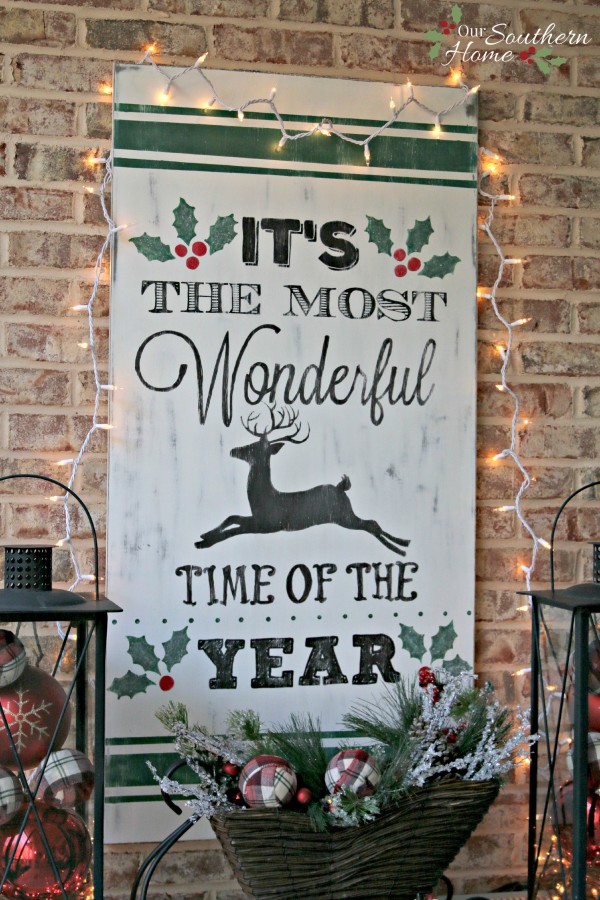
I hung a strand of white wire lights loosely across the top of the sign like a swag just to illuminate it a bit.
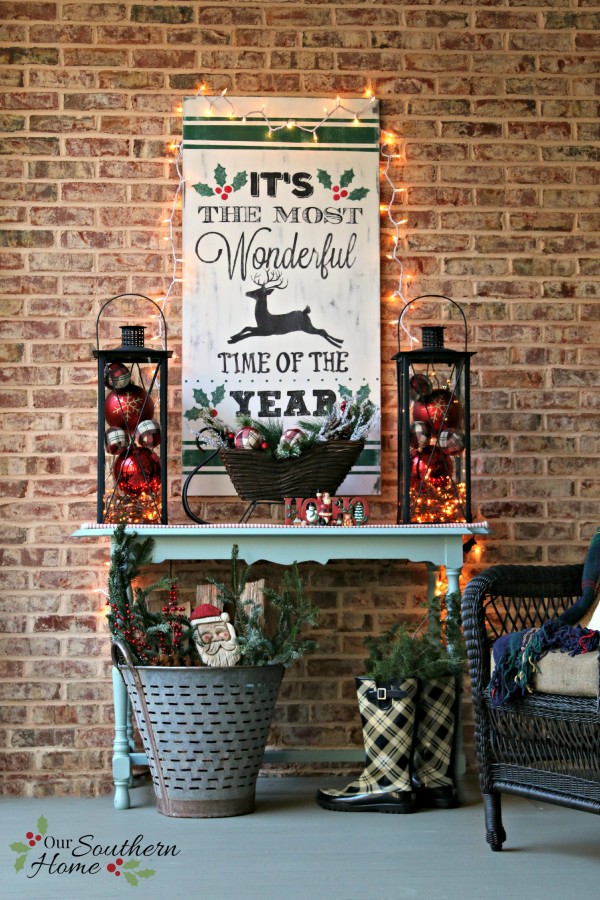
I've got a very new look for this space on our porch for very little money! The board was only around $14!

Please PIN the above images to have for later!
Now be sure to check out the other projects below. You can also use the hashtag #homeforchristmas on social media to see more!
I’d love for you to follow along on social media!
–>> Facebook | Pinterest | Instagram |Twitter|Google+

Home Stories A to Z Not Just a Housewife Kammy’s Korner The Happy HousieDesign Dining and Diapers Liz Marie Blog Funky Junk Interiors Savvy Southern StyleTatertotsand Jello DIY Show Off Redoux Interiors Between Naps on the PorchThe DIY DreamerOh My Creative Little Miss Celebration Just a Girl and Her Blog Sand and Sisal InteriorFrugalista House on the Way Addicted 2 DIY I should be Mopping the FloorMiss Mustard Seed Stone Gable- The Scoop Inspire Me Tuesday Feathered Nest Friday Treasure Hunt Thursday Northern Nesting
Buffer


Love the sign! Thanks for sharing all your hard work.
Thanks so much! It is one of my favorites!
I love your sign Christy! You did a great job and your tutorial makes it so easy-peasy for anyone! Hope you have a Merry Christmas!
Tami
I love your vintage sign, Christy. I am still making my rounds from the tour but I am so glad I saw yours. Lovely project and I am pinning for my next project. Thanks for sharing.
LOVE your vintage looking Christmas sign Christy! Always enjoy it when Bentley photo bombs your photos. Pinned to share 🙂
Beautiful sign! Thank you for the tutorial and PDF….
I love this entire vignette and that sign is AMAZING!
It looks amazing! Love it, pinned it!
xo
Debbie
Thanks so much, Debbie! I appreciate your early morning advice!!!
Love your sign and pinned it, and your pooch is adorable too!
~Angie
Very pretty! I am a sucker for wooden signs and this one is fabulous!