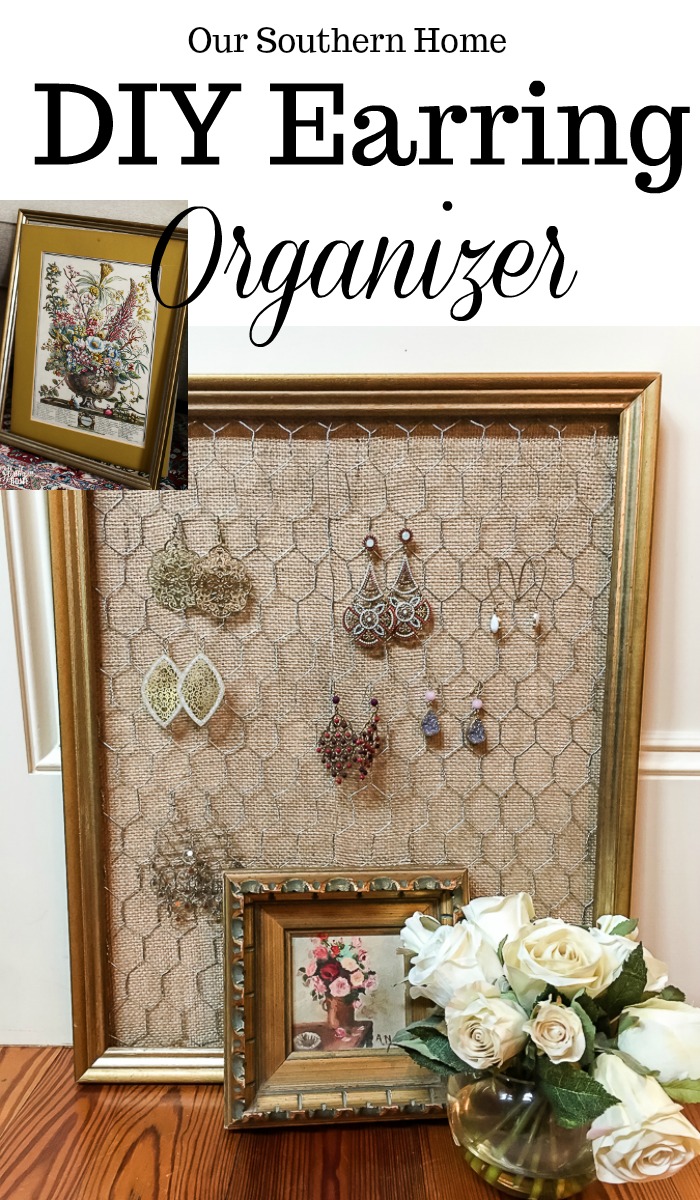
DIY Earring Organizer
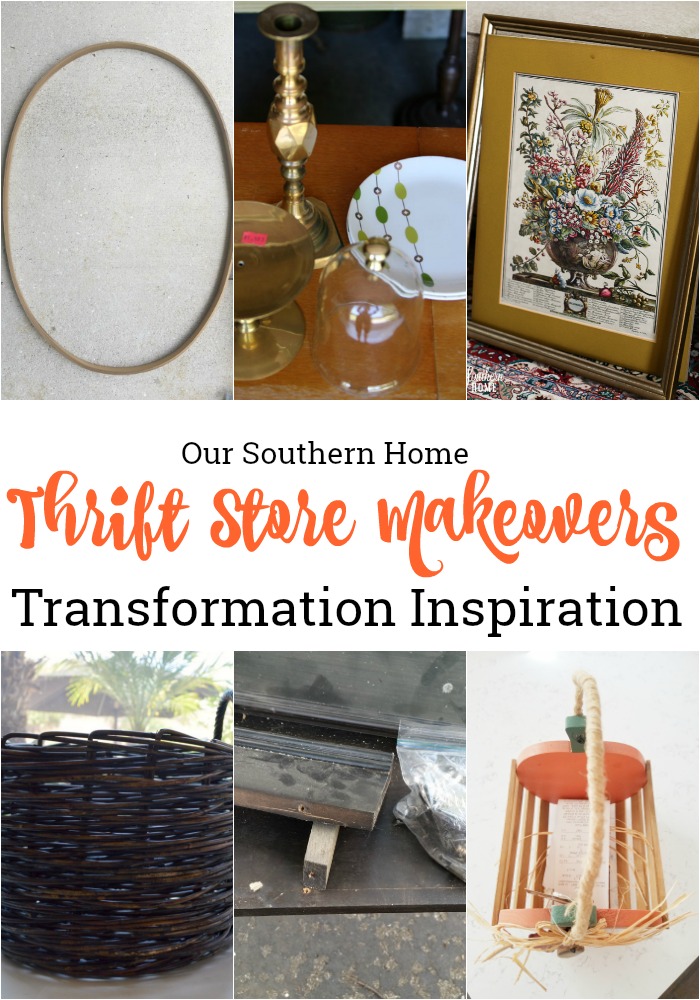
Yippee skippee! It's thrift store makeover day!
I missed last month with the kiddos both starting college. I'm back with a super easy project perfect for home or the dorm!
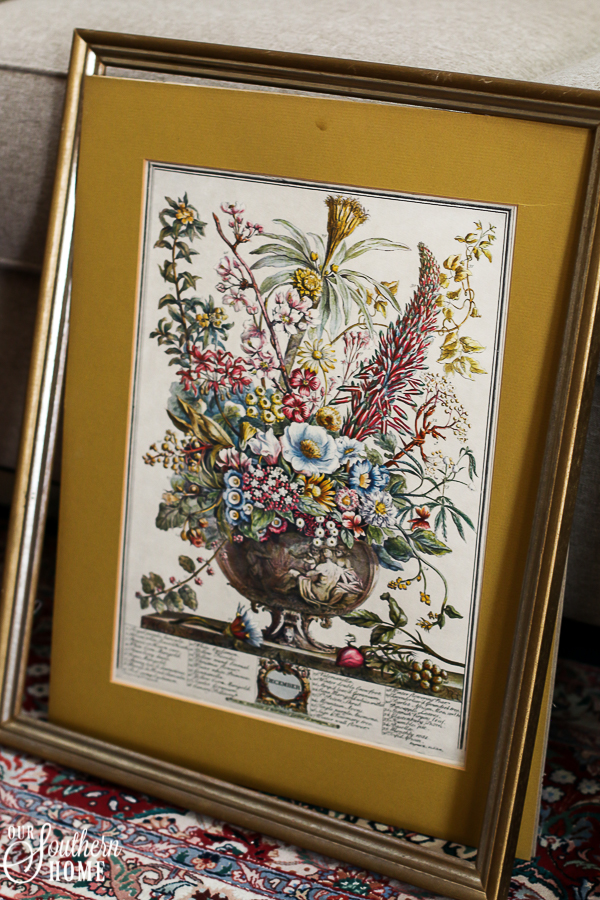
Here is the before. We started to take it apart and remembered to take a quick photos! I plan to use the art for something else being that December is my birthday month!
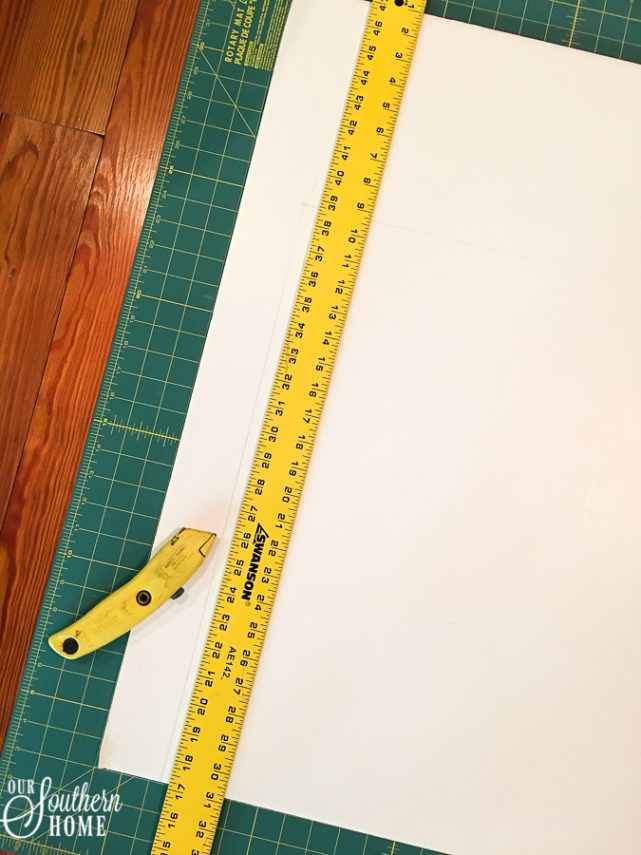
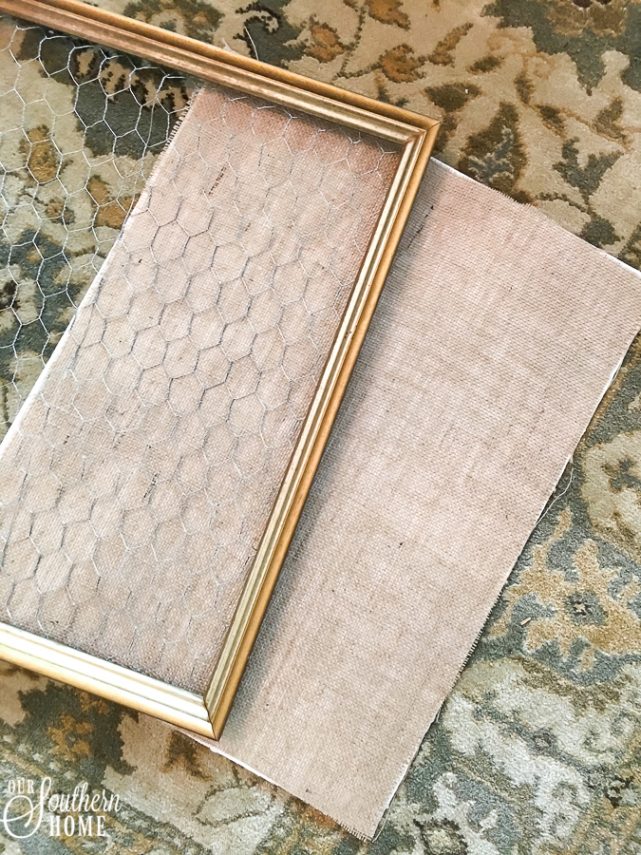
The first thing that I did was to cut a piece of foam core for the backing. Just trace the frame and cut it out.
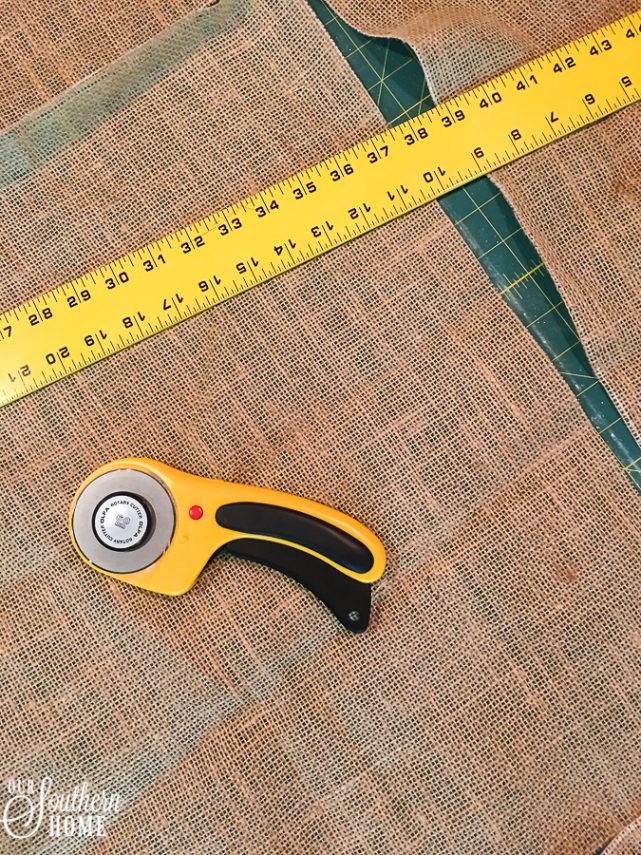
Cut a piece of pretty fabric the same size as the foam core. I just used good ‘ole burlap.
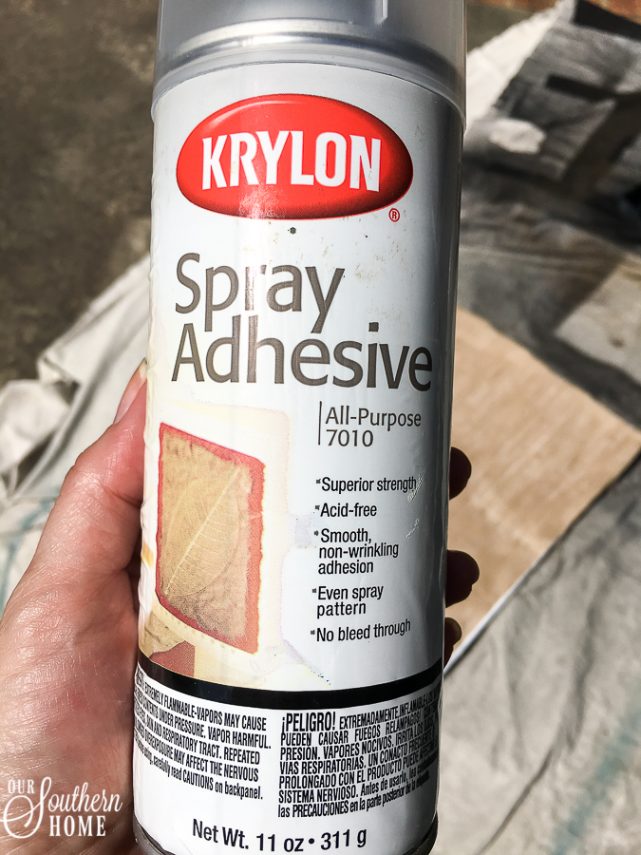
Use spray adhesive outside to adhere the burlap to the foam core.
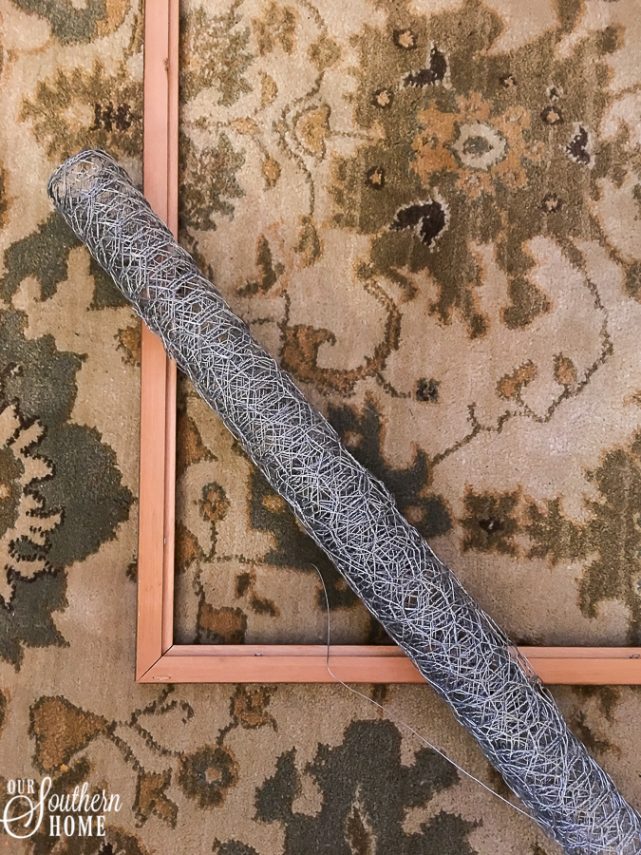
I purchased the craft chicken wire at Hobby Lobby. I won't lie. This was a royal pain to work with! I used wire cutters to cut it slightly wider than the frame.
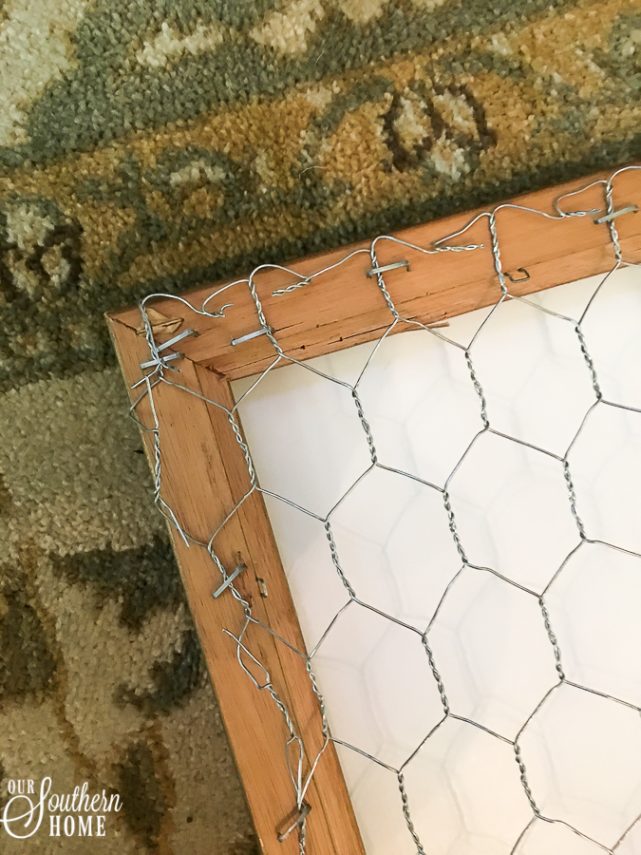
Staple the wire to the backside of the frame. Then attach the foam core to the back of that with staples or a small finishing nail. The white is there just so you can see the wire better.
Staple the foam core so that the burlap side is seen through the chicken wire.
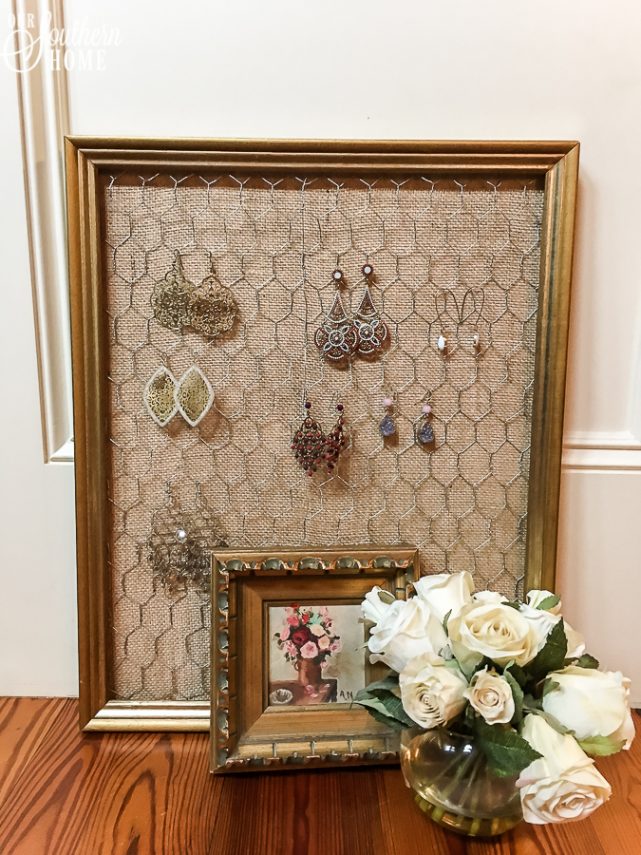
Now you have this! You can also use hooks or paper clips to hang other jewelry.

Now let's see what the rest of the team has for us this month!!
Domestically Speaking
My Repurposed Life
Petticoat Junktion
Refresh Restyle
Our Southern Home – me
My Uncommon Slice of Suburbia

Buffer


I agree with Kathy, the burlap really puts this earring organizer in it’s own class!
Pinning!
gail
Thanks, Gail!!! I’m getting a lot of use out of it!
So pretty and the perfect organizer. Love the burlap!
Thanks so much!!!
Love it with the burlap backing, so pretty!
Thanks bunches!
I love it Christy. Especially the fabric backing. I see the frames and chicken wire without the backing but I don’t like those as much.
Thanks so much! Yes, I didn’t like it at all without the backing!