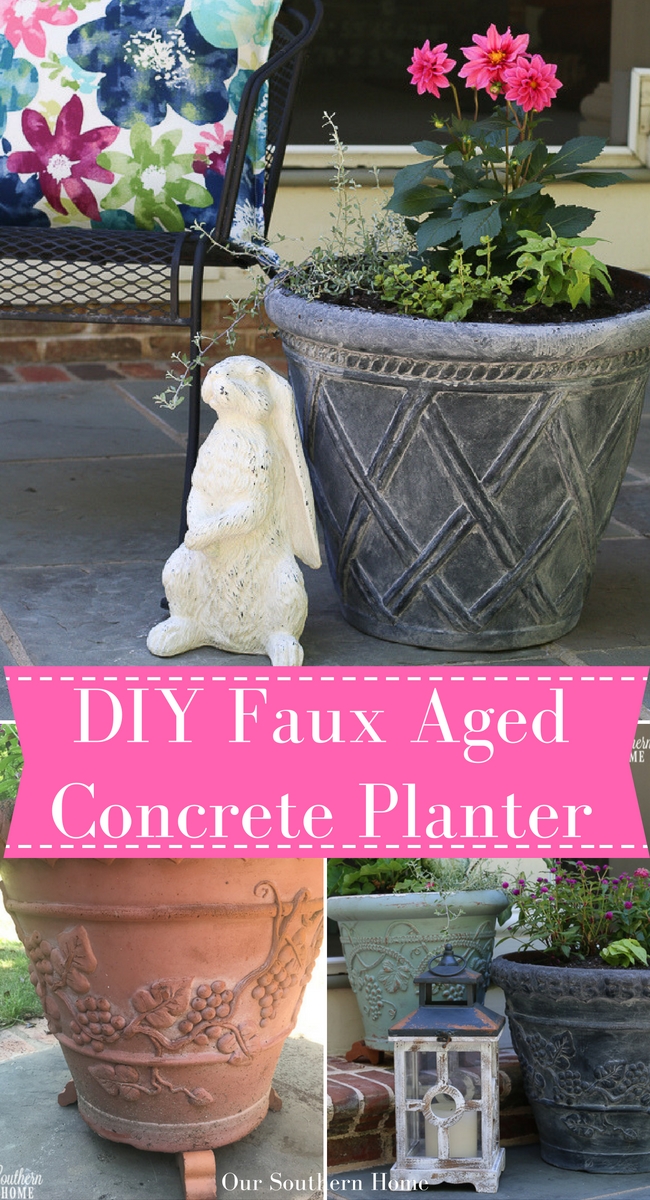
DIY Faux Aged Concrete Planters
It's the time of the year where our focus moves from inside our home to the great outdoors!
May is a great time to really get all those projects complete before the real heat of summer sets in. Then all you have to do is enjoy the fruits of your labor.
This month the Decor Enthusiast Team is sharing ideas for outdoor living! Part of outdoor living is beautifying your space. I am sharing my……
DIY Faux Aged Concrete Planters
I have quite a few of the poly resin type pots. You know the ones that look like clay or concrete, but are feather light. They really hold up well. Mine are showing their age and quite frankly, I'm just tired of the clay pot look. The pots still function perfectly so no need to get rid of them and spend money on new pots.
You can easily make over your pots with paint!
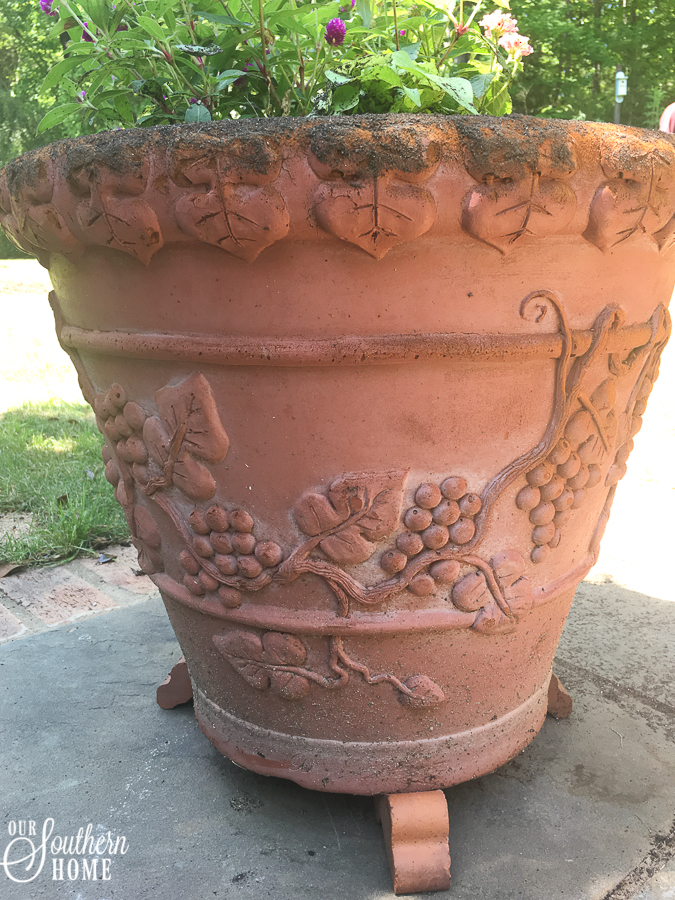
They are still in great shape. The pots on this corner of the patio get so dirty because the patio is slopped to drain here.
To clean fill a bucket with warm soapy water and Dawn detergent. Use a scrub brush to clean and spray off with a hose.
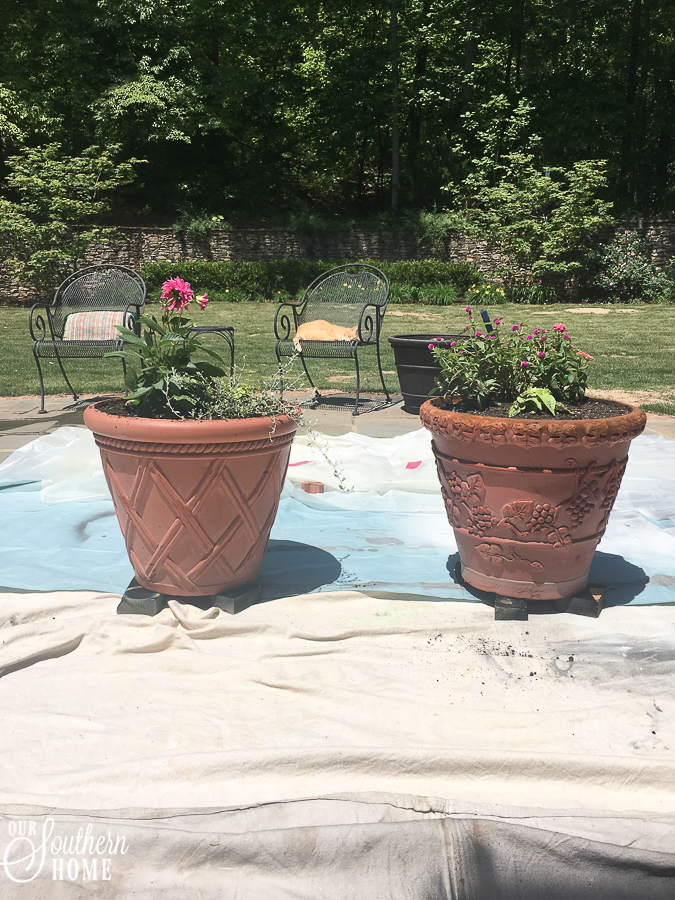
Both pots are cleaned and have thoroughly dried in the sun. They dry very quickly!
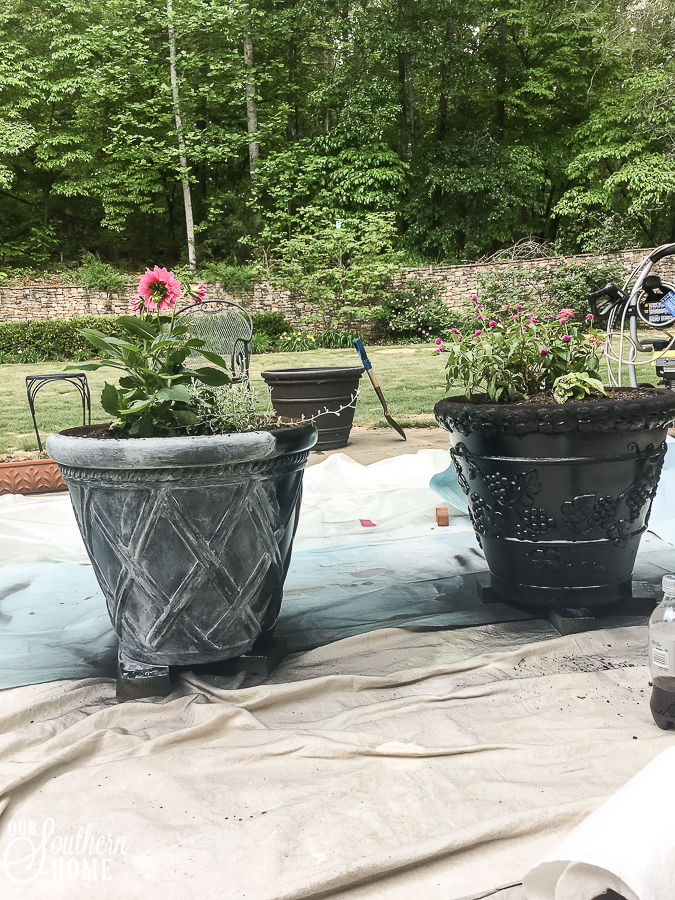
Protect your area for painting with tarps. I raised the pots off the ground with scrap wood. Rocky is lounging in the background. The life of a cat!
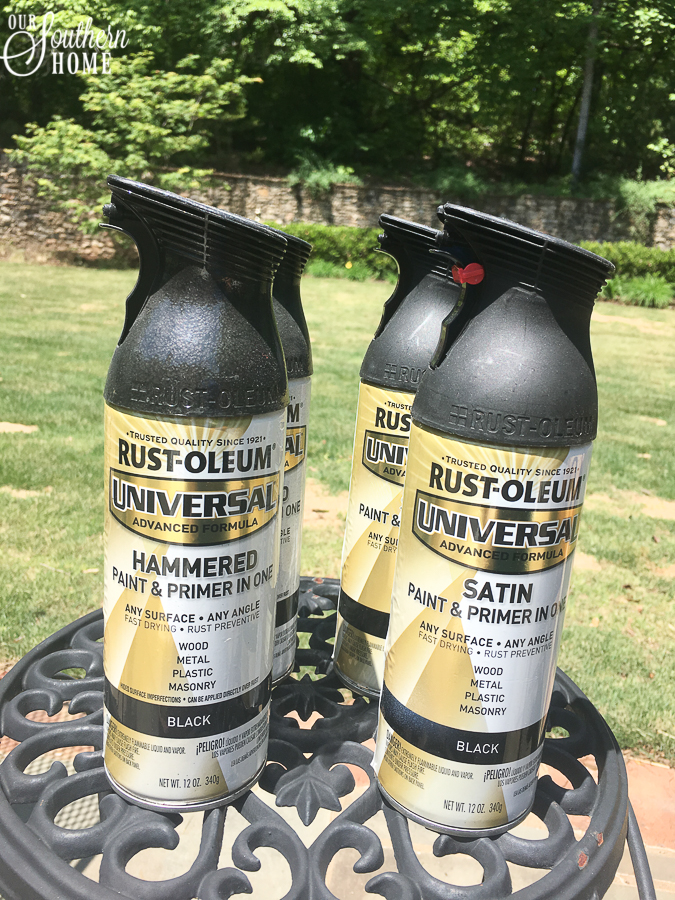
I wasn't too concerned about the base of black paint because I knew that I would be washing with a grey on top. I grabbed every can of black that I had on hand. The 2 cans of Hammered Black didn't go far. I had the most of the satin so that is what you mainly see. It really covers well. I used in on the front porch with my fern pots.

I sprayed 2 coats and let it dry thoroughly. I was in a bit of a race with the storms moving in.
You will notice that I already had my pots planted. No worry. When I sprayed around the rim near the plants, I help a piece of cardboard around it to protect the plants from the spray.
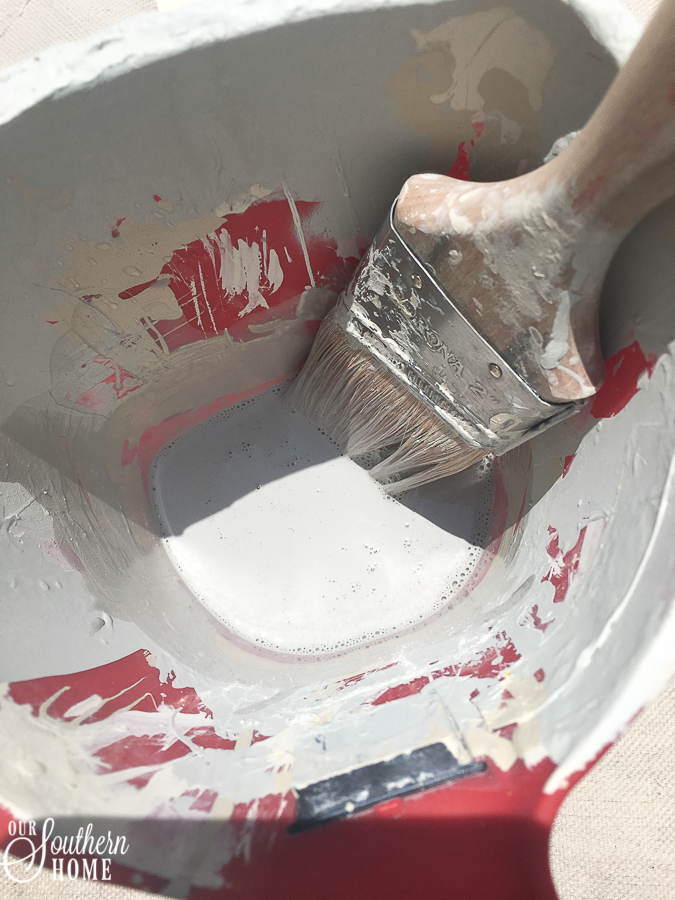
I wanted to create a wash so I mixed a small amount of grey chalk paint in a container with a splash of water. A little paint goes a long way. Best to mix in small batches so you don't waste precious paint. It will be the consistency of skim milk. I used Amy Howard One Step Paint in Atelier Grey.
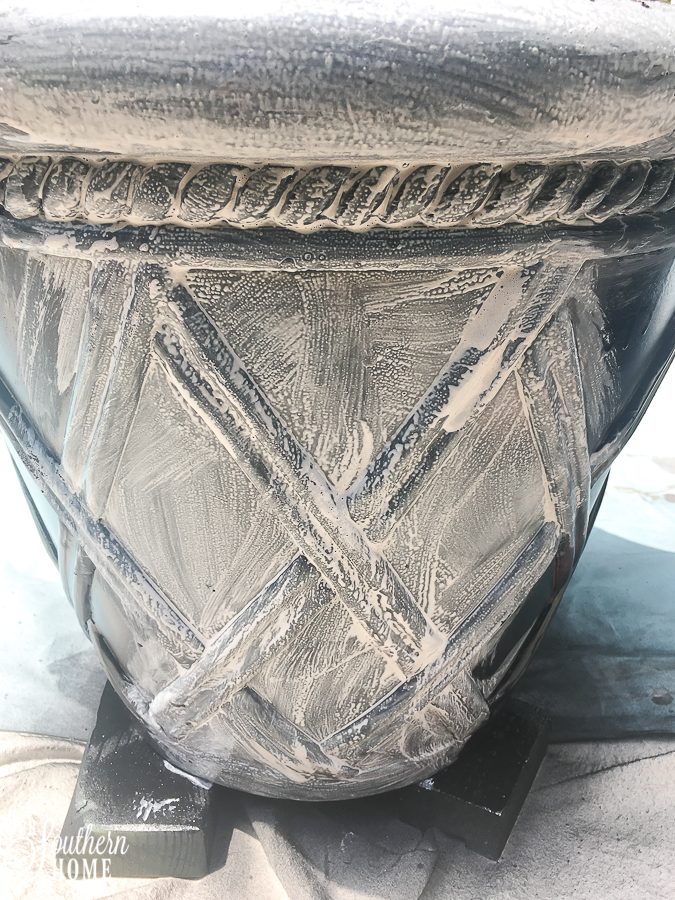
Simply brush the grey mixture on.
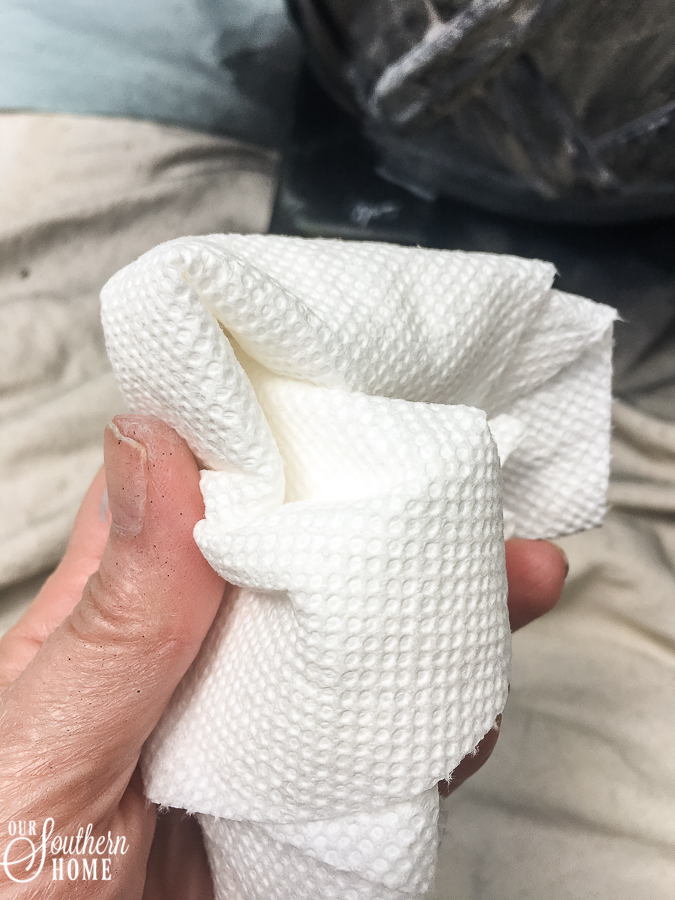
Then with a paper towel or a soft cloth, drag and blot the paint to wipe it off. Practice with your pressure to get the desired effect. I let one coat dry then I did it a second time.
Don't focus on getting a perfect finish all around. You are working to get an aged look.
This pot is almost complete, but had to move onto the porch with the storms to dry overnight. I finished the 2nd pot on the porch. I let them dry here until the next afternoon then I worked to style the area.
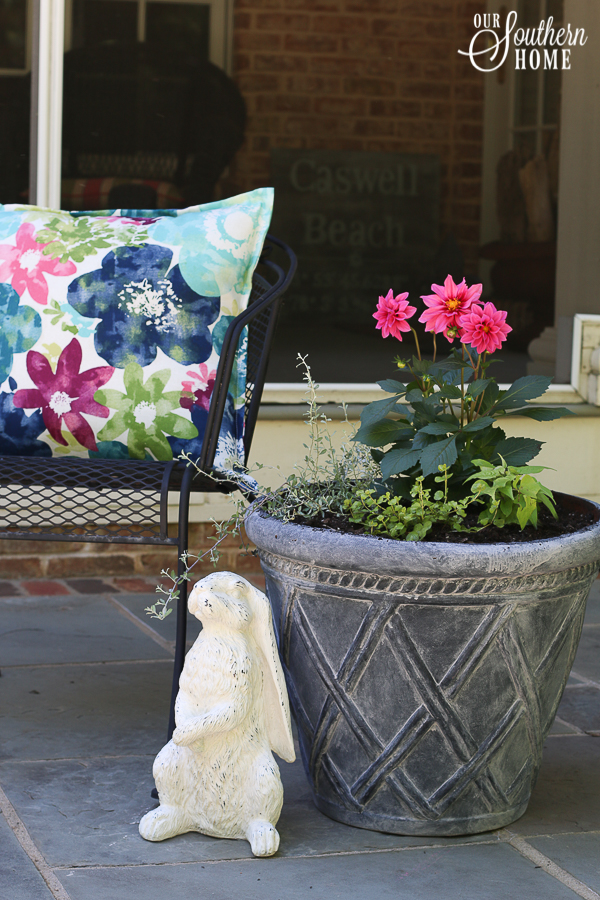
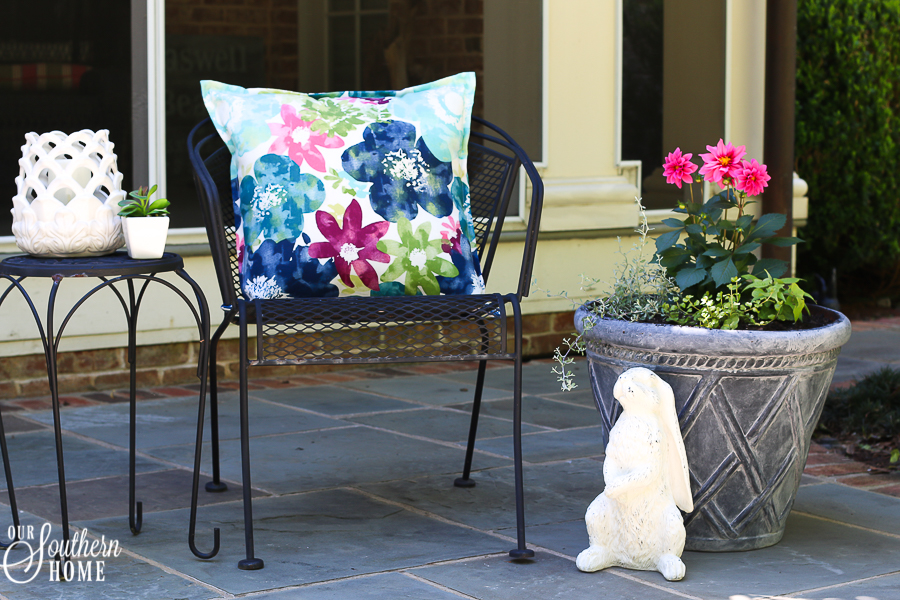
I bought one pillow at Lowes to make sure I would like it. It's a bit bold, but I love it. It incorporates all the flower colors that I like to use. I think they will be very pretty on the patio area.
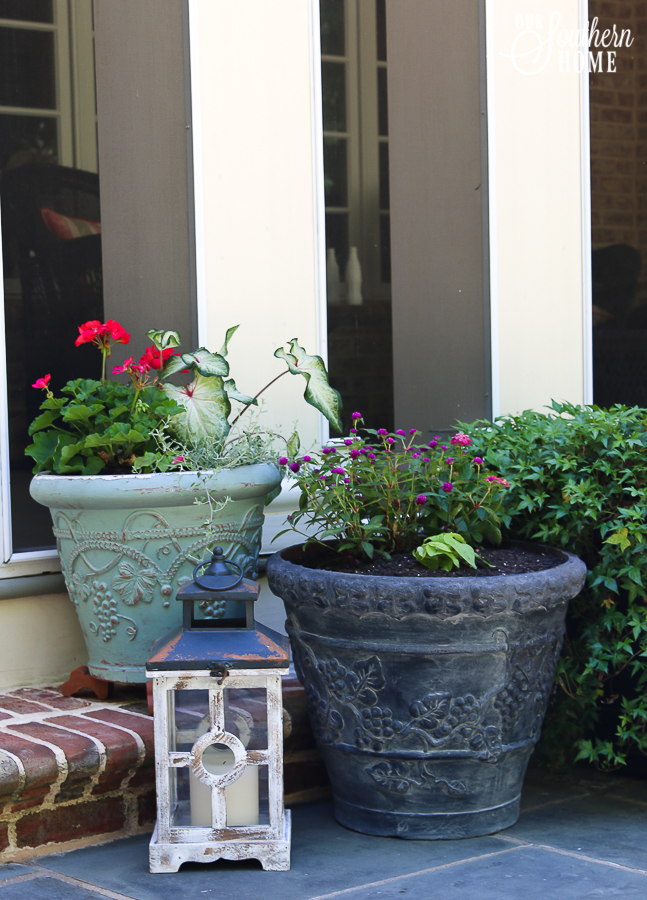
They just look so warm in the area opposed the previous clay look.
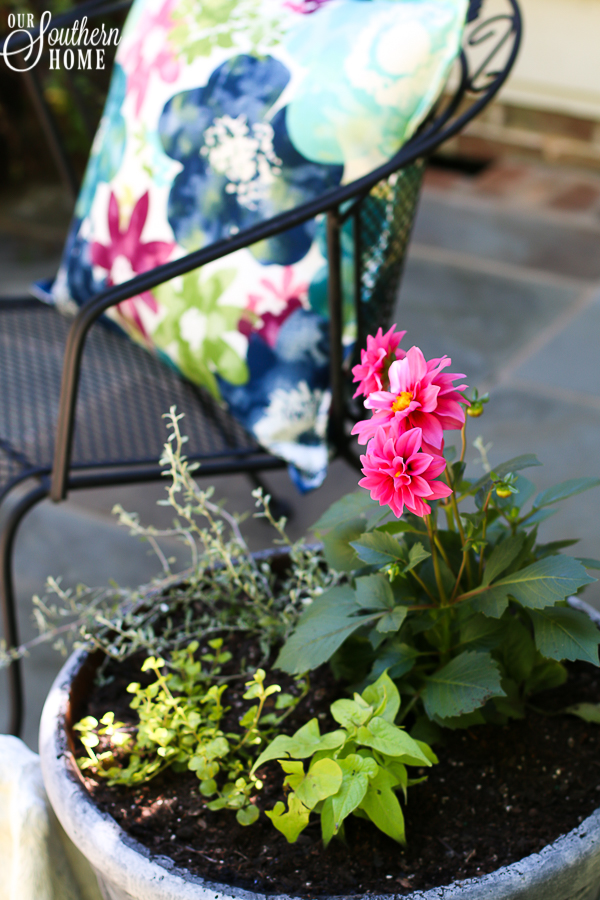
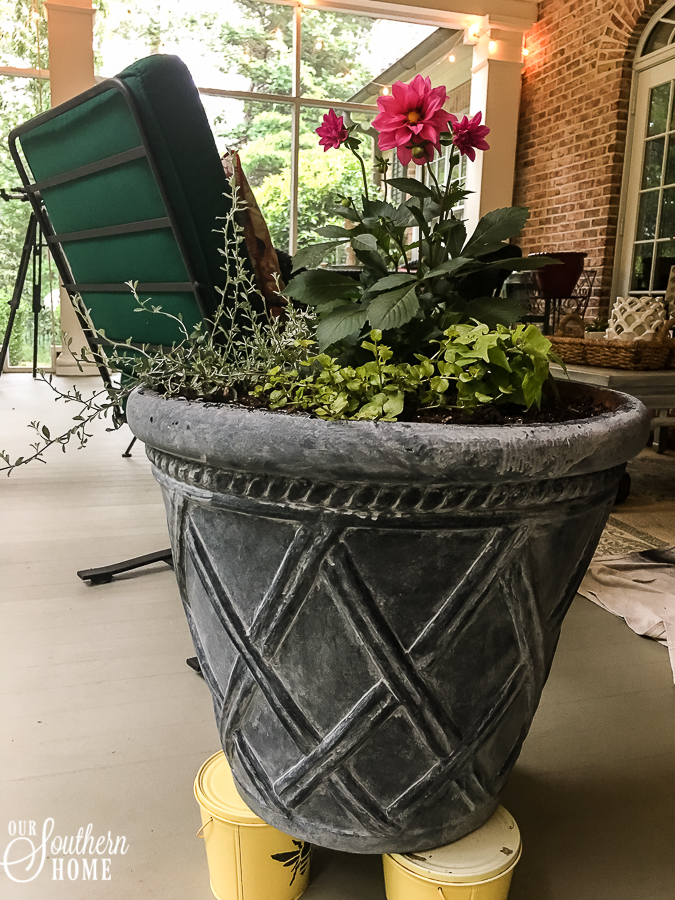
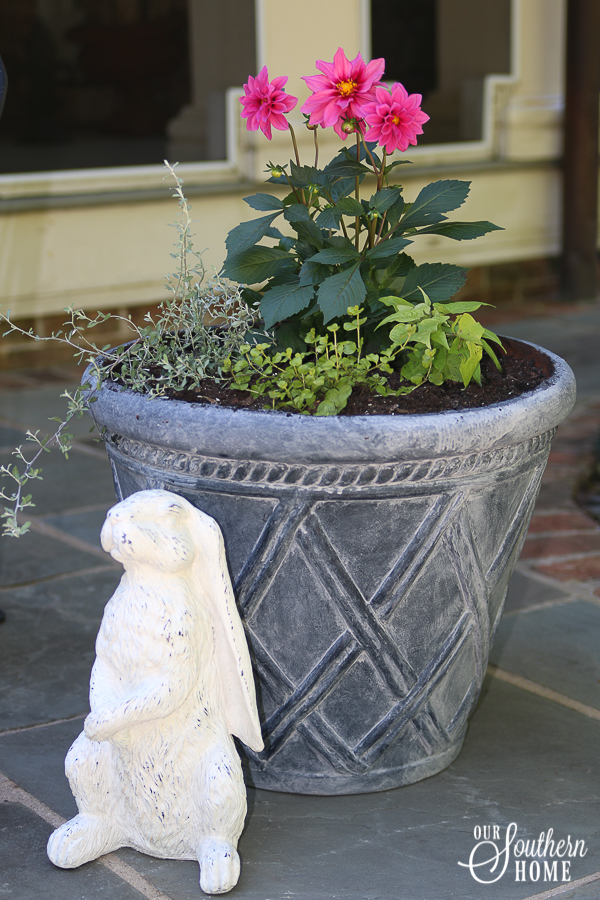
You can see that I carried the finish to the top of the rim. They are going to be beautiful once they start to grow and spill over the edges.
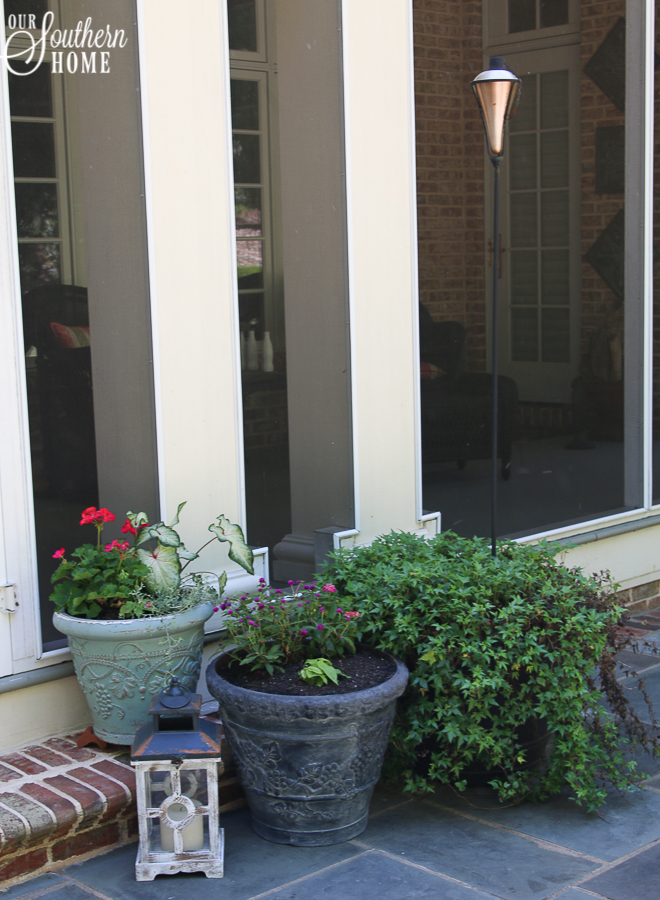
Here is the 2nd pot. I'm sure you are curious how the finish will hold up to the elements. I painted the blue/green pots exactly 3 years ago and here they still are…..looking great.
You can see how to get the Duck Egg Blue look HERE.

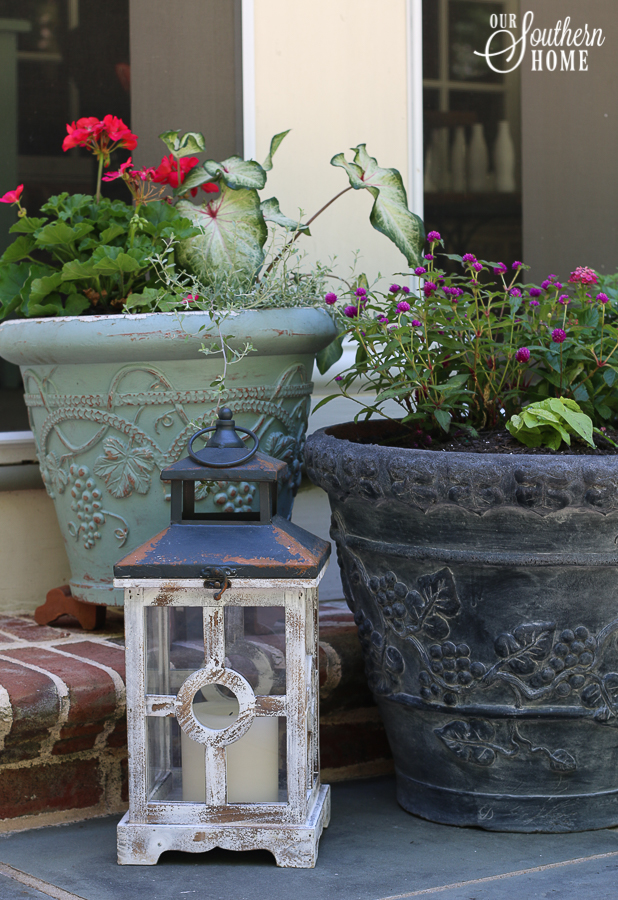
I actually sanded raised areas on this pot for a bit of the original color to come through.
I am so pleased with the look! I've got about 5 more to do! Want to come help?
This post contains affiliate links. This means that if you purchase an item below, I will earn a small portion of the proceeds. This helps to keep my blog running and doesn't cost you anything extra.
Here is a list of some of the items used or similar:
- drop cloth
- sanding block
- scrub brush
- grey chalk paint
- satin spray paint
- handheld paint pail
- Purdy brush
- lantern
- pillow
- tiki torch
- rabbit statue
- poly resin pots

It's time to see what the rest of the Decor Enthusiast Team is up to outdoors!
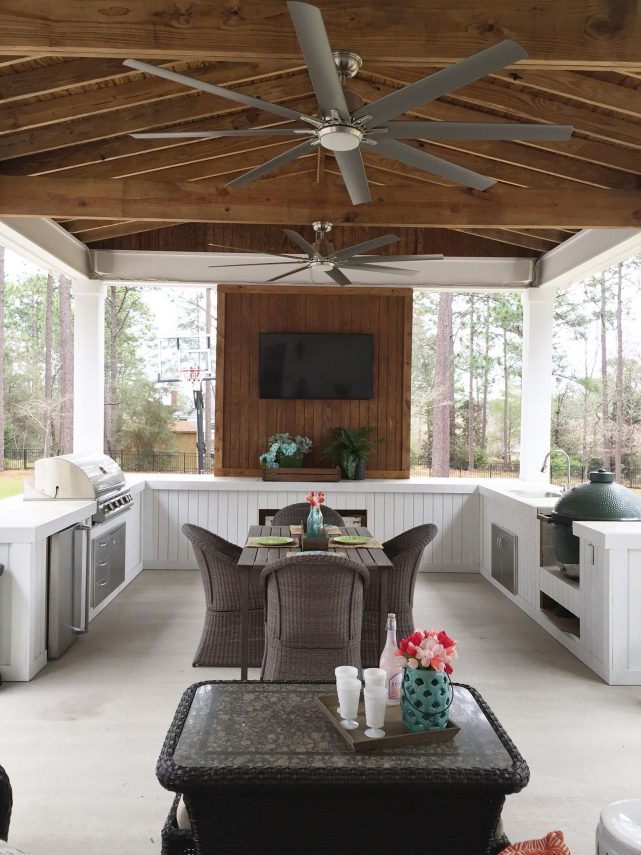
Outdoor Kitchen from Refresh Restyle
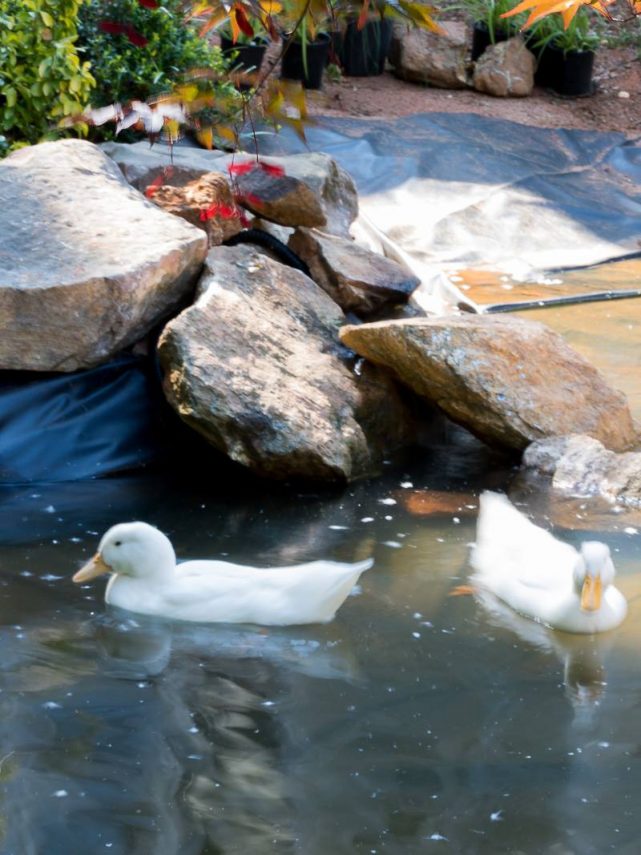
Building a Duck Pond with Duke Manor Farm

Front Yard Garden Tour with Confessions of a Serial Do-It-Yourselfer

Floral Wreath from Restoration Redoux
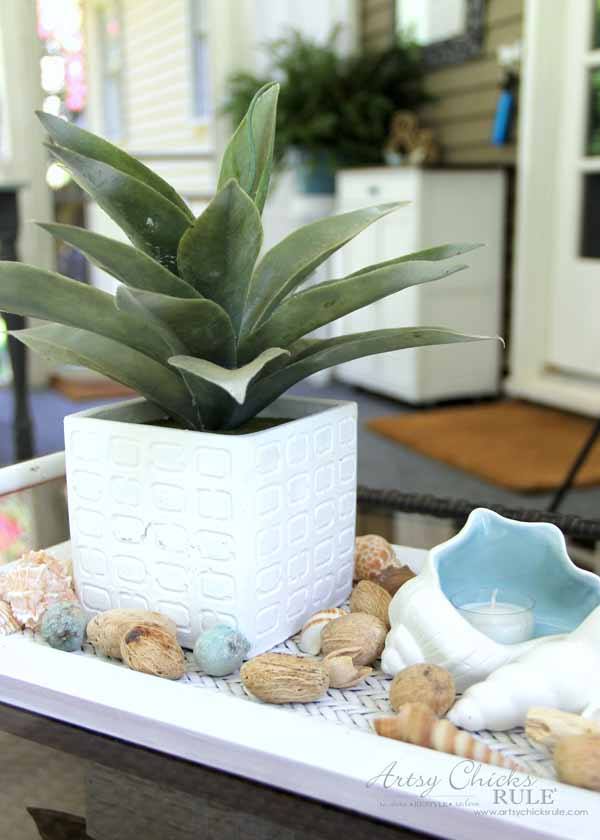
Outdoor Decor Ideas with Artsy Chicks Rule


Great article about the faux aged concrete planters and I really liked it with us. Also, I found it very special so thanks for sharing it with us.
????????❤️ Thank You Christy !???? VERY COOL!! I have Some Planters I NEED to refinish !! THANK YOU!!THEY are almost the same pattern Lolo .No kidding! G-d Bless ❤️
Wow! Looks great. Maybe I should renew my planters too…
Thanks!!!
So, the chalk paint does not wash away when there is rain? So pretty!
No, it doesn’t. Chalk paint is an amazing product! Thank you!!
These are awesome! I love the way it turned out.
Thank bunches! I love them and can’t wait to the paint the rest of mine.
Oh my goodness, they look great!! So rich looking, like wrought iron! I must try this on my sad pots! XO
Debbie
Those planters look amazing! Great job! And your outdoor spaces are so wonderful too! xo
These turned out so good and look totally authentic!! I am so envious of all your green space!! XOXO
What a great look! And easy, too. My plastic planters could use a little love – this may be the year to do it. Thanks for the inspiration, Christy.
the planter turned out wonderful. Is there nothing that a little bit of paint won’t fix???