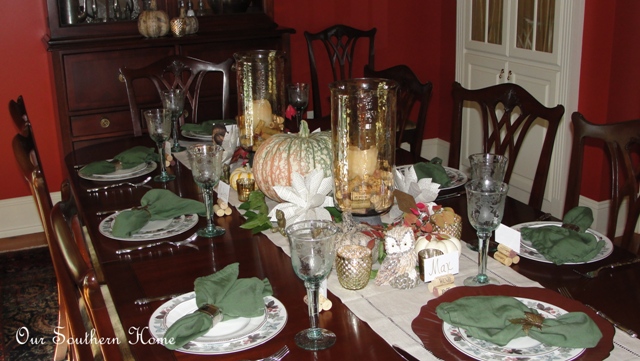
I had so much fun creating a new fall dining tablescape for this year. We all get bored with using the same thing all the time, but you can make it new to you! Just step back and change the way you use your treasures including the location!!! This is definitely the most frugal way to go!
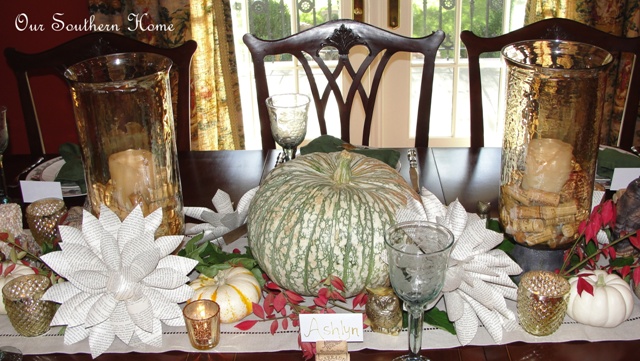
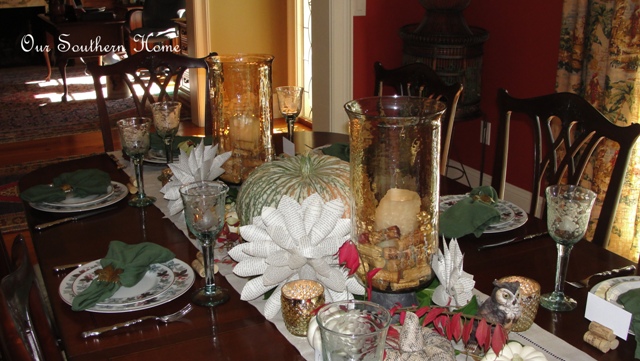
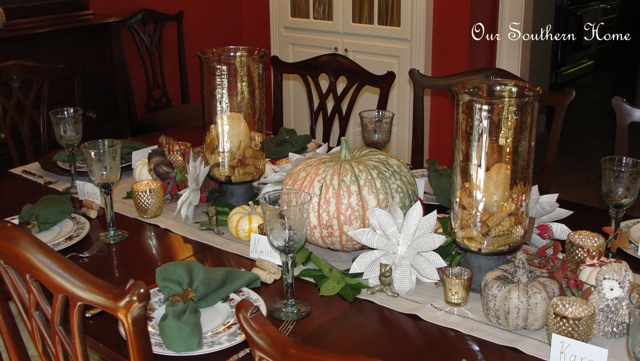
It was my goal to use as much of what I had and really keeping extra cash in my wallet. The only new items purchased were the beautiful pumpkins from a local farm stand. The large pumpkin in the center was only $5!!!! Sold!! The five smaller ones were a total of $5.
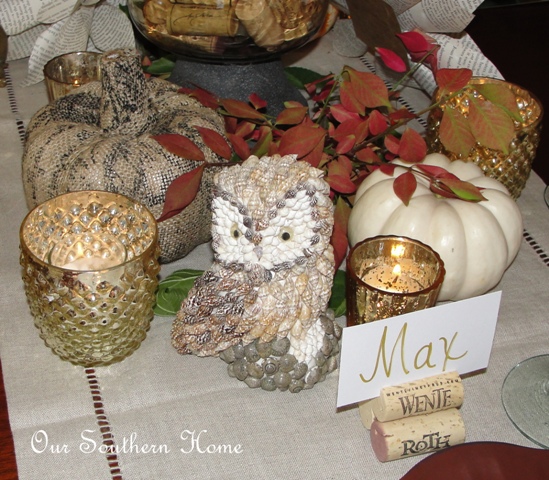
I fell in love with the printed burlap pumpkins from Hobby Lobby. They were my splurge at $4 each. That was the price after the 40% off sale. The only other purchase was the $2 old book from Goodwill. I'll get to that in a bit…I promise. Total cost spent: $32…..not too bad since I'll get years of use out of the precious burlap pumpkins.
Notice the collection of owls scattered throughout the tablescape. My mother-in-law passed away a few years ago and I kept them. No one else wanted them! Little did I know how big owls would be today!!! This little cutie is made of shells. I am so glad that they did not go to Goodwill for some other thrifting shopper to discover!
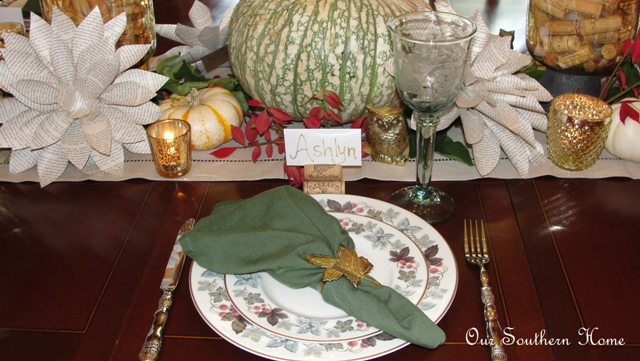
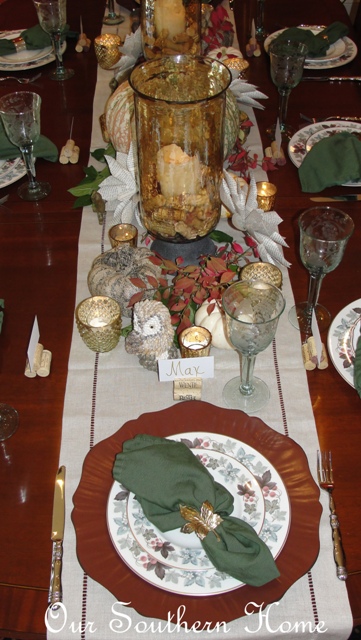
Check out the trash to treasure place card holder. I used wine corks which would have otherwise been discarded in a repurposed way. VERY carefully, take a small knife such as a paring knife and cut a small slit in the top…..just deep enough to wedge a card of your choice. I had sheets of business cards on hand and simply used those. The writing is simply done with a gold paint pen…all on hand. Now you could put much more effort into your card with computer graphics or scrapbook paper, but I wanted simple. Heat up your hot glue gun and glue 2 corks together for the bottom and glue the cork with the cut slit to the top. Ta da! You now have a cheap, fast and easy place card holder!
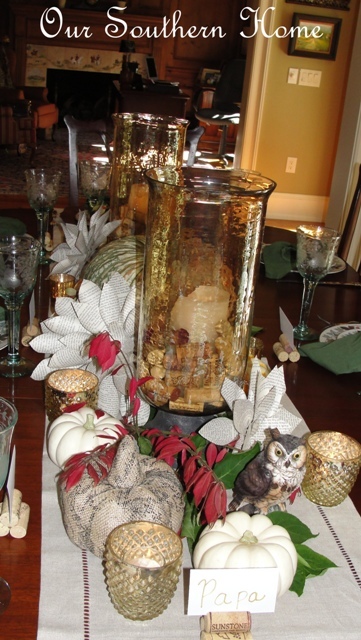
Do you see the little brass owls?
The linen runner was one of those purchases that I struggled with last Christmas (pre blog). It was quite pricey from Pottery Barn, but have been so pleased with it! It graces this table daily. I may need to eventually purchase it in another color to play with since I added my awesome toile window treatments. The textured mercury glass votive holders were also from Pottery Barn from last Christmas. The smaller mercury glass votives were a find at Target! The branches were cut from the yard and have since dried beautifully!
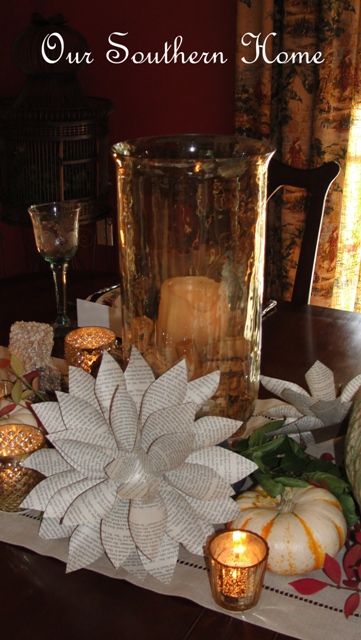
The large amber hurricanes on the table were a clearance item at Tuesday Morning several years ago. They have a heavy dark iron base. They are large enough to be able to put filler items around the candle. Here I have wine corks surrounding the candle. I have been savings these things for years….no I didn't insist Mr. Southern Home and I drink all that wine so I'd have the corks to use.
Hubby works from home, so please disregard the over flowing trash can by his desk in the background! I promise I do clean!!
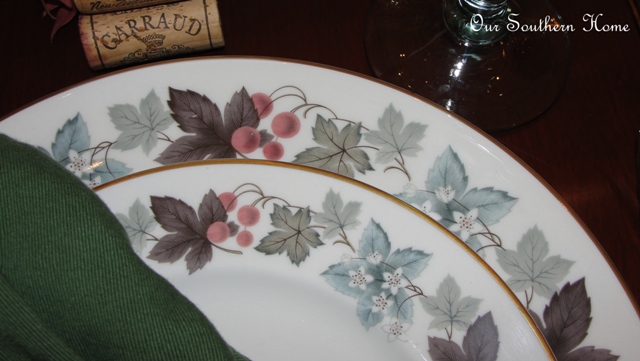
I love, love this china pattern. I enjoy mixing china patterns together. I did just a bit here with the salad plates. I alternated the floral pattern with my Wedgwood Crown Gold white china. I just adore the subtle amount of color it adds to the table. These colors are also in the toile window treatments. Guess what! My mom gave this floral pattern to me last year. It was my parents' wedding china. She no longer used it and knows how I love to decorate. It is from August 1963. It is by Royal Doulton and the pattern is Camelot. She also gave me her entire set of crystal stemware which I didn't use this time. I wanted an elegant yet casual look so I brought out these green bubbled glass stems. My flatware is by Southern Living. I had a party a few years back and got a lot free and at a reduced price. I love it because it can go in the dish washer. These days you don't have to have sterling silver. Manufacturers are really making some heavy looking look-a-likes for much less!
Notice that I only used 2 charges at each end of the table. I have this table set for 8 and only own 6. I loved the color for fall so I improvised. That is what you have to do. Use what you have in a creative way. I did the same thing with the napkin rings. I alternated monogrammed silver with a gold leaf ring.
I am in love with the vintage book flowers. I'll have the tutorial up very soon! In the meantime, gather your materials: vintage book, piece of thin cardboard like from a food box, scissors, hot glue gun with glue sticks and optional stapler. Hint! Stapler makes it easier!! I'll also share the site where this idea was originally discovered. Always give credit where credit is due!
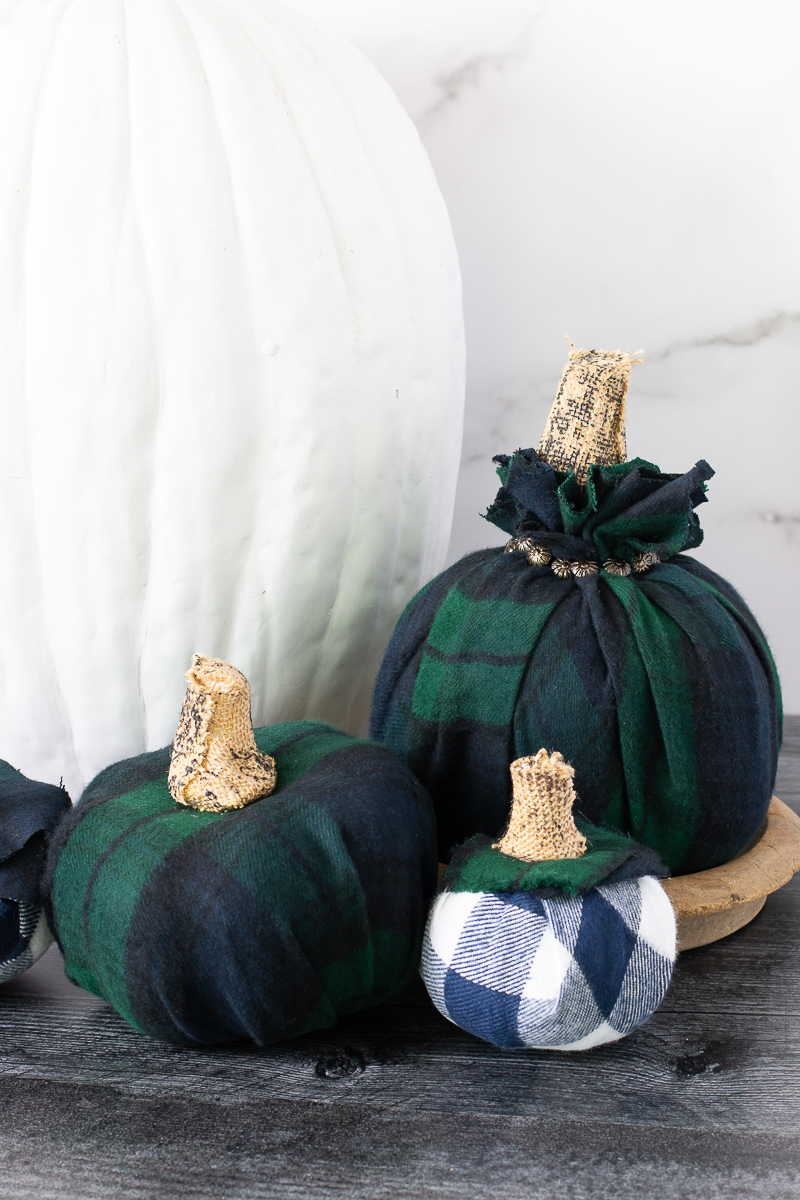
No-sew DIY flannel pumpkins now look fabulous with this no-sew upcycled look with 2 plaid flannel fabrics + a fabulous flannel crafting book! Looking for more FALL IDEAS? Visit my archives! Latest from OSH No-Sew DIY Flannel Pumpkins Instead of our typical thrift store post this month, we are celebrating one of our very own…
Welcome back to another Inspiration Monday Party! We are so glad you are joining us today! It’s already August which means it’s time to start thinking back to school. I found some great ideas to help you prepare for the big transition! This week’s features were chosen by Laura from Inspiration for Moms (who is…
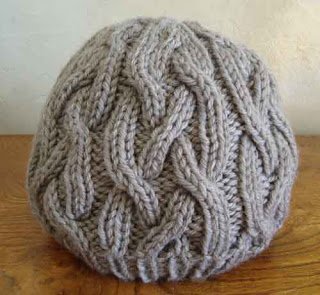
This will be my very first knitting post to my new blog!!!! I just love Sweater Babe!!! I have been following this site for about a year now. The patterns are just beautiful! I will start sharing her monthly pattern with you, but please head over and sign up for her newsletter. This includes a…
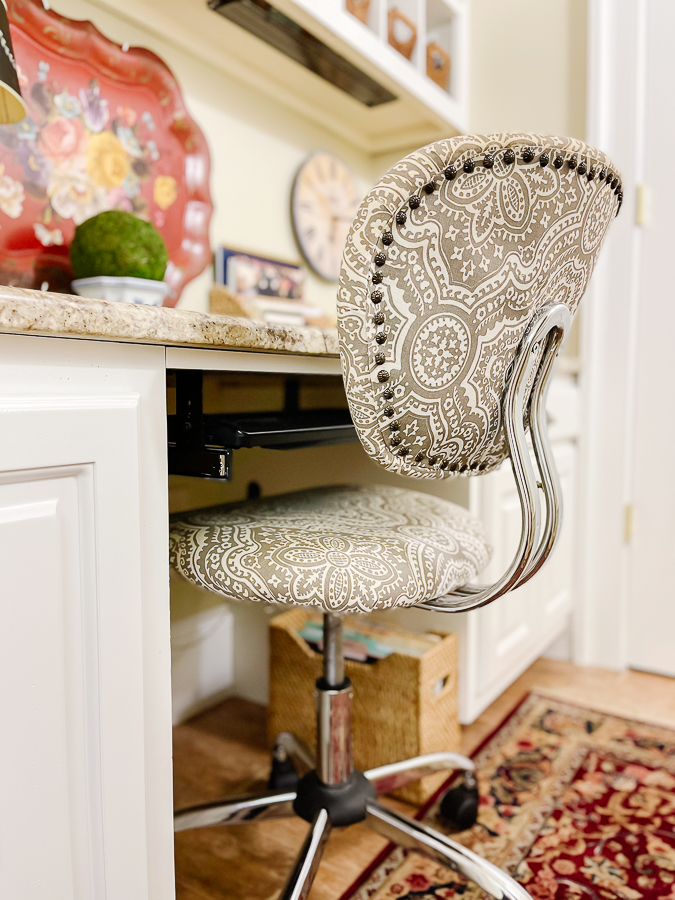
This is the perfect first upholstery project! This office chair hack tutorial is the perfect way to use your own fabrics for a custom look! Latest from OSH This post is sponsored by Wayfair and Porch. All opinions are that of Our Southern Home. Check out my new series: Saturdays on the Porch! I’ll be…
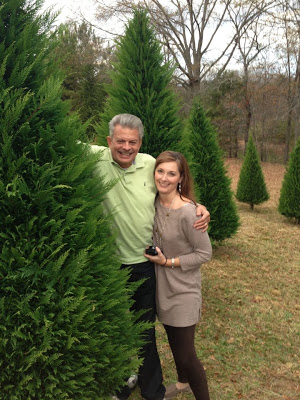
Good Morning!! I hope everyone had a wonderful Thanksgiving! We did not have to travel only going to my parents’ home 10 minutes away! Friday afternoon we went to the Merry Christmas Tree farm to select our Leyland Cyprus tree. It is always such a fun time. I love to get this Cyprus because…
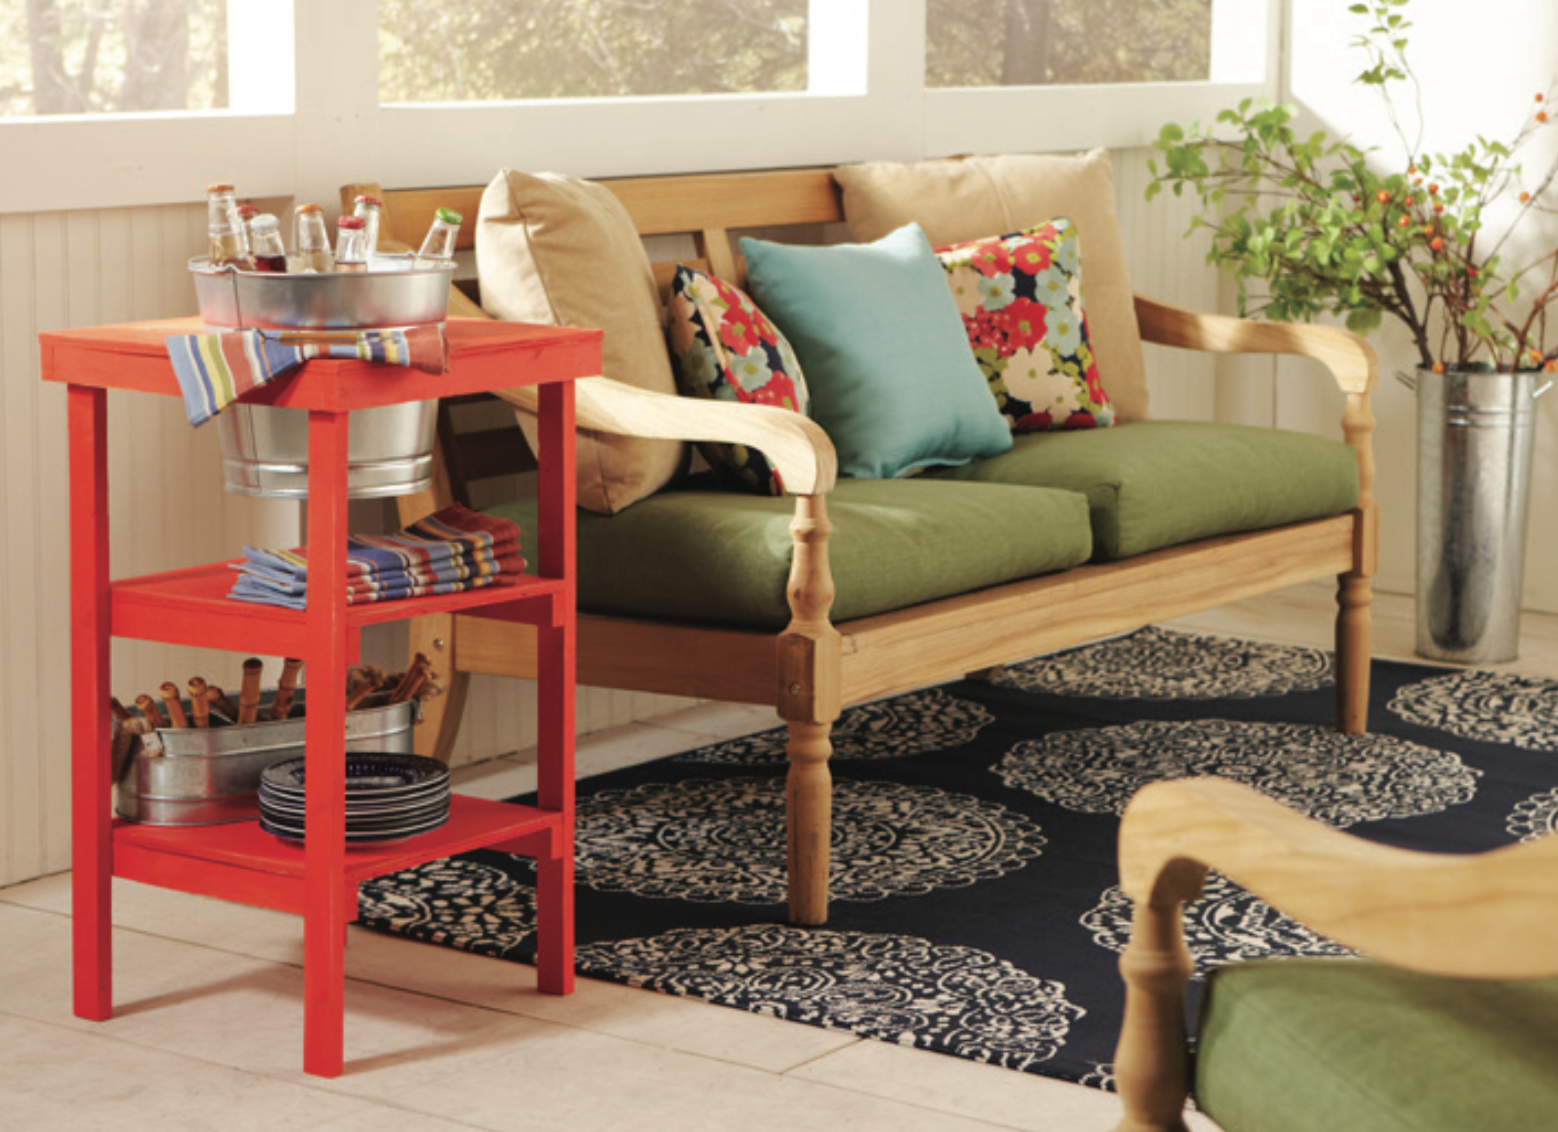
*This post was sponsored by The Home Depot. I was provided compensation for my time. All opinions are mine! More Below!** I am so excited to announce that I am participating in this month’s Home Depot Do-It-Herself Workshop. Have you heard of these? This month the project is ….. DIY BEVERAGE STAND Isn’t this so…
6 Comments
What a pretty table and the best part is you made it look so extravagant and did it without breaking the bank. Those owls are a treasure, good thing they didn’t make it to goodwill!
Christy, what a pretty table setting! Love your wine cork place card holders! You have so many pretty things from the candle holders, to the china,to the vintage book flowers. Very pretty!
We use cookies to ensure that we give you the best experience on our website. If you continue to use this site we will assume that you are happy with it.OkPrivacy policy


What a pretty table and the best part is you made it look so extravagant and did it without breaking the bank. Those owls are a treasure, good thing they didn’t make it to goodwill!
~Lynn
Lynn~ Thanks so much!!!! It was a fun project and loving my heirloom owls!!!
Christy your dining room looks lovely! Thanx for coming to THT!
Thanks bunches, Pamela!
Thanks so very much!!! It was a very fun project! I appreciate you stopping by to visit!
Christy, what a pretty table setting! Love your wine cork place card holders! You have so many pretty things from the candle holders, to the china,to the vintage book flowers. Very pretty!