Office Chair Hack Tutorial
This is the perfect first upholstery project! This office chair hack tutorial is the perfect way to use your own fabrics for a custom look!
Latest from OSH
- How to Restore a Lantern for Outdoor Use
- DIY Thrift Store Decoupage Wastebasket Makeover
- 10 Easy Spring Decor Ideas to Refresh Your Home
- Easy DIY Spring Tulip Basket Front Door Wreath
- Saturdays on the Porch #67
This post is sponsored by Wayfair and Porch. All opinions are that of Our Southern Home.
This post may contain affiliate links. If you purchase something using one of my links, I may earn a small commission from the retailer costing you nothing more. You can read more on my disclosure page.
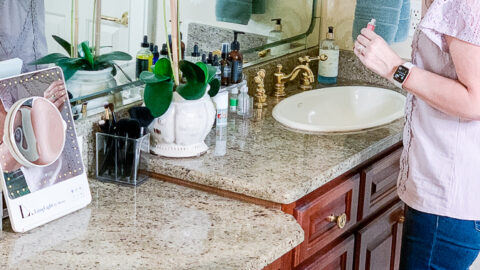
Check out my new series: Saturdays on the Porch! I'll be sharing random thoughts on the week. The first one is all about my DIY manicure, favorite Instagram decor accounts, my new Chico's sponsorship & thoughts on going gray!
Office Chair Hack Tutorial
Squeal! The chair was just featured on this popular blog! You've got to check it out, it's one of my absolute favorites!
This is the perfect first upholstery project! This office chair hack tutorial is the perfect way to use your own fabrics for a custom look! Covering a desk or office chair is easier than it may look! If you can use a stapler then you can do this project! You'll find the complete tutorial plus sources for affordable desk chairs to get started on your project. You can also check out your local thrift store or Facebook marketplace for second-hand chairs to use for this project.
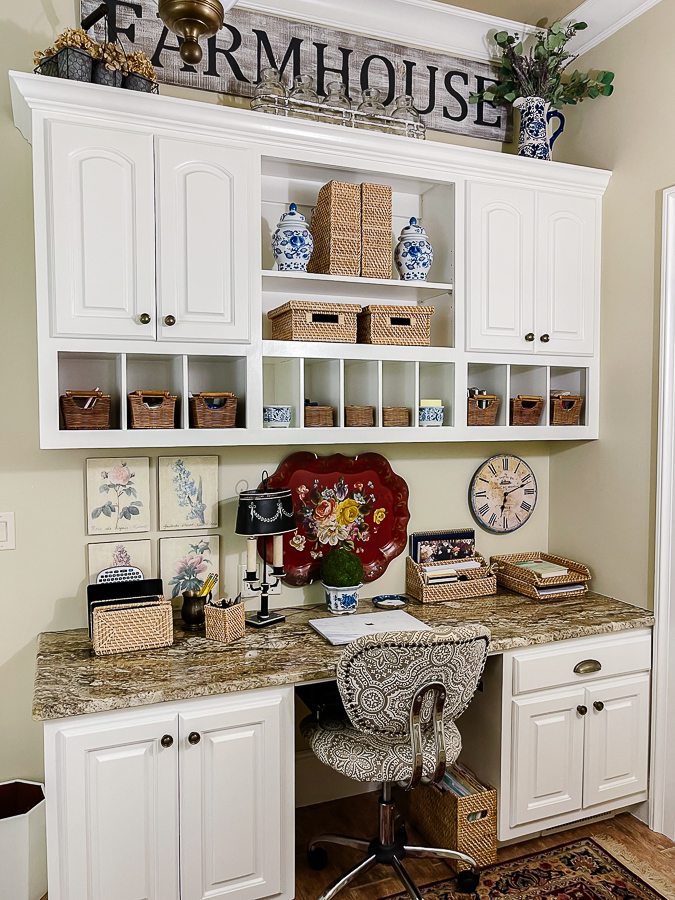
This chair project was completed for my mudroom home office. It just got an organizing update that I am loving.
Our mudroom felt dark with green walls and no windows. It's conveniently located off the kitchen. It is where I work and the kids use the computer for homework.
I started by painting the walls a light neutral. I can't believe how that changed the look! It made the room so much brighter.
My desk chair for the last 10 years has been an upright, small wooden antique chair. Major stiffness after time at the computer.
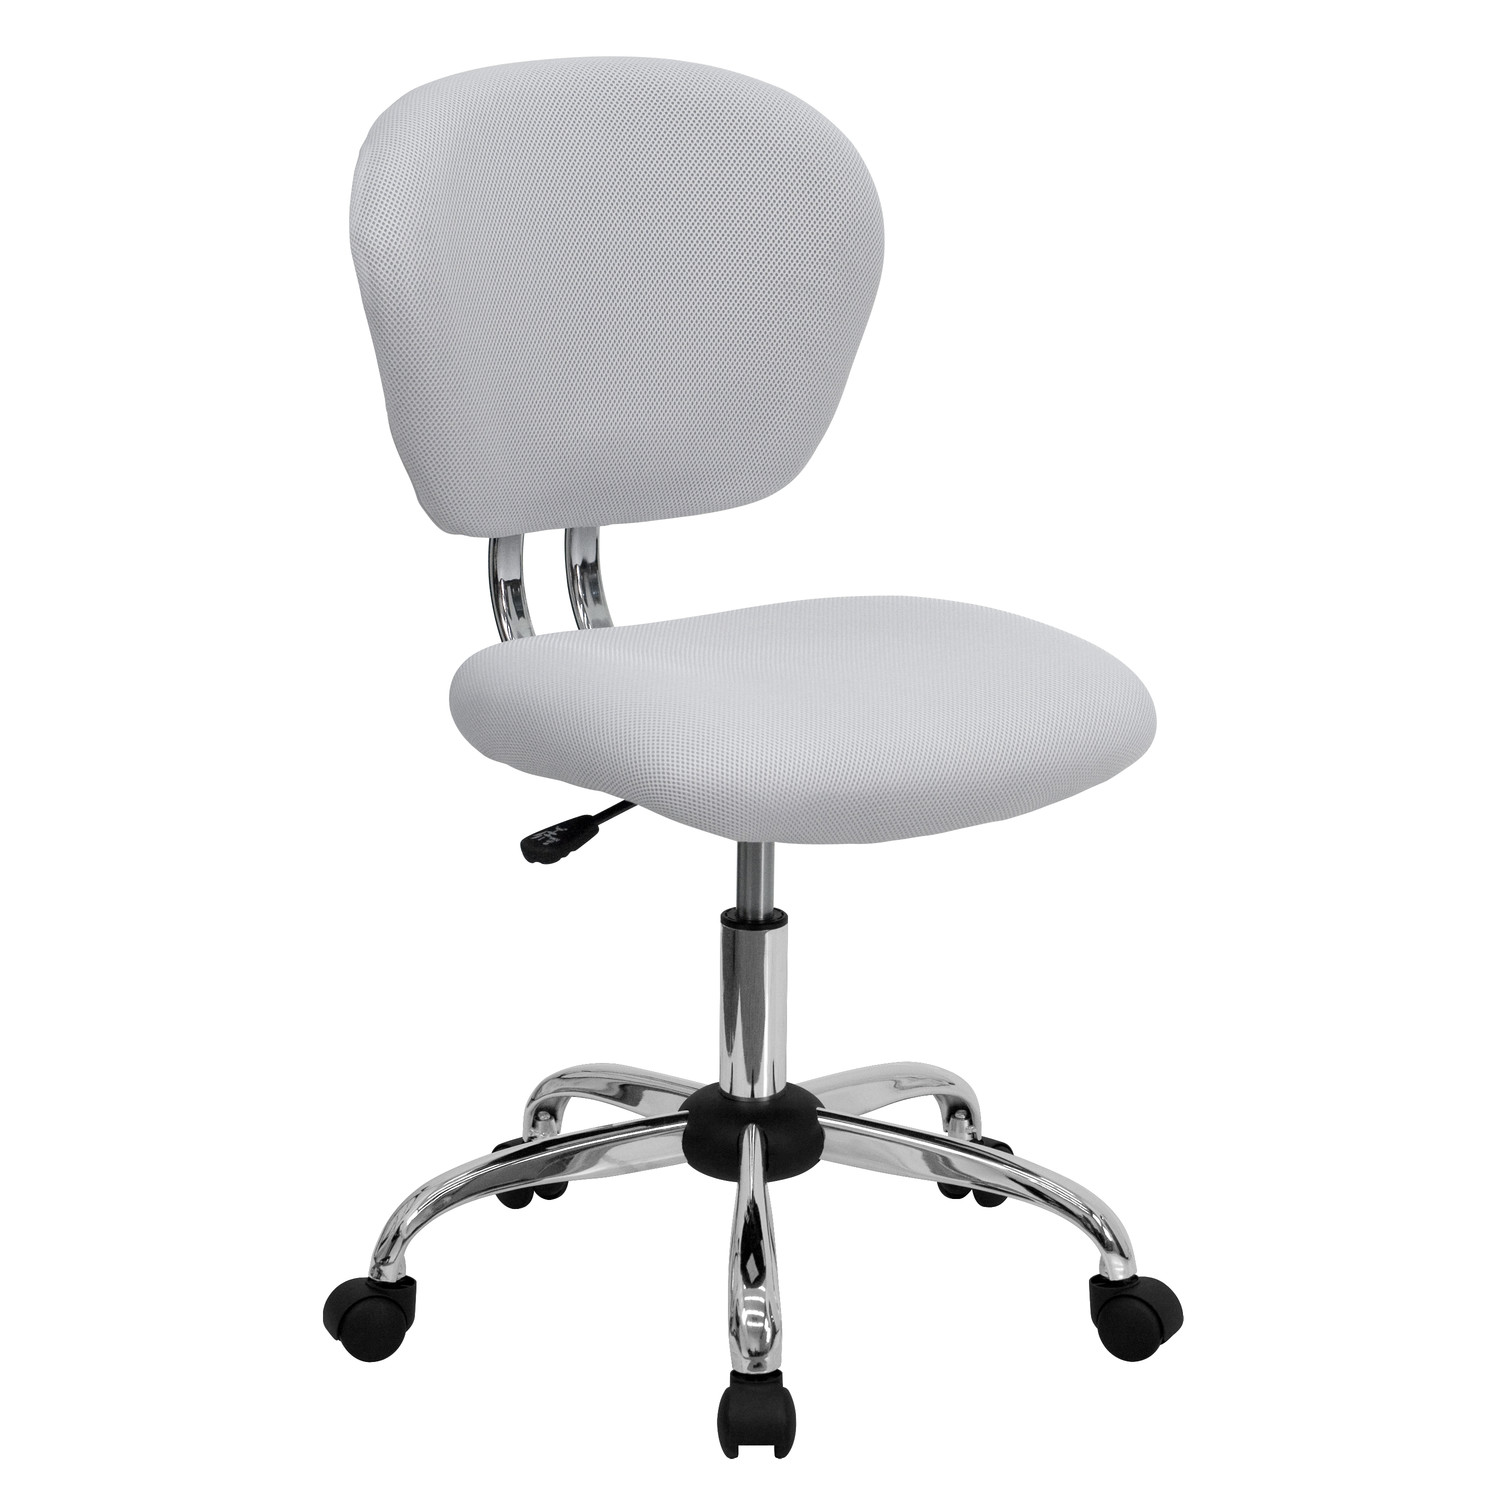
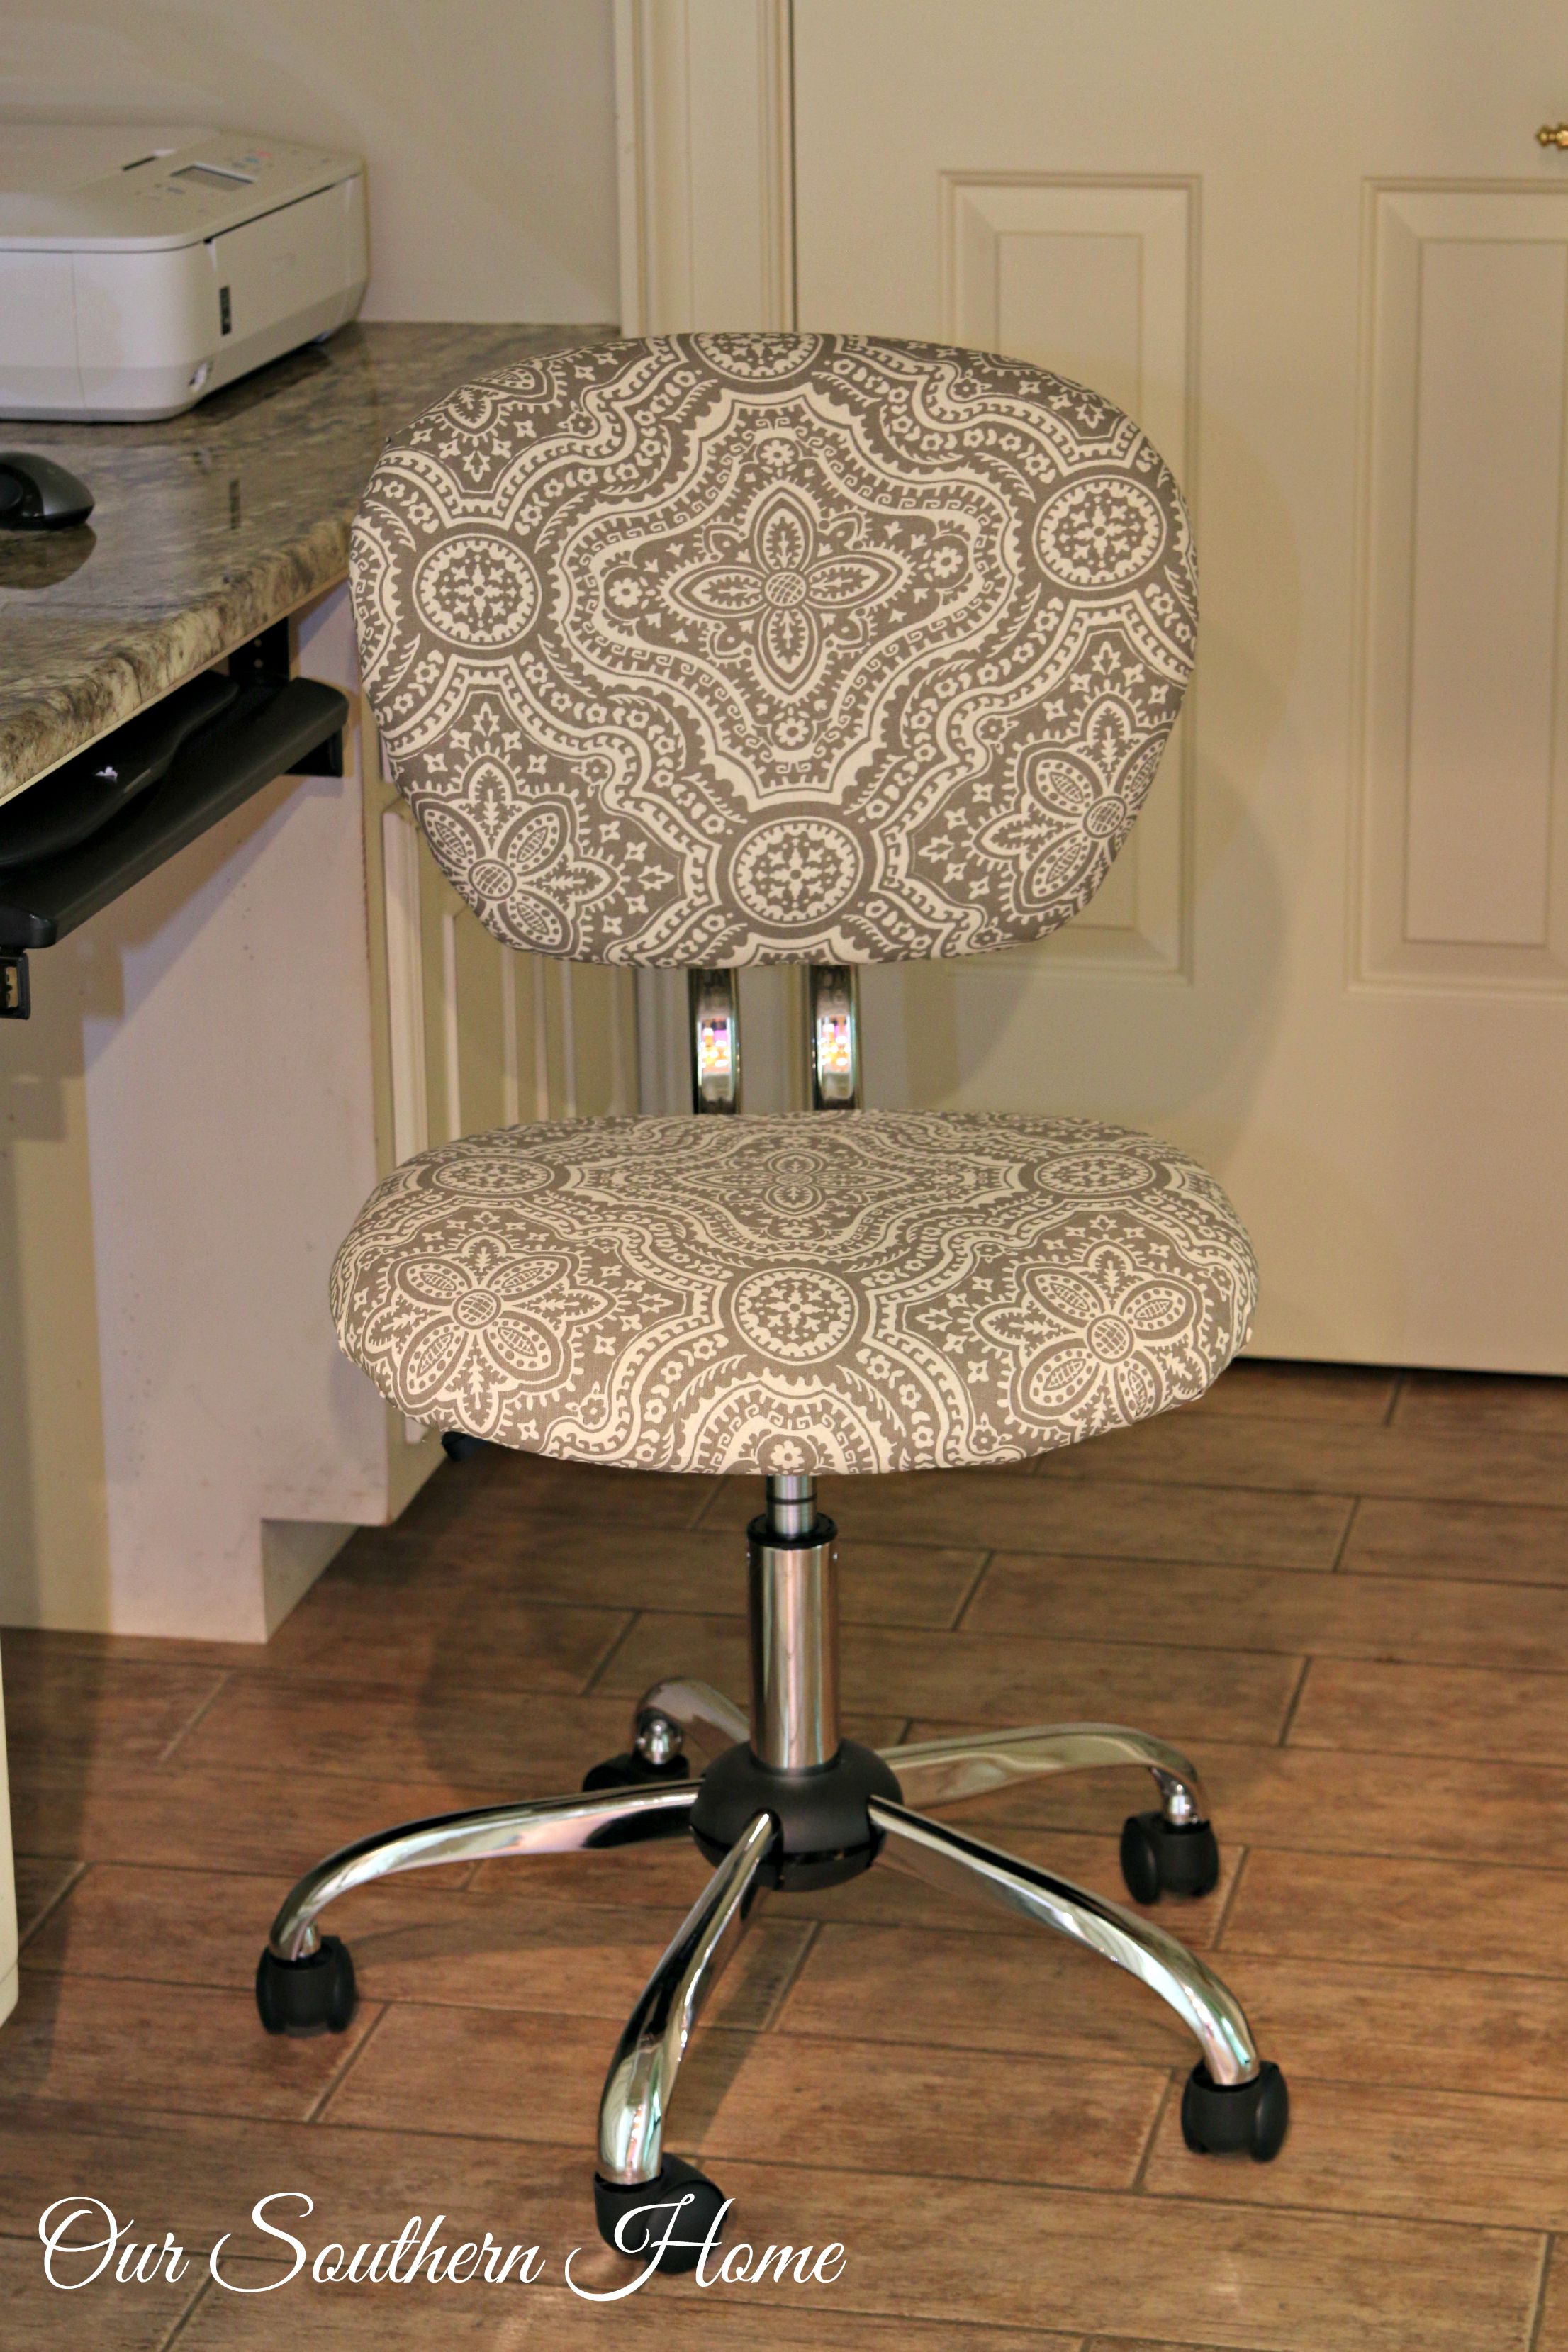
I decided that it was time for a functional and comfortable chair. Quite frankly, I wanted to do a farmhouse makeover in the room, and I didn't feel like any of the fabrics that I was coming across fit the bill. I wanted something with casters to make the workspace more functional and comfortable. I decided to go with this chair from Wayfair. They have a huge selection to choose from HERE. I knew that the fabric would be a simple change for an office chair.
The addition of new fabric really gave me the farmhouse look I was after! Let me share with you how simple it was.
You will need the following for a chair of this type:
- chair
- 1-1/2 yards of fabric (more or less depending on pattern)
- scissors
- pencil
- heavy-duty upholstery stapler/staples
- tools required per chair instructions
- poster board
- adhesive spray mount
- glue gun and glue sticks
- upholstery tacks
- hammer
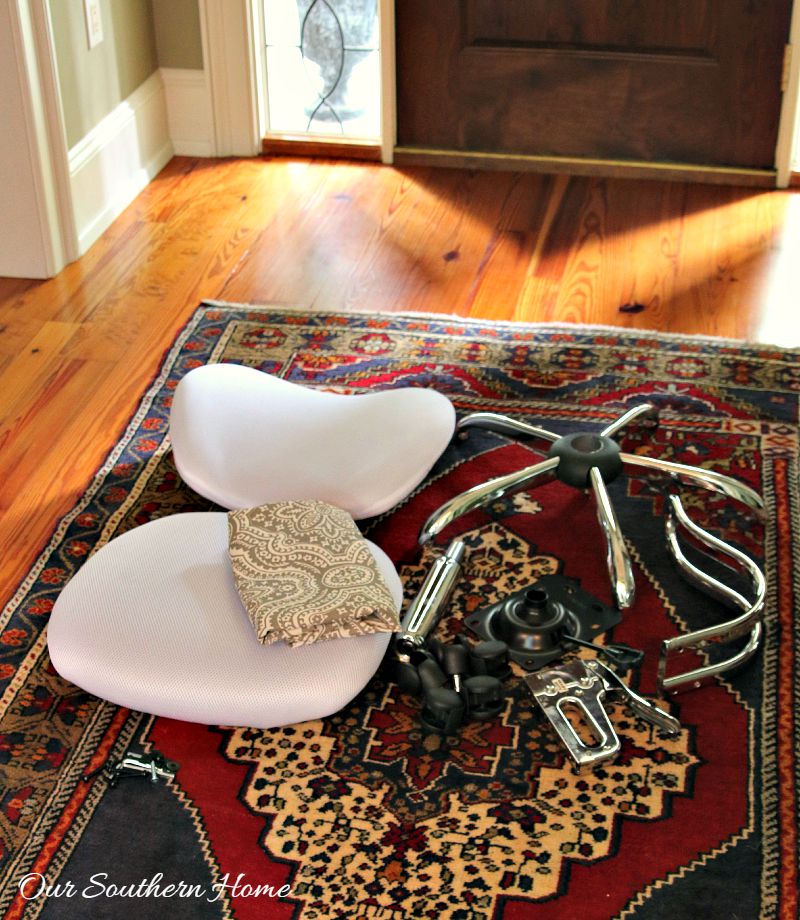
I assembled all chair parts except the seat and back. These were the parts that I would be upholstering. The chair was so quick and easy to assemble.
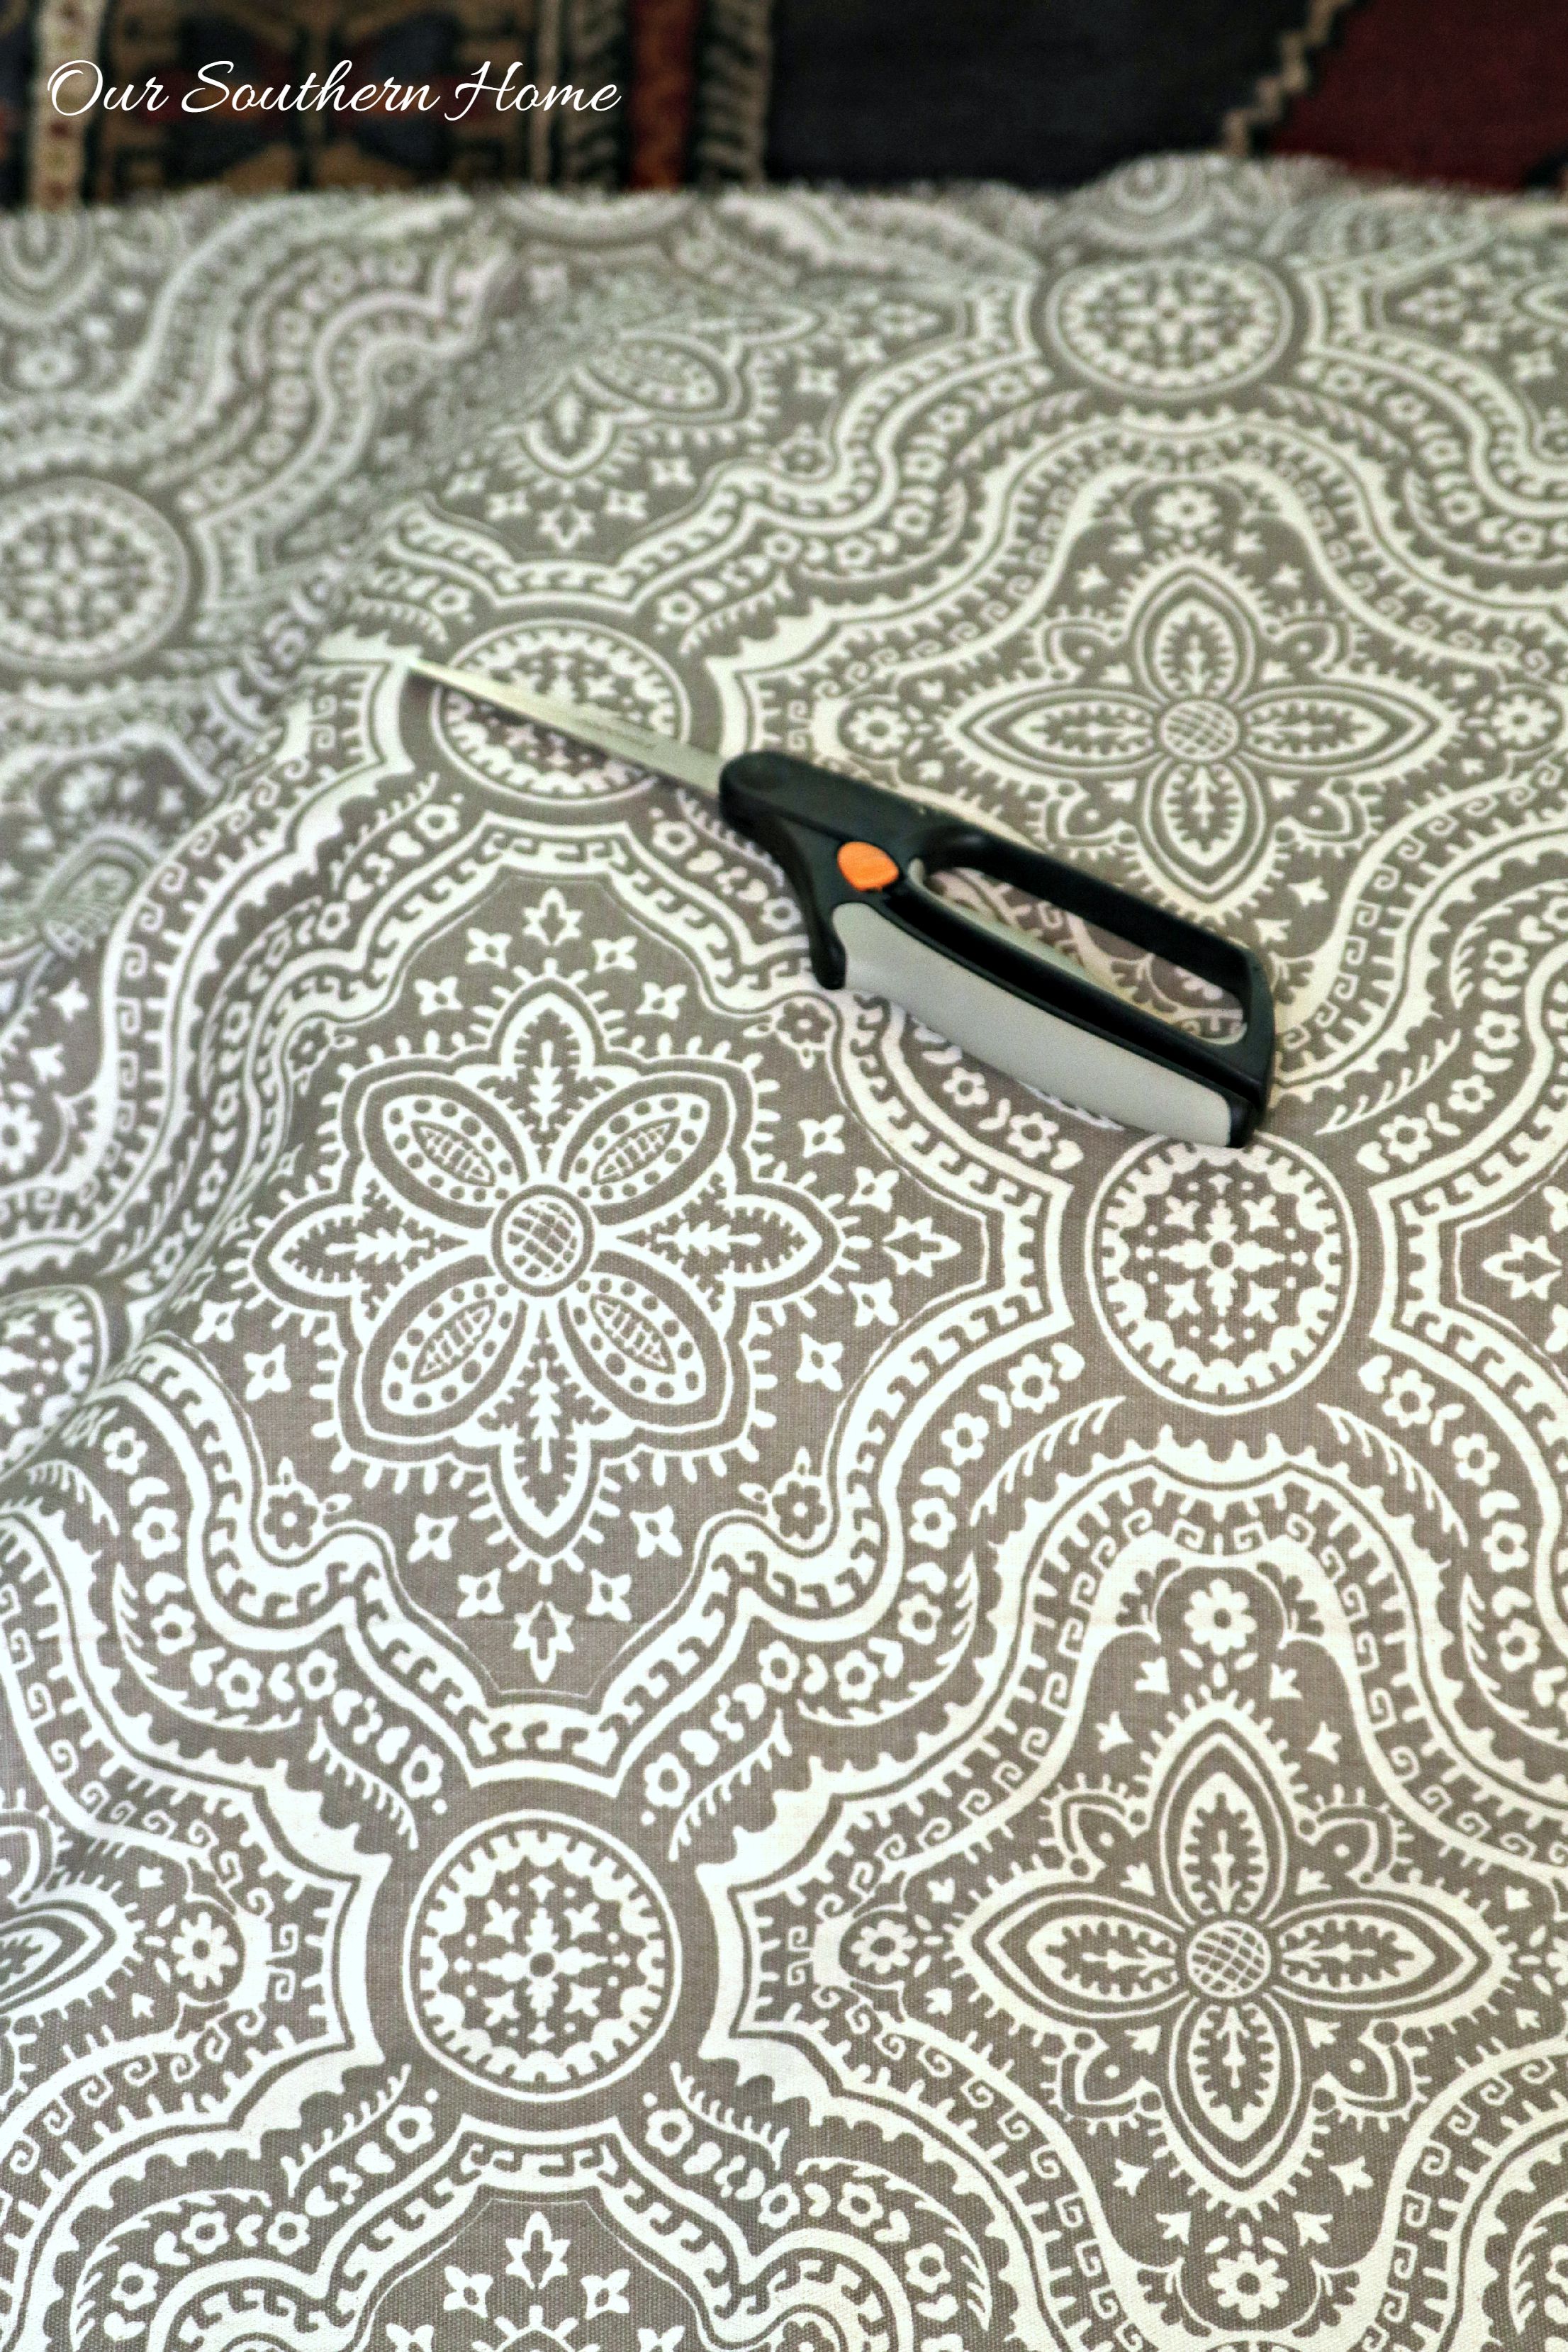
Cut the fabric to fit the seat and back leaving a couple of extra inches all around for stapling.
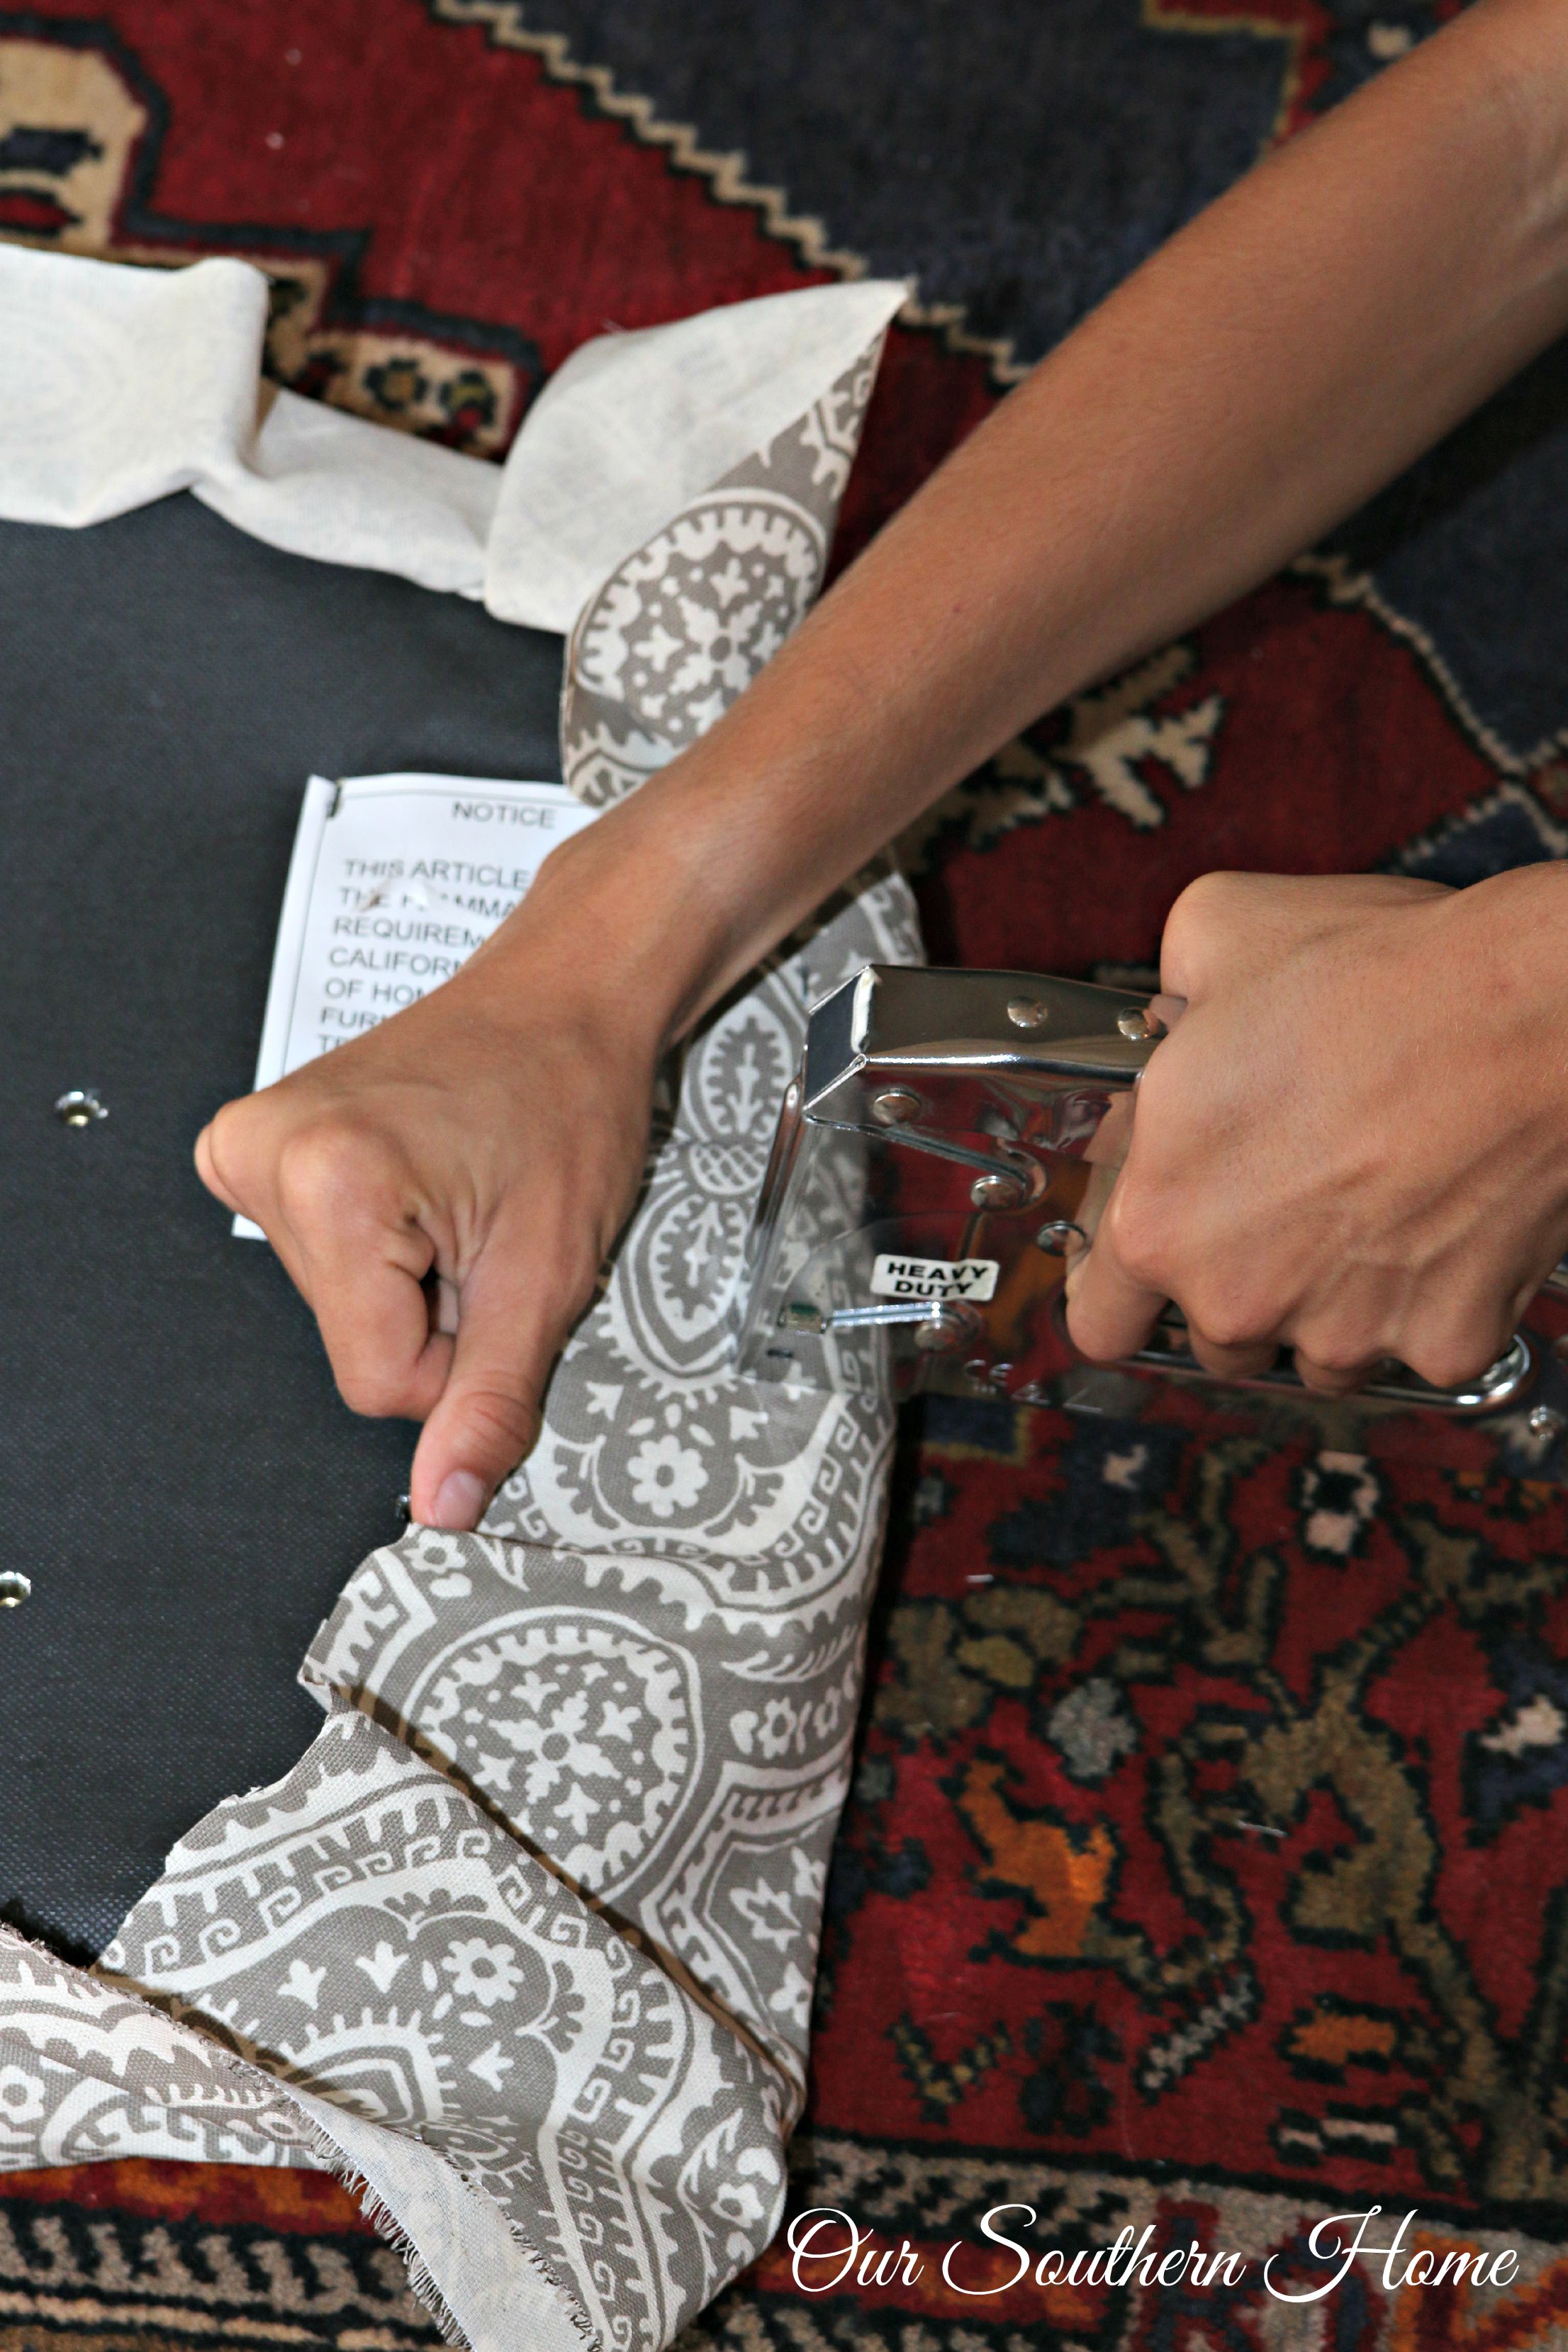
If you use a fabric with a pattern, you may need to make sure it is centered on the seat. Staple the fabric all around the edge of the seat bottom keeping it pulled taut. Do the same for the back rest.
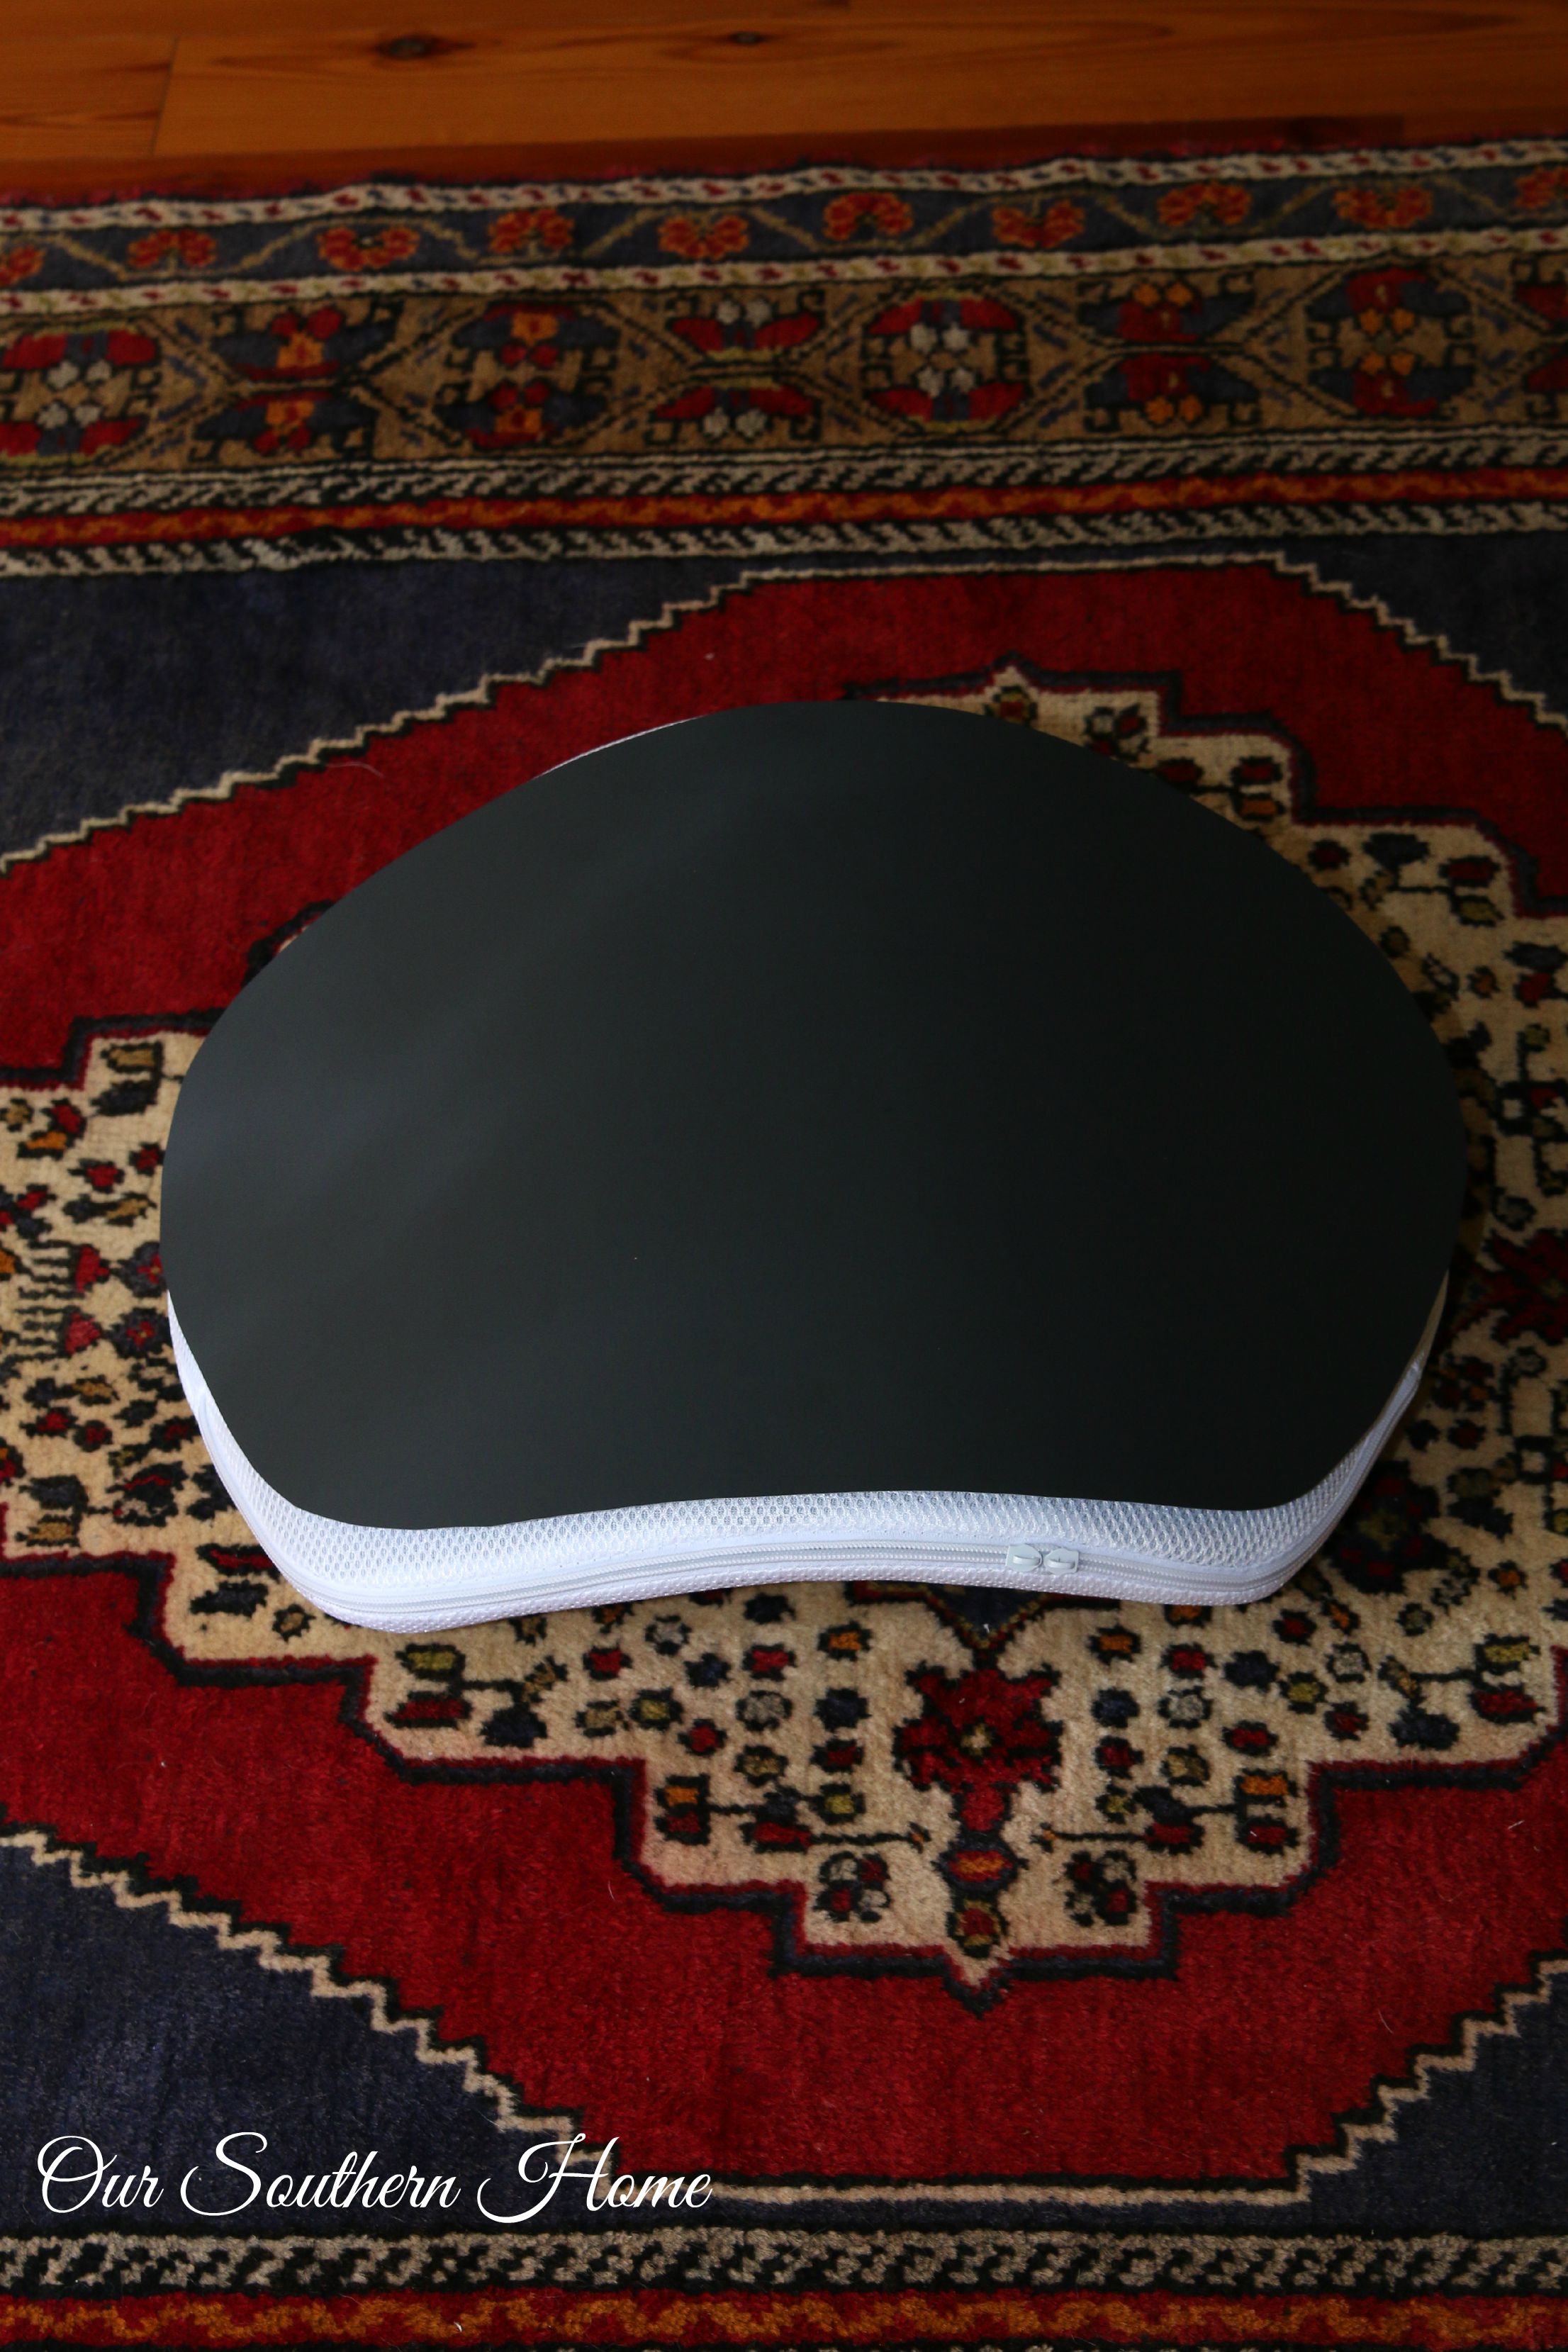
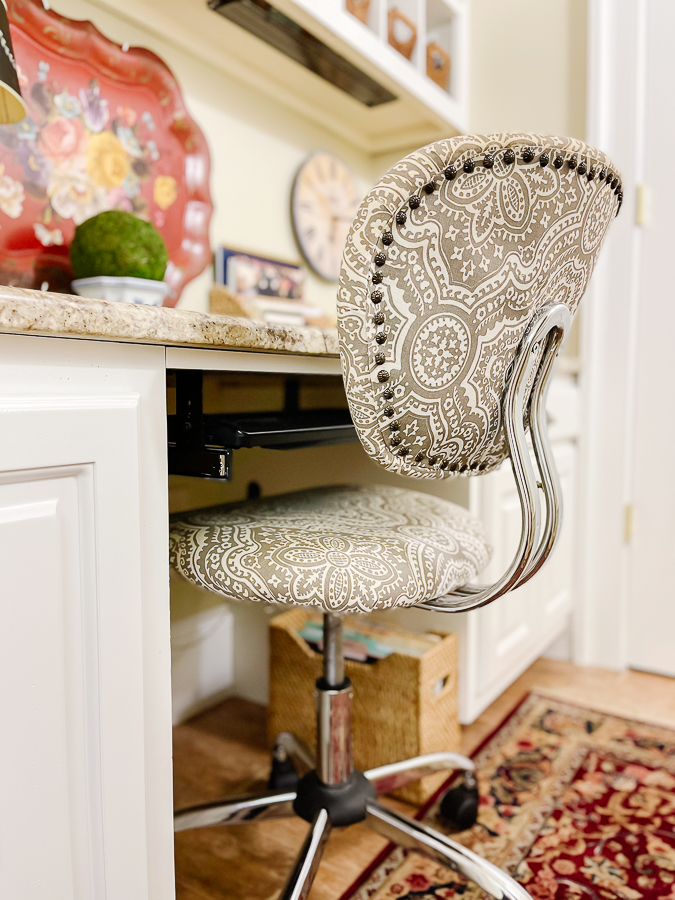
At some point, you will want to trace a pattern for the back of the backrest with your poster board. I had a piece of black so I went with that. It didn't show through the fabric and saved me a trip to the store.
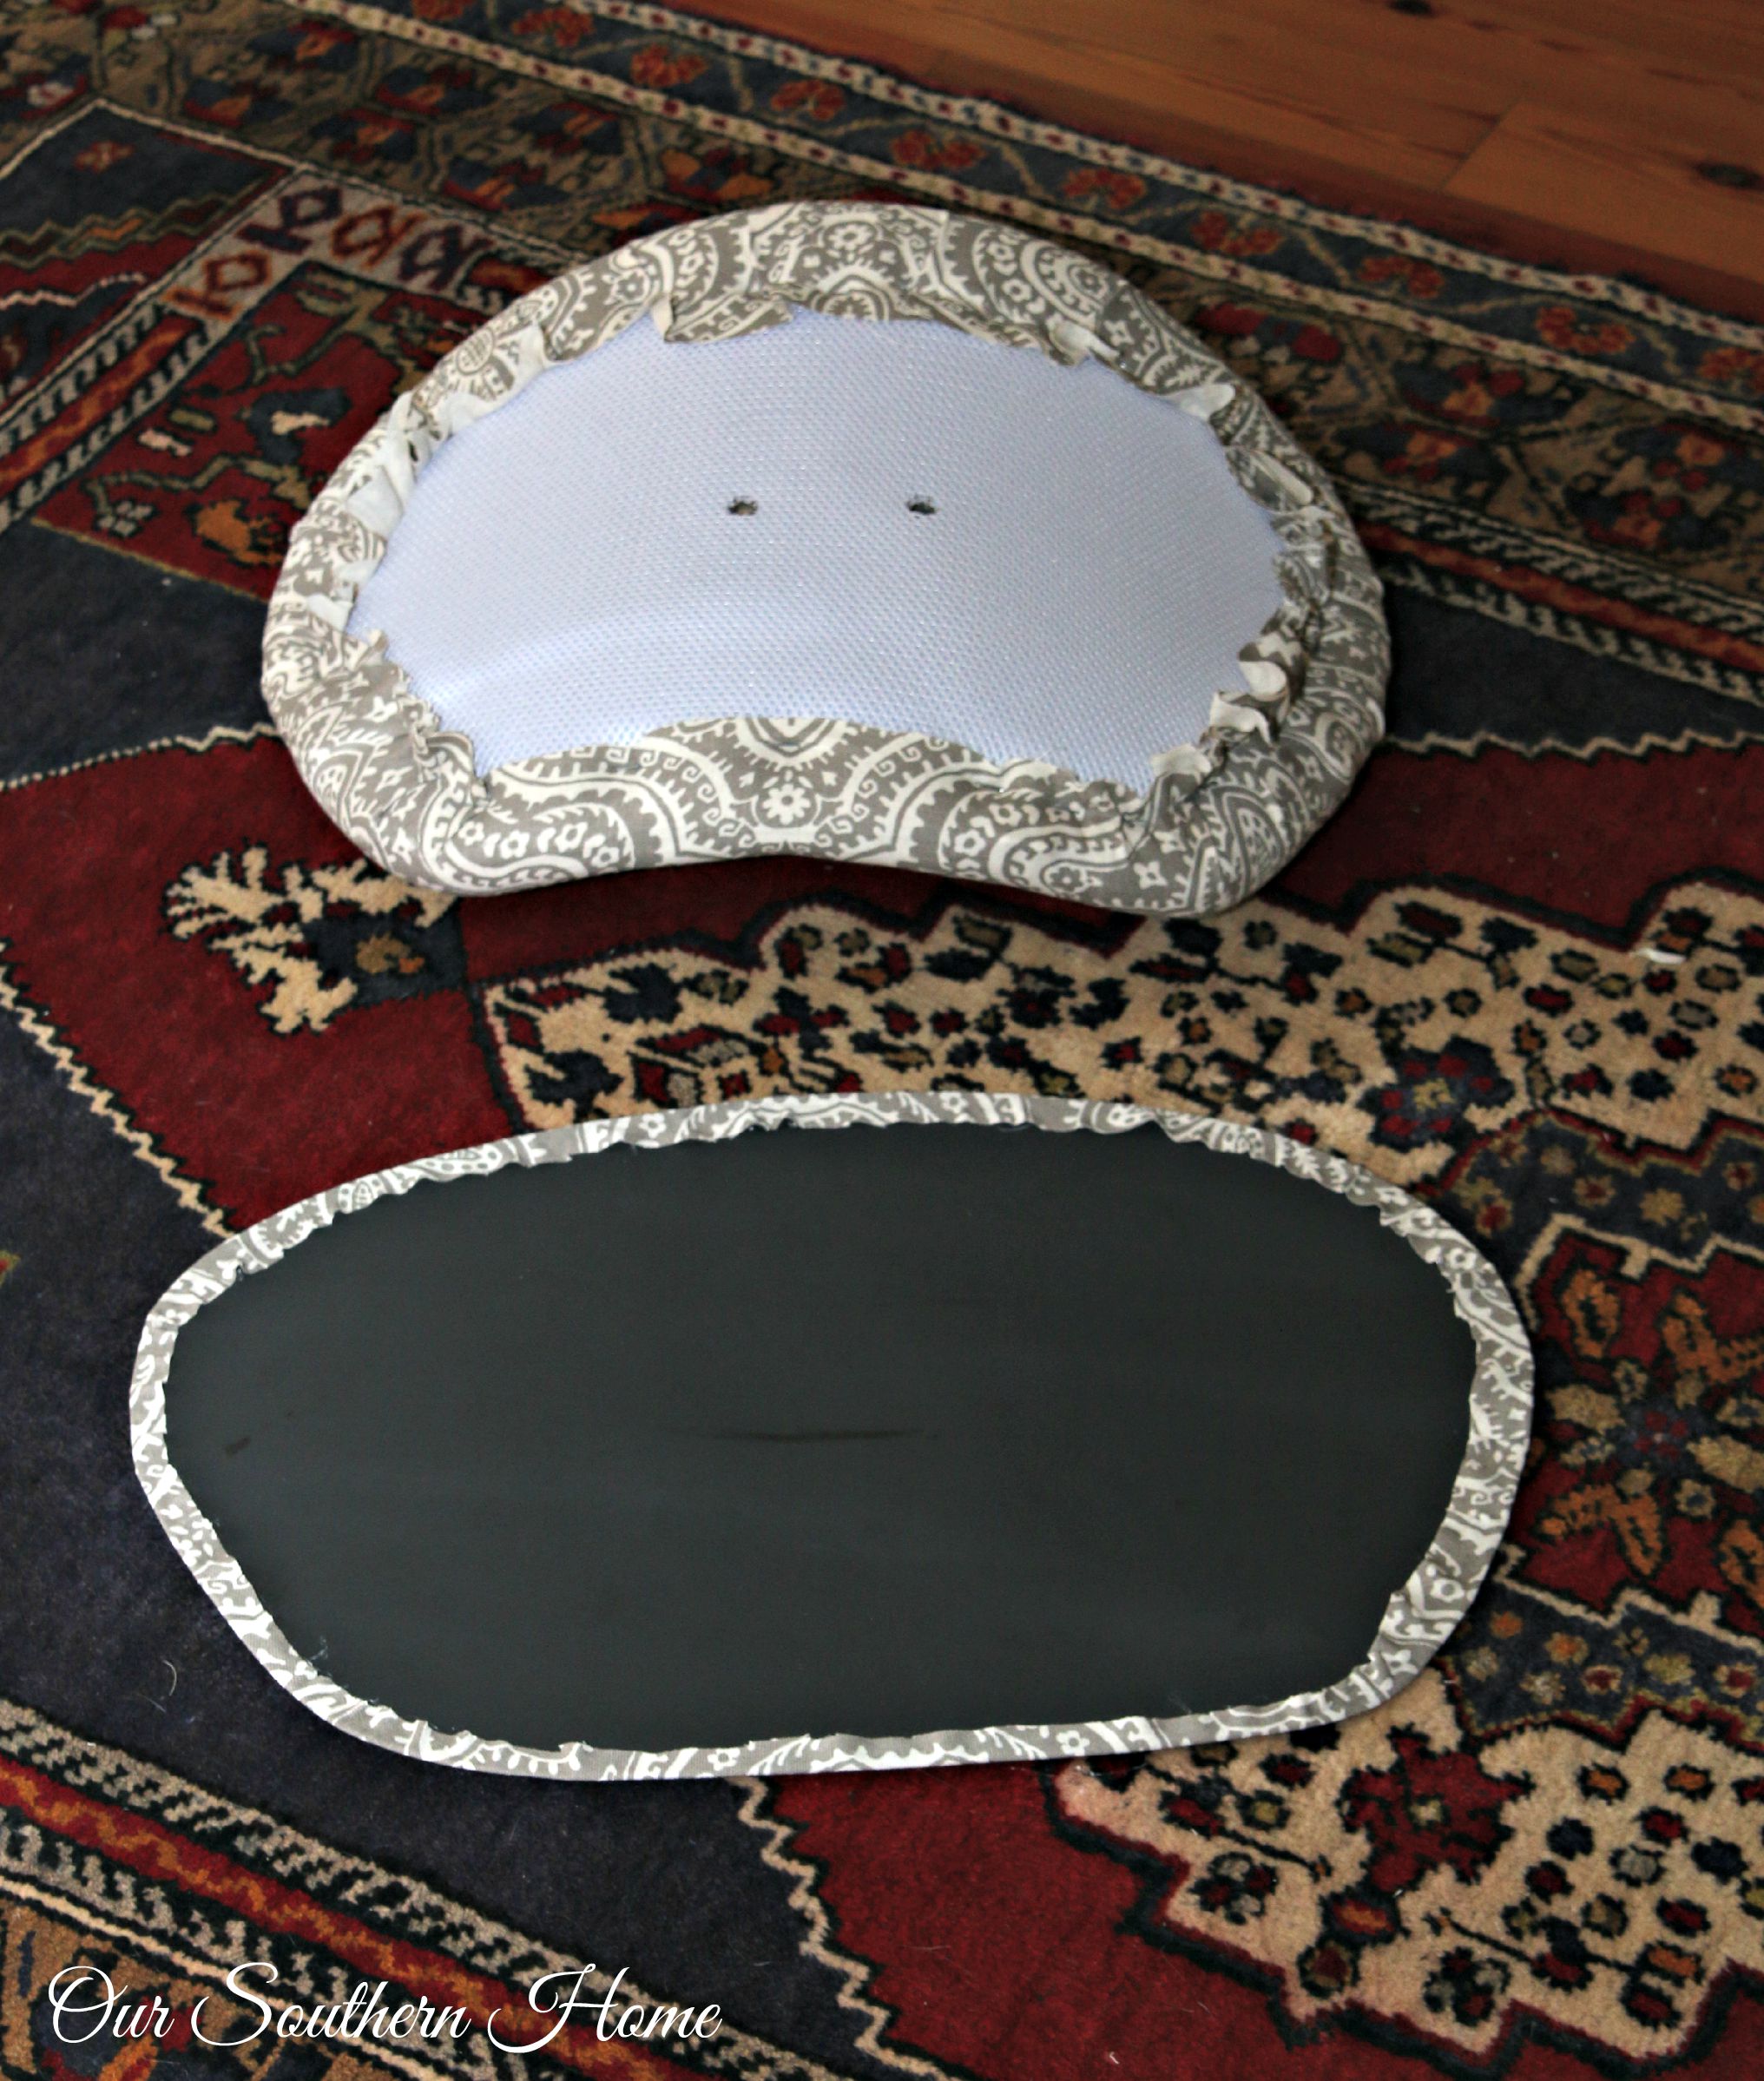
I then cut a piece of fabric for the poster board. I took the board and fabric outside. Spray the board with spray mount. Carefully center the fabric on the board if you have a pattern. Then using hot glue, glue the edges down.
This poster board panel will be adhered to the back of the backrest to hide the stapled area. Use a hammer to nail in upholstery tacks to adhere it to the back.
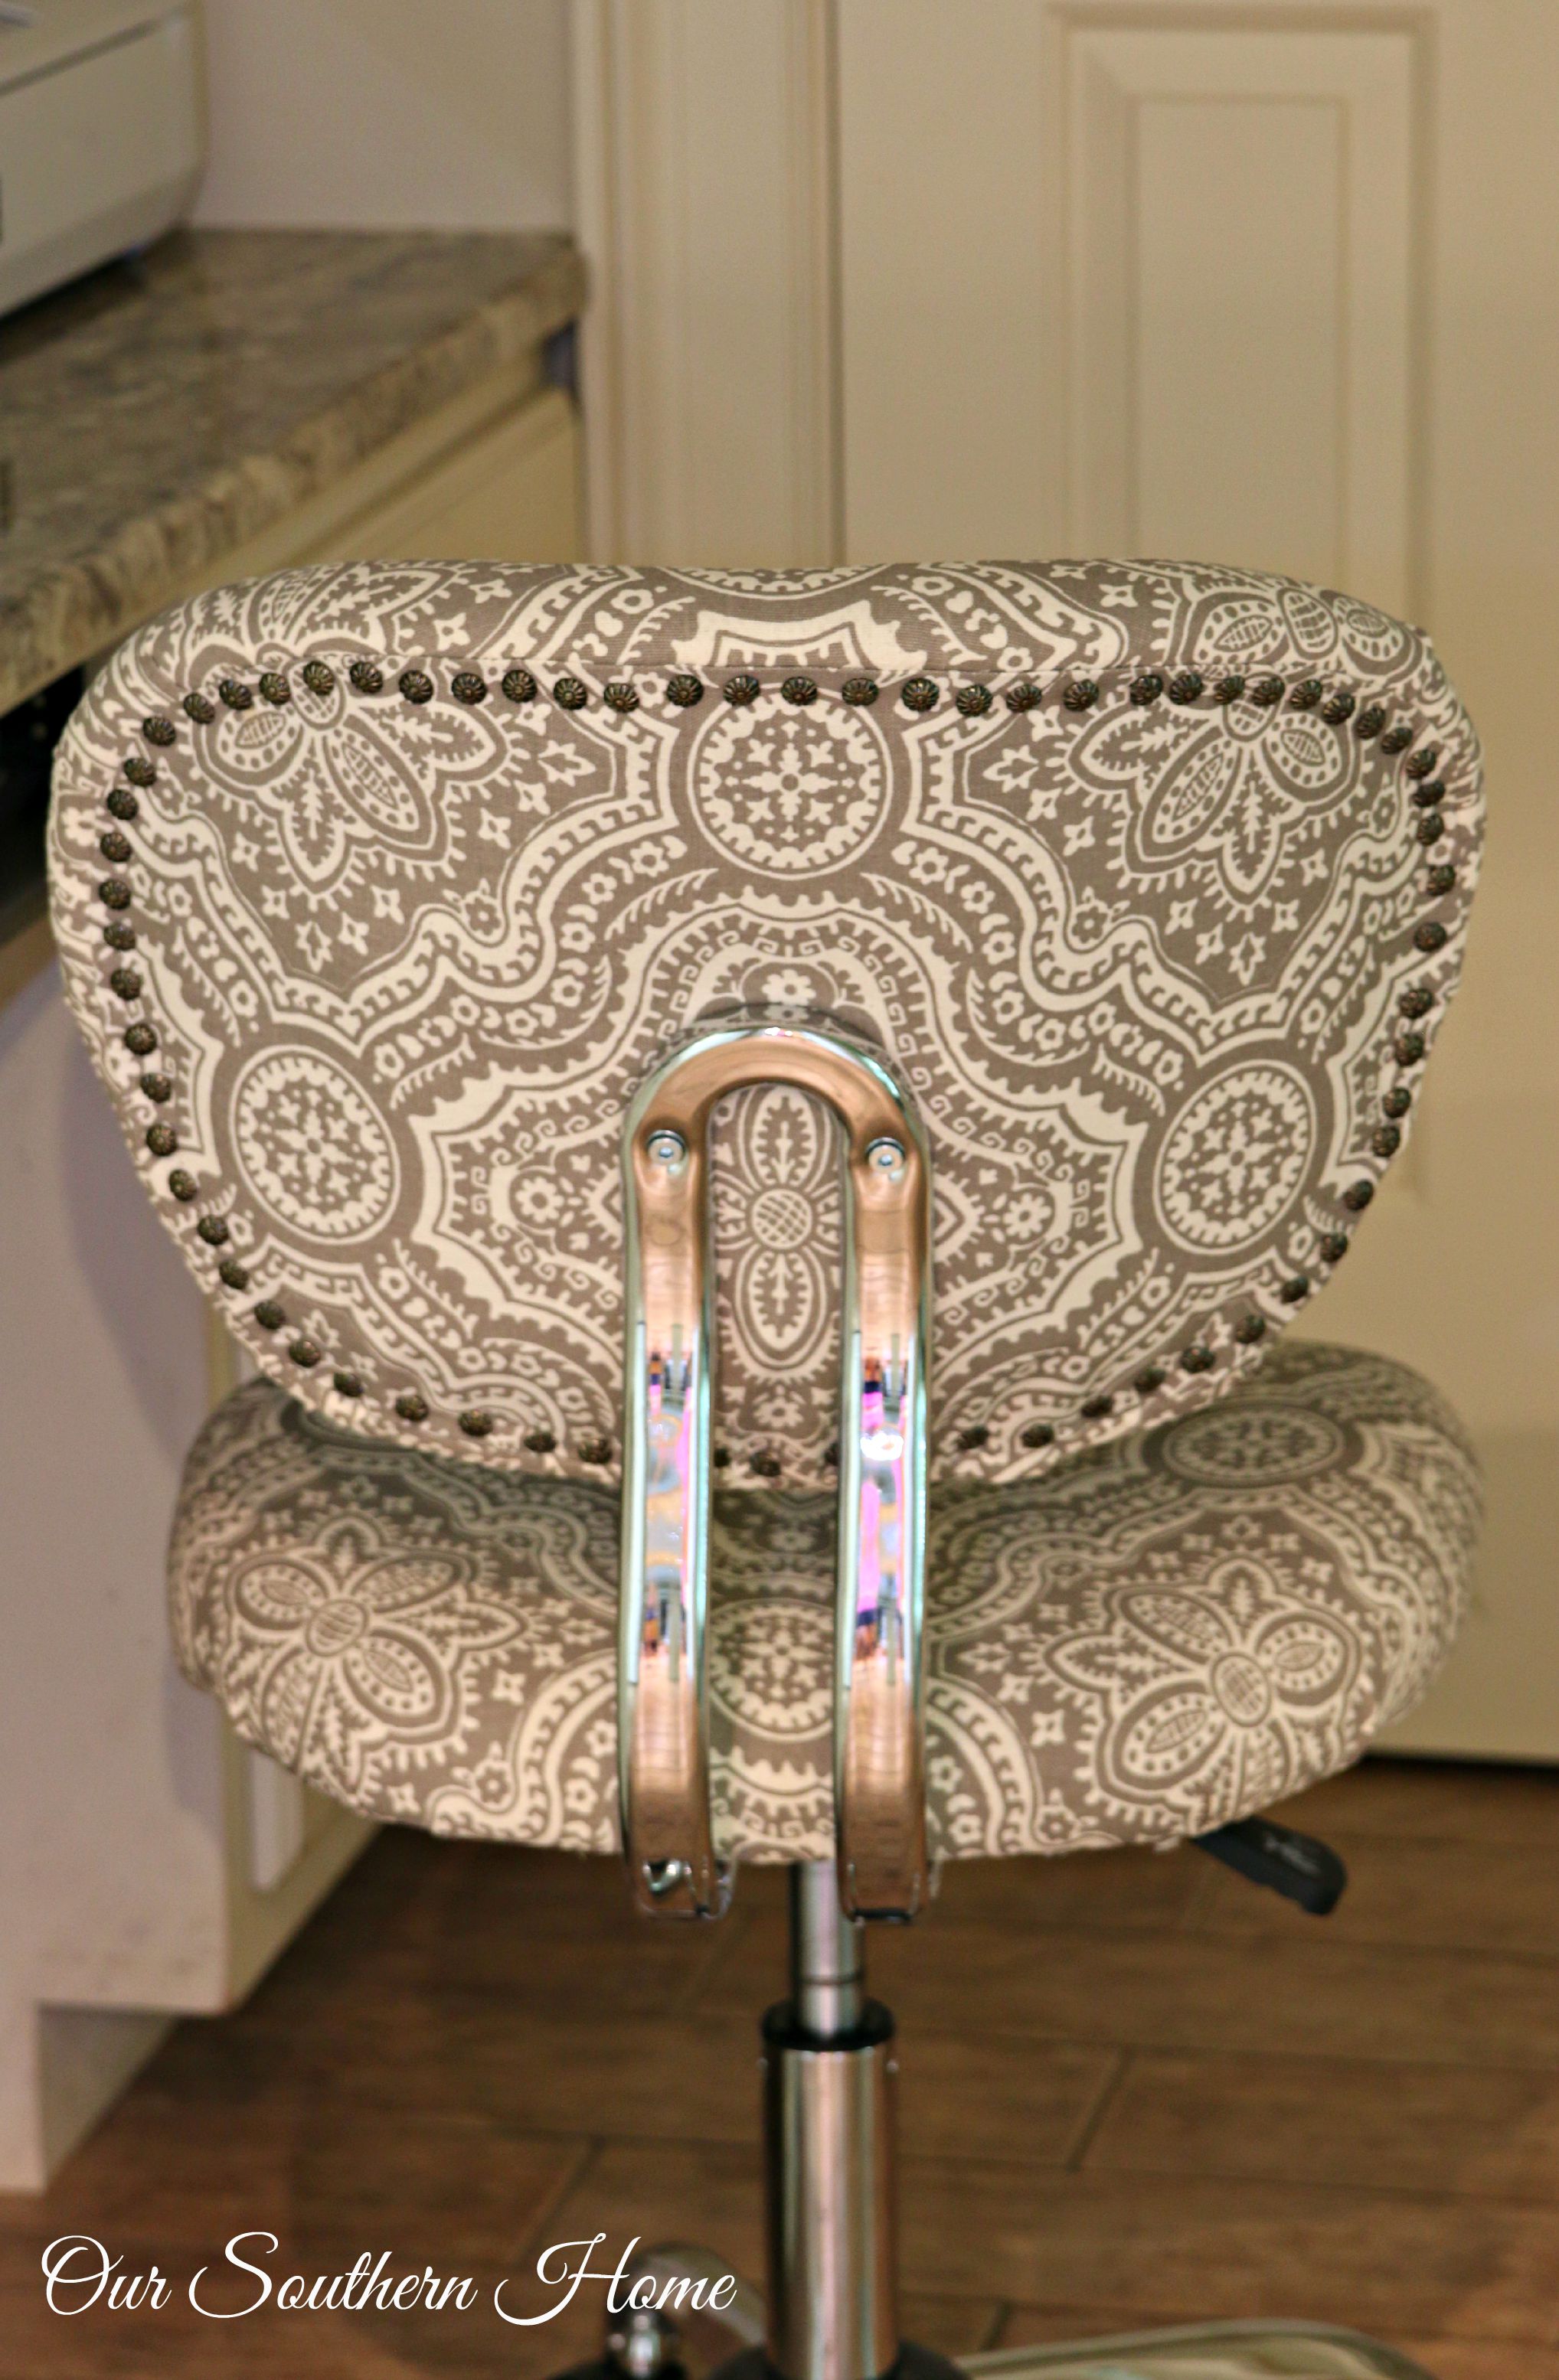
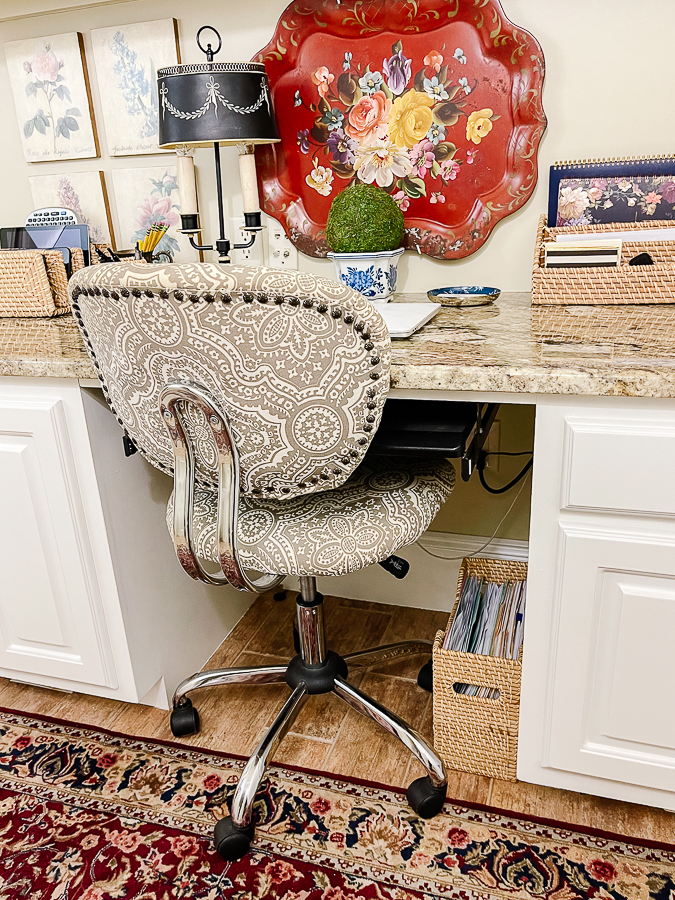
The upholstery tacks really give it a high style look. I am totally in love with the look, comfort and function of this chair now! Complete the assembly and you are done!
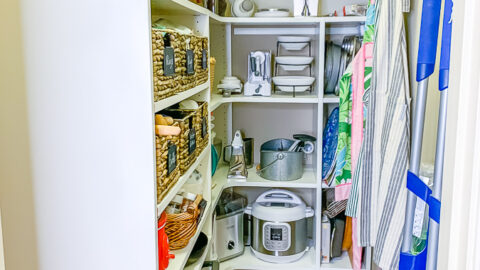
I recently updated this space with new organizing products as well as fresh white paint on the woodwork! You can check it out HERE.
Other DIY Projects in this space!
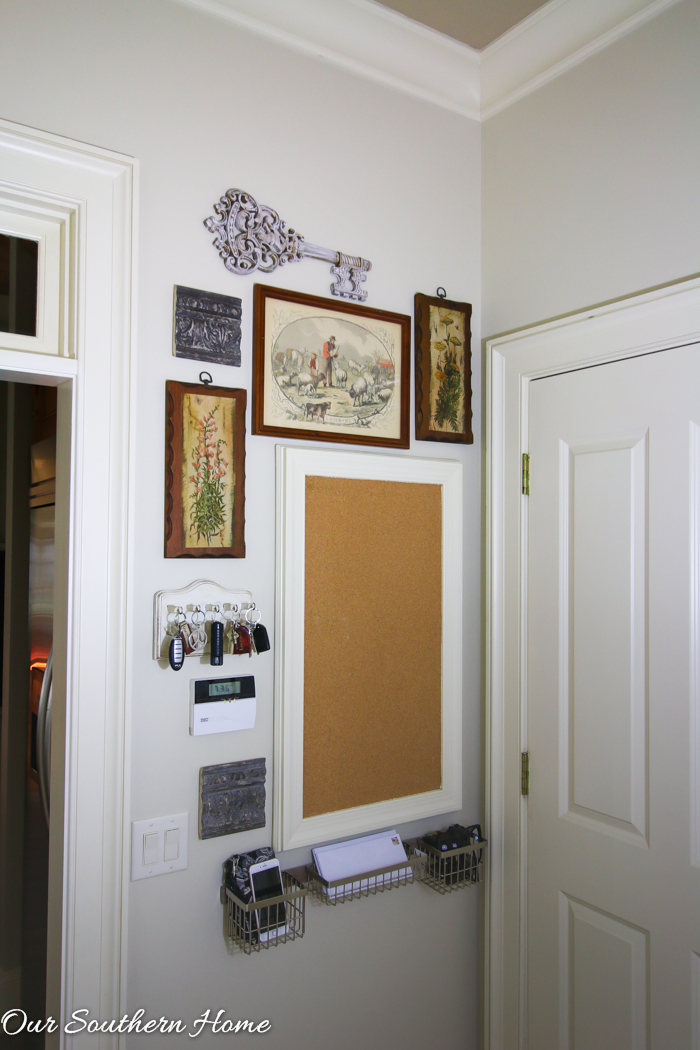
- Thrift Store Botanical Art Makeover
- Organized Home Office
- DIY Farmhouse Sign
- Thrift Store Trash Can Makeover
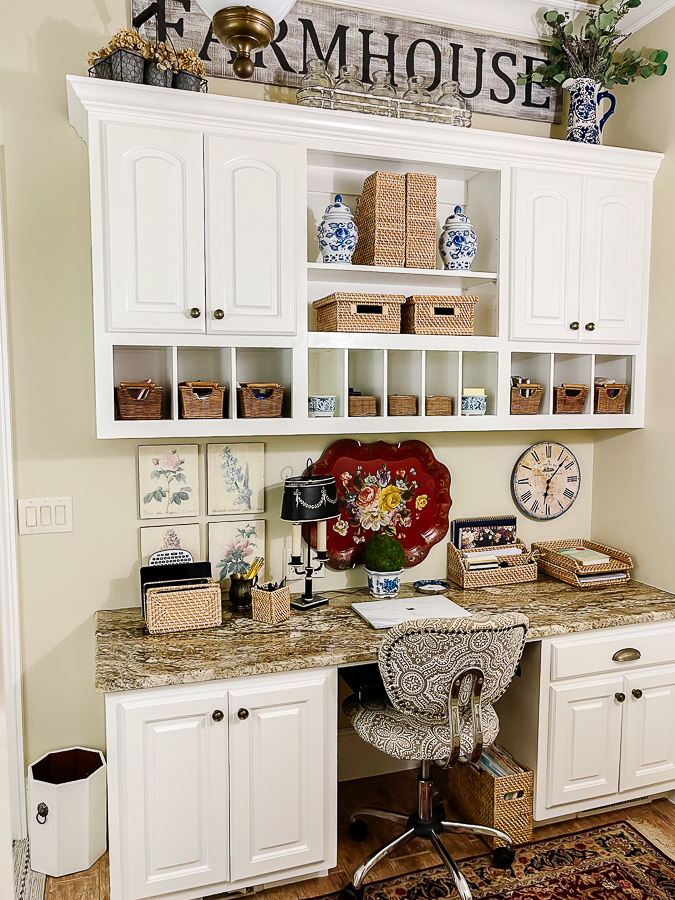
It is just such a calm and serene space to work now.
I'm no longer bothered by the lack of a window. This new office chair has greatly helped my back!


Recent Posts from OSH!
- How to Restore a Lantern for Outdoor Use
- DIY Thrift Store Decoupage Wastebasket Makeover
- 10 Easy Spring Decor Ideas to Refresh Your Home
- Easy DIY Spring Tulip Basket Front Door Wreath
- Saturdays on the Porch #67


Hi and thank you for this hack. I was going to throw my chair away, but now I have a cool project. Hope it’s as easy As it looks!
Great! So glad it was helpful!
Thanks for using our T50 staple gun for this project! It looks great! #MadeWithArrow
I read this tutorial while at work last week then shared it Friday night with the Husbeast. His desk chair, while structurally sound, has need of new seat padding and he’s been lamenting about having to go shopping for a new chair. When I should him the office chair hack tutorial, he got excited and he started verbalizing what I’d been thinking since reading your post, “Babe, we can by some high density seat cushion foam to pad the seat and would you cover the chair in fabric for me?” I beamed. I have the perfect upholstery fabric for his hair already in my fabric stash (it was going to be a period doublet for him for Ren Fair, but the fabric is too heavy for Texas weather). Can’t wait to get this project started next weekend.
How did your chair turn out!
Love it Christy! It takes this chair from utilitarian to stylish and the upholstery tacks are a fabulous touch too. I noticed the stand, assuming you DIYed, for your monitor. I so could use one of those and it’s been added to my To Do List – thanks for the inspiration.
Love it Christy! The chair fabric is beautiful and that space is amazing!!
xo
Nancy
Awesome hack and tutorial! Would love to do that for my chair too! Great choice of fabric as well.w
Great job on the chair…can you tell me exactly what chair this is from Wayfair? I went to the website, through at least 10 pages and could not find one like yours that has the curved back pipes(!). Not sure what their called but most of the chairs like yours have one piece connecting the seat to the back. I appreciate your help as I need a sewing chair!
I’ve been wanting to redo our “blue” office chair that really was in Hubby’s office before he retired. I’d thought about painting it but if I can dismantle it and put it back together once I cover it with fabric that would be great. Do you think that would work?? Your office looks wonderful.