Vanity Stool Makeover with Chalky Paint
**I am an Americana Decor Blogger. I was compensated with product and payment for this post. All opinions are my own…this product is fabulous!**
Painting furniture makes me happy. I love to see the transformation. I have a mixture of painted and stained furnishings in our home.
I am loving how my vanity stool makeover with Americana Decor Chalky Finish Paint turned out. This was my first time painting with it, and I really like it!

I purchased this stool at a thrift store for $7. I'm embarrassed to say how long it has taken me to getting around to sprucing it up! Vanity stools can be tricky. Many times they are quite rickety and worn. This one was in excellent shape. The fabric has seen better days and the light wood didn't go with the stained cabinetry in the bathroom.


These are the products that I chose from Americana Decor. Sometimes with older woods you need to use a stain blocker. I did a test and had no bleed through so I didn't need to use it. I'm sure I'll be using it soon!
This is what I did use in order:
Americana Decor Chalky Finish Paint in Relic
Americana Decor Chalky Finish Paint in Primitive
Americana Decor Chalky Waxing Brush
Americana Decor Chalky Finish Clear Wax
Americana Decor Chalky Finish Dark Wax

I removed the cushion and cleaned the frame really well with just a damp rag. Let it dry thoroughly before painting.

I then painted 1 rough coat of the Relic. It's a nice dark charcoal grey. The ends of the legs are a little rough, but I knew end distressing would take care on most of that. I like to paint things with longer legs upside down for the first coat. It's easier to get all of the underside. When you flip it over, you can hit any missed spots across the tops of the spindles.

I applied 2 coats of the Primitive color on top of the Relic. Let it dry thoroughly in between coats. Then you just take a fine grit piece of sandpaper and distress to desired amount. I was careful with my pressure. Normally, I would intentionally go all the way to the wood. Here I applied light pressure because I wanted the charcoal grey undercoat to show through.

Notice that I have obtained a mix of wood and the charcoal grey showing through.

Waxing can be very intimidating in the traditional paste sense for many. This is so much easier especially for the beginner! At first I was a little taken aback. The wax is a thick liquid, not a paste. You apply very much in the same way as a traditional paste wax minus all the work. It dries quickly so work in small areas. Thanks for this amazing new product Americana Decor!
1. With your wax brush dip it ever so slightly into the clear wax and paint a small area. Then take a clean, lint free rag and wipe with a light touch across to remove the excess. Make sure you do this in the same direction. You're either going horizontally or vertically. This will dry to a nice matte sheen. Once you have applied 1 coat of clear, you can move on to dark. Of course, dark is optional. You can stop at clear. I wanted a more aged, antique look.
2. Apply the dark wax in the same manner as the clear. You are taking off the excess. It's almost like glazing. Let this dry thoroughly.
3. You can leave as is OR take a clean rag or buffing brush and buff to a shine.
I buffed this to a nice slight sheen. There was no waxy stickiness. It was so smooth and strong when dry. It was also much faster to apply than traditional paste waxing methods.

I had leftover fabric from our dining room window treatments so I cut a piece and stapled it on top of the old cushion. I like this for the vanity stool. This stool is used daily by the entire family in our bathroom. Yes, I still have teens that want mom to help with their hair! It will really help hide stains.

Good news! I barely made a dent in any of these products. I still have plenty leftover for other projects!

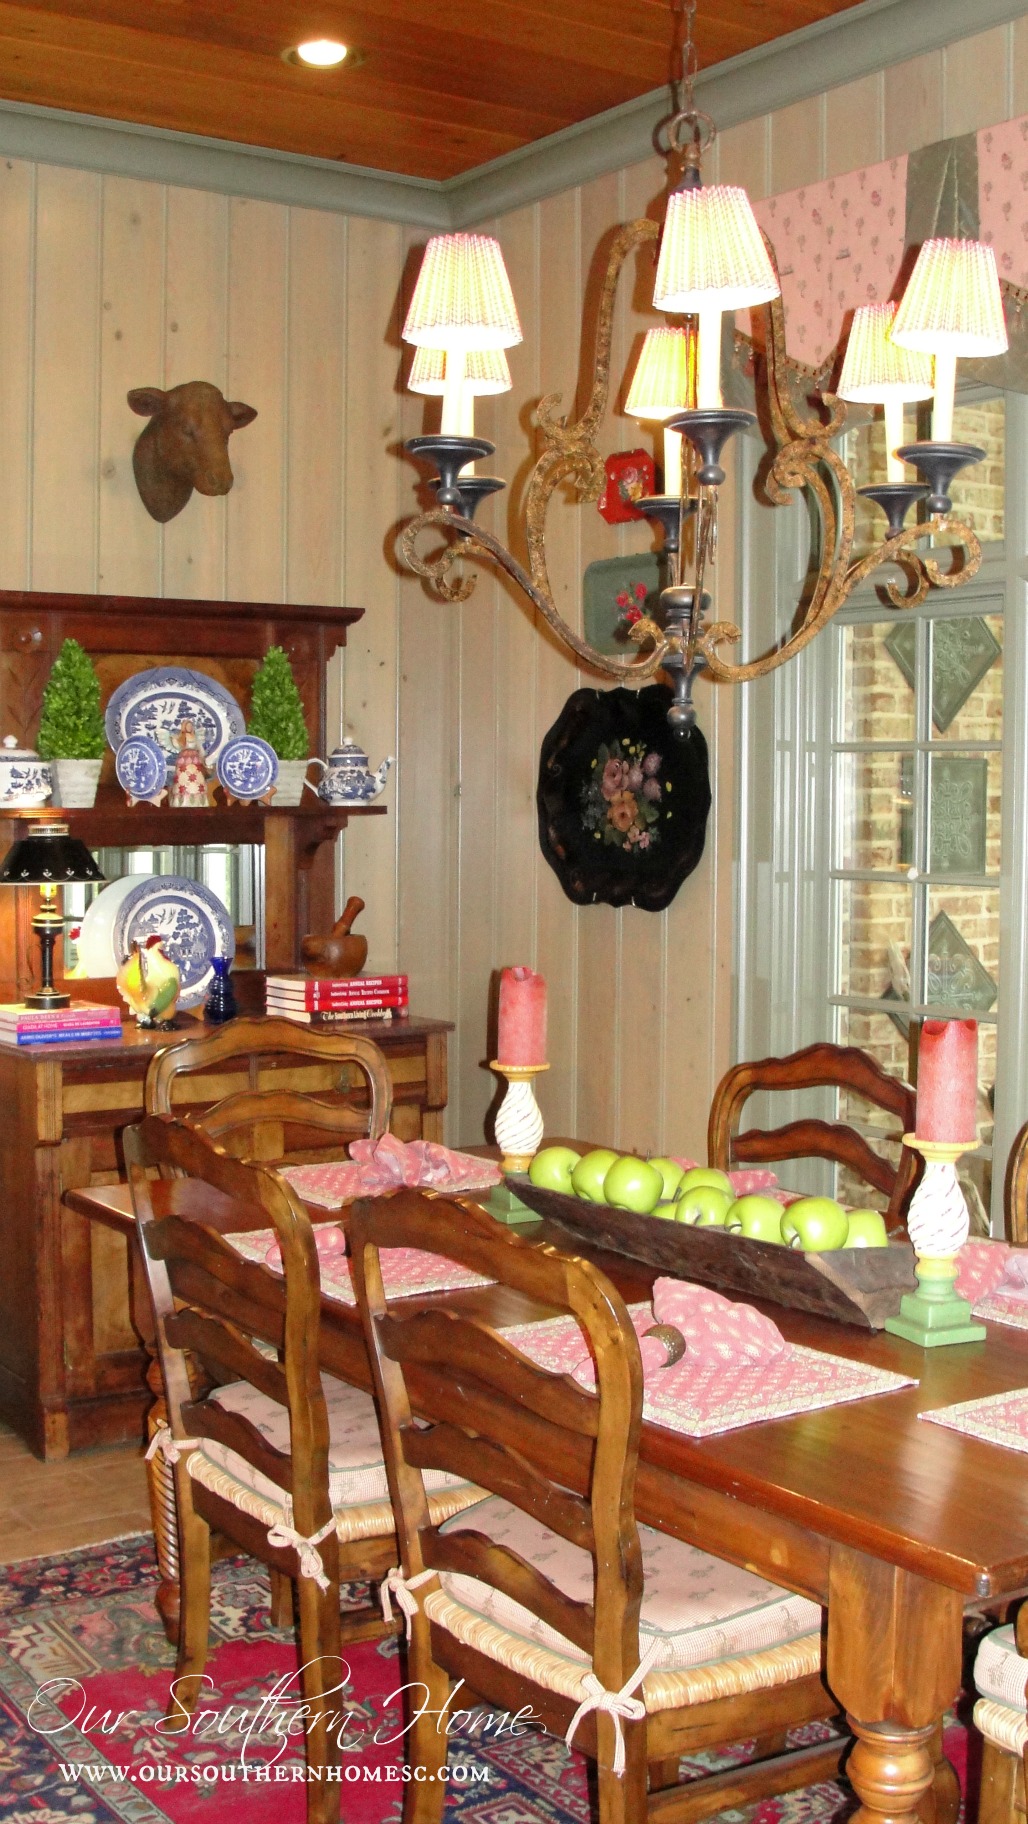
I really like it in our master bath up against the dark stained cabinets. Gives a nice contrast.
The new Americana Decor Chalky Finish paint is now available in Home Depot and Michaels stores. It is also available for purchase online at homedepot.com. Isn't that awesome? It is so affordable and no trekking out to a specialty store to find it!
Visit the DecoArt Chalky Finish website for more information, color choices and a project gallery for inspiration!
Are you ready to paint? I know I'm ready for a new paint project!

Link Parties that OSH parties at on occasion! Sunday: DIY Show Off Monday: Between Naps on the Porch, Home Storis A to Z Tuesday: Not Just A Housewife, The Scoop at Cedar Hill Farmhouse and Inspire Me Party at A Stroll Thru Life, Setting for Four – Project Inspire{d}, My Uncommon Slice of Suburbia Wednesday: Savvy Southern Style Thursday: My Repurposed Life, From My Front Porch to Yours, Home and Garden Thursday at A Delightsome Life ,No Minimalist Here , Imparting Grace Friday: French Country Cottage, Miss Mustard Seed Furniture Friday, Common Ground, The Charm of Home, Rooted in Thyme, Imparting Grace, Keep Calm and Link Up, My Romantic Home – Show and Tell Friday, Craftberry Bush – Inspiration Gallery Friday, SnapCreativity – Show and Tell, Tatertots and Jello
Buffer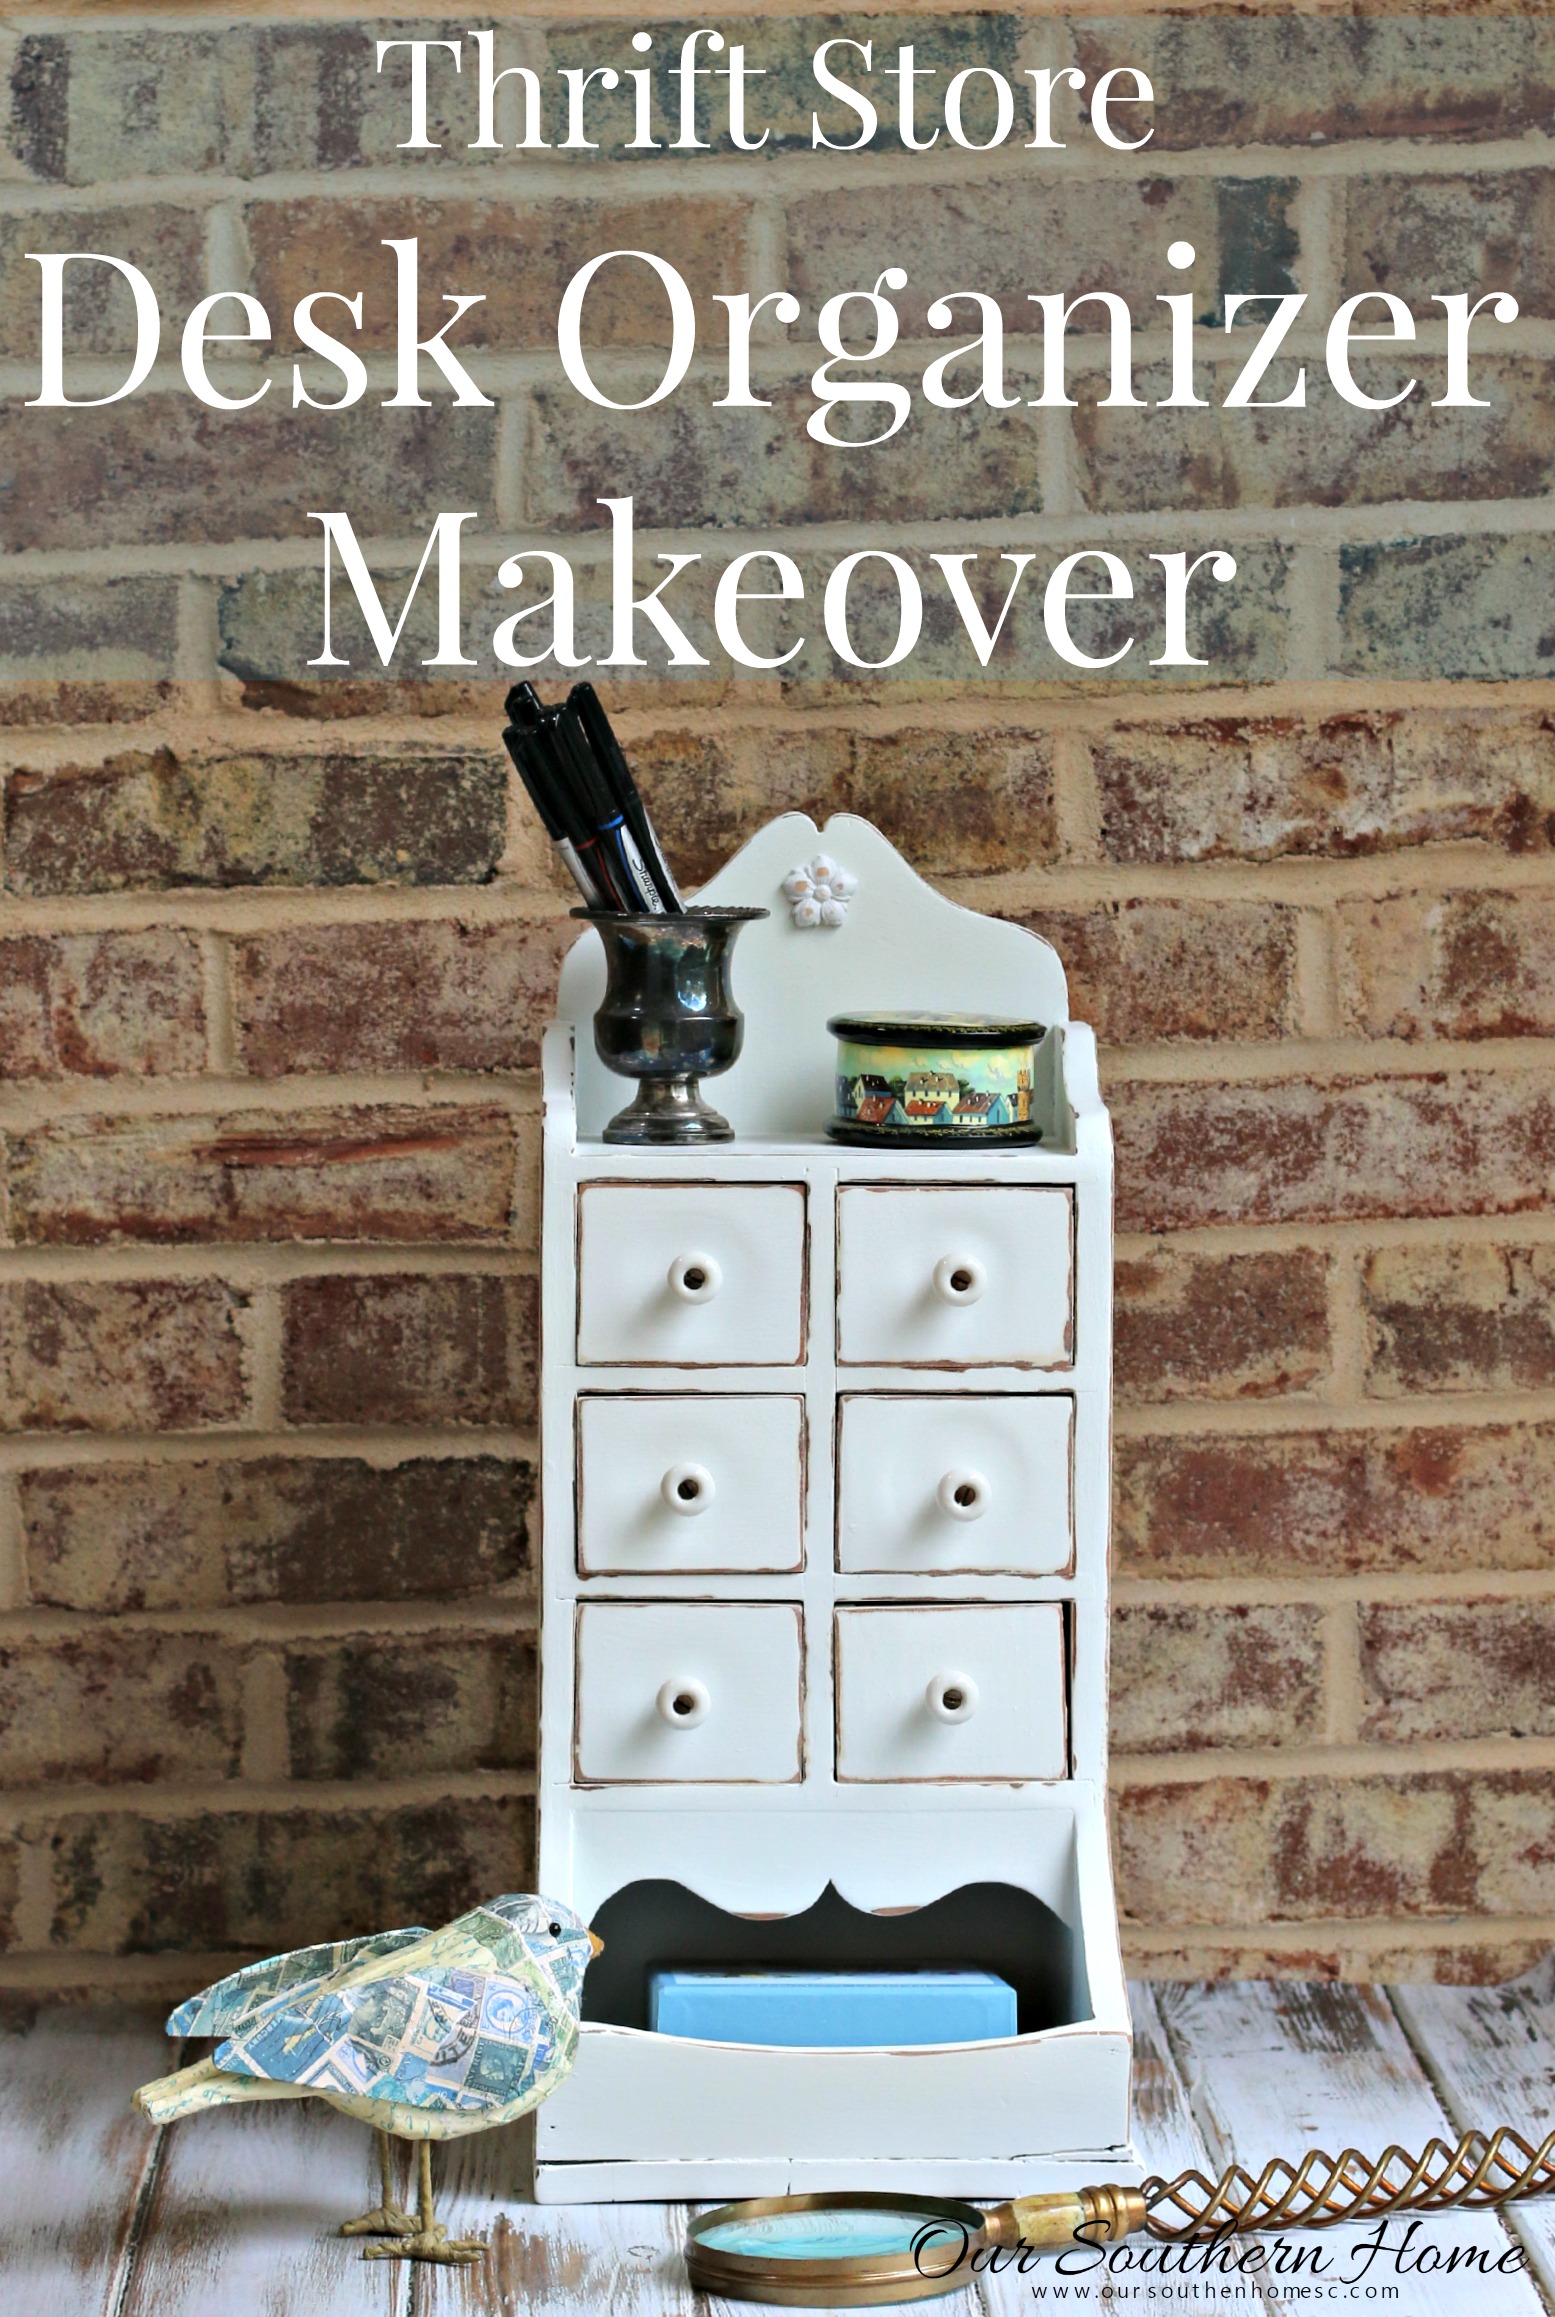


I started using Americana Decor Chalk Paint on some small decorative things like plastic pumpkins to use at Halloween, some old ceramic pumpkins and an old wooden birdcage. I absolutely love the paint. I then progressed to an actual piece of furniture…a sofa table….for my first “big” project. I painted it using the “Primitive” color but after I painted the whole thing I was shocked to see it had turned completely pink. I had not researched enough to know that lots of stains bleed through. So after putting a sealer on it, added another coat of chalk paint, sanded edges to desired distress, clear waxed & finally the dark wax. It turned out beautifully and I’m now on my 4th furniture project…a small end table!
I am completely sold on Americana Decor products! So easy to work with and much cheaper than Annie Sloan paint! So happy to find your blog today!
I just used American Decor chalky paint and creme wax for the first time. I am very new to re-doing anything. We first applied a coat of rustic to the table (42″ round nook table). When dry we then applied a coat of carbon over it. Looks amazing with the brown showing through underneath. Then we applied 1 coat of the clear creme wax using regular paint brushes. I think we may have gone a little wrong with this process. Looks great in a couple small areas after buffing the the rest if very splotchy and wont buff out 🙁 I think we applied way too thick as when we were brushing it on with the paint brush it would dry so quickly that it became thick like a paste where we were brushing. Next time (yes there will be a next time, love this stuff) I am buying one of the waxing brushes. For this time…how do I correct the error? Do I lightly sand it off and reapply the wax?
Thanks!!! Make sure after you apply the wax that you are wiping off as well. That may be why you had a problem with blotchiness. I agree! It’s is my favorite wax to use!
Thank you. I actually tried wiping after I applied but it was too thick and sticky and wouldn’t wipe off the excess. I used a dry cloth though…should I have used a damp one? Sorry, I’m a newbie and this is my first project. Just started on the chairs last night and have 2 end tables to do because I LOVE these products so much. Just gotta figure out the wax technique and I’m good. Ordered the wax brush yesterday LOL
I have an antique kitchen table and chairs that I would like to turn blk but would like to leave the table top walnut stained and have some of the natural would stain show through everywhere else so that it would not be completely blk. Would I be able to use the chalky paint for this? and what would the procedure be?
Thanks
Absolutely! This will be beautiful. Just clean it well. You’ll probably do 2 coats of paint. When you sand just the edges….the wood stain will show. They you will wax the legs and body of the table. This is going to be beautiful! ~Christy
I have just started painting furniture and I love it. But I don’t understand using wax. So far I have used semi gloss latex paint and then put a polyurethane coat over the top. Is the wax only for chalk paint?
Would you use it on chalk paint only? Does the wax take the place of a poly finish?? I would really appreciate any insight you can give me. Thanks, I love the stool you did!
Thanks so much! Yes, the wax takes the place of poly. It creates a different look and is great with chalk paint. You can apply poly over chalk paint instead of wax. I have used poly instead of wax on furniture that I know will get heavier use like in our family/play room. Waxing a piece gives it a more matte antiqued finish. If you use poly and want a more antiqued feel and the added durability…go with as matte a poly finish as you can find. Poly is more durable than a wax finish for high use. ~Christy
Christy,
I am so excited to have found this during my search. It looks perfect! I want to do an entire bedroom suite like this! Hopefully it won’t be too much?!
I do have a couple of questions if you don’t mind. The furniture has a serious coat of poly on it (just bare wood now) do I need to get a remover and use a putty knife to remove the poly? Will sanding alone be fine? Also, because it is a bedroom suite would you recommend using the matte poly (like above) instead of the wax because of more use?
Thanks! If this is you first try, I’d play with something small first to get the feel for the process! If it is very shiny, I’d definitely sand the shine down somewhat. Test a piece first for bleed through. You will want to block the stain coming through. If no bleed through, start painting. I’m loving the wax in this line, but you may want to go with the varnish on table tops. You may even want to glaze and use matte Polycrylic on top to finish…non-yellowing. Definitely use a top coat that will not be shiny….matte or satin. Highly, recommend practice piece first. Either use the bedside table or a thrift store find in a similar finish. Good luck! It is fun!!! ~Christy
Christy I love this piece and the toile is one of my favorites. I want to give this paint a try and see how it differs from ASCP. I want a VOC free paint and some variety of colors. PINNED. Playing catch up.
Cynthia
I will have to try this, I have several pieces ready to paint this week on spring break. The wax sounds great – regular wax still intimidates me a little!
Looks GREAT! I haven’t tried that paint yet. I’m going to have to give it a try! Melissa
Thanks so much, Melissa. The paint really is great….awesome price as well!!! Looking forward to my next project with it!!! ~Christy
It looks beautiful Christy and I LOVE that fabric!
Thanks so much!!! That paint is awesome and so affordable! One of my favorite fabrics!!! Happy Spring! ~Christy
I love your little vanity chair! I have one I’ve just completed too (that I’ve had for over a year! lol) That wax looks very intriguing…and so does the paint. Will have to try them both out. 🙂
Nancy
Thanks so much, Nancy!!! I really like the wax….so much less work than the paste! I’ve had that stool for years. Such a simple project…not sure why I waited so long!!! XXOO Christy
Amazing! I have to try this product. I have a very small mission style side table that needs some love.
Thanks, Heidi! That would be so pretty. They have a large color selection! The wax is so easy to work with! Happy painting!!! XOXO Christy