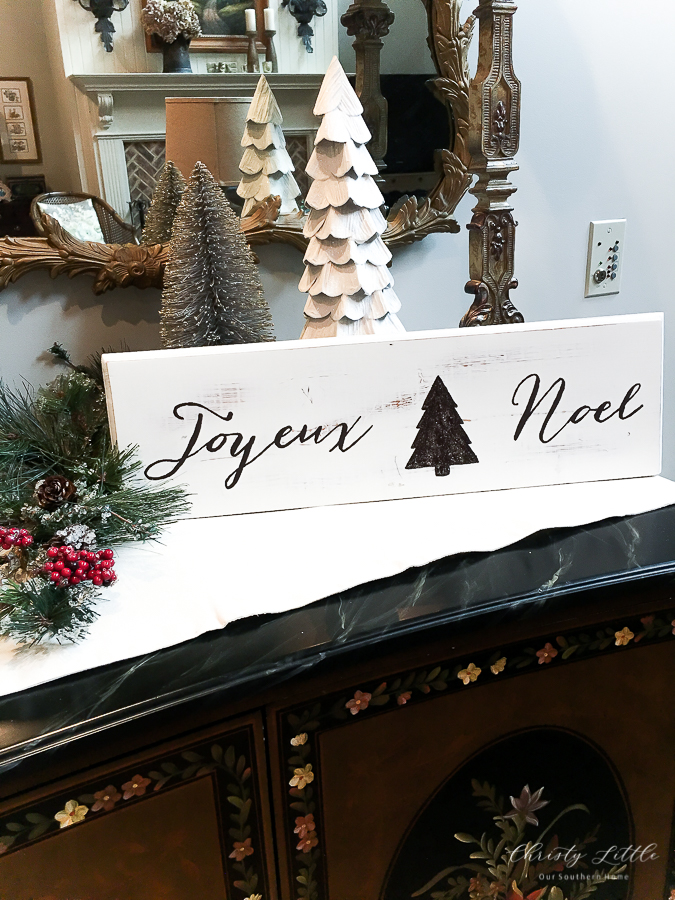
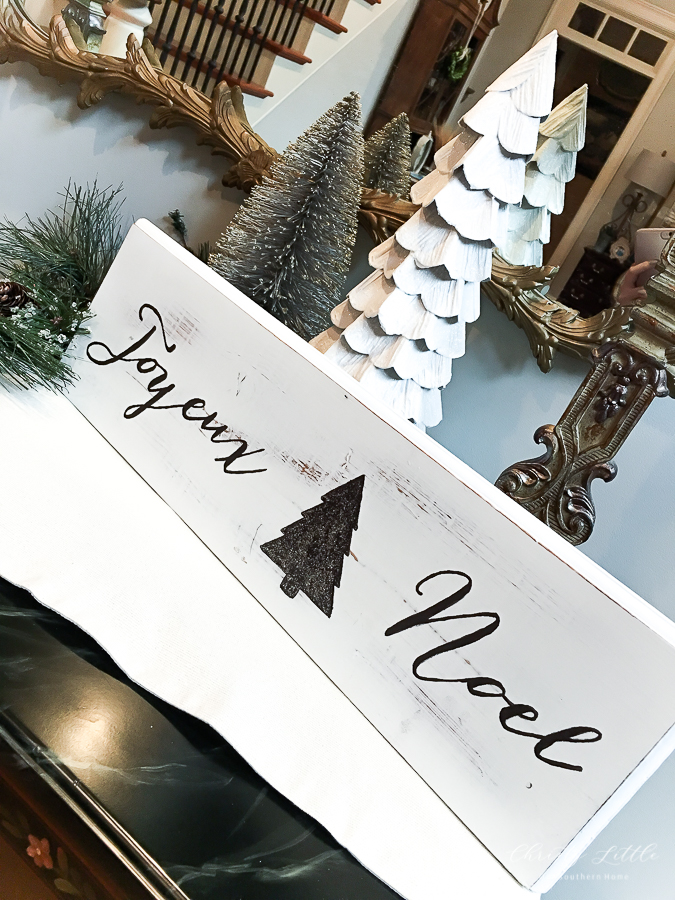
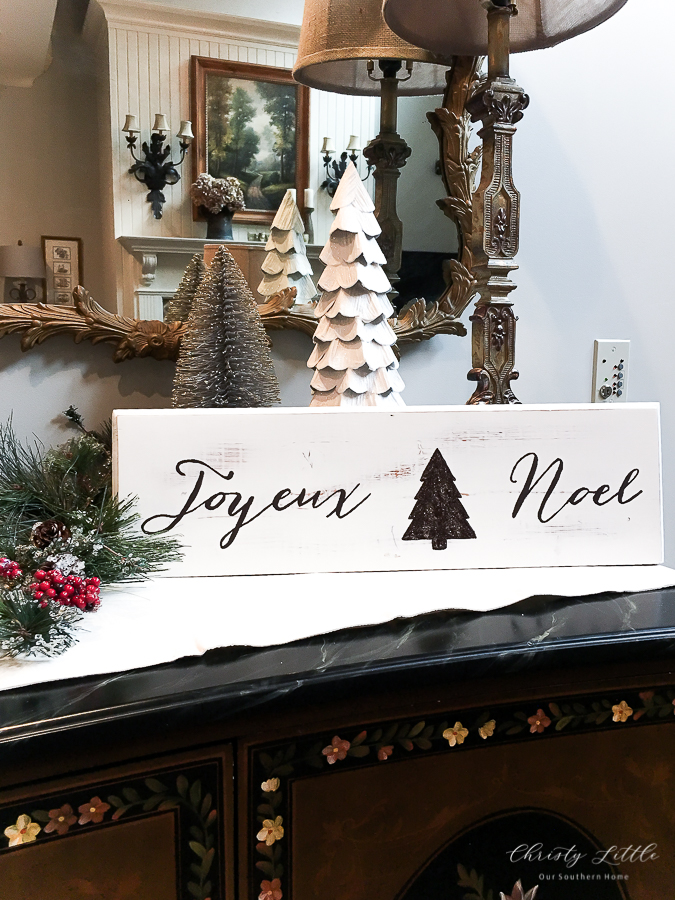
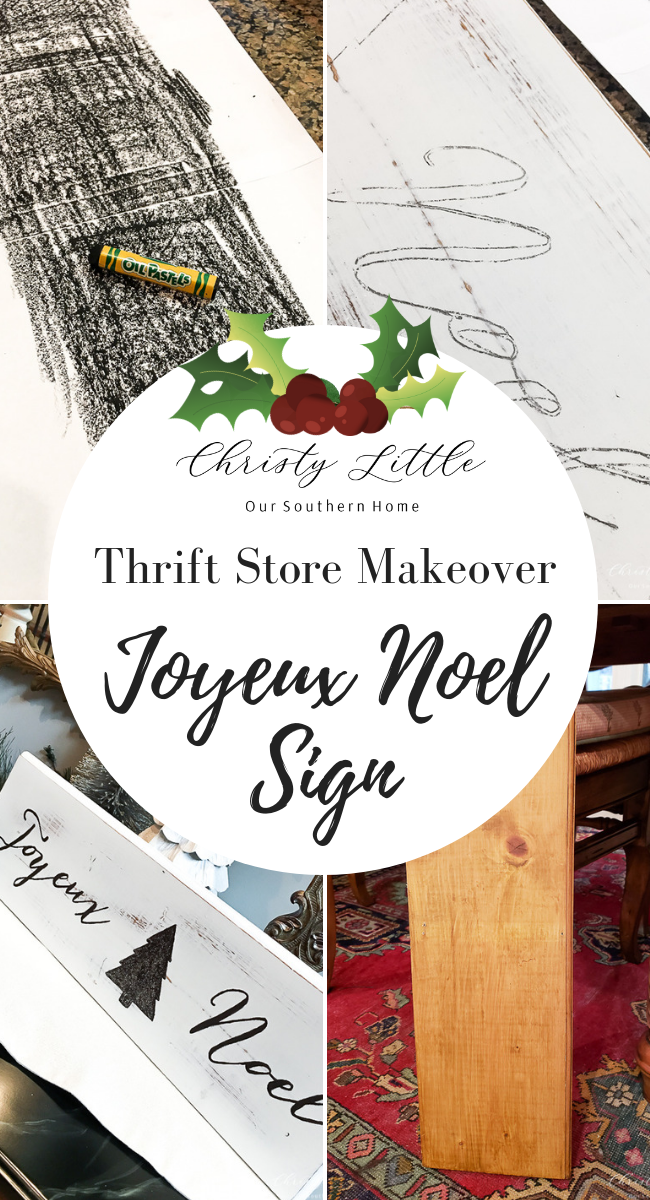
DIY Joyeux Noel Sign
Friends, I will say that this post jumped out of nowhere for me! I've been out of town on a blogging trip to New Orleans with Folgers Coffee. I had hoped to complete this month's Thrift Store Decor post before leaving, but it didn't happen.
I knew what I wanted to do and luckily it all came together fairly quickly. That's what is so great about most thrift store projects…..they are usually simple and not too time consuming.

I purchased this random board for .99!

It just screams…..turn me into a sign!
You will need the following items: (affiliate links included)
- Board cut to size (mine is 24″ X 7-1/4″)
- sanding block

- white spray paint
- Joyeux Noel printout
- black craft paint
- craft paint brush
- computer printer
- Clear gold glitter craft paint
- Spray sealer
- oil pastels


I lightly sanded the board before spraying with 3 coats of the white spray paint. Then I gave it quick light sanding after it dried.
Watch this Facebook Live of me explaining the process!
I decided to distress the board slightly before painting the letters.
You can find more photos of the steps in this post on my NOEL vertical sign.
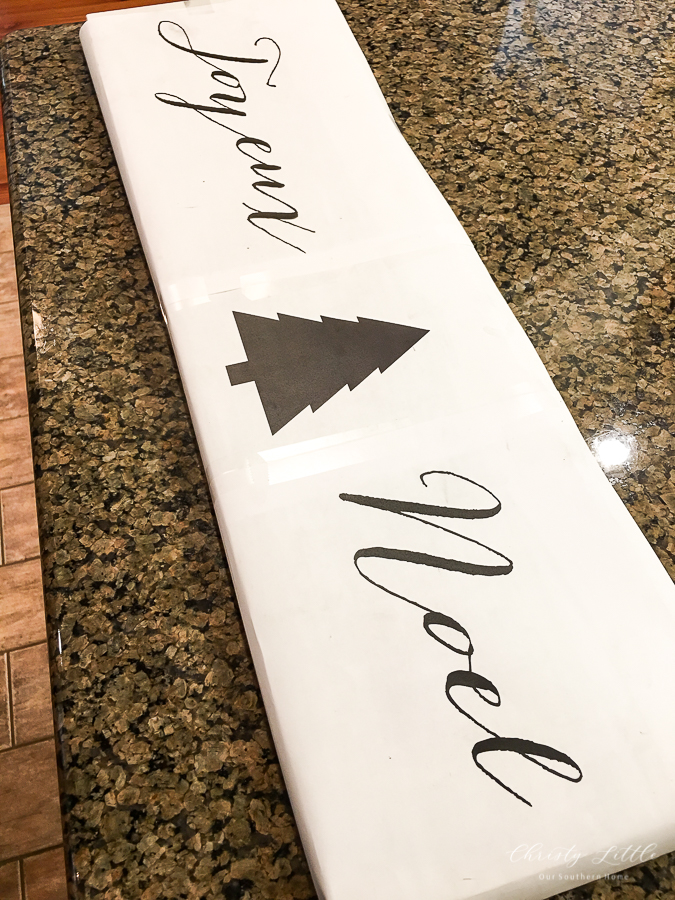
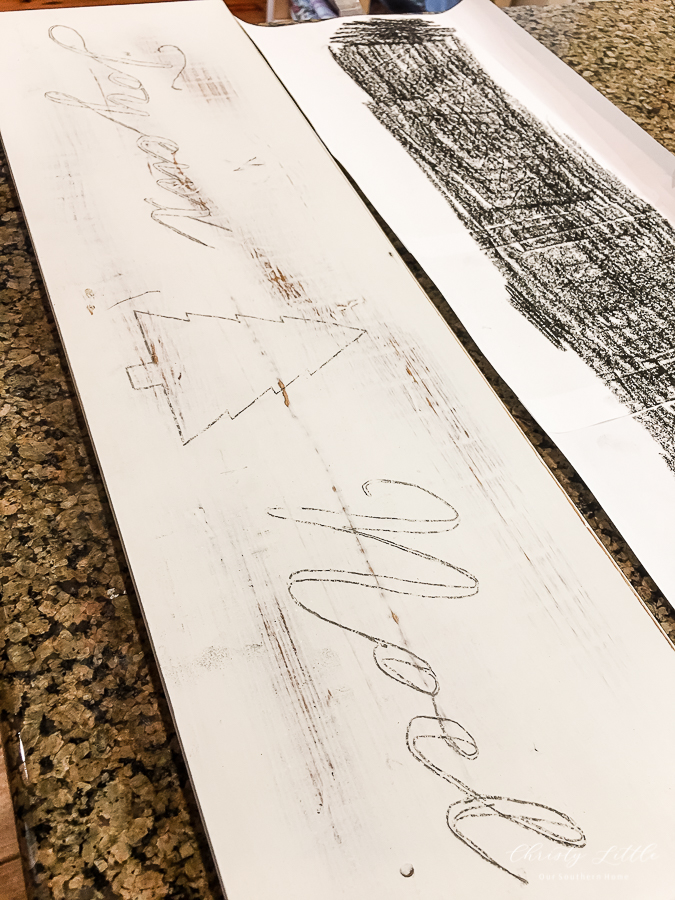
Print out the Joyeux Noel sign pages with the tree graphic.
I trimmed the sides of the tree and the ends of each word and taped together in a row. You'll do this based on the size of your board.
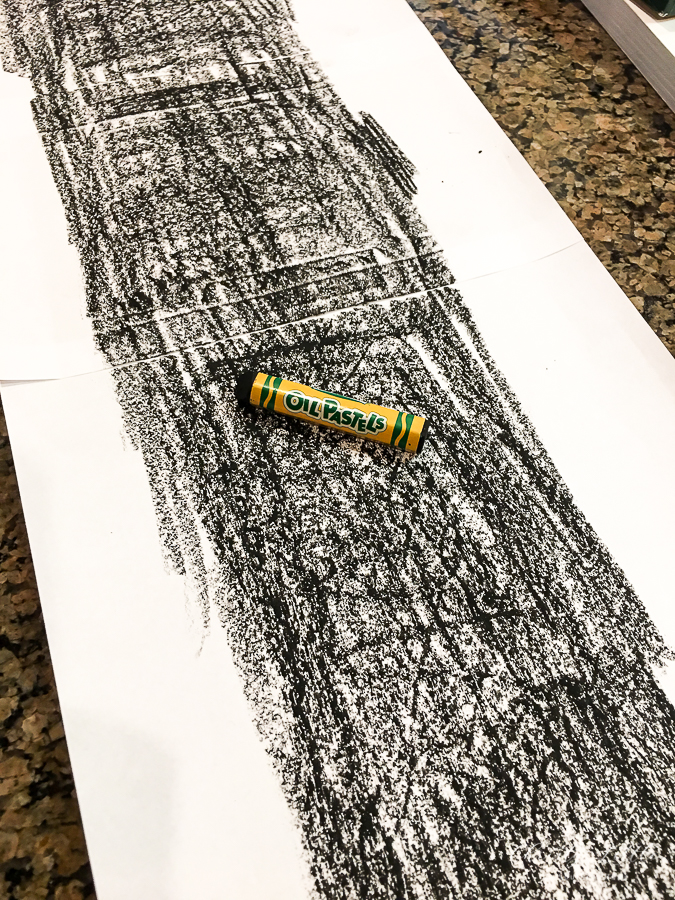
Color the back of the pages where the words are. Flip it back over and center on your board.
Here it is with the backside colored with black oil pastels. Now it is centered and taped down.
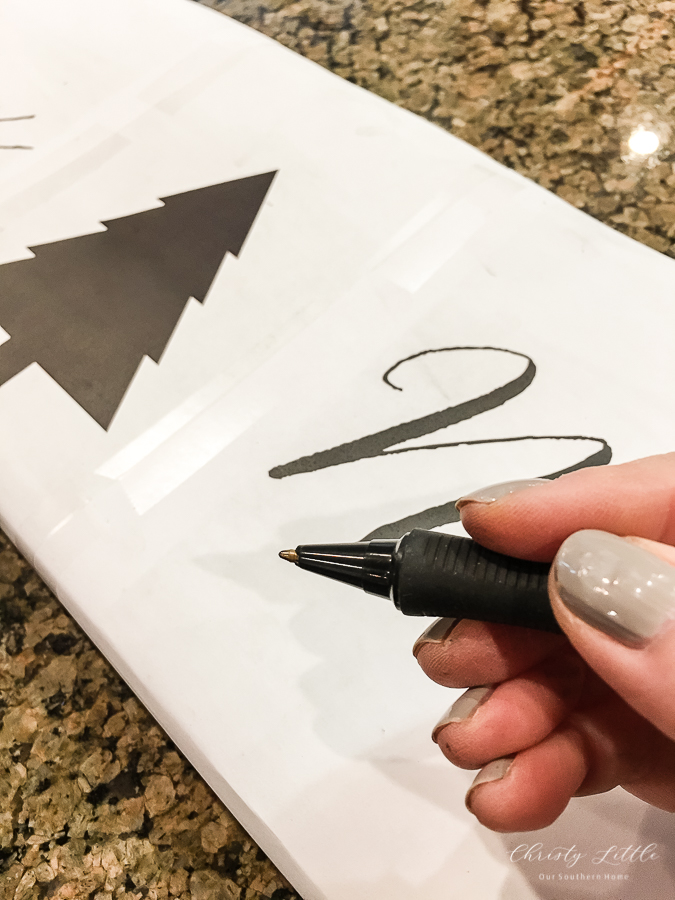
With a ball point pen, trace over your words and tree. This will cause the black oil pastels to transfer onto the board as you trace giving you a form to paint.
Here it is all traced! No need to lift up the paper to check. It will transfer. If you move it, you risk not taping it back in the correct space.
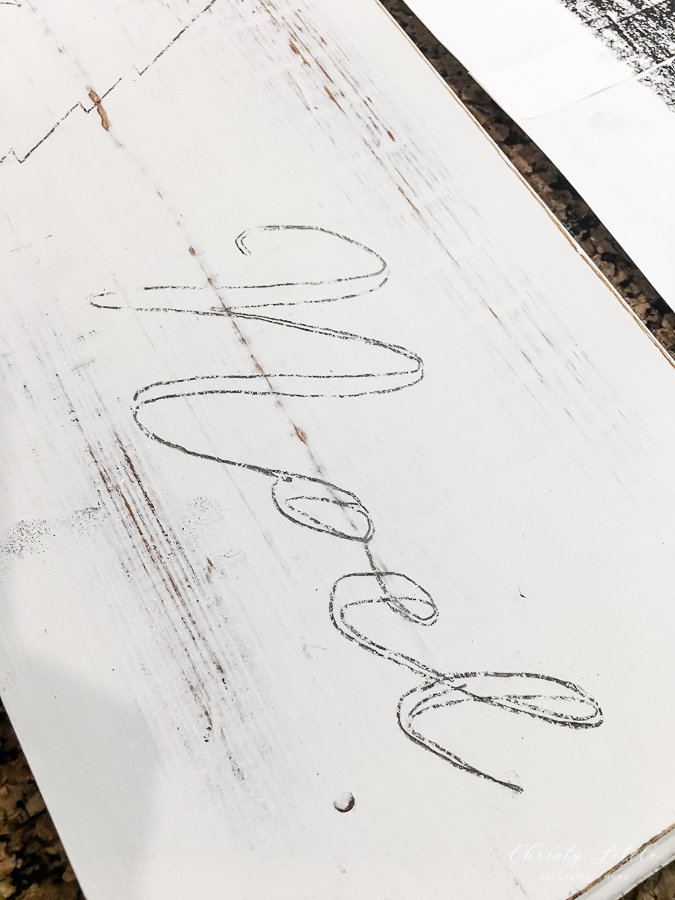
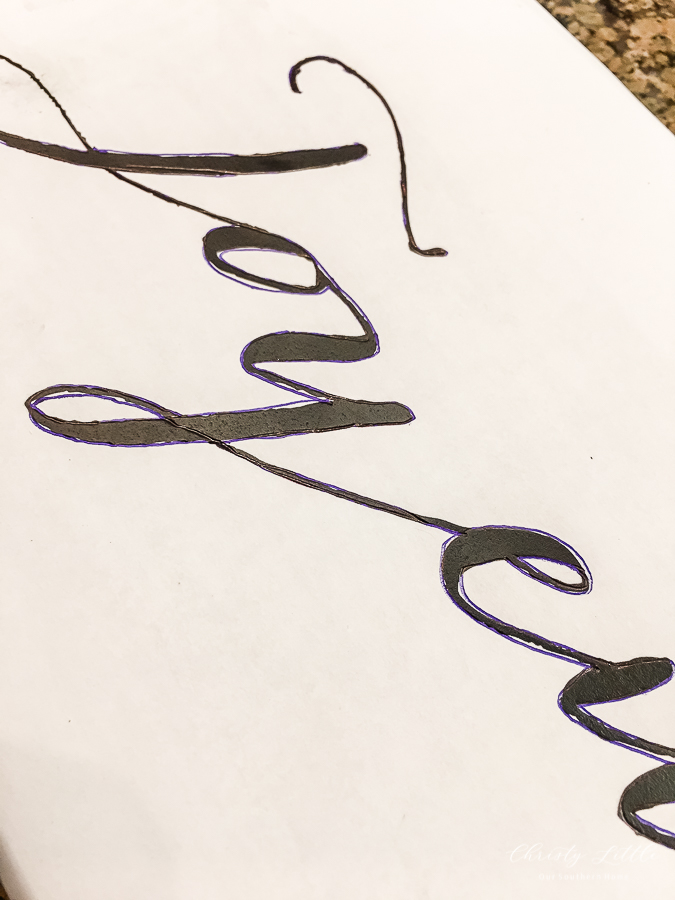
Remove the paper and you are left with the oil pastel transfer.
I like to use the same color or similar oil pastel as the paint that I am using.
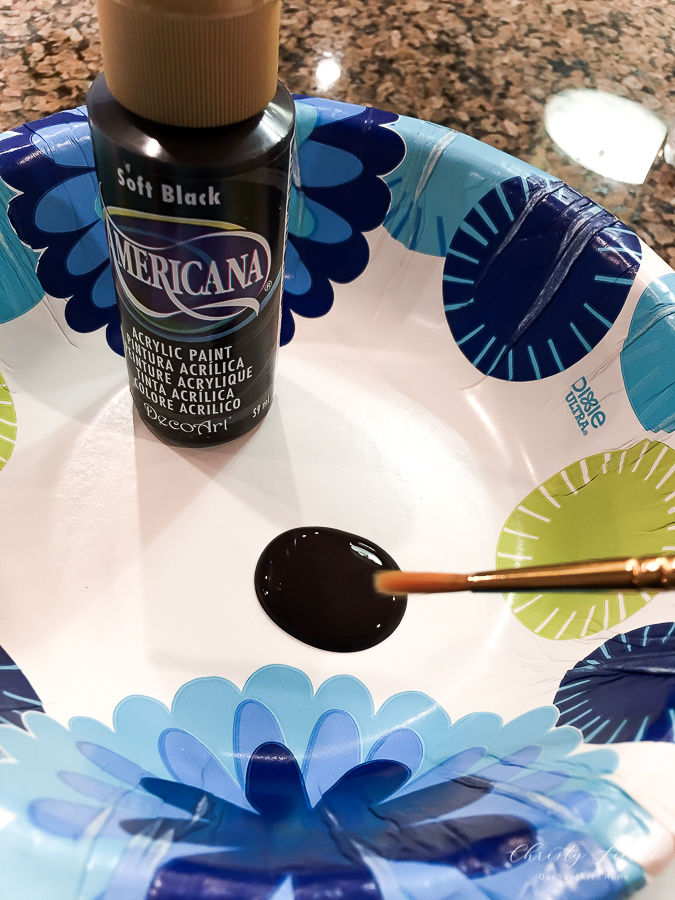
I use a round brush to color in my lettering. I did 2 coats.
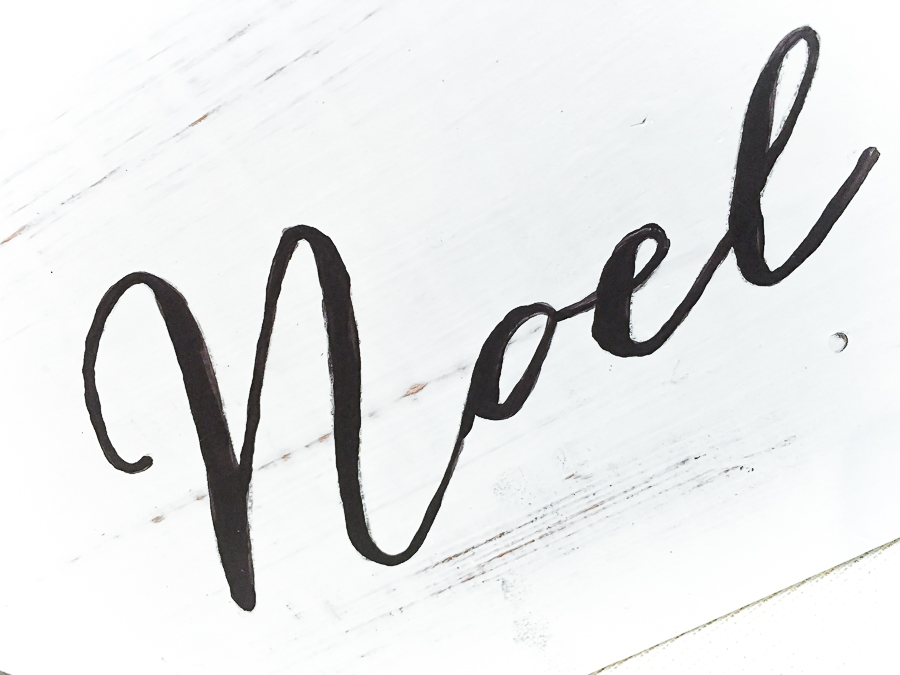
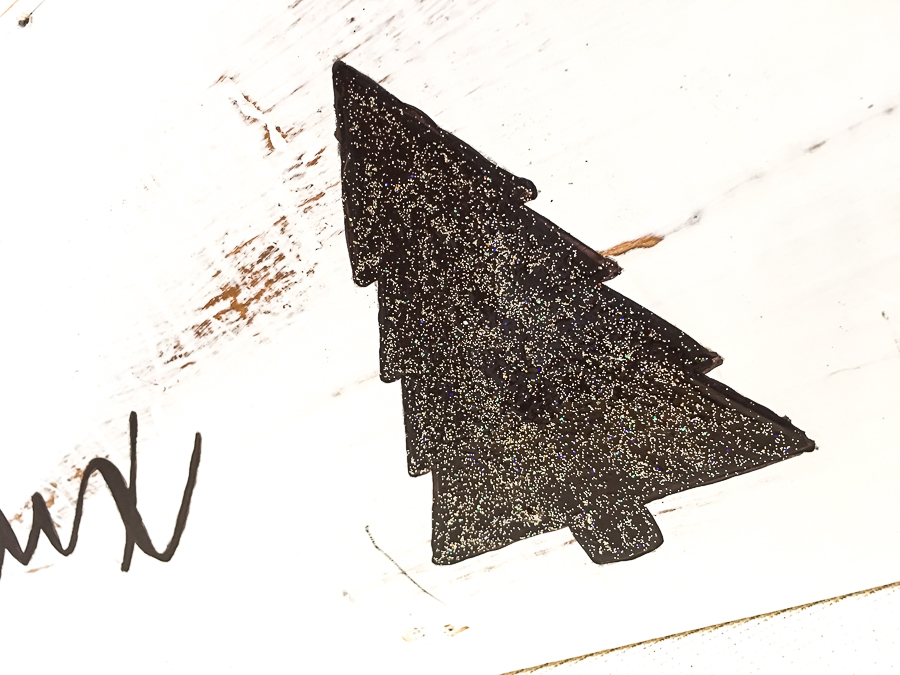
After the black paint dried, I painted over the tree with the above mentioned glitter paint. It adds just a touch of sparkle to the otherwise rustic sign.
I think it took the longest to center the paper on the board!

Be sure to check out the other projects from the team this month! Here is a before photo of all with the link below!!

1. Mid Century Plant Stand DIY
2. Laundry Room Decor and Lost Sock Holder
3. Winter Wonderland Gumball Machine
4. Pedestal Bowl Stipple Paint Technique
6. Bird Cage Winter Snow Scene


You have such a good ideas. Thanks for sharing!
Sometimes we are so busy that forget about making Christmas feeling at home. I love that there are determined people who get that spirit to create and have fun
Thanks so much, John!
How pretty and I love your Christmas trees! You are a whiz at those signs.
Love the sign Christy! xo
Thanks, Nancy! It’s been a while since I’ve painted a sign. I missed it!
Your sign is gorgeous and I love your technique!
Thanks so much, Kristin!!!
So cute! I love how your signed turned out.
Thanks, Maryann! Just love Christmas crafting!
Thanks for the awesome tutorial! Love that you added your facebook live to it!!!
Thanks, Pam!!! I really need to learn better video techniques!!! LOL!
So cute! Of all my DIY projects, I still haven’t done a sign yet, and I love the idea of using oil pastels to transfer the design. Enjoy New Orleans and the coffee!
Thanks so much!! Give a sign a try. They are a bit addictive!!!