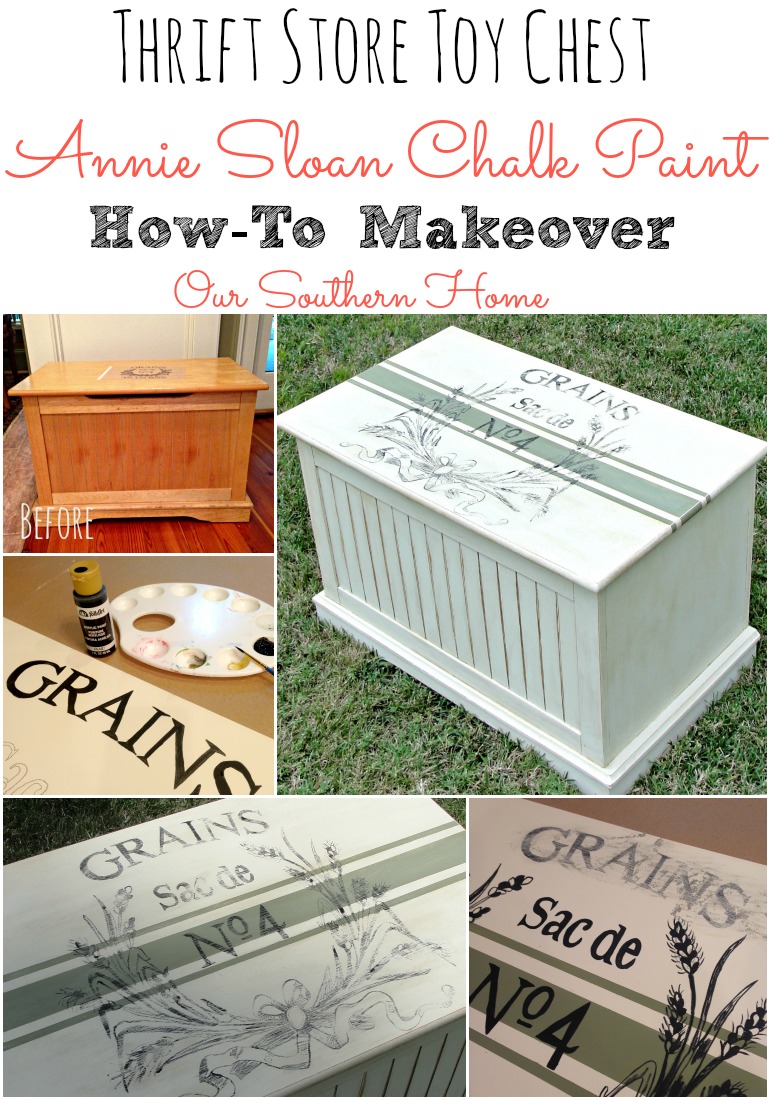
Toy Chest Chalk Paint Makeover
I love this time of the month….when my furniture painting group gets together on a themed project. This month the theme is NUMBERS! Be sure to check out the linky below with the other fabulous furniture painting projects! Just click on the project to take you directly to it!
Let's get started!
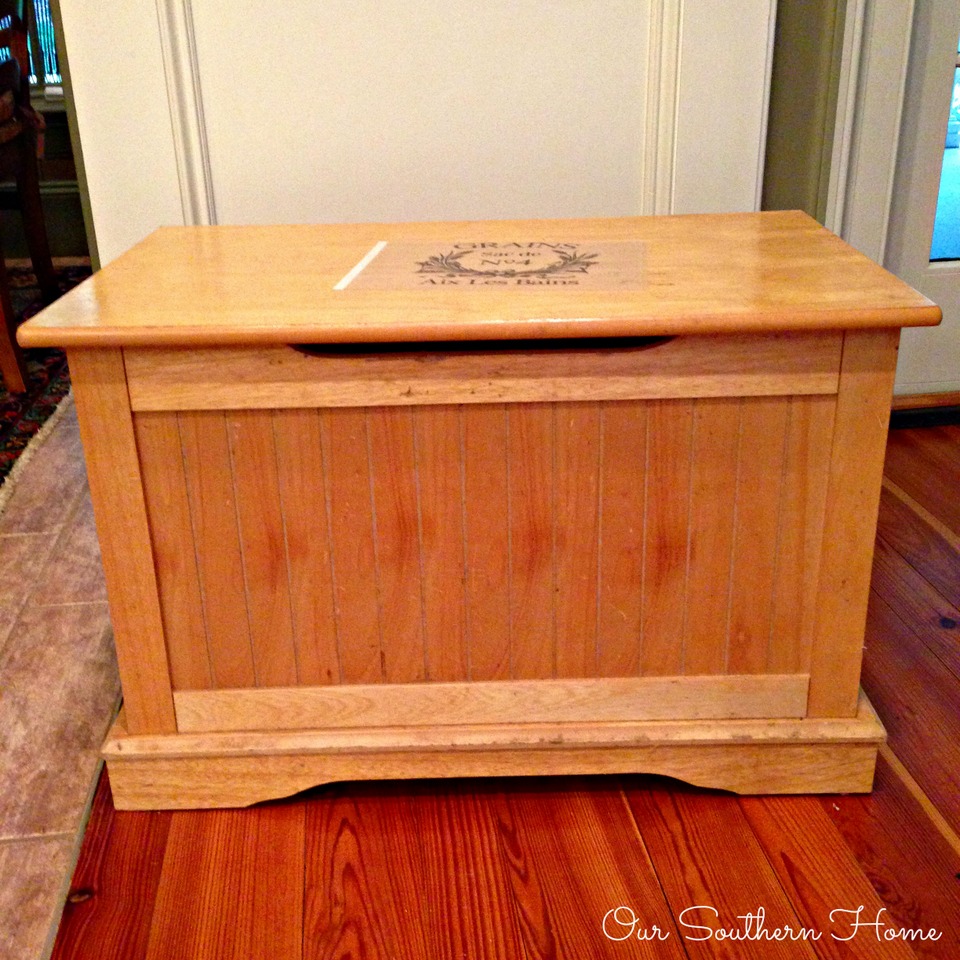
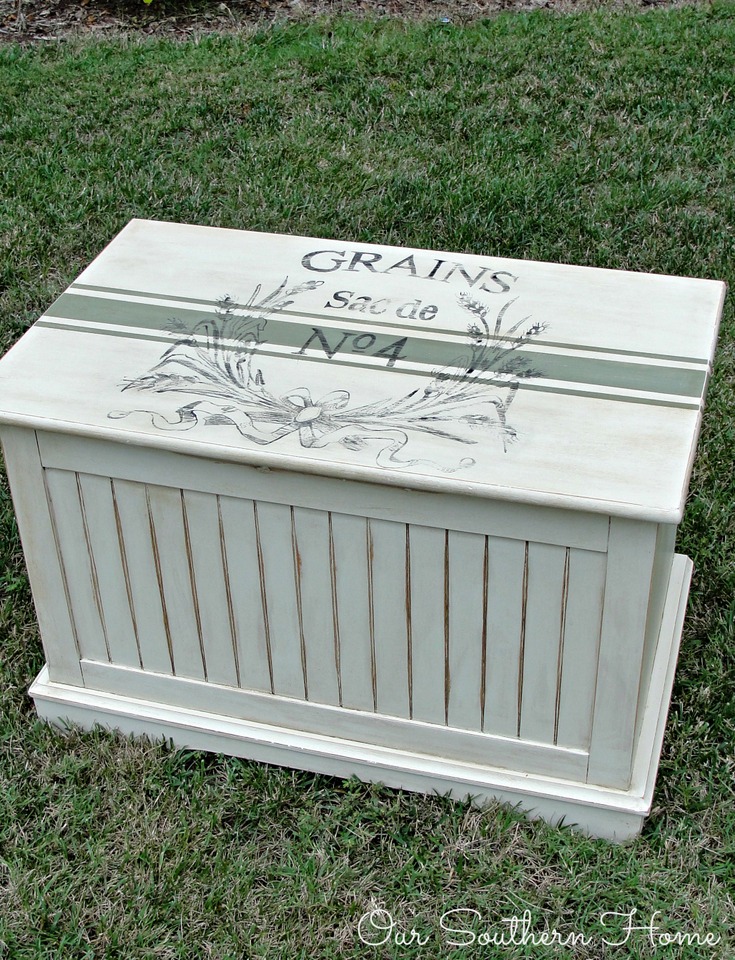
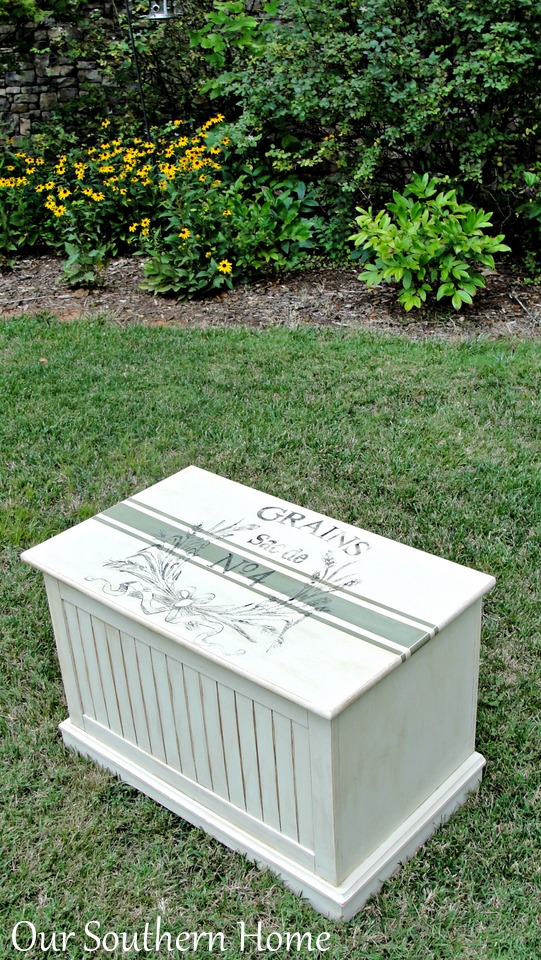
It all started with a thrift store toy chest. It has been waiting and waiting in the barn for many months… waiting patiently for its transformation.
It is in excellent shape. It just needed a good cleaning and a face-lift…..no anesthesia required!
I started with a custom mix of Annie Sloan Chalk Paint. If mixing colors….write down what you mixed so if you run out, you aren't playing a guessing game.
My mix was:
1 cup of Old White with 3 Tablespoons of Coco. The addition of the CoCo really tones down the antique look of the Old White. I had exactly enough with that mixture to paint 2 coats with a little extra.
Let that dry….it takes no time at all.
Hint: I wrap my brush in Press and Seal and place in the fridge along with the bucket covered in it as well.
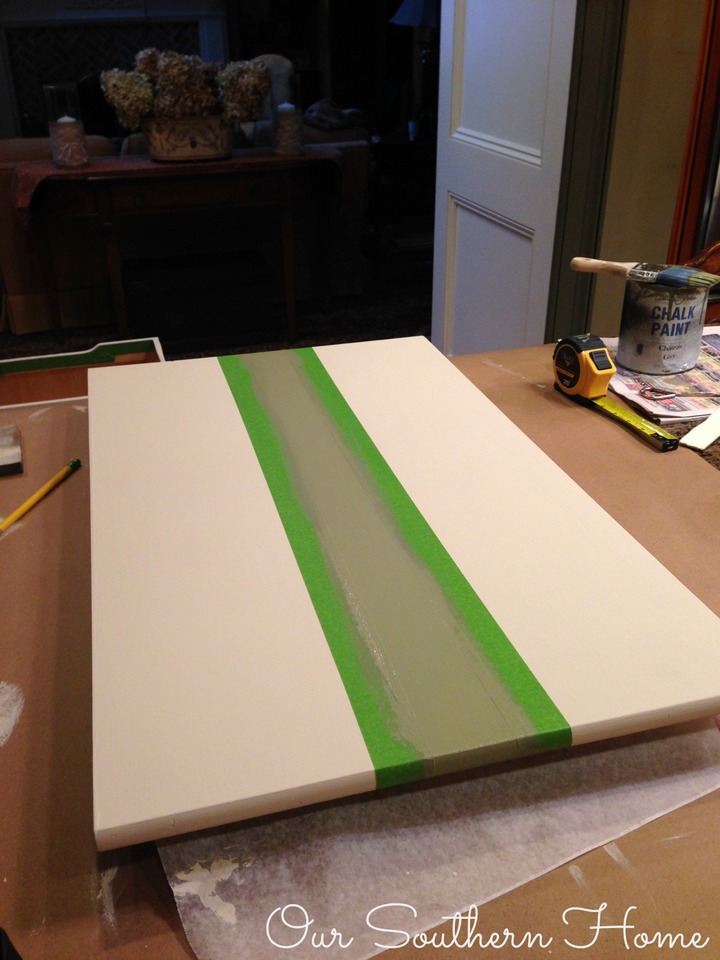
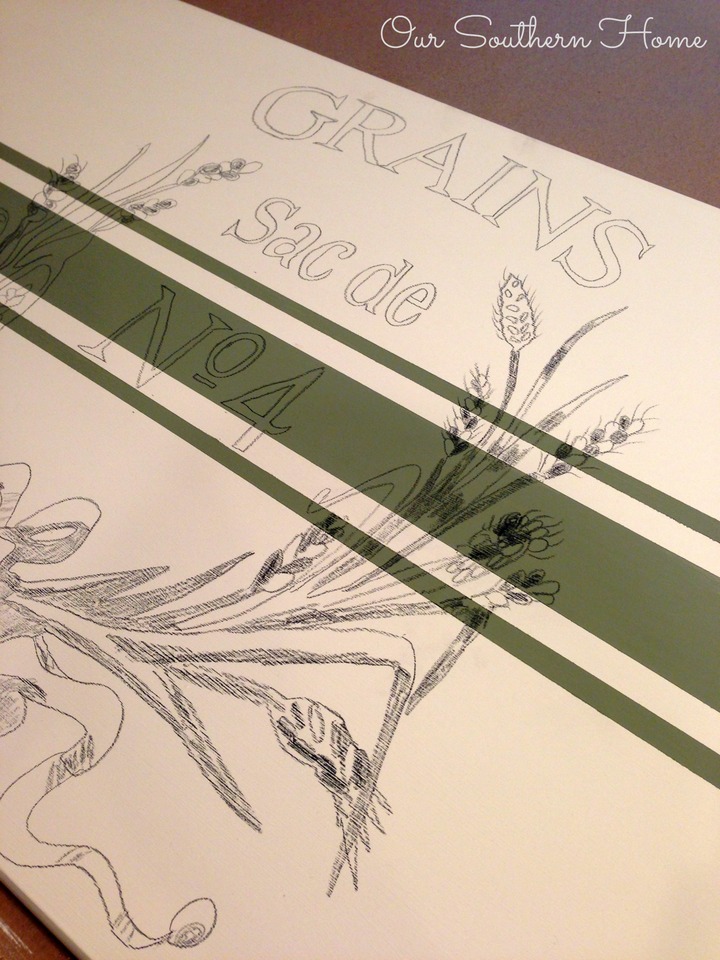
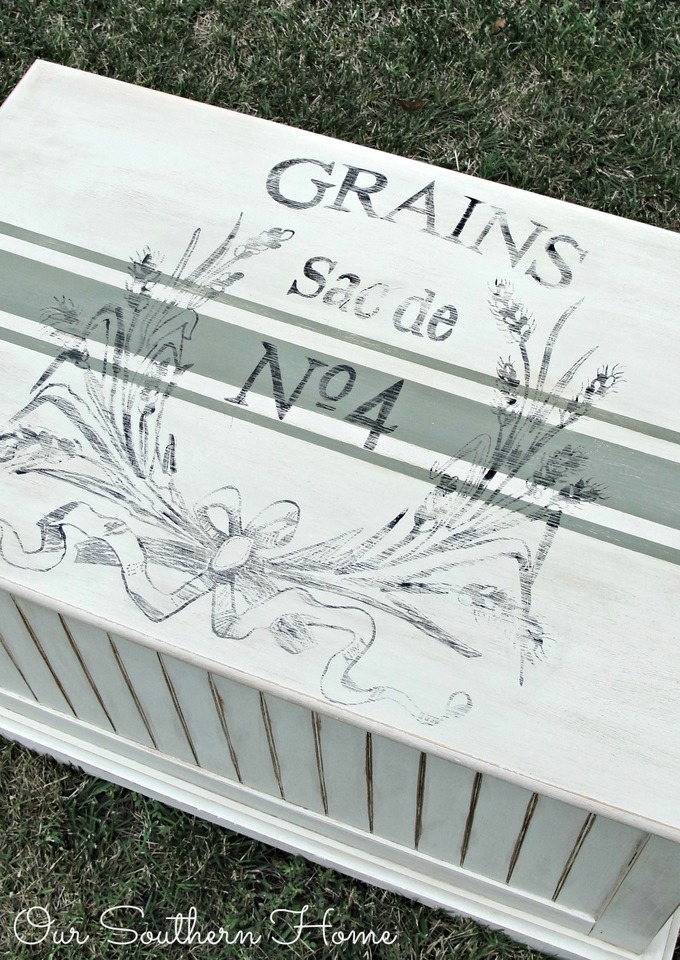
I am still smitten with grain sack stripes. I may forever be! Visit my post on painting Grain Sack Stripes to achieve this look!
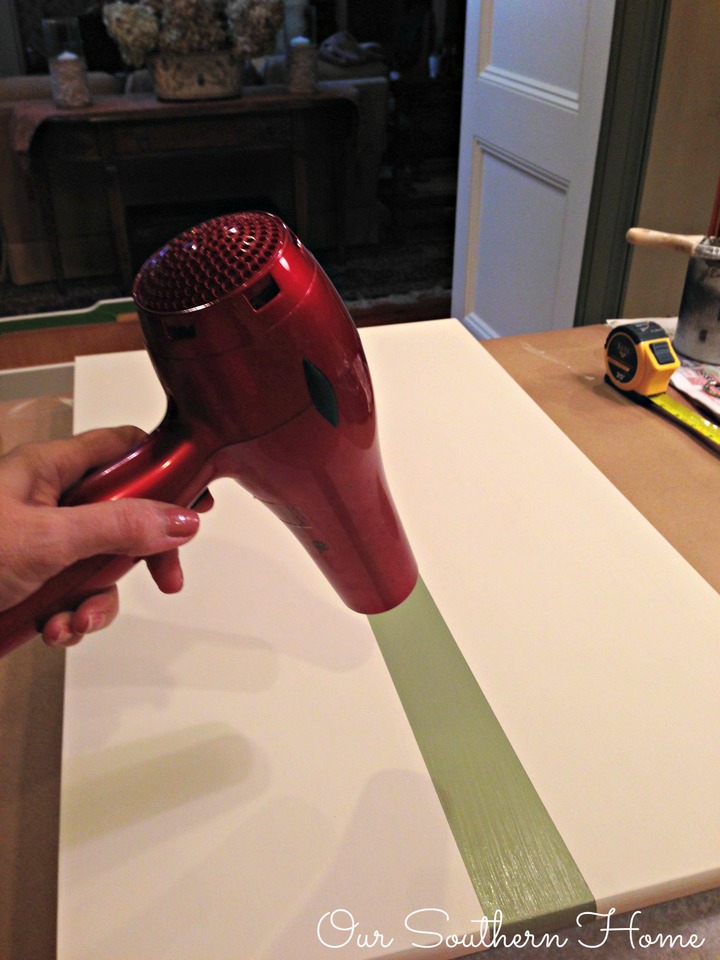
Sometimes I grow a bit impatient and break out the hair dryer! A girl has to do what a girl has to do! The stripes are Chateau Grey….my favorite color!
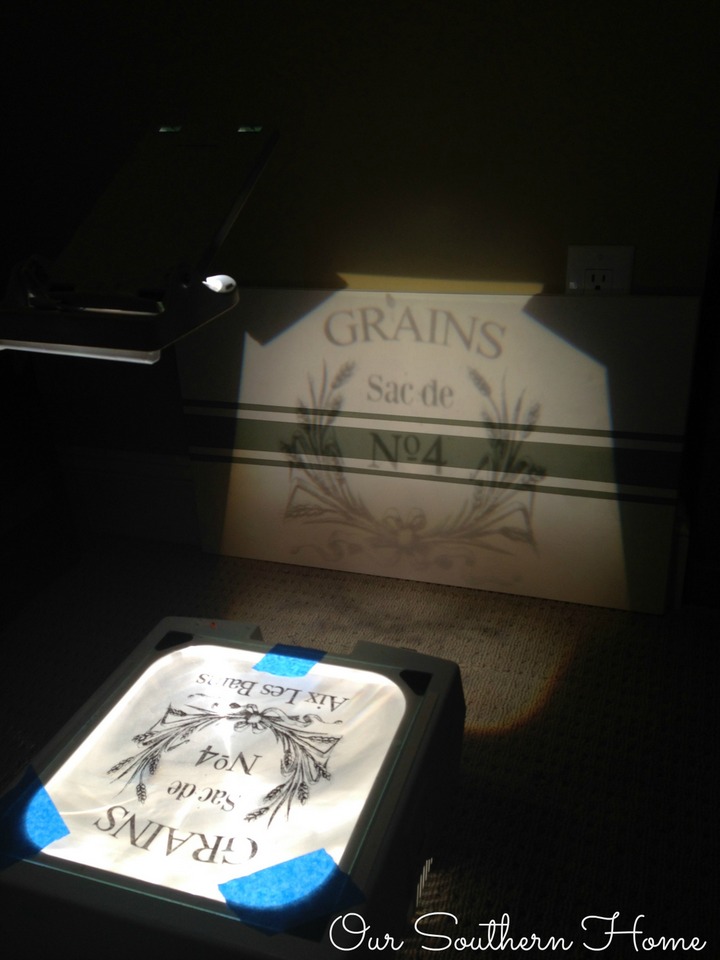
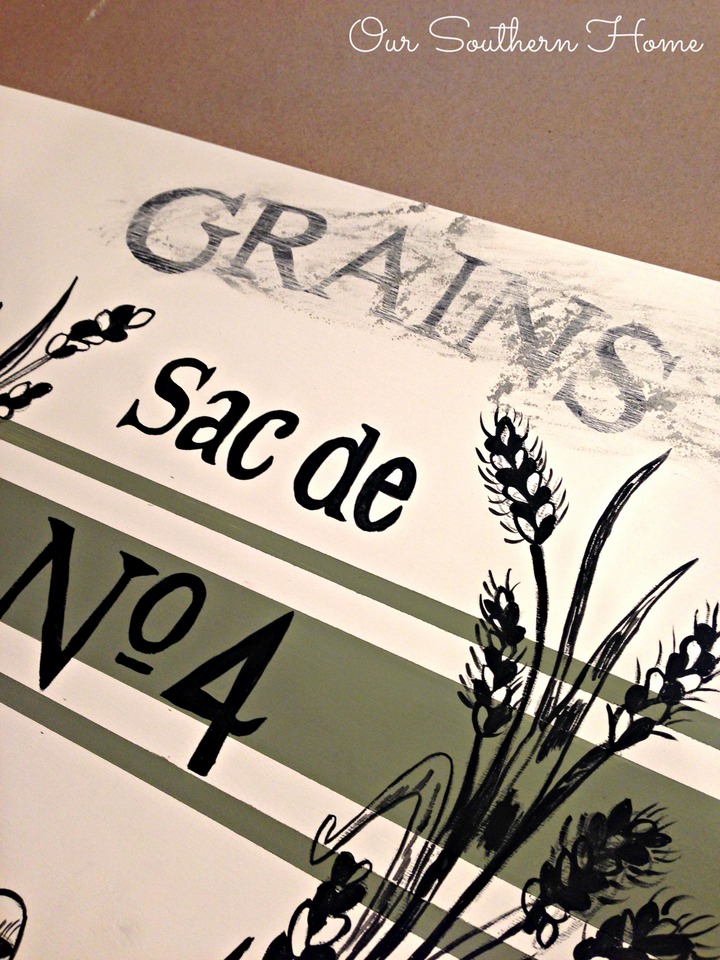
I printed this fabulous graphic for free from The Graphics Fairy for my thrift store overhead. I have so gotten my money's worth from it! I use it for projects from painting to chalkboard art!
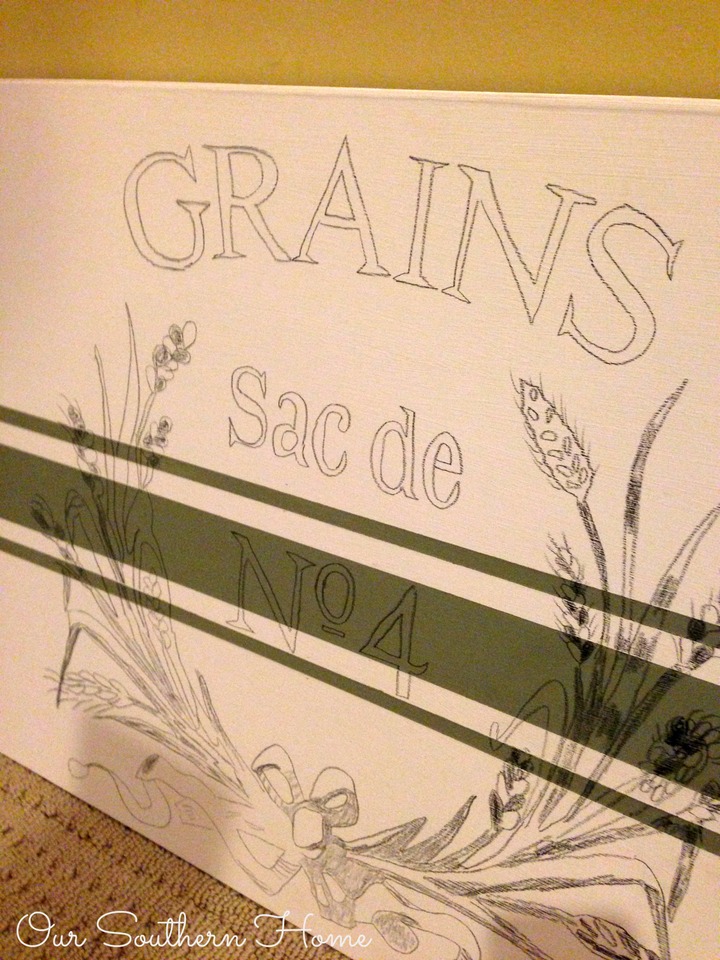
I traced with a water color pencil in a charcoal color. Try to match as close to the paint color as possible. Don't worry about being so perfect with the grain motif. You can really freehand a lot of it with the paint. I am not an artist!
All ready to paint with a black craft paint.
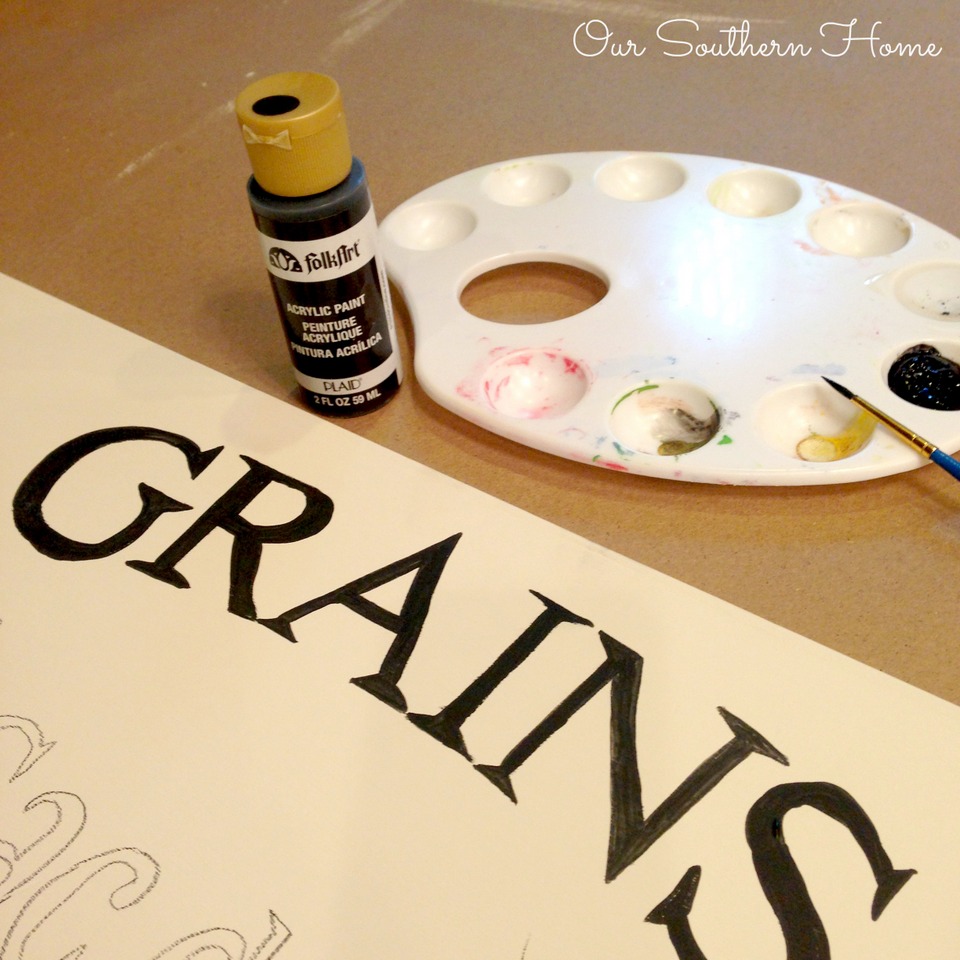
I use a liner artist brush.
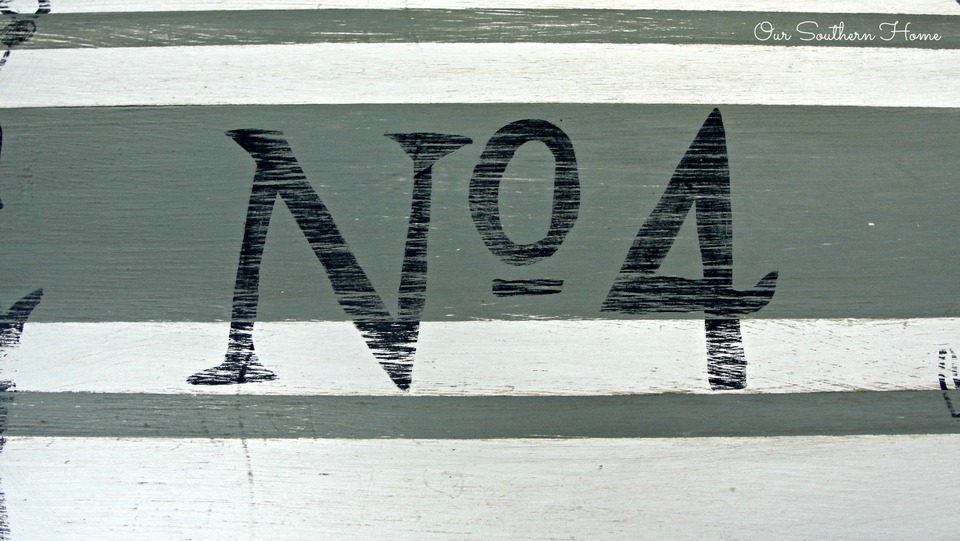
Let it dry completely. Then I took a piece of fine grit sand paper and lightly distressed the graphic, stripes and edges. This really tones down the black. It gives it a vintage look. Thoroughly dust off. I usually vacuum it off and wipe over with dry microfiber cloth.
I waxed in the following order: clear wax, dark wax, clear to tone down the dark and give extra protection.
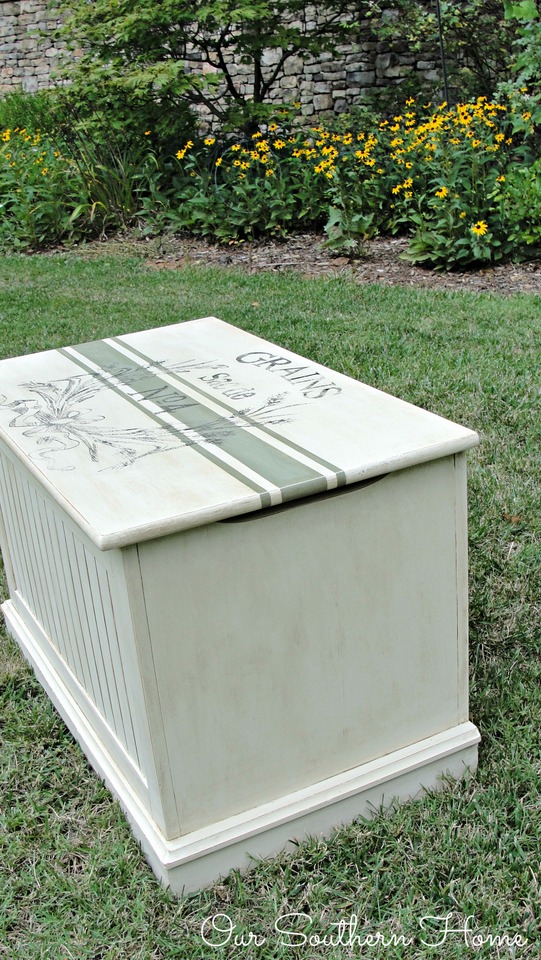
I can so see this toy chest in a family room. A little more sophisticated to blend with your decor. It could also hold blankets.
This was such a fun project! I love working with graphics. Don't be afraid. It is really simple! No overhead and you are doing a smaller graphic. Try my post on this transfer method.
Ready for more ideas with numbers! Visit the fabulous blogs below for more inspiration!

Today is my first born's 18th birthday! Happy Birthday Woods!


Love it Christy!It turned out great!
OK, first I LOVE your makeover..love it!! I have been wanting to paint grain sack stripes for the longest time..You’re getting me motivated 🙂 Also… my son turned 18 yesterday too! Looking forward to joining you all in the next furniture round!
Just beautiful! I am so very impressed with your tracing abilities! I know I could not pull tis off! Lovely piece to add to your home!
Christy I love this piece SO much! I can totally appreciate the hard work in tracing from an overhead image and then painting the tiny lines- I know it’s not easy! Fabulous job.
Gosh you put a lot of hard work into that chest Christy. It’s gorgeous. You have more patience than I do!
What a gorgeous transformation Christy! I love the colors, the grain stripe and the graphic is just perfect for this piece. I have never done a transfer before, now I think I need to find a projector, would love to try this!
Wow, you did the most wonderful update on this chest. I have to try this sometime…… I mean the lettering, but using your transfer method.
Oh my gosh Christy that’s a work of art! You amaze me. You, your overhead and paint ..crazy good!
xxoo
Grain sack stripes are so charming and what a lovely transformation! I love your blog!
This turned out beautifully Christy! I need to get me a projector now! Great job!
Very cool! I love it!
Christy you did an awesome job on this toy box – it’s so pretty. Love the Chateau Grey grain sack stripes too.
Christy, I love it! And you reminded me, I have a projector in a closet upstairs…I think. What a fabulous idea if I can find it. Fun to be on the tour with you. ~Jeanette
Beautiful Christy…LOVE that graphic you added!! Happy Birthday to Woods!
This turned out beautiful, Christy! I bought a projector at a yard sale last summer and have yet to use it. This makes me want to! XO
Beautiful transformation! I love the No4 on there, the colors and the graphics, awesome job!!
This turned out great! I love it with the grain sack design. Thanks for sharing and have a great day. 🙂
I love this makeover! The colors, stripes, and the graphics are all beautiful. I’ve got to read your tutorial for using transfers. Happy birthday to your son!
This toy chest will make a perfect blanket chest. I can even envision it at the foot of a bed. Love the graphic and the color that you chose. I’ve never custom mixed AS paint and can see that it’s easy.
Happy Birthday to Woods!
Love it Christy!!! It turned out so great!!! 🙂 Happy Birthday to Woods!!
xo
Nancy