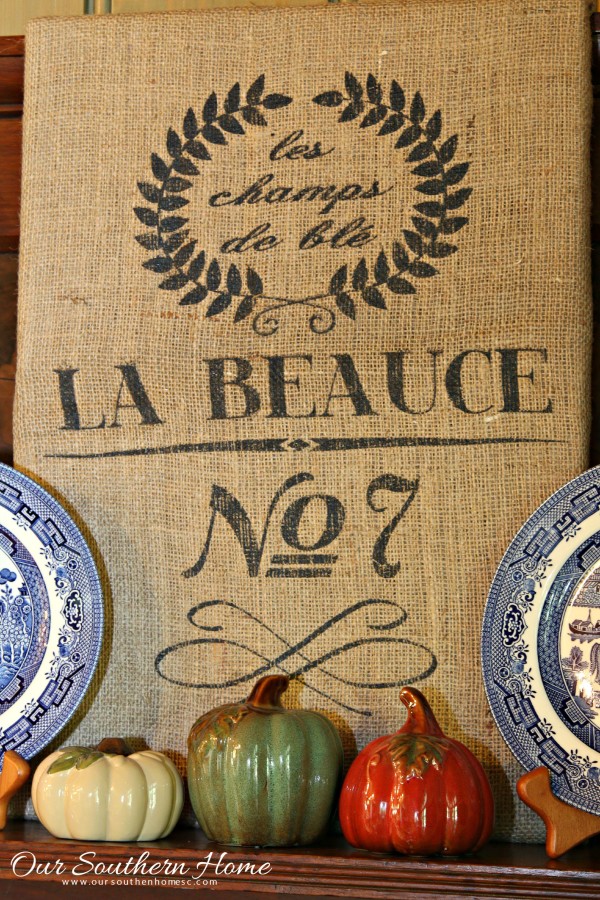
Simple Burlap Wall Art
We officially survived the stormy weather from the hurricane. It was quite a nasty weekend. Many parts of our state are in bad shape from the flood waters. We were quite lazy and stayed home.
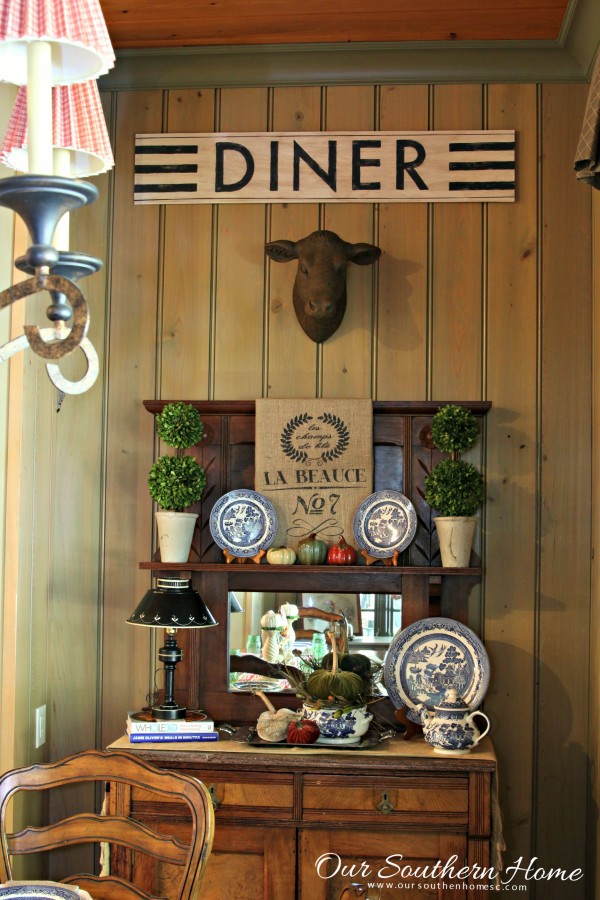
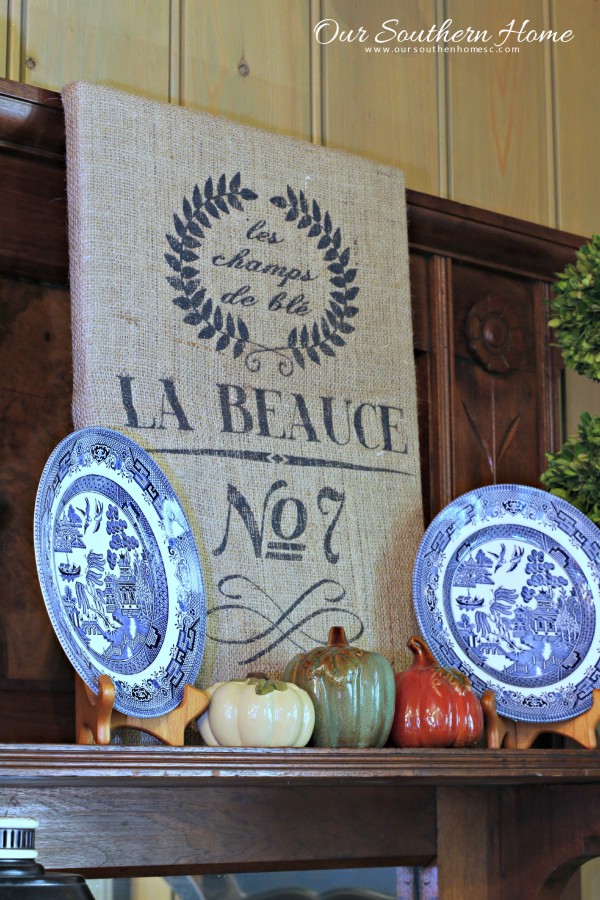
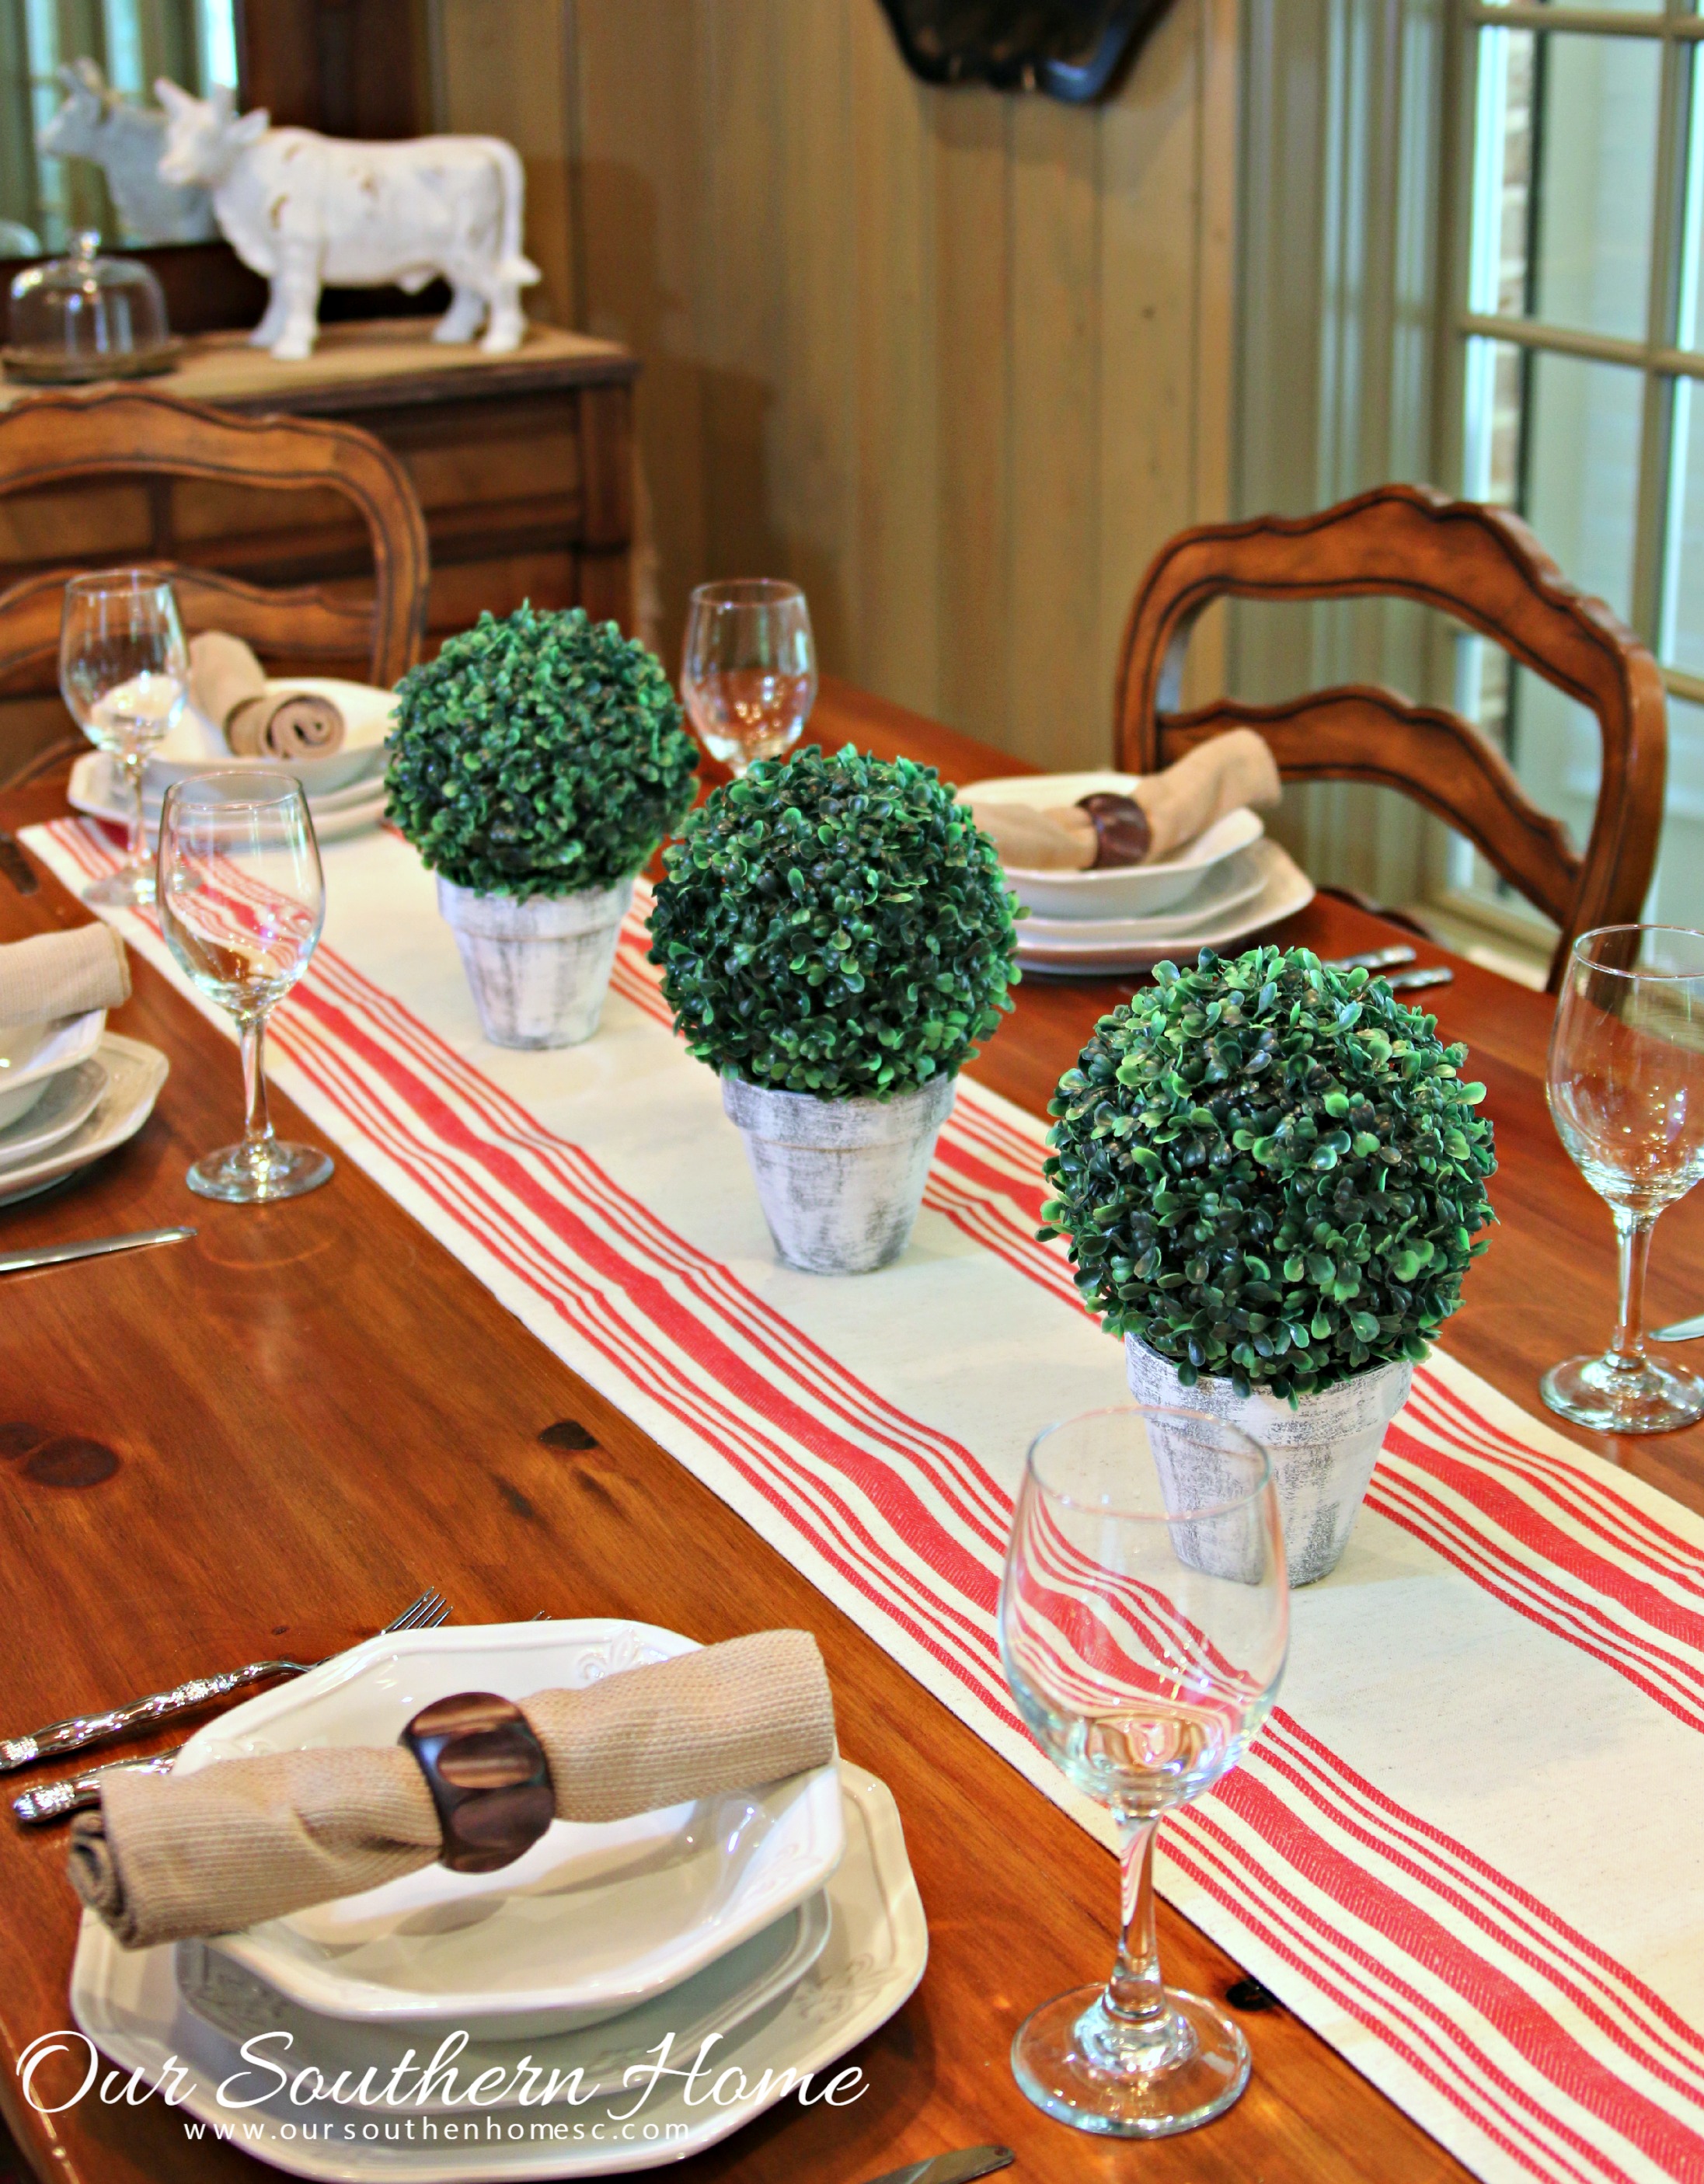
You probably noticed this burlap art if you saw my Fall Kitchen Table.
Today I'm sharing with you how I created this very Simple Burlap Wall Art.
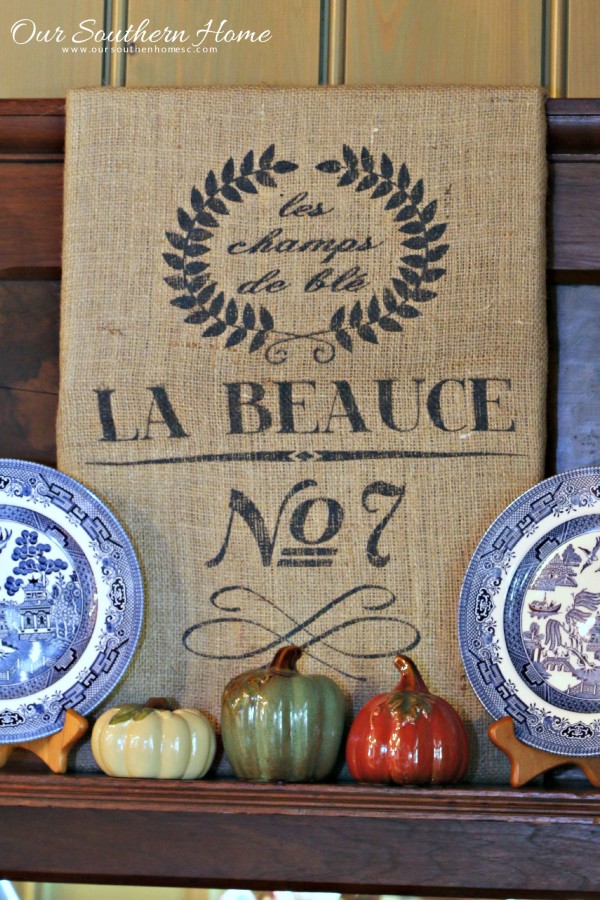
Honestly, it took like 15 minutes to put together. I wish all of my projects were that fast!

About a year ago I purchased this reproduction burlap grainsack from Online Fabric Store for just under $10. I was ordering fabric and came across these. So I threw one into my online cart. I had every intention of making a pillow with it.
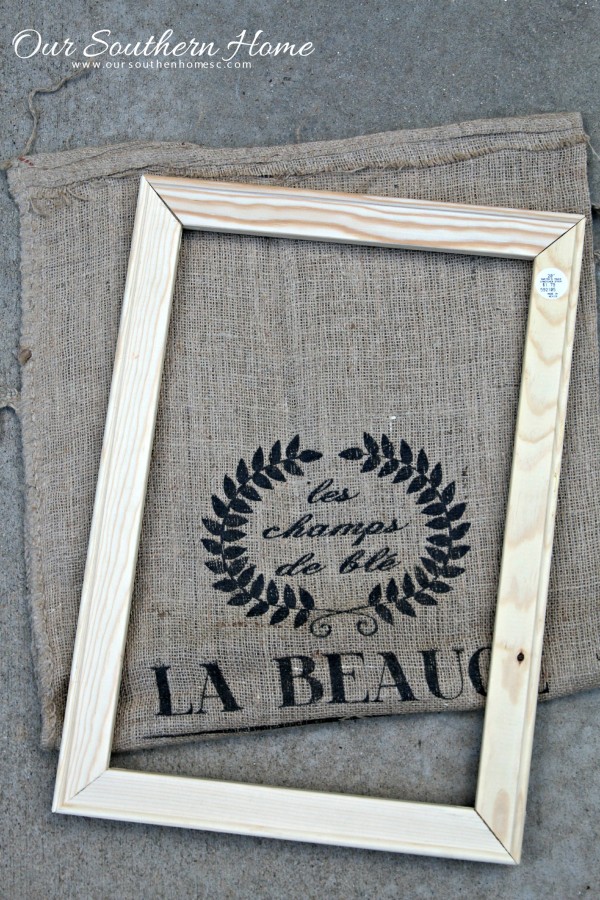
On one of my frequent trips to Hobby Lobby (I shop there about as frequently as I do the grocery store), I came across the wooden frame pieces in the art and framing section where they carry blank canvases. I knew right then that I had a new project idea for the grainsack.
SO the next time I went to Hobby Lobby, I carried the grainsack with me. In the floor,, I played with the various sized pieces until I came up with the perfect fit!
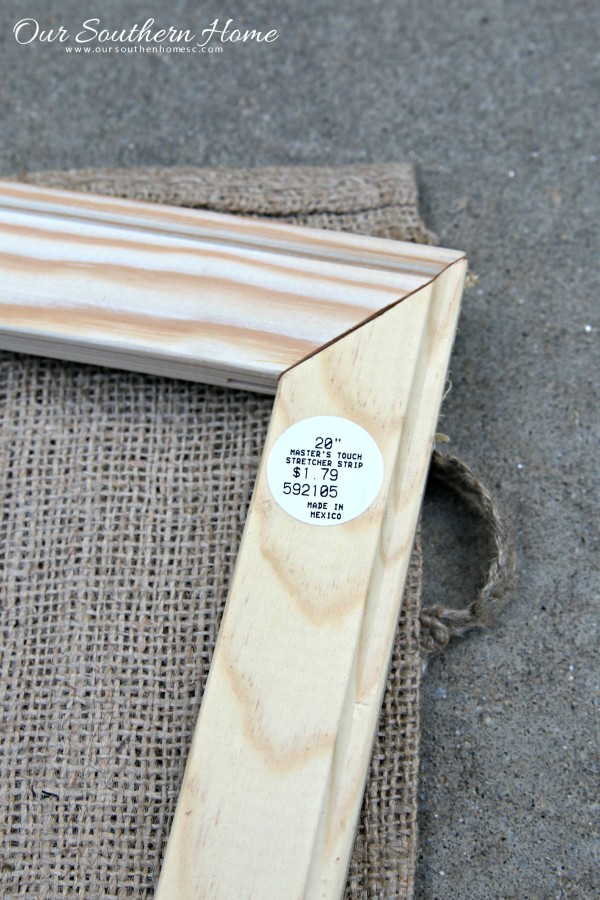
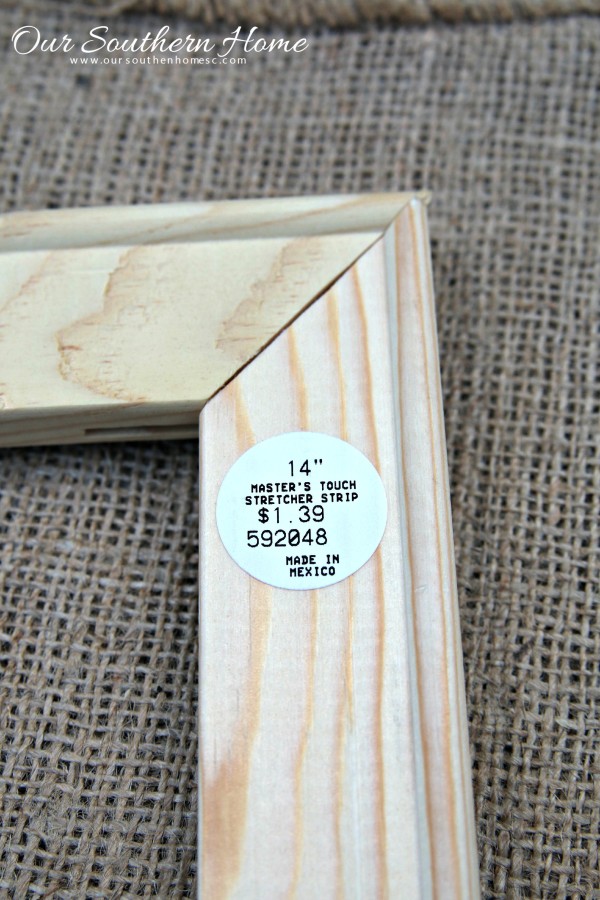
Look how stinking cheap they are!!!
You will need the following to replicate my wall art:
- burlap grainsack
- 2 – 20″ stretcher strips
- 2- 14″ stretcher strips
- wood glue
- heavy-duty staple gun
- heavy-duty staples
- scissors
Here are the simple steps:
- Apply wood glue to the joints for added stability when your merge the stretcher bar pieces together. It's kind of tongue and groove like. Fits like a puzzle piece. Allow to dry.
- I found that this grainsack is best used with the front and back together or it is too thin and see through. I cut the top off at first, but ended up layering the front and back together.
- Center the burlap on the frame.
- staple to the backside and trim the excess.
- So easy and so cheap!
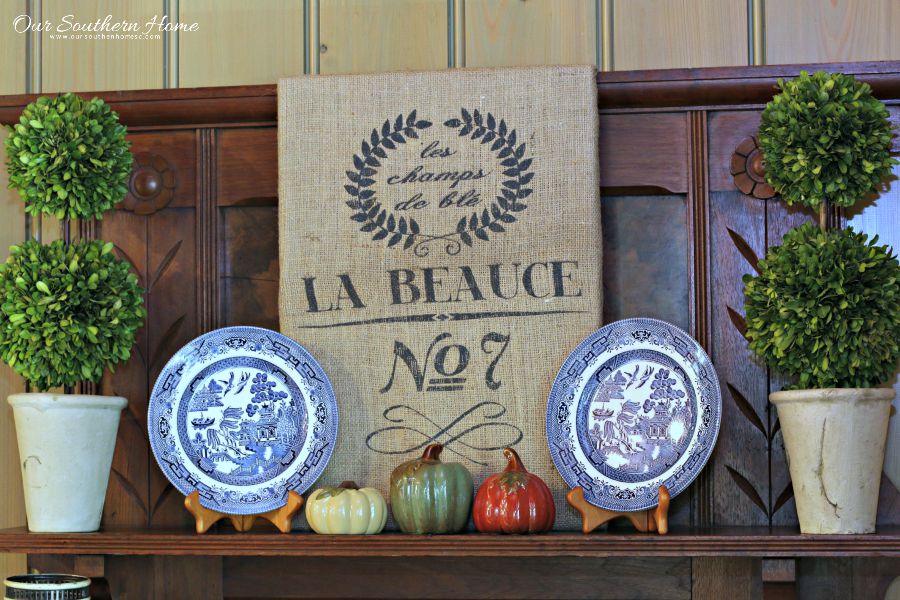
I really like the look of art leaned up against walls and furniture. That's what I did here. It makes it portable so that I can move it as I change things up with my decorating.
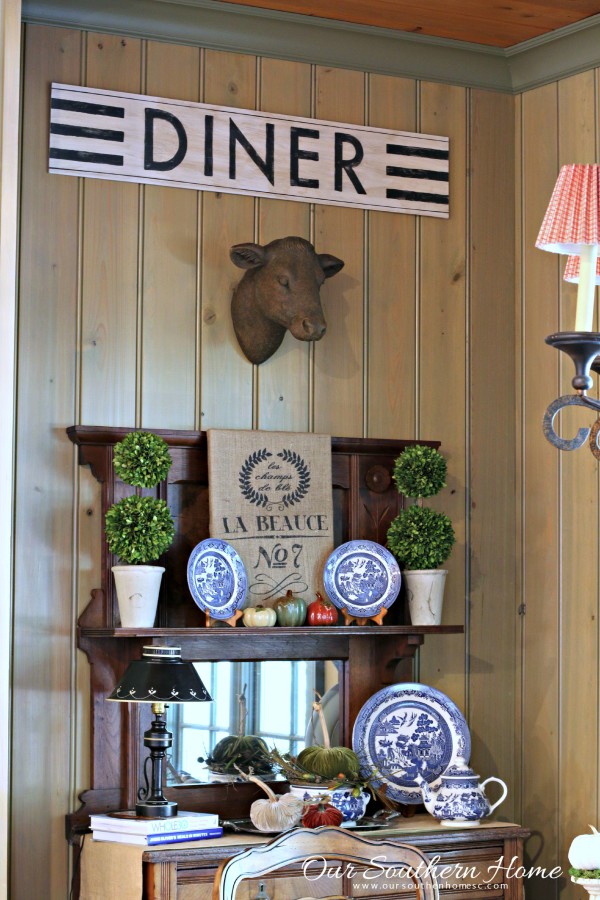
My DIY Pottery Barn Inspired Diner Sign can be found HERE.
Burlap goes so well with fall decor. There is just something earthy and casual about it.
You could do something similar with fabrics. It would be a very affordable way to decorate a child's room or nursery.
You could even do this same technique with your own hand-painted burlap.
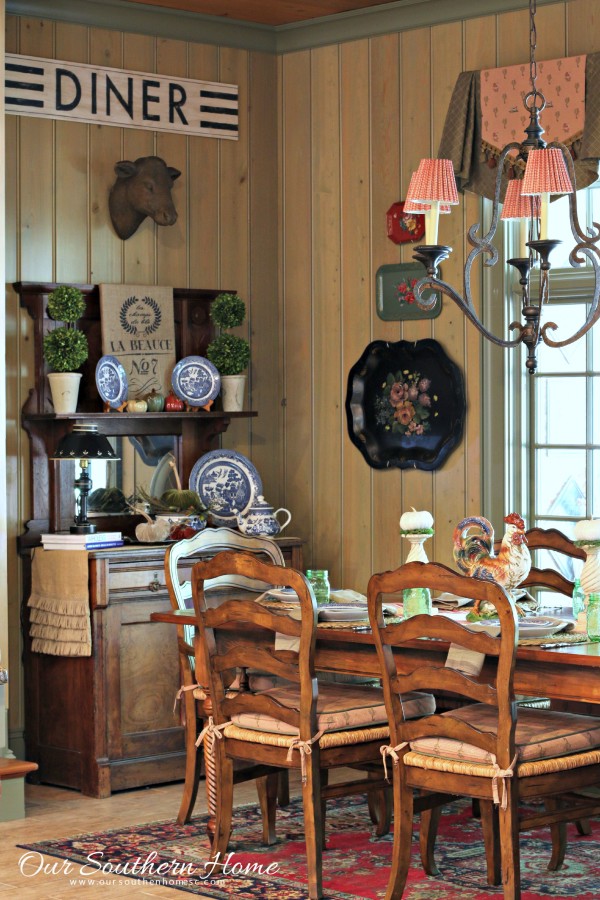
Our home is beginning to look a lot like fall. The daytime temps may not be fall like, but the evenings are getting cooler!
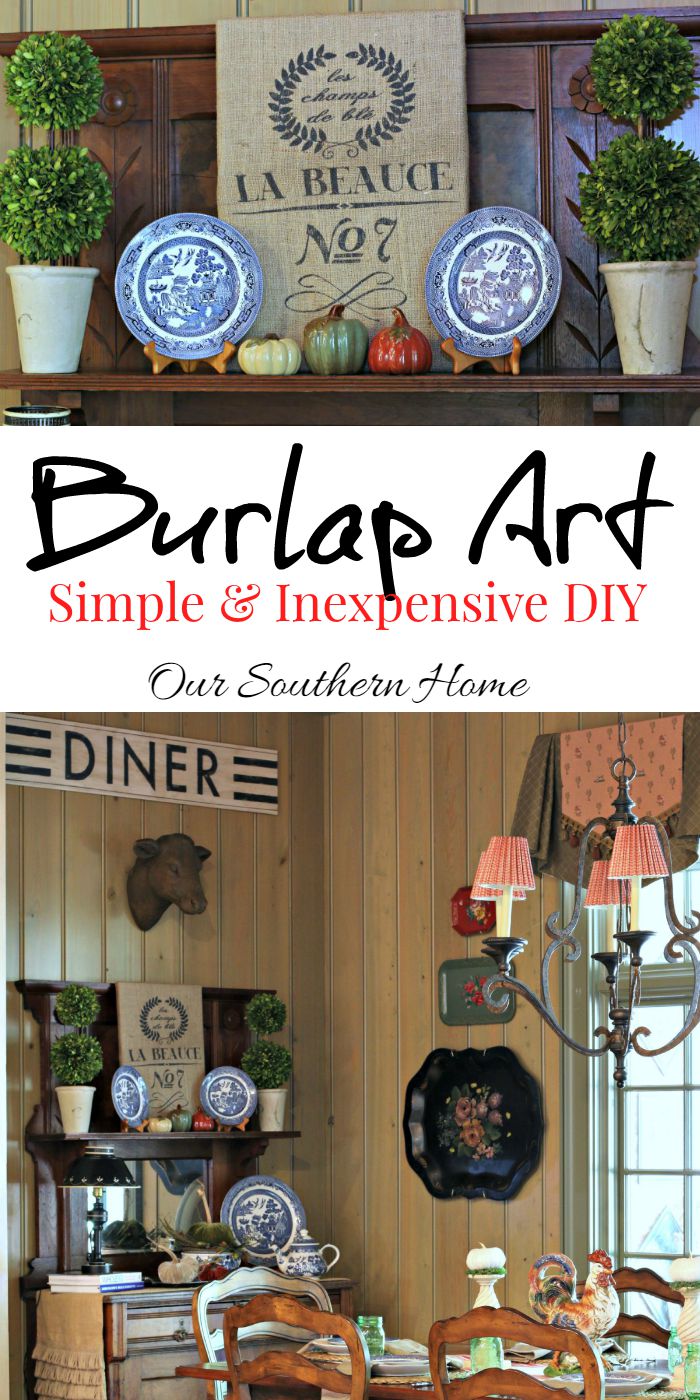
Be sure to PIN the above image for later!
I’d love for you to follow along on social media!
–>> Facebook | Pinterest | Instagram | Twitter | Google+ | Periscope @OurSouthernHome


Hi Christy, Have been thinking about you after seeing all of the rain and flooding on the news in SC. Hope everything is ok where you are. I have been tempted to buy one of these on OFS but was not sure what to do with it until now. Thanks so much for sharing this very pretty and creative idea, love it!