DIY Chevron Wooden Tray
This is a Sponsored post written by me on behalf of FrogTape for SocialSpark. All opinions are 100% mine.
![]()
This was my first time using FrogTape®'s Shape Tape™. I must say that I am quite impressed with the ease of use not to mention my end result! It comes in 3 great shapes: chevron, wave and scallop.
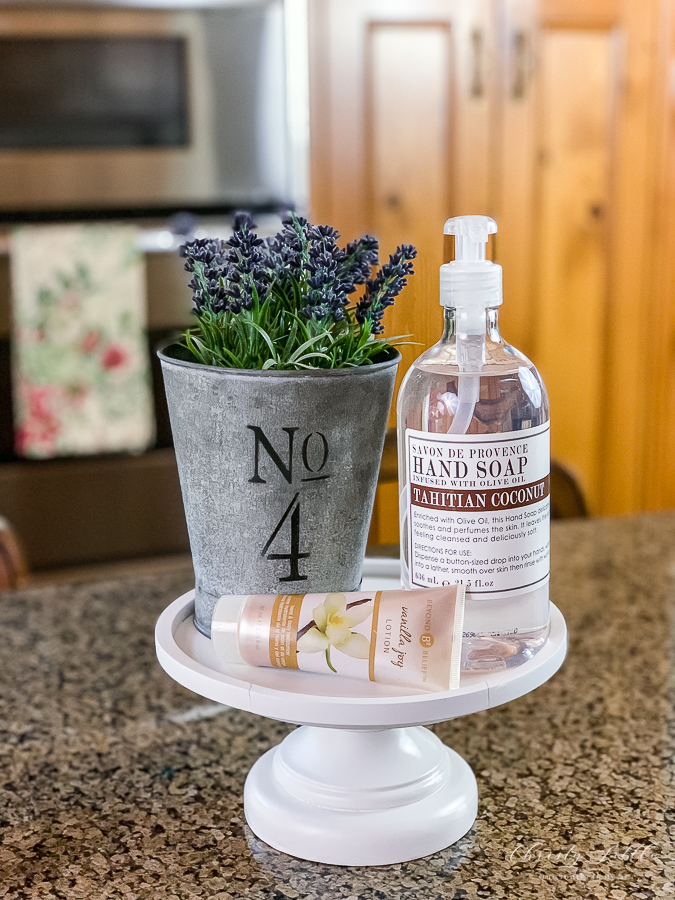
I love chevron for clothing and accessories, but have never used it to decorate my home! I can't believe that…can you! When I received the chevron Shape Tape™, I knew just what I wanted to do!!! I wanted to make a decorative serving tray to lighten up the kitchen counter for summer. Normally, these items are just sitting on the counter, but now they make a statement by just adding this simple DIY tray!
Are you familiar with Shape Tape™? You can read all about FrogTape®'s Shape Tape™ on their site as well as tons of cool project ideas!
Shape Tape™ reacts with the water in latex paint and instantly gels to form a mico-barrier that seals the edges of the tape due to the patented PaintBlock® Technology. This innovative technology is a super absorbent polymer that helps prevent paint bleed! Let me tell you…it works! My end results were clean, sharp edges as I removed the tape.
Let's get started! You will need the following:
FrogTape®'s Shape Tape™ in Chevron
Piece of wood cut to desired finished size
4 small bun feet
2 cabinet handles
stain
paint
clear matt sealer
drill and bits
screwdriver
fine grit sandpaper
![]()
I started with a scrap piece of wood that I had on hand from another project. My piece measures 23-1/2″ x 11-1/2″. I didn't fuss much with it. I did give it a light sanding. I wanted an aged look. Then I stained it with a couple of coats of a dark walnut colored stain. I allowed that to dry thoroughly before applying the chevron tape.
What is so great about this tape is that you can create the desired width of your stripe by how far apart you place the tape! I could have easily done just one big chevron stripe using 2 pieces of tape! I may do that on a pillow next!
If you look in the photos above you will see my placement process. If you notice, I cut each piece of tape longer than the board. Since I wanted to carry the stripe down the edges, I needed to wrap it underneath the board. You can see what I mean by that below when I am drilling holes for the bun feet.
I decided where I wanted the 2 outer side pieces first then placed pencil marks along the board. Then I measured equal distance from those to place the 2 center rows of tape. I double checked my pencil marks then I started to apply the tape.
Follow the directions on the package. It is designed with a back slit liner. You'll remove one side of the liner paper backing and position it. Then remove the other side of the liner and use some sort of a flat tool to secure it down. Make sure all edges are down. This unique slit liner backing makes application a breeze!
![]()
Before painting, I took the board outside. I marked the hole placement for the bun feet. You can find these in your home improvement store where they have furniture legs. They already have the screws in them! I drilled a pilot hole slightly larger than the screw. Be careful not to go through the top of the board. You are NOT drilling all the way through….just enough to get the screw going. I drilled about 1/2 way through.
![]()
Now you are ready to paint with your desired color. I mixed a white and antique white together. I painted in between the yellow tape. Don't forget the side and edges. I also painted the bun feet the same color.
Remove the tape right after painting. It comes off so easily and check out that clean edge!
Let your paint dry completly. If you desire an aged, distressed look you can sand with a fine grit paper. The last photo in the above collage shows where I've sanded…really dusty looking. Make sure you dust off the board and wipe it down with a damp rag. Let that dry. I decided to seal my tray with a spray can sealer with a clear matt finish for extra protection. I sealed with 3 light coats. **My tray is not intended for direct contact with food…it is for decorative purposes only.**
Lastly, you will screw on the bun feet to the bottom. Then position where you want your handles. Drill holes all the way through the tray for the screws. Attach the handles and you are on your way to having a stylish accessory that you made yourself! The best kind in my opinion!
![]()
I even distressed the bun feet.
![]()
It really adds that touch of summer. I can just see it with pumpkins in the fall and greens at Christmas as well.
![]()
I just picked a simple cabinet handle. You could really change up the look with a different finish. You could even use rope as the handle.
![]()
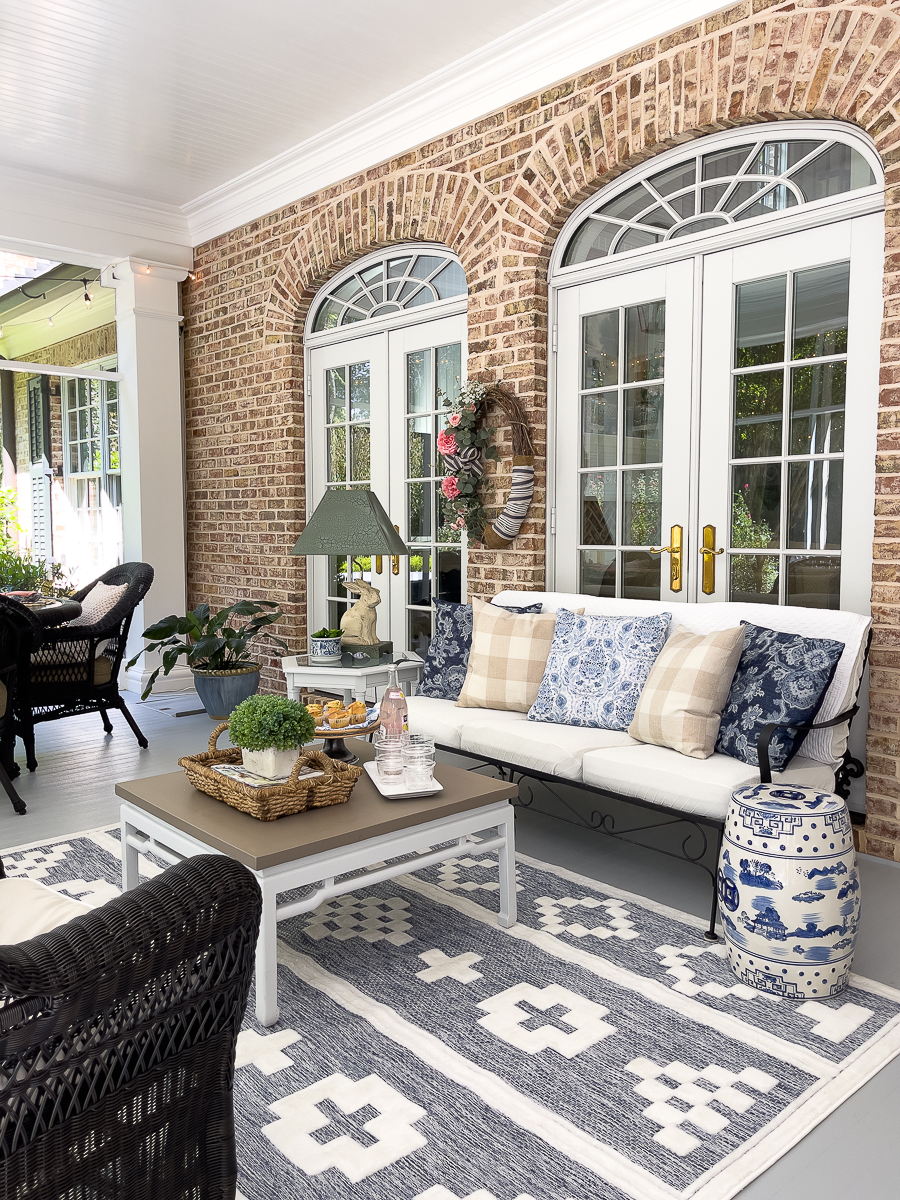
You can really see the chevron pattern in this photo. I am so ready to make something else! I may try a wall next. My daughter's bath needs an update! One of the tapes would also look great on the coffee table on our screened porch. I've got ideas churning! How about you?
![]()
Are you inspired to try your hand at FrogTape's Shape Tape? For loads of inspiration be sure to follow FrogTape® on Pinterest and Twitter.
You can purchase FrogTape®'s Shape Tape™ at participating Lowes and Walmart locations ,and all Menards across the United States. You can visit HERE for more information.
I'd love to hear your ideas on possible projects!!! Please let me know in the comments below! That way everyone can read through them to spark their creative juices!! I can't wait to hear what you have in mind!
Happy Summer!
Christy


Link Parties that OSH parties at on occasion! Sunday: DIY Show Off Monday: Between Naps on the Porch, Home Storis A to Z Tuesday: Not Just A Housewife, The Scoop at Cedar Hill Farmhouse and Inspire Me Party at A Stroll Thru Life, Setting for Four – Project Inspire{d}, My Uncommon Slice of Suburbia Wednesday: Savvy Southern Style Thursday: My Repurposed Life, From My Front Porch to Yours, Home and Garden Thursday at A Delightsome Life ,No Minimalist Here , Imparting Grace Friday: French Country Cottage, Miss Mustard Seed Furniture Friday, Common Ground, The Charm of Home, Rooted in Thyme, Imparting Grace, Keep Calm and Link Up, My Romantic Home – Show and Tell Friday, Craftberry Bush – Inspiration Gallery Friday, SnapCreativity – Show and Tell, Tatertots and Jello
Buffer


How fun is that. I need to get some of that tape. I love chevrons. Your tray is gorgeous.
Thanks, Marty!!!! First time playing with chevron. The ShapeTape makes it super easy!!! xoxo Christy
I love it and it is perfect for your kitchen. I want to make one too.
Thanks, Sheryll!!! It really was fun and so inexpensive to add a fun, trendy look! Have fun crafting!! ~Christy