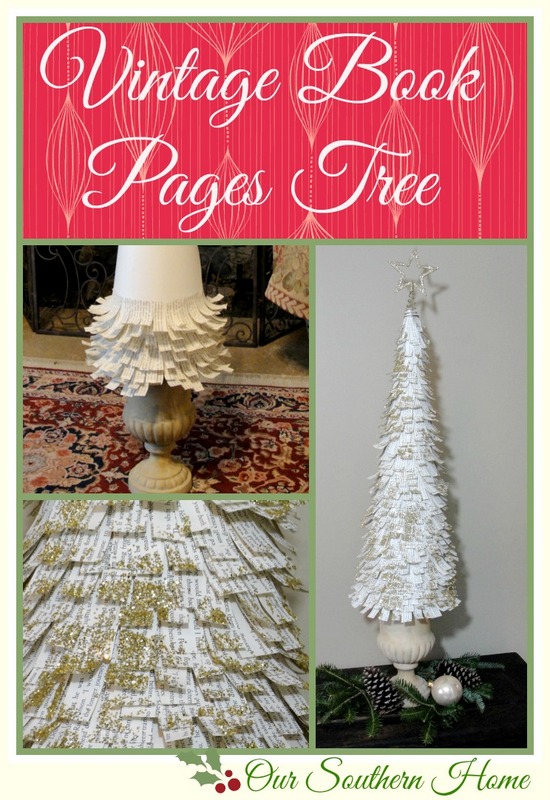
Book Pages Tree How To
‘Tis the season to be jolly….fa-la-la-la-la-la-la-la-la
Oh, how I love the Christmas season. Yes it is very busy, but such a magical time full of love!
I am so excited to be here participating in The Scoop on Creating a Handmade Christmas. Crafting makes me happy. Sometimes things don't work out like you hoped, but this project makes me swoon.
Today I'd like to share with you my Vintage Book Pages Tree. They are the perfect addition to our master bedroom mantel this year!

You will find the complete schedule at the end of this post. Be sure to visit everyone! There are so many creative ideas! I am honored to be sharing with them!
Gather Your Supplies!
vintage book from thrift store
scissors
pencil
poster board
clear tape
packaging tape
craft glue
glitter color of choice
foam brush
topper – optional
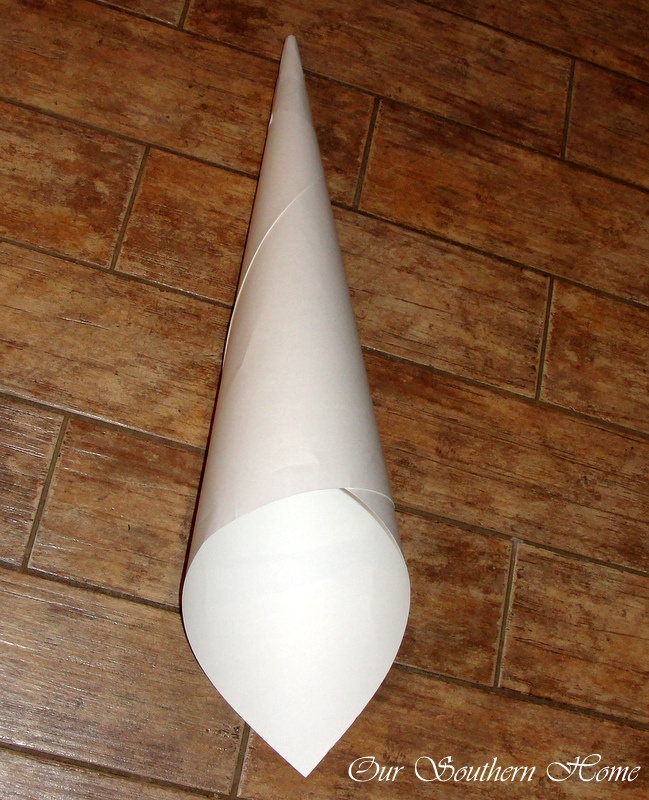
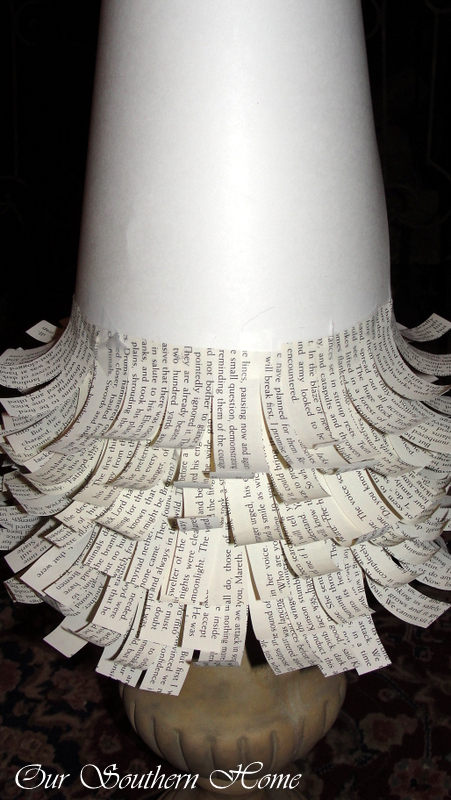
I kind of played around with this…a little trial and error….taping and untaping. If you plan to place your tree on an urn for example, it is best to have it handy. I formed a cone shape with a poster board from the Dollar Tree with it held horizontally. It ended up being a rather tight cone. Before taping, make sure it looks like a good fit for your container. You want the base slightly larger so it will fit on it to remain secure.
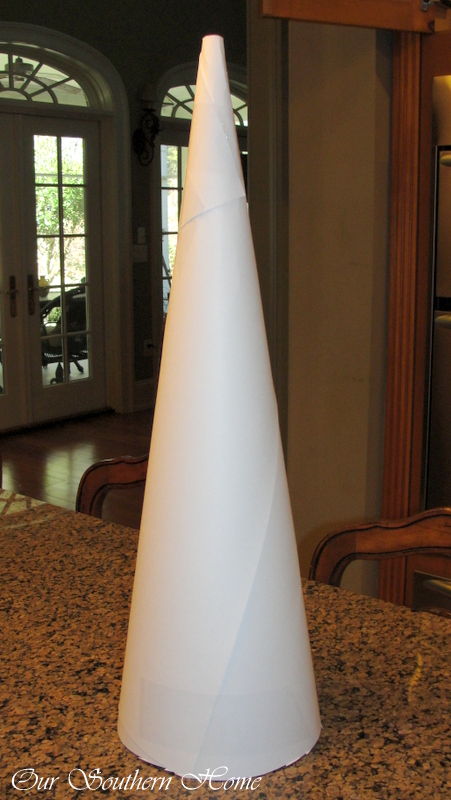
You need a sturdy tape to hold it securely. Regular clear tape will not hold it unless you wrap and wrap and wrap. I had clear packaging tape on hand and used it. I'm sure you could use painters tape or Duck Tape. I wanted to use the clear so I wouldn't have to worry about it showing anywhere.
Simply trim the bottom with scissors. Don't worry, it won't look perfect! It won't be seen!
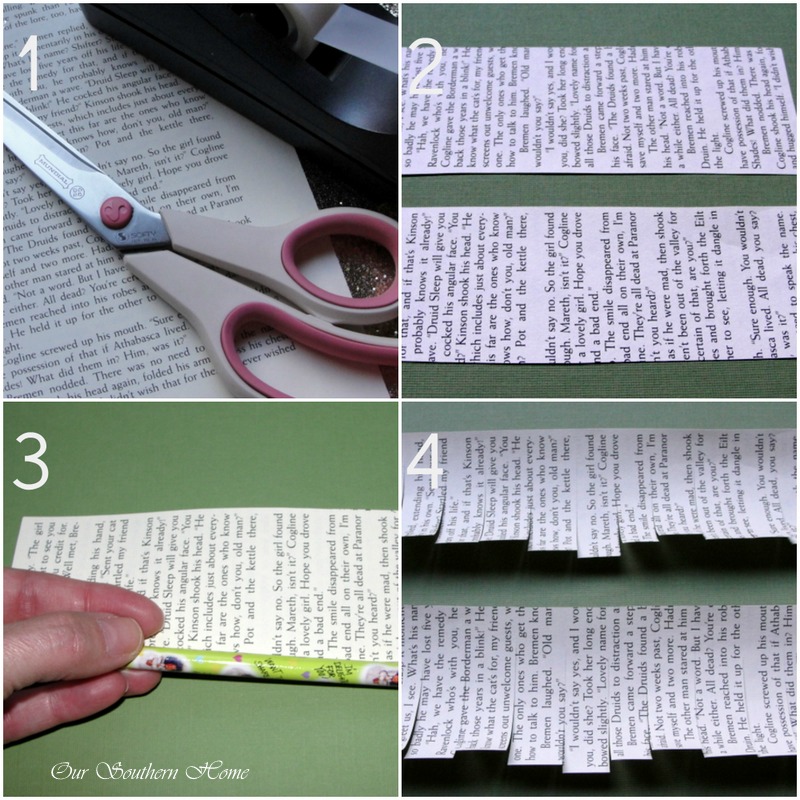
1) This is a great TV watching project. Once I got my system down, it went very fast. I used almost an entire $1 thrift store book for this….a novel. Tear out bunches of pages in advance. Then trim around the pages. No need to measure and cut perfectly.
2) Cut the pages in 1/2 so they are at their longest. Stack pages and cut through as many at a time as you can comfortable handle.
3) With several strips stacked, roll them on a pencil for a slight curl.
4) With the stack, cut random sized flaps on the strip. Don't cut all the way through.

Now you are ready to have some fun. This is the fastest part of the book pages part! I found that it was easiest to hold the cone upside-down kind of in between my knees. You will want to work from the bottom to the tip. To make your life easier, I highly recommend a sturdy weighted desk top tape dispenser. If not, it will take much longer having to pick the tape up and down. Simply tape the strips around the cone. I used 1 roll of clear regular tape. Just eye it and place where they look best to you.
Test it on your urn after a few rows just to make sure it is looking great.
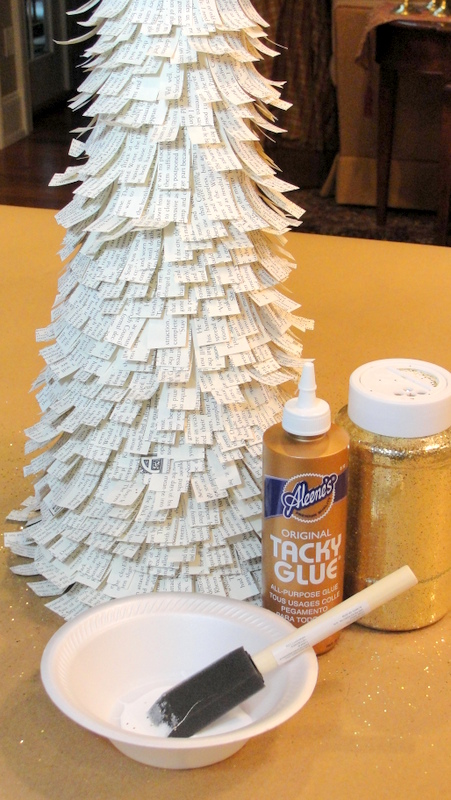
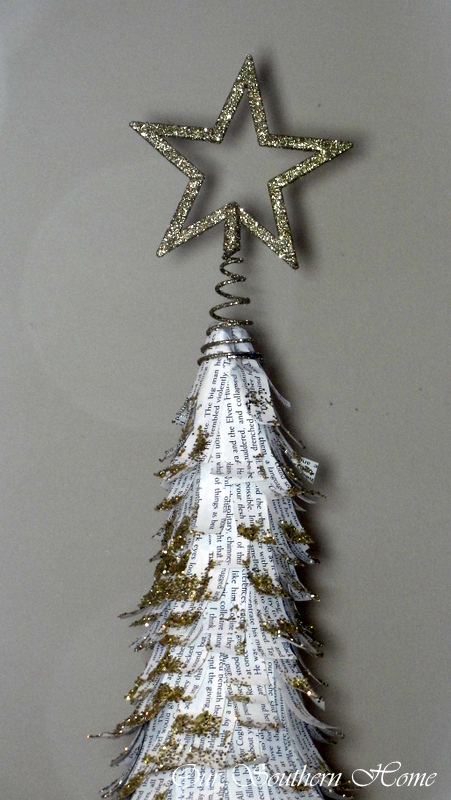
Tree is done and ready to glitter!
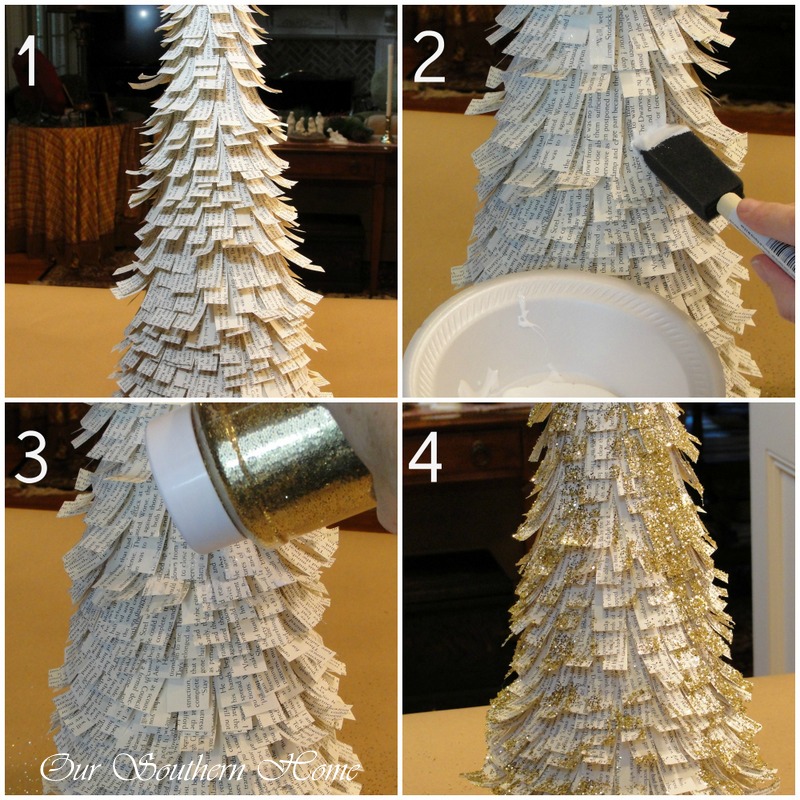
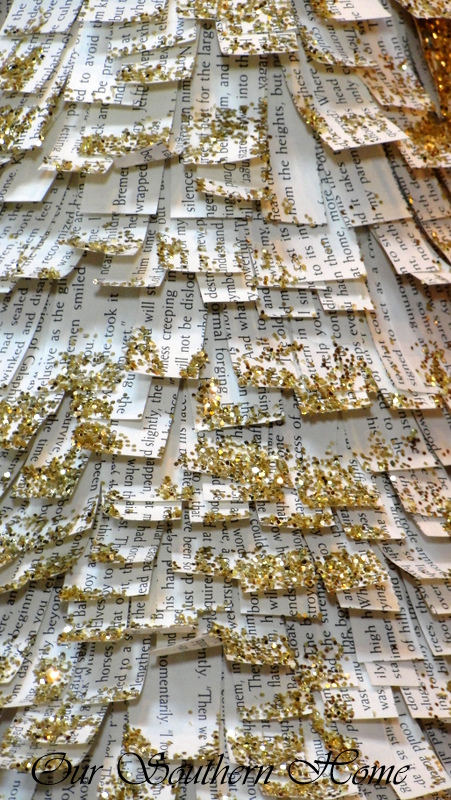
Simply brush the white glue randomly and as thick or thin as you'd like in sections and glitter away. It is easier to tilt the tree on its side when glittering. As glitter falls on your protective area scoop it up and reuse it. I have areas that are thicker than others. I wanted it random.
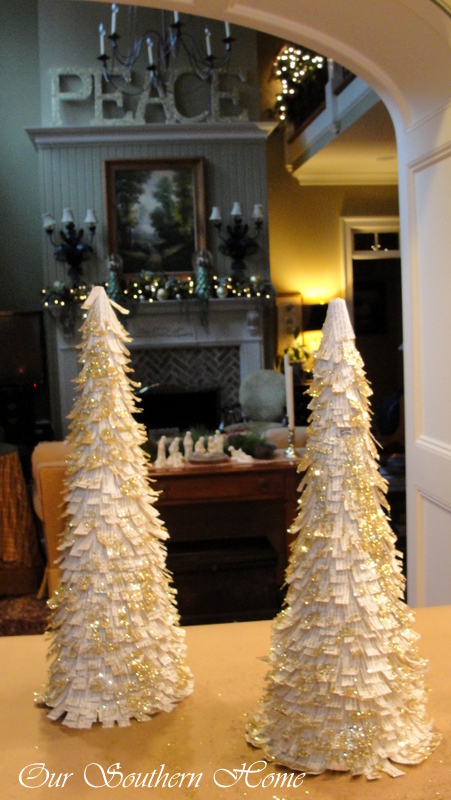
I made 2! Leave them alone to thoroughly dry before placing on your urns!
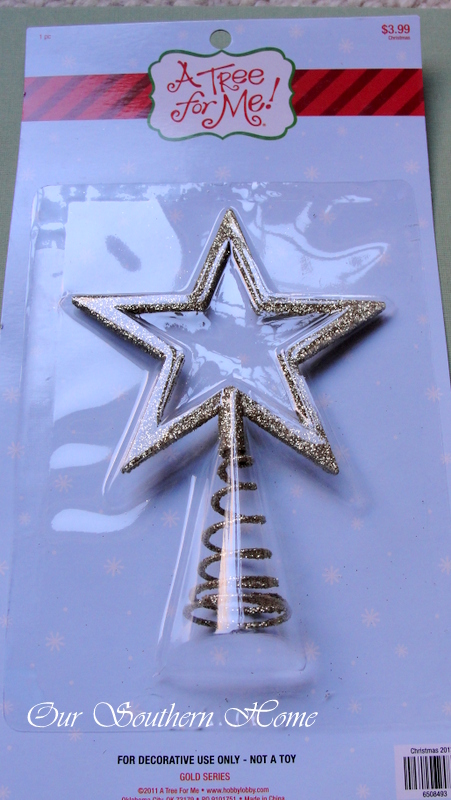
This is a tree topper from the miniature tree section of Hobby Lobby. They were 40% off!
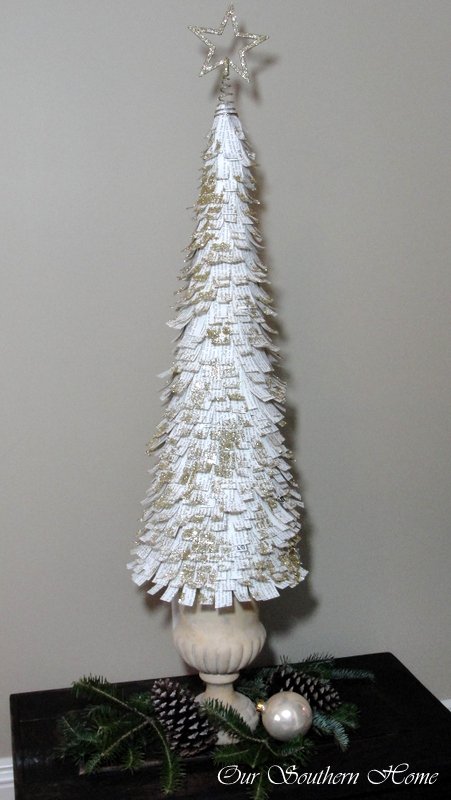
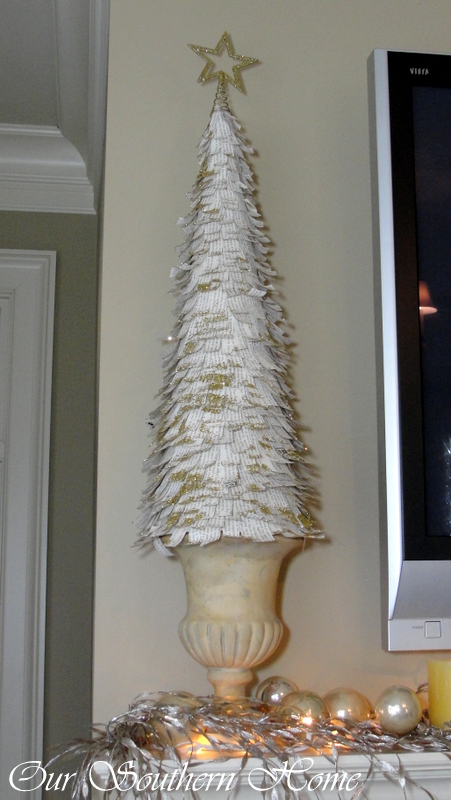
Here is a little peek of it on the mantel. Next week I'll be sharing my garland that I made as well as the entire mantel.
Thanks so much for stopping by! Be sure to visit the other blogs on the tour below!!


Friday December 6
Saturday December 7
Sunday December 8
Monday December 9
Tuesday December 10
Link Parties that OSH parties at on occasion!
Monday: Between Naps on the Porch, Boogieboard Cottage – Masterpiece Monday
Tuesday: The Scoop at Cedar Hill Farmhouse and Inspire Me Party at A Stroll Thru Life, Setting for Four – Project Inspire{d}
Wednesday: Savvy Southern Style
Thursday: From My Front Porch to Yours, 52 Mantels, Stone Gable, Home and Garden Thursday at A Delightsome Life, The Shabby Creek Cottage ,No Minimalist Here
Friday: French Country Cottage, My Repurposed Life, Miss Mustard Seed Furniture Friday, Common Ground, The Charm of Home, Rooted in Thyme,Imparting Grace, Keep Calm and Link Up, at the picket fence – Inspiration Fridays, My Romantic Home – Show and Tell Friday, Craftberry Bush – Inspiration Gallery Friday, SnapCreativity – Show and Tell
Buffer


What lovely trees!This would make a wonderful gift!
xx
Anne
These are so sweet!! I tried my hand at these a while ago and they didn’t come out nearly as nice as yours You did a beautiful job!
Love this idea… how about tea staining the pages first ? Thanks for sharing
These are so pretty, Christy. And they look so easy to make. Thanks for sharing.
I love anything made with book pages! Thanks for sharing!
Love the little trees and you make it look so simple to make them. Thanks for joining us on the tour.
I love book page projects, and your tree is a beautiful example. Love the glitter, too. 🙂
Those are beautiful! Such a creative idea and I love the glam with the glitter.
Beautiful project with beautiful results…love it!
LOVE this project! Pinning! 🙂
The book pages trees are just beautiful. Thank you for the tutorial, I am thinking about making them out of music printed wrapping paper and trimming them with tiny music instruments. Thanks for sharing.
I love it! So pretty and yet it looks easy to do! I am a big fan of anything with book pages! Thanks so much for sharing with us! Hugs…Debbie
Love them Christy!! They look great on the urns!
Hi christy. How cute are those trees. Boy, the possibilites are endless with those cones. Have a great weekend.
Oh I love this tree, how fun is that. Great tutorial too. Hugs, Marty
Thanks so much, Marty! It was a fun project. Enjoy the weekend! ~Christy
I can’t wait to see your entire mantel. We’ve all seen book page wreaths, but this is the first tree I’ve seen. I like that you used a cone that you made instead of purchasing a more expensive styrofoam one. My brain cells are churning with ideas after seeing this. I can picture red or pink trees for Valentine’s Day and pastel colored ones for Easter. Thanks for sharing your fun project.
Thanks, Paula! I was thinking the same yesterday about other holidays and scrap book paper! It was fun! Yes, those styrofoam trees are pricey! Happy Weekend to you! ~Christy