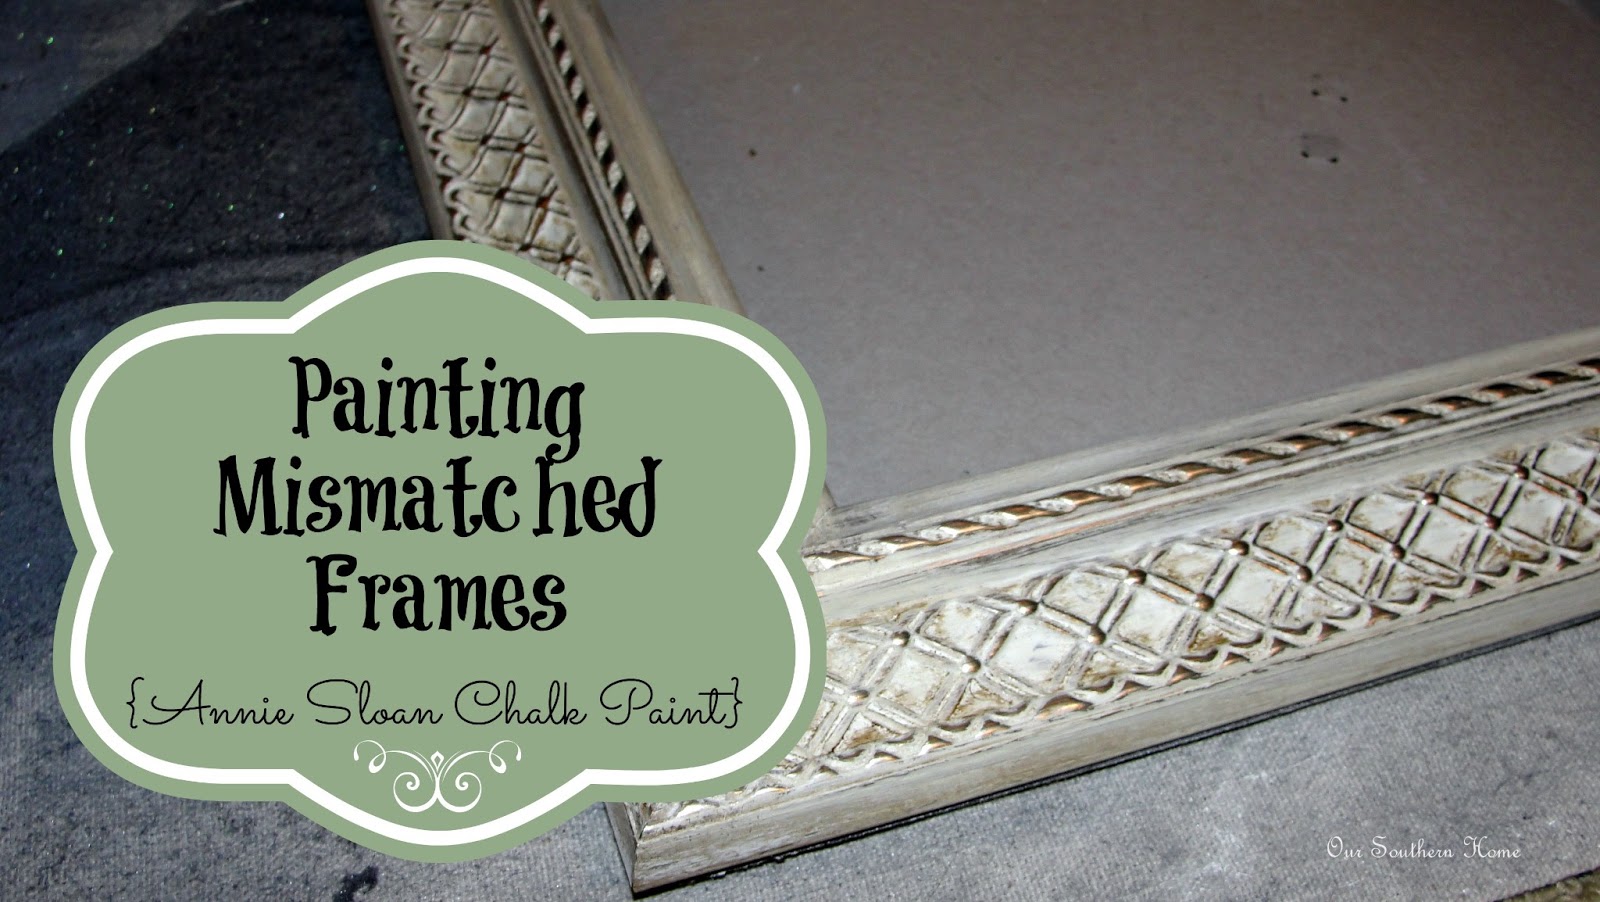
Painting Picture Frames {Annie Sloan Chalk Paint}
Last Friday I posted my completed Santa Photos Gallery Wall. You can find that post here. I will be posting a series of mini tutorials that go along with the gallery wall. The first tutorial is painting all the mismatched frames to unify the wall.
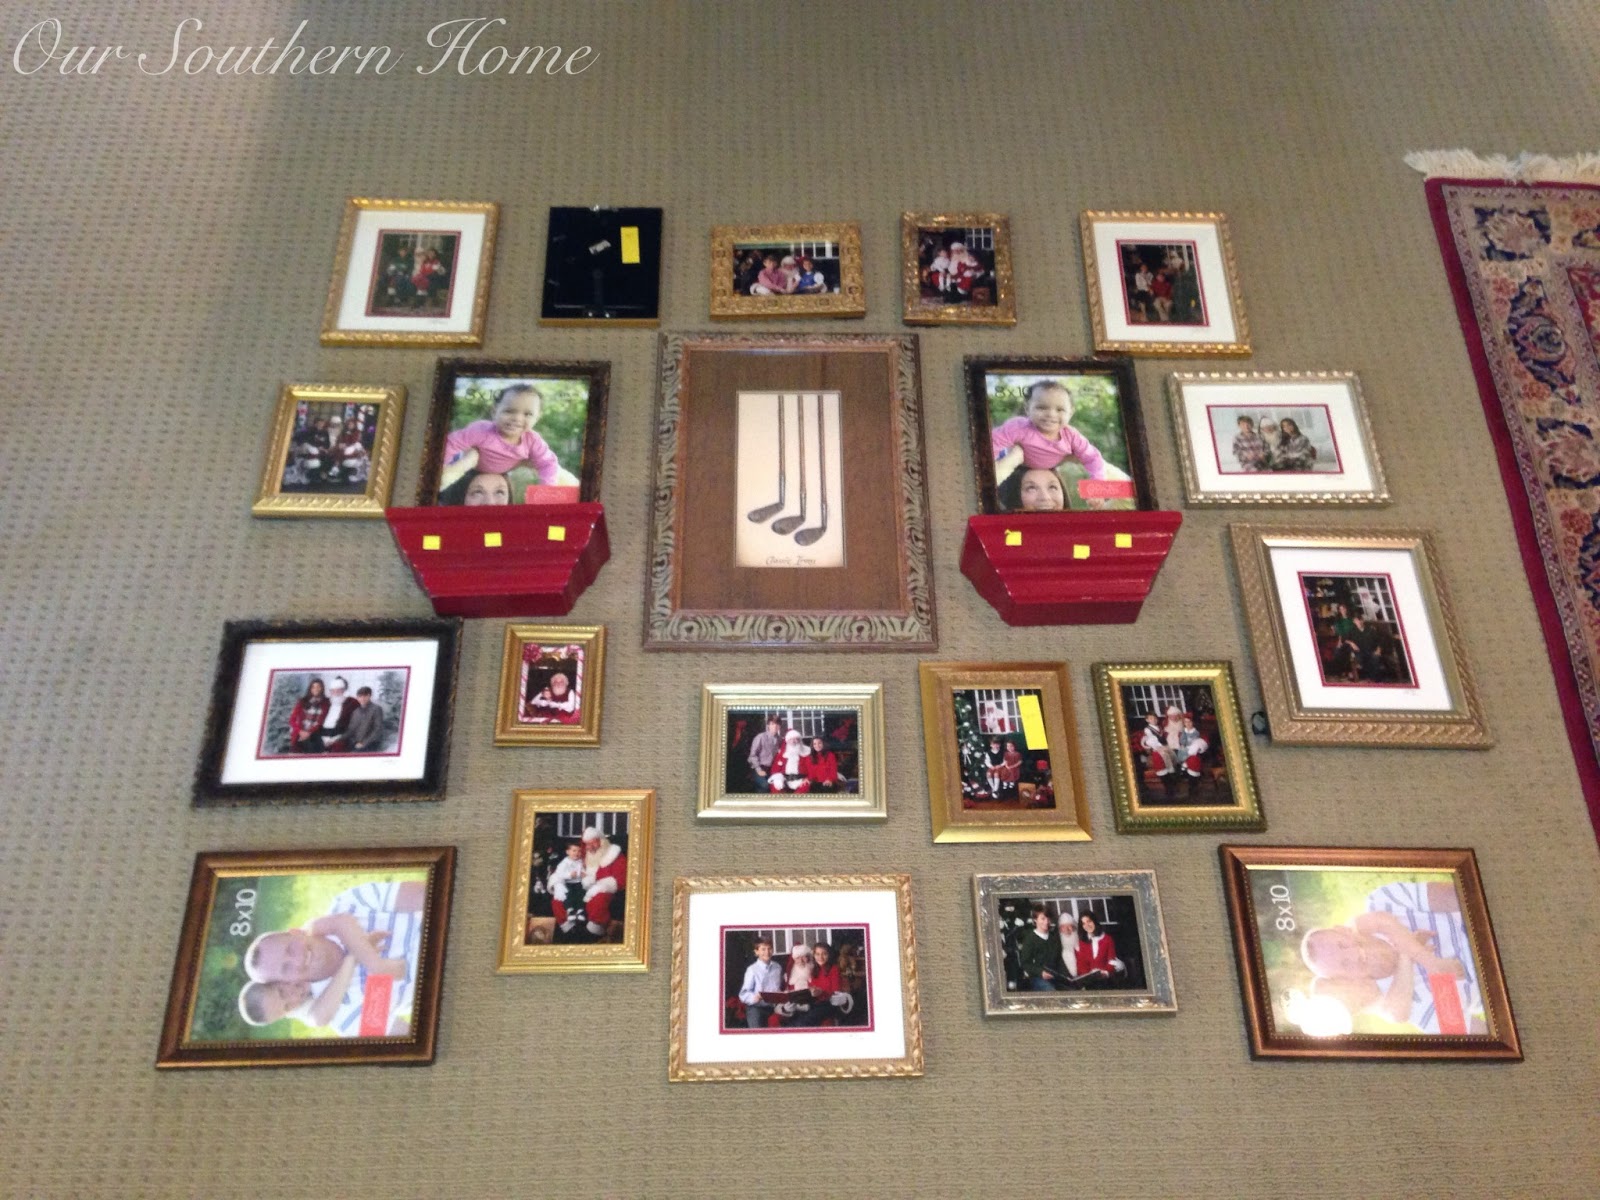
These are the frames before collected since 1996. They are all some sort of golden tone. The red wall shelves were found at Goodwill for $2 each. I like the dimension that they add to the wall. The golf print has been hanging out in the attic for quite a few years. It will become a chalkboard.
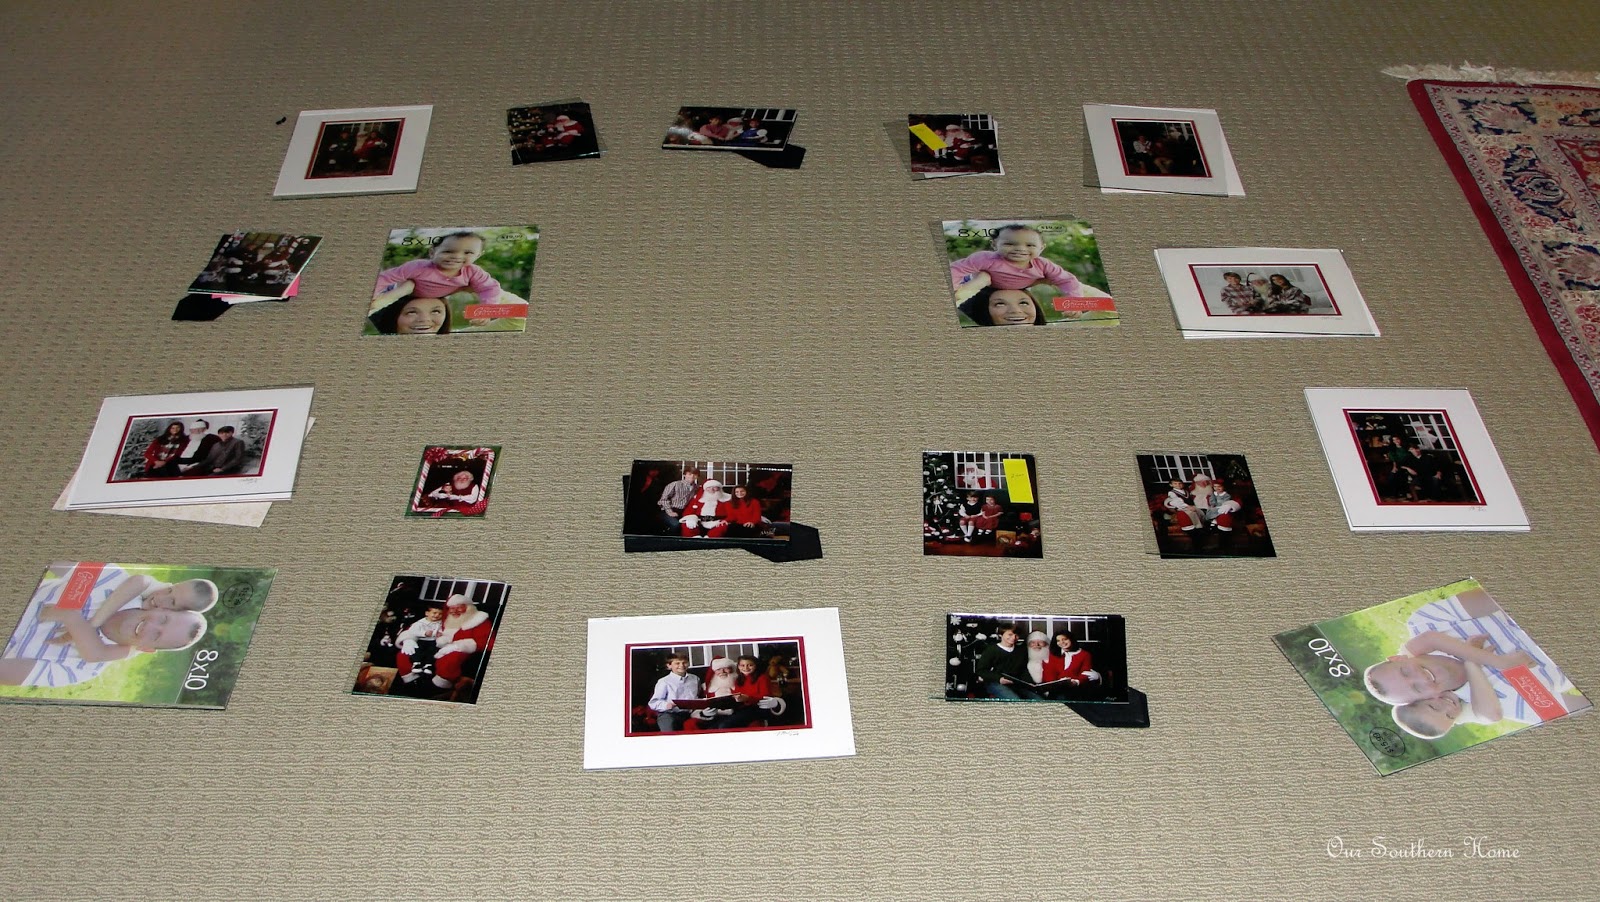
Almost all of these frames are meant to be used as tabletop frames. Most did not have a wall hanging mechanism. I hammered a claw wall hanger onto the back of each frame before painting. I removed all of the photos, glass and mats from the frames and kept them in their spot. I highly recommend taking a photo of the frames laid out before. This will make the process of matching the frames back up with the proper photo much easier after painting.
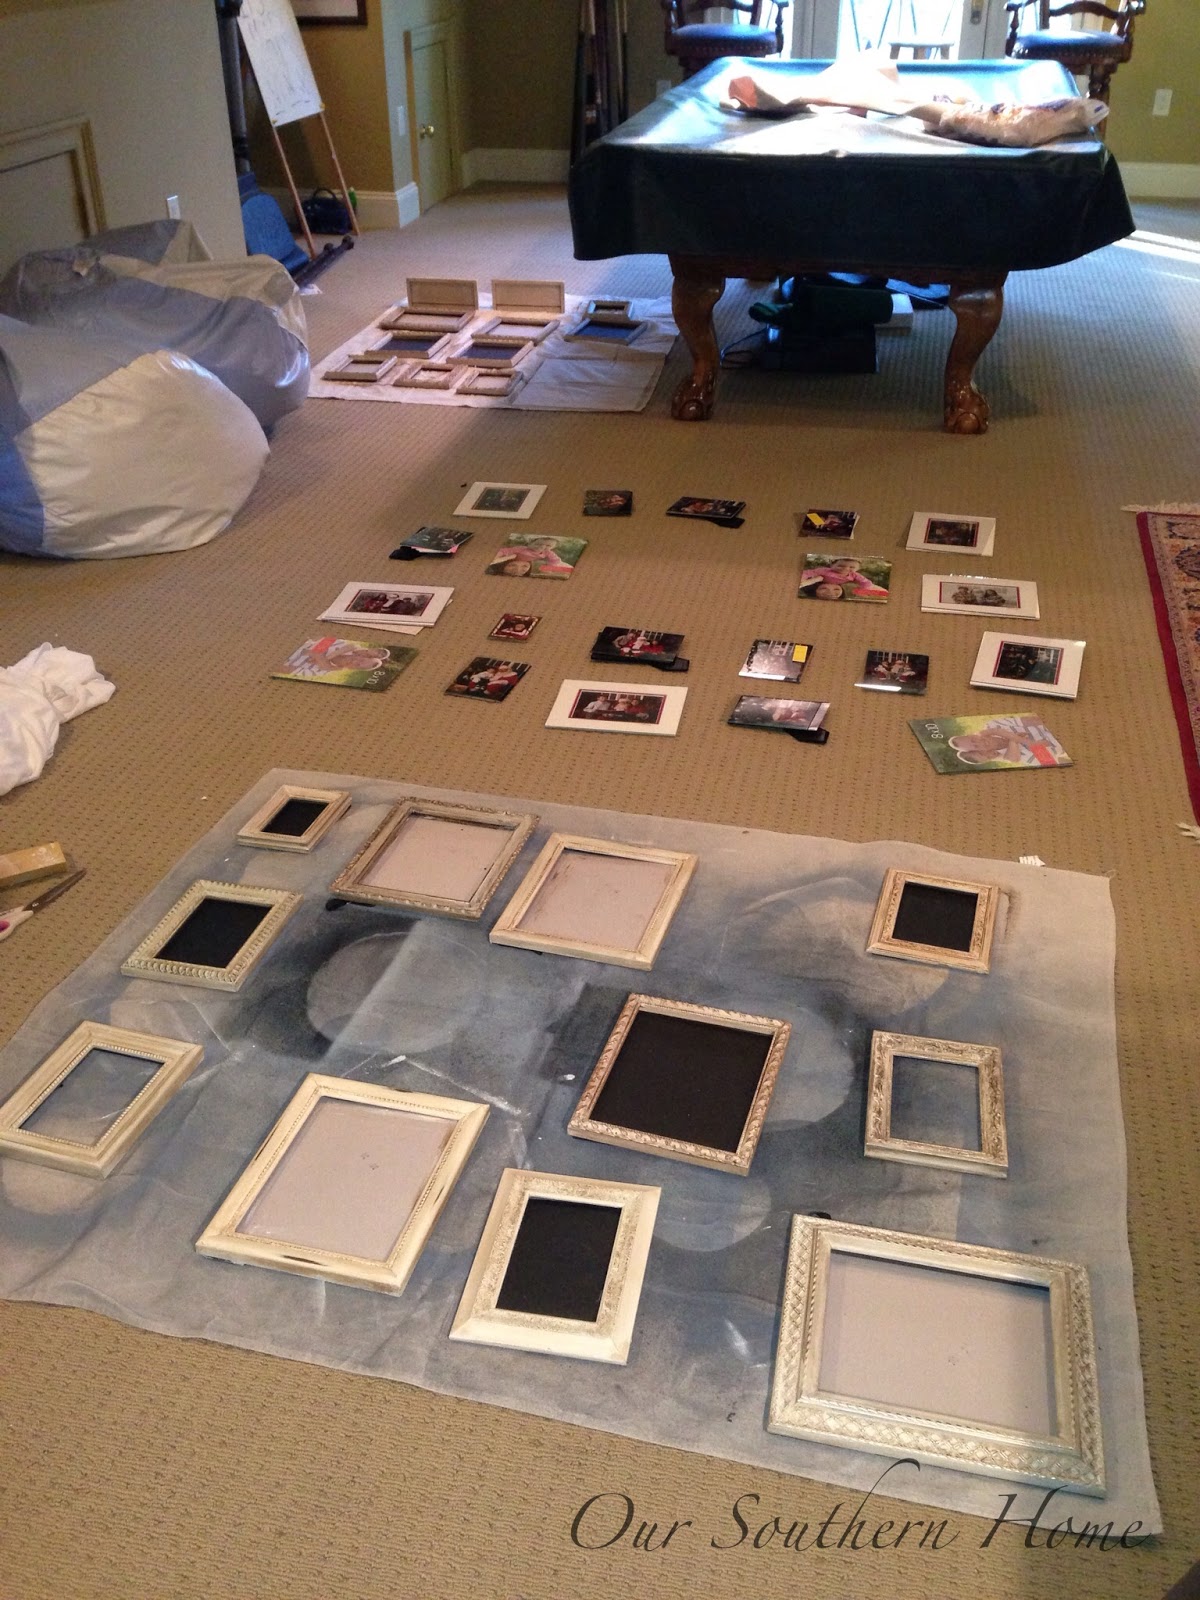
I divided the frames into 2 sections mainly due to the size of my 2 drop cloths. This actually made it a bit more manageable to paint. First I dusted off the frames before painting. Next I started painting with a dry brush method, dabbing my brush on a paper towel to get off any excess. I wasn't looking to completely cover the wood. I wanted some of the gold to show through for a distressed look. I did sand a few of the frames after painting for a further distressed look.
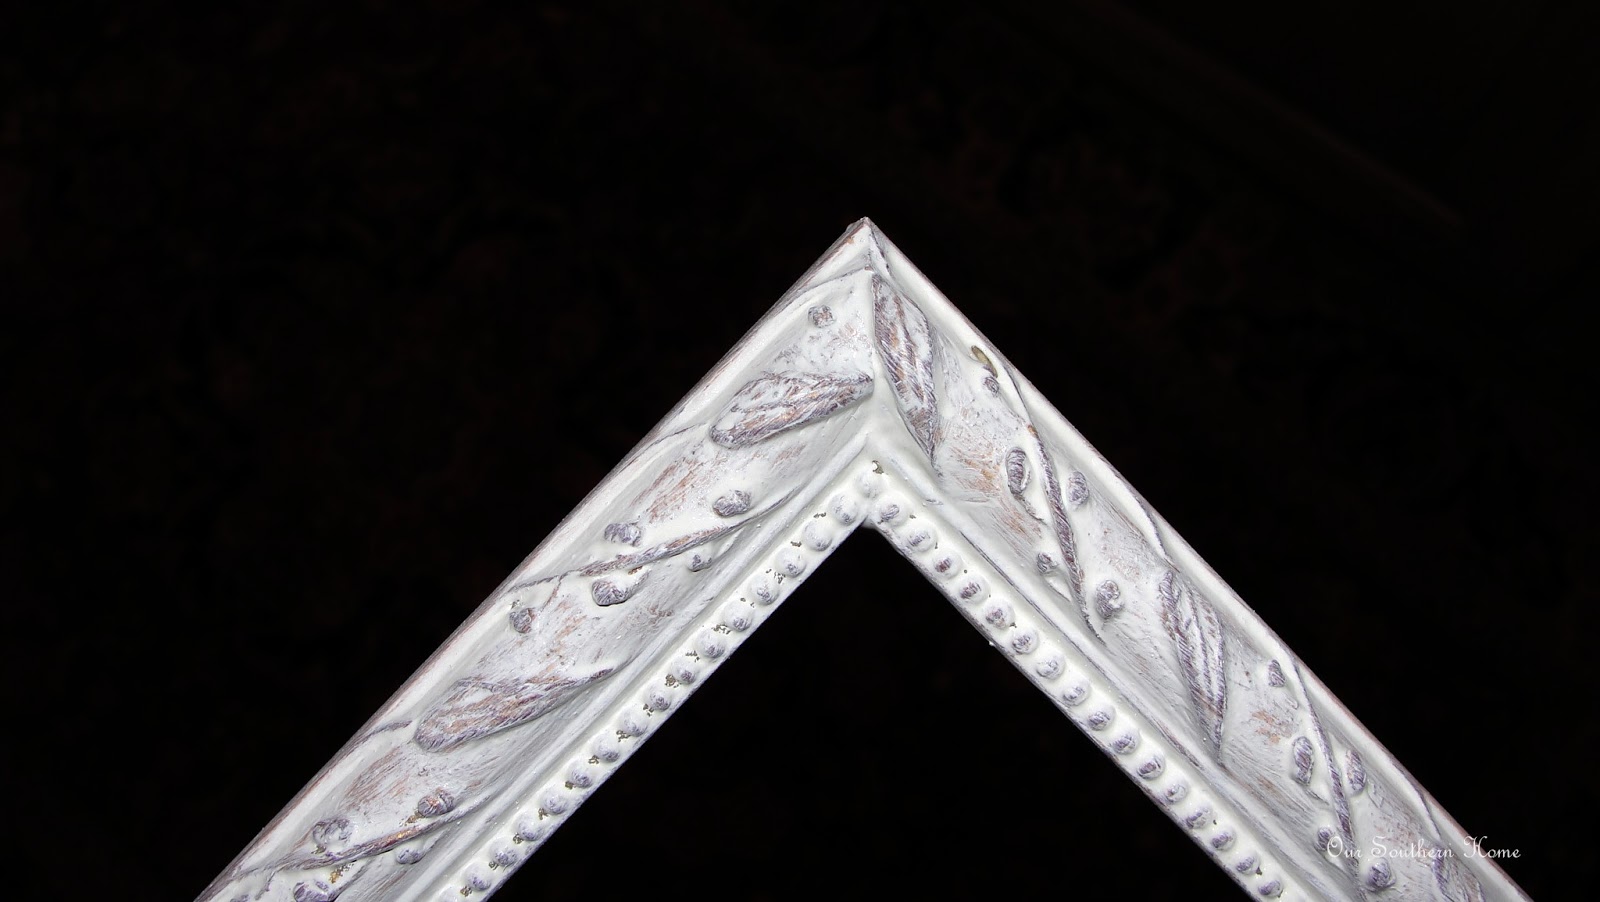
In some cases, I would go back and wipe excess paint off. Do this quickly. ASCP dries fast.
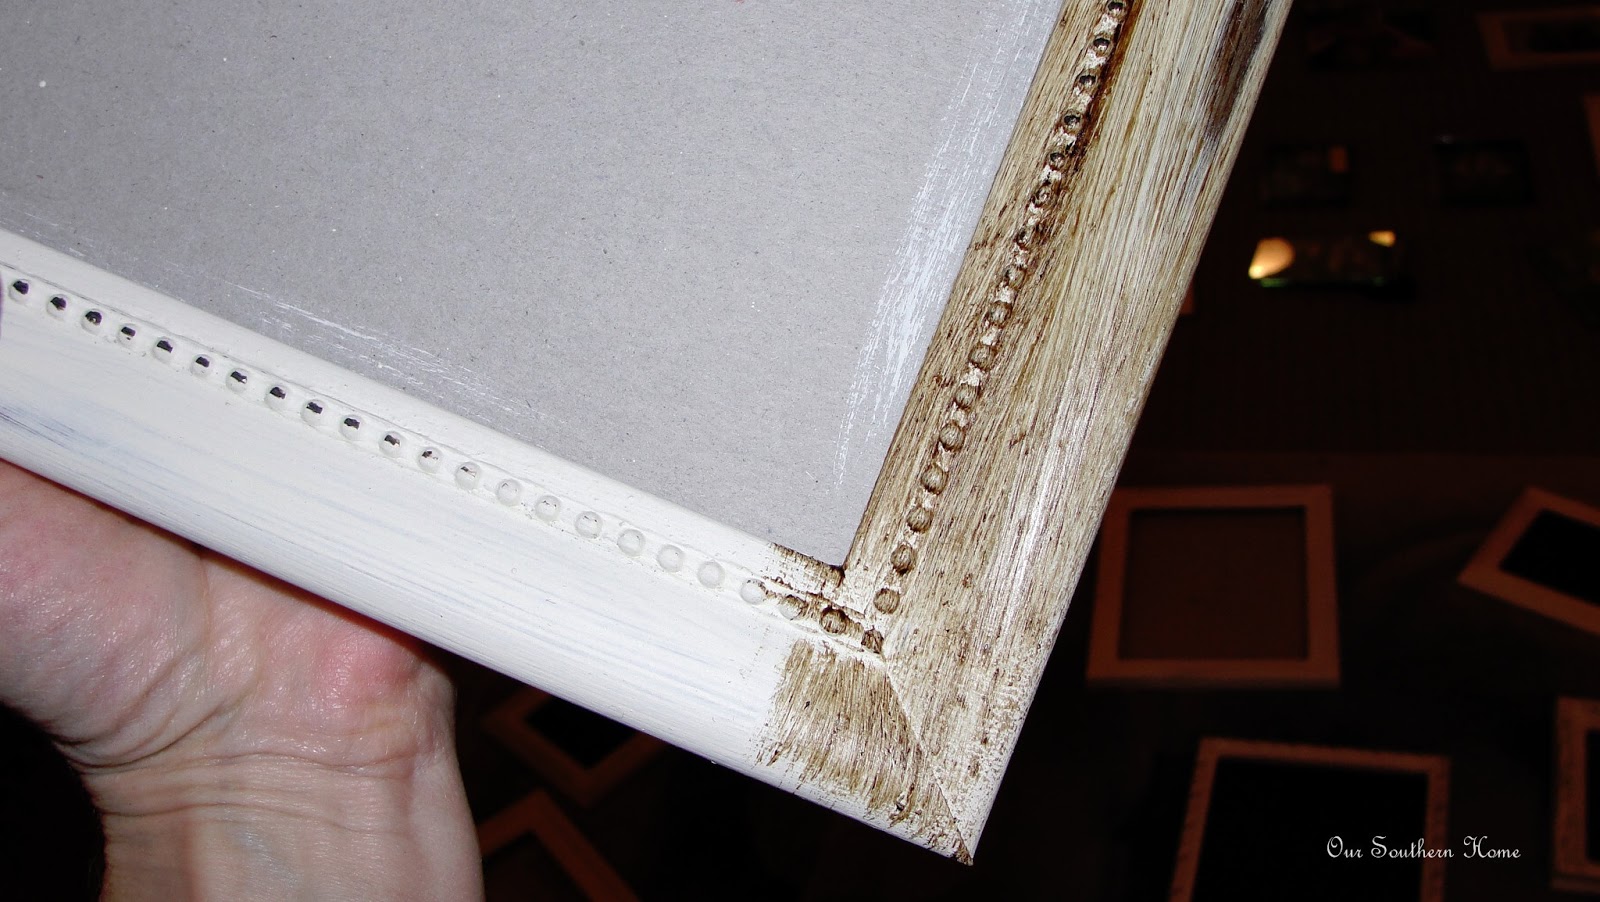
I have already applied the clear wax. Here I am now applying the dark wax. Always apply clear wax before using dark. It allows you to move it. You can also add a tiny bit of the dark wax to your clear wax and complete this in one step. I chose to do it in 2 steps so that I could control the dark areas better, I then went back and buffed out the dark wax letting it rest in the crevices for that aged look.
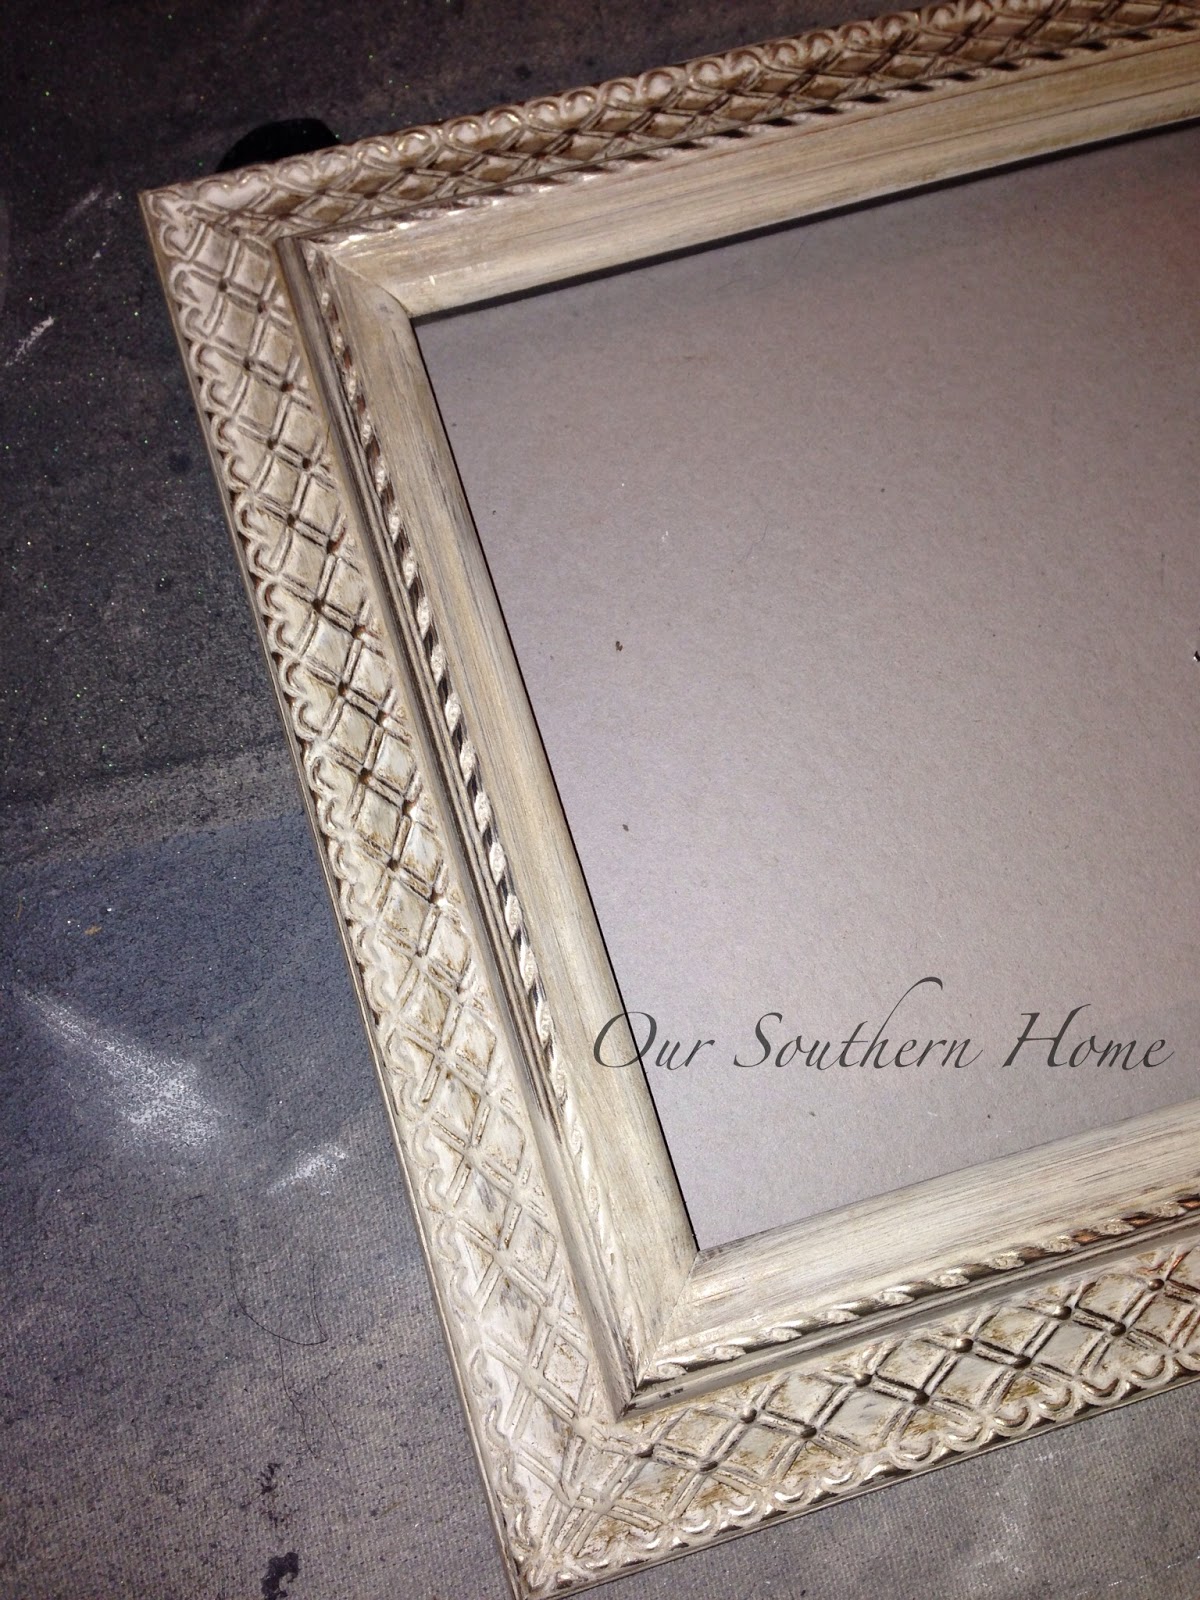
This frame is complete with clear and dark wax over Old White. Make sure you buff well and allow to completely dry before adding your photos back. I let these dry overnight. They should be dry to the touch and not tacky. If they are sticky then you have applied too much wax and have not buffed enough. If this is your first attempt with this process, I highly recommend practicing first on a scrap piece of wood. It really is quite simple!
Please let me know if you have any questions. There are several more tutorials to go along with this post. Here is the gallery wall hung! I am very pleased with how it turned out!

For more detailed photos of this gallery wall please click here.
My move to WordPress is getting closer and closer! The new site is look great and more organized. I will sadly lose all of my Google Friends Connect followers. I encourage you to follow by Google+ or subscribe in the other ways mentioned.
This post was featured! Thanks so much!!

Sunday
I {heart} Nap Time, Nifty Thrifty Things, Flamingo Toes, DIY Showoff, The Creative Home Acre Blog Hop, Homemaker on a Dime Blog Hop Party , Three Mango Seeds,
Monday
Alderberry Hill/Make the Scene Monday, Clever Chicks Blog Hop, Motivate Me Monday, Skip to My Lou, Craft and Tell by Cherished Bliss, The Winthrop Chronicles, The Dedicated House, Uncommon Designs, Under the Table and Dreaming
Tuesday
Tuesday
Coastal Charm, Cedar Hill Ranch Cow Girl up, Homework: Be Inspired, Not Just a Housewife, Tip Junkie, A Diamond in the Stuff, My Uncommon Slice of Suburbia, Our Thrifty Ideas, The Kurtz Corner, Elizabeth & co, Creatively Living Blog, Home Stories A2Z/Tutorial and Tips, Sugar Bee Crafts, Chef In Training,
Wednesday
Thursday
Friday
504 Main, Keep Calm and Link Up, Common Ground, Redoux, Debbiedoo's, The Charm of Home, Rooted in Thyme,
Saturday
Funky Junk Interiors, It’s Overflowing, Six Sisters Stuff, Tatertots and Jello , Positively Splendid
Monthly


I never would have thought of using clear wax to help decorate a picture frame. That is definitely a good idea. It can be really frustrating to find good picture frames that all match. I love being able to have picture frames on my walls. There are always so many fun memories that you can decorate your home with.
Thanks so much, Lilly! They really pulled that wall together!
Christy, I paint funky furniture, making treasures and heirlooms for clients out of furniture that has seen better days, and SAVE everything because I just KNOW it will be useful someday…and I have some frames that I started painting…started..magic give away.. BUT..I did not start with a before wall like you did, and even thought I always say “Paint changes everything”, my gosh, I can’t believe how simple it was to totally transform your wall! You did a great job and I think I am going to dig all my frames out to fit my favorite pictures and do a wall like you did. It looks fabulous! And it was just paint AND your vision of “what could be”. Thanks for a wonderfully simple inspirational post! I love it! Your wall looks fantastic! Carolyn
That’s so awesome Carolyn!!! Thanks so very much. So happy to have inspired you. Let me know how they turn out!!! XXOO Christy
I love dry brushing frames. It can really bring an old picture frame back to life. You are not just limited to white though! try to choose a colors that complement the picture.
Thanks for stopping by! I do use other colors. I chose the antiqued white look here to stand out against the green walls and to give a uniform look to the gallery wall. Have a lovely day!
You have such an artistic eye. The before and after blew my wife and me away. The DIY tips were great. We are huge fans of picture mural walls that tell a story of family – well done!
Thanks so much, Mike! It was such a fun project and a great way to bring all those frames together! So happy you stopped by! You and your wife have a lovely weekend! ~Christy
I have so many picture frames, like hodgepodge that I’ve put away for that reason. This post has inspired me to try the ASCP..where do you buy it from? Does it come in spray paint also? I have an old clothes hamper that I have used for 49 years that I rec’d as a wedding gift. It needs a paint job badly and I’m wondering if ASCP would work on it or that Valspar paint you used that has the primer in it? You don’t find clothes hampers like this anymore, that’s why I won’t get rid of it.
Betty,
ASCP only comes in quart and sample pot form. It is fabulous! Yes, you could paint the clothes hamper with it also applying a top coat of wax. There are many tutorials of using this fabulous product! A little goes a very long way! Great coverage! Of course, anything you paint with whichever product is at your own discretion! Simply do a search for stockists of ASCP in your area. If there are none close by, The Purple Painted Lady does ships.
What kind of wax did you use
Annie Sloan clear and dark waxes. 🙂
I love the way your frames turned out! I wasn’t sure what you meant when you talked about using clear and dark wax. Would love to try this on some of my frames.
Thanks Tara! The clear and dark waxes are products used to seal. The dark wax is added to age. You could also seal with a poly. You do not have to do the sealing step. Let me know if you need more help when you get ready to tackle a project! 🙂
Your picture frames look great, keep up the good work! 🙂
Thanks so much, Grant! I really appreciate you stopping by!
It turned out beautifully and I love that the height of the display extends down towards the floor.
Thanks bunches! Happy Easter!
I love your gallery wall and the pretty unified frames!
Thanks so much! Happy Easter!
Cool idea! Thanks for sharing this on The Creative HomeAcre Hop! Hope to see you this Sunday at:
http://www.theselfsufficienthomeacre.com/2013/03/the-creative-homeacre-hop-7.html
Thank you!
So pretty, Christy! I’m dying to try the ASCP and wax.
I found you today thru the Homework Linky. I hope you get a chance to stop by my blog and leave a comment, too!
~ Megin of VMG206
http://www.vmg206.blogspot.com
Thanks so much Megin! You will love the paint…give it a try! I’ll give you a visit too!
Love the color and variety of finishes. Very nice!
Sara
http://triedandtwisted.blogspot.com
Thanks so much Sara!!!
Wow wow! Those look great! I wouldn’t have thought of using the chalk paint.
Thanks Jillian! The chalk paint gives it that vintage look that I wanted. Spray paint is always an option if you want complete coverage. 🙂
I have been hearing about Annie Sloan Chalk Paint everywhere! I’m going to have to give it a try, especially after seeing your beautiful frames! I hopped over from Skip to My Lou–thanks for sharing!
~Abby =)
Thanks so much Abby! You must try the paint…you will love it!Let me know if you have any questions!
Christy – this is lovely! I love photographs and love to display them.
I live in Wilmington, NC but grew up in Charleston, SC. Where are you in the upstate? I have a close friend that lives in Landrum, SC. Not sure I spelled that right. Anyway, are you near her? I found you on Flamingo Toes – funny how that works, isn’t it!
All the Best to You ~ Katy
Thanks so much Katy! I am in Easley probably an hour from Landrum. Small world! We have a family beach house on Caswell Beach, NC (Oak Island). We love to go to Wilmington for the day to shop….it is just a 45 minute drive. 🙂
Love how the paint unites all the unique frames! Looks wonderful and just love the chalkboard! I just bought Annie Sloan paint and am smitten with it- will have to gather up my old mismatched frames
Thanks Christina! You will love the paint. It is quite addictive!
This is such a great way to get all the frames to coordinate! Just wanted to let you know that this will be featured on Someday Crafts tomorrow. Be sure to stop by and check it out.
Thanks so much, Michelle! I am so excited!
What a great way to have all your frames coordinate. I love how they match but still are all different, to keep things interesting. I’m working on a gallery wall myself and I hope it turns out as great as yours! I’m host a link party on my blog and I’d love for you to join!
http://www.simplydreamandcreate.com/
Thanks so much Stephanie! I’ll be sure to check out your link party!
Beautiful! I’ve got a small gallery wall on my mind, so I appreciate the inspiration!
Visiting from the Grace at Home linkup, btw!
Thanks so much Erica! So happy you stopped by!
Your gallery wall looks great! I really like the way that you’ve done all the frames to match. Looks wonderful. Visiting you from FNF.
Thanks bunches Jana!
Looks gorgeous! Great color choice! I love those frames – so elegant! Thanks for sharing Christy!
Beckie, thanks so much! I really appreciate the support!
Oh that looks nice. Job well done.
Thank you so much for joining the fun at Linkin’ with my Ladies. I followed you via Twitter, G+, GFC, Pinterest and liked your FB.
Have a great day and see you around.
Judy
http://www.pursuitoffunctionalhome.com/
http://www.kusinaniinday.blogspot.com/
Thanks so much Judy! So happy to connect with each other!
Oh wow, I admire the final outcome of these frames and how they look on the wall. You have inspired me. Hope you like your move to wordpress.
Sue, thank you so very much!!!! The move to WP has been slow, but I think I will be very happy in the end!
I love the way the frames look! I also just started moving my site. I am working on having all of my friends just follow me through bloglovin’. Bloglovin’ will transfer your followers when you move your site:) Check me out @ http://www.feelingtheemptynest.com when you have time. Swung through with the blog hop and had to tweet those frames:)
Thanks so much Nicky!!! I love Bloglovin as well. I enjoy following blogs there. I will look you up there! I just transferred all of mine there from google. I am so happy you stopped by!
Awesome gallery wall.
Thanks Charlene! So happy you stopped by!
Your gallery wall looks great! I love Old White as well. What a big difference it made to paint them all the same. It was definitely worth the effort.
Thanks so much Sonya! Old white is a great go to color! 🙂
Old White is my go to color!! I run out of it all the time. Thanx for partying!
Thanks Pamela! Always a great party full of wonderful ideas!
Hi Christy, I’m stopping in from Vintage Gwen link party – these frames are beautiful. I have a bunch of mismatched frames and have been wanting to paint them, and I love how yours turned out. I especially love the shelves mixed in with the letters! Adorable 🙂
Pinned & following!
Kim @ Two Ten
Thanks bunches, Kim! I hope your painting project goes well! heading to check out your site as well!
What a difference!!! The newly painted frames makes your gallery work so beautifully together!
I have boxes of frames… I’m so inspired by your post! Thanks!
Thanks bunches, Yvonne! I have so many other frames now that I want to paint. It really was easy! ASCP is just so wonderful! Will be at your party Thursday!
It looks terrific. I’ve used table top frames to hang on my wall too. Rather than hammer in a claw hanger, I’ve used the velcro picture hanging Command strips. Love the finished look. Great way to reuse old frames and not have to buy all new ones whenever you decide to add to or change up the gallery wall. New FB and blog follower too.
Thanks so much Christa!!! I am very pleased with the outcome. I love using Command Strips whenever I can. I tried with these, but most are velvet backed and could not get the strip to adhere to it. 🙁 Command Strips are so much easier!!!
Your gallery wall looks amazing!
Thanks Mary Ann! I am so glad that you stopped by!
Looks great Christy! I love how you brought them all together with the paint! 🙂
Thanks, Nancy! I am so glad that the paint unified all those frames together!! It saved a lot of money opposed to buying new frames!
Christy…It looks great. You did a wonderful job. The frames look fantastic- xo Diana
Thanks so much, Diana! It was a fun, thrifty project!