Decoupaged Desk
Nothing like a monthly furniture challenge to get you motivated to finish the job! If you haven't, now is the time to learn to decoupage. You can decoupage crafts like ornaments to furniture!
This month's theme is Decoupage. I've decoupaged lots of crafts, but never a piece of furniture! If I can do it……anyone can!
I did a little research for furniture because I'd be working with much larger pieces of paper. I'm going to send you on over to Allison from Refunk My Junk for the best decoupage tutorial I've come across for furniture! It works like a charm! BUT first, let's look at how my piece turned out then you can visit all the other projects from my blogging pals below!
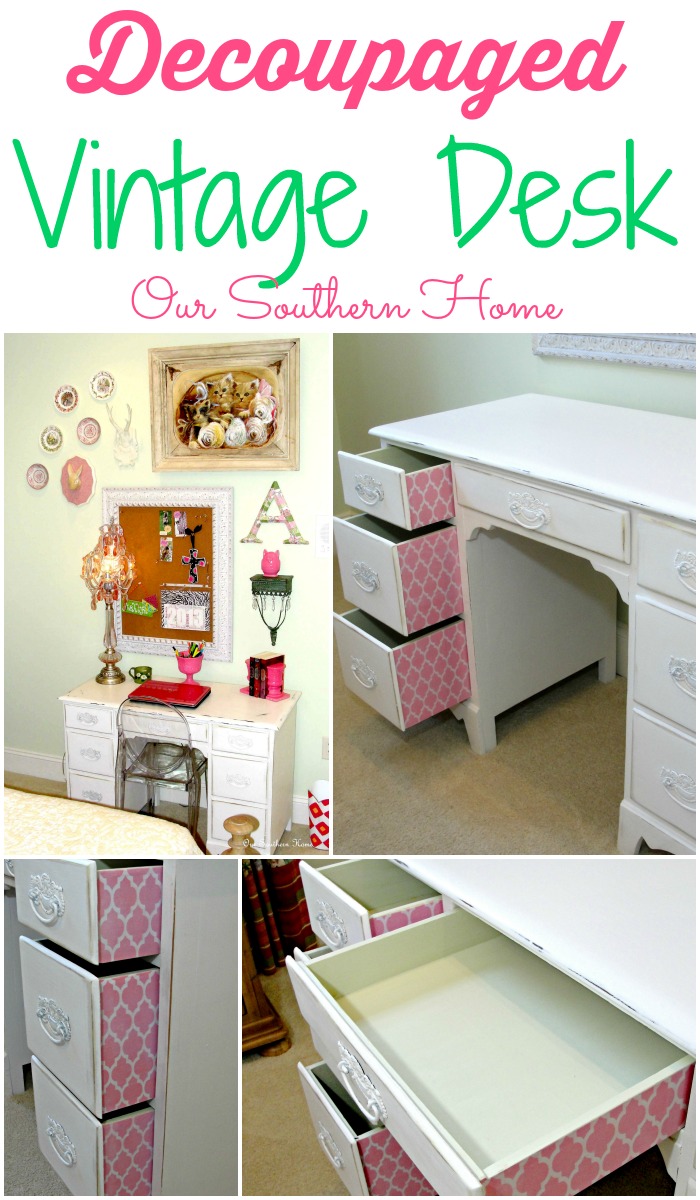
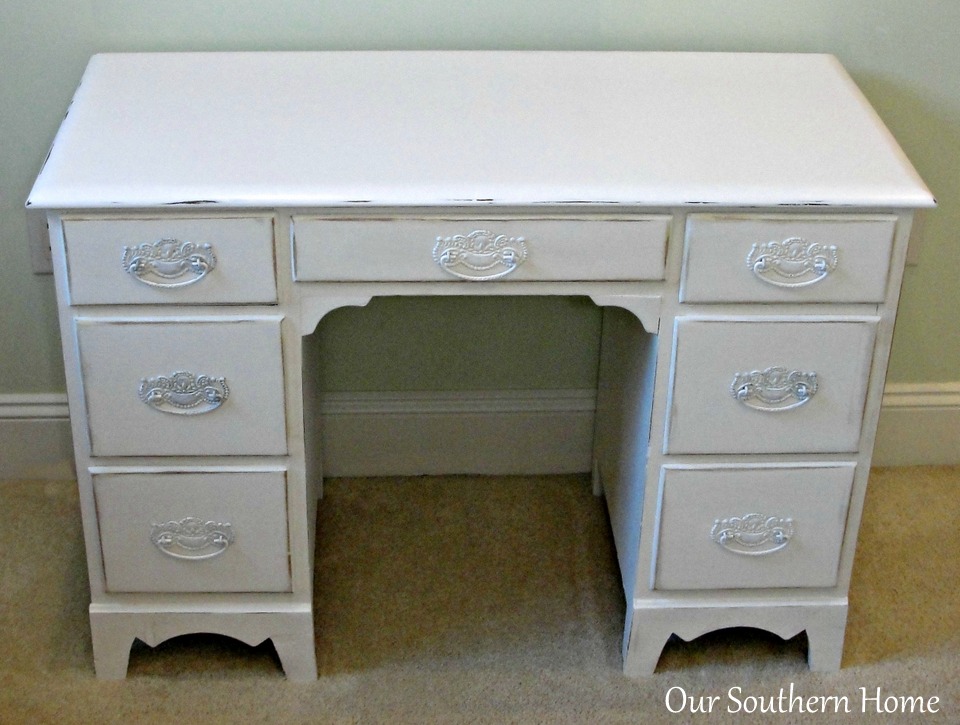
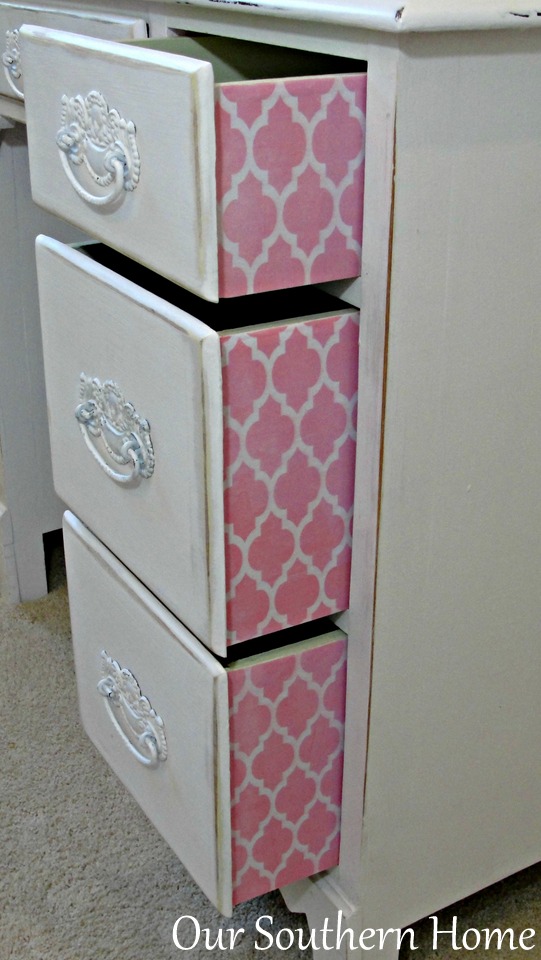
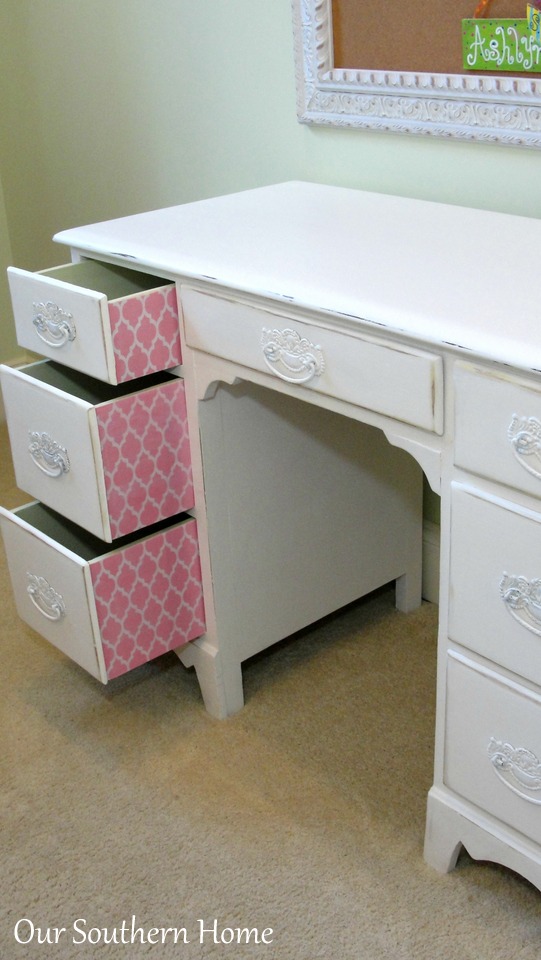
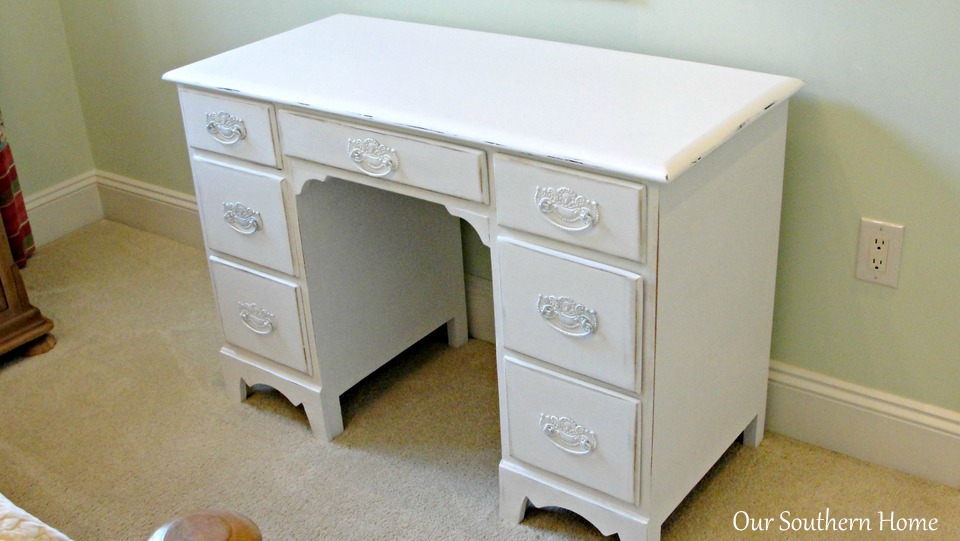
I painted the entire desk in Annie Sloan Chalk Paint in Pure White. Then lightly distressed the edges. The top has 2 coats of Polycrylic by Minwax in satin. The base and drawer fronts have 2 coats of clear wax.
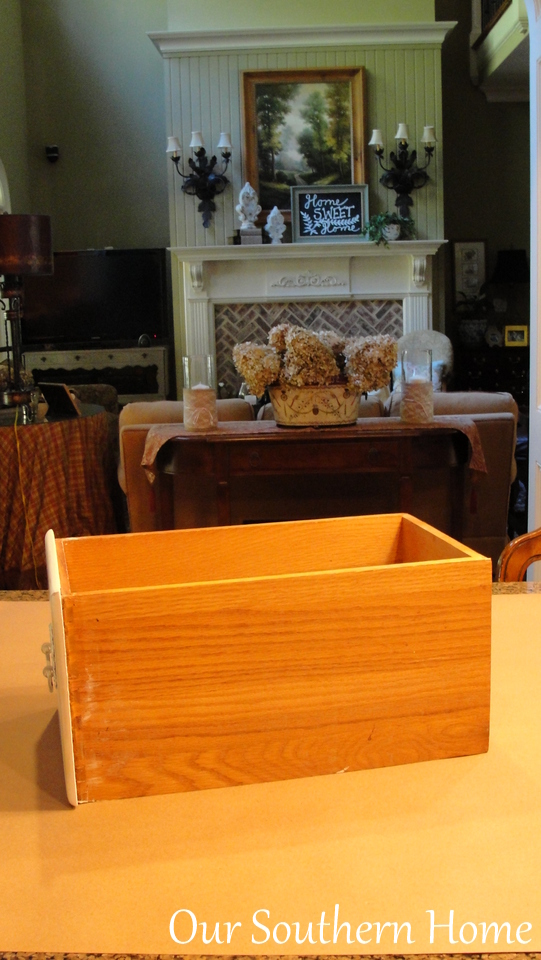
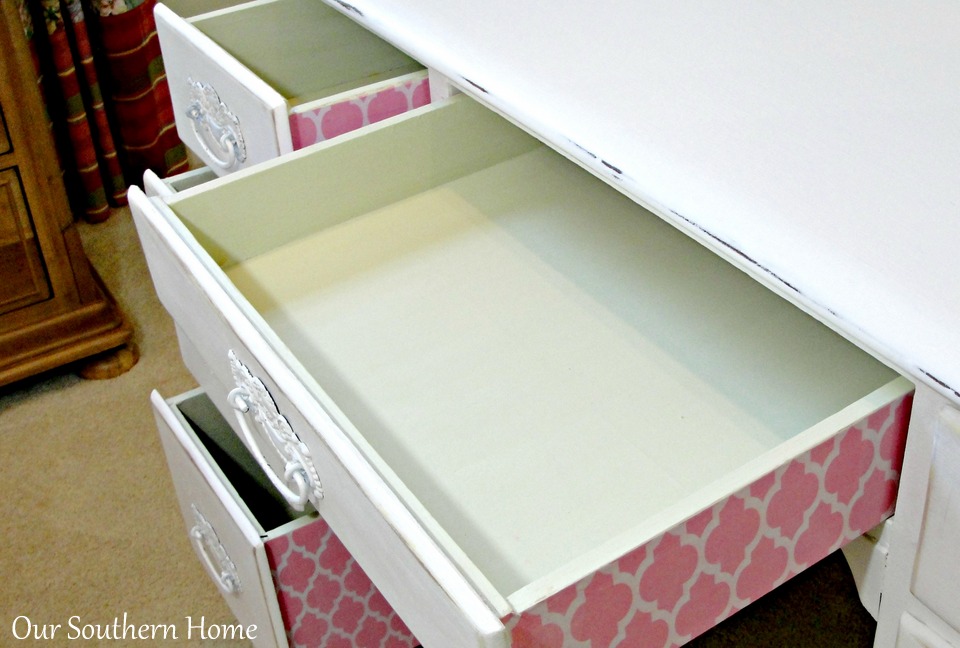
Then I left it for a while……..But those drawers looked so bad with the pretty white paint. In most cases I like to leave the drawers alone, but not here.
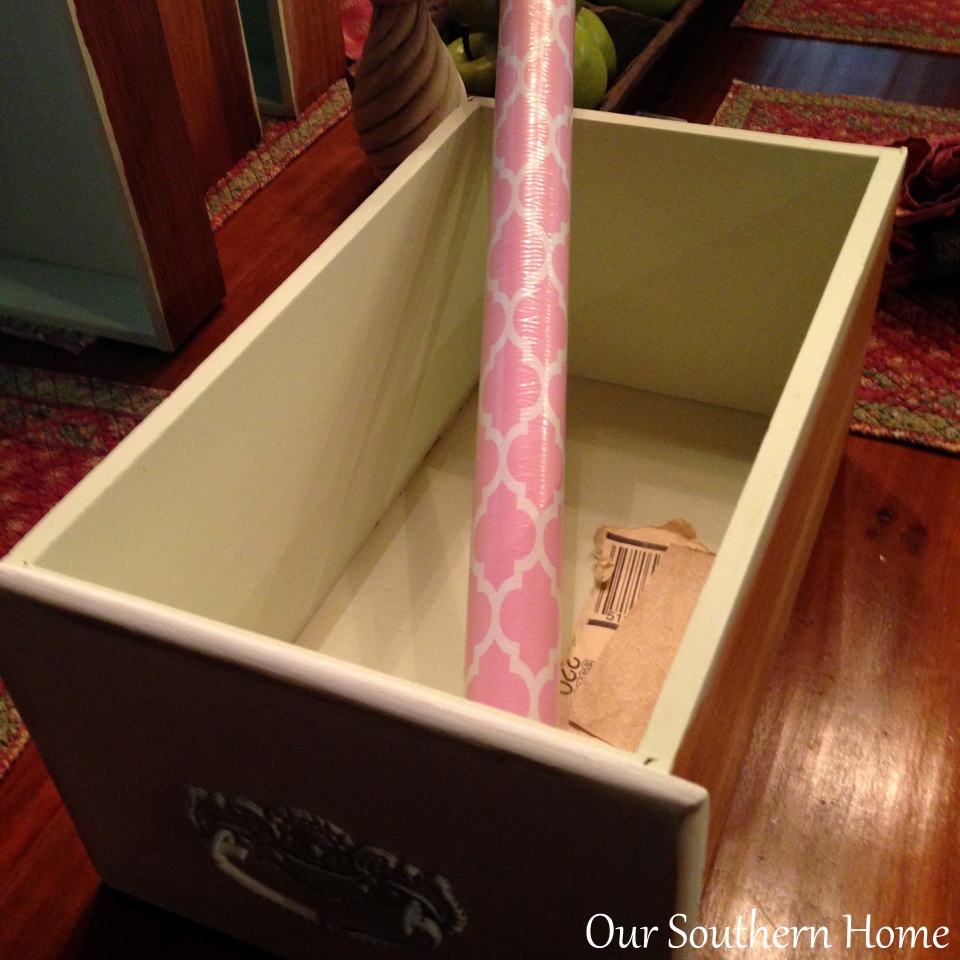
I made homemade chalk paint for the first time using leftover paint from my daughter's walls. I'll share that recipe and my thoughts on it next week. It's a very light shade of green. I can't begin to tell you how much better they look!!!
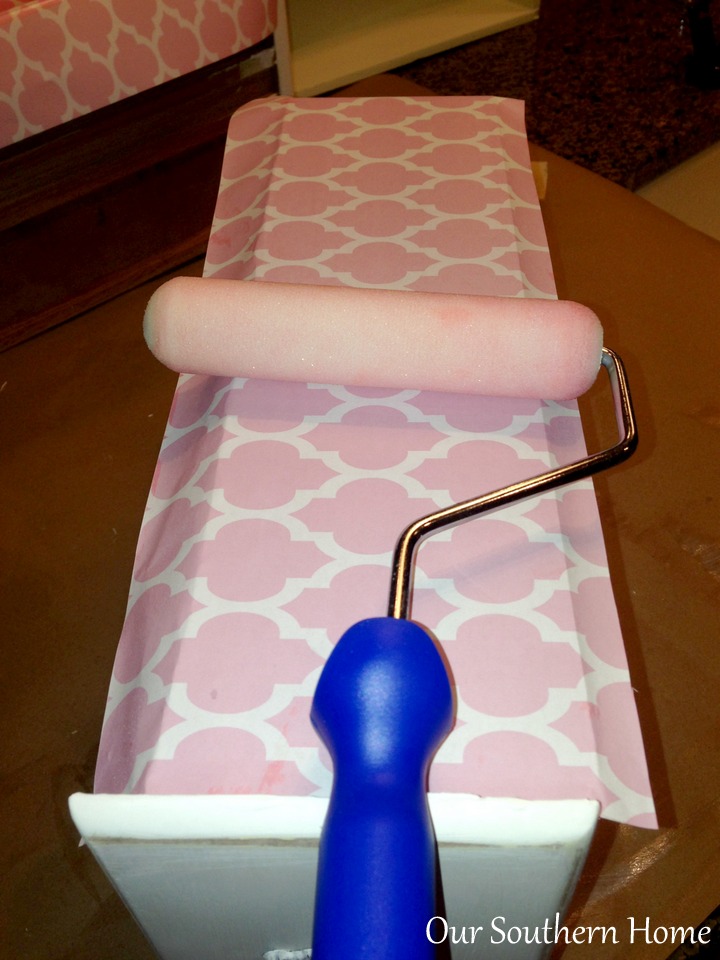
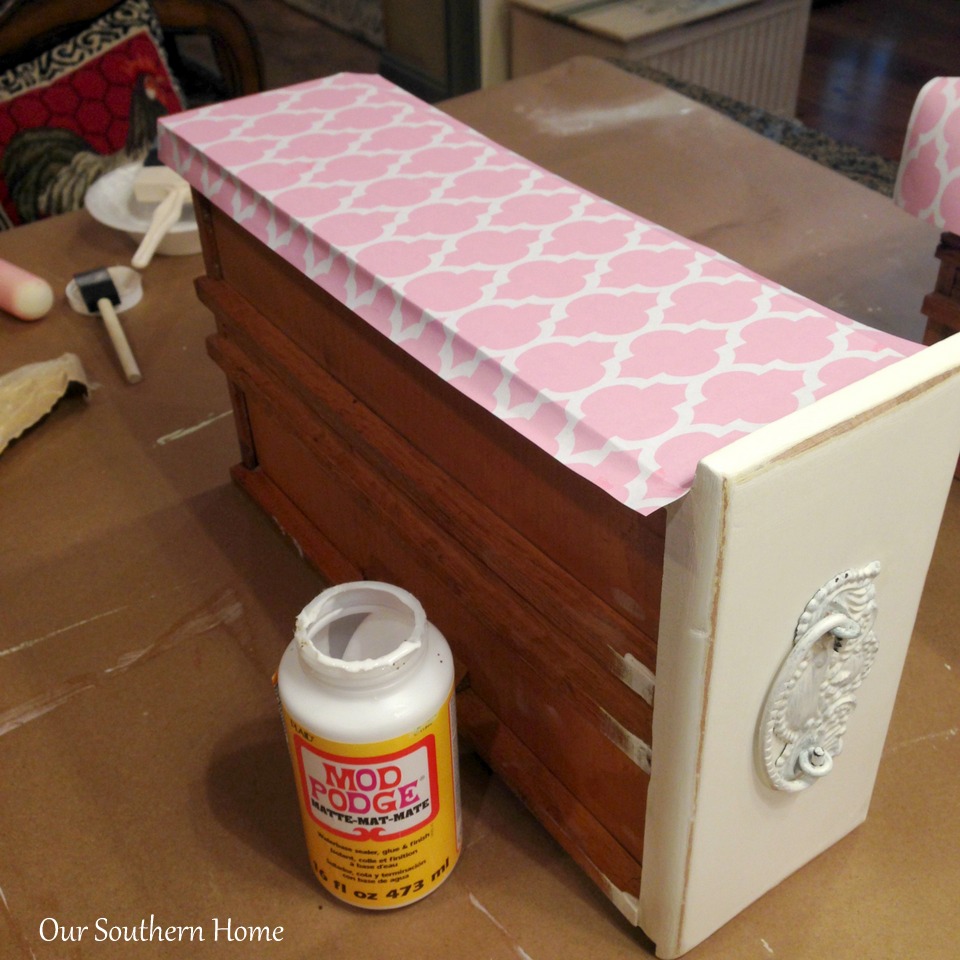
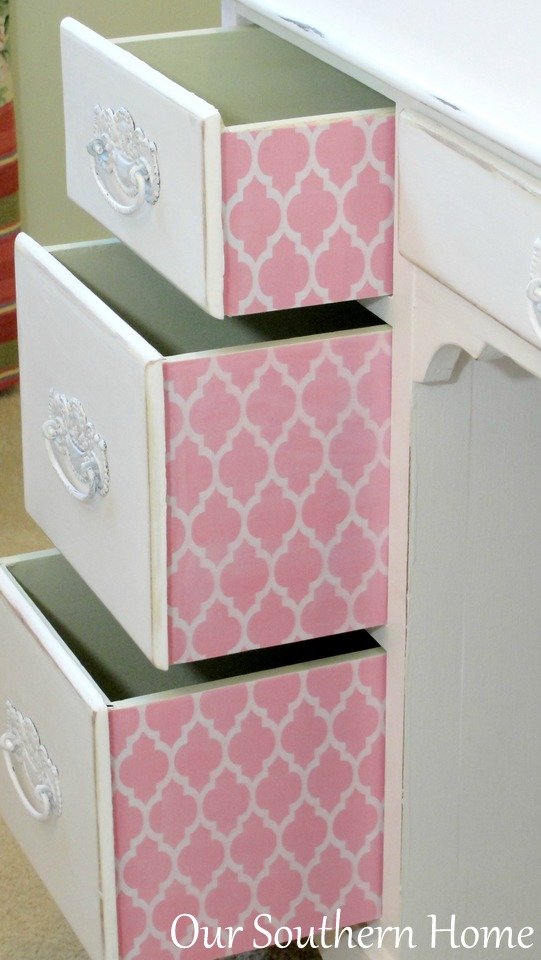
I followed Allison's recommendation and used a foam roller to smooth out the paper opposed to a credit card. A credit card tends to rip the wet paper. I was alone, so it would have been nice to have shared this in action with someone to take pics of the process. I got the paper started on the edge closest to the drawer and guided it to the end using the roller. I promise…no bubbles! I was amazed!!! Thanks, Allison!
The pics are so bad. The lighting was just horrible! I followed the steps word for word.
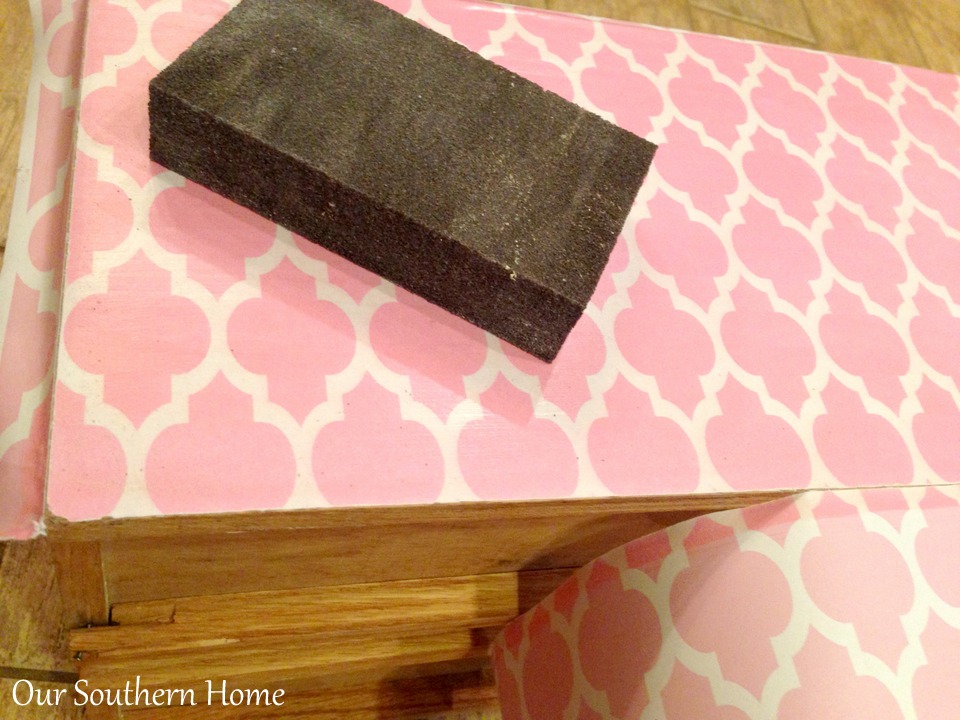
No strict measuring of the paper. Place it so that it is as straight as possible. After it is dry…..trim it to fit using a sanding block!!! Perfect!!! I had all of these drawers decoupaged in 2 hours. The next day, I came in and trimmed with the sanding block. You don't have to wait until the next day. It was getting late, and I was tired!!!
I did apply 1 coat of Polycrylic to the decoupaged sides as well as interior drawers.
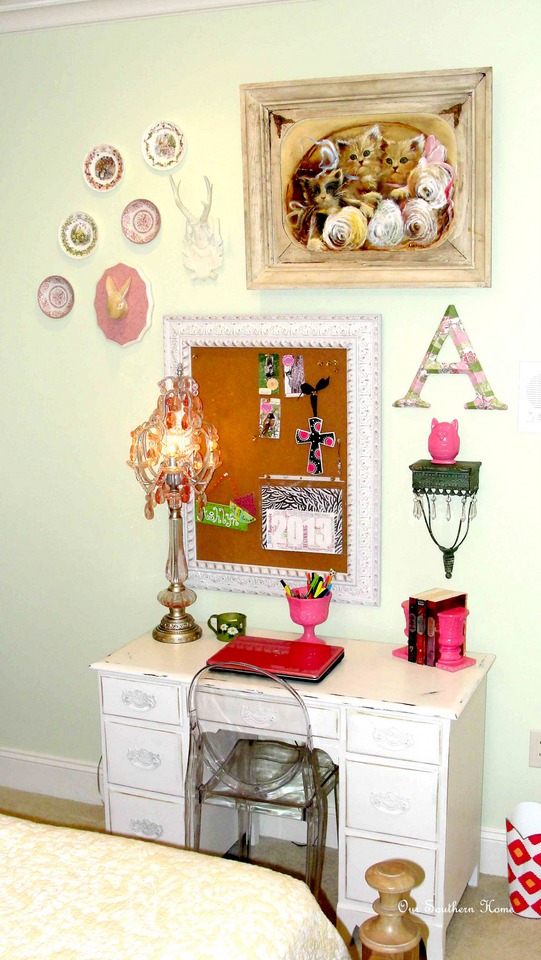
Ashlyn is very happy with her desk! The drawers are so fun and girly!
Have you ever decoupaged furniture? I'd love to hear your tips or struggles. Maybe we can learn from each other!
Be sure to check out all the fun projects below!
I'd love for you to follow me on:
Facebook, Pinterest and Instagram
I'm also on Bloglovin!





I’ve never done this kind of decoupage to drawers, I think it’s on my to do list! Great tips, thank you Christy and Allison!
pinned!
Thanks so much! It was a fun project. She got a lot of use out of that desk!
Hi! This is such a beautiful piece! I’m wondering how the outside of the drawers have held up to opening and closing.
It has held up beautifully! My daughter still uses it in her room.Thanks so much!
Christy, so glad my decoupage tutorial worked like a charm for you!
It did!!! Thanks!!! Hope you got a little traffic from the mention.
Christy it’s beautiful! I bet Ashlyn love it too! The pretty pink trellis paper and the painted drawers are like the icing on top of her wonderful white desk. Love it with the acrylic chair too! xxoo
Love it!! Great idea using the foam roller. Beautiful!!
Really pretty Christy. I love the paper you chose. And thanks for all the tips. I never thought about using a foam roller. I use a damp rag. And the sanding block….genius!
So adorable! I’ve never used a foam roller, but that’s a great idea! Thanks for the inspiration.
Leslie
Love the desk and the school fuel looks wonderful.
Thanks so much!
Christy,
Wow. I love this. Great idea to check around for a tutorial. I have a small night stand in a guest room that I would love to try this idea on. After I read the tutorial! Fun to be on the tour with you! ~Jeanette
The desk turned out beautifully and I love the sweet touch of pink! The vignette you created above it is perfect! She has a beautiful room!
Christy, Ashlyn has such a pretty room and the desk is a perfect addition. I have never thought about using a sanding block to cut the edges, what a great tip. Of course the peekaboo drawers are my favorite part, love the pink!
~Tami
SO PRETTY! I love the pop of pink you added- it’s just perfect Christy! <3
Christy, this turned out so cute! What a fun surprise when you open those drawers! Life to the full! Melissa
The perfect touch Christy! !! Love it! ! And never thought about using a foam roller. .. awesome! I did use a little piece of sand paper on mine and yes that does work very well! ! I’m trying a roller next time! 🙂
Nancy
Such pretty paper, I love that it is so soft and girly! Thanks for the tips too, After reading how you did the sides of the drawers I’d totally try a project like yours 🙂
Love those drawers and thanks for the tutorial! I’ll have to experiment with this idea….great job!
Thanks do much!!!!
what an awesome technique! It turned out just beautiful!
Your daughter must absolutely adore this! It’s beautiful 🙂
Thanks so much! She does. 🙂
I would love to have my drawers decoupaged 🙂 how fun it when they’re open! Thanks for the tips too!
Beautiful, Christy! Love the peek-a-boo drawers! I love the roller and sanding block tips. So smart! It’s gorgeous!
Thanks for the great tips! I definitely will trim the edges of my next decoupage project with a sanding block and I’ll smooth the paper out with a foam roller. This desk is perfect in your daughter’s room and it may be a piece that she’ll use in a college apartment. Great project!
This turned out so pretty! I haven’t heard of using a foam roller to smooth out the air bubbles but that’s a great idea! Thanks for the tip!