Easy Rattan Furniture Refresh with New Seat Fabric
Give old rattan furniture a fresh look with new seat fabric. This simple update is an easy way to refresh chairs without a full makeover.
Latest from OSH
- Traditional Den Decorating Ideas for a Cozy Home
- How to Refresh a Thrifted Classic Ginger Jar Lamp
- Easy Summer to Fall Decorating with Collected Decor
- Easy Rattan Furniture Refresh with New Seat Fabric
- Simple Layered Summer Tablescape with Collected Decor
Sometimes a piece of furniture doesn’t need a complete makeover. A good cleaning and a little fresh fabric can be all it takes to make an older piece feel right at home again.
This post may contain affiliate links. If you purchase something using one of my links, I may earn a small commission from the retailer costing you nothing more. You can read more on my disclosure page. Christy Little of Our Southern Home is a participant in the Amazon Services LLC Associates Program, an affiliate advertising program designed to provide a means for sites to earn advertising fees by advertising and linking to amazon.com.
Thrift Store Makeover Day

Join us each month for NEW thrifty ideas from the team. You'll find links to all of the projects below.
Use the slider below to see the before and after!


This little rattan table and chair set is new to our home. It was previously at my husband's company's AirBNB lake house, and when they recently sold the house, this set was headed for the donation pile.
At the last minute, I decided to keep it.
I’ve always loved the shape of the table, the woven details, and the way the two chairs tuck neatly underneath. The rattan itself was still in good condition, so there really wasn’t any reason to paint it or make major changes.
The seat fabric, however, was another story!
The tropical palm print worked well at the lake, but it didn’t really work with the colors and collected style of our home. I already had a beautiful floral fabric that was a much better fit, so this became one of those wonderfully simple projects that made a surprisingly big difference.
I've seen these sets listed online from anywhere from $350 to $1,300.
We've been throwing around the idea of selling our home to drastically downsize. Then we'd buy a smaller home in town and a small lake house. So I am going to hold onto this set until we decide. I do plan to use this in the upstairs den, but at the present….it is my staging area for decor and clothes to sell and donate. It was not conducive to photos at this time…soon hopefully!
Supplies for This Rattan Furniture Refresh
This is an easy project that doesn’t require many supplies.
- Staple remover tool
- Scissors
- Fabric
- Staple gun
- Staples
- Murphy Cleaning Spray
- Cleaning rags
- Rummikub – because every little game table needs a good game!
Start with a Good Cleaning
Before doing anything with a refresh, it's goo to give it a good cleaning.
You will notice that I did this in reverse. The piece is dusted regularly, so I didn't do this before changing out the fabric.
Rattan furniture has so many little crevices where dust likes to settle, especially around the wrapped joints and woven areas. I used Murphy cleaning spray and rags to clean the table and chairs, paying extra attention to those detailed areas.
I wasn’t trying to make the furniture look brand new. I actually like the variations in the finish and the bit of age that it has acquired over the years.
That’s part of its charm.
Once everything was clean, I could really see how pretty the original rattan still was. It confirmed my decision to leave the finish completely alone.
Plus, the Murphy spray restores a bit of the shine.
Remove the Chair Seats
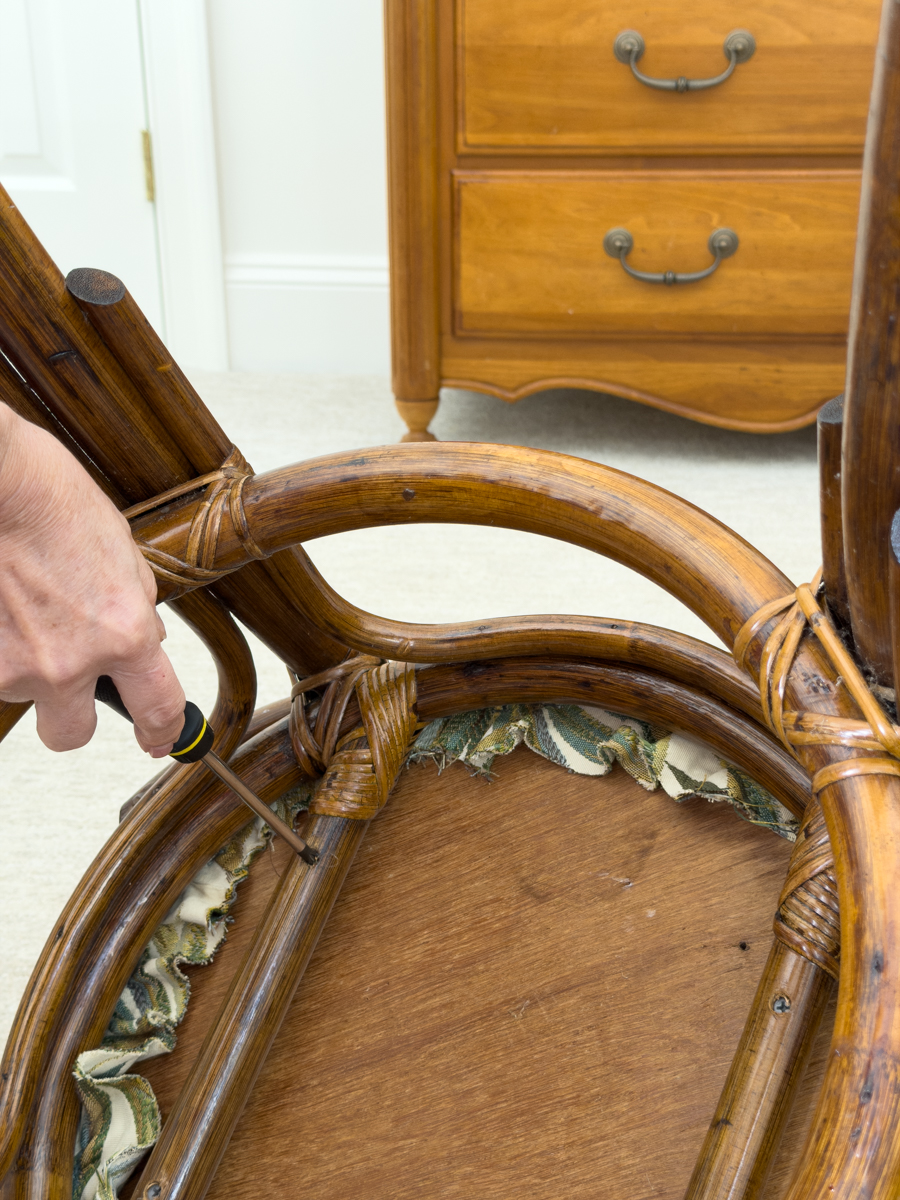
The round upholstered seats are attached to the chair frames from underneath, so they were easy to remove with a screwdriver.
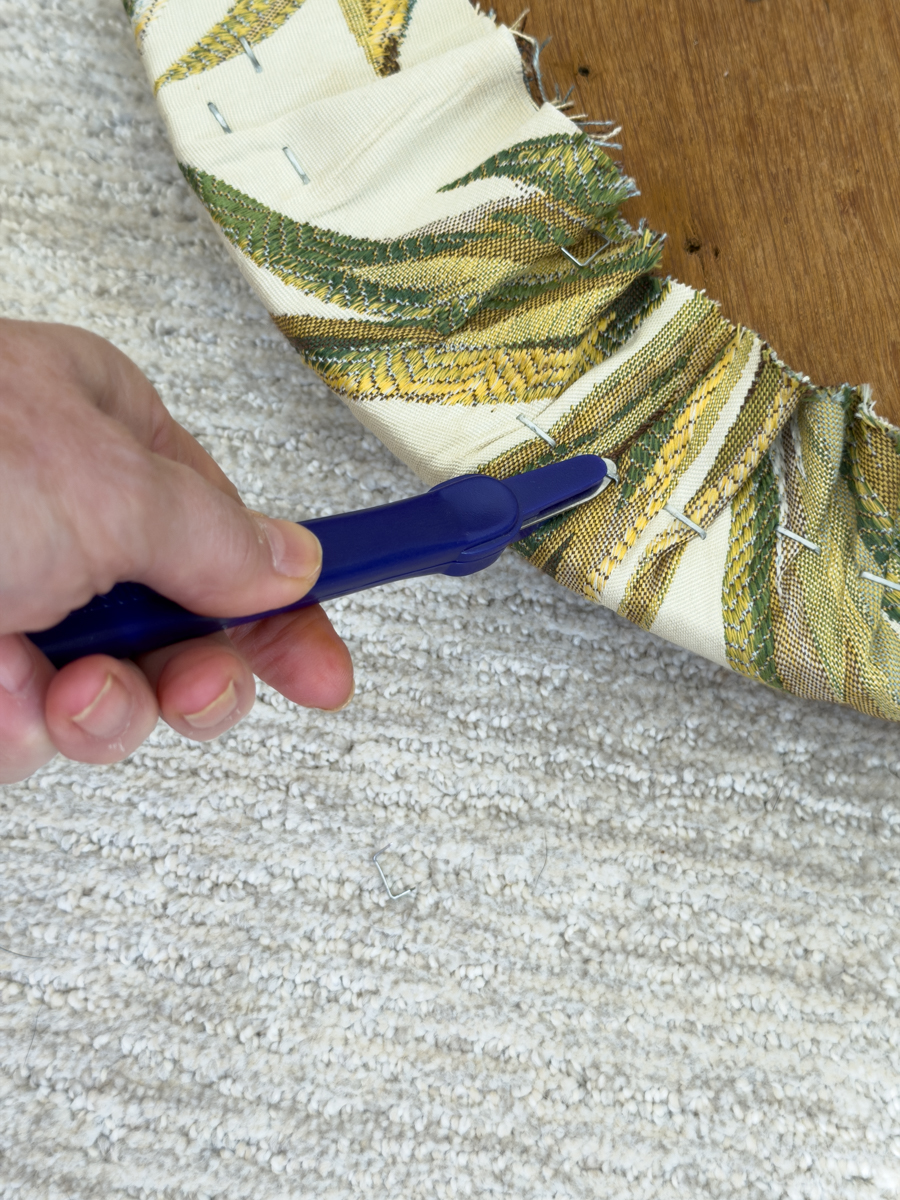
Once the seats were off, I used a staple remover to take out the staples holding the old fabric in place.
If you’ve ever recovered a chair seat, you know that removing old staples is usually the least exciting part of the project! Thankfully, these seats are small, so it went fairly quickly.
I removed the old fabric but kept the existing seat and padding since both were still in good condition.
Cut the New Fabric
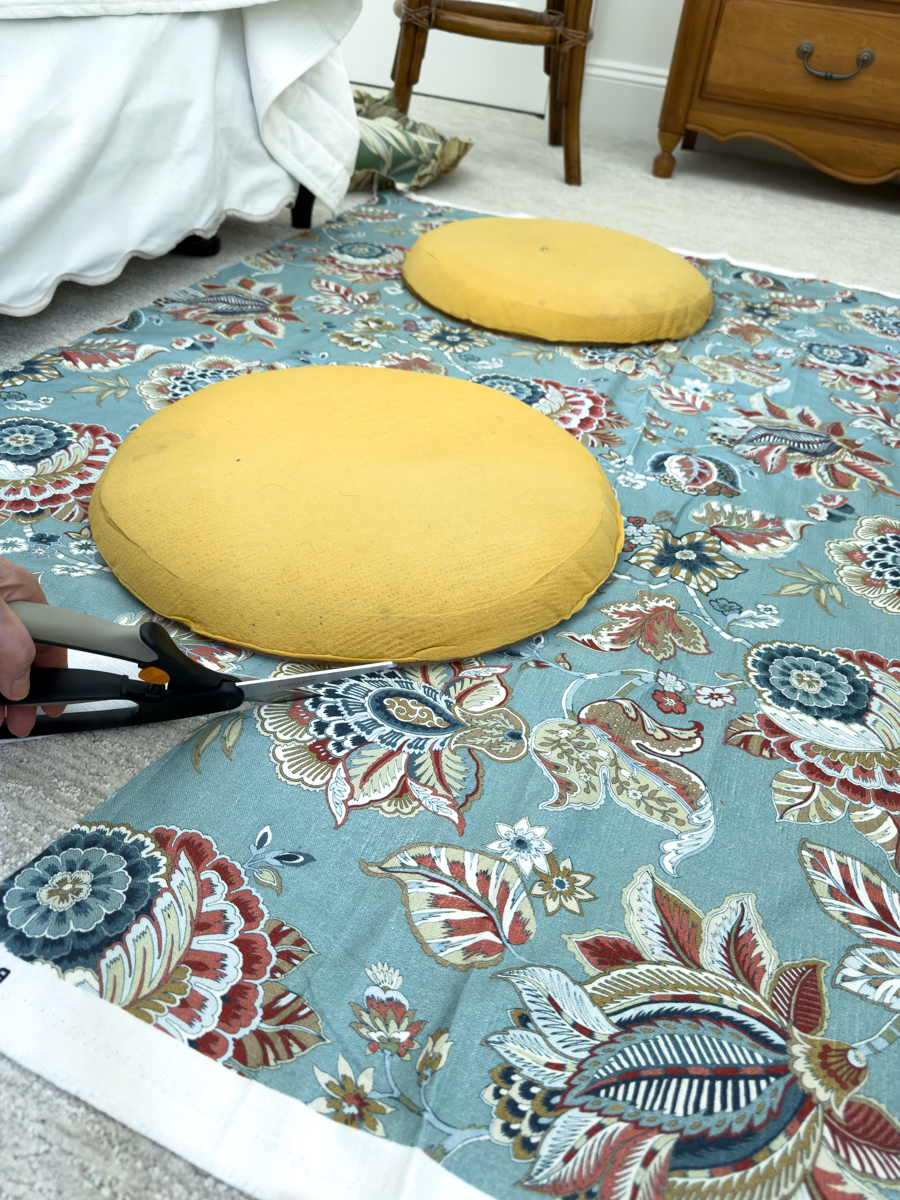
I laid each round seat on the new fabric and cut around it, leaving several inches of extra fabric all the way around.
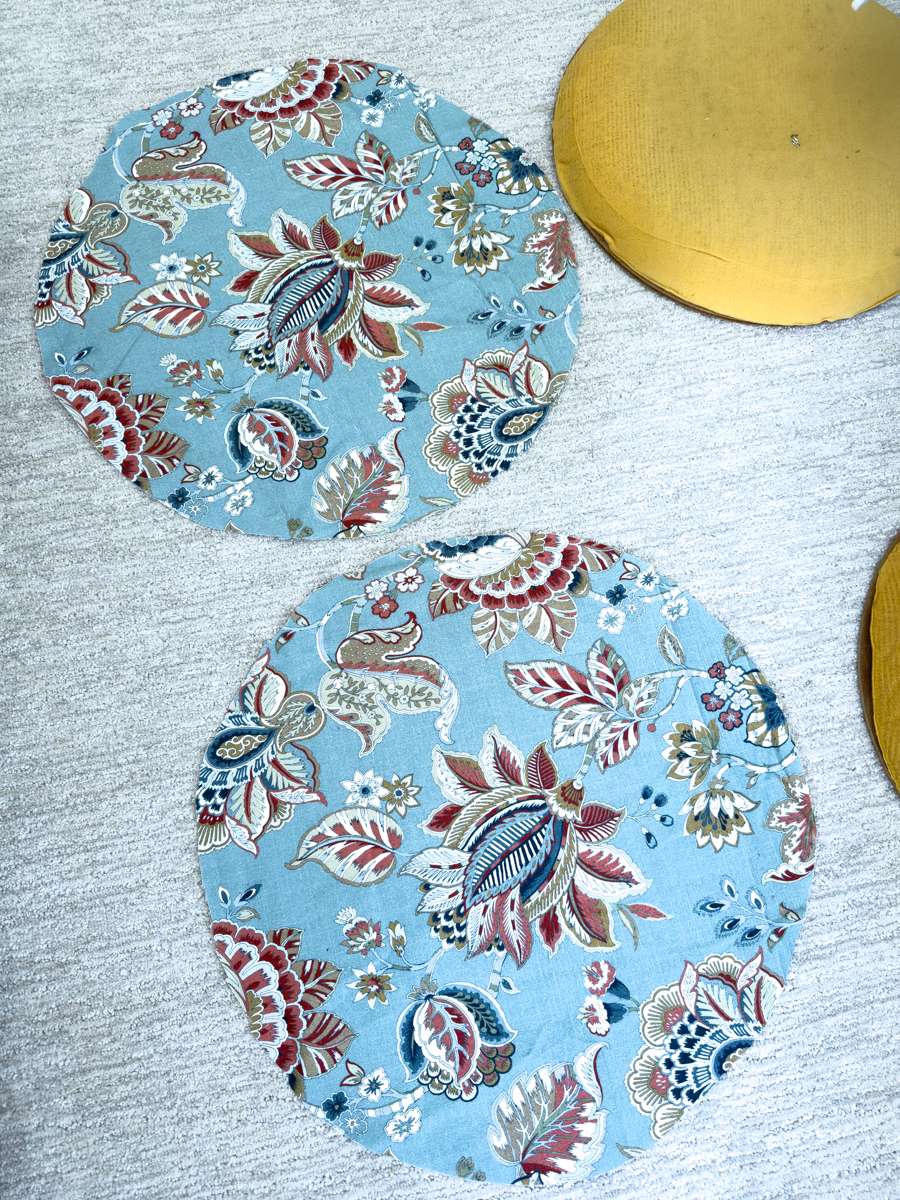
You want enough fabric to pull comfortably around the underside of the seat and staple into place.
Since this fabric has a larger floral pattern, I also paid attention to the placement of the design before cutting. I wanted each seat to have a pretty section of the pattern centered on it.
This is a small detail, but it makes a big difference in the finished look.
Recover the Round Chair Seats
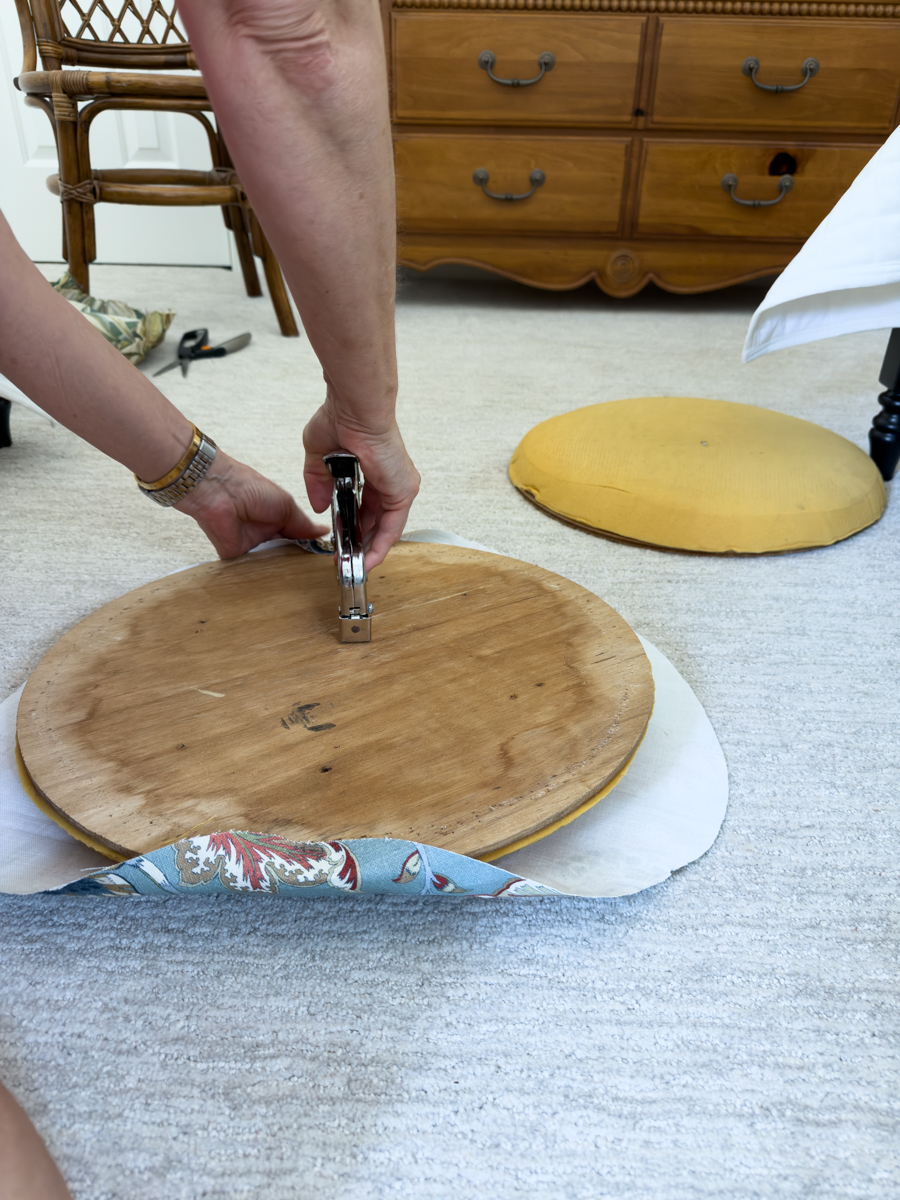
With the fabric cut, I centered the seat on the wrong side of the fabric and began stapling.
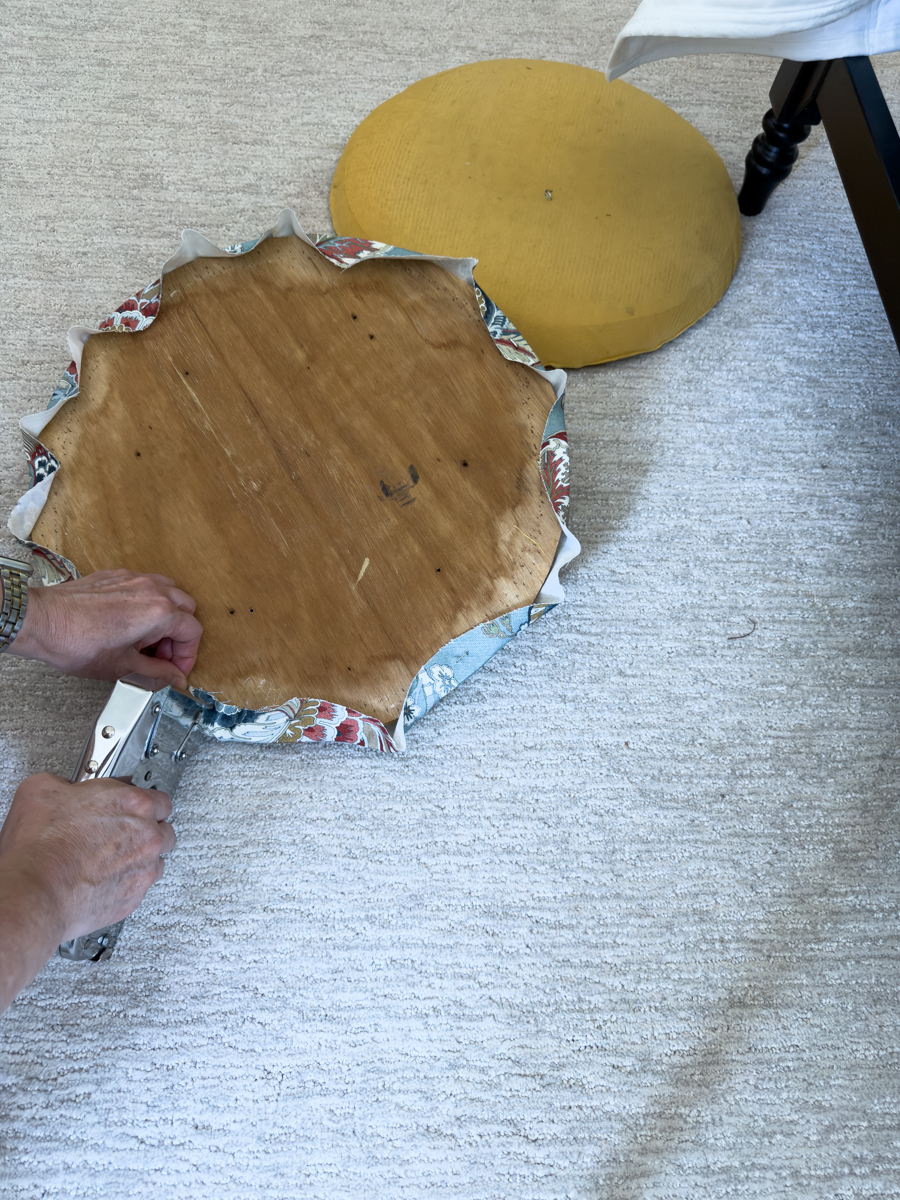
I like to start with a few staples on opposite sides of the seat, pulling the fabric snug as I work. Then I continue around the seat, alternating sides rather than finishing one section at a time.
This helps keep the fabric smooth and the pattern centered.
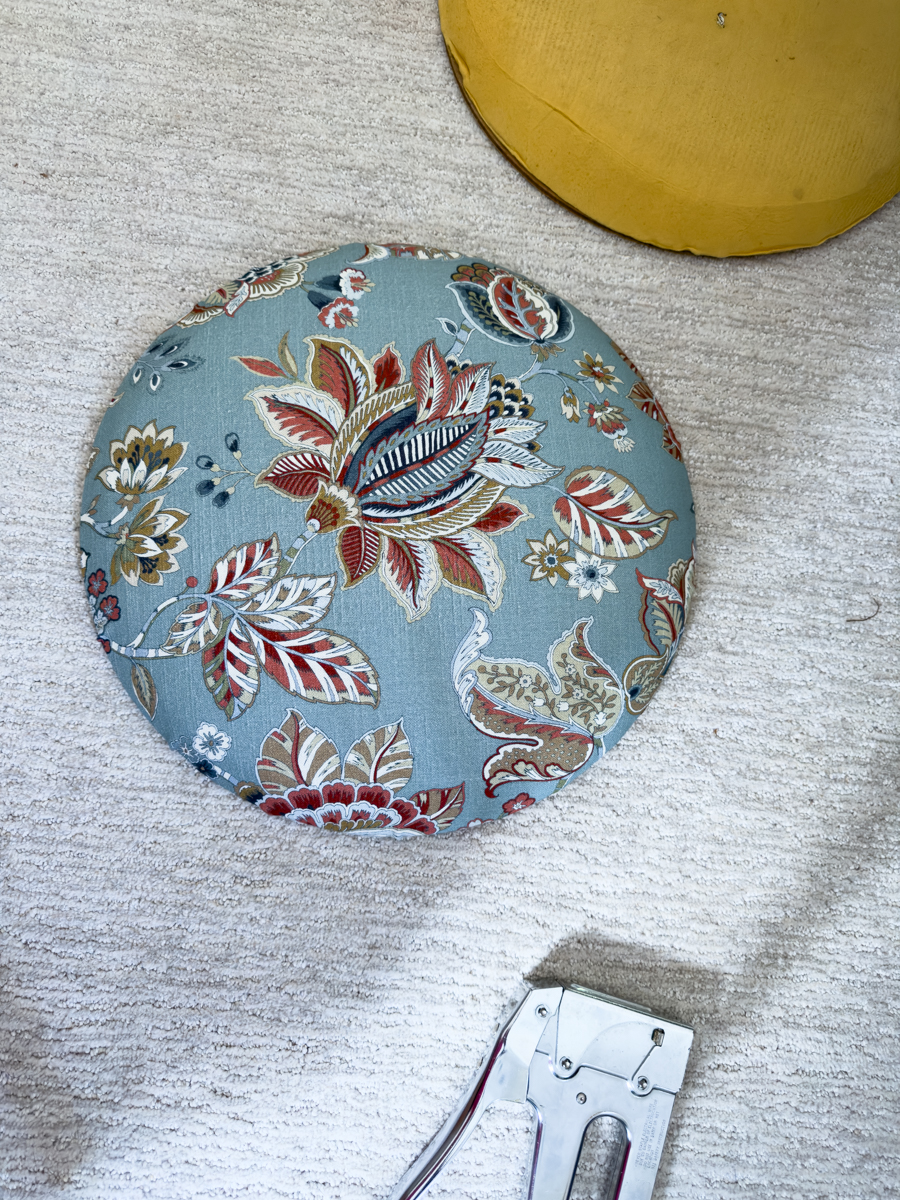
Because these seats are round, the fabric naturally creates little folds as you work your way around the edge. Just keep the folds neat on the underside and make sure the top remains smooth.
Once everything was secure, I trimmed away any excess fabric and reattached the seats to the chairs.
That was it!
A Simple Fabric Change Made Such a Difference
I’m so glad I didn’t donate this set.
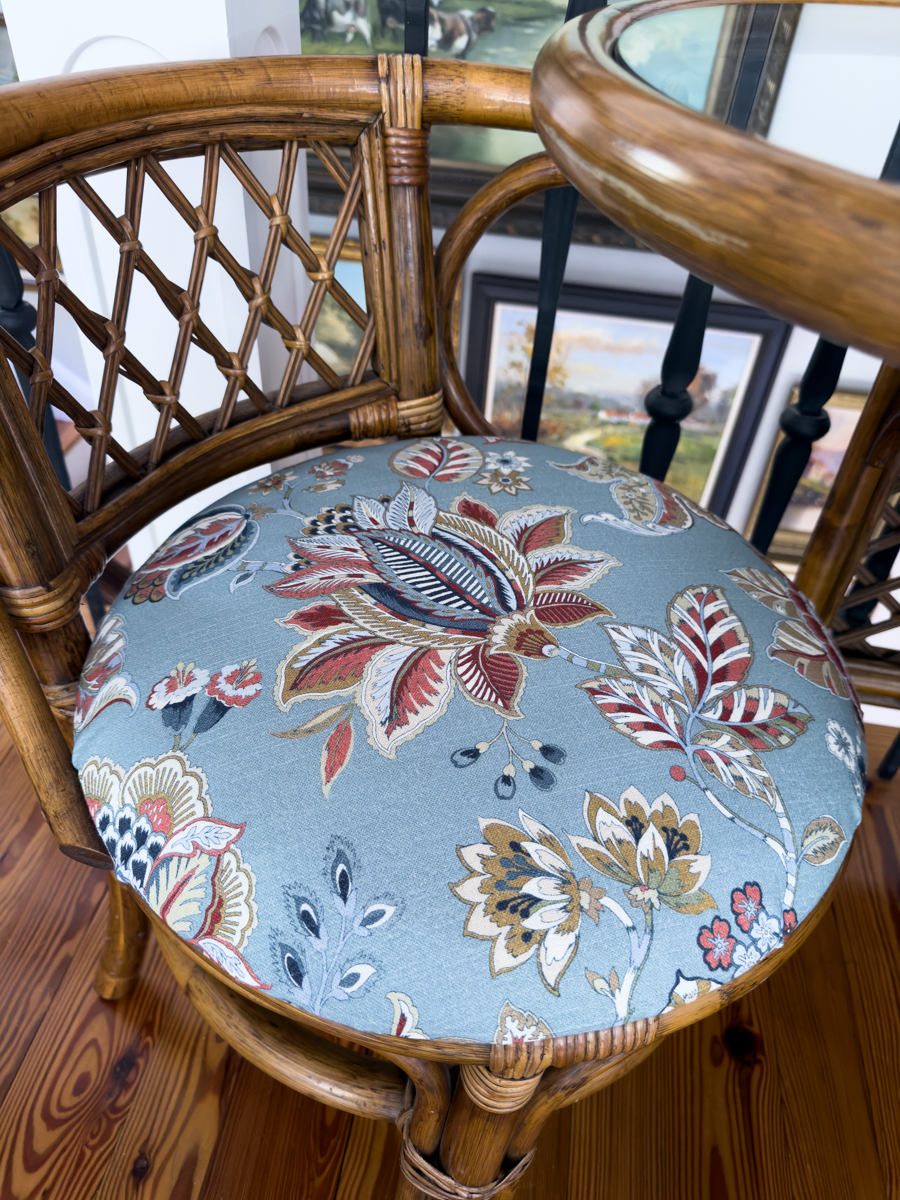
The new blue floral fabric completely changed the feel of the chairs without changing what I already loved about the furniture.
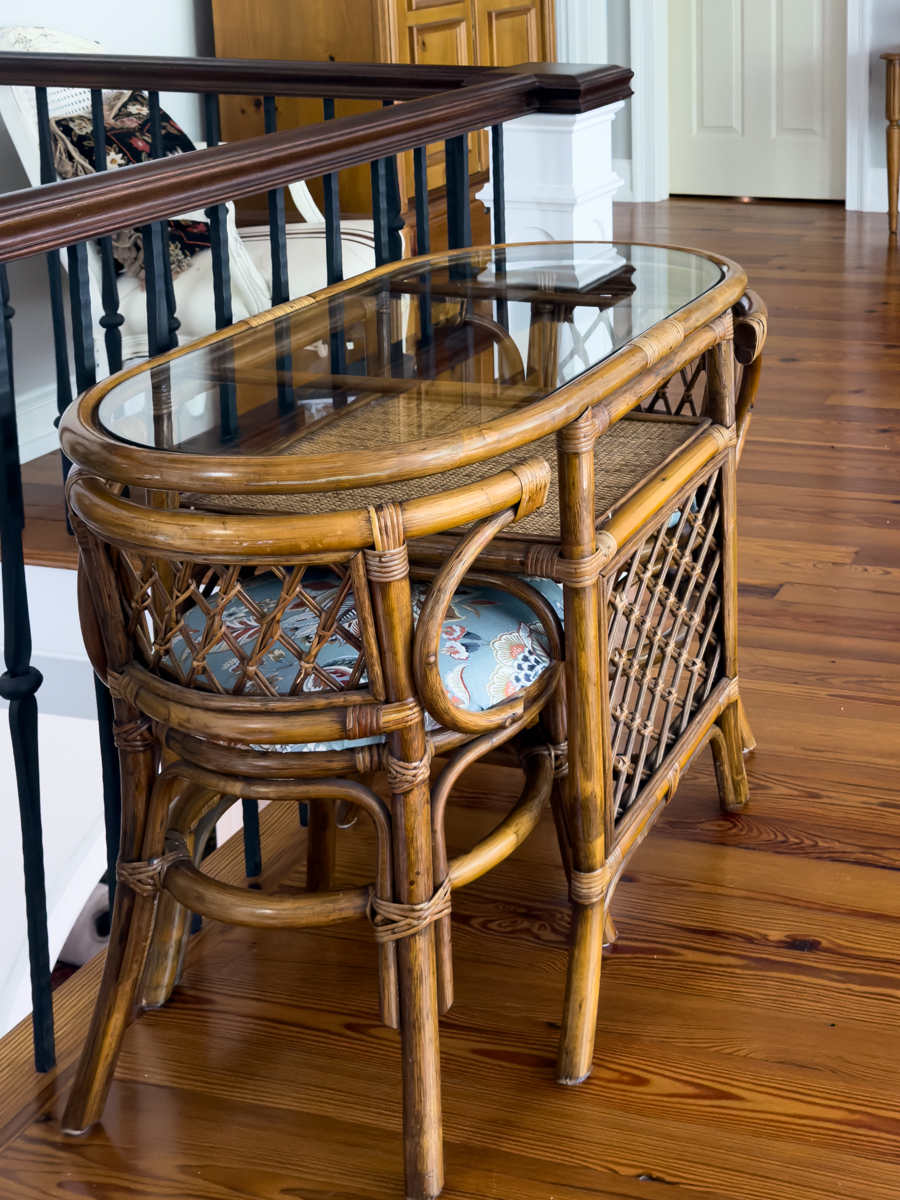
The blue works beautifully with our home, while the reds, creams, and warm neutral tones in the pattern tie in with the wood floors and the natural color of the rattan.
It feels much more like us now.
And I especially love that I didn’t have to paint the rattan to make it work. Sometimes preserving the original finish and simply changing what feels dated is the better choice.
Giving Old Furniture a New Purpose
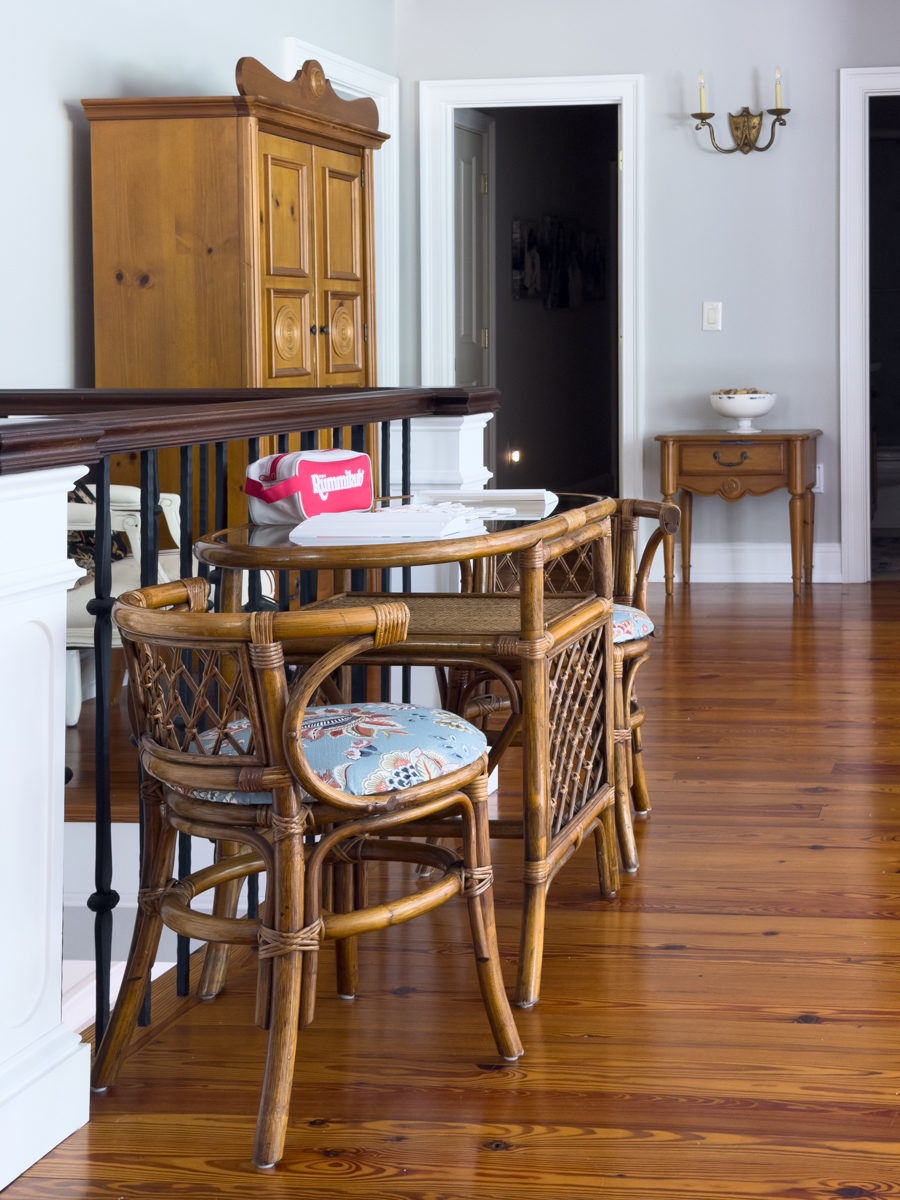
We’re currently using the set on our upstairs landing near the gallery wall.
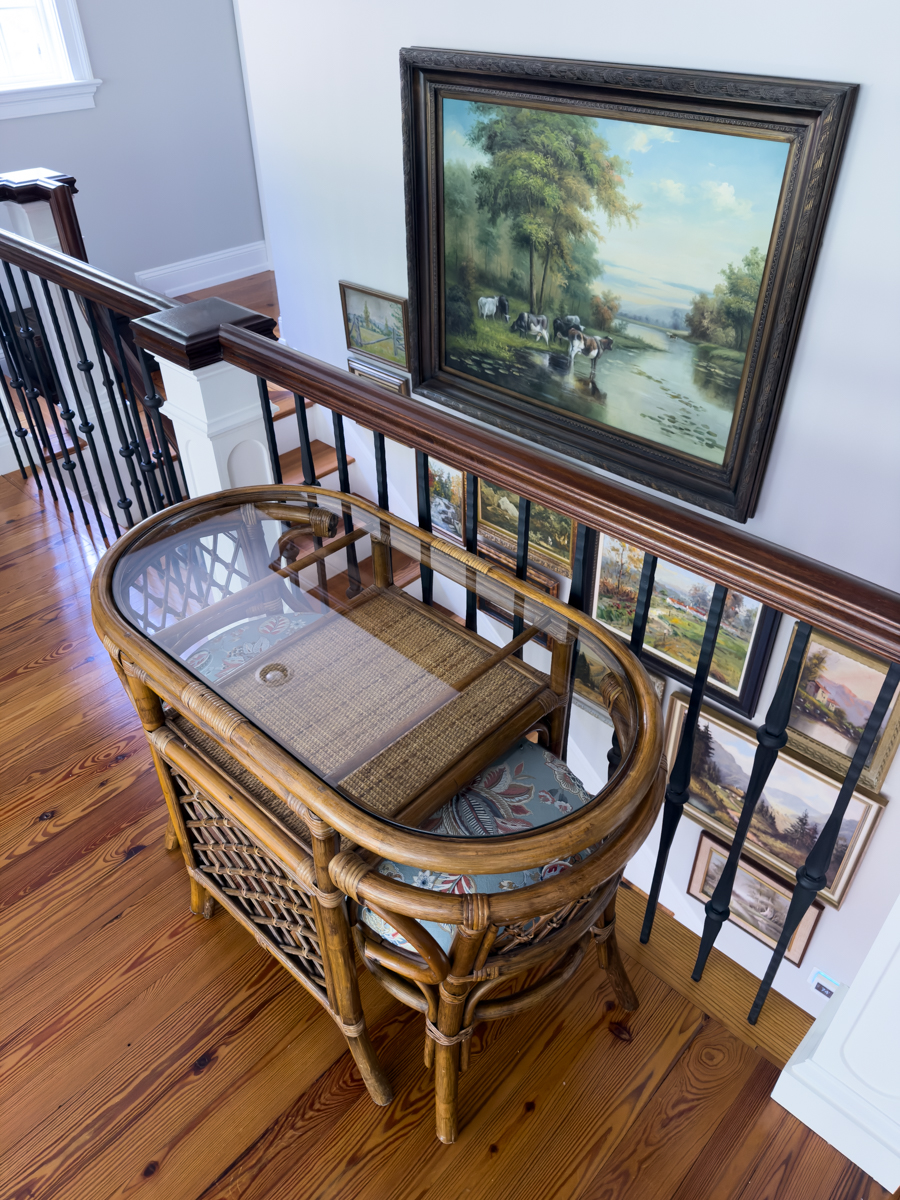
It’s such a unique little table because the chairs tuck almost completely underneath when they aren’t being used. That makes it perfect for this spot where I didn’t want anything too large or visually heavy.
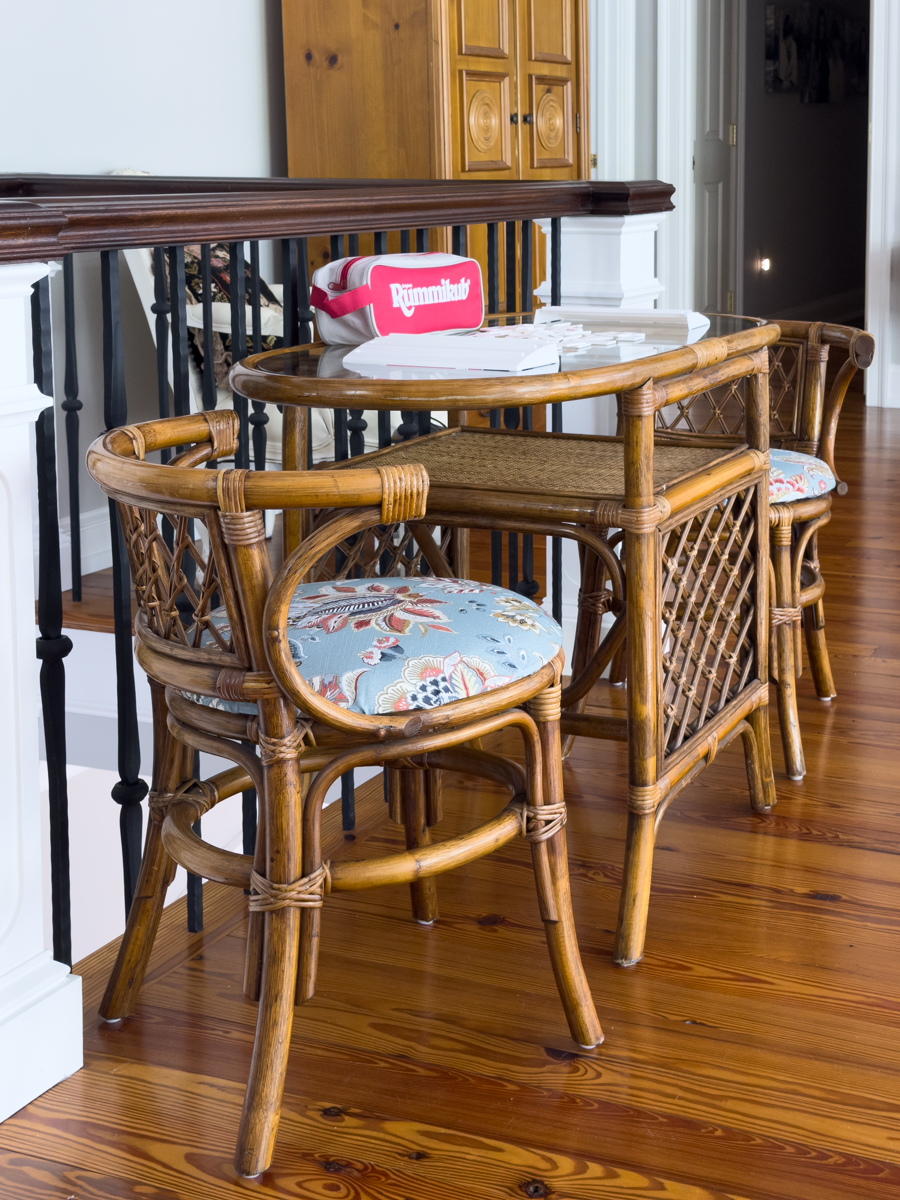
And it has already found its purpose as our little Rummikub table!
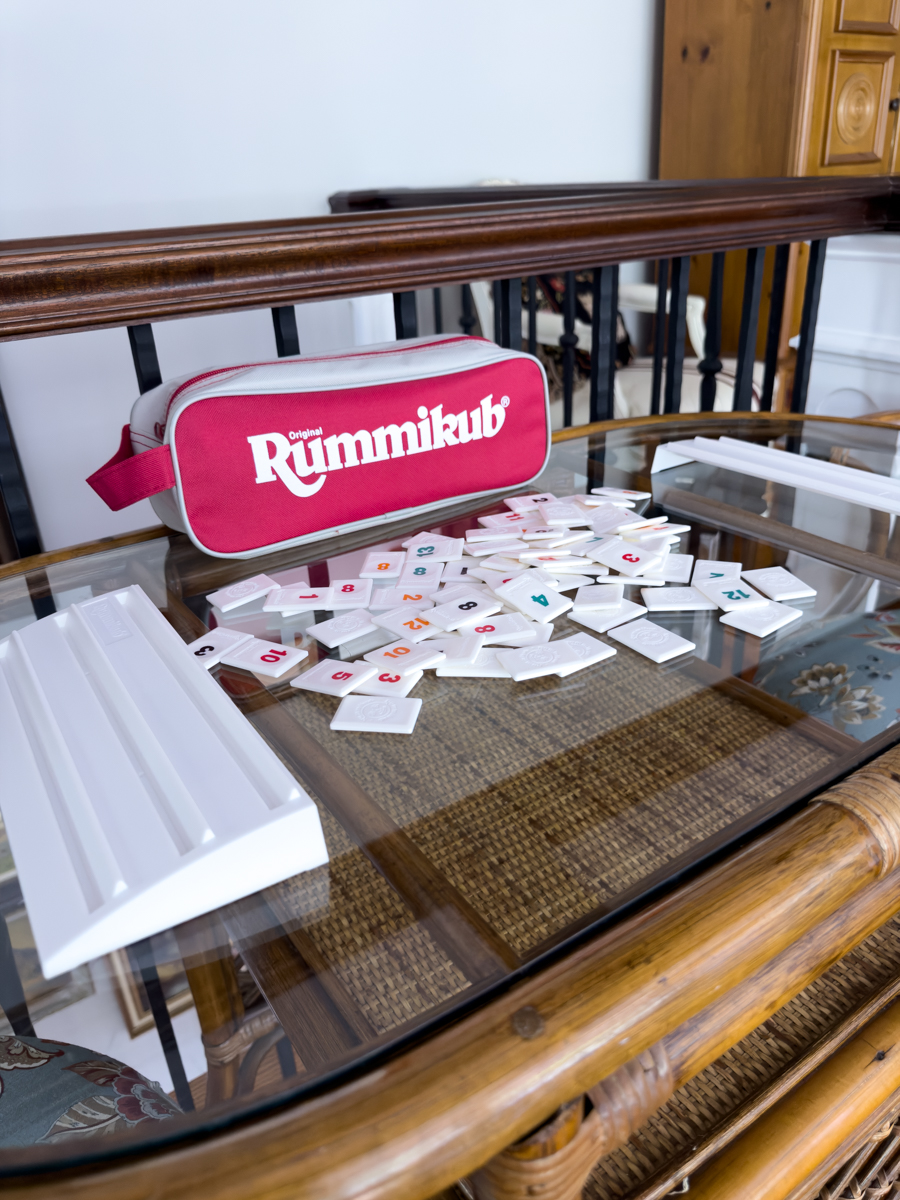
I love having a dedicated spot where we can pull out a game without having to clear off the dining table or kitchen island. The glass top is perfect for playing, and everything can tuck neatly away when we're finished.
What's funny is that we have to learn how to play it. I bought it a couple of months ago. This is a travel set. I plan to take it when we travel. I'm thinking long airport layovers instead of having our heads in our phones.
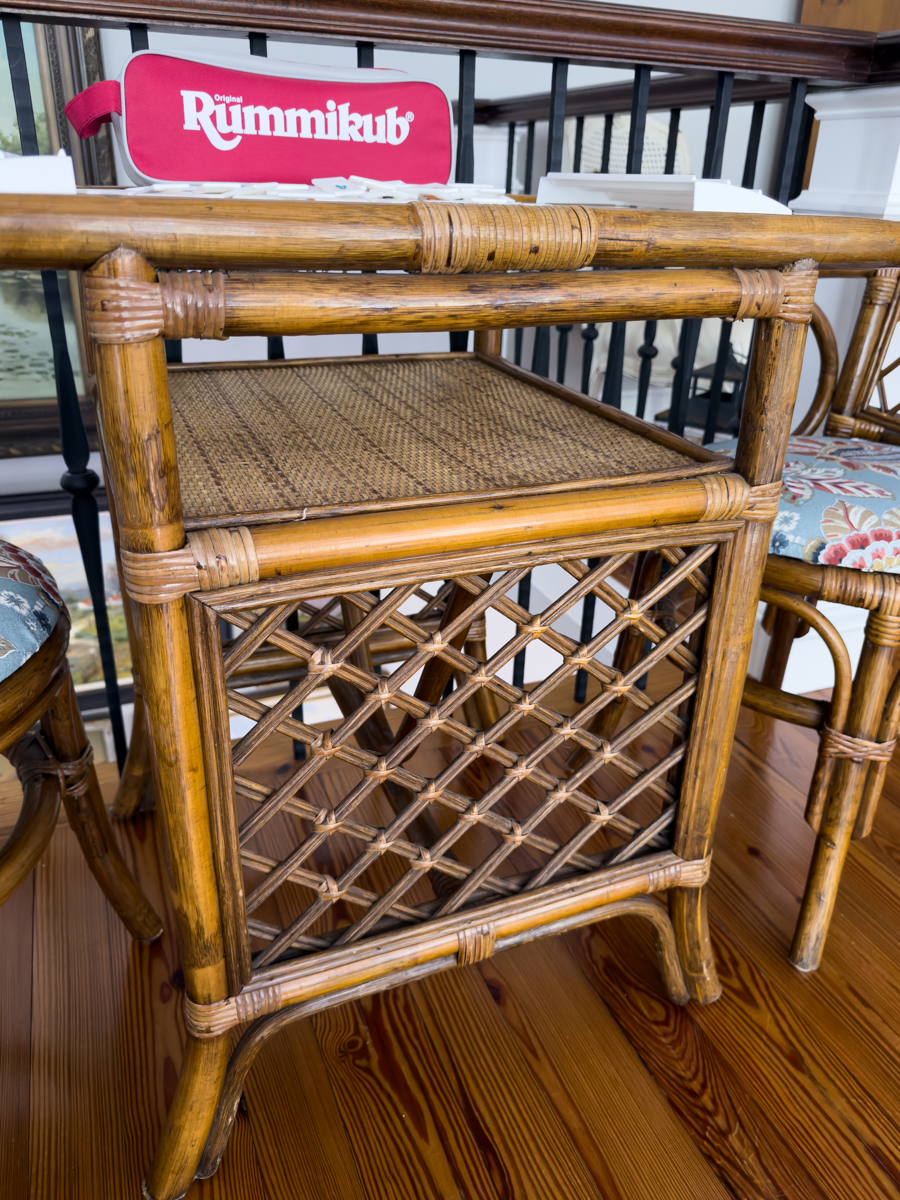
I like the little shelf underneath to place it when we are not playing.
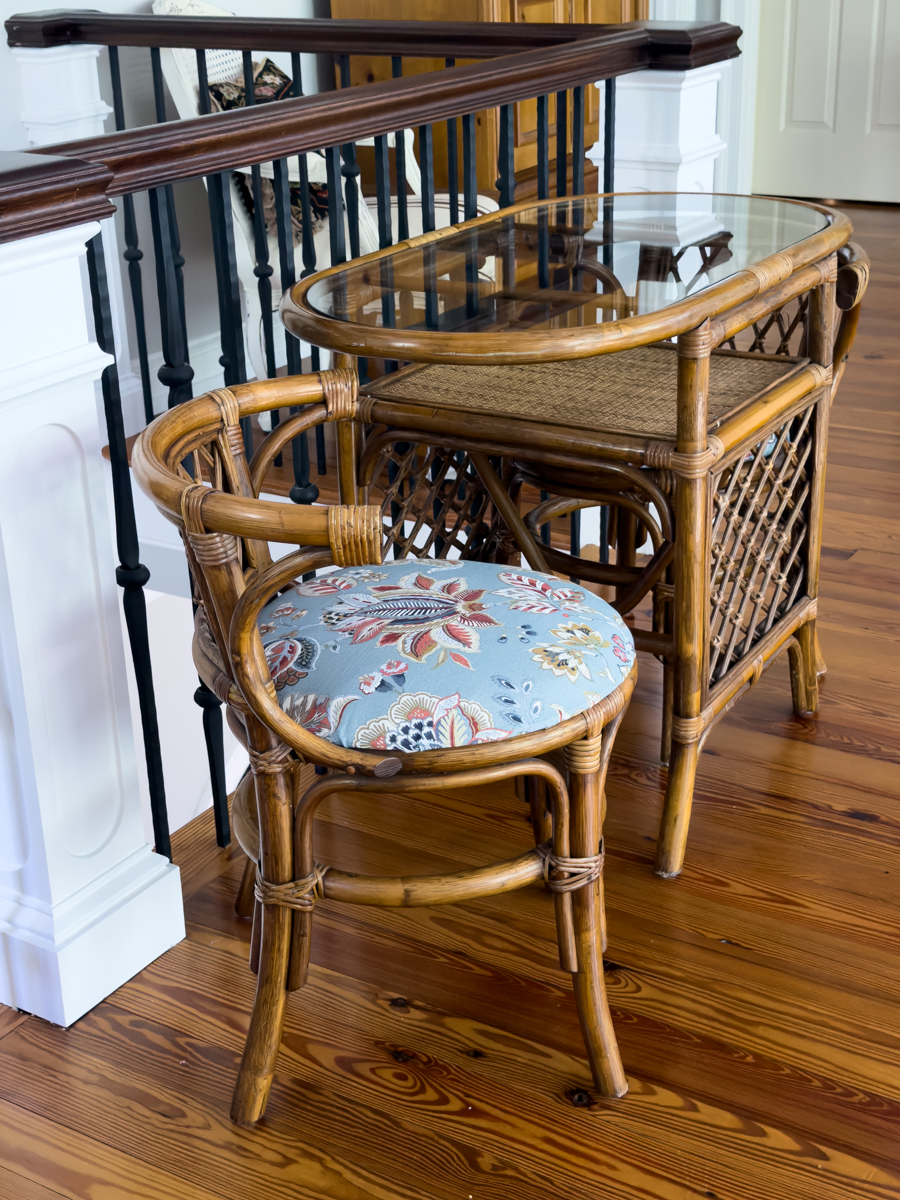
Ignore that unpainted door in the backgound. It's so wild to see the old color versus the new white. It has taken me forever to work through the woodwork in our home. Doors and windows are not my favorite as you can see!
Before You Get Rid of an Older Piece…
Take another look at it.
Does the entire piece really need changing, or is there just one element keeping it from working in your home?
In this case, all this rattan set needed was a good cleaning and new fabric on two little chair seats. Now instead of being donated, it has a new home and a new purpose.
Those are some of my favorite kinds of projects—simple updates that allow us to use and enjoy what we already have.
And I have a feeling there will be quite a few games of Rummikub played right here!

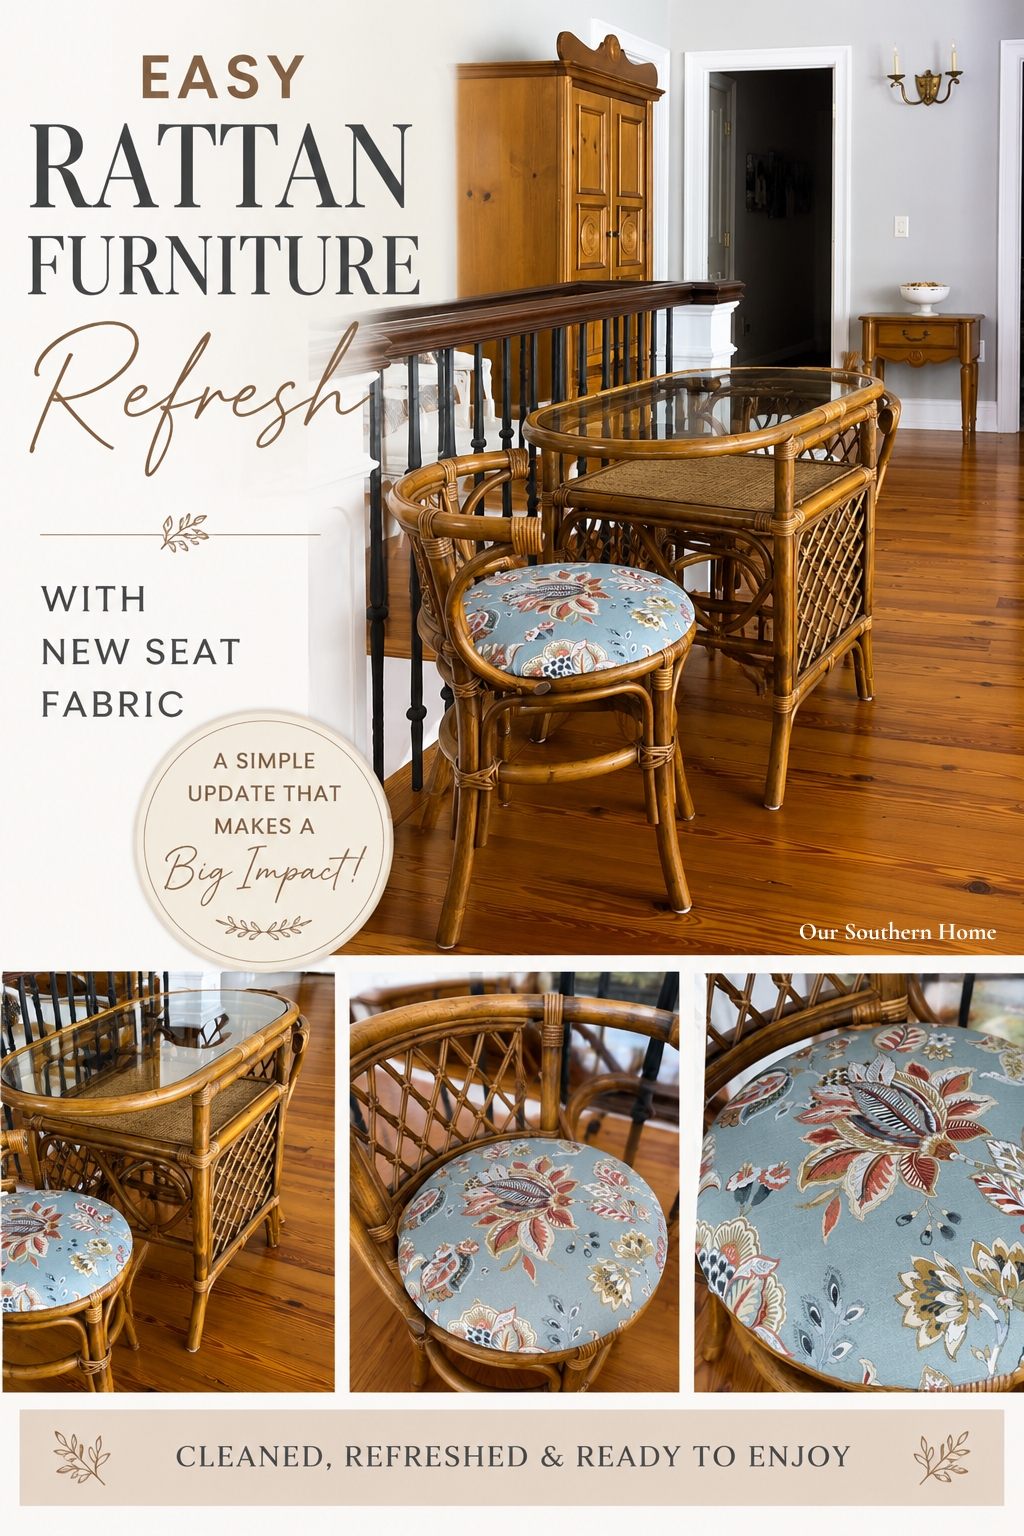
More Thrifted & Collected Decorating Ideas
Don’t miss the rest of this month’s Thrift Store Decor Tour! Be sure to visit my friends below for more creative ways to give older and overlooked pieces a fresh look for your home.
8 THRIFTED & DIY PROJECTS TO TRY
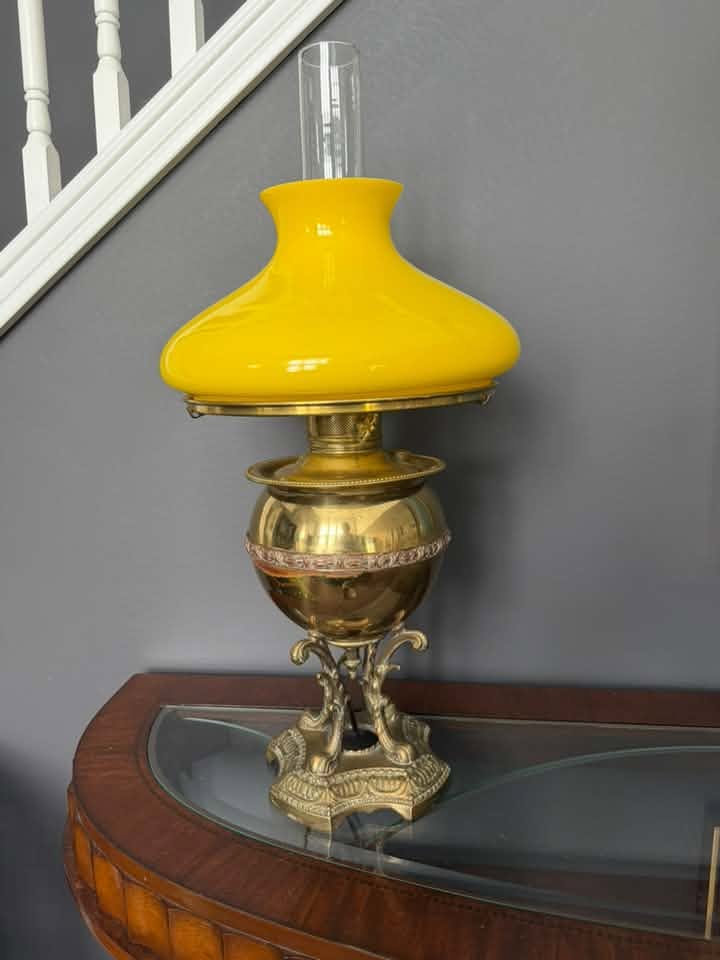
1. Restored Antique Oil Lamp Redhead Can Decorate takes her Grandfather's antique oil lamp and restores & styles it to perfectly fit her home today and it's beautiful~ |

2. Vintage Rattan Refresh Christy from Our Southern Home gave a vintage rattan furniture set a fresh new look with a simple seat fabric update. |
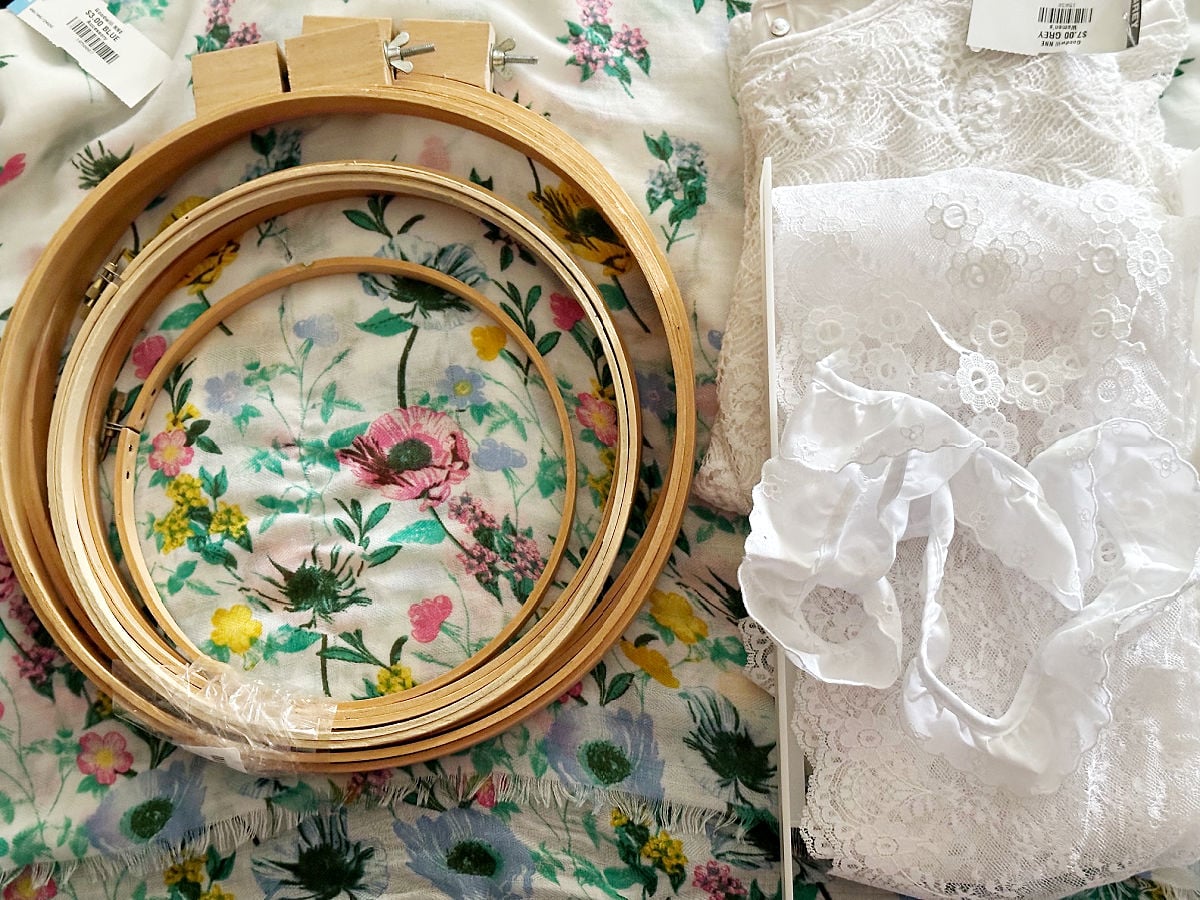
3. Thrifted Embroidery Hoop Wall Art Michelle from Our Crafty Mom turned thrift store finds into beautiful embroidery hoop wall art with a simple, creative DIY makeover. |
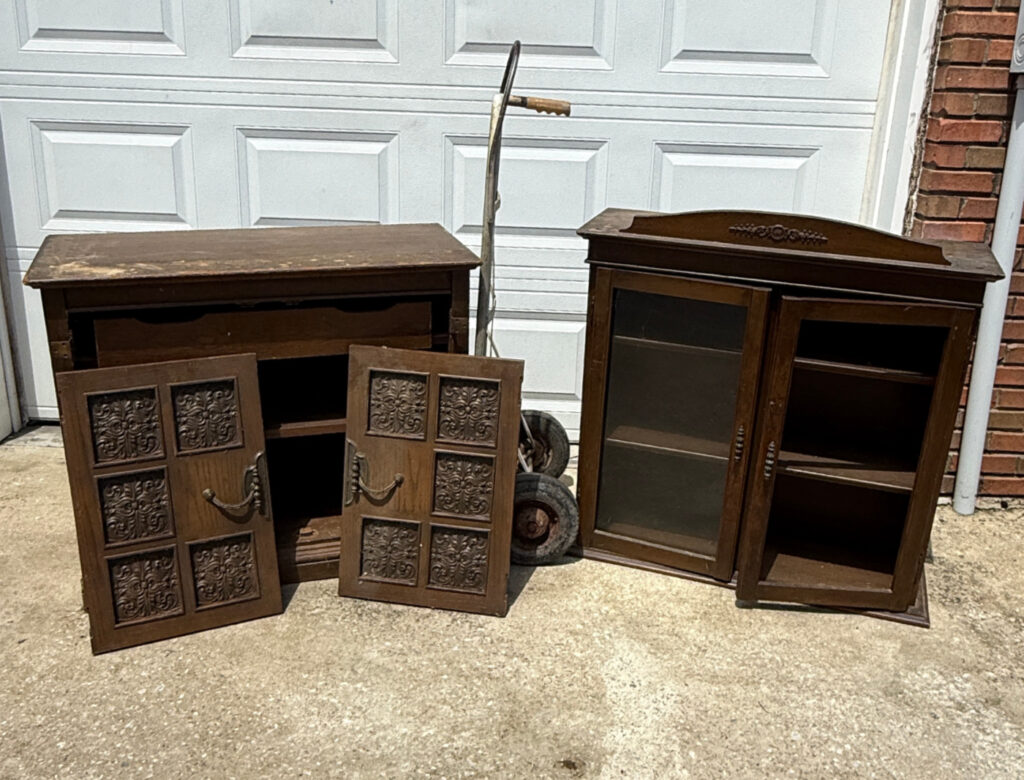
4. Dated Hutch Makeover Sue from Shop At Blu gives you some tips on how to make minor repairs and transform a dated hutch into a contemporary beauty! |

5. MacKenzie-Childs Inspired DIY Pumpkin Get that whimsical, checkerboard MacKenzie-Childs look for a fraction of the price with this easy tutorial by Uncommon Slice of Suburbia! |
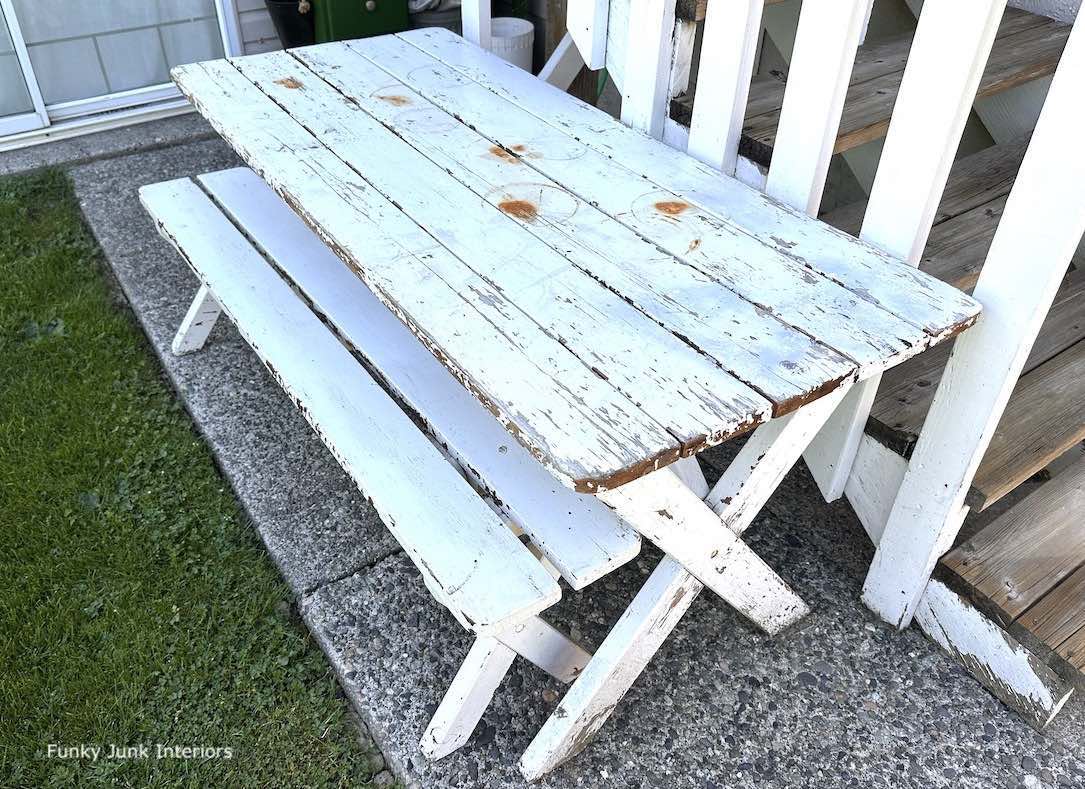
6. Picnic Table to Farmhouse Dining Table See how to flip an old picnic table into a decadent DIY budget-friendly farmhouse dining table by Donna from Funky Junk Interiors! |

7. Farmhouse Vase Painting Idea See how easy it is to update a boring vase into a stunning farmhouse beauty with this vase painting idea by Marianne Songbird! |

8. Floor Lamp to Table Lamp Transformation This towering floor lamp was hiding a charming table lamp in its base. See how Gail from My Repurposed Life gave it a whole new purpose. |
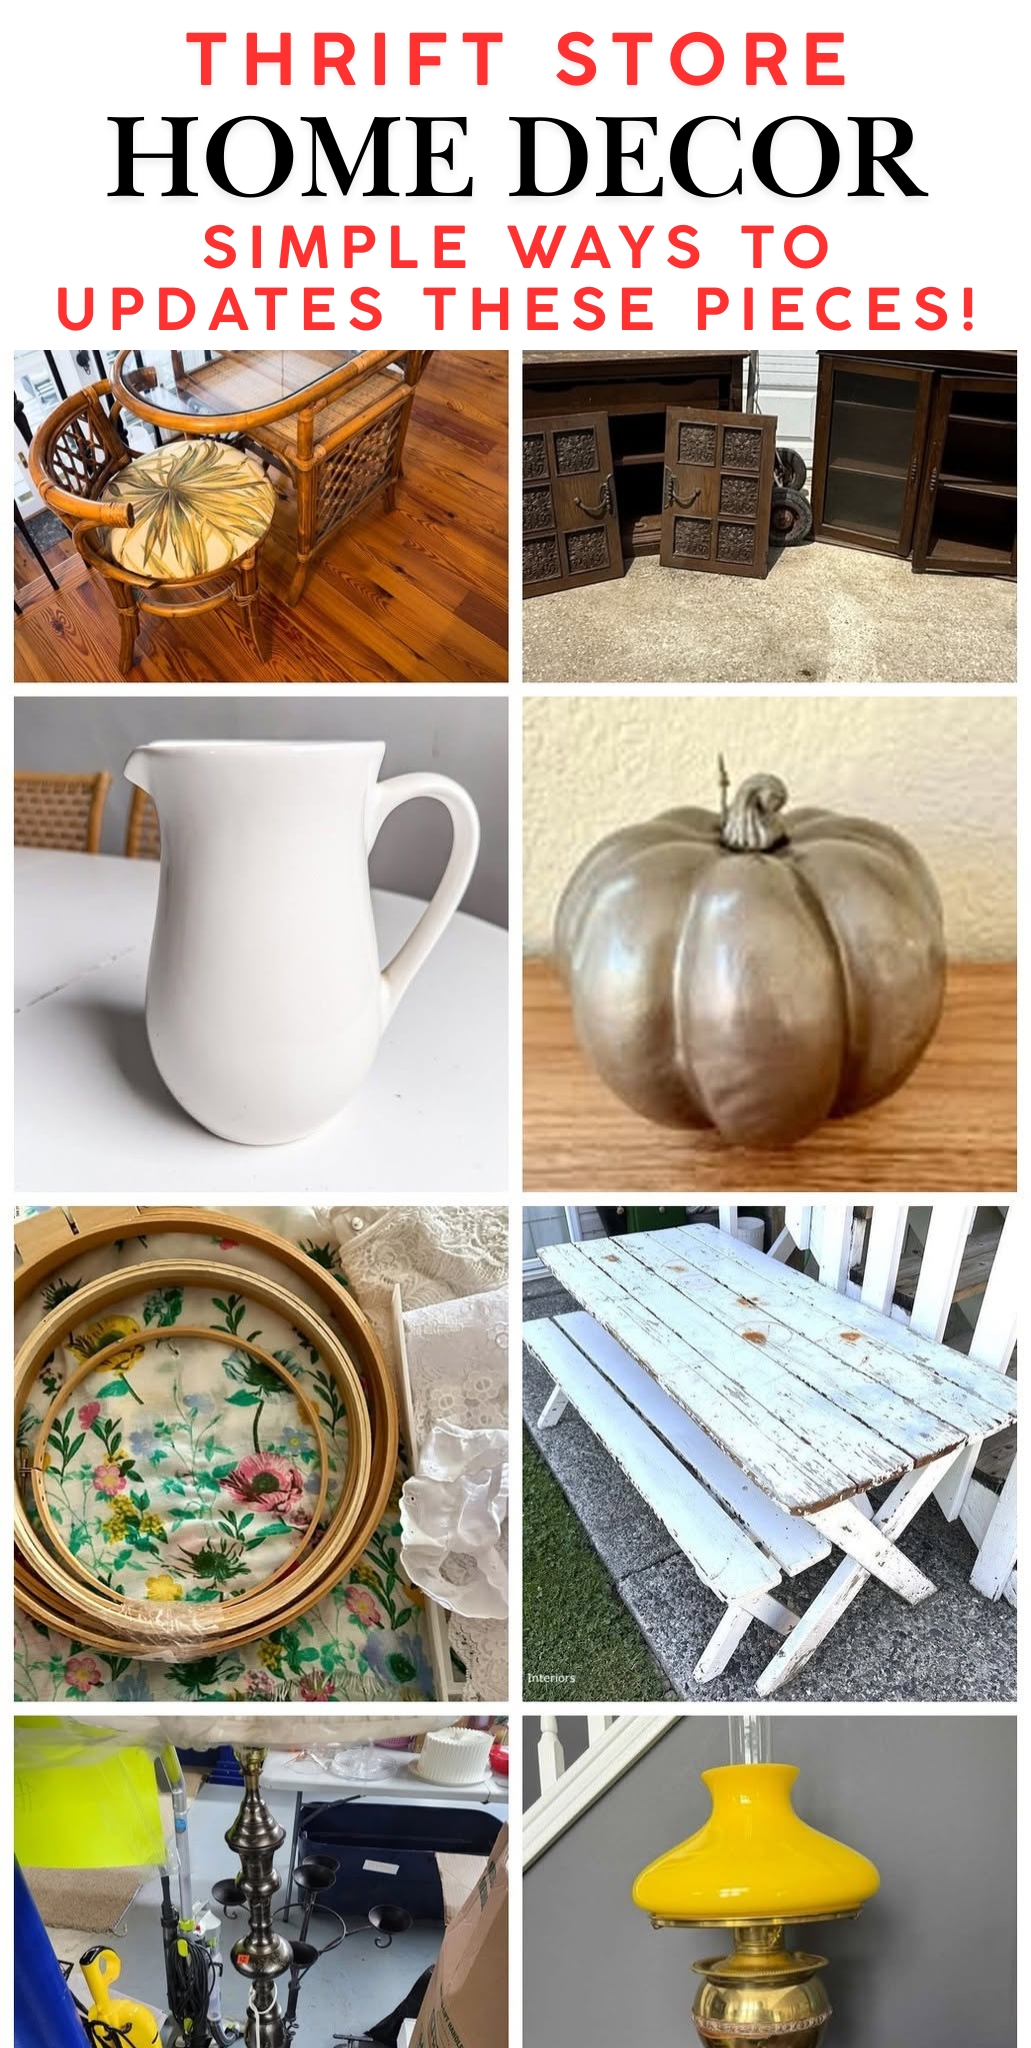
- Easy Rattan Furniture Refresh with New Seat Fabric by Our Southern Home
- Vintage Hutch Makeover by Shop At Blue
- Vase Painting Idea by Songbird
- MacKenzie-Childs Inspired Pumpkin by My Uncommon Slice of Suburbia
- DIY Embroidery Hoop Wall Art by Our Crafty Mom
- DIY farmhouse dining table from a cheap picnic table by Funky Junk Interiors
- Floor Lamp Into Table Lamp by My Repurposed Life
- How I Restored & Styled My Grandfather's Antique Oil Lamp by Red Head Can Decorate

Christy has been creating content for Our Southern Home since 2012. She has been featured in numerous print and online publications. Her classic, eclectic design approach spans her home and fashion style. Christy has a way of mixing store-bought with thrift store, antique and vintage finds. As a recent empty nester, she is having fun navigating this new stage of life. Read more about Christy HERE. Be sure to subscribe below. You can also contact me HERE.