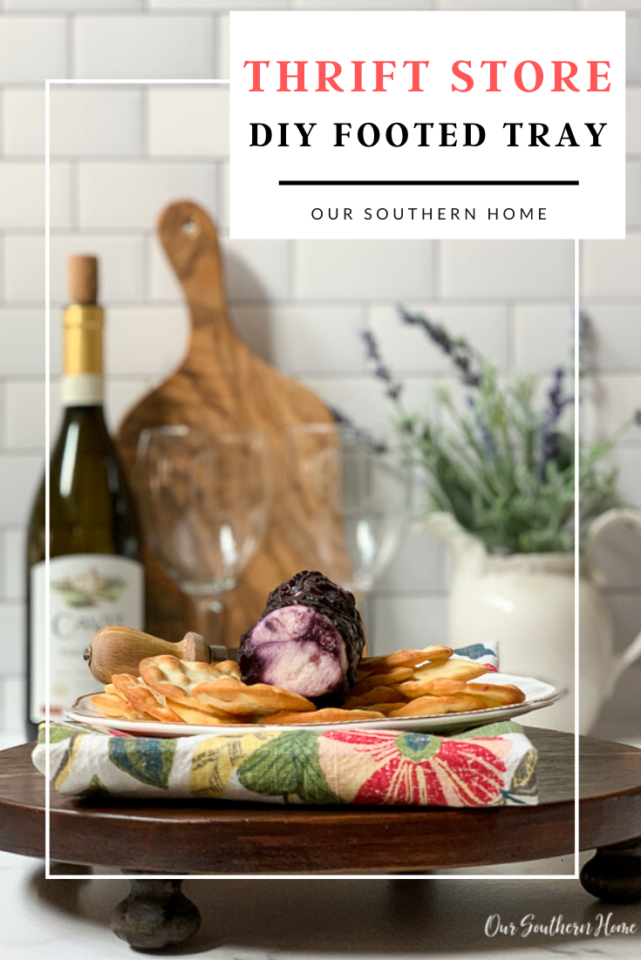
DIY Footed Tray
It's Thrift Store makeover day with the team! Once a month we come together to share our finds and how we've transformed them to work in our homes.
I'm kind of excited about this one!
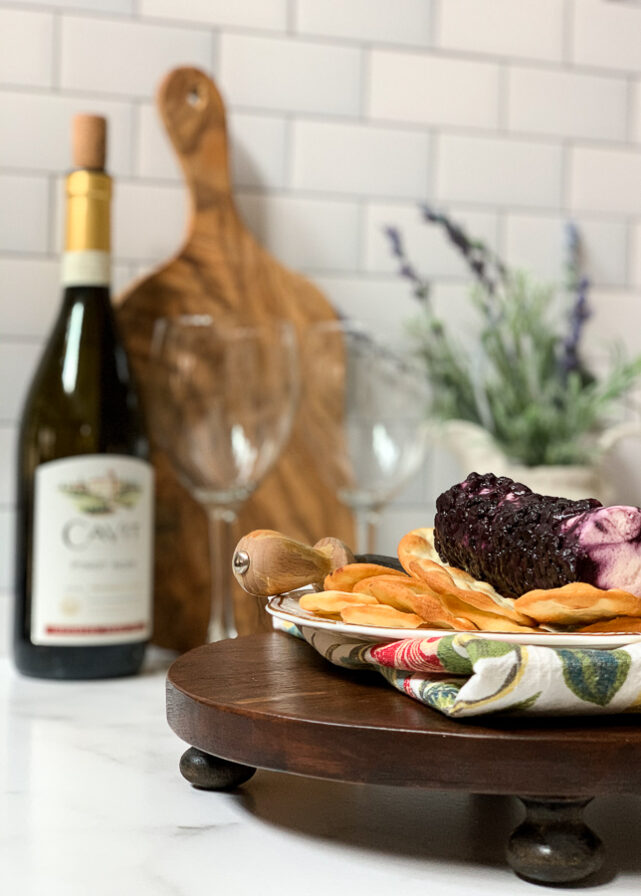
I took a little bit of junk and created this DIY Footed Tray.
Be sure to stick around to the end to visit the links of my blogging friends!
This is a project that almost didn't happen. When my hubby cleans out the garage…..he is ruthless. He knows I'm a junk hoarder (I'm working on this) so he just gets rid of the junk.
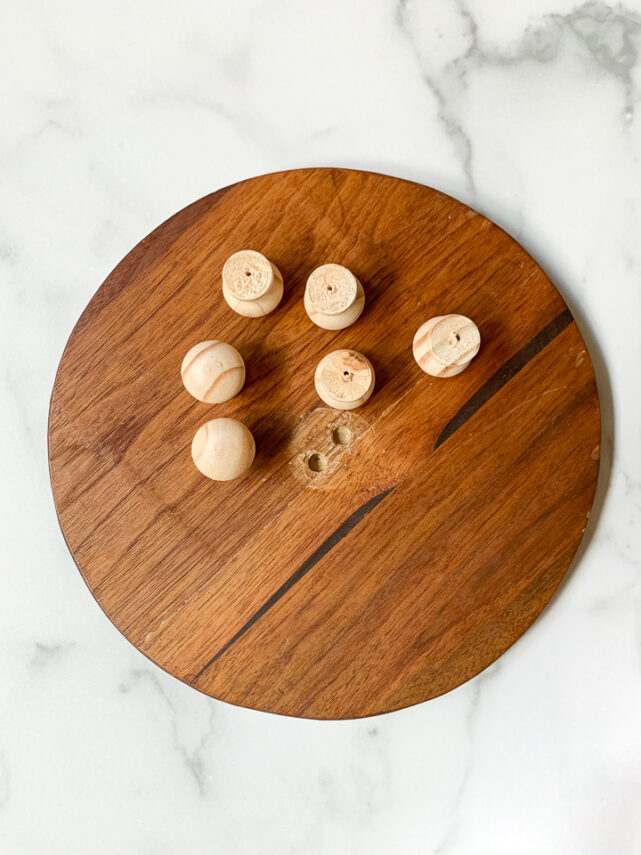
Luckily I rescued this circle of wood. I'm pretty sure it used to be apart of a lazy susan or something like that. When I originally purchased it, I figured that I do a sign with it. Hubby also discovered a baggie of these knobs on a shelf. They were from an ikea chest makeover from quite a few years back. I used other hardware on it. I decided that they'd make perfect feet for this board to create a DIY Footed Tray!
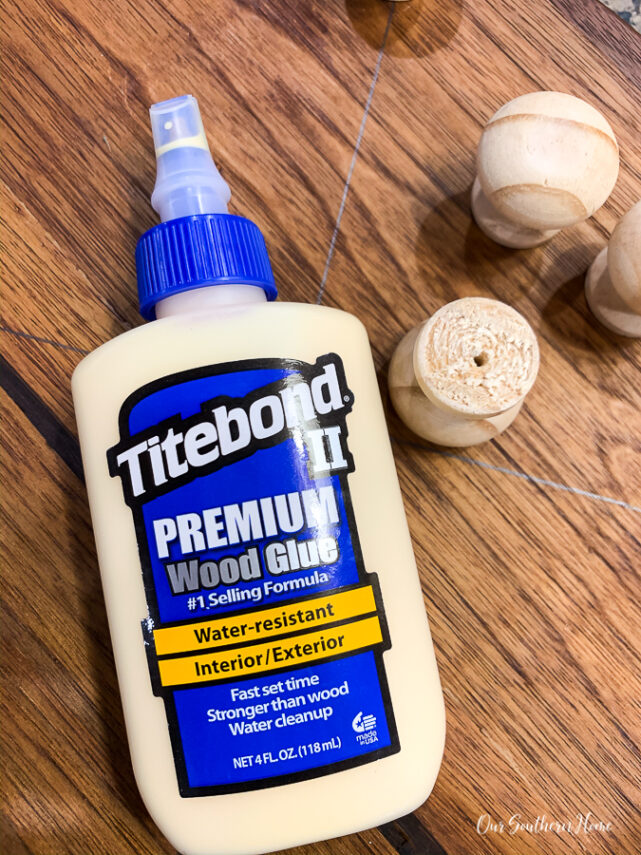
This wood glue worked to adhere the knobs to the underside of the round piece of wood.
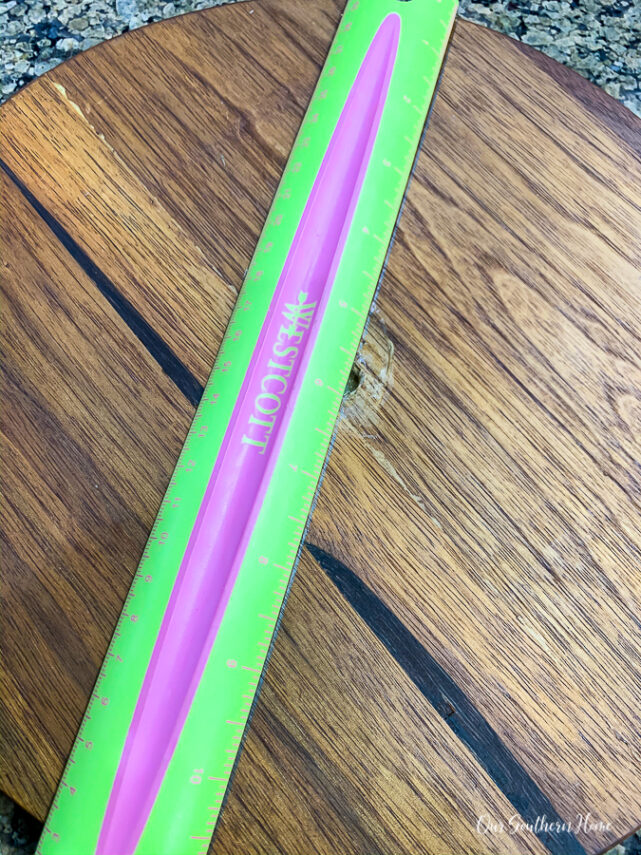
Use a ruler to make a cross on the back of the round. This will mark where to place the knobs.

I cleaned up the dirt and grime from the board. I then used an old t-shirt to apply this stain to the entire top, sides and feet. I used what I had on hand that was closest to what was already on the board….dark walnut.
I let the stain sit on it for about 10 minutes then I worked it in with paper towels. Let it dry overnight.
I then applied my favorite satin finish sealer.
It dries very quickly! Then you are ready to decorate and enjoy!
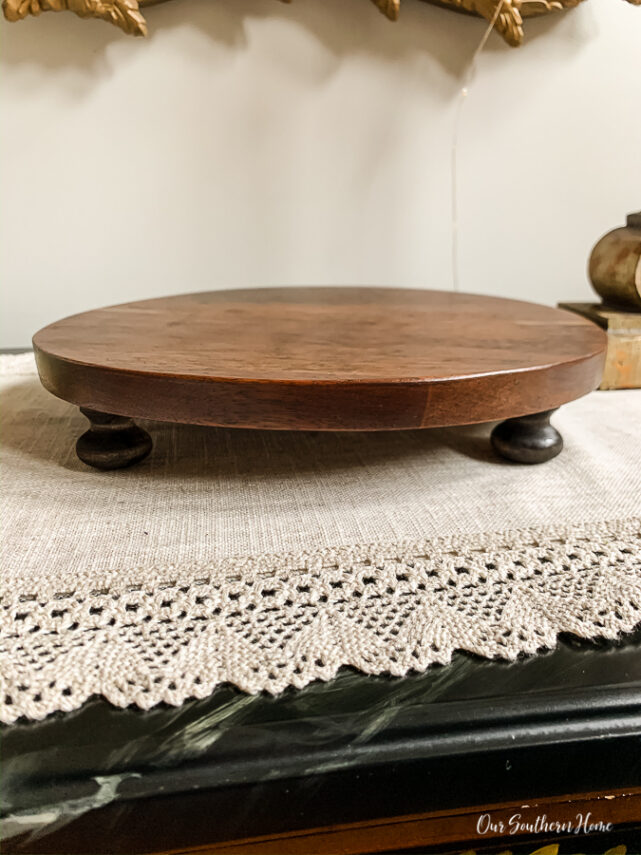
Now it has a wonderful vintage patina to it.
I decided to show you two different ways to use it!
- vignette
- cheese tray
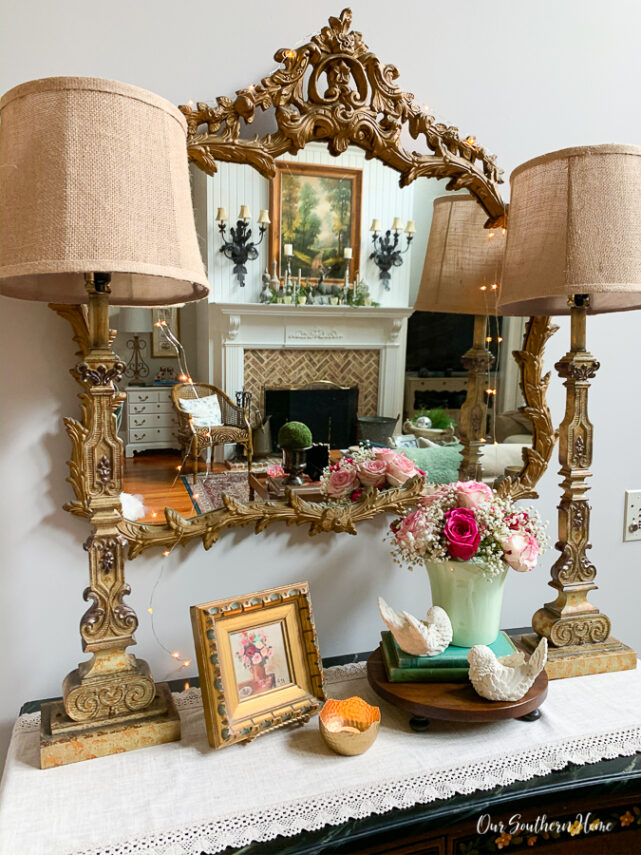
Trays are perfect in vignettes. They give height and add another layer of color and texture.


The flowers were from last week's family birthday dinner for Ashlyn's 21st birthday. I had them in several small glass vases going down the table. I later combined them into this one container. They are still hanging in there.
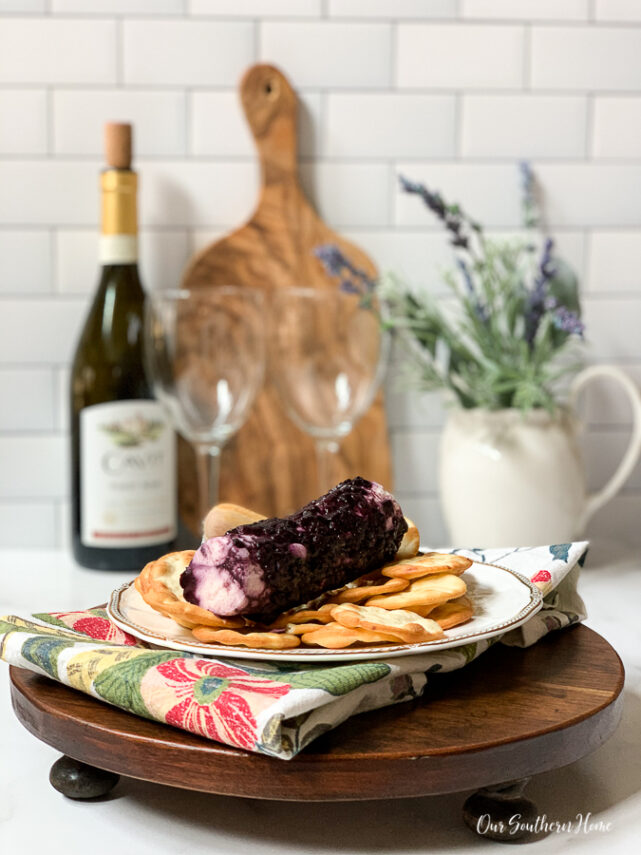
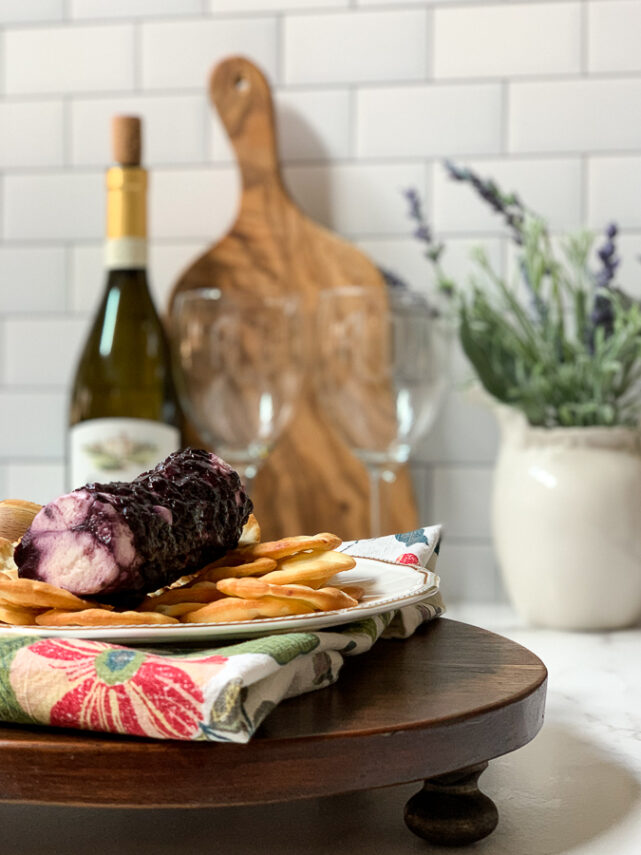
This is my favorite way to use it……as a cheese board. It is not food safe as is, but perfect with a dish on top.
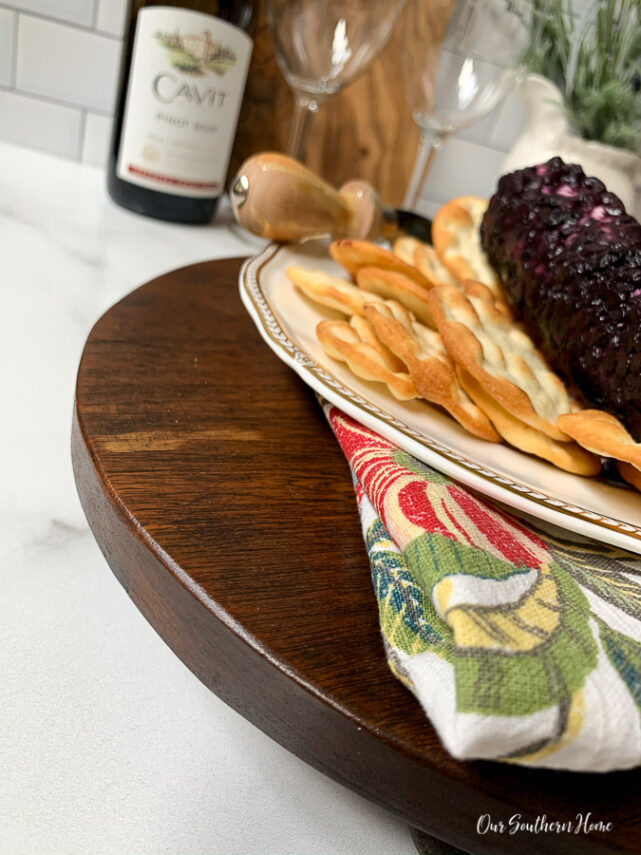
Top it with a patterned napkin for a punch of color.
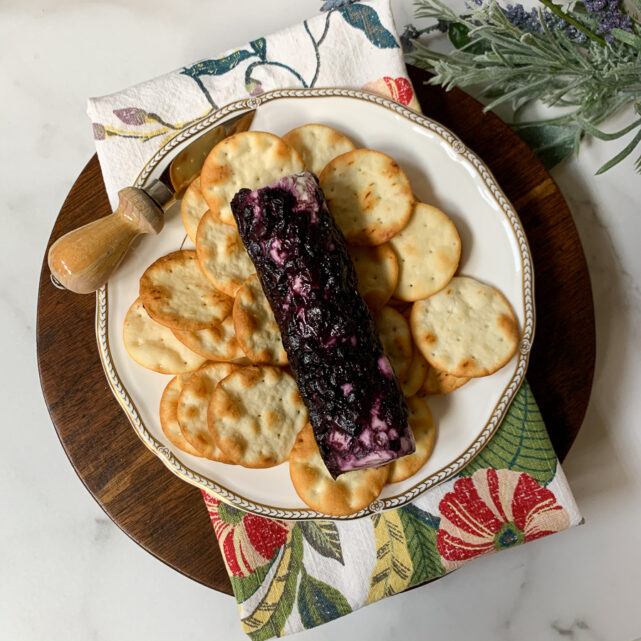
We are obsessed with this goat cheese from Aldi.
This would even be pretty with a light white or gray wash over it.

Check out what the rest of the team created this month! You will find the links below!
How to Make a Cement Pot
Decoupage Sewing Drawer
Antique Kitchen Tools for Spring
Create A Natural Raw Wood Look
DIY Coffee Pot Terrarium
Retro Canisters for Vintage Kitchen Decor
Decorative Candy Jar
DIY Footed Tray


Love it! It looks great!
Those birds!! They really bring back memories. I think it was the 60s, or was it the 50s? They were everywhere!
Great project and I love your thrift store makeover group.
Kathy
Thanks so very much! I love finding great thrift store items!
How cute Christy. And so useful. I love to take flea market finds and repurpose them. Great idea.
I love a footed tray – so cute!
Loved the transformation, from a useless piece of wood to a decorative plate that has multiple usages, this is the power of DIY
Thanks so much!
This is super cute, love the tray, it’s a perfect size too! I wish my hubby was more like your’s , mine hangs onto everything!
Christy,
I love the colors of this upcycled footed tray! I use so much paint, this reminds me that paint is not always the way to go. 🙂
pinned!
gail
This is darling Christy. Love the styling.
Have a great day!
Cindy