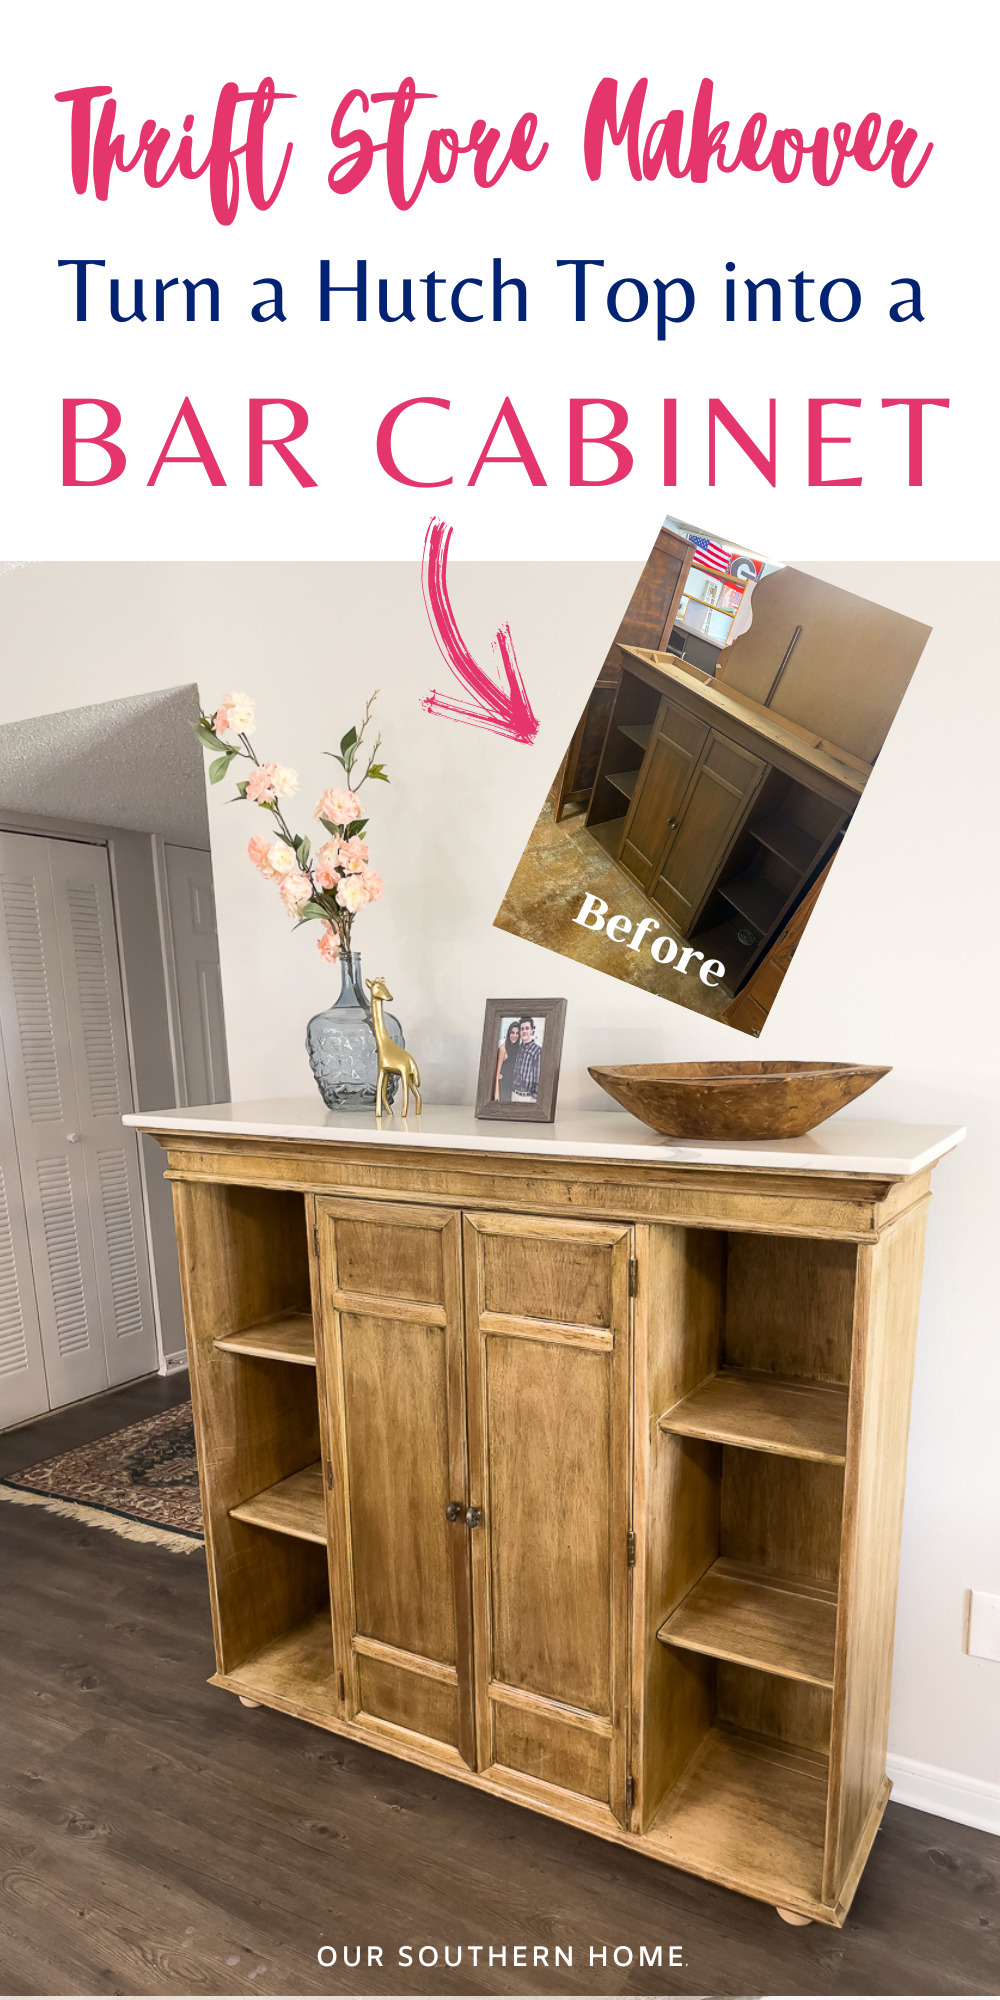
DIY Upcycled Bar Cabinet from the Top of Hutch
DIY Upcycled Bar Cabinet from the Top of Hutch is a simple and affordable makeover topped with a remnant of quartz counters.
Latest from OSH
- How to Make Piña Coladas in an Ice Cream Maker
- Saturdays on the Porch #86
- Saturdays on the Porch #85
- Easy European Wall Art with Thrift Store Frames
- Piano Bench Makeover with New Color and Fabric
Check out my recent tour of our screened porch with several thrift store makeovers!

Join us each month for NEW thrifty ideas from the team. You'll find links to all of the projects below.
This post may contain affiliate links. If you purchase something using one of my links, I may earn a small commission from the retailer costing you nothing more. You can read more on my disclosure page. Christy Little of Our Southern Home is a participant in the Amazon Services LLC Associates Program, an affiliate advertising program designed to provide a means for sites to earn advertising fees by advertising and linking to amazon.com.
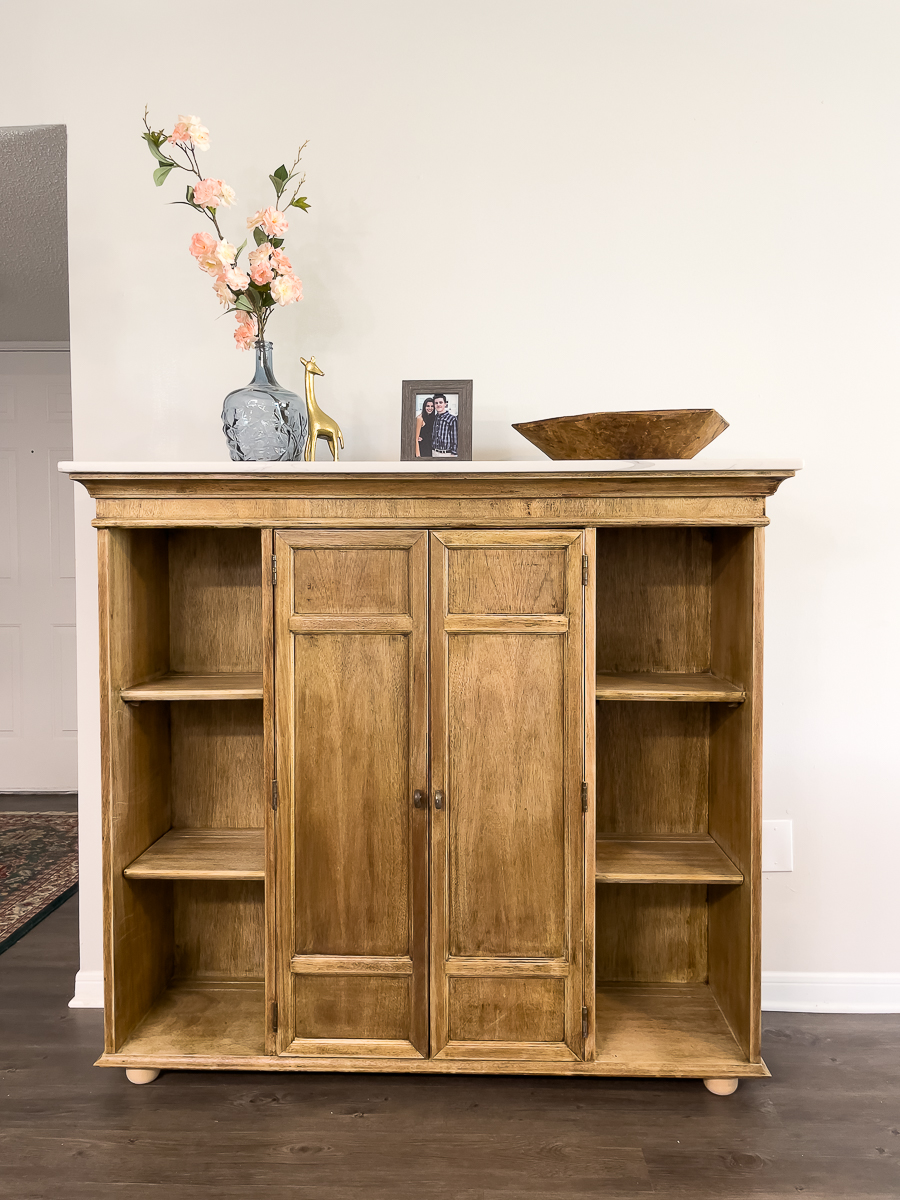
DIY Upcycled Bar Cabinet from the Top of Hutch
I didn't think I'd ever hear myself say this, but I'm jealous of my daughter's project and wish I had it for myself. LOL!
I am absolutely blown away at how well this project turned out. Ashlyn completed this project all by herself. I purchased the cabinet for her with intention of this being featured on the blog.
We have a thrift store in our town that supports Home with a Heart. It is fabulous and the prices are actually what a thrift store should be. So many have gotten so high.
Home with a Heart is a Christian facility that helps men rehabilitate from drugs and alcohol. Our church is active with the home. It does so much good. I love shopping and donating to this thrift store because it does so much fabulous work.
Ashlyn and I have been there a lot lately because she has been decorating her new apartment with Tim. Tim has already moved in, but Ashlyn will not be moving in until after the wedding in September. I'm so happy…..it's only 30 minutes away and in a great area for shopping and restaurants. Woods is only going to be 18 minutes away! Originally, Ashlyn and Tim were moving to Charlotte, NC. Tim's job went all remote except for 1 day per week at the main office in Charlotte. They decided they would rather stay here near family and friends, and he would just commute that one day the 2-hour drive downtown. It's cheaper to live here than in Charlotte.
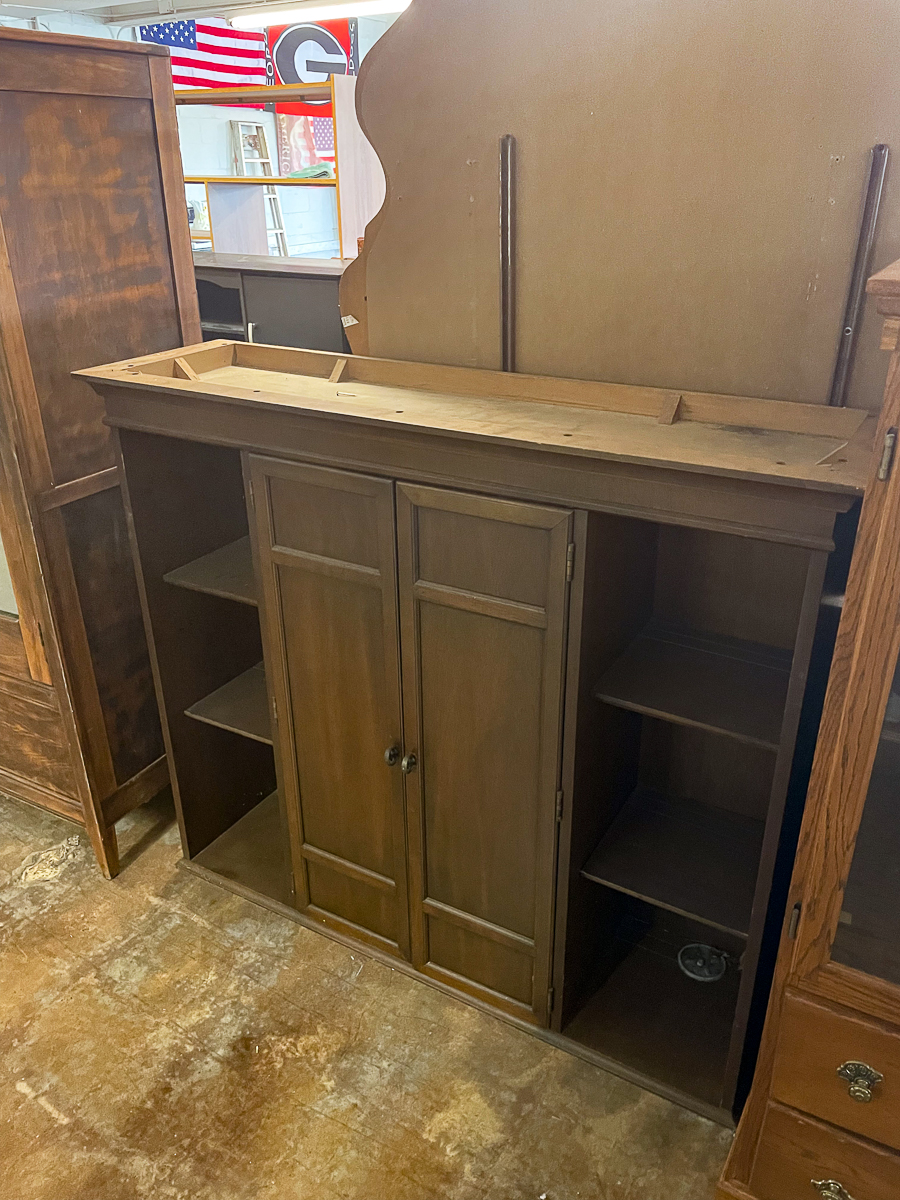
One day we stopped at the Home with a Heart thrift store quickly, and I noticed the top part of a hutch or china cabinet. It is heavy and solid wood.
It was perfect for the bar cart or cabinet that they have been looking for! The price was even better……$30!
I told Ashlyn that she could finish it any way she'd like, add feet to elevate it in order to give it a furniture look then add a top like marble to it.
We were both excited.
She worked on stripping the piece back in March. It then sat there until a couple of weeks ago when she decided to bleach the wood for a more natural look.
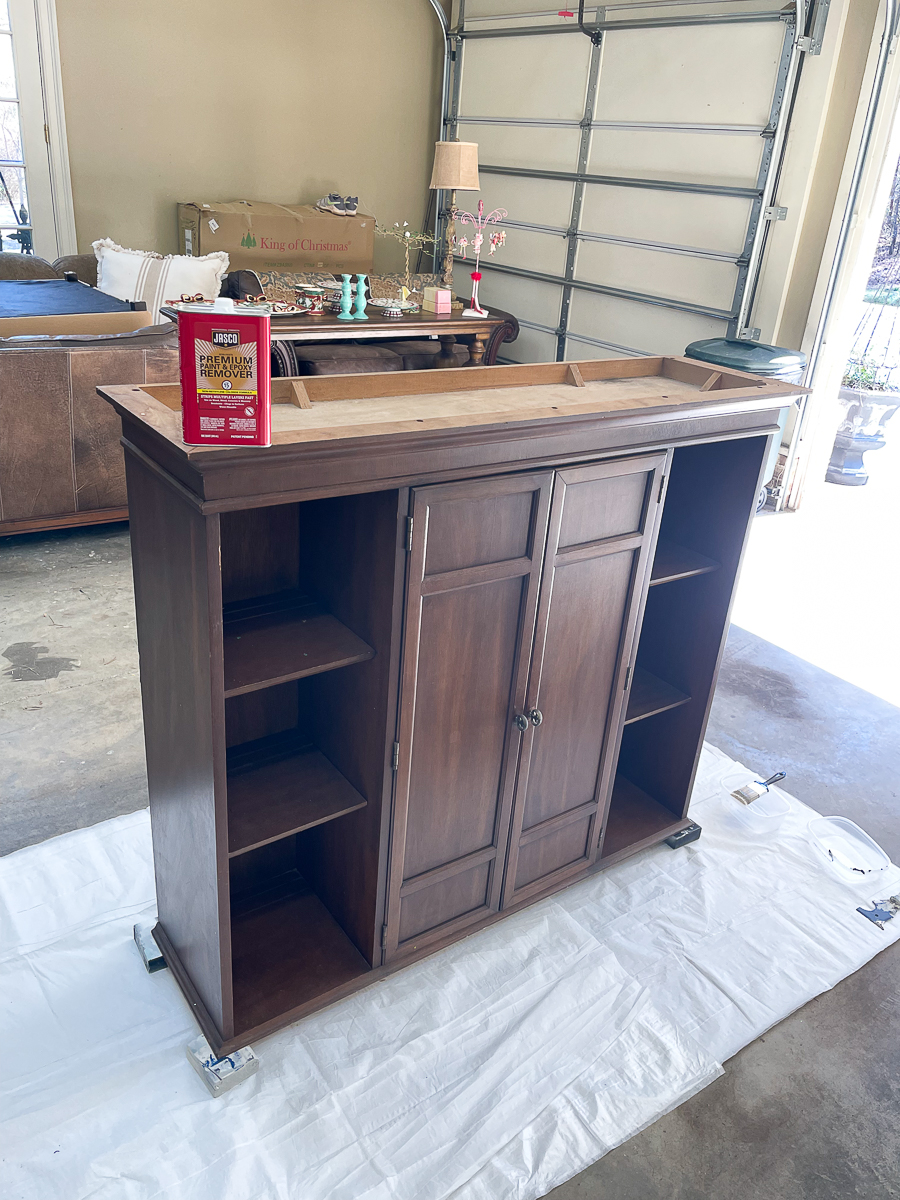
See all that furniture in the background. Friends are building a new house and downsizing. They gave both of the kids all of the basement furniture. It was a huge space with 2 sitting areas. They are both set for couches.
How to turn a Hutch Top into a Bar Cabinet
A beginner-friendly project is just a bit time-consuming with stripping and bleaching. The after is so worth it!
Materials
- cabinet of choice
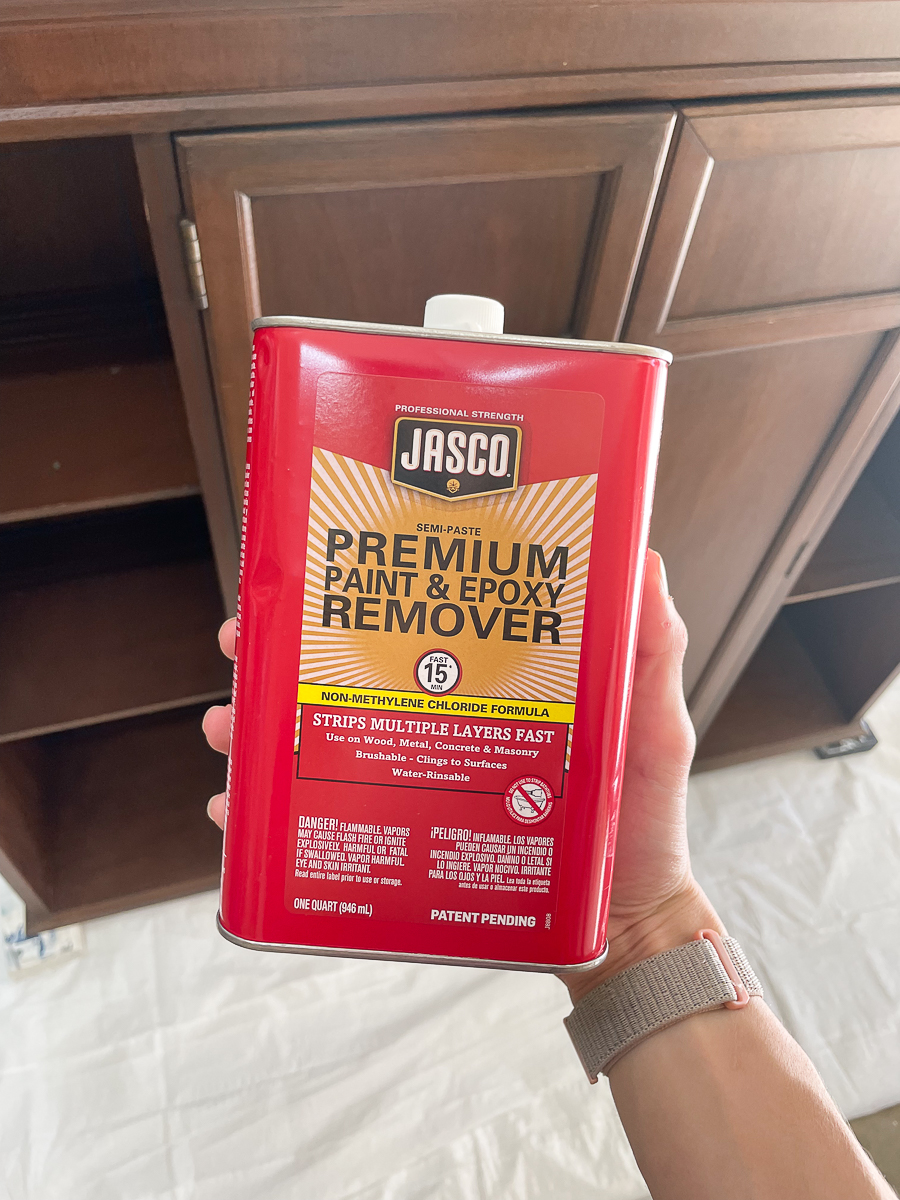
- Jasco for stripping
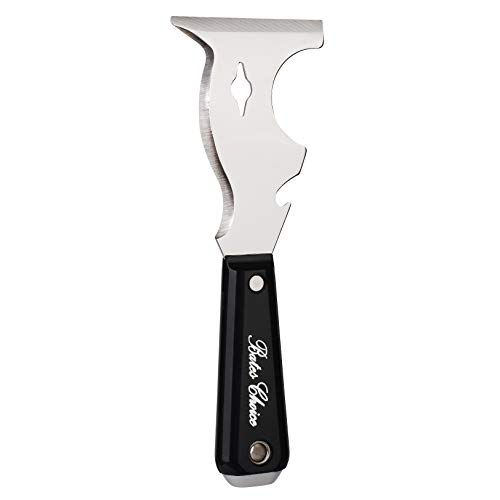
- sturdy putty knife with a beveled edge for stripping
- stripping pads
- 4-bun feet
- 4-foot attachments for bun feet
- palm sander
- sanding block
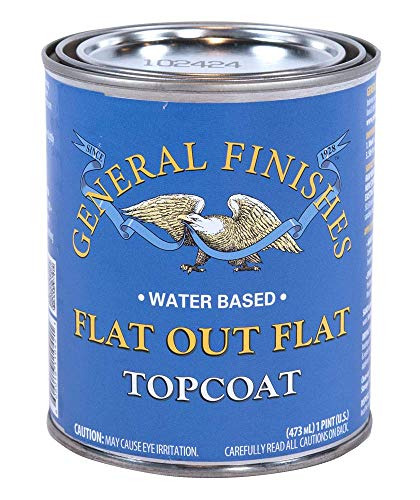
- General Finishes Clear Matte Sealer
- Brush for sealer
- Quartz Remnant
Instructions
- The first thing that you want to do is remove all hardware and clean the piece thoroughly.
- Apply Jasco stripped per the directions on the container. This is a fabulous stripper and works quickly.
- Ashlyn uses a combination of a sturdy putty knife and stripping pads to remove the stain.
- Clean the piece when finished.
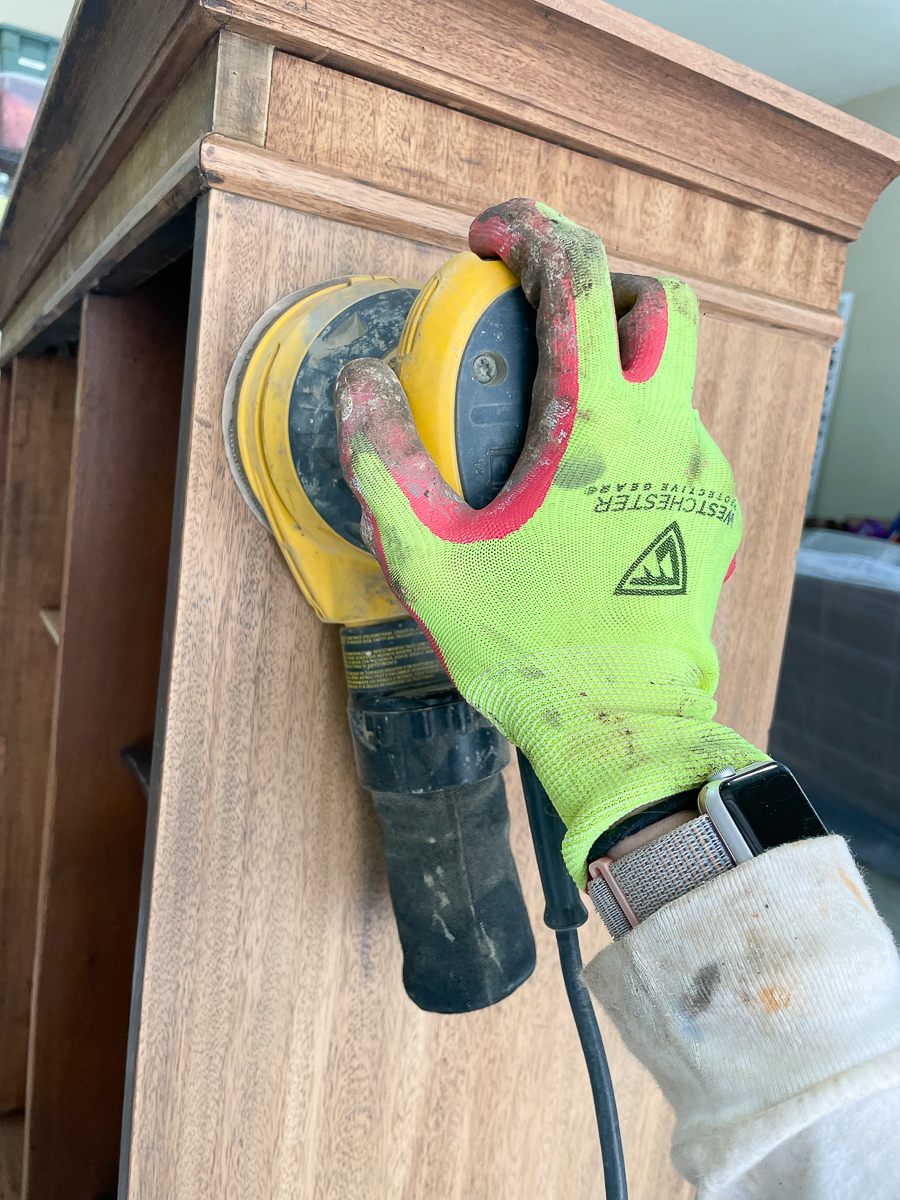
- Give it a good sanding with your palm sander.
- Use a fine sanding block or palm sander to get a smooth finish.
- Apply Zinsser Bleach to the piece per directions. She did this twice.
- Attach the bun feet with the plates.
- Seal the entire piece with 1-2 coats of General FInished Clear Sealer in a flat finish.
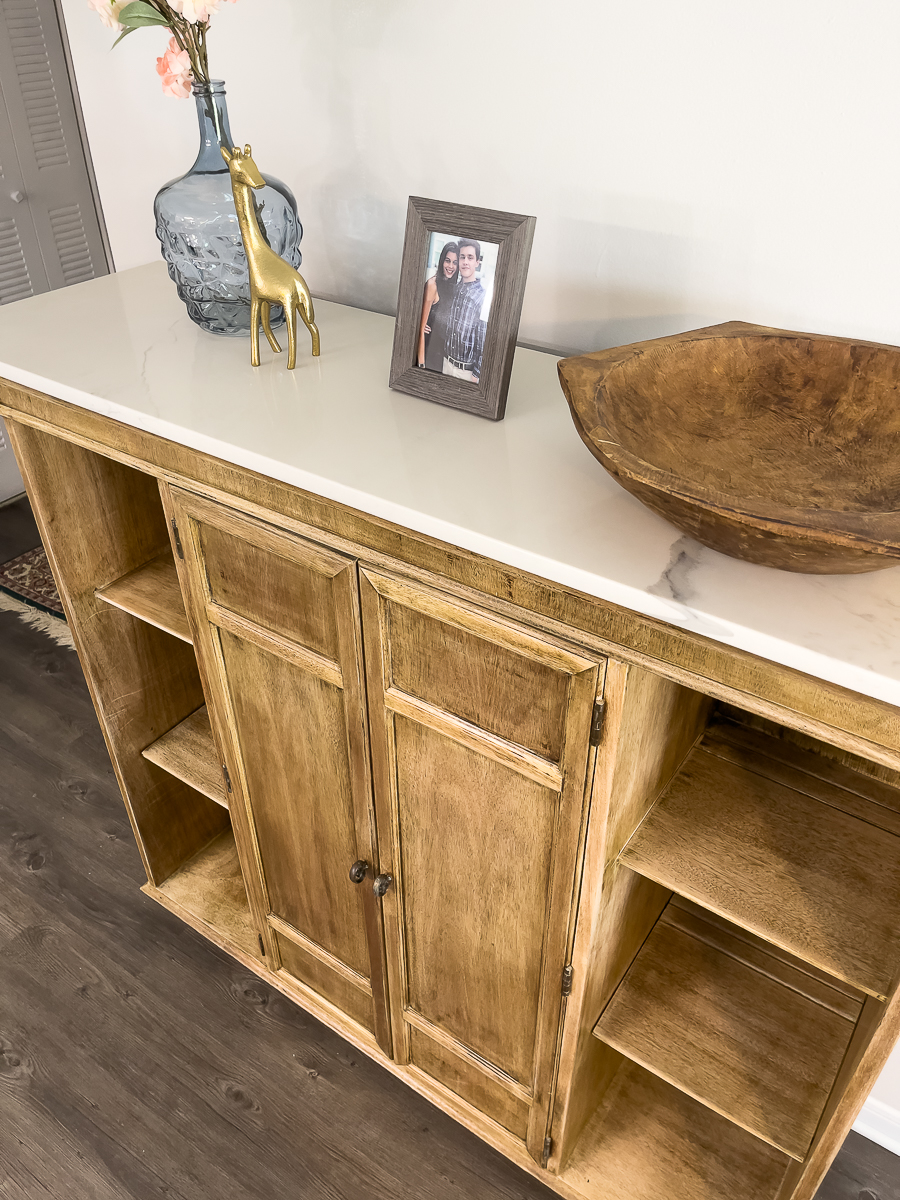
- Top with a piece of remnant quartz, granite or marble.
Notes
PLEASE follow instructions per the directions on all products. It is a MUST to wear eye gear and gloves when working with the Jasco and Zinsser Bleach.
Recommended Products
As an Amazon Associate and member of other affiliate programs, I earn from qualifying purchases.
-
 3M Stripping Pads, 3-3/4 in x 6 in x 5/16-in, 2-Pack
 -
Bates- Paint Scraper, 10 in 1 Painters Tool, Paint Scrapers for Wood, Painters Tool, Painters Knife, Paint Scraper for Painting, Putty Knife, Metal Scraper, Spackle Tool, Putty Scraper, Knife Scraper
-
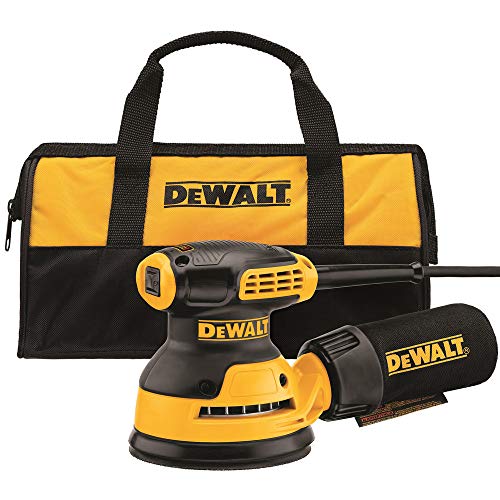
DEWALT Random Orbit Sander, 5-Inch (DWE6421K)
-
General Finishes Flat Out Flat Topcoat, Pint
-
2 Inch Bun Feet Unfinished DIY Wood Furniture Legs Set of 4 for Couch Sofa with Pre-Drilled 5/16 Inch Bolt M8 & Mounting Plate & Screws
-
Jasco Professional Strength PremiumPaintandEpoxy Remover Quart
-
Zinsser 300451 Wood Bleach, 8 oz, 8 Ounce (Pack of 2)


Materials Used
- cabinet of choice
- bun feet
- plate to attach feet
- Jasco for stripping
- sturdy putty knife with a beveled edge for stripping
- stripping pads
- orbital sander
- sanding block
- General Finishes Clear Flat Sealer
- Brush for sealer
- Quartz Remnant
Steps
The first thing that you want to do is remove all hardware and clean the piece thoroughly.
Apply Jasco stripped per the directions on the container. This is a fabulous stripper and works quickly.
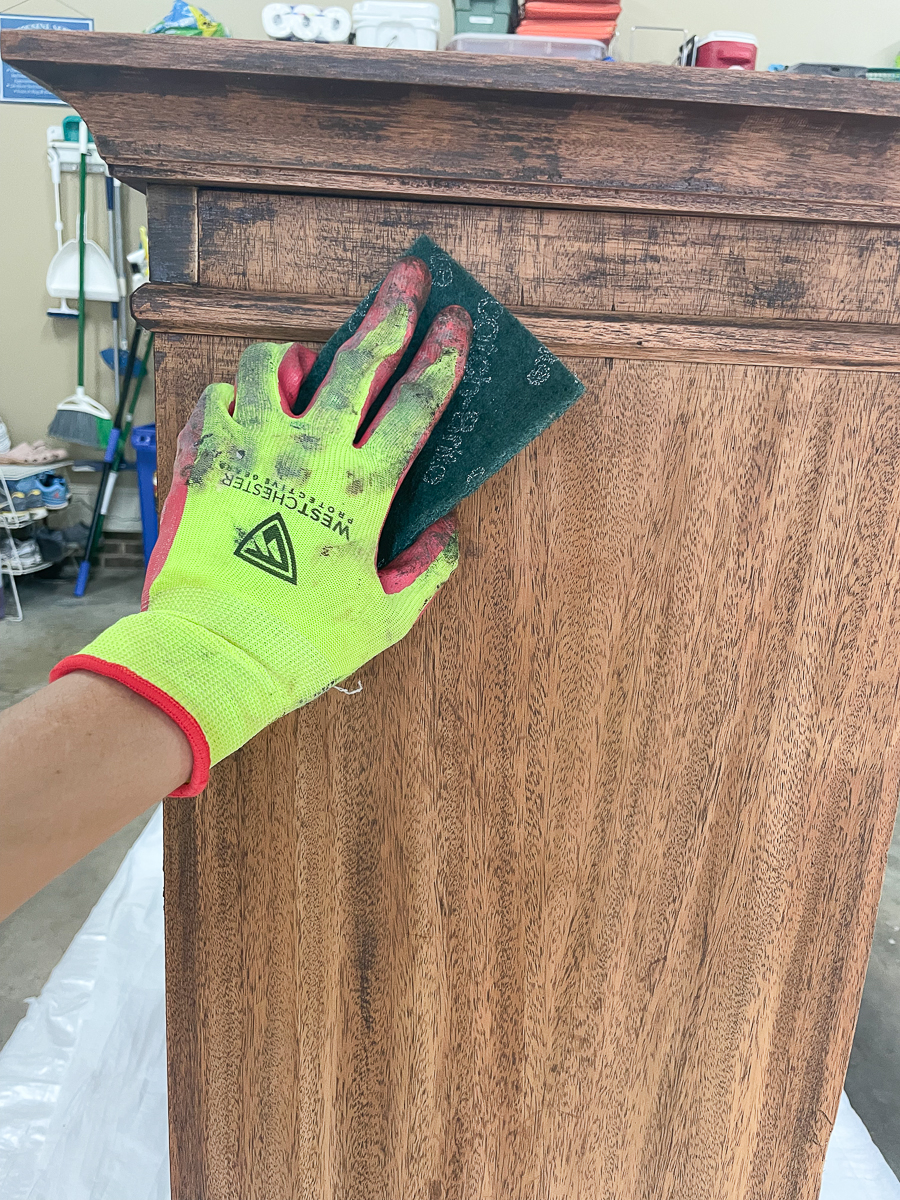
Ashlyn uses a combination of a sturdy putty knife and stripping pads to remove the stain.
Clean the piece when finished.
Give it a good sanding with your palm sander.
Clean the piece very well.
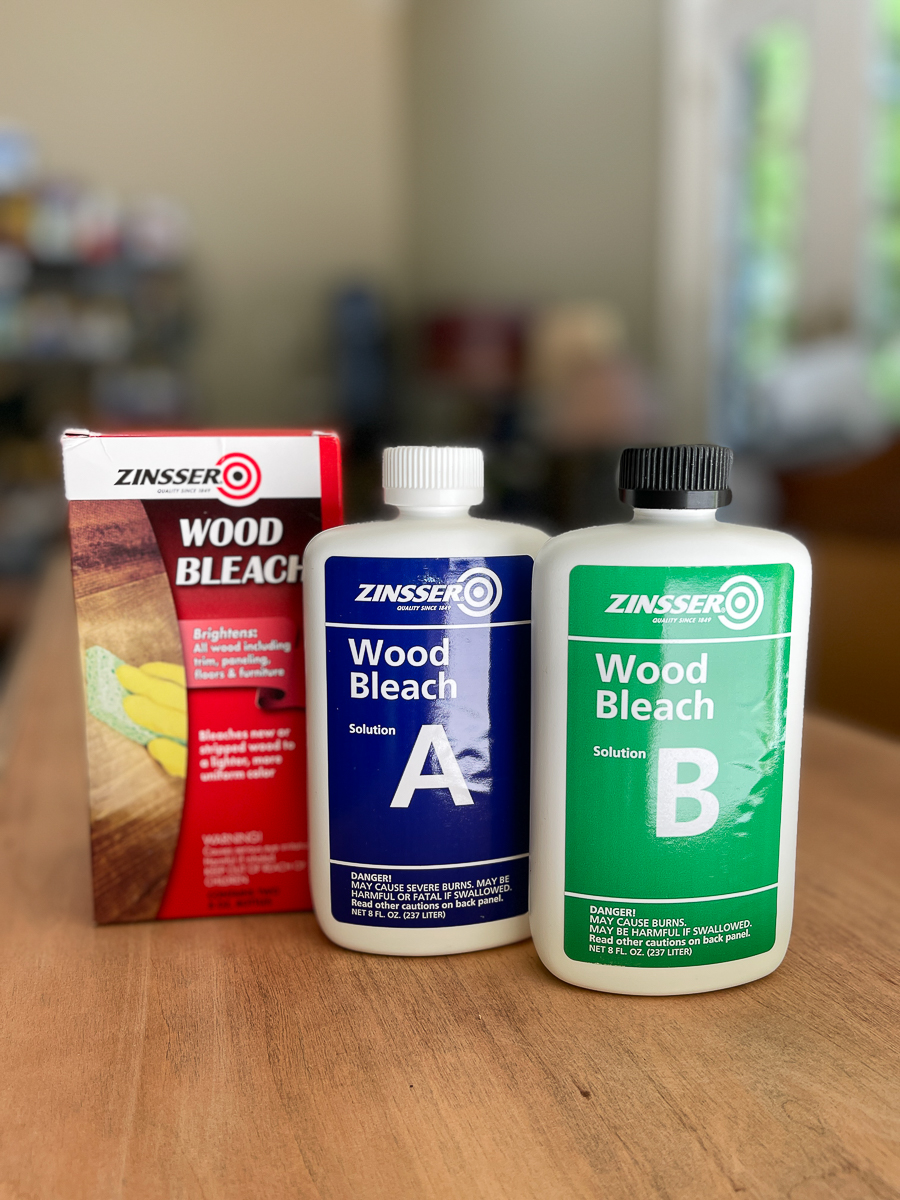
Apply the Zinsser Bleach per directions. PLEASE protect your hands and wear heavy gloves like kitchen dish gloves. The product will burn it touches your hands. This is a must!!! My local hardware store did not have this in-store. I ordered it directly from Amazon.
We chose to use this product because this is a very heavy piece. You can use household bleach, but you would need to do this in the sun. The Zinsser product could be done in the garage without having to move it.
We applied the bleach twice.
Let it dry out well and clean it again.
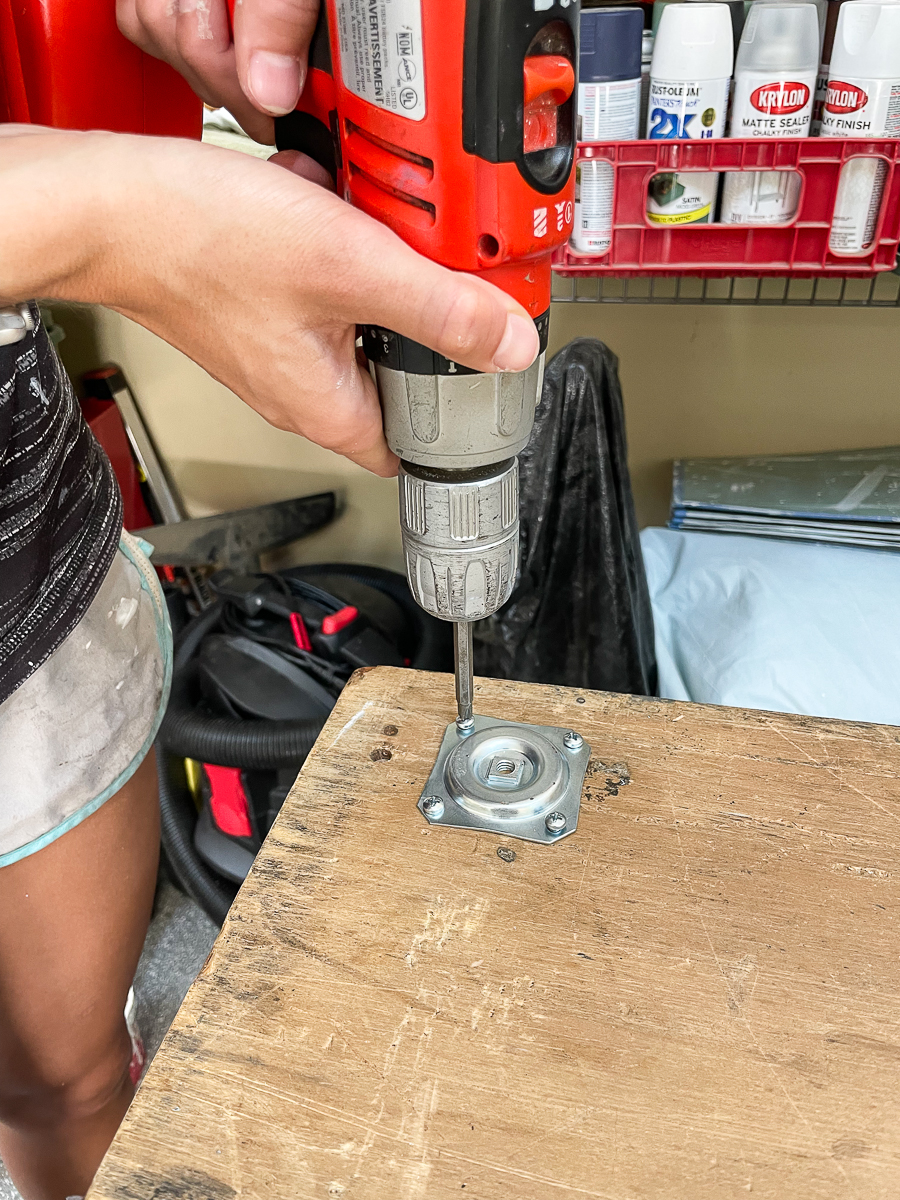
Luckily, the wood on the bottom was in good shape. The plates were able to attach right to the bottom without adding any wood blocks. The plate allows you to screw the bun feet on. This also allows you to level the piece once in place.
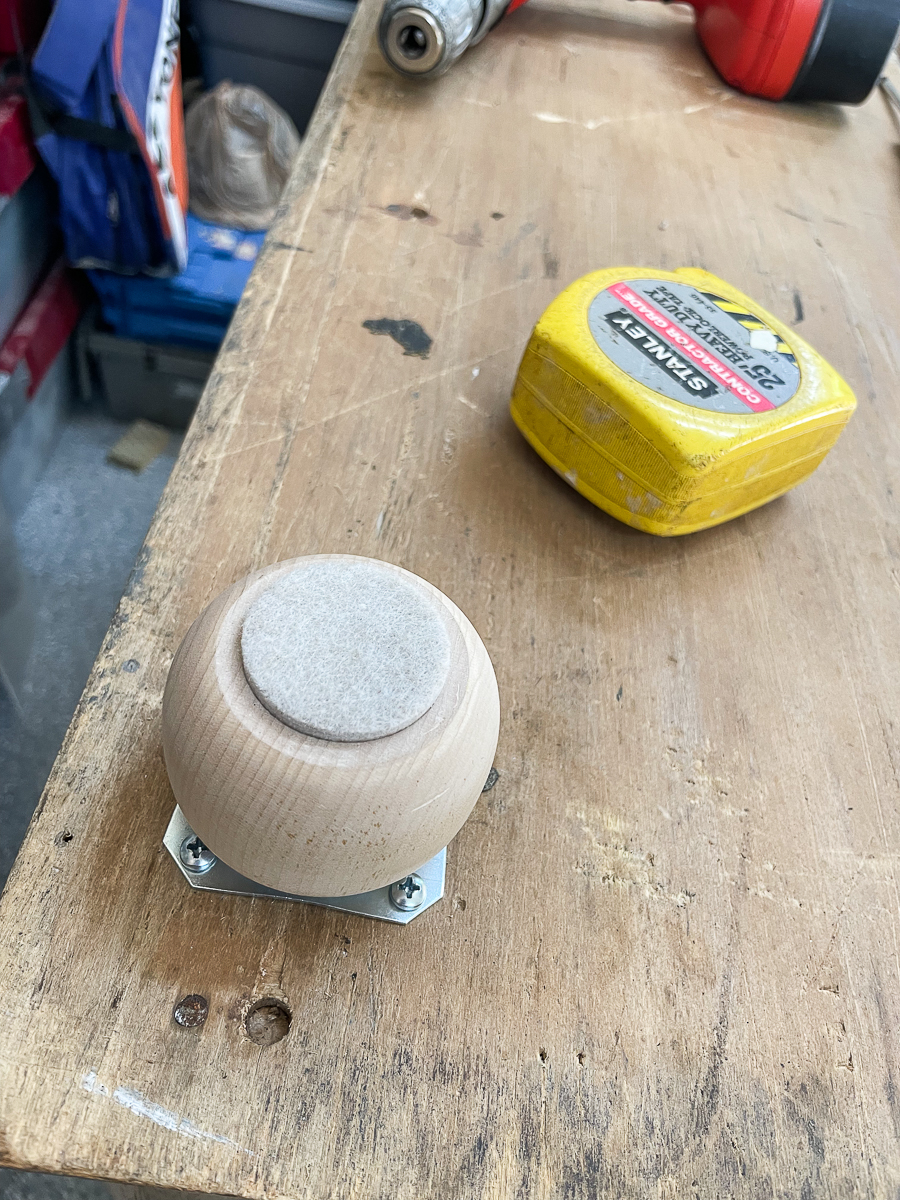
Install the bun feet. She added felt pads to the bun feet to protect the floors.
Apply 1-2 coats of sealer.
Shop around for your remnant piece.
What is a remnant piece? These are leftover pieces from larger projects say from kitchen counters. If you have a small project, you may be able to get a piece to fit at a very affordable price.
Ashlyn and Tim went by a very large showroom to get a price. They were given a quote of over $500. Needless to say, this was way over budget for them. It was really a crazy price. They were pretty deflated.
We then started looking into adding a faux epoxy finish to a piece of wood to make it look like marble.
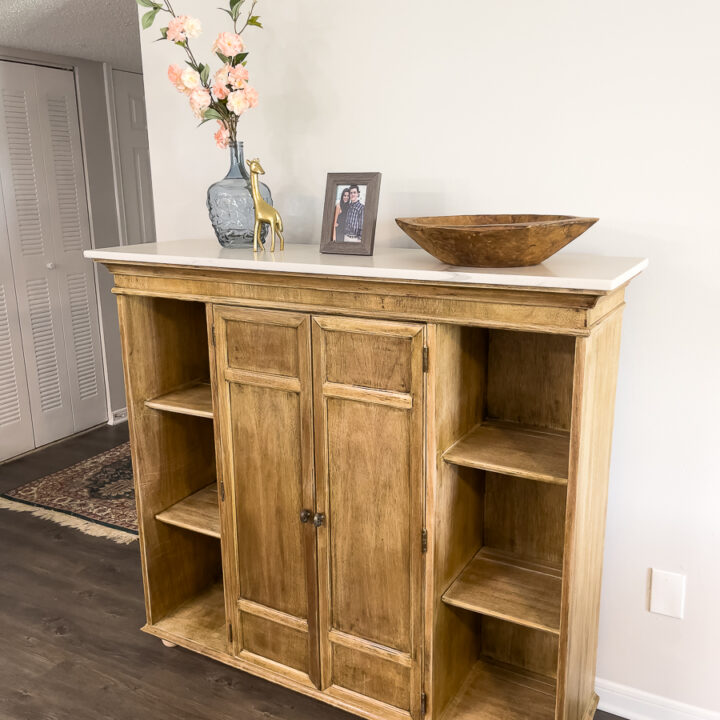
Before that, we decided to try a much smaller shop off the beaten path. Max and I went by with her one day. We got a piece of beautiful quartz for $200!!! So price it out. You will need to go in person to look at what they have available because pricing can vary from piece to piece. Ashlyn bought the quartz with her dog sitting money.
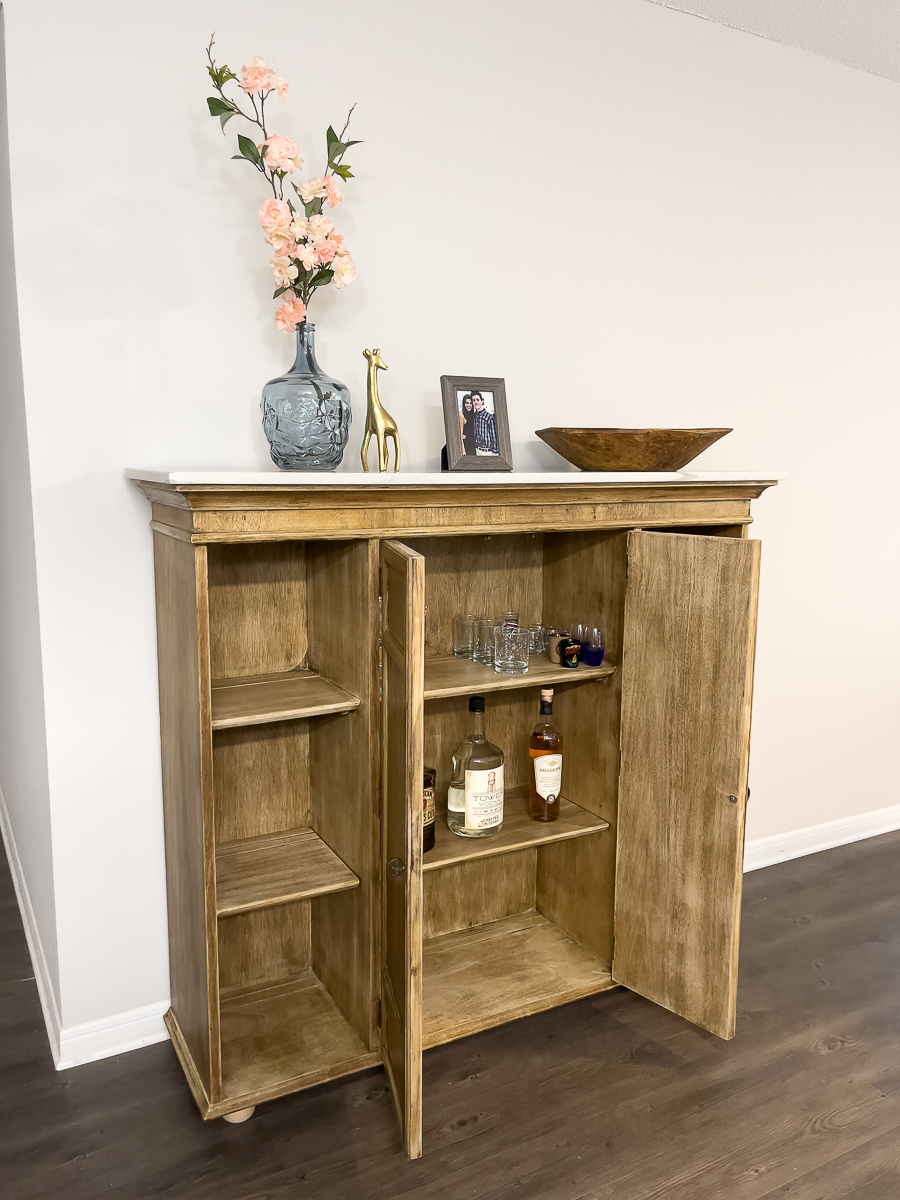
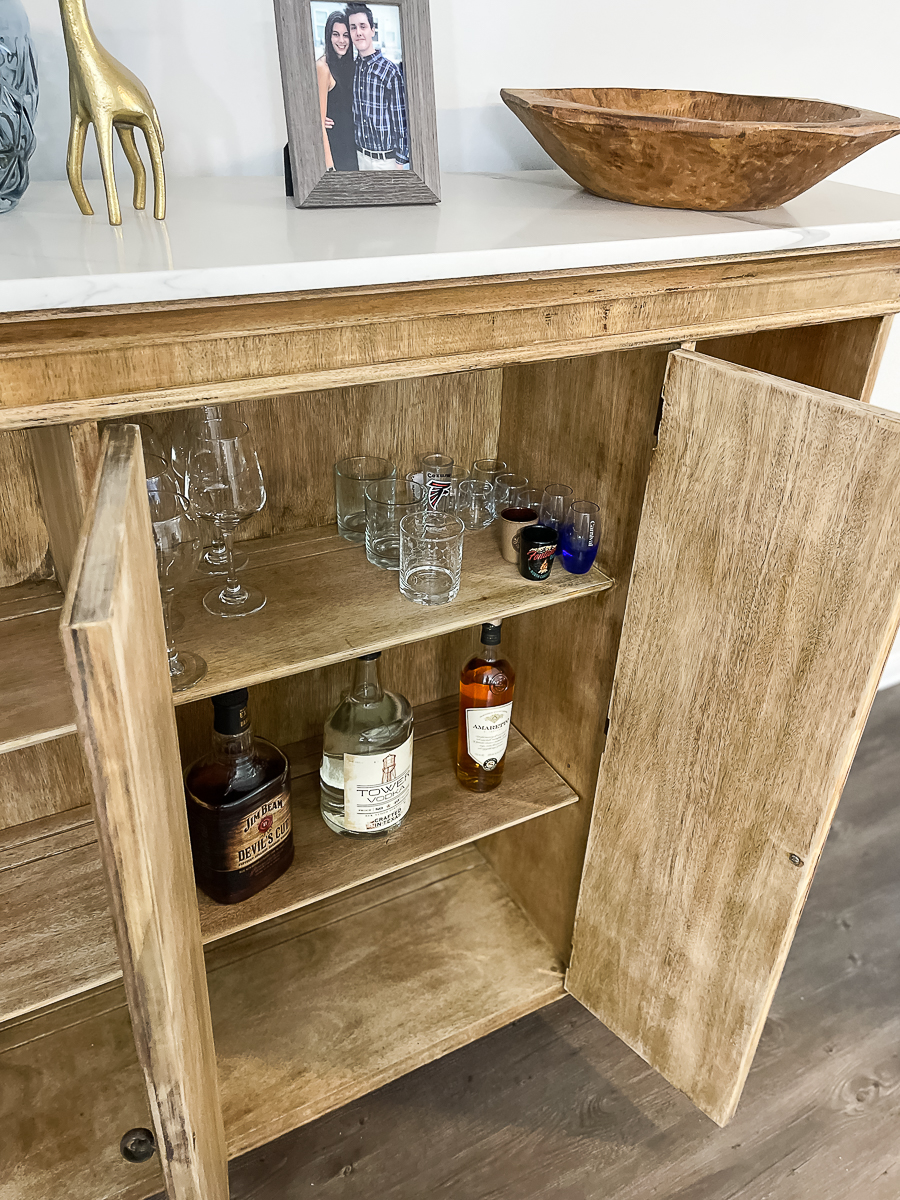
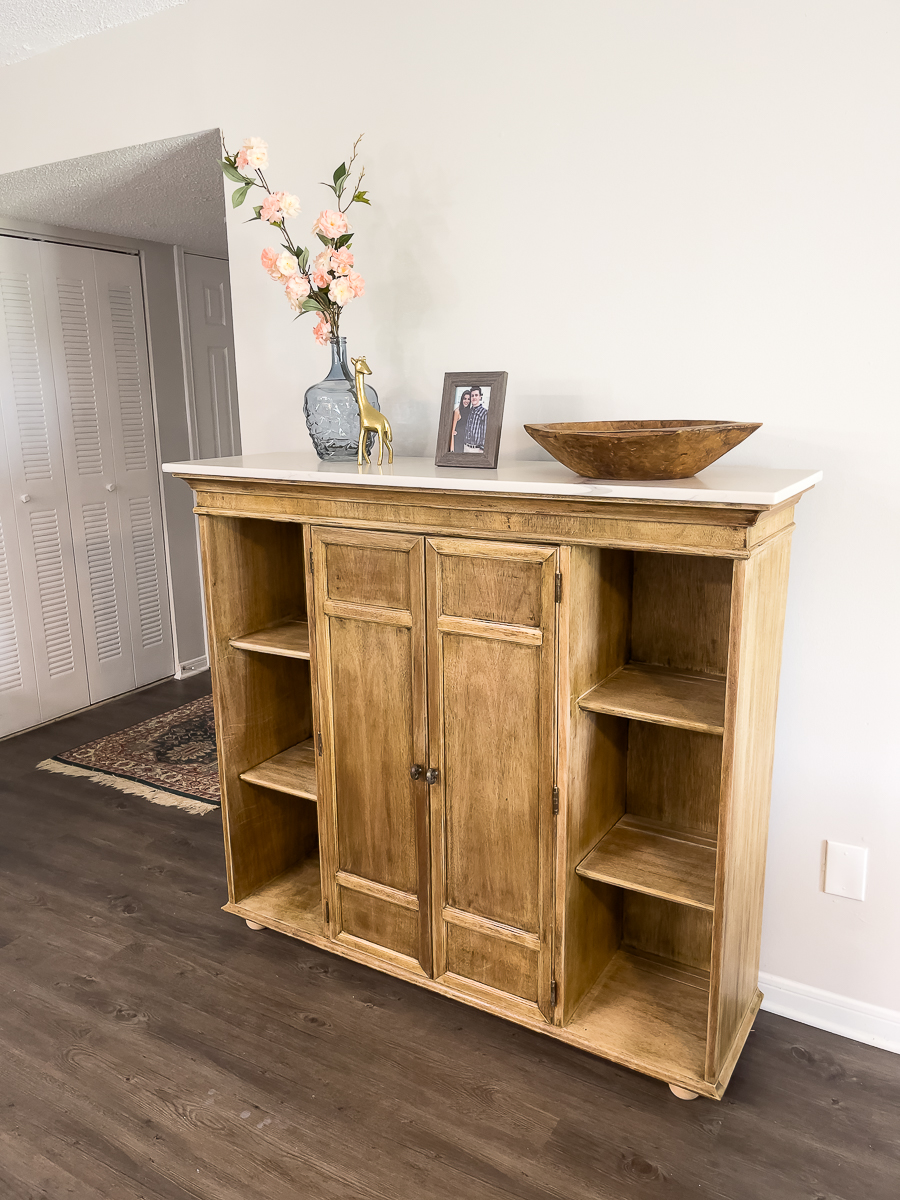
It looks fabulous! They just took it to the apartment. They still have a few things to do, but you get the picture!
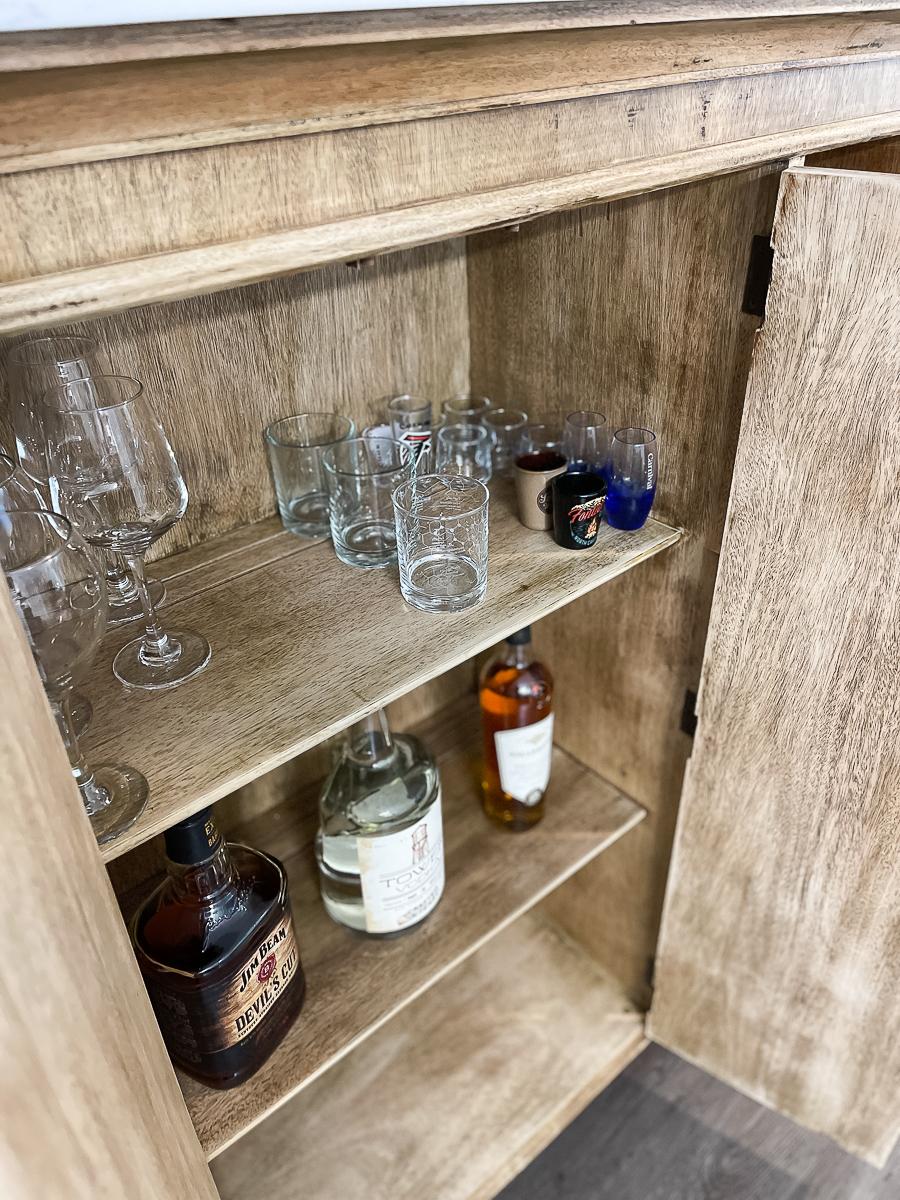
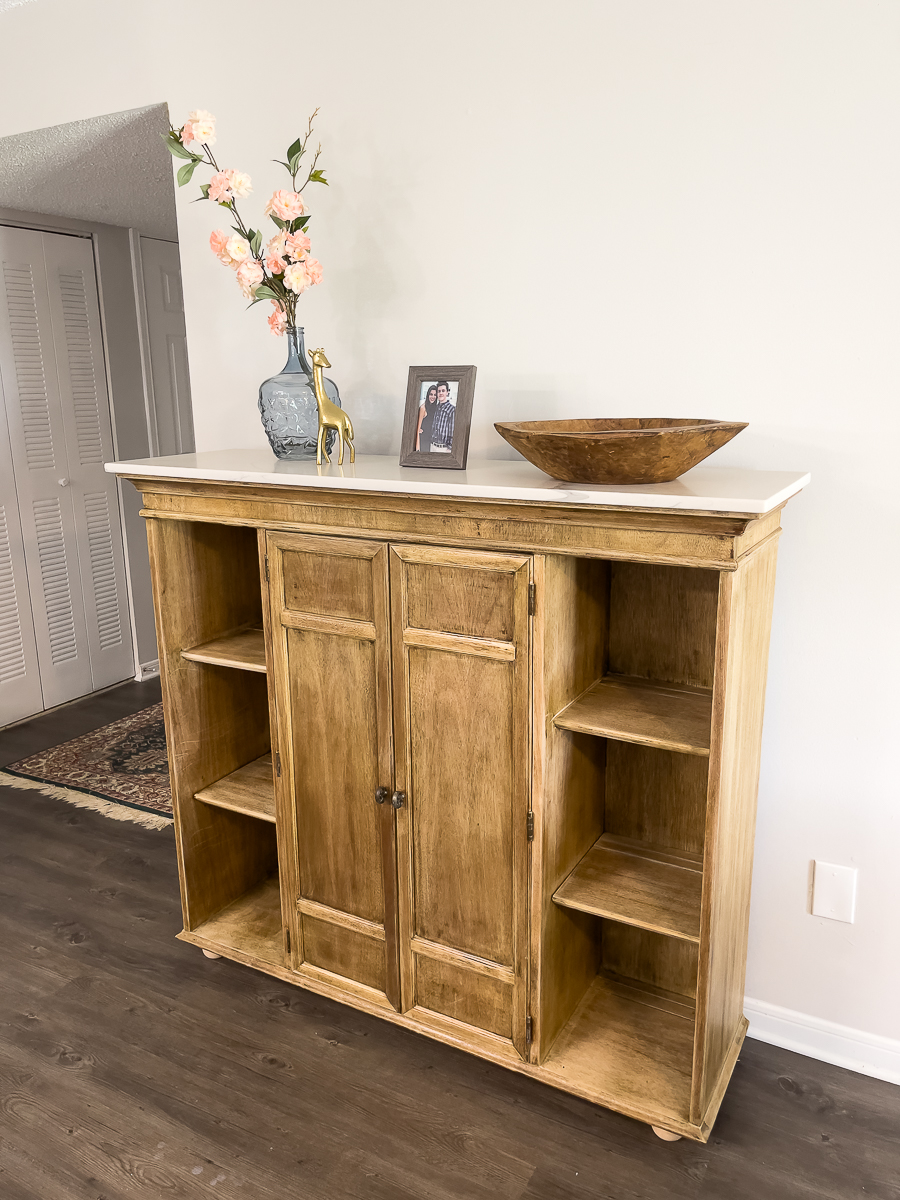
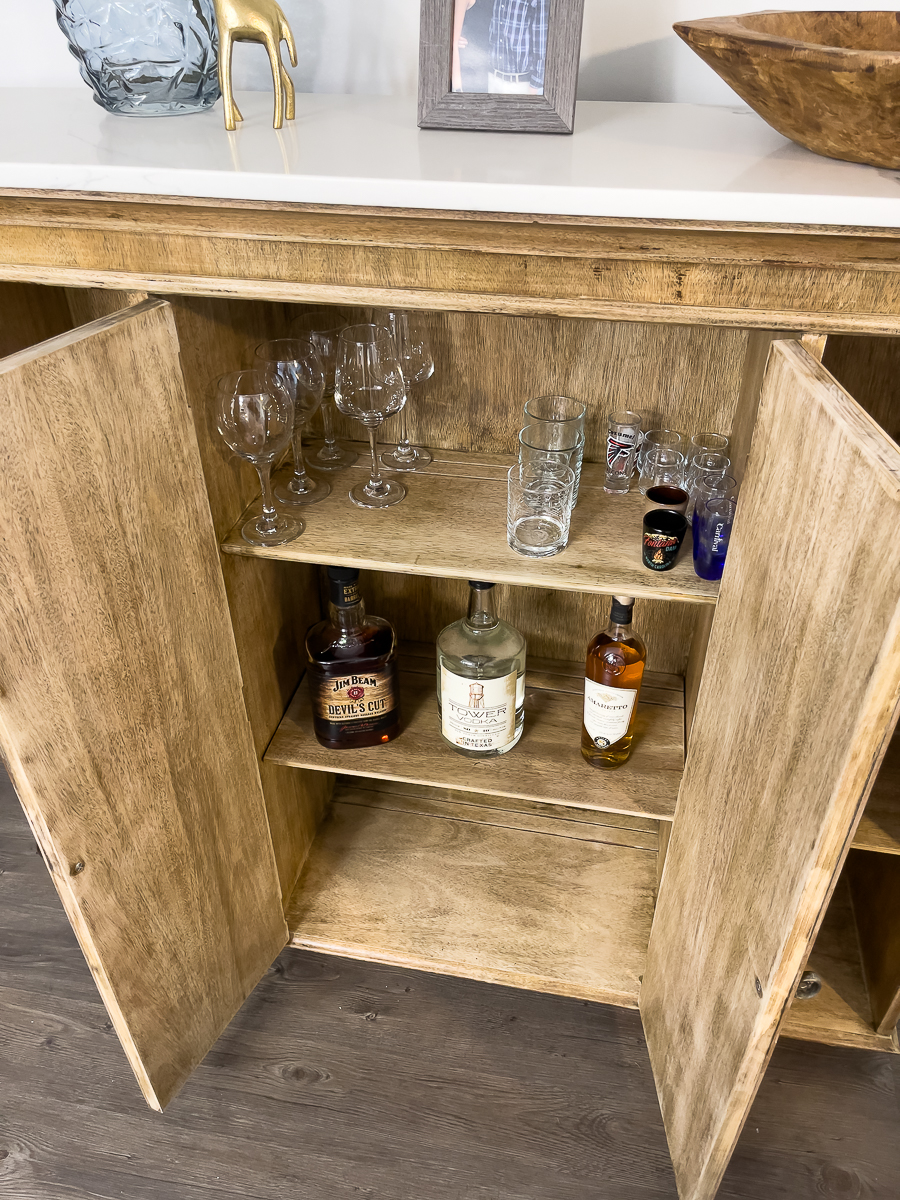
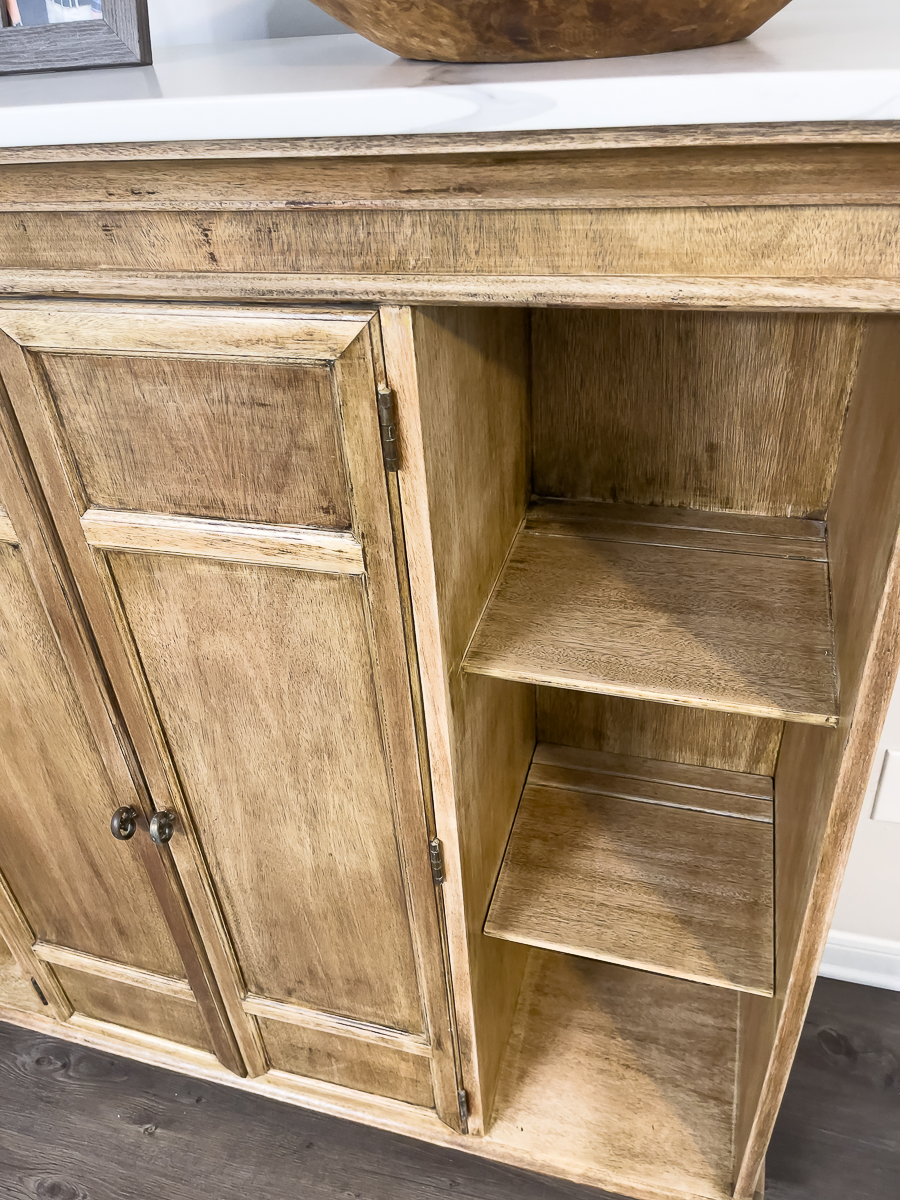
The 2 bottom doors open with shelving. The very bottom will be the perfect fit for this wine rack.
They also plan to put a rack to hold wine glasses on the top shelf like this one HERE.
I'll be sure to update the project when they have it all styled.
They hope to find a piece of street art while we are in Paris. We leave tomorrow for France! They want to put it above the cabinet or possibly a round gold mirror like this one.
Ashlyn got a turntable for her birthday. It will go on the top. One of the bottom shelves is the perfect spot to hold vinyl records. She has already started collecting new and vintage.
What do you think? Ashlyn did an amazing job. I am so proud of all her hard work on this project. It was a lot of work, but they have saved so much fixing something up.
Check out all these fabulous ideas for this month's thrift store makeovers!
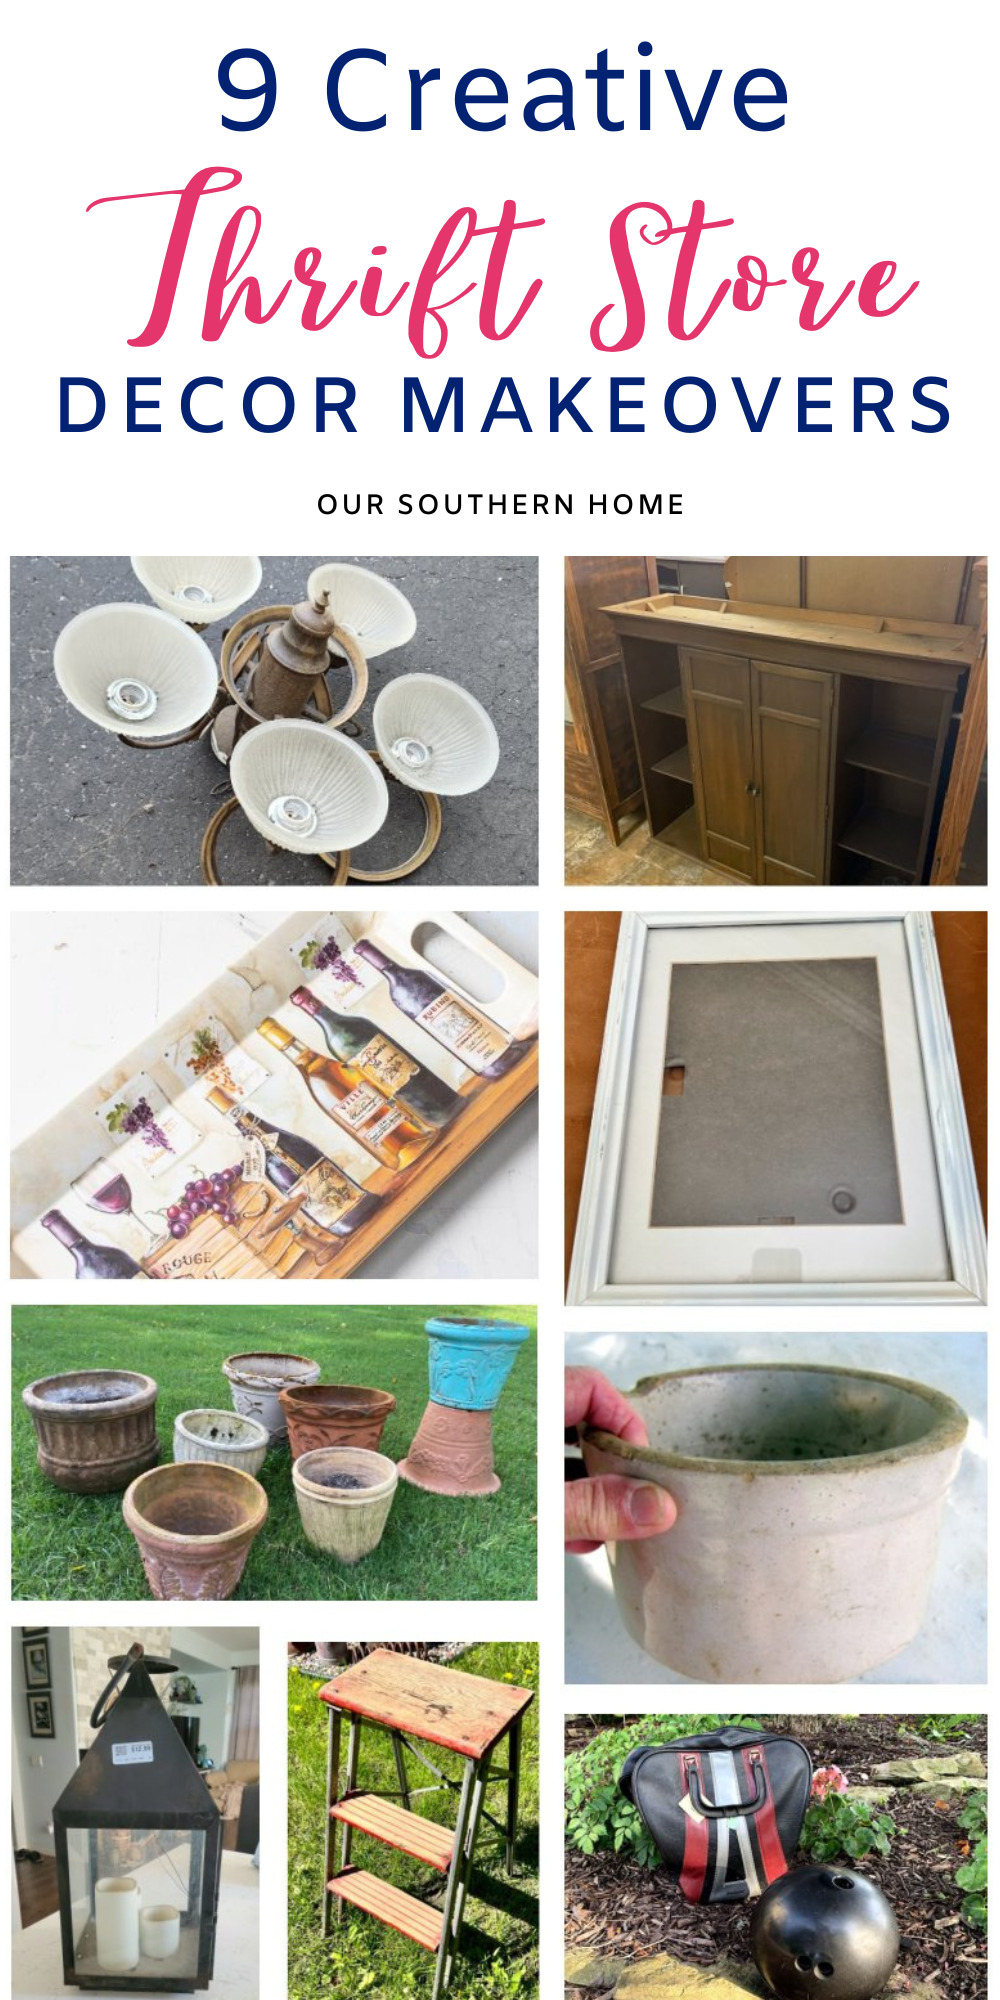
Thrift Store Makeovers


What a beautiful transformation! She did a great job!
If I would have seen that in a thrift store I would have just passed it up but not anymore! Such a great idea and it turned out beautifully. pinned
WOW this is an incredible makeover, Ashlyn did such a wonderful job! I didn’t know Zinsser had the beach product I will have to check it out, and the top is amazing. I hope you have a wonderful trip!
What a lovely makeover! Your daughter did an amazing job. It’s fun to work on projects with our adults kids! Pinned 😊
Your daughter inherited your furniture makeover talent! It’s beautiful!
You are so sweet! Thank you so much!
wow! Ashlyn did a beautiful job Christy! That will last for years, and will probably be changed up a few times. 🙂
pinned!
I am so proud of her! Thanks, Gail!!