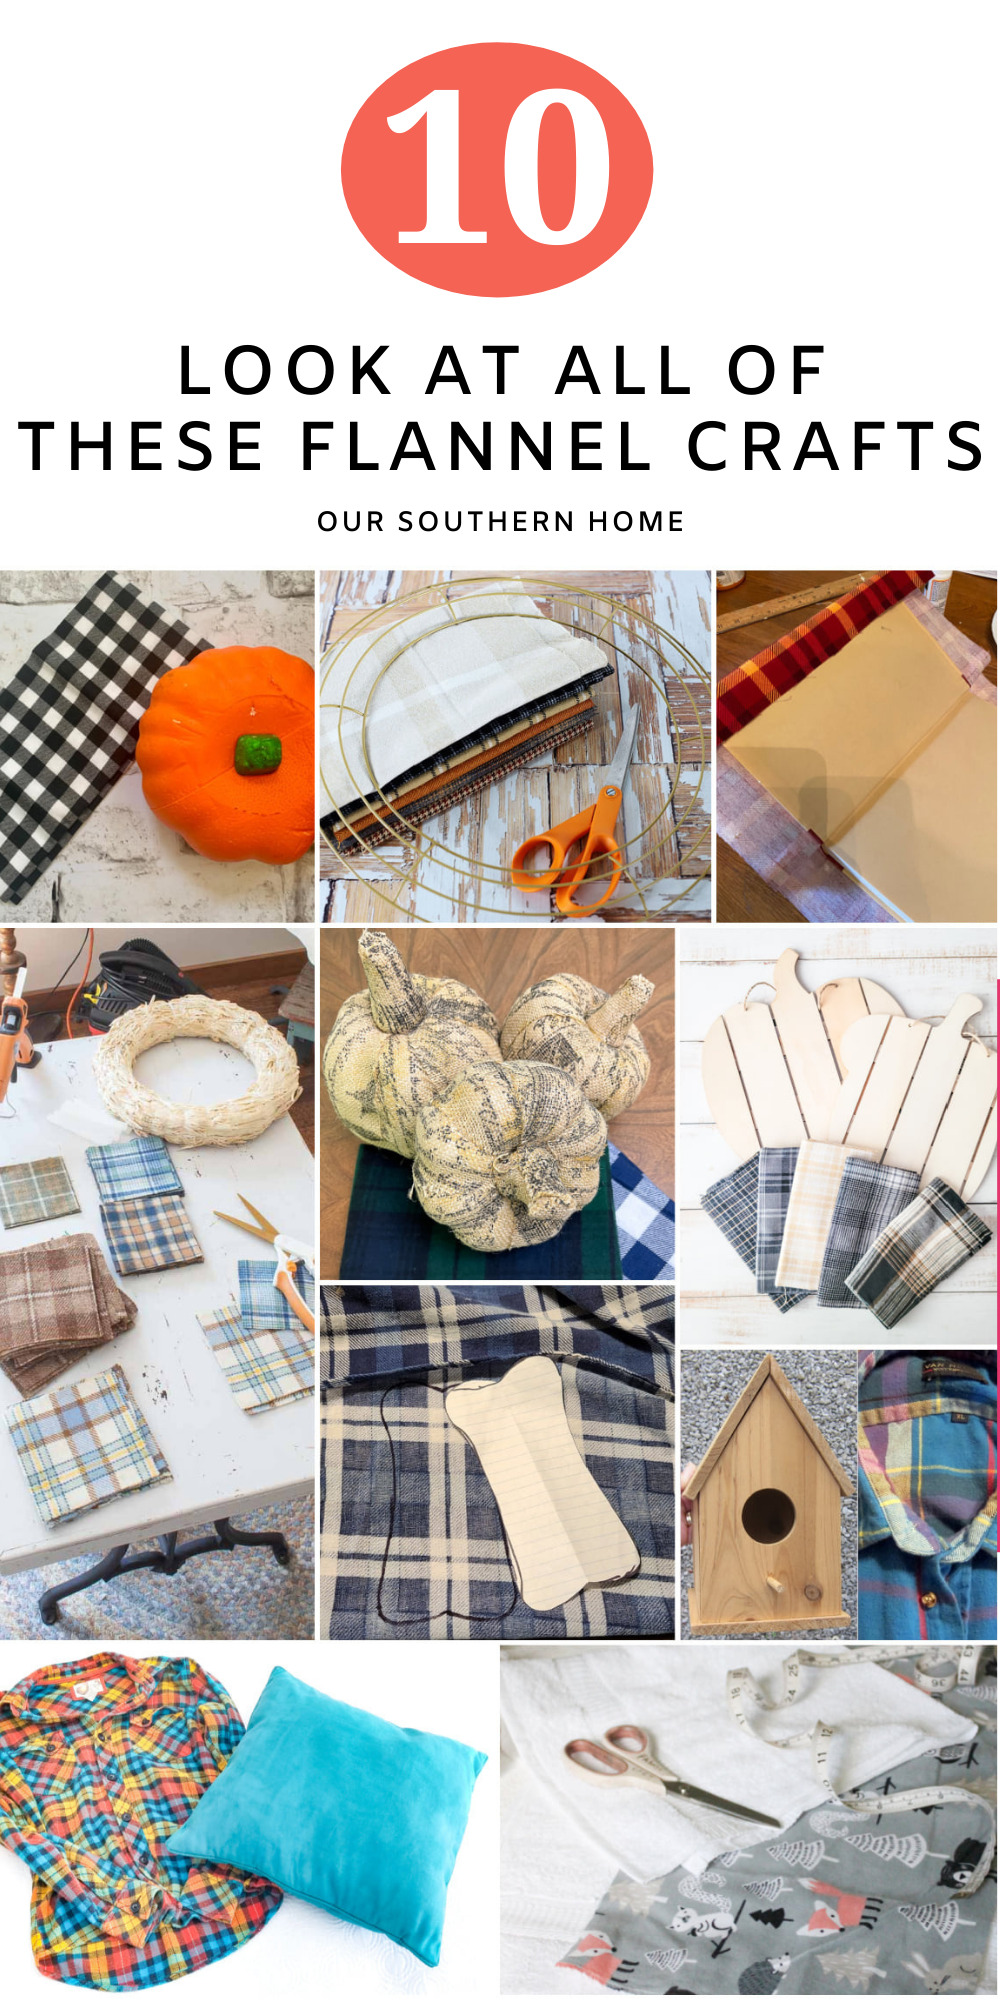
No-Sew DIY Flannel Pumpkins
No-sew DIY flannel pumpkins now look fabulous with this no-sew upcycled look with 2 plaid flannel fabrics + a fabulous flannel crafting book!
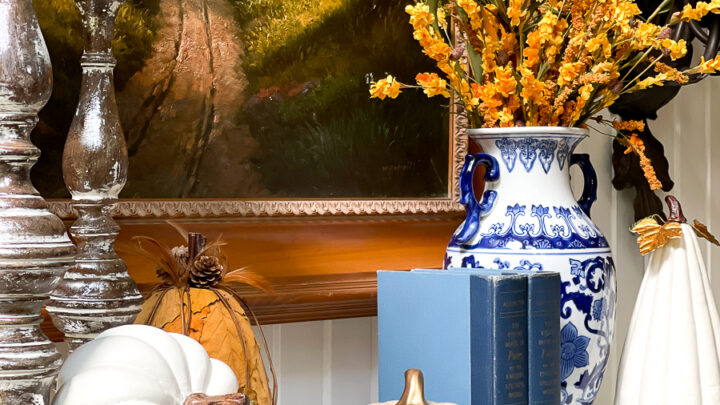
Looking for more FALL IDEAS? Visit my archives!
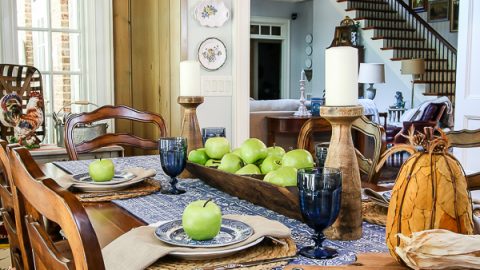
Latest from OSH
- How to Make Piña Coladas in an Ice Cream Maker
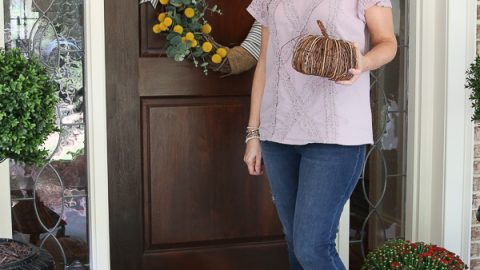
- Saturdays on the Porch #86
- Saturdays on the Porch #85
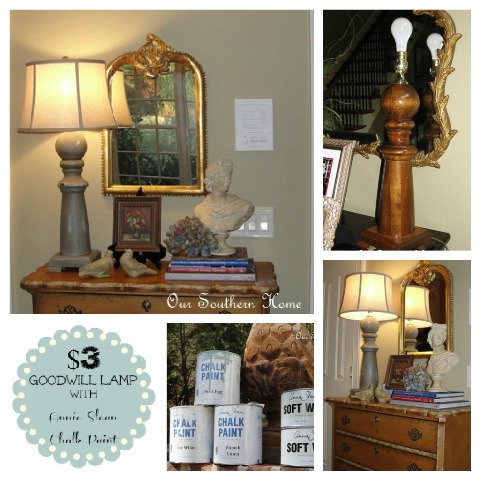
- Easy European Wall Art with Thrift Store Frames
- Piano Bench Makeover with New Color and Fabric
No-Sew DIY Flannel Pumpkins
Instead of our typical thrift store post this month, we are celebrating one of our very own team members! Sarah from Sadie Seasongoods is a published author! She is super talented and has written a book on Crafting with Flannel. We've used her book as a springboard for our project this month or replicated one from the book.
Don't the above “before” looks intrique you to see what each of the ladies created. You'll find the complete list of links below.
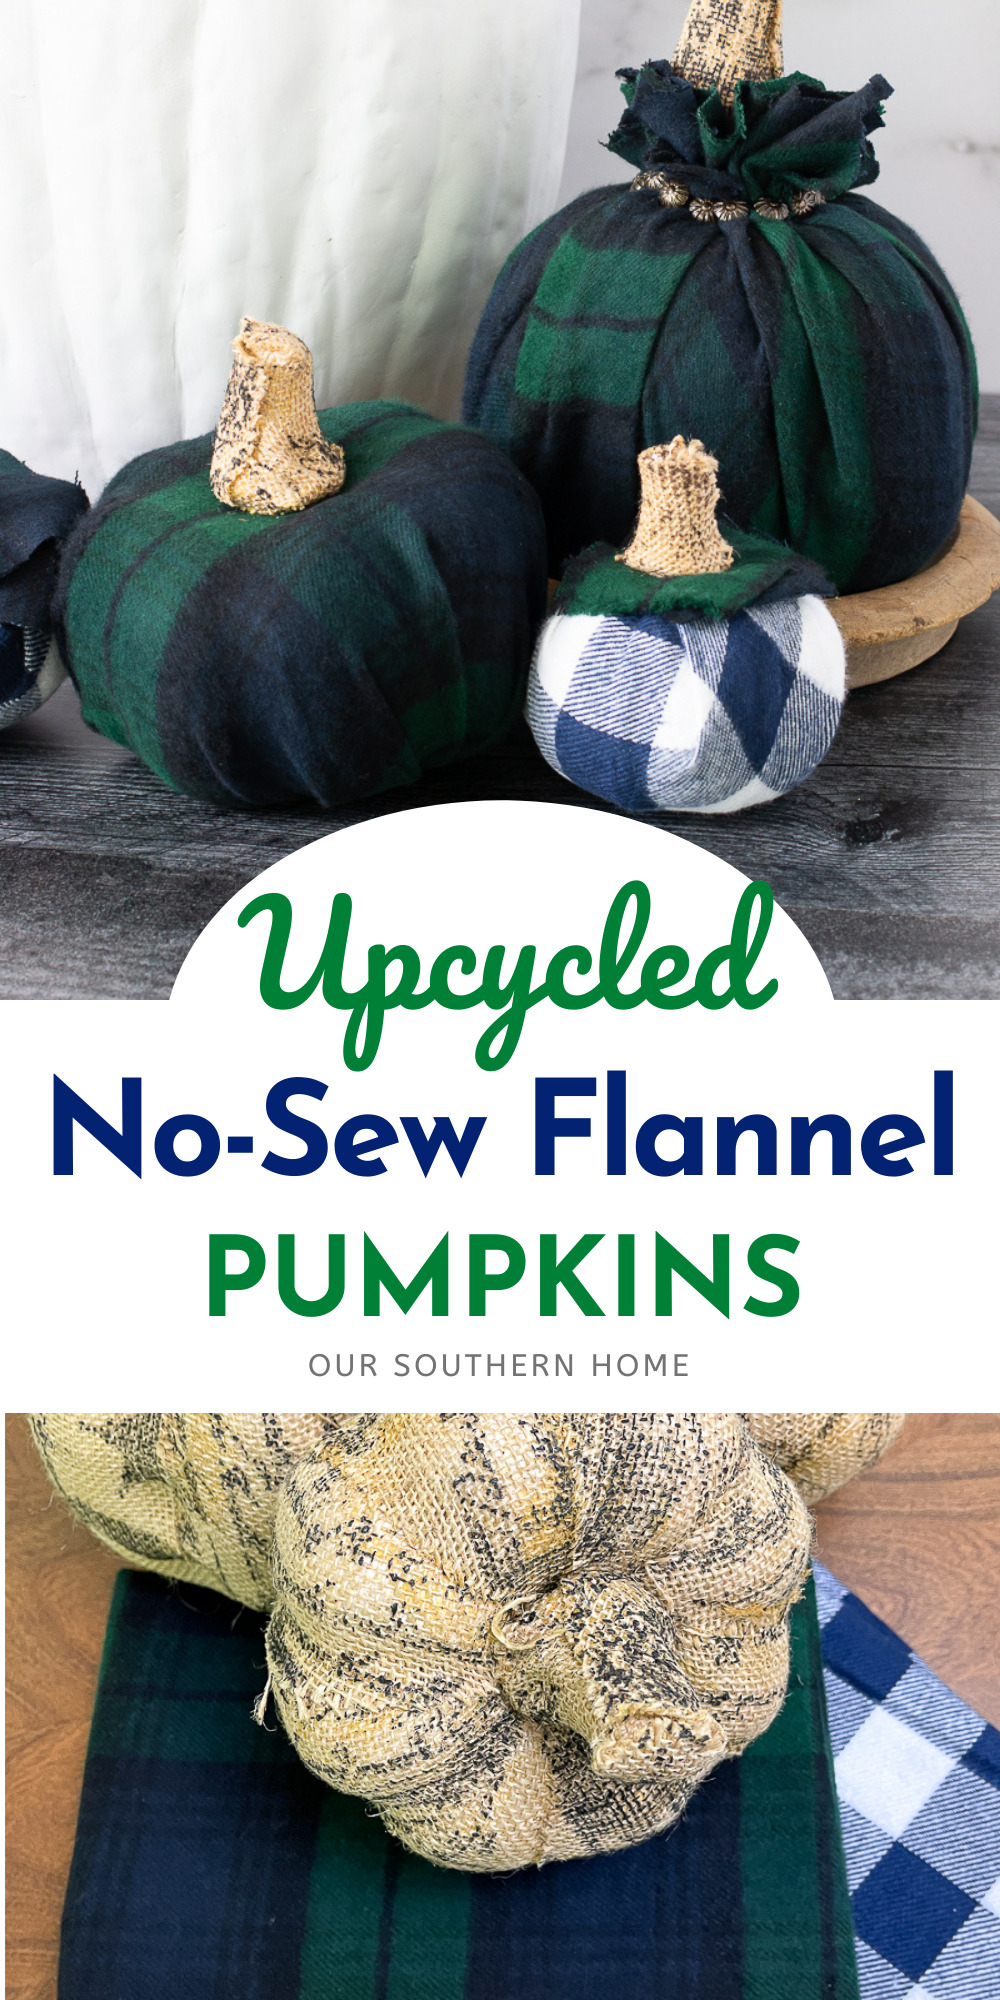
My original plan was to create this exact look with my purchased flannel fabrics. I remembered that I had some burlap pumpkins that I was no longer using because the larger ones had yellowed over time. I'm pretty sure that it is the glue or adhesive under the burlap. Also, the printed burlap just wan't my style any longer. This project gave me an idea to cover these old styrofoam pumpkins into a fabulous upcycle, and it's no-sew!
Supplies Needed
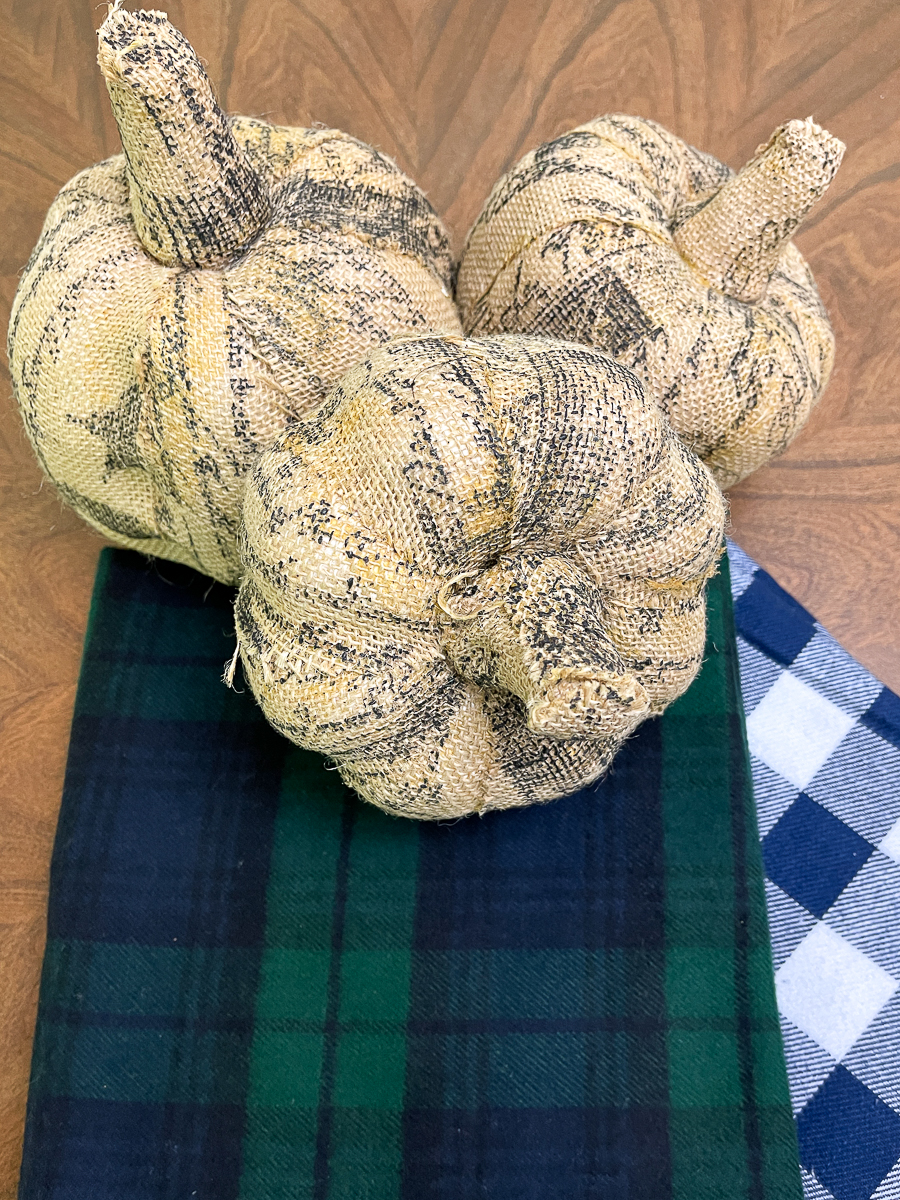
Do you see how they have yellowed over time? They just didn't work with my decor any longer. I purchased a yard each of the above plaid flannel fabric from Hobby Lobby. In the supply list, I found a couple of 1 yard matches from Amazon.
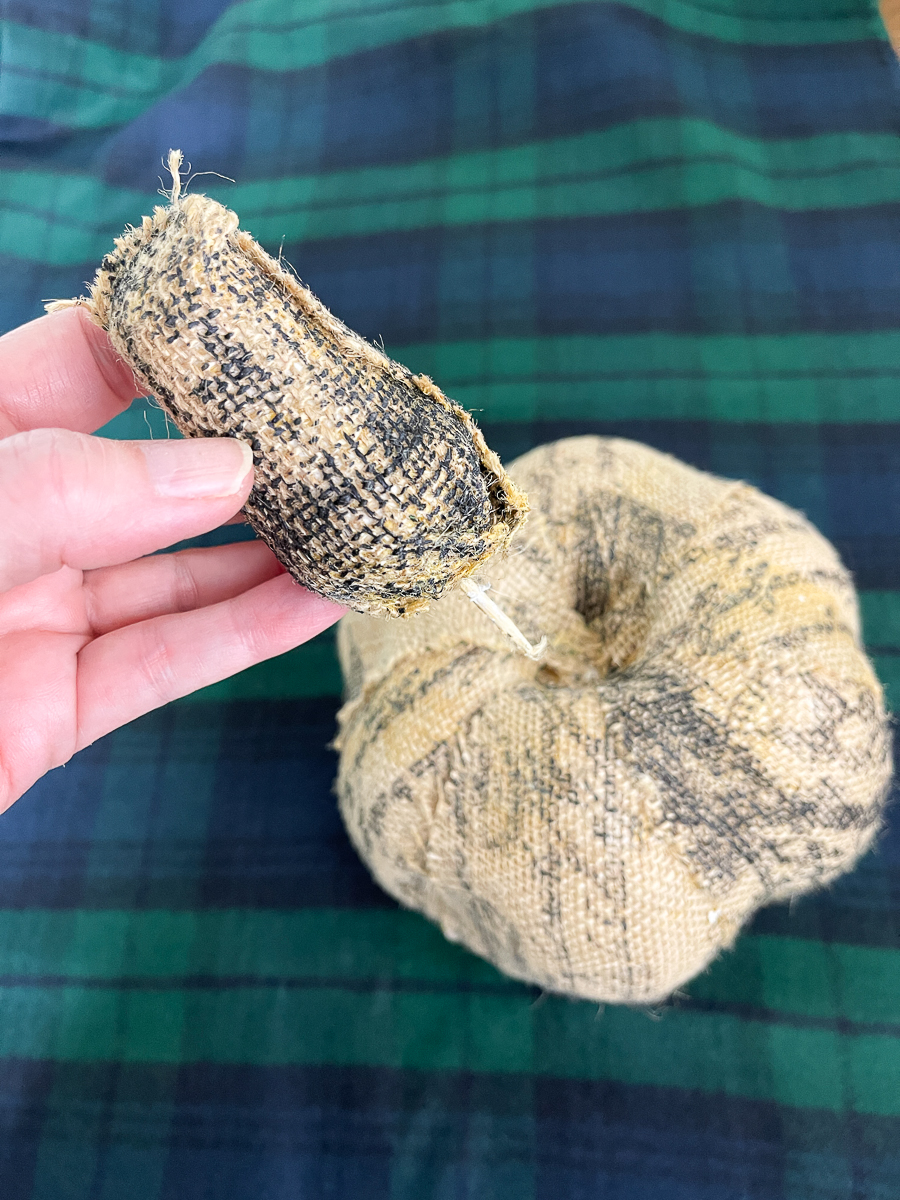
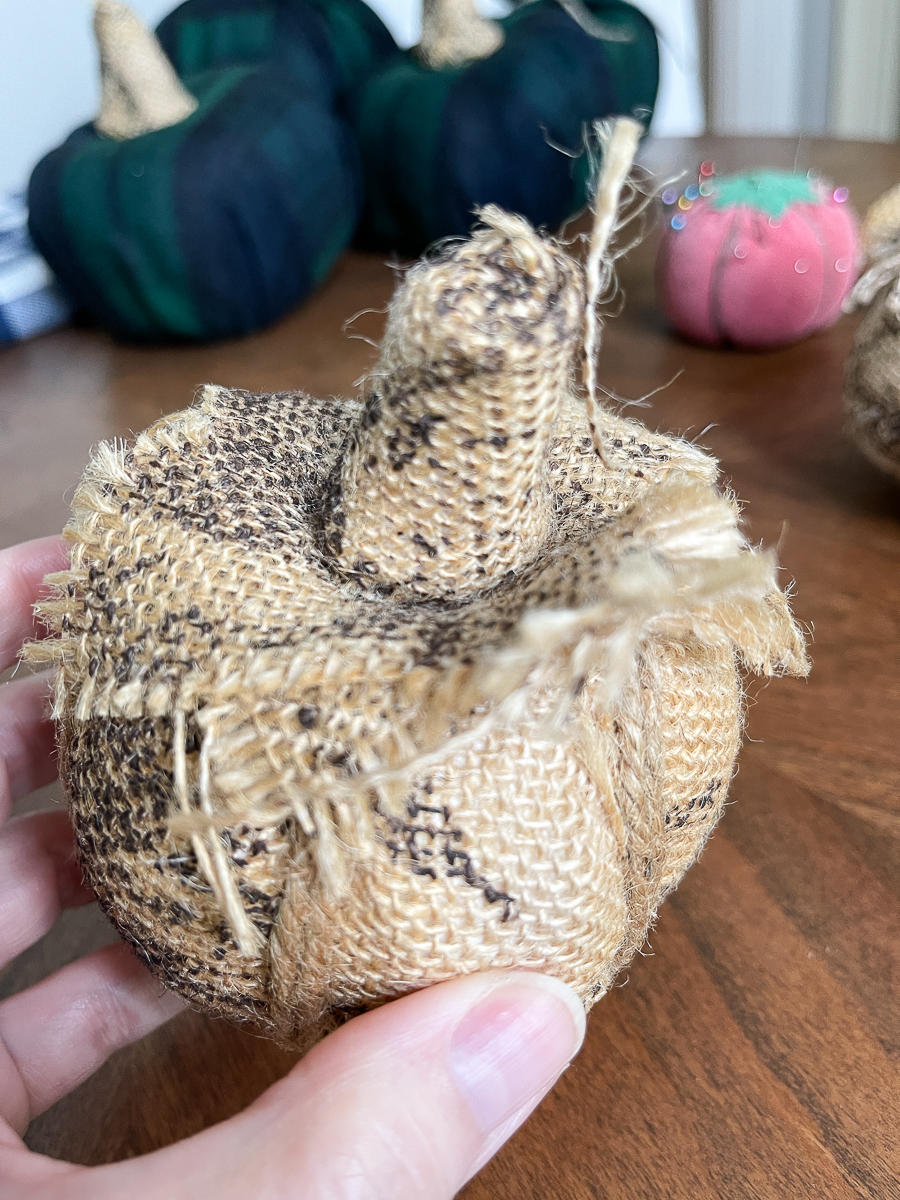
I removed the stems. They are styrofoam as well. They are inserted into the pumpkin with a toothpick.
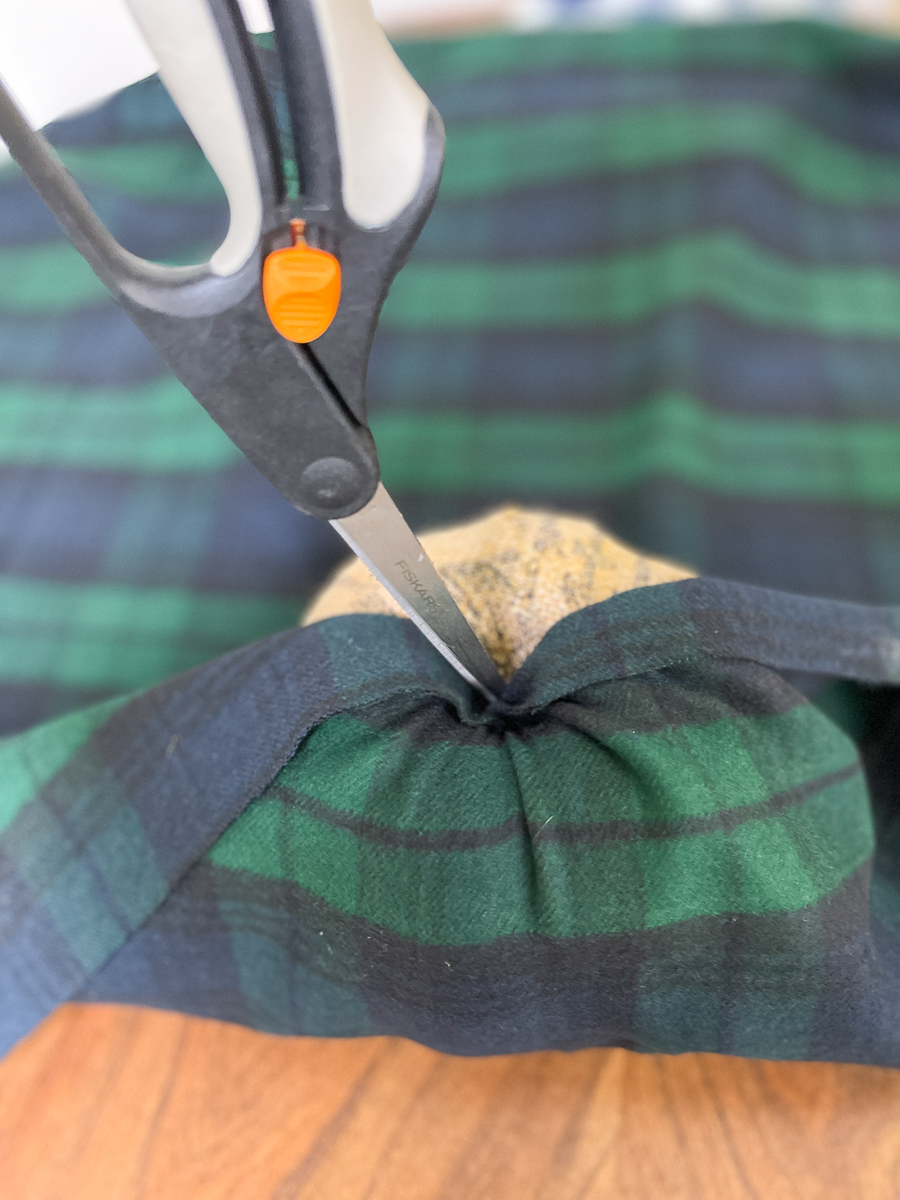
This is where I played around a bit. Use a pair of scissors to wedge the fabric into the top of the pumpkin. This technique will most likely only work with a styrofoam pumpkin. A great source for these is Dollar Tree!
Work your way around the pumpkin trimming as needed.
As you are close to finishing up around the pumpkin, it will be a bit hard to push the fabric in. A solution that worked was using straight pins. You'll want to use a thimble to protect your finger because you have to really push, but it holds it in place well.
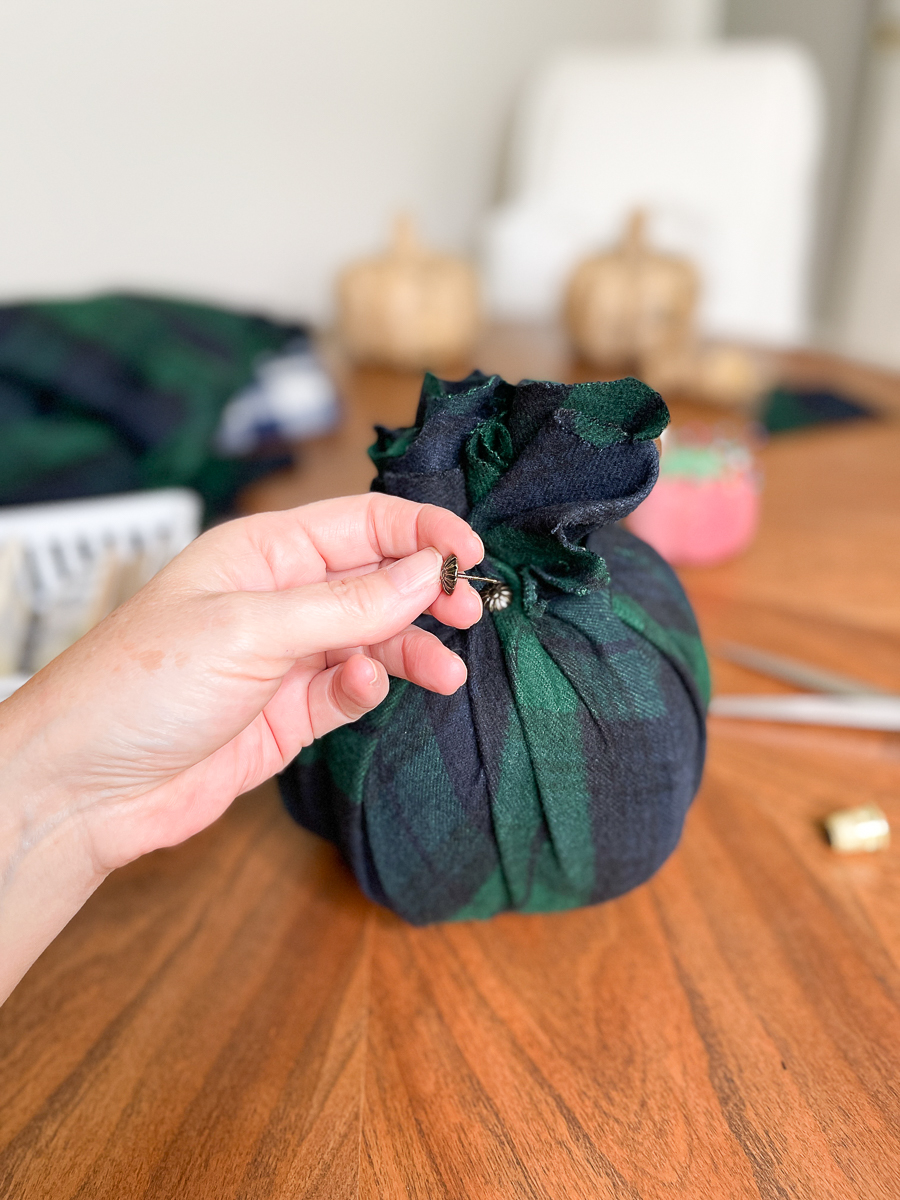
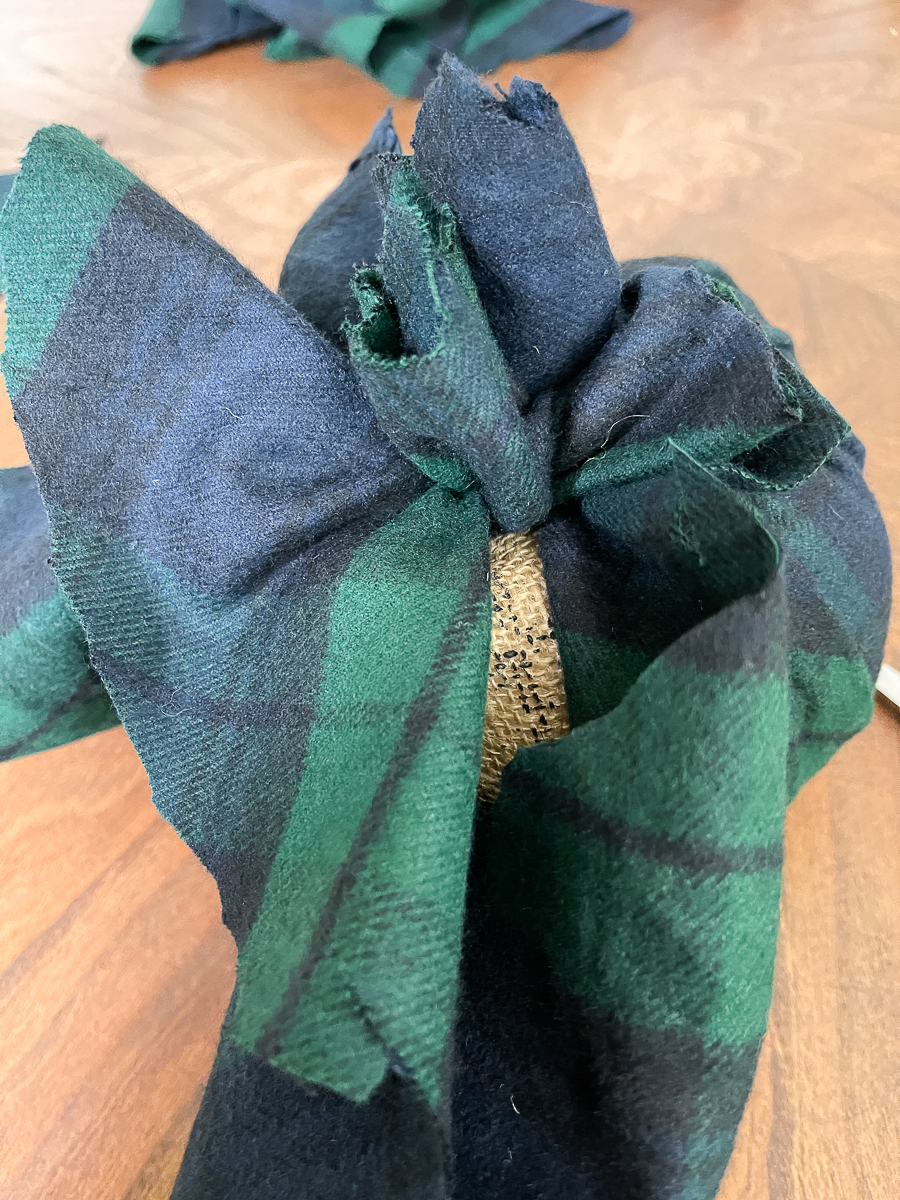
I had a bunch of the upholstery tacks left over from this old project. It's my desk chair makeover for my mudroom office. I applied them all around the base to cover up the straight pins. I then reinserted the stem leaving the burlap fabric. I love the mix.
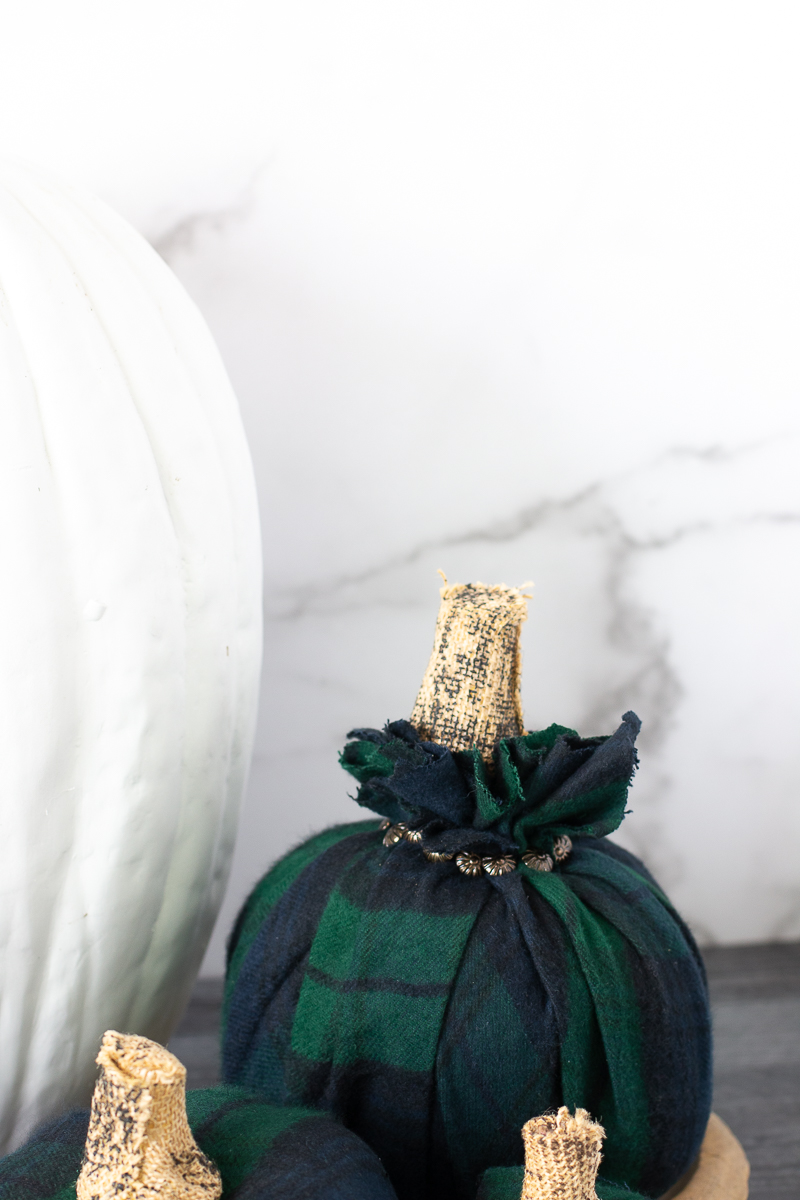
The tacks make it unique.
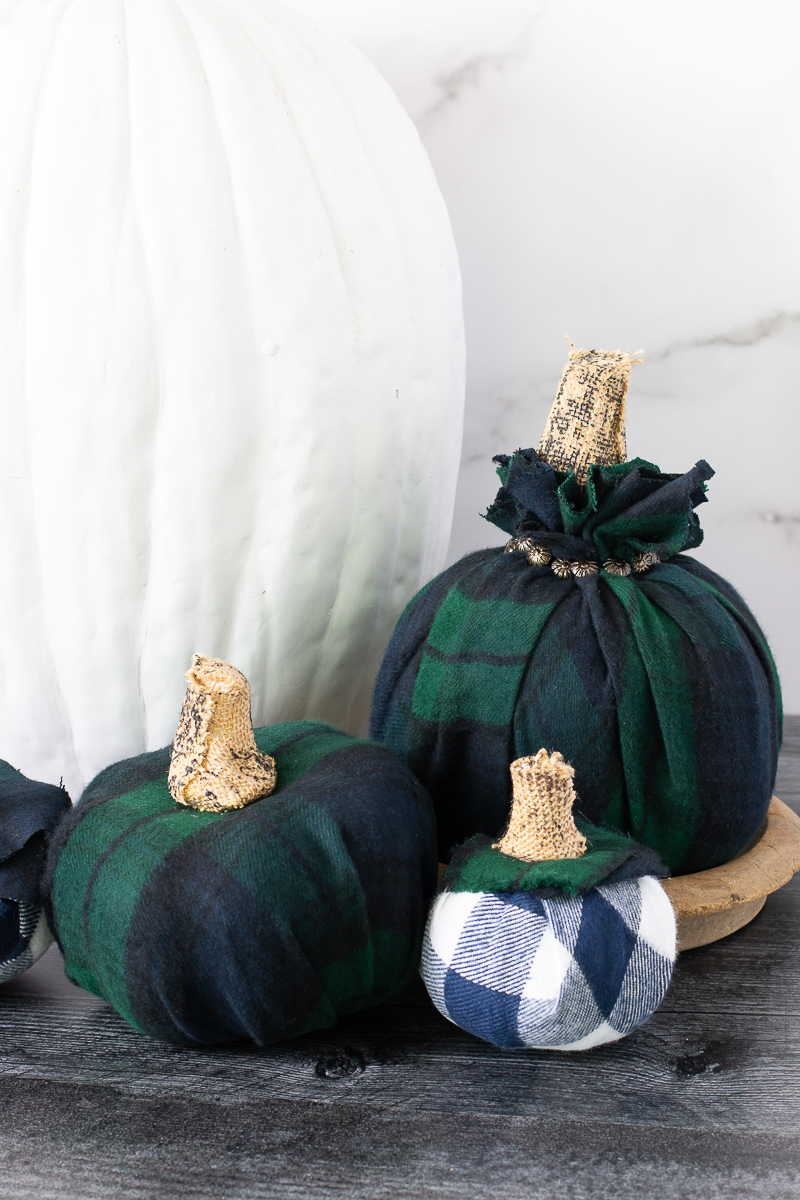
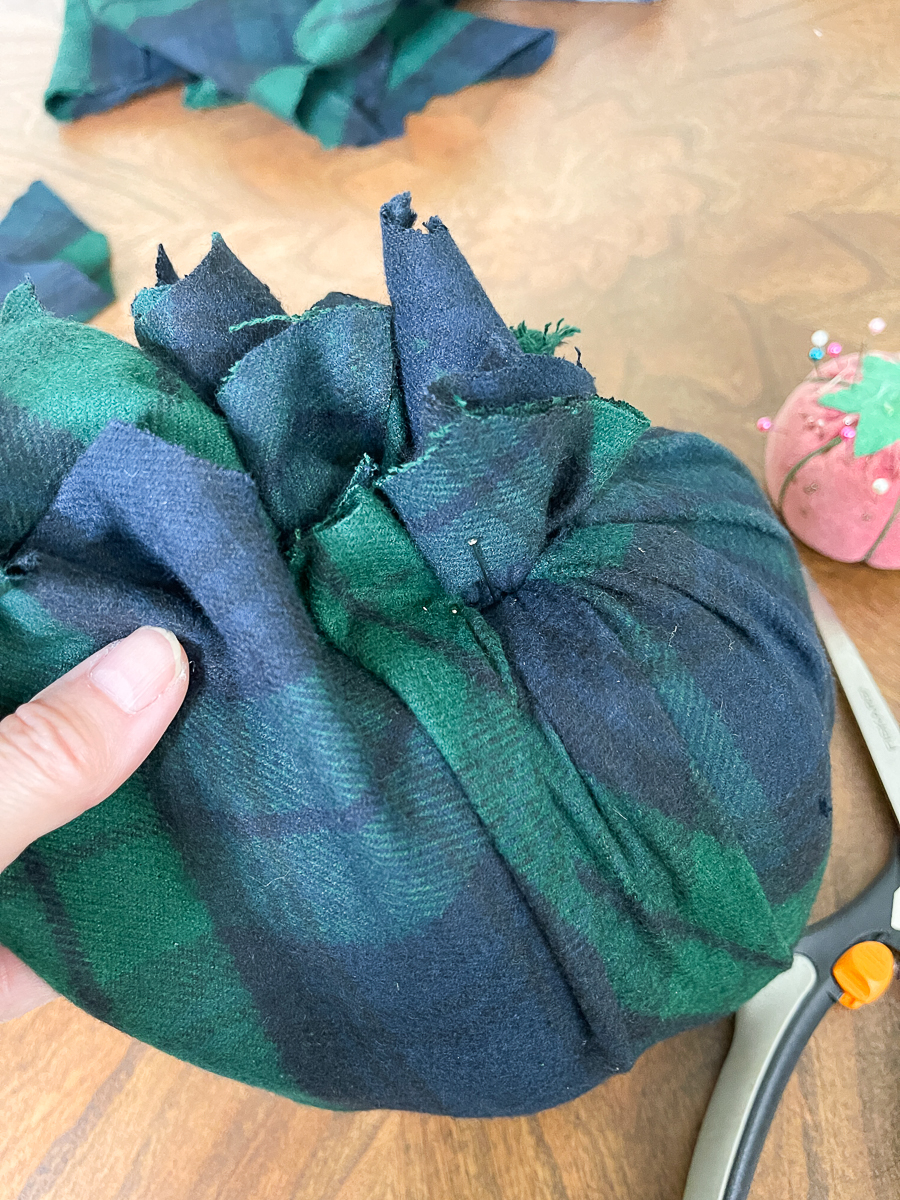
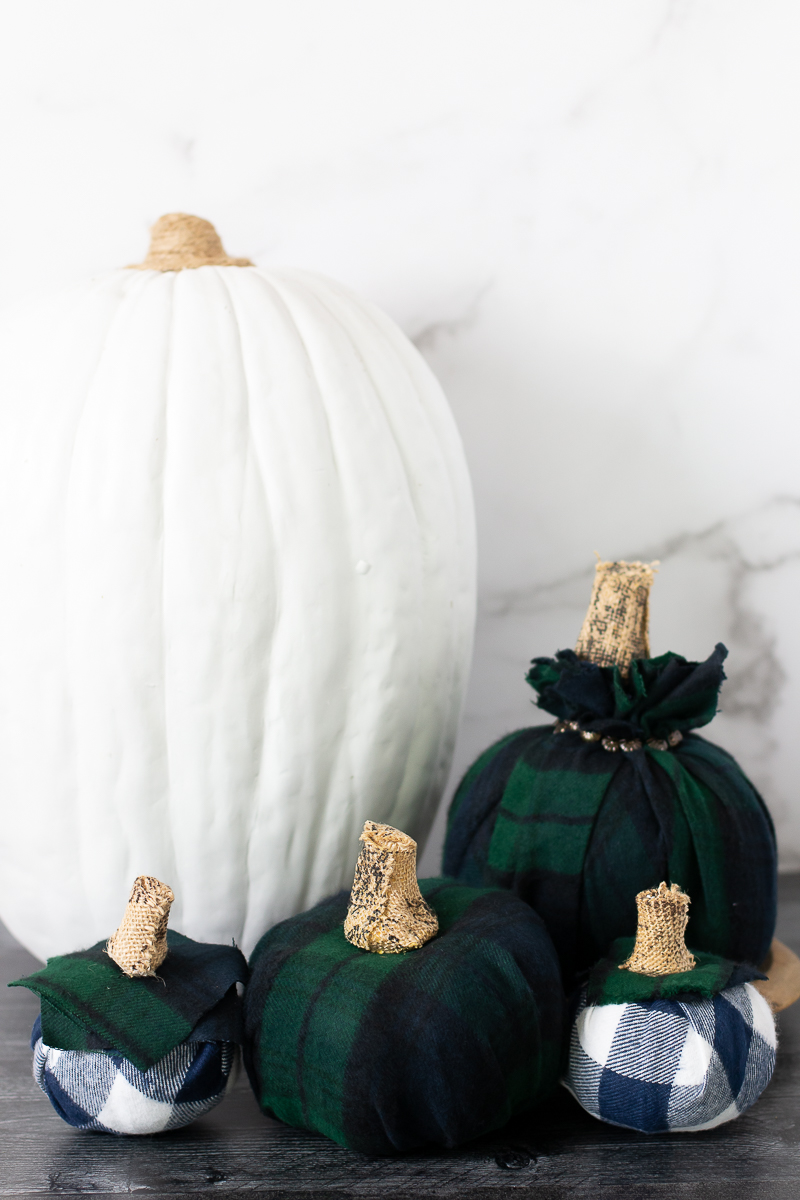
I decided to make several different varieties of the pumpkins. The next one, I wanted to have cleaner lines.
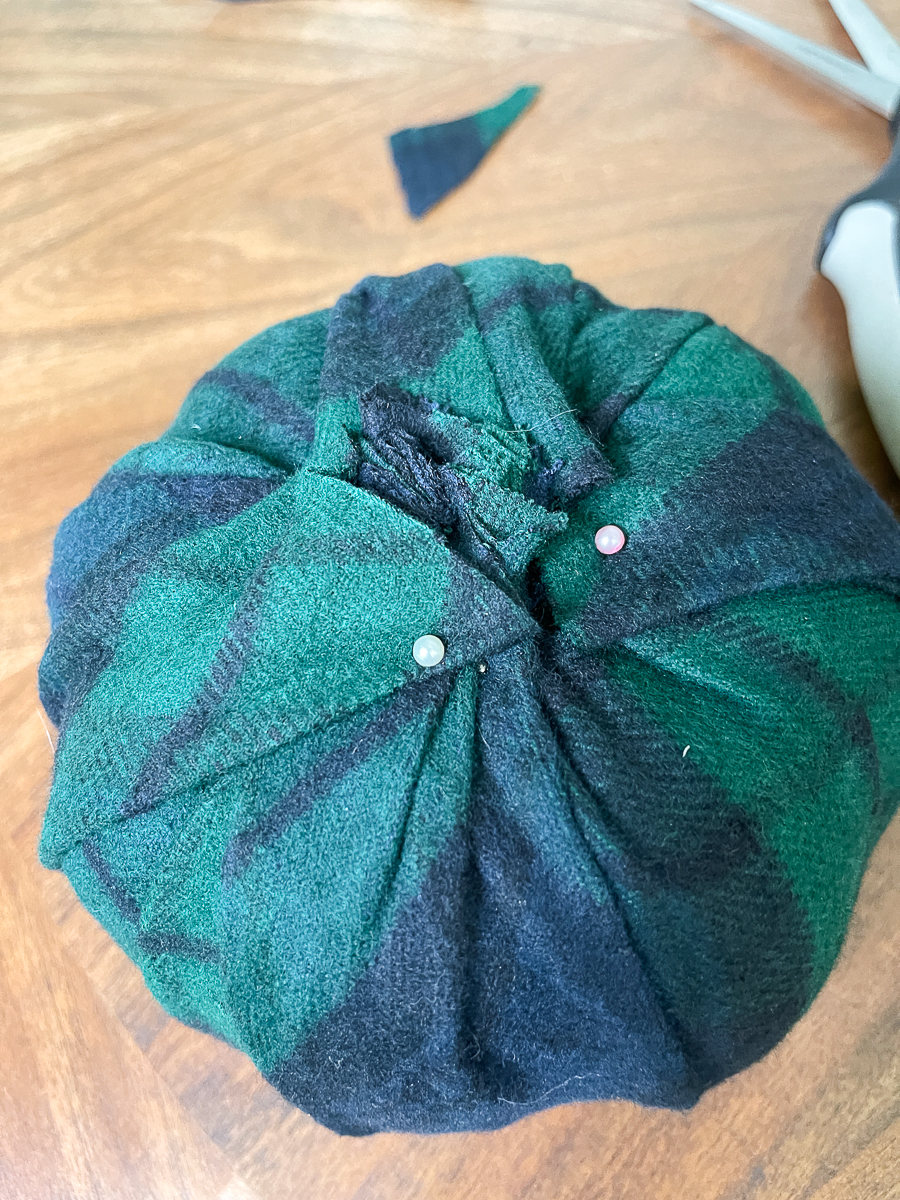
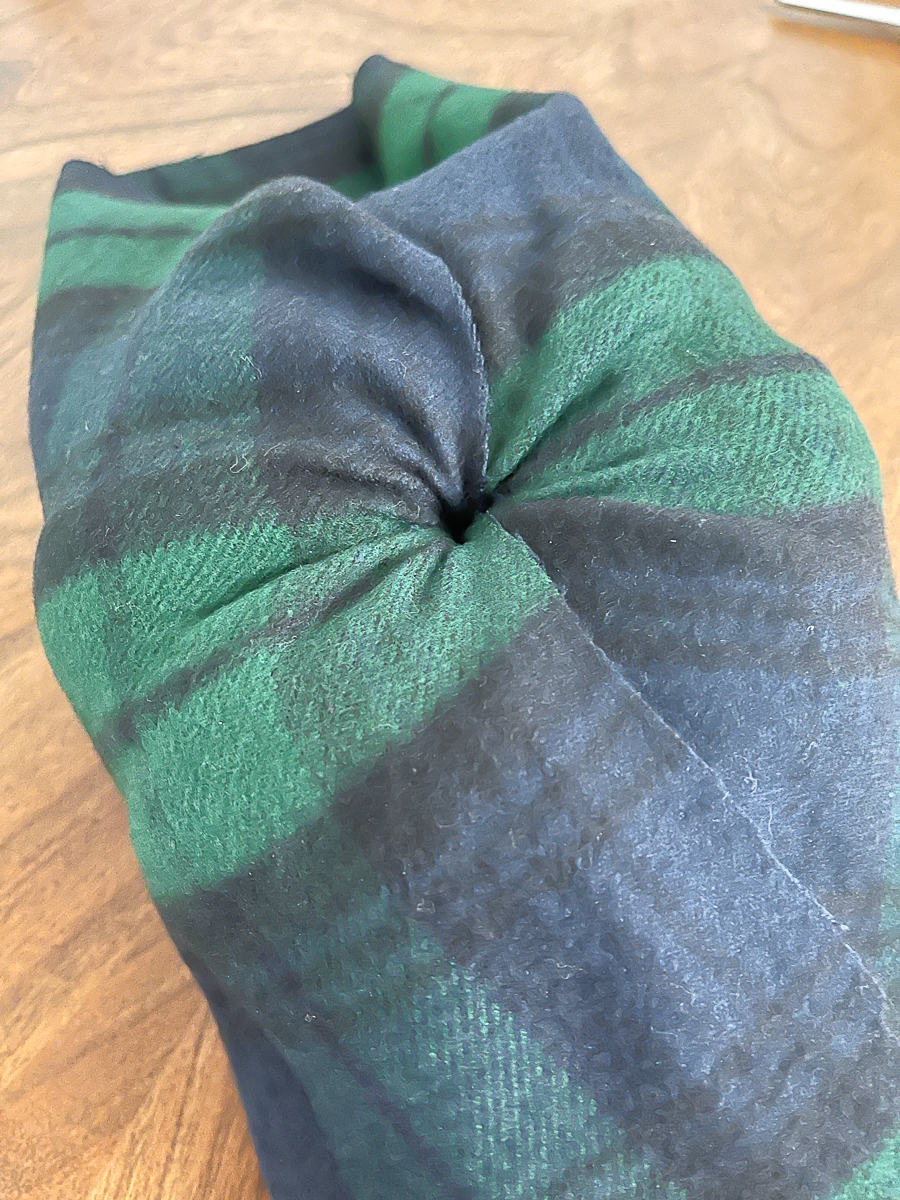
This time, I worked the flannel around the bottom of the pumpkin. I kept the fabric really trimmed and close to the pumpkin finishing off with straight pins. I then flipped it over and inserted the bulap stem.
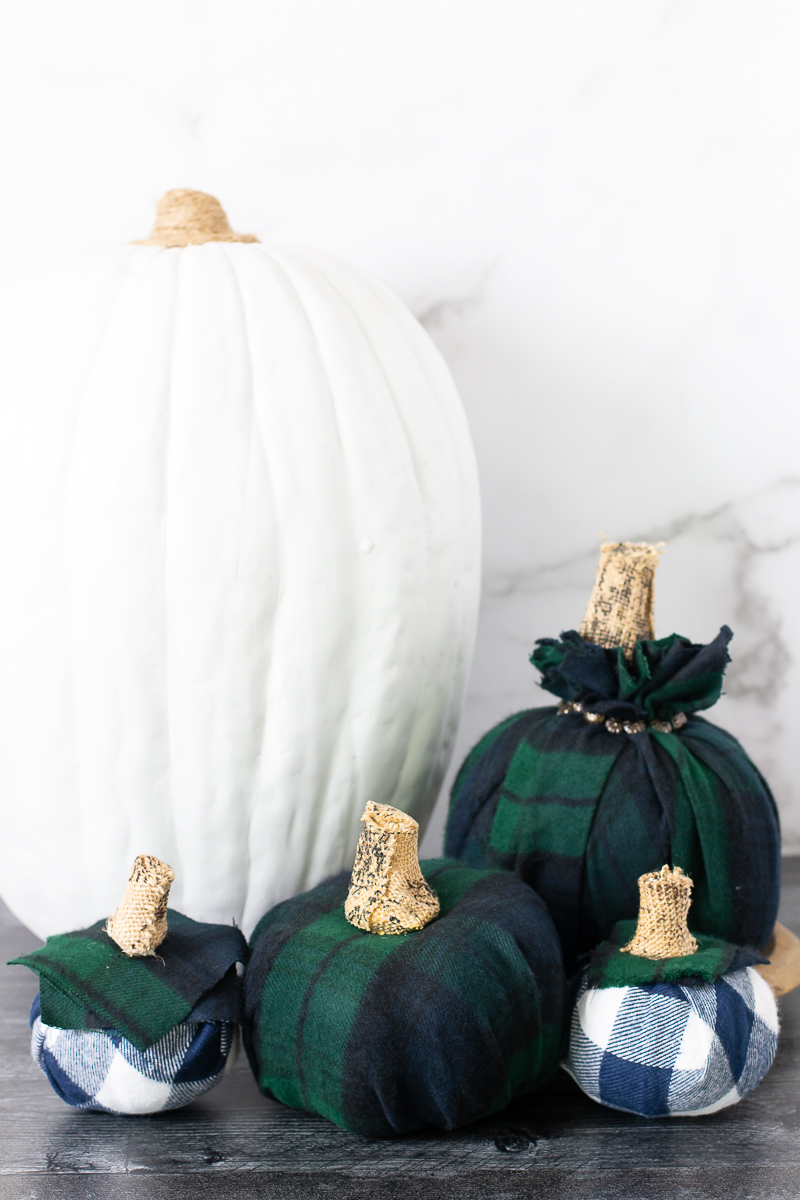
I think this is my favorite one. It's very clean looking across the top.
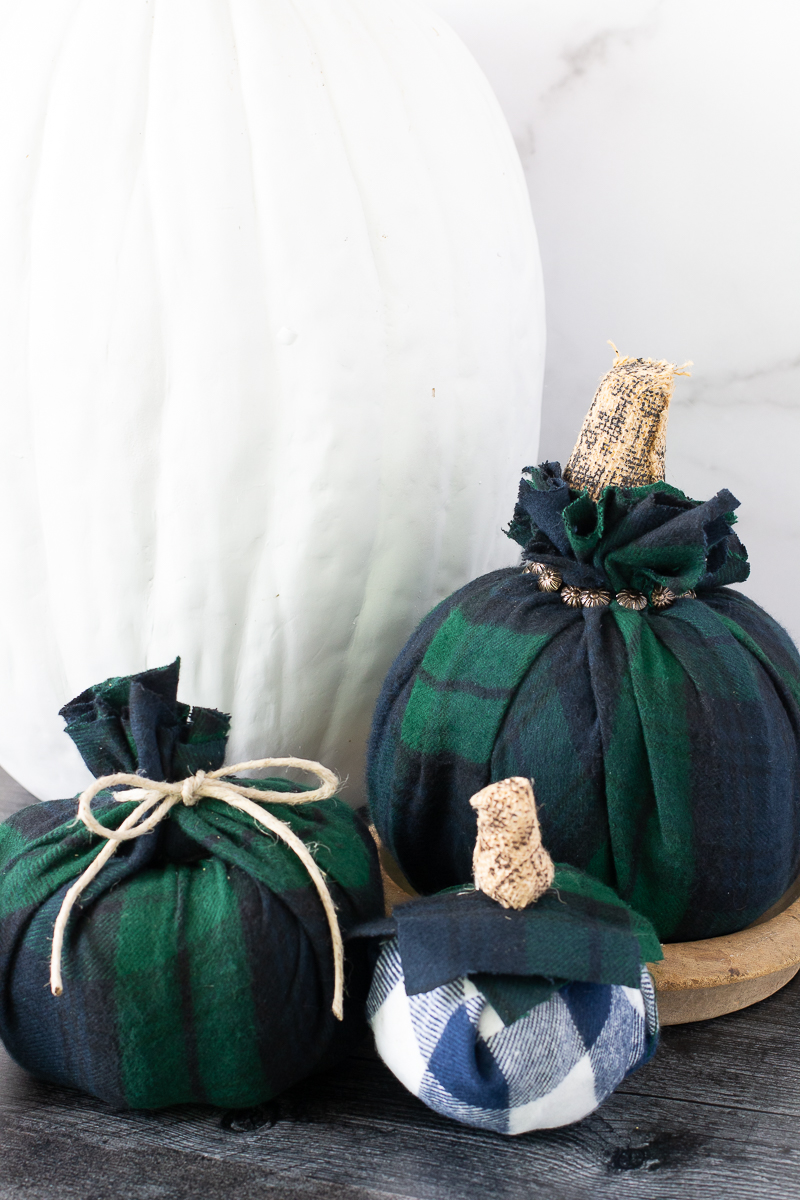
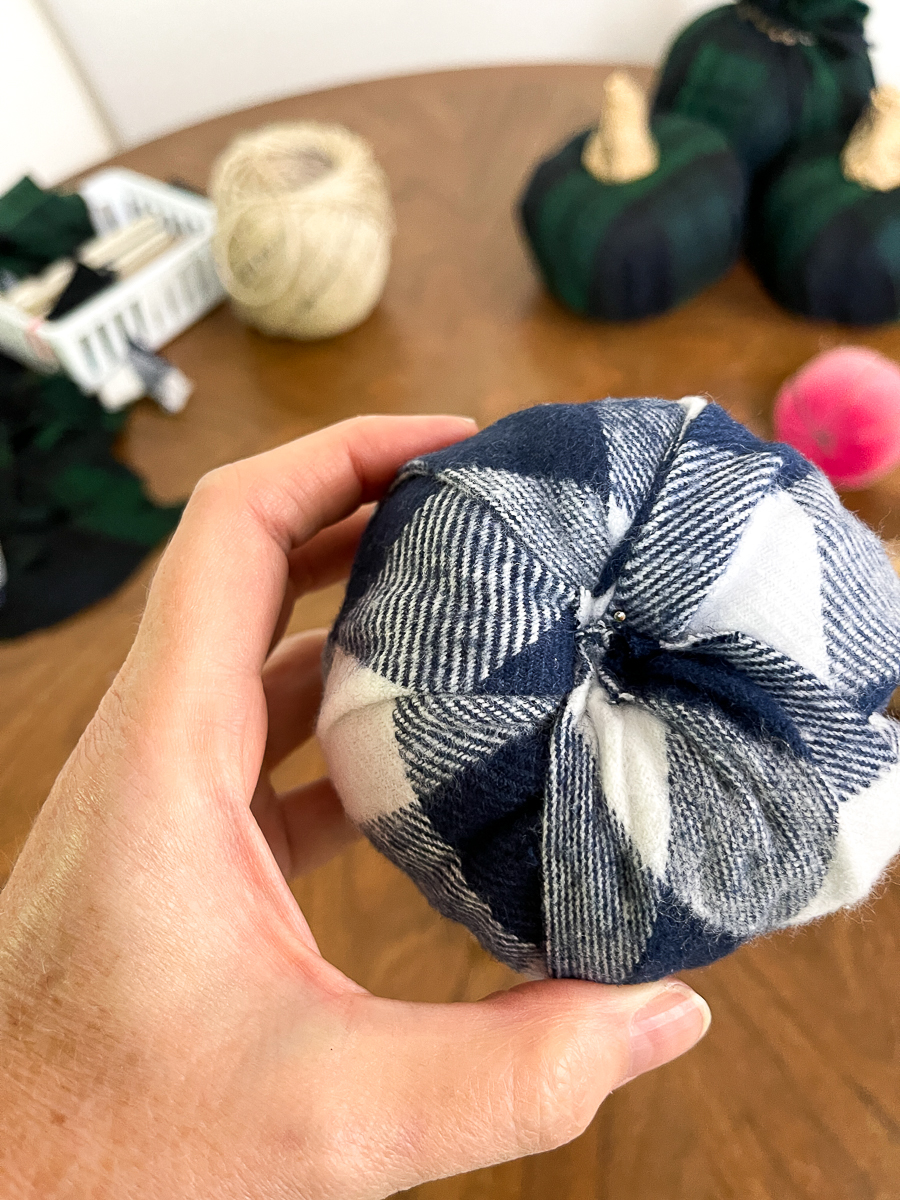
The little one on the left was created just like the first one. This time I just gathered the fabric at the top and tied it off with a piece of twine.
Look at that little adorable blue and white pumpkin. Why does it remind me of the Scarecrow from The Wizard of Oz? Ha, ha!
I kept the style the same with this one.
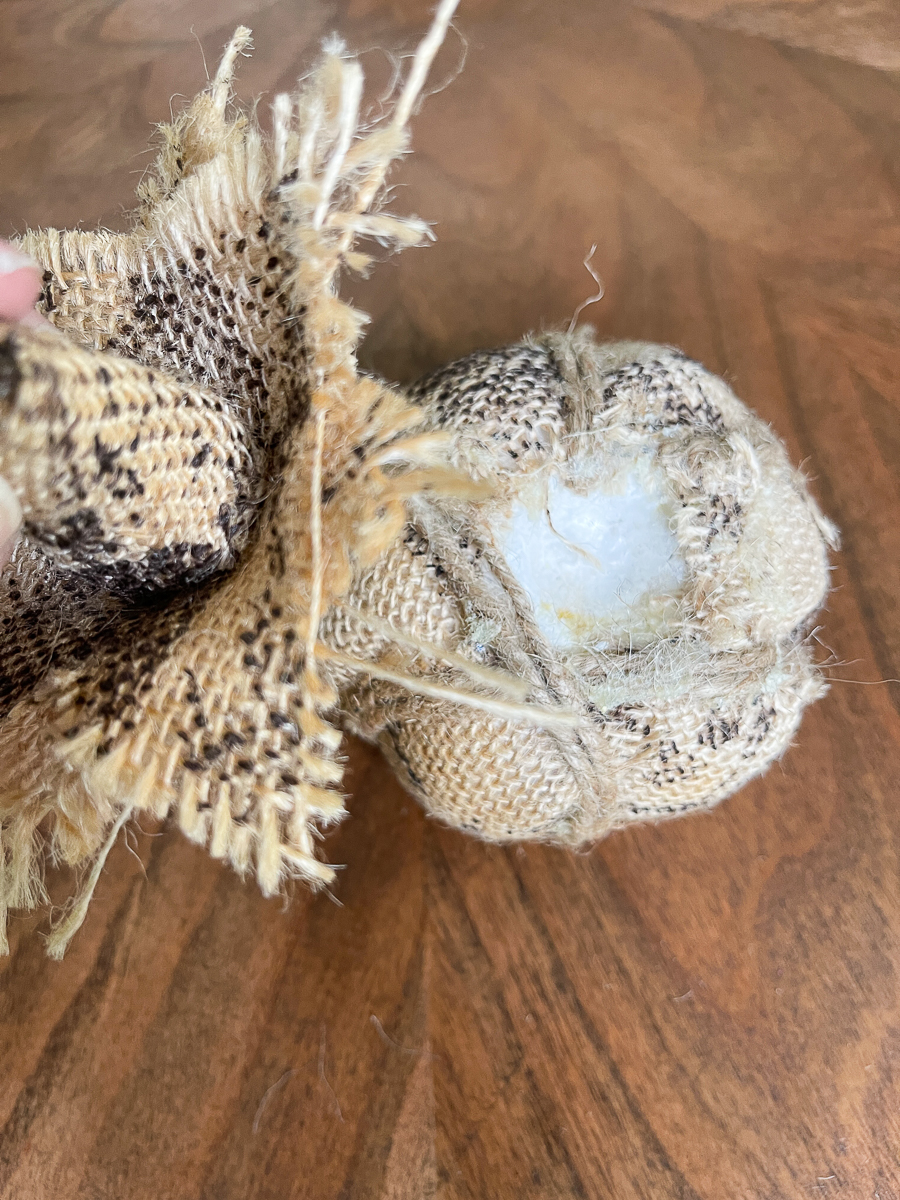
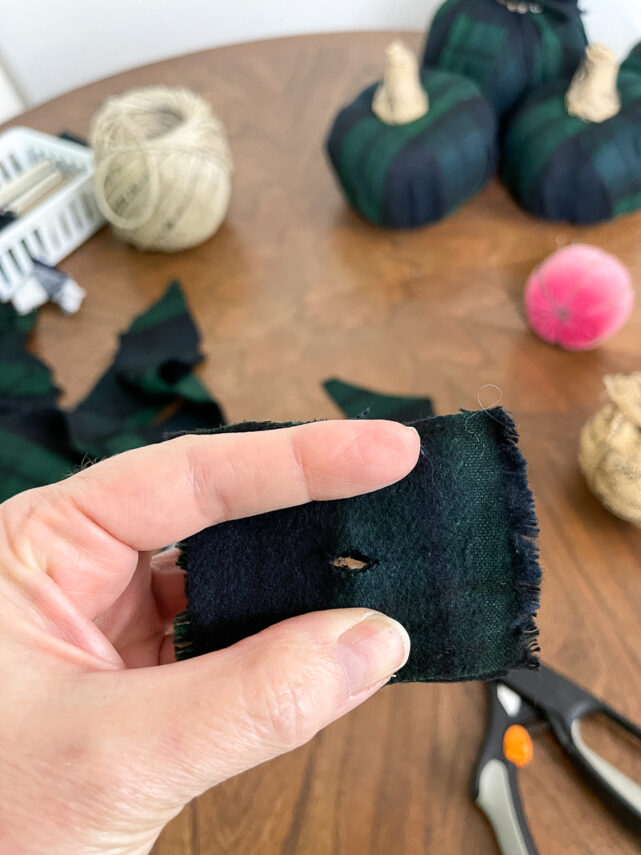
I removed the stem. The little fabric squares were glued to the stems. I removed those.
I applied the fabric in the same manor as the 2nd pumpkin. This part is the bottom.
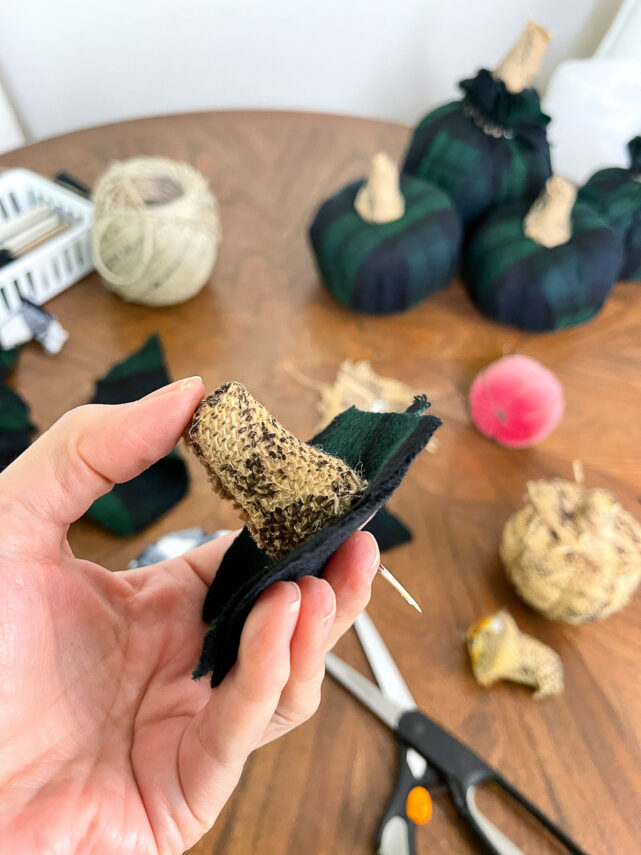
I cut two pieces of fabric. Fold them in half and cut a small center slit. Criss cross the pieces of fabric and insert the stem through the center hole.
I love the look of the 2 fabrics together. A lot of my crafting starts out like this. I have an idea of what I want to do in my mind. It all just kind of evolves with trial and error.
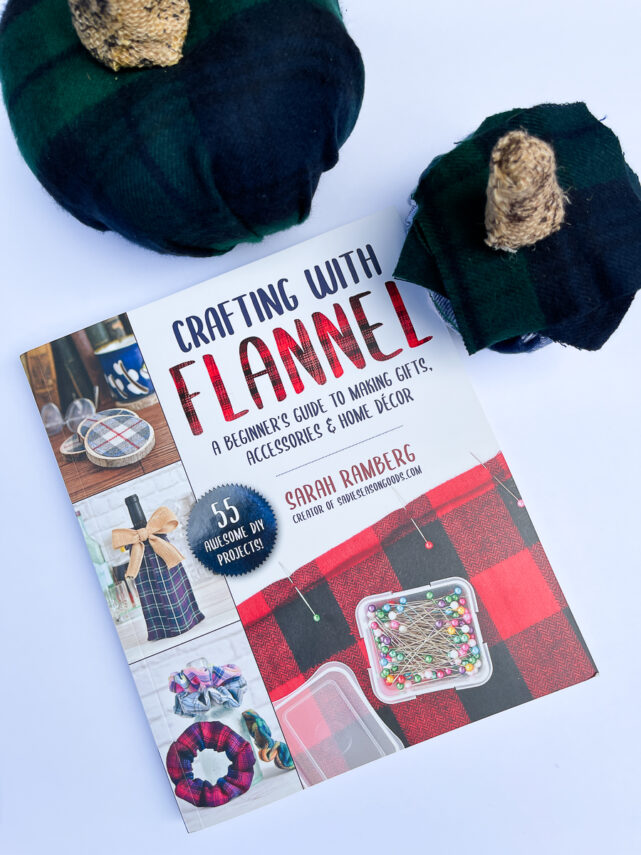

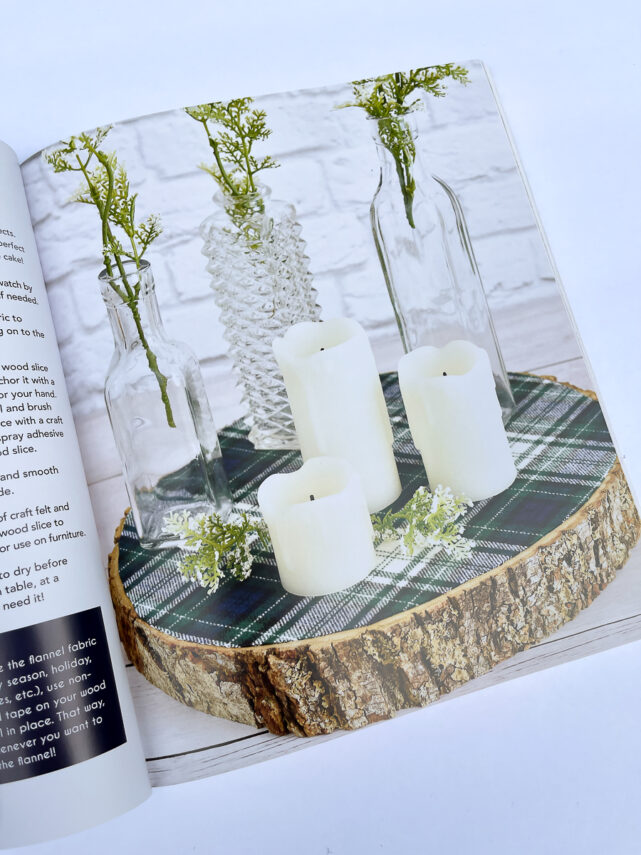
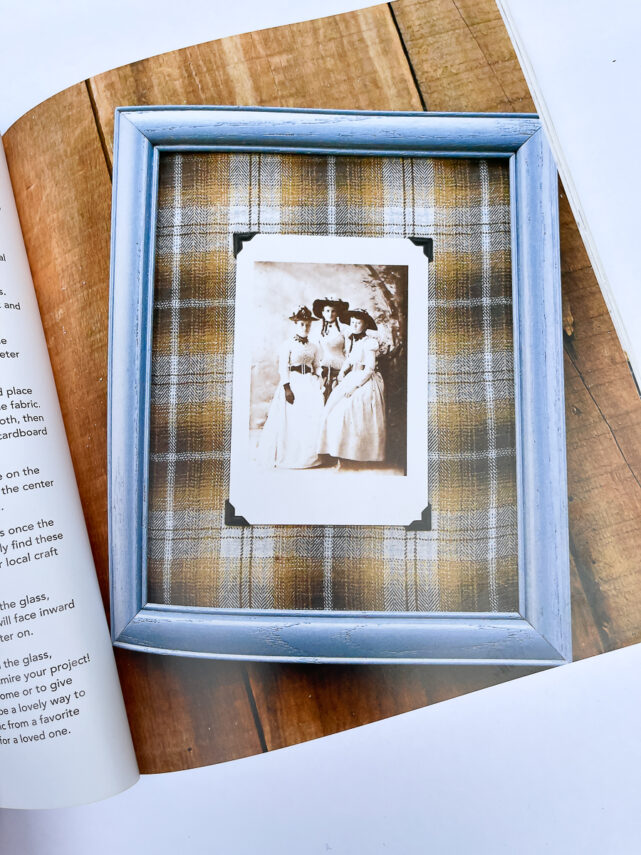
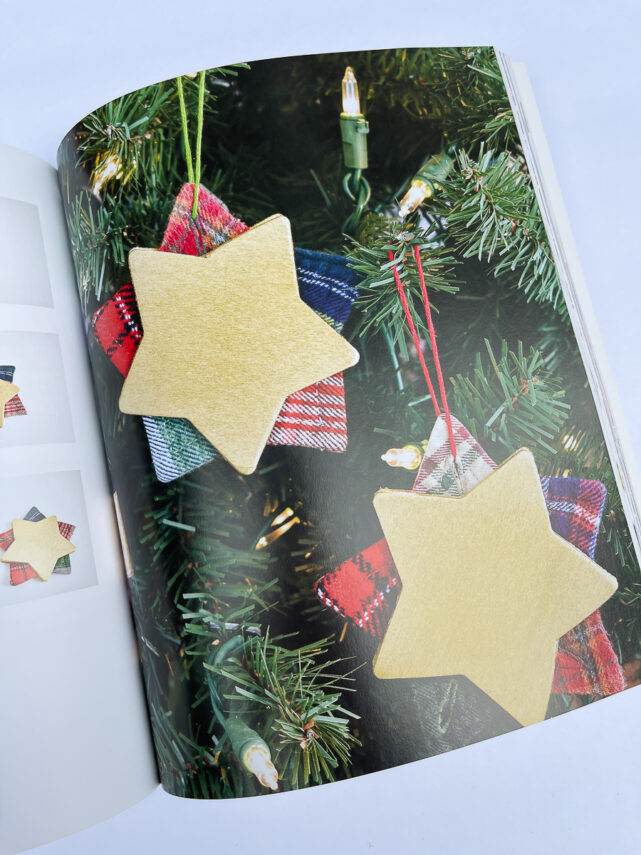
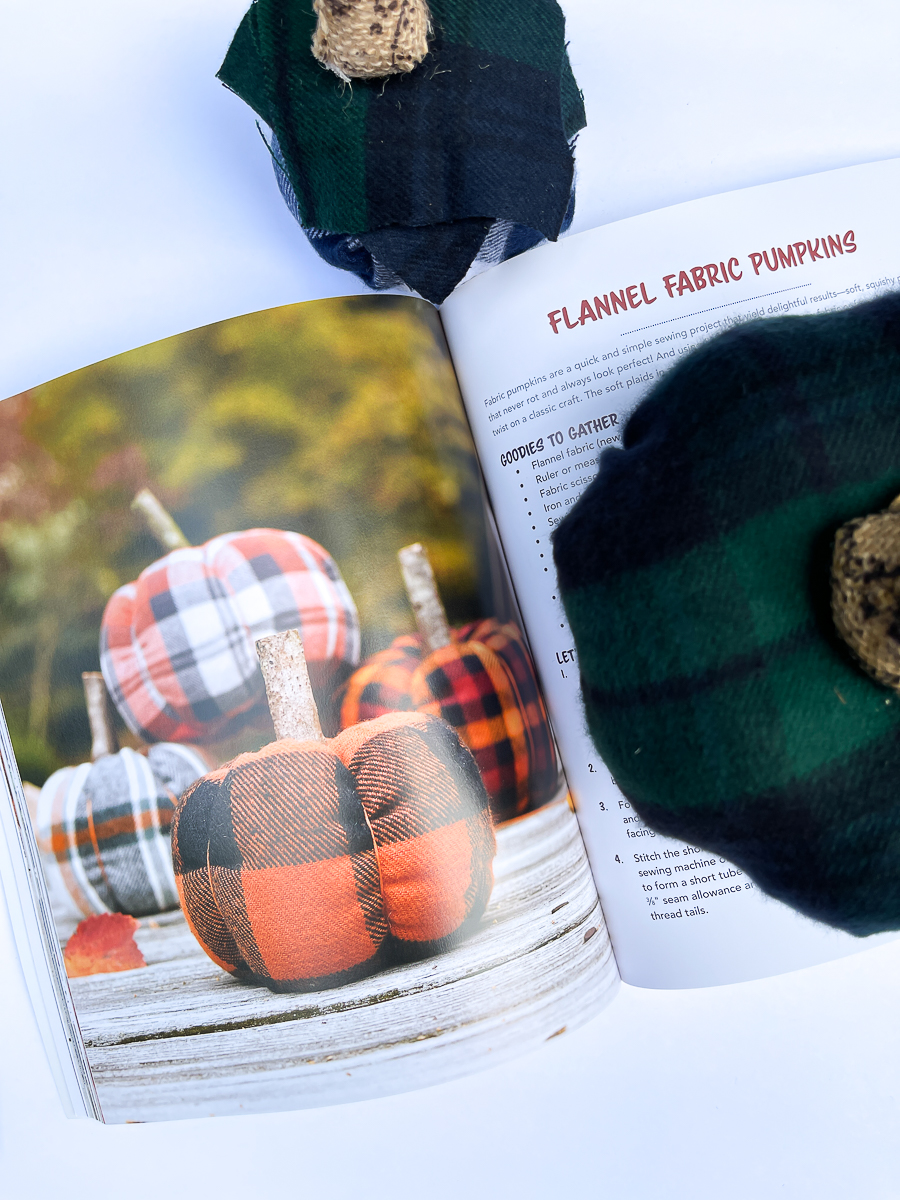
Click the little arrows on either side of the above photos to scroll through some of my favorites ideas from the book. There are so many fabulous ideas. I honestly love them all. I almost made the frame project, but decided to use the pumpkins since it is fall. I can't wait to do the frame project.
Order your own copy of Crafting with Flannel! It would also make a great gift for the crafter in your life. There are just so many fun and creative ideas.
Keep going to the bottom for the rest of the project links.
More Fabulous Flannel Projects!
My Uncommon Slice of Suburbia Easy DIY Fall Flannel Pumpkins
House of Hawthornes Rag Wreath DIY
Organized Clutter Flannel Covered Books
Reinvented Delaware Cheap Wreath for Fall
Our Southern Home No Sew Flannel Pumpkins
Domestically Speaking Plaid Pumpkin and Acorn
My Repurposed Life DIY Flannel Scraps | Easy Projects
Petticoat Junktion Flannel Wrapped Wreath
Sadie Seasongoods Blue Fall Decor With a Pumpkin Throw Pillow
Shop at Blue Flannel Embellished Hand Towels

Christy these are so stinkin cute! What a great way to upcycle old pumpkins!
Thanks so very much, Sue! This was a fun project this month with flannel.
Christy I’m all about reusing! These are just darling. Love the Blues.
Thanks, Sue! I love using blues in our home.
Christy,
I love all of the pumpkins, it’s hard to choose a favorite, but BLUE is my favorite color. 😉
pinned
gail
Thanks, Gail! Blue has been my color in recent years. I find it calming. This month was such a fun tour with flannel.
They turned out so cute Christy!
Thanks so much, Maryann!!!
Really cute pumpkins, Christy! Love your plaid choice!
I love how your pumpkins turned out, great idea using the push pins!
Your flannel pumpkins are so cute Christy! What a great way to upcycle your old burlap pumpkins! Pinned!
I love what you created, Christy! Looking forward to seeing these decorating your home for fall.