Outdoor Coffee Table Makeover
DIY outdoor coffee table makeover made such a difference on our porch by stripping it then finishing with a stained top and painted bottom.
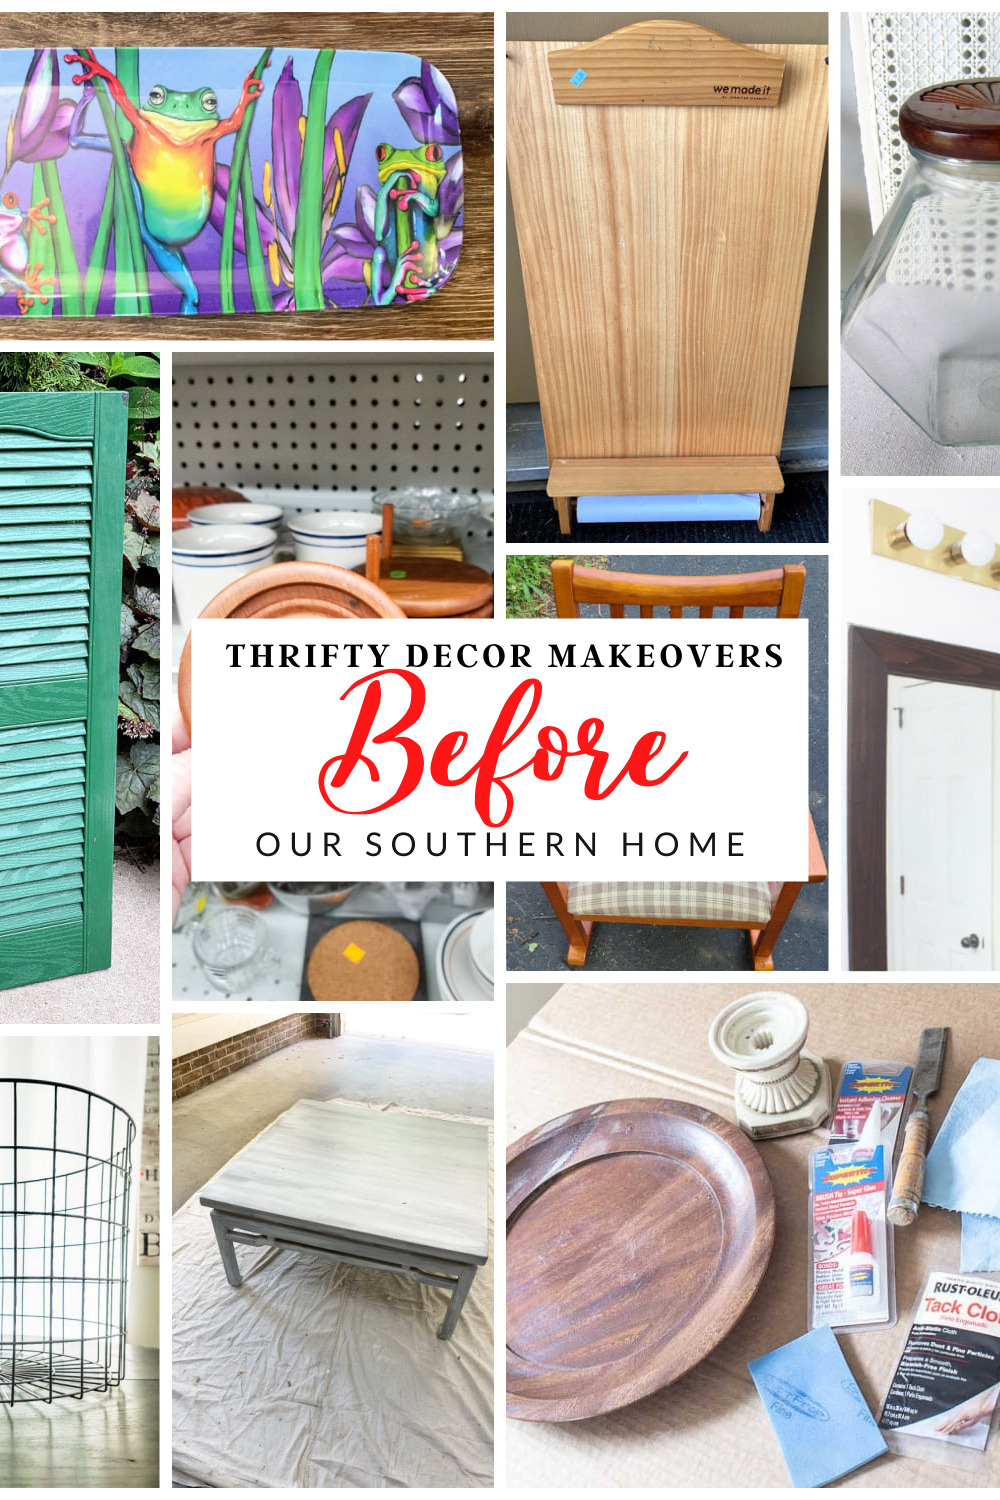
Welcome to this month's thrifty makeover challenge.
This month we have 3 new blogs joining our long-standing team. I have been with the group since the beginning. I am excited to be adding these ladies and their creativity to the mix!
You'll find a list of all projects at the end of the post!

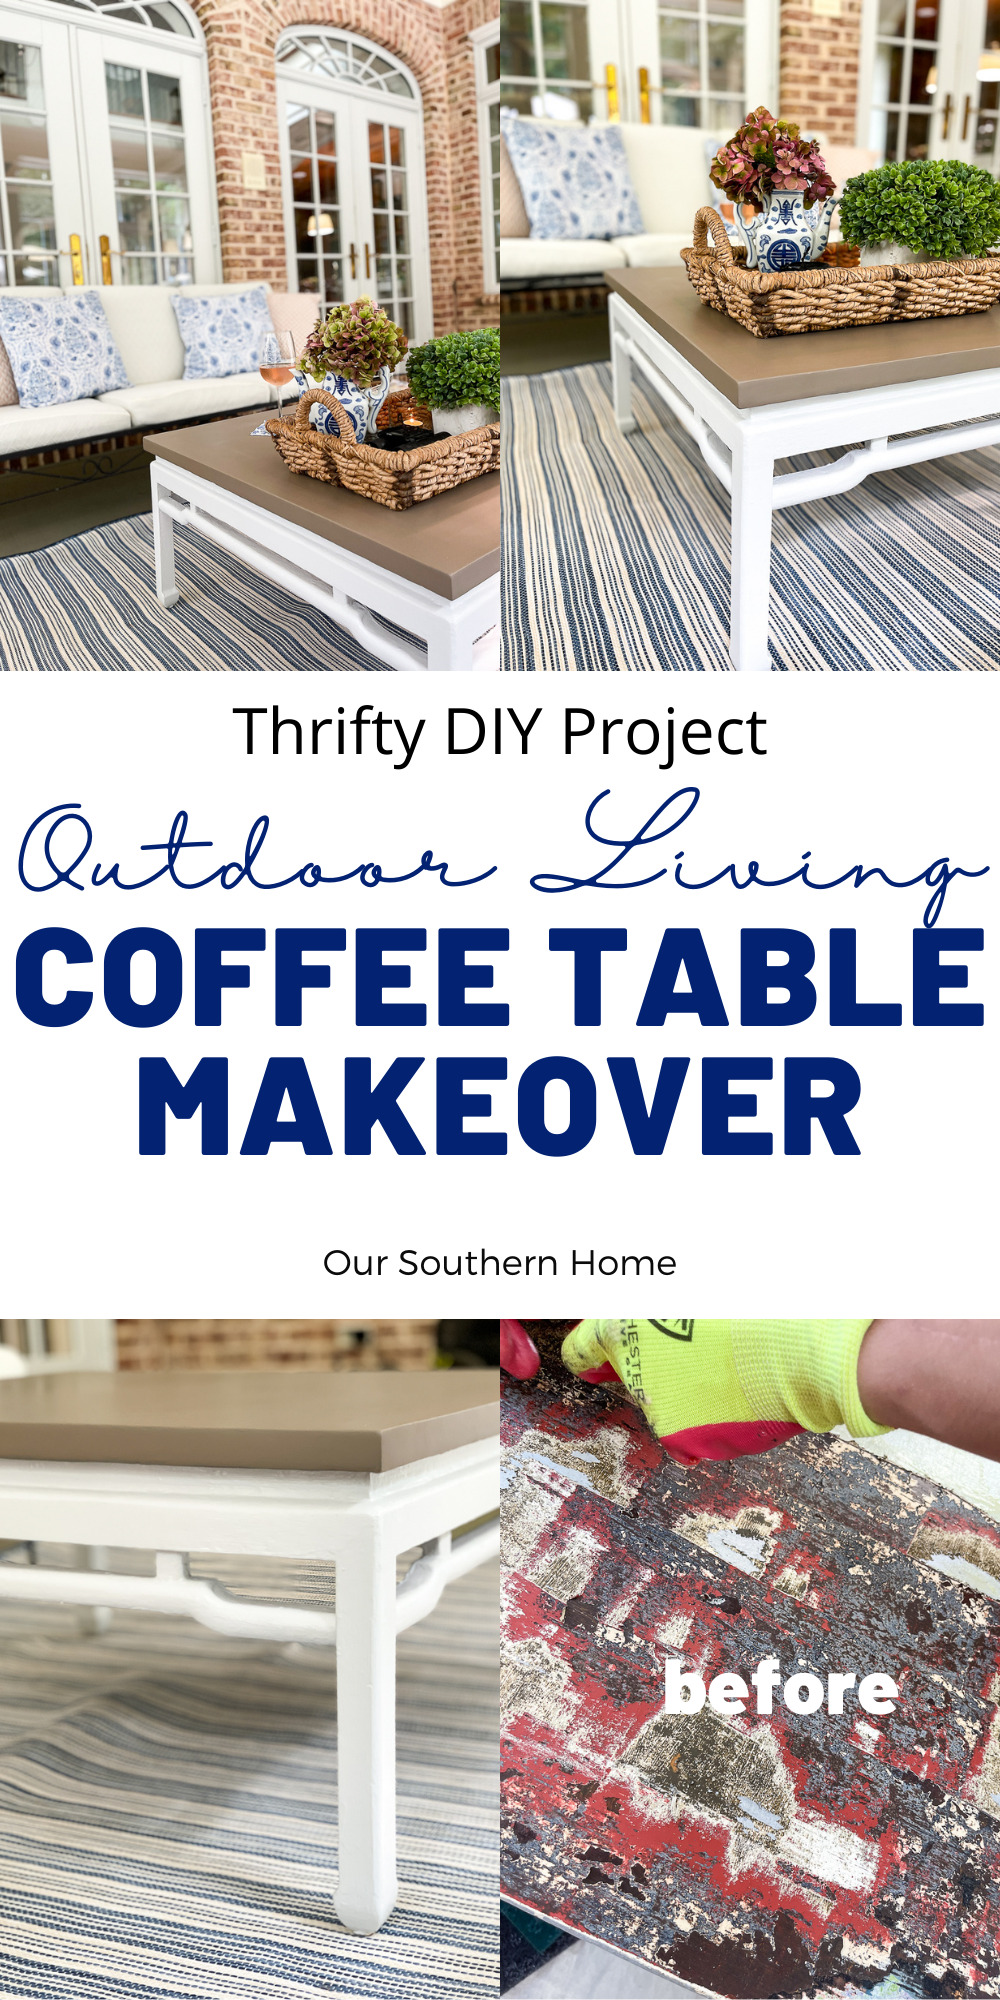
Outdoor Coffee Table Makeover

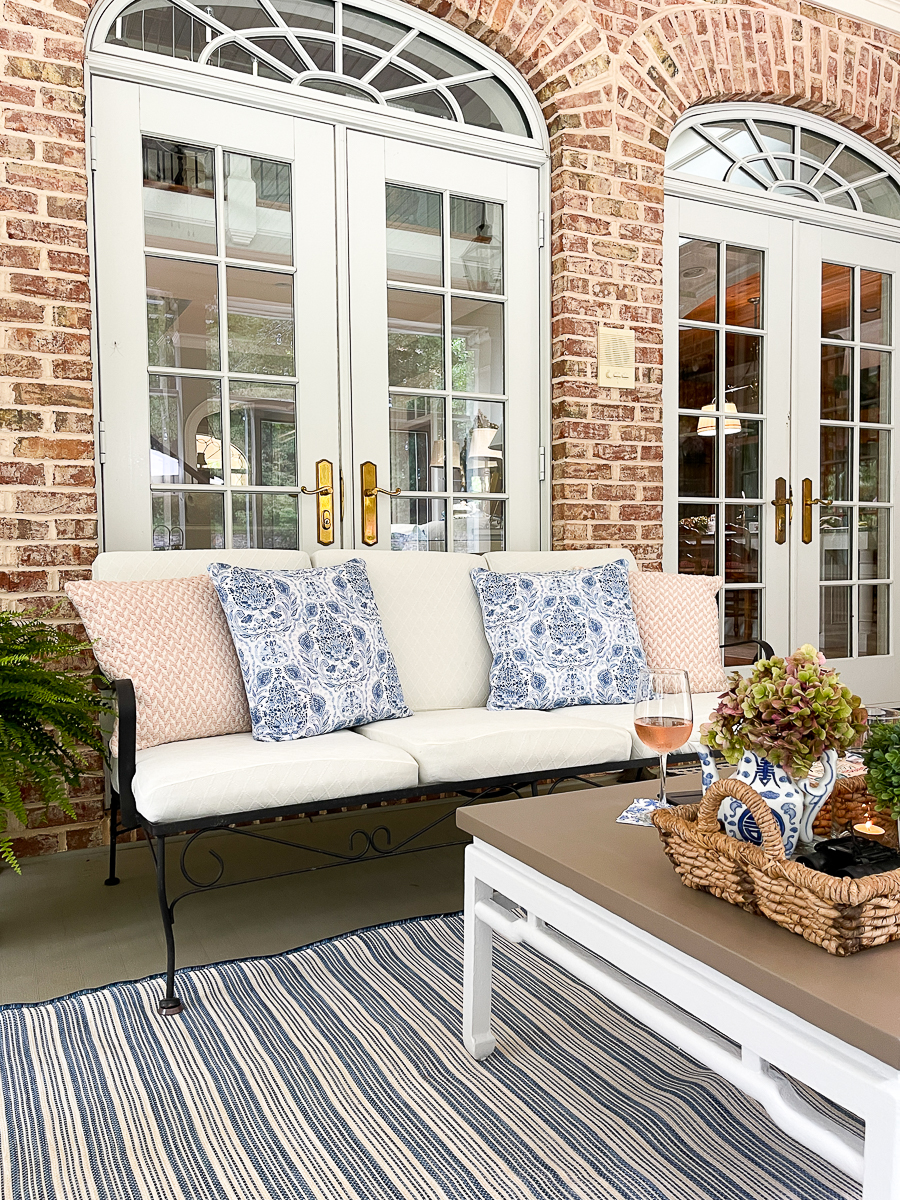
This coffee table was an amazing $40 find many years ago from a consignment shop that we visit while in Southport, NC. It is one of our favorite shops to this day. I've scored many great pieces from furniture to lamps.
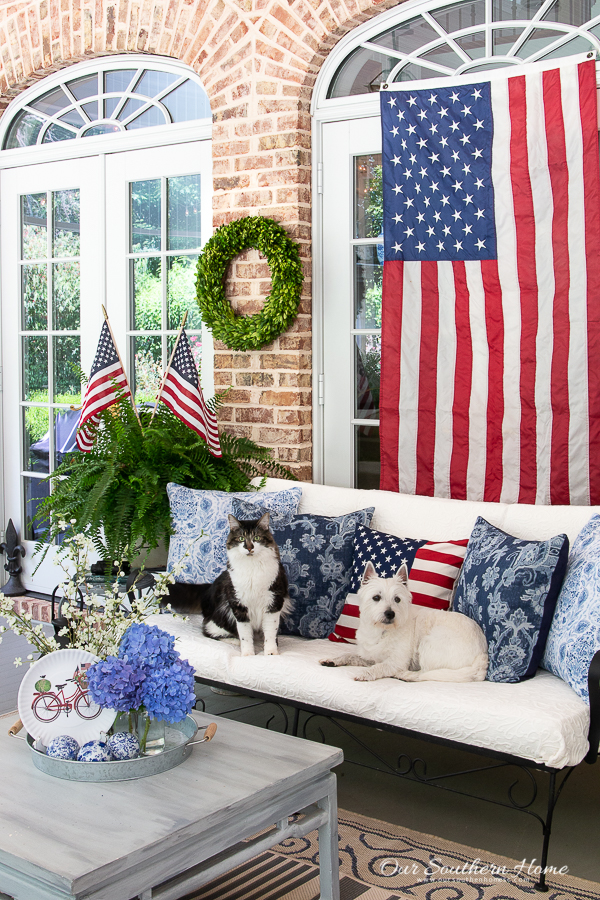
When we brought the coffee table home, I intended to repaint it, but never did. It worked perfectly on the screened porch for us. Here it is just last year on our patriotic porch.
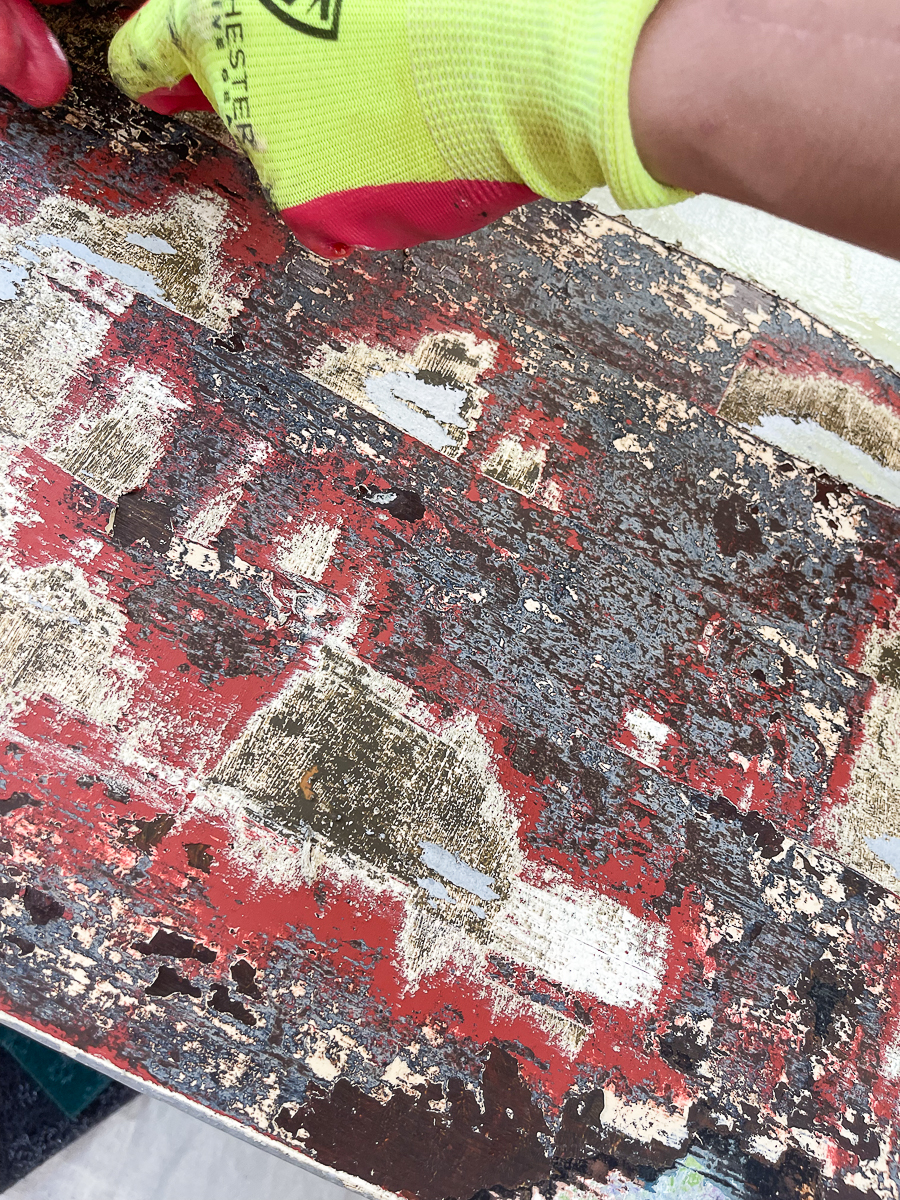
It had started chipping on the top so, I hired my daughter to strip and sand it for a new paint look.
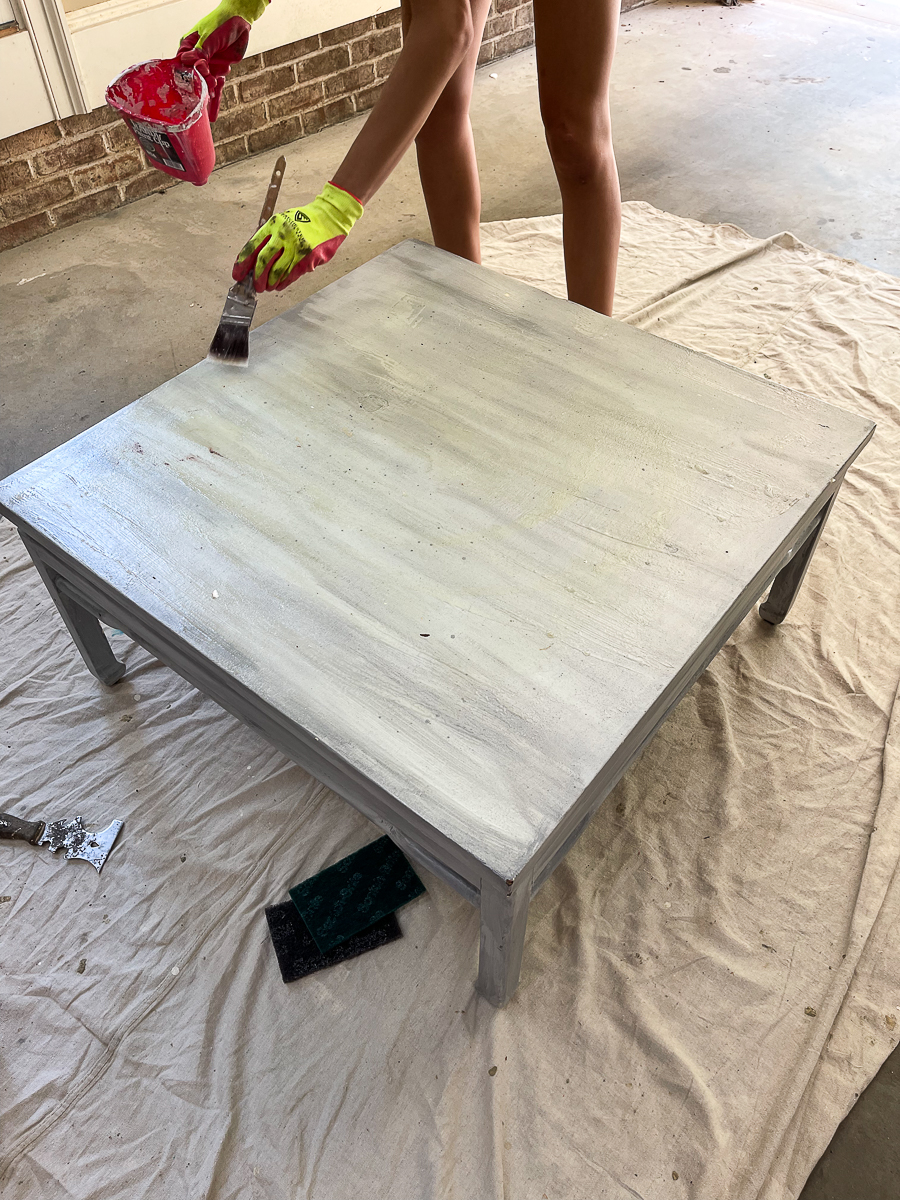
The dark spots are where it is chipping. Here is where Ashlyn is applying the stripper. You brush it on and let it sit. Read the directions on your bottle for complete stripping instructions.
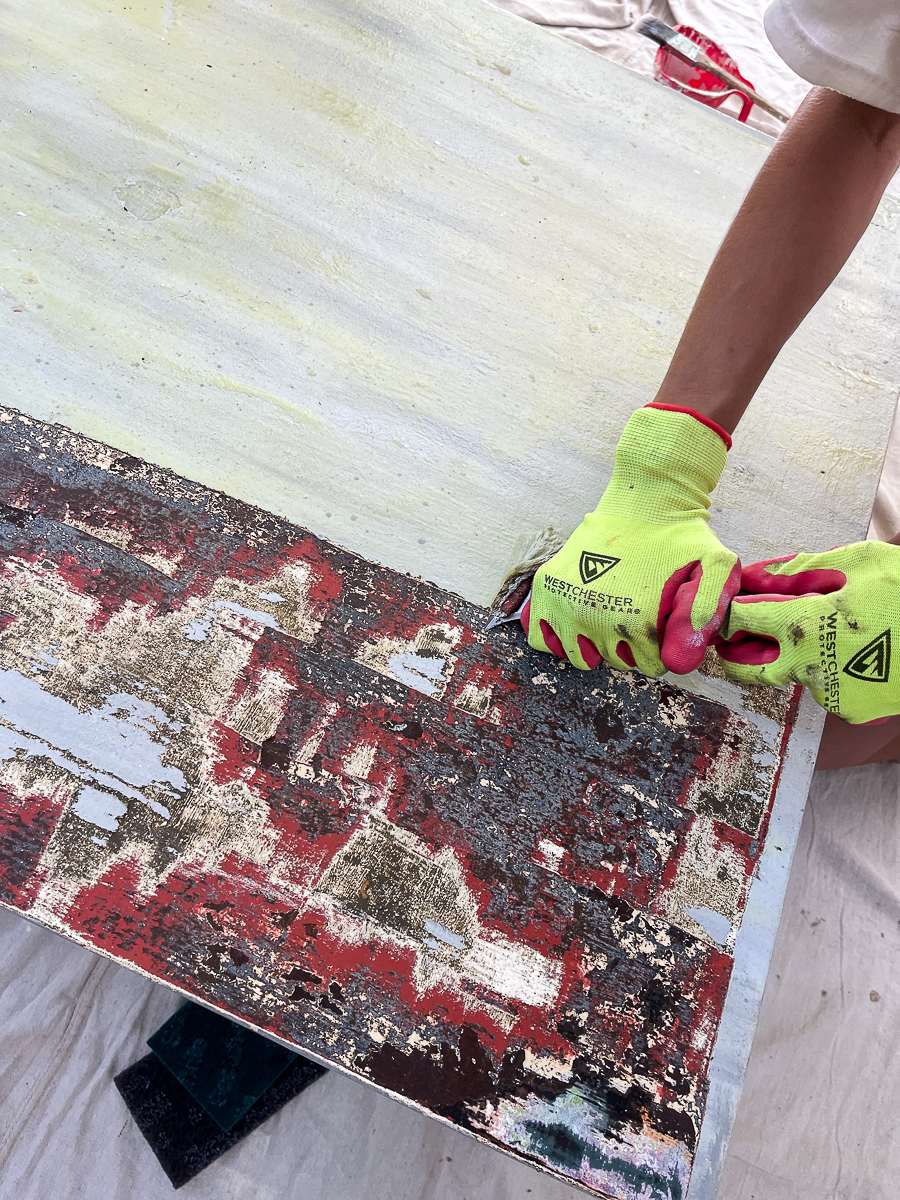
Y'all the layers of paint on this piece were insane!!! I've never seen so many layers of paint in my life. It was quite comical. She'd think she was done stripping, then there would be another layer.
This is my favorite stripper. It does an amazing job! You must do it outside in a well-ventilated area. protect your hands and eyes.

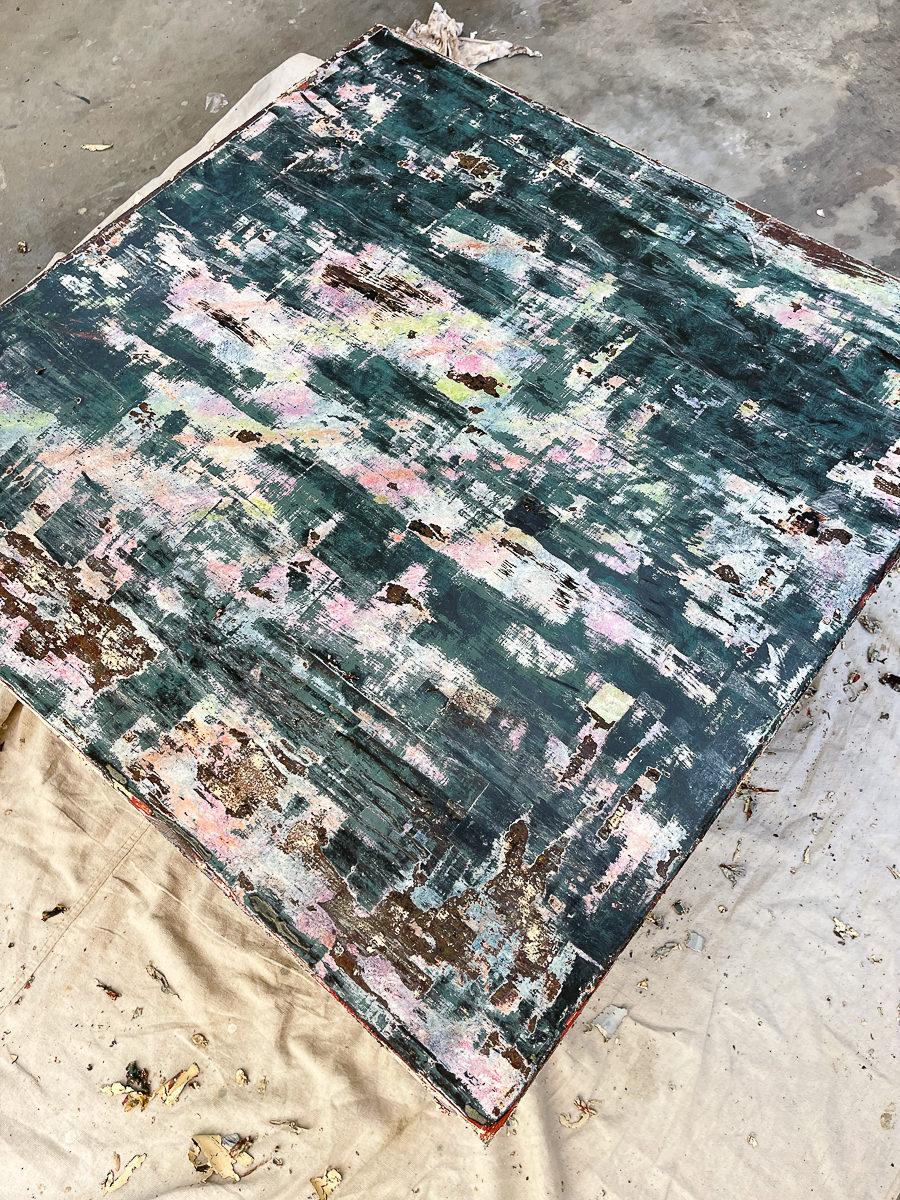
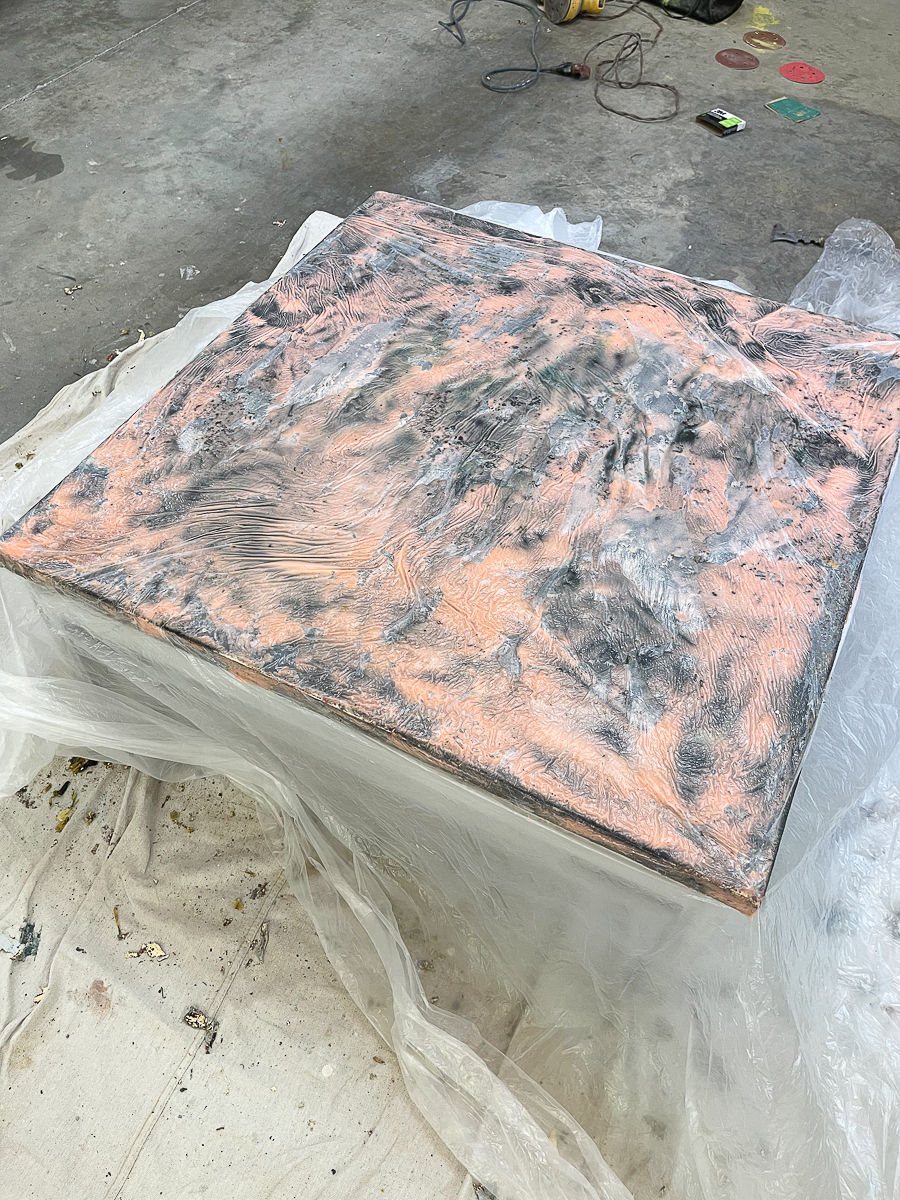
Stripping is messy work, but sometimes it is a must. We ran out of the Jasco stripper and used the Citristrip. We covered it with plastic to help activate it quicker.
I wanted to stain the top and do a painted base so the top had to be stripped.
This stripper has less odor and does an ok job especially if you cover it in plastic for a while to let the product loosen the paint. Jasco is quicker.
Supplies for Stripping
- Stripper
- drop cloth
- saran wrap or plastic drop cloths
- gloves
- safety glasses
- putty knife
- multi-tool putty knife
- inexpensive brushes
Stripping furniture is not hard, it's just messy and can be tedious depending on detail.
This piece was simple in that it was a flat surface. There were just so many layers! It was so worth the extra effort.
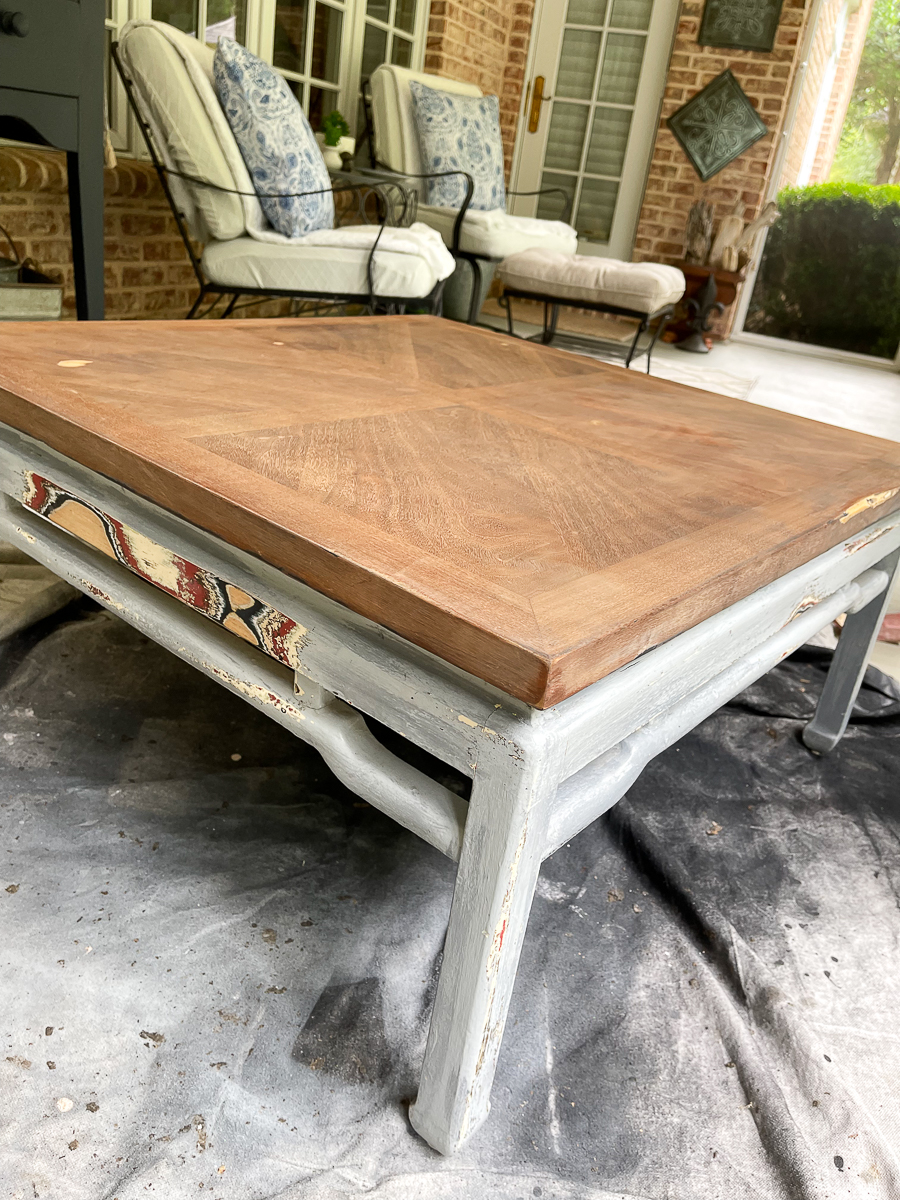
Ashlyn did not strip the base of the coffee table. As you can see, it had multiple layers as well. She just sanded any areas that were chipping or not smooth.
Ashlyn used outdoor stains and paints for this project.
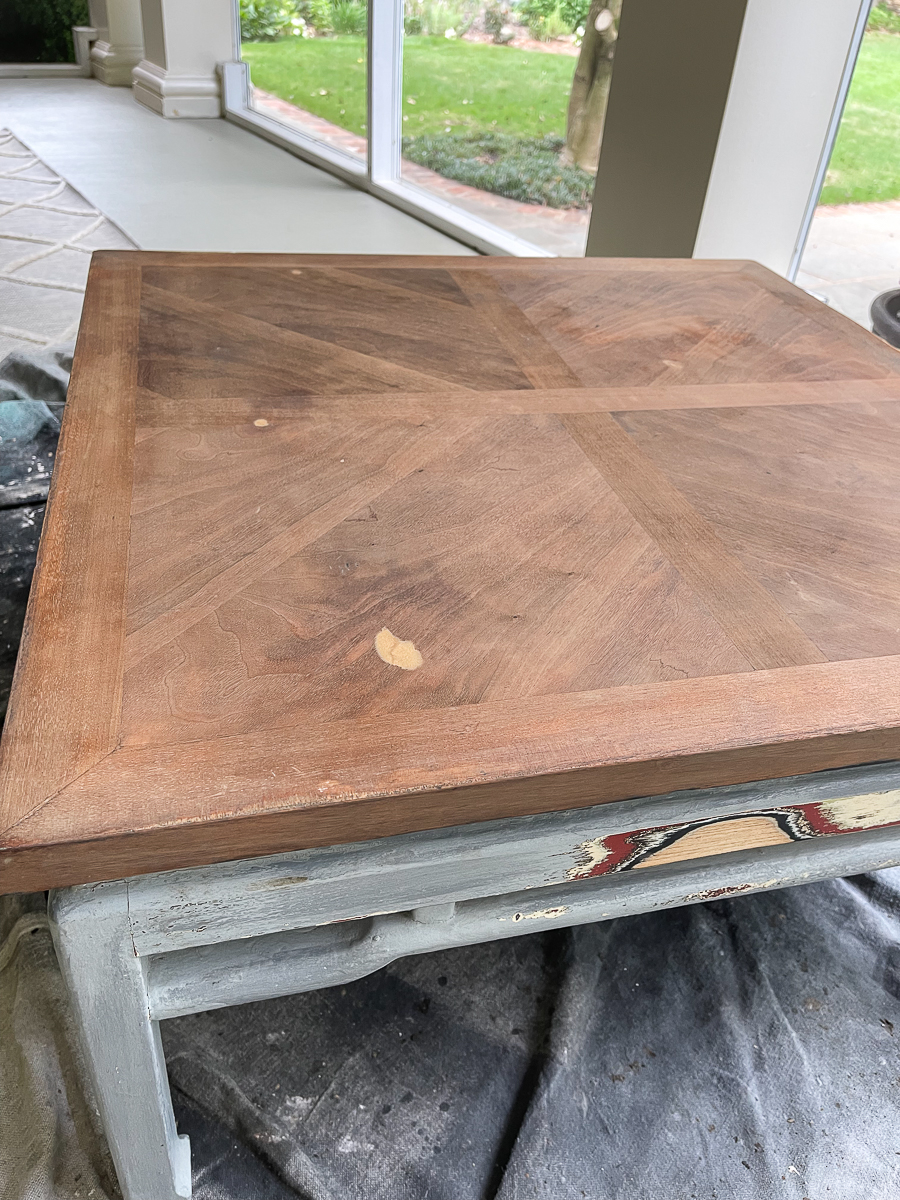
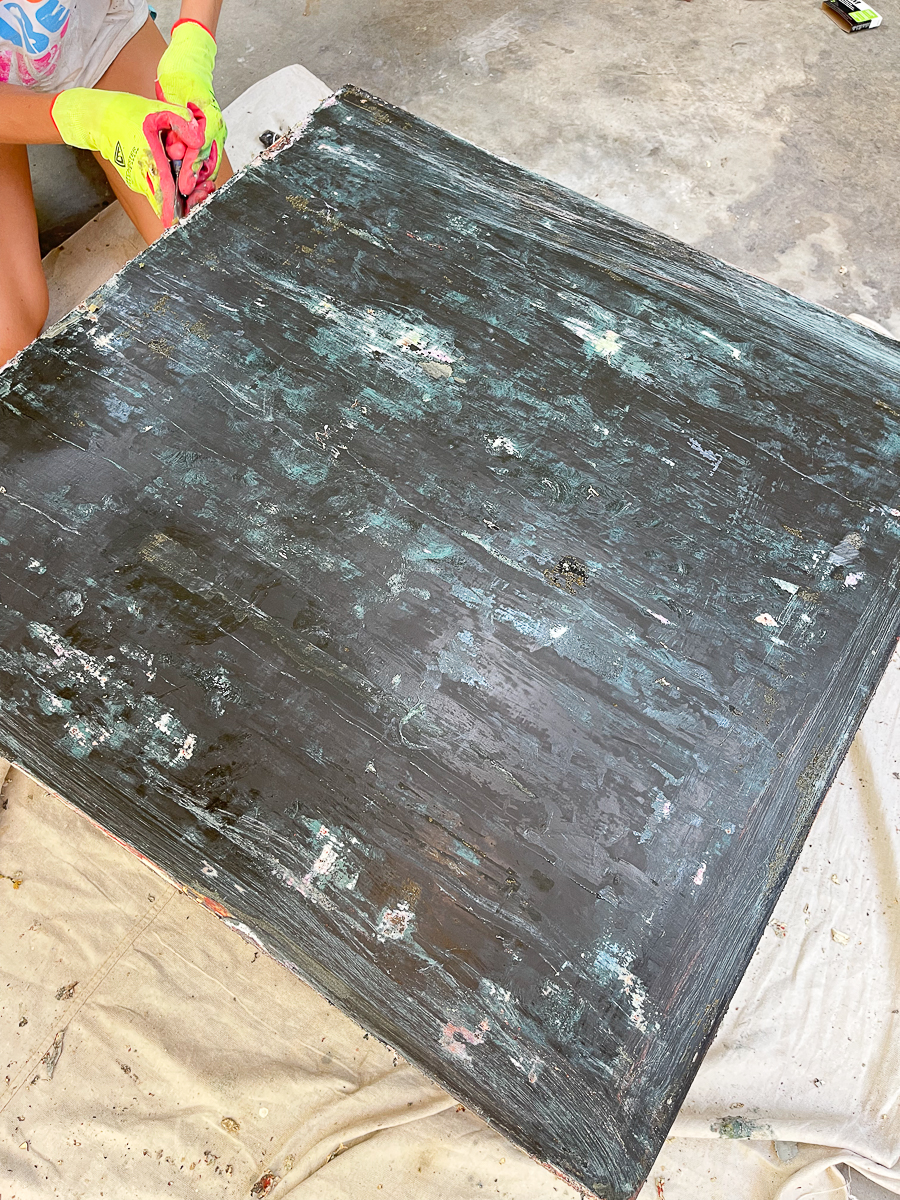
This is the top of the table after it was stripped. It had a couple of gouges in the finish. This is why it was previously painted. I wanted the top stained so we filled in the damaged areas.
Finishing Supplies (Lowes)
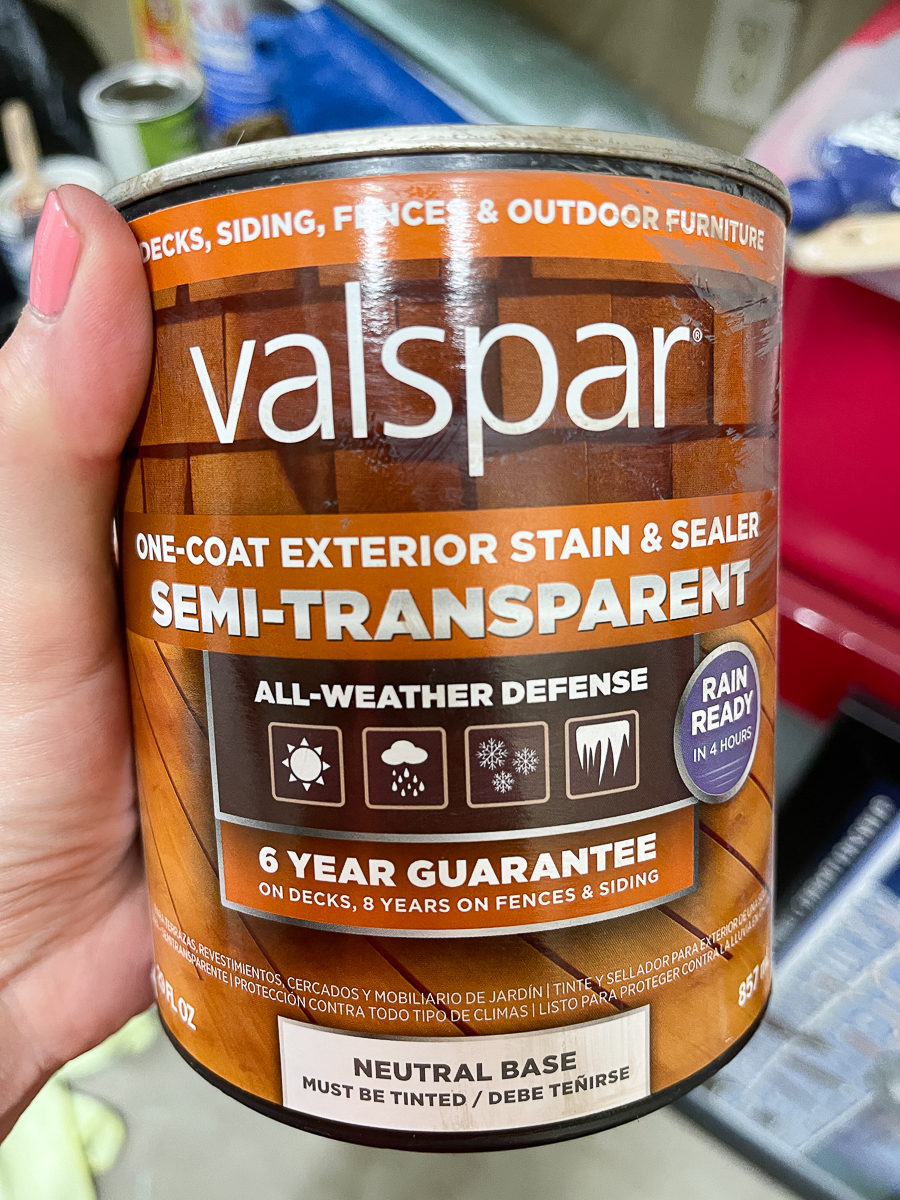
- Outdoor Stain in the color Ferret
- Outdoor paint Exterior Everlast in the color Bay Waves, 4008-1A
- Brushes for stain and paint
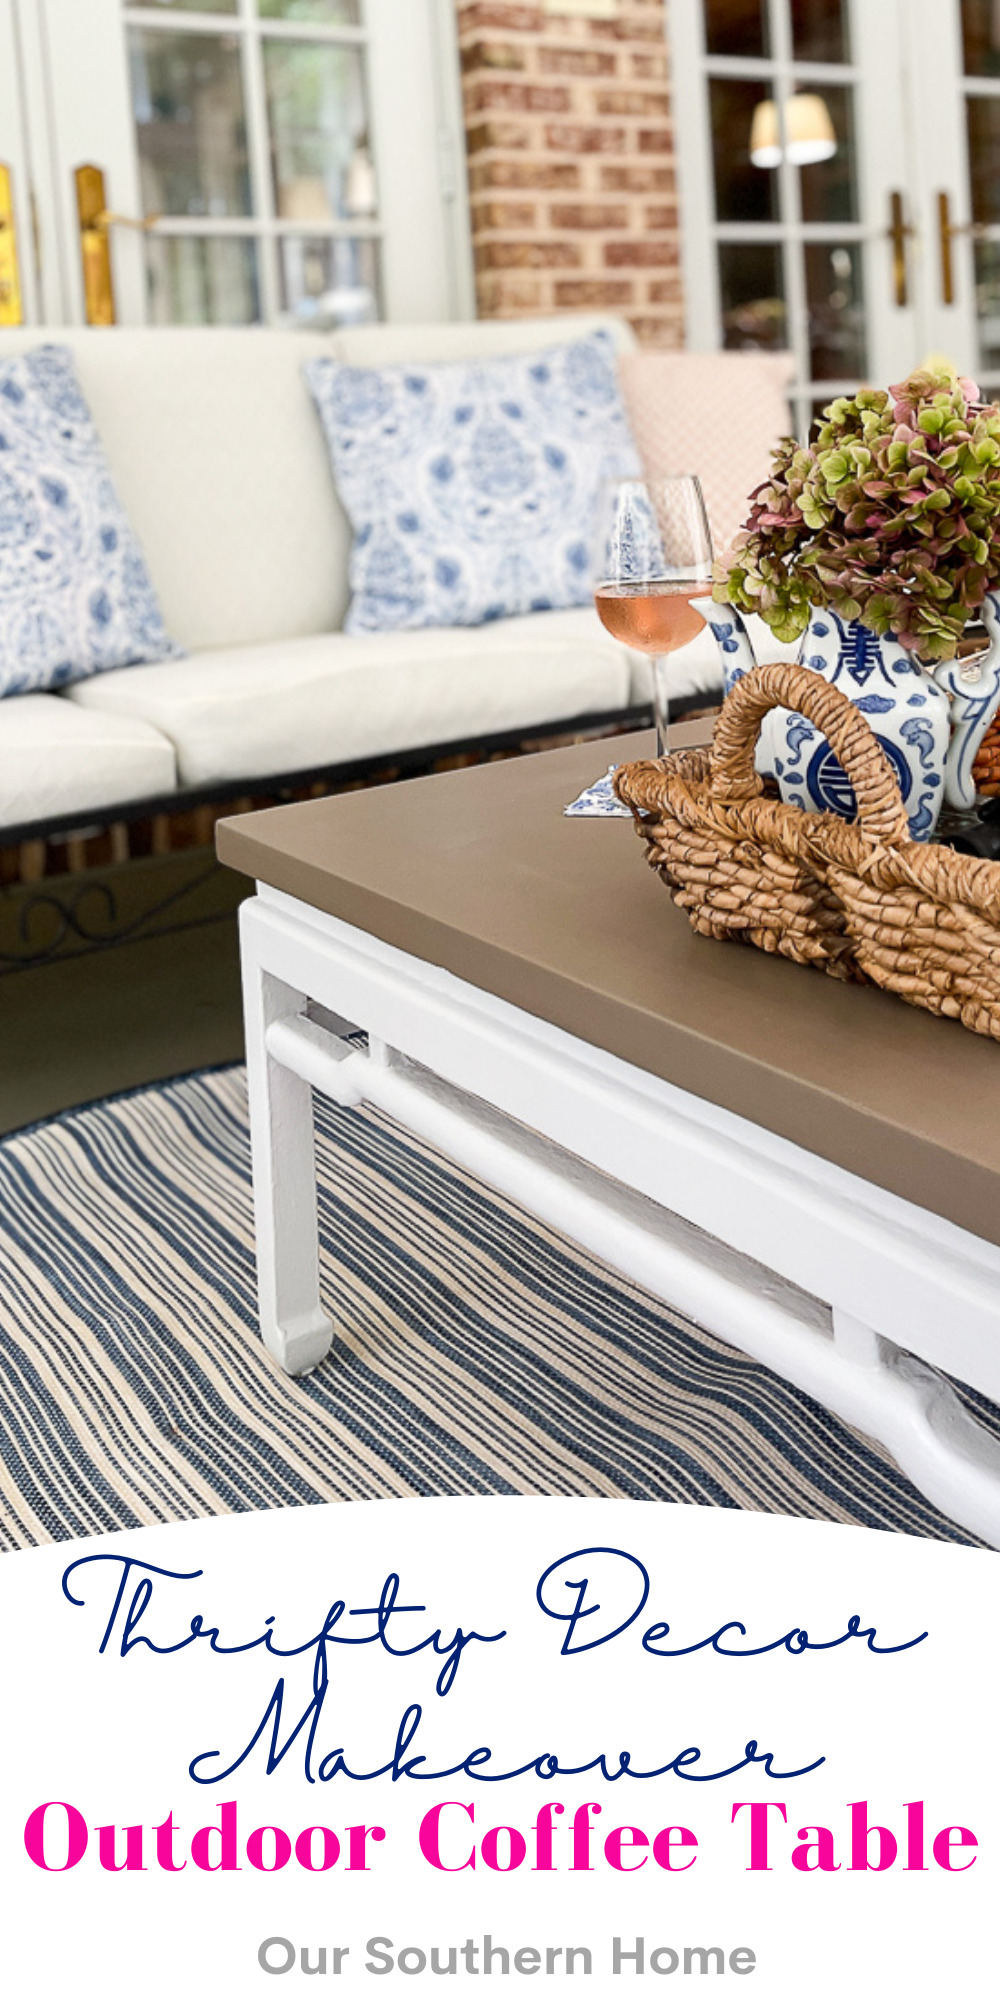
The stain we used is semi-transparent which ended up being perfect since the top was imperfect with a few areas that needed to be wood-filled. Use wood filler if staining for repairs.
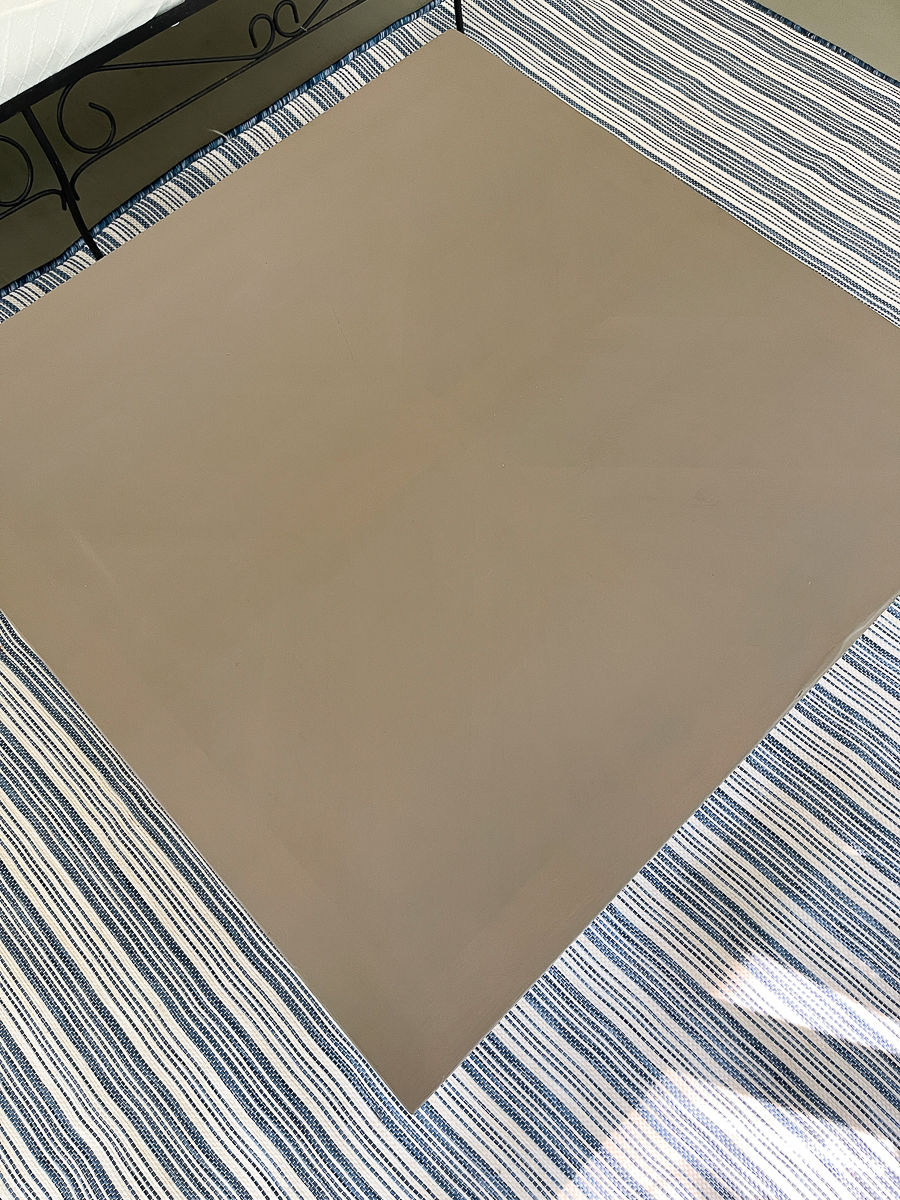
3 coats of stain did the trick to cover the imperfections, but still allow the design on the top to show through slightly. We had it mixed in the color, Ferret.
Striped Rug | SImilar Coffee Table | Cushion Covers | Similar Outdoor Pillows
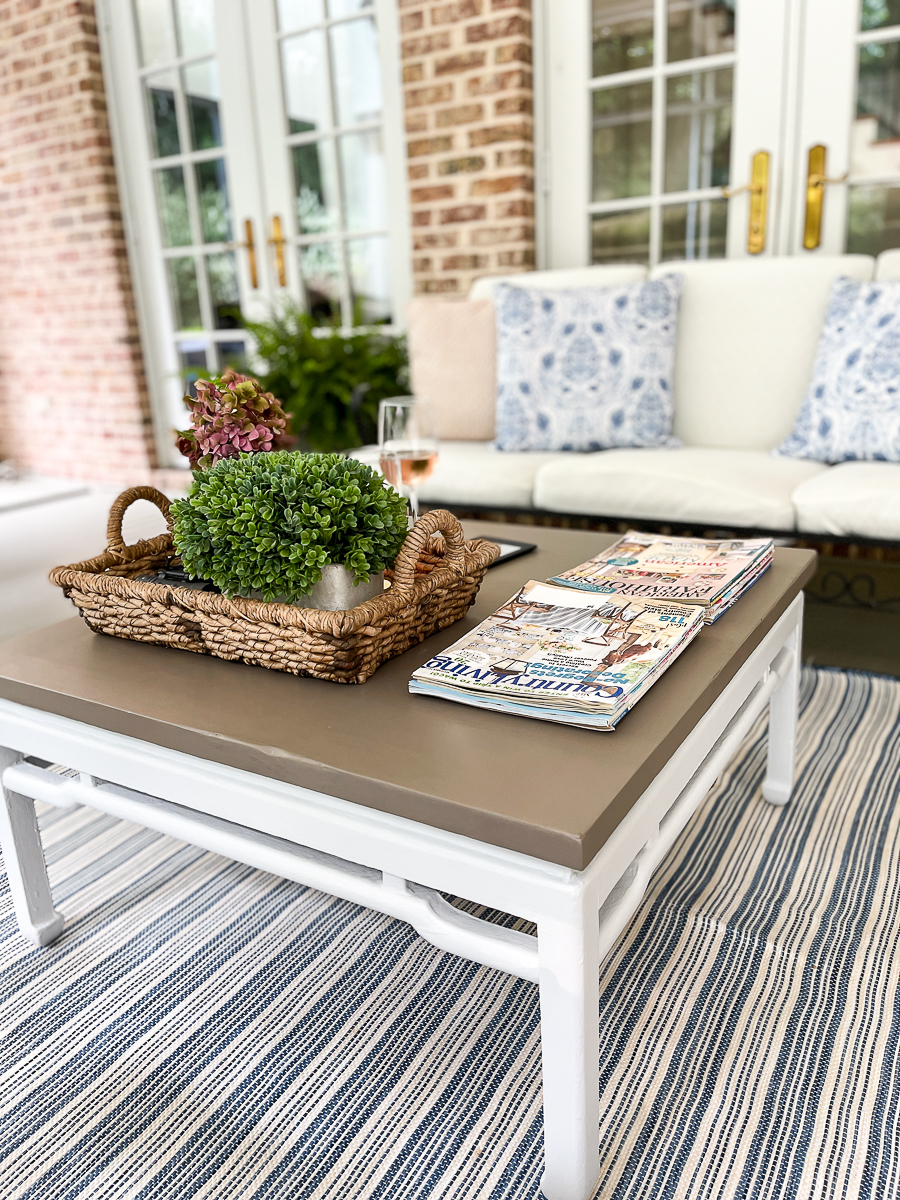
The painted base is very similar to what it was before. Before there was a faux finish on it. This is just a solid painted pale gray. She did 2 coats of gray paint on the coffee table base.
Striped Rug | SImilar Coffee Table | Cushion Covers | Similar Outdoor Pillows
It looks so fresh now! The moment I saw this coffee table, I loved the style and shape.
The stain has a built in sealer so It's just one product needed for the top. It can be used on deck flooring. I feel confident it will be tough for the table.
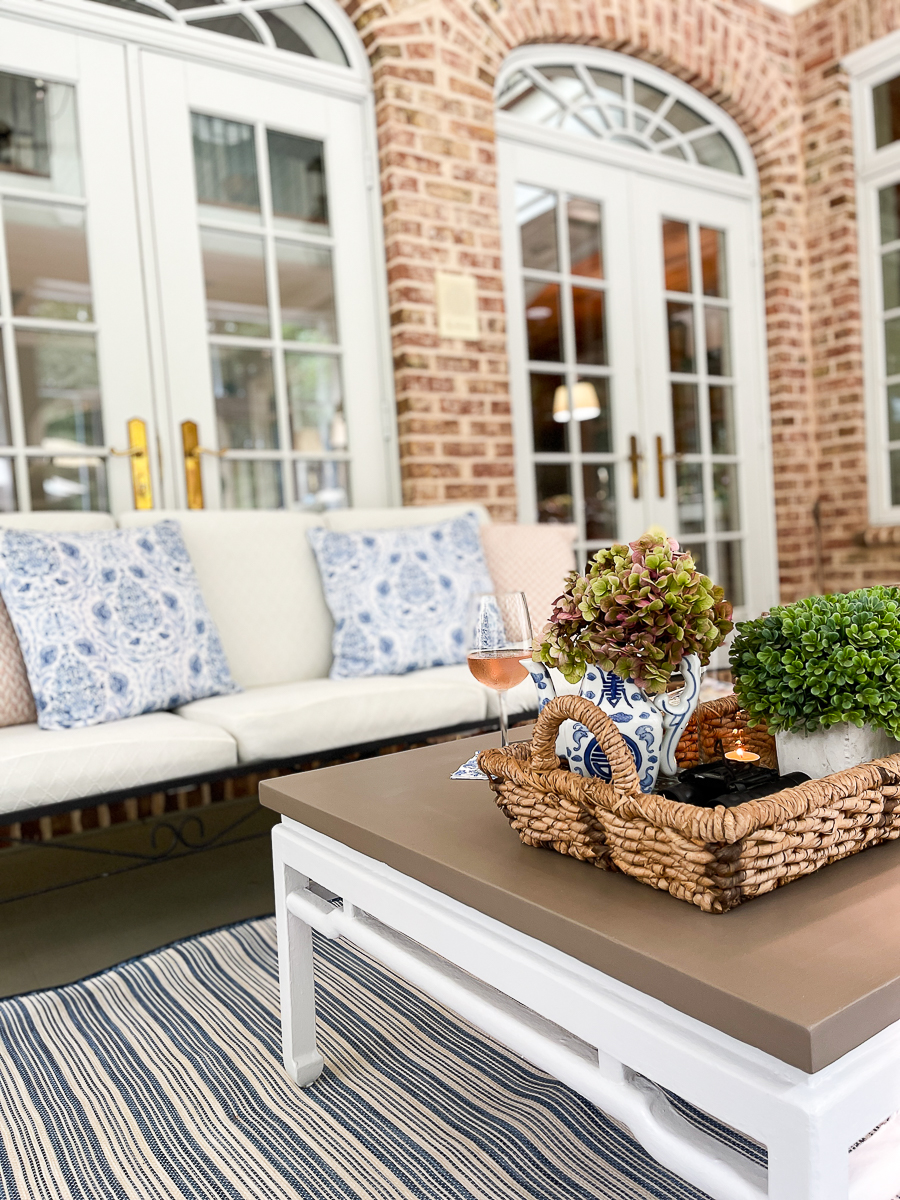
Now, it is ready for many more years of porch use!
Check out these projects!
Large Farmhouse Metal Basket – Domestically Speaking
Boys Rocking Chair – My Repurposed Life
Sand And Seashells Beach Jar Idea – Petticoat Junktion
Outdoor Coffee Table Makeover – Our Southern Home
Boho Chic Jewelry Tray – My Uncommon Slice of Suburbia
Coastal Coasters – Sadie Seasongoods
Upcycled Shutter Angel – House Of Hawthornes
Thrifted Child's Wall Easel To Wall Decor – Organized Clutter
Easy Cake Stand – Reinvented Delaware
Refresh Bathroom Vanity Light – Shop At Blu
Latest from OSH!
- How to Make Piña Coladas in an Ice Cream Maker
- Saturdays on the Porch #86
- Saturdays on the Porch #85
- Easy European Wall Art with Thrift Store Frames
- Piano Bench Makeover with New Color and Fabric


ohhh Christy! I bet there was a point where Ashlyn wished she had never started. At least that’s the way I would have felt….been there done that.
The table turned out beautifully!!!
pinned!
gail
Christy, tell your daughter she did an amazing job stripping those layers off! That task is no joke! Love the fresh new look you both created! Pinned!
WOW Christy this looks like a brand new table, what a beautiful transformation!
So pretty! I always love 2 combo paint projects… so pretty!
Great Job!
Thanks so very much!!
The table looks so good, Christy. I love the combination of stain and white paint. I did a similar redo a few months ago on a smaller table and I’m still loving it. I’m not sure I would have the patience to strip a piece. I just sanded off about 5 layers of paint. Hats off to Ashlyn for a fine job. Great projects from your other team members. I’d love to join sometime!
Thanks so much, Carol! She has gotten pretty good at stripping after doing that large dining room armoire. I’m like you….I wouldn’t have the patience. This just had way too many layers of paint.