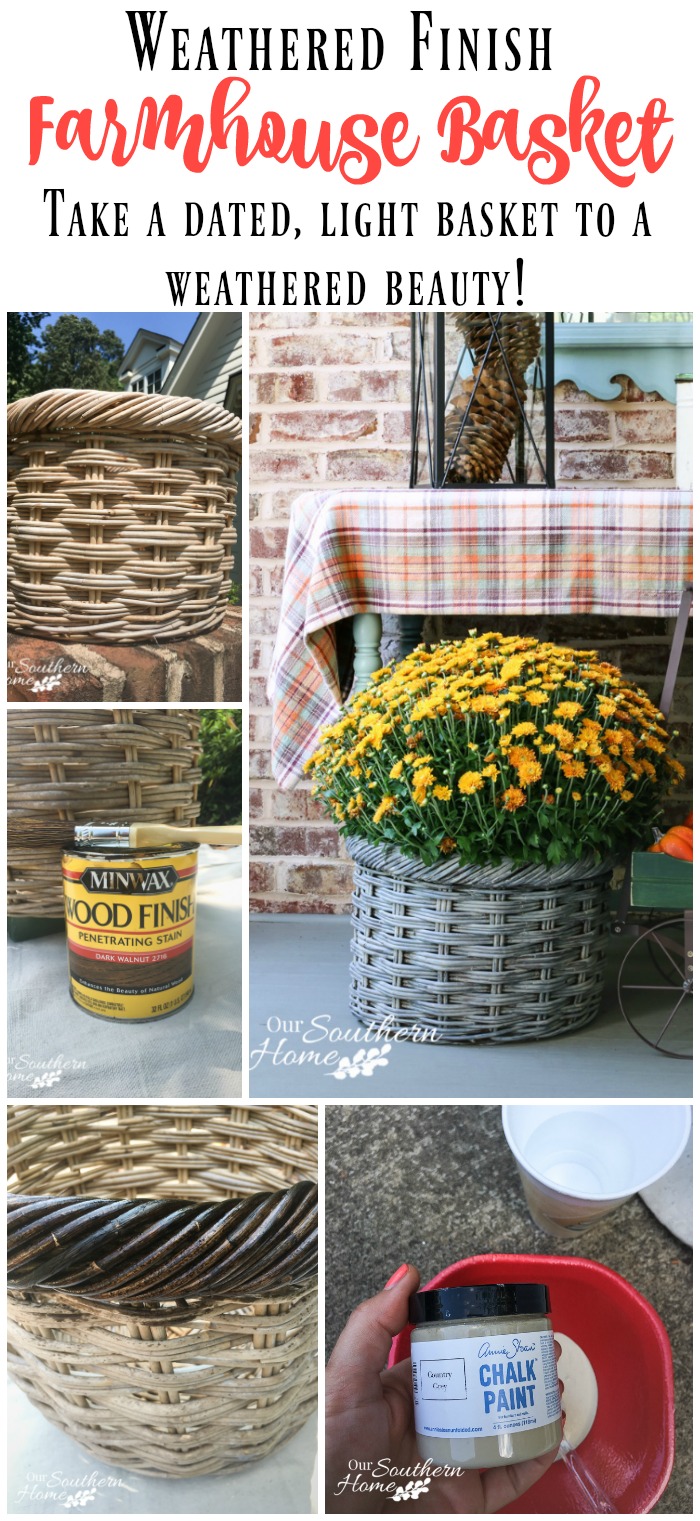
Weathered Farmhouse Basket Makeover
Good morning! Things are all flutter here in the south with pumpkins and such. It may be hot as you know what, but bloggers have to decorate early for the seasons to help share inspiration.
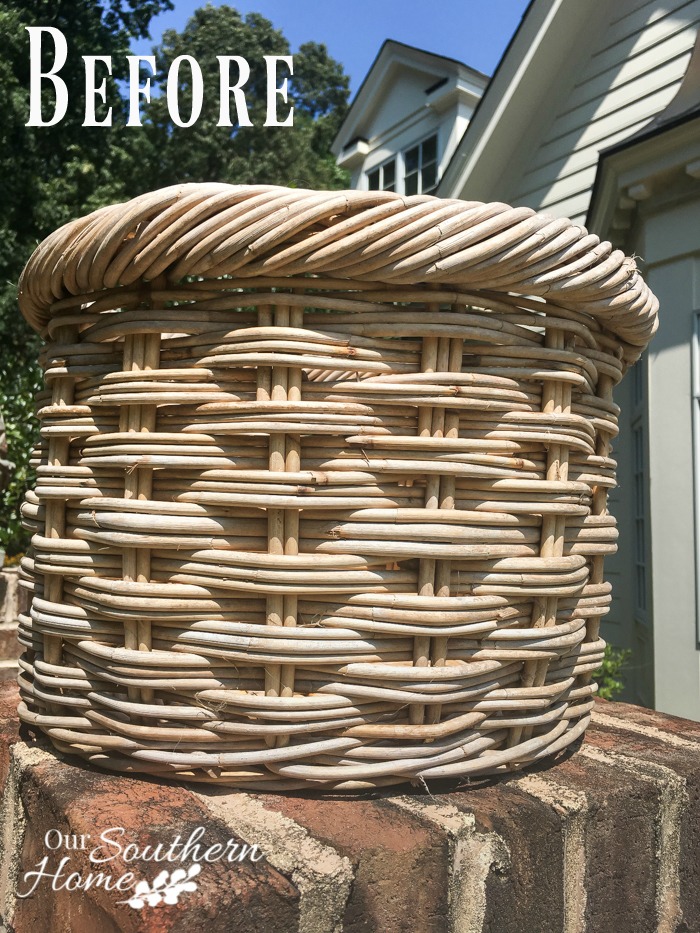
When I came across this thrift store basket for this month's Thrift Store Decor Makeover, I knew I had to have it.

The color wasn't ideal and it was a little lopsided, but a great shape for logs or plants. My project this month is this…..
Weathered Farmhouse Basket Makeover
I dusted the basket really well with a vacuum attachment and cleaned it slightly with a wet rag.
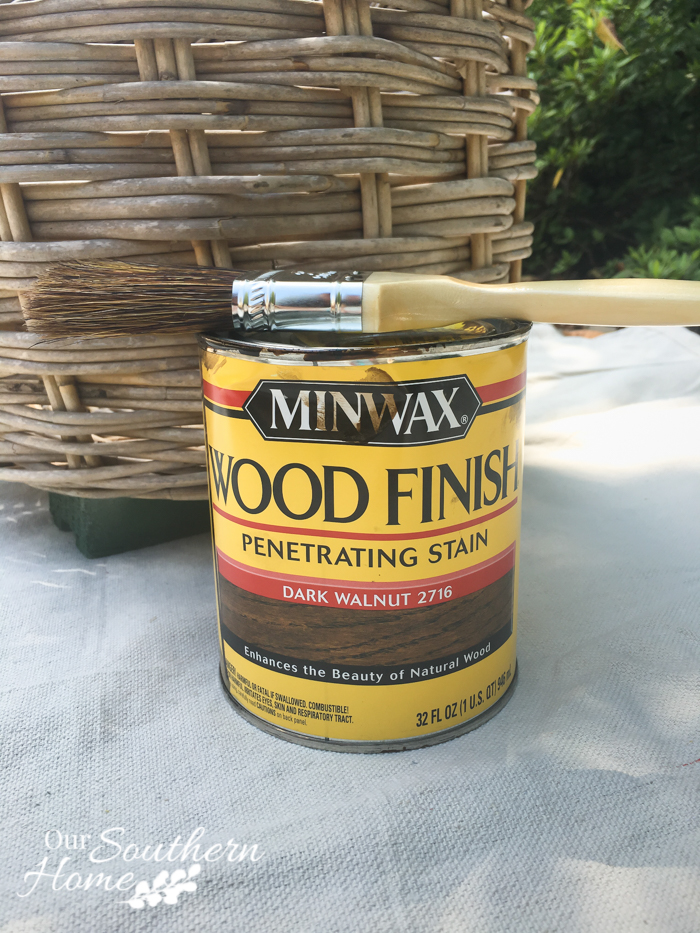
Brush over the basket with a stain of your choice. Really blot your brush so it's not totally saturated with stain . You don't want unnecessary drips. I allowed this to dry most of the day.
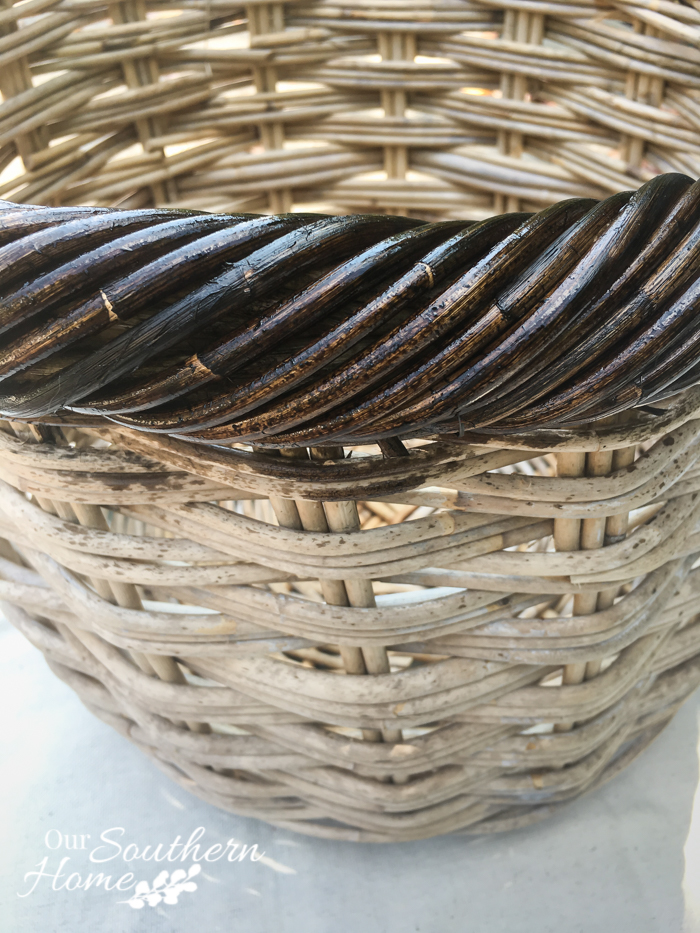
What a difference!
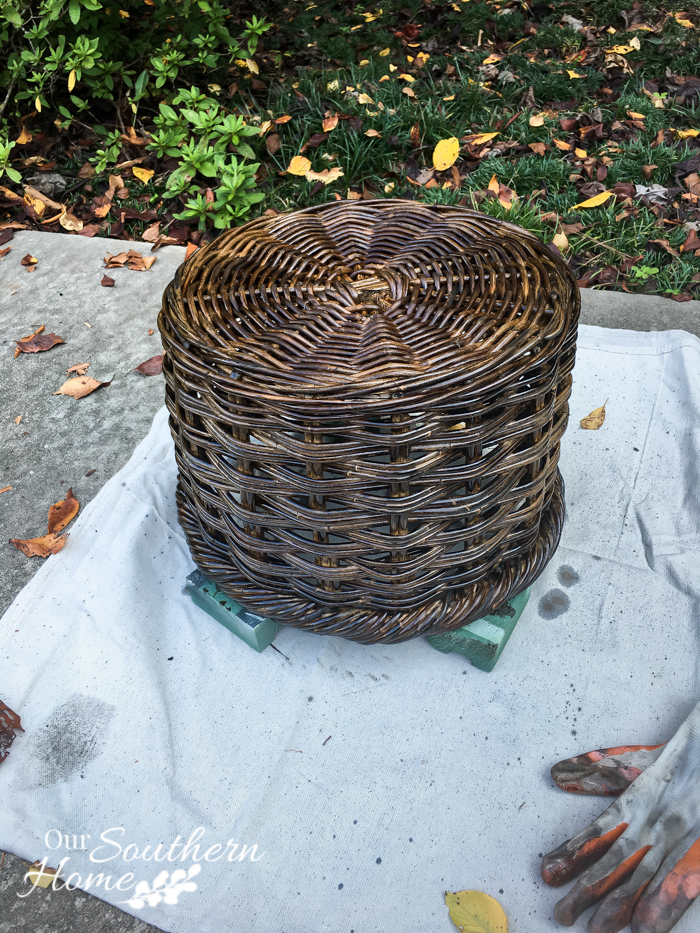
You could certainly leave it like this, but I really wanted an old, weathered look.
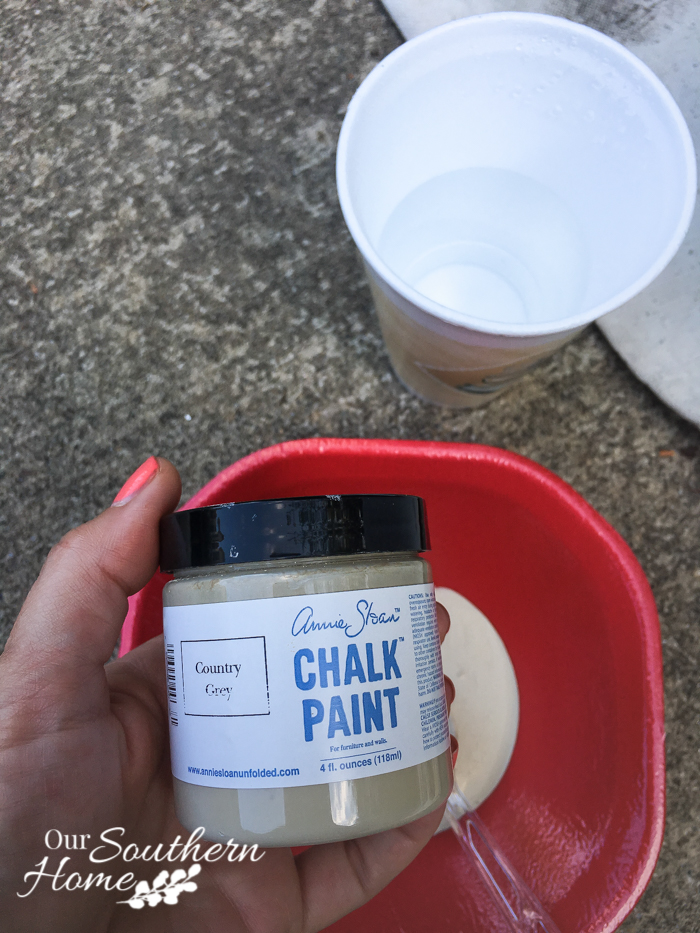
I picked this cross between a gray and a cream that I already had. I am all about using what I already have for small projects like this.
This part is very important to achieve this look! {affiliate links included)
- Pour about a teaspoon of paint
 into a throw away bowl.
 - Add water and stir with a plastic spoon.
- Add more water if you need it. You want it to be the consistency of skim milk.
- It will be very thin and watery.
- Brush it on right over the top of the stain. Immediately wipe it off until you get the desired coloring.
- Let dry and seal with a spray poly.
 into a throw away bowl.
  .
.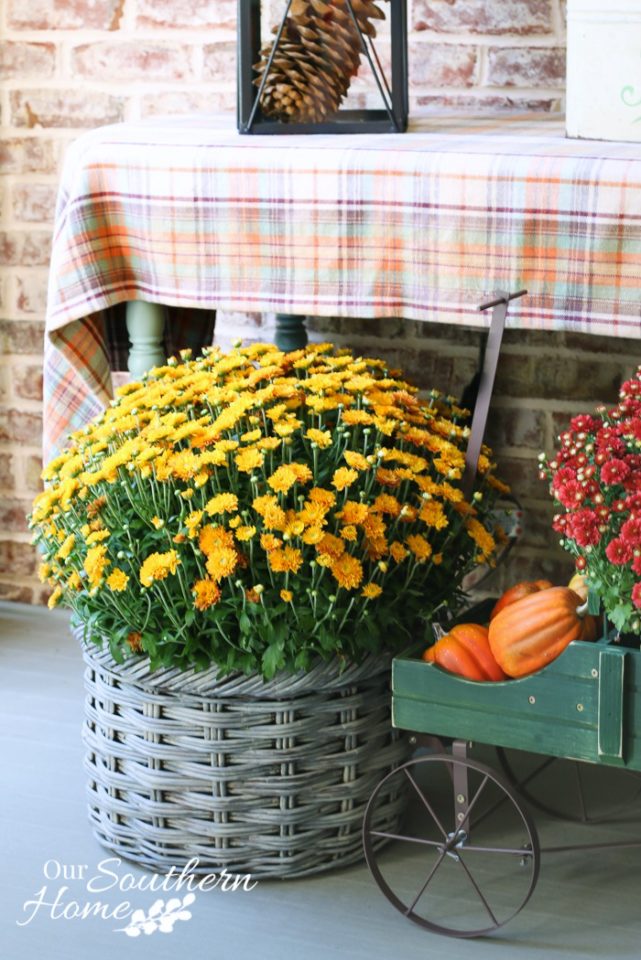
I love the weathered gray look that it has now. Big change from the before.
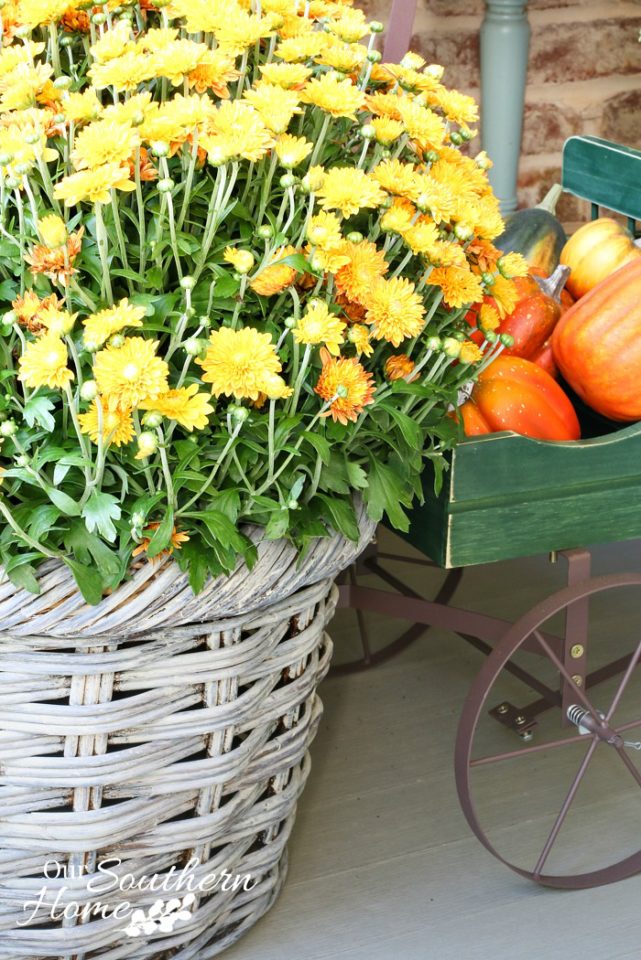
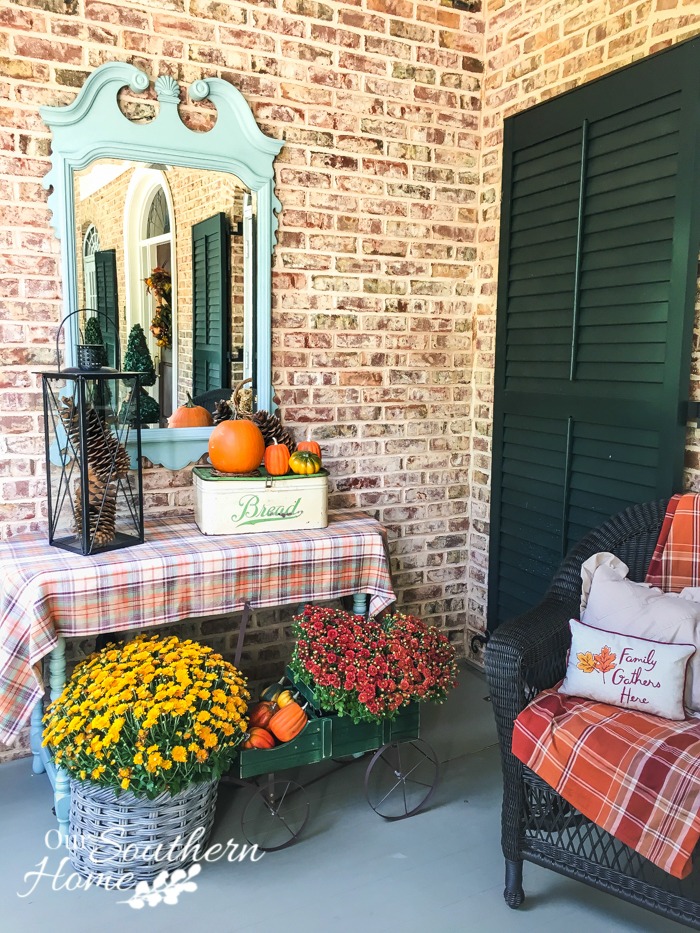
It's the perfect addition to this year's fall porch. You can see all of the porch in this Friday's tour!Here is the source for the (affiliate link) little wagon .
.

Now let's see what my girlfriends have for us today!
Scarf Wreath from Petticoat Junktion
Weathered Farmhouse Basket from Our Southern Home
Giant Whip from Bliss Ranch
Artwork into Chalkboard from My Repurposed Life
Custom Wood Sign from My Uncommon Slice of Suburbia
Home Stories A to Z Not Just a Housewife Kammy’s Korner The Happy HousieDesign Dining and Diapers Liz Marie Blog Funky Junk Interiors Savvy Southern StyleTatertotsand Jello DIY Show Off Redoux Interiors Between Naps on the PorchThe DIY DreamerOh My Creative Little Miss Celebration Just a Girl and Her Blog Sand and Sisal InteriorFrugalista House on the Way Addicted 2 DIY I should be Mopping the FloorMiss Mustard Seed Stone Gable- The Scoop Inspire Me Tuesday Feathered Nest Friday Treasure Hunt Thursday Northern Nesting
Buffer

Christy, LOVE this basket and what you did to improve the look. Don’t you love chalk paint?
Cindy
This is super cute Christy, you did such a fabulous job!
Thanks, Krisitn! 🙂
wow, love how it turned out. this is such a better idea of aging a basket than what I tried before. I love that you made it dark to start and then lightened it up. I did the opposite and had to put on many coats. I’m using your idea on my next try.
Thank you so much! I love staining first and then lightening. I do that a lot when I make signs. Good luck and thanks for visiting!
Christy,
I liked it stained, but oh my gosh–I love the weathered look of the basket in the end!
Baskets are so darn cheap and plentiful at the thrift store. I think I may have to pick some up and do this for my fall craft show.
gail
Thanks so much! Baskets can be that gem in the thrift store. I always check them out!
Wait a minute!!!! All you did was use wood stain and brush paint to get that look? Boy do I have a bunch of baskets heading for a redo!
Yep! After you brush on the paint, wipe it off until you get the desired color!