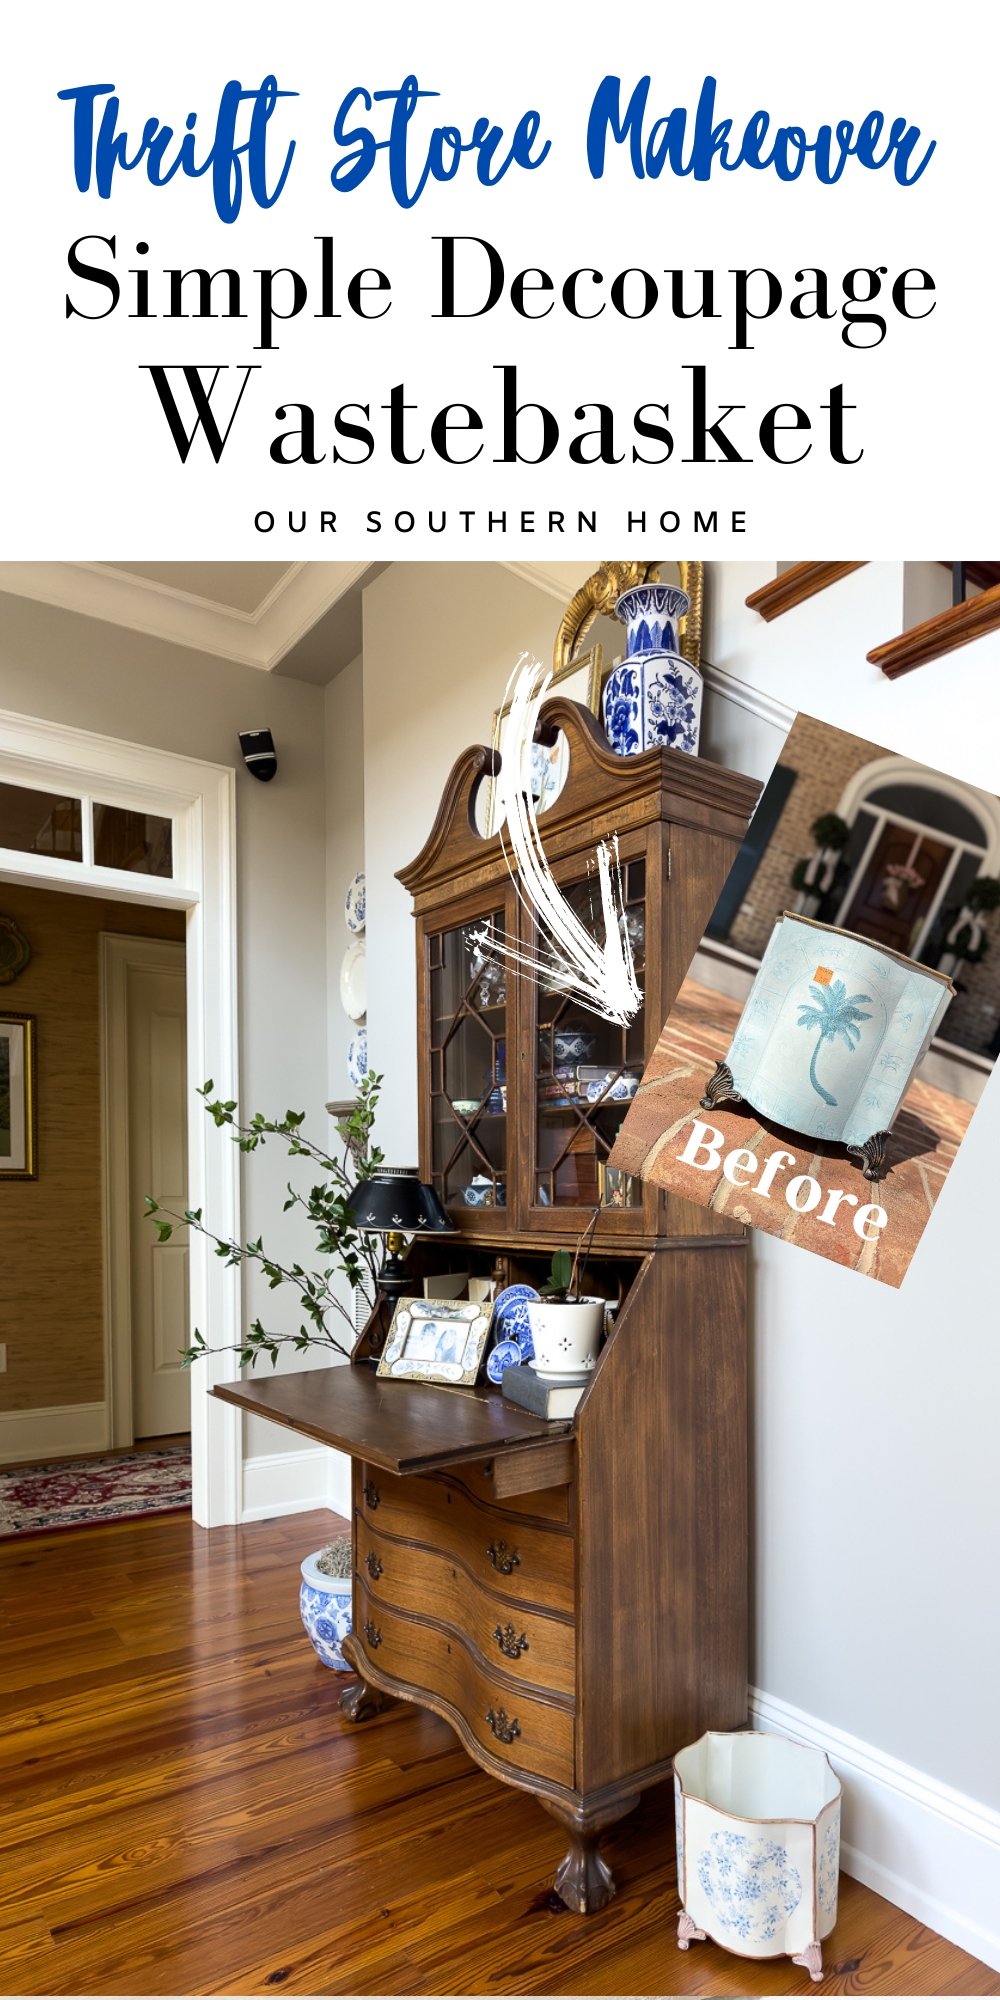
DIY Thrift Store Decoupage Wastebasket Makeover
DIY thrift store decoupage wastebasket makeover using blue floral paper cocktail napkins for a classic chinoiserie look.

Latest from OSH
- How to Make Piña Coladas in an Ice Cream Maker
- Saturdays on the Porch #86
- Saturdays on the Porch #85
- Easy European Wall Art with Thrift Store Frames
- Piano Bench Makeover with New Color and Fabric
This post may contain affiliate links. If you purchase something using one of my links, I may earn a small commission from the retailer costing you nothing more. You can read more on my disclosure page. Christy Little of Our Southern Home is a participant in the Amazon Services LLC Associates Program, an affiliate advertising program designed to provide a means for sites to earn advertising fees by advertising and linking to amazon.com.
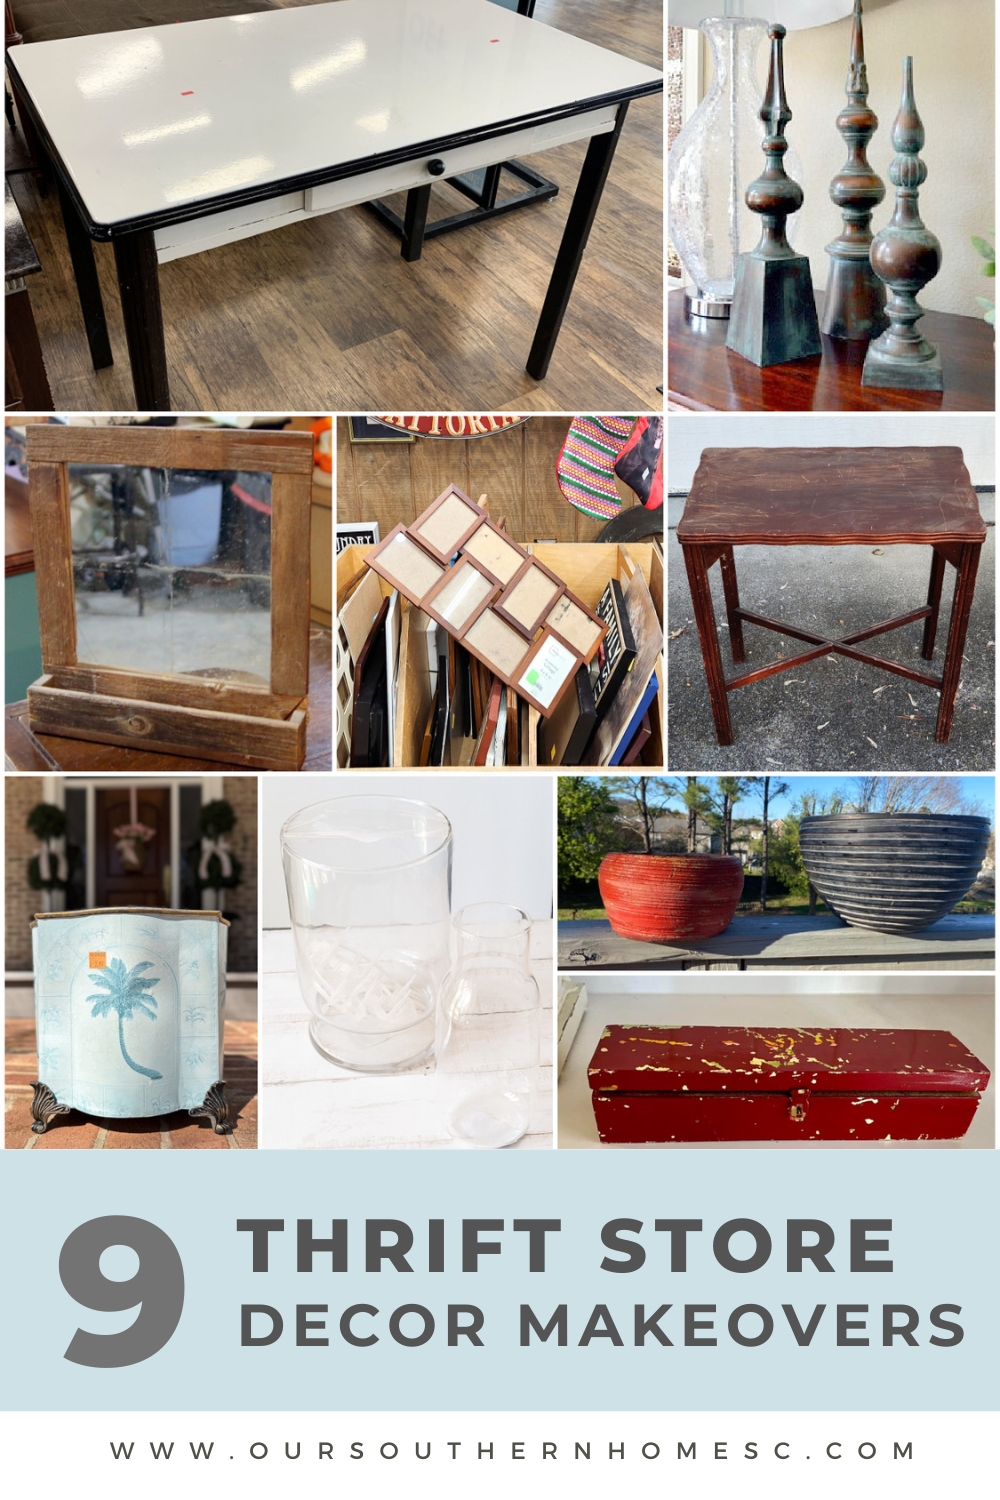
Thrift Store Makeover Day

Join us each month for NEW thrifty ideas from the team. You'll find links to all of the projects below.
Use the slider below to see the before and after!


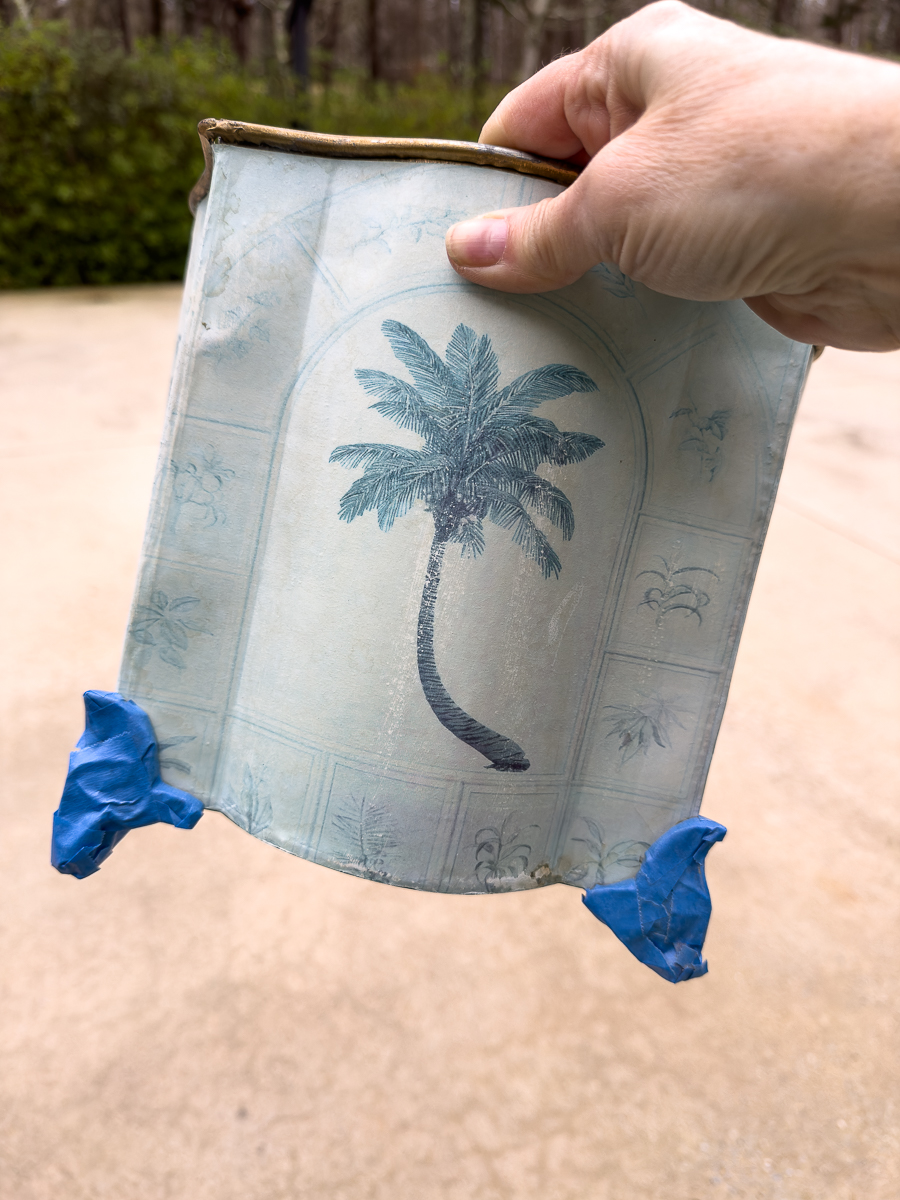
The Before
This wastebasket was only $2.99. I loved the classic shape and lines of the metal can. It was decoupaged before in a print that didn't work with the style of the can. I have a bit of an obsession with cocktail napkins. I've added favorites to my entertaining tab on my Amazon Storefront. You can see them HERE.
Supplies Used
- wastebasket
- Mod Podge
- gold paint
- spray primer
- spray paint
- spray paint nozzle
- painter's tape
- drop cloth
- paper napkins
- craft scissors
- small plastic paint bucket
- small trash can liners
- plate and pencil
- iron and parchment paper
- matte spray sealer
How-To
The first thing to do after cleaning is to tape the feet with painter's tape in preparation for spray paint.
Prime the wastebasket with primer.
I didn't have any on hand, but used a gray spray paint to cover over the old palm print.
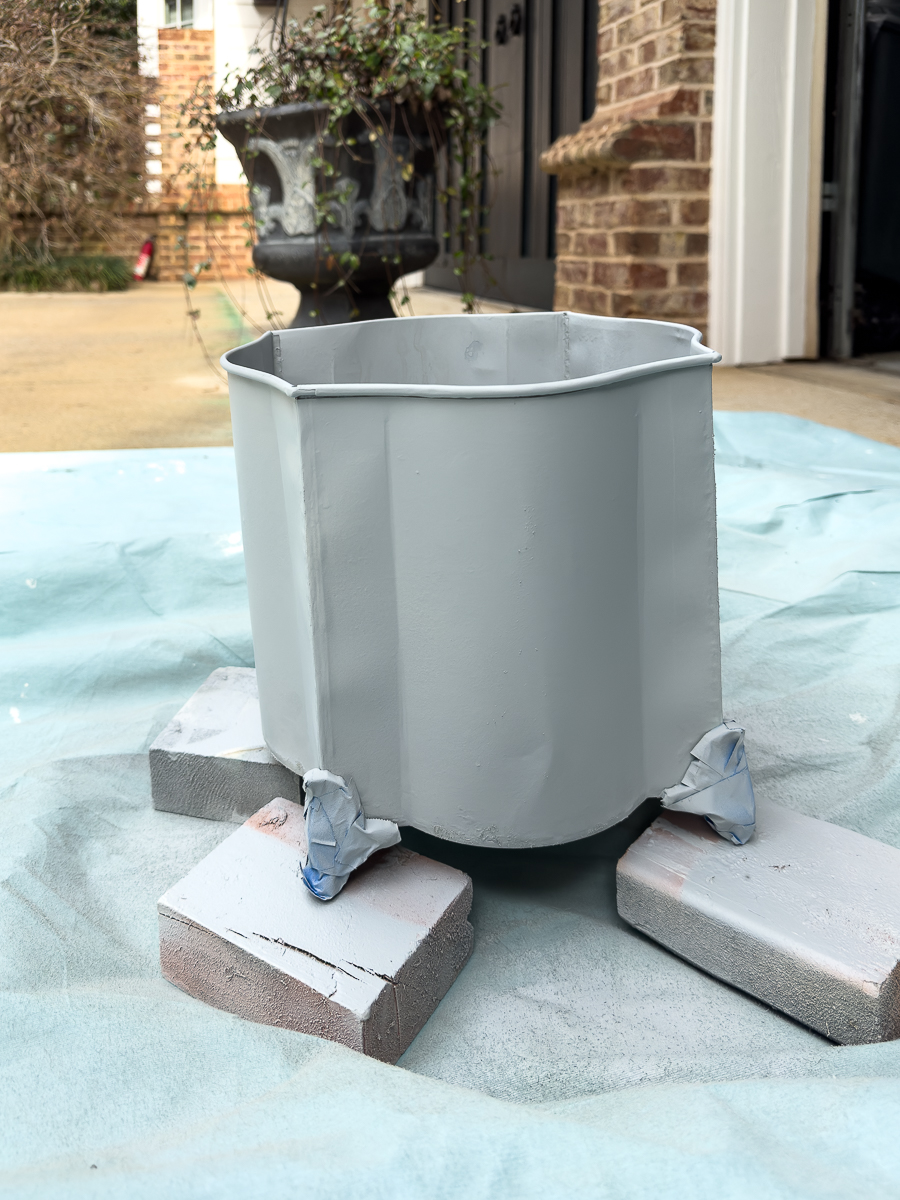
I lightly sanded a few areas before I did my final coats of the final paint color.
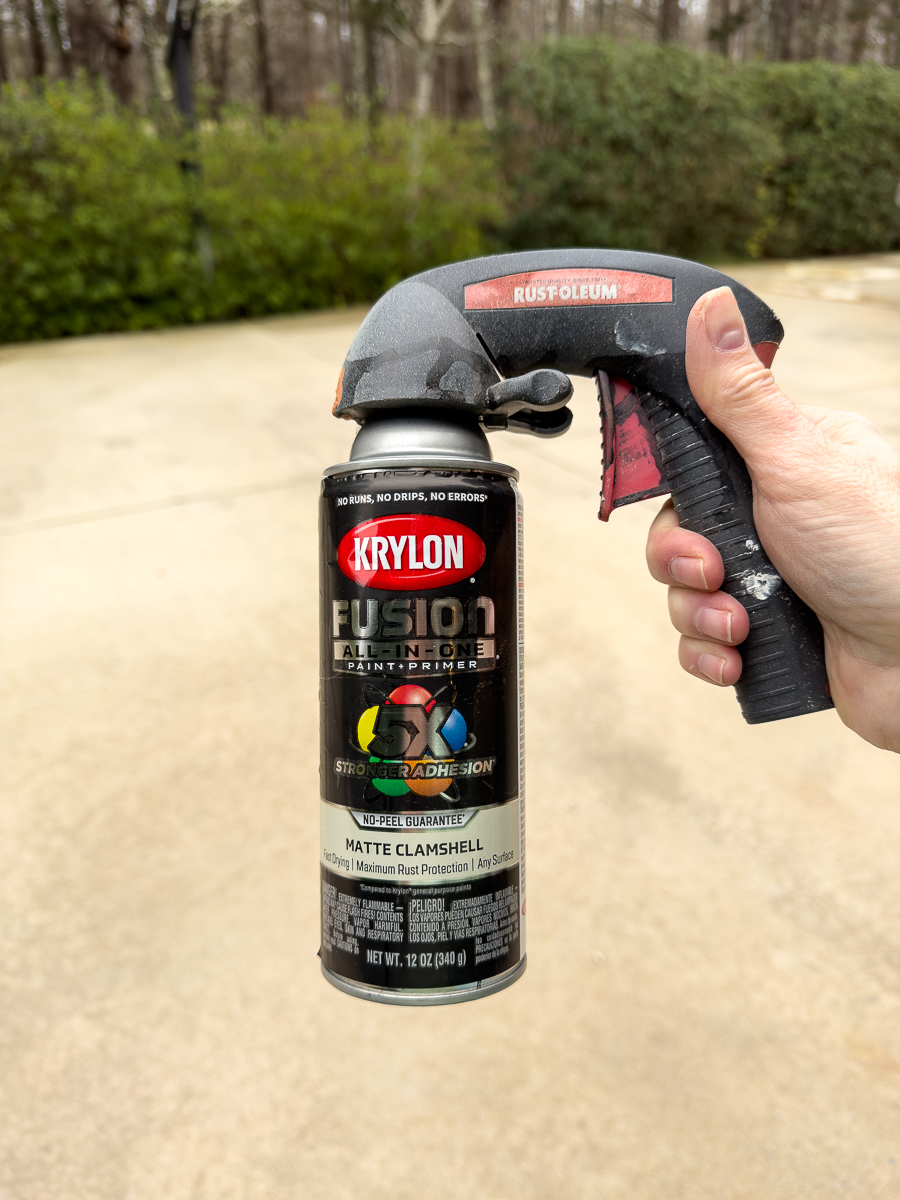
This clamshell color was a pretty compliment to the napkins that I had on hand.
I sprayed 3 coats.
Once it is dry, remove the tape on the feet.
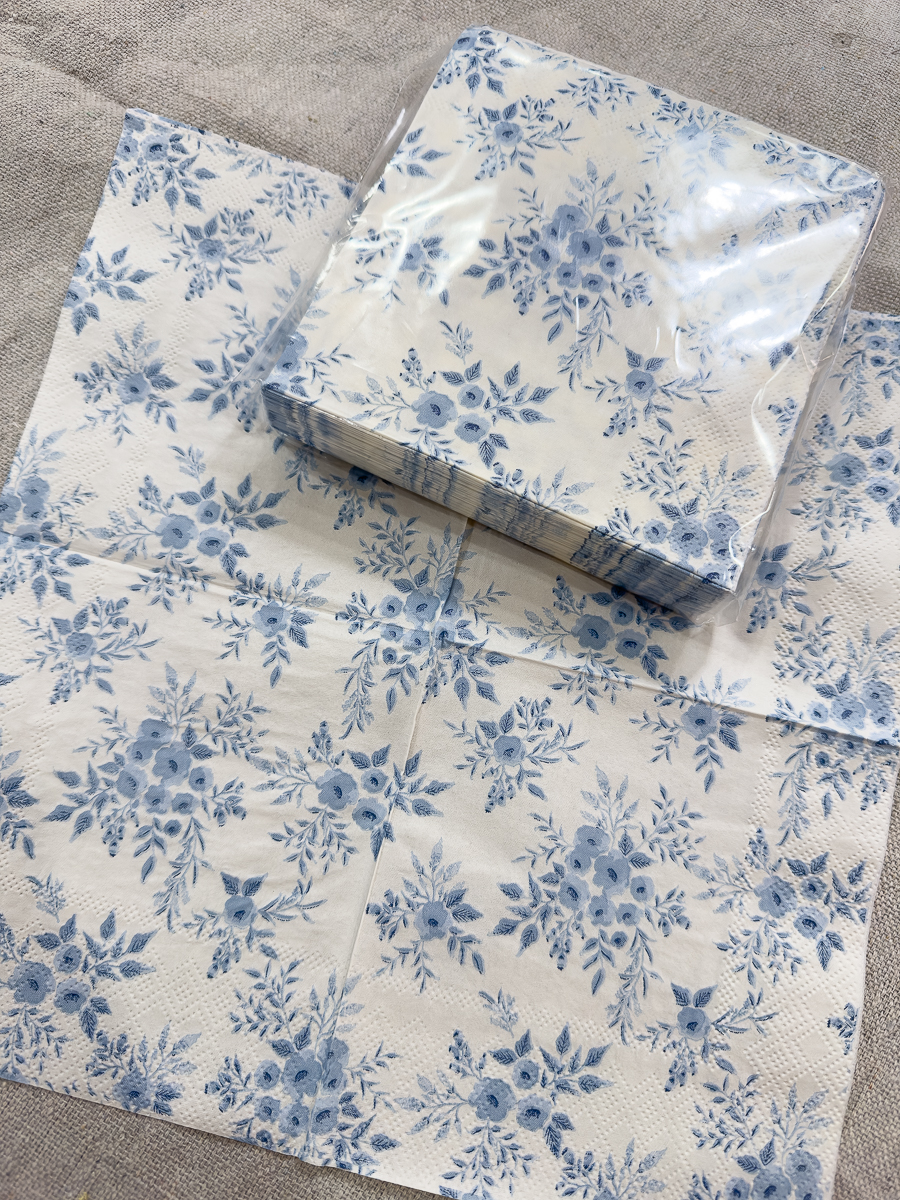
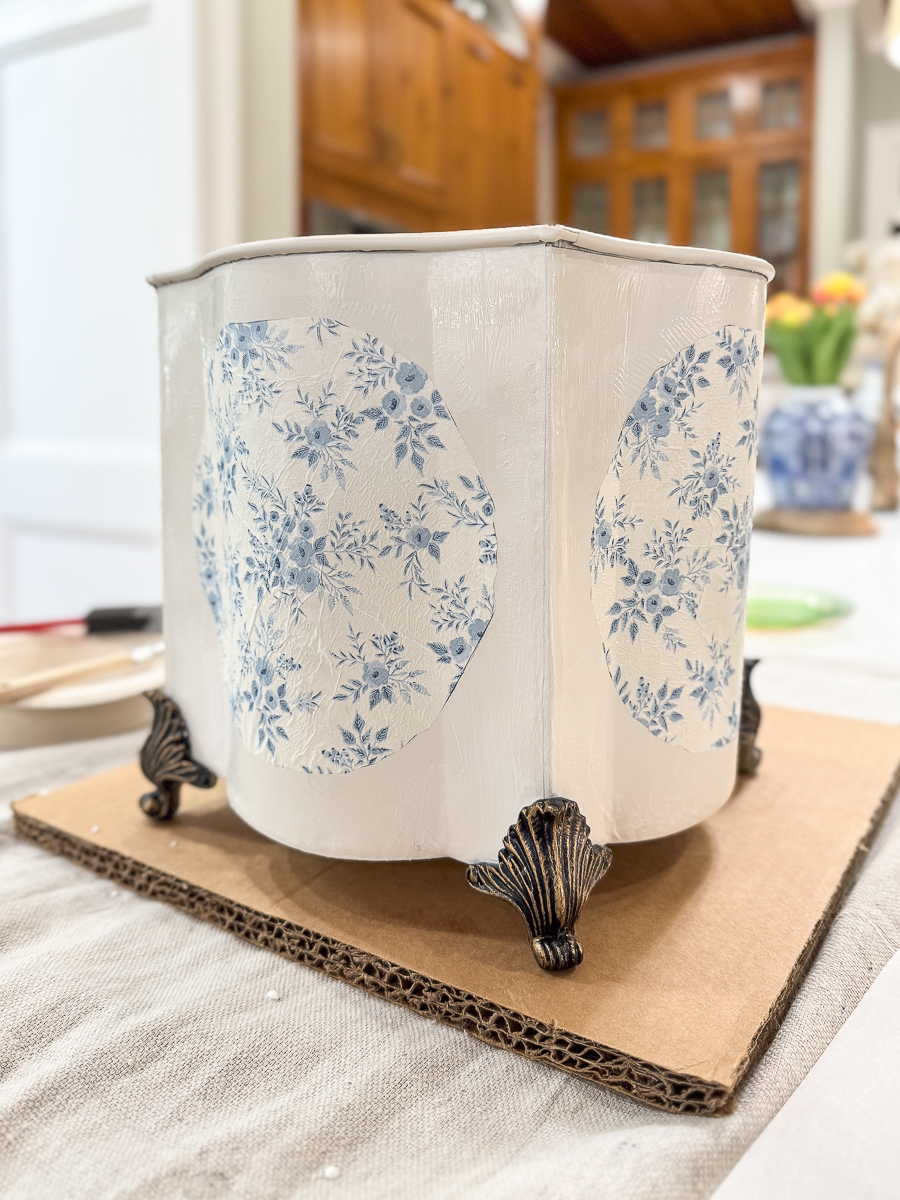
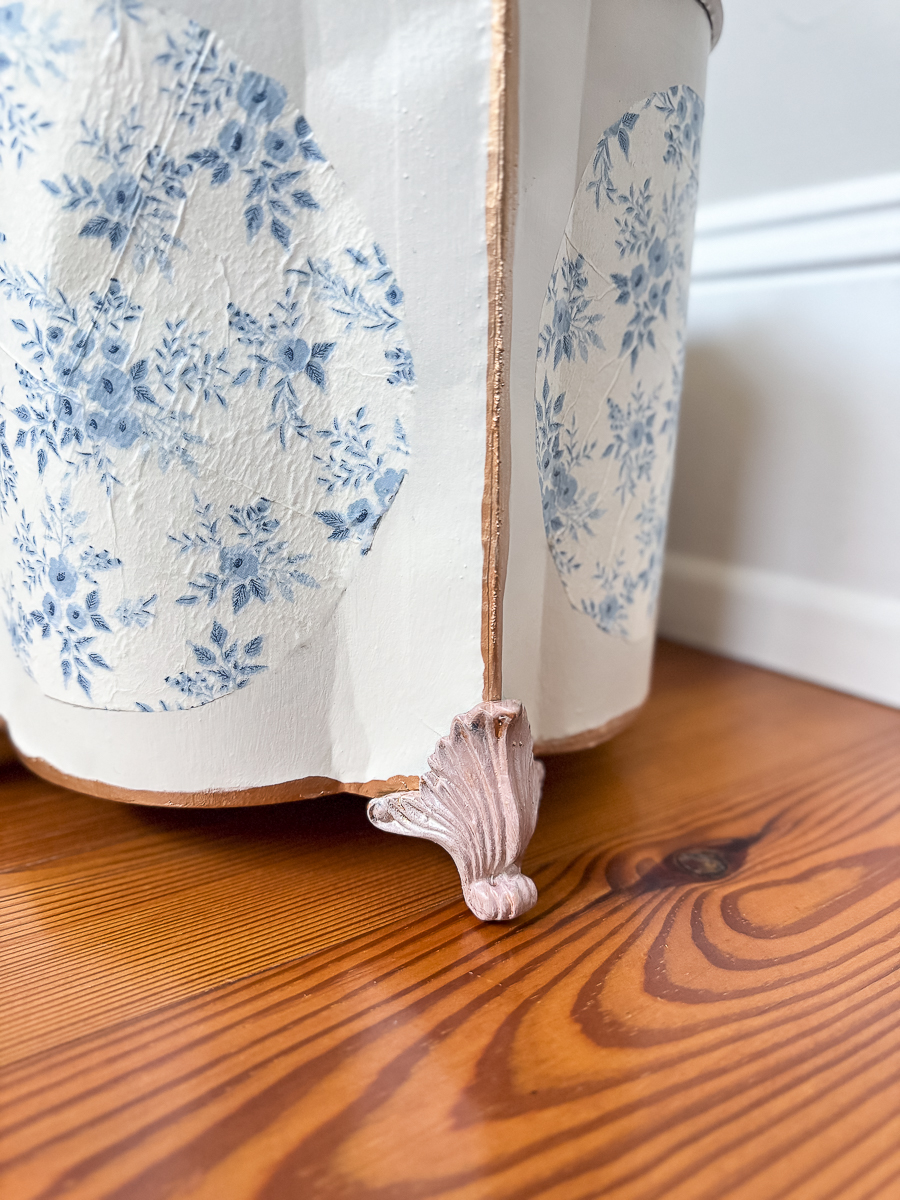
The napkins are a pretty blue and white pattern and work well with my chinoiserie pieces.
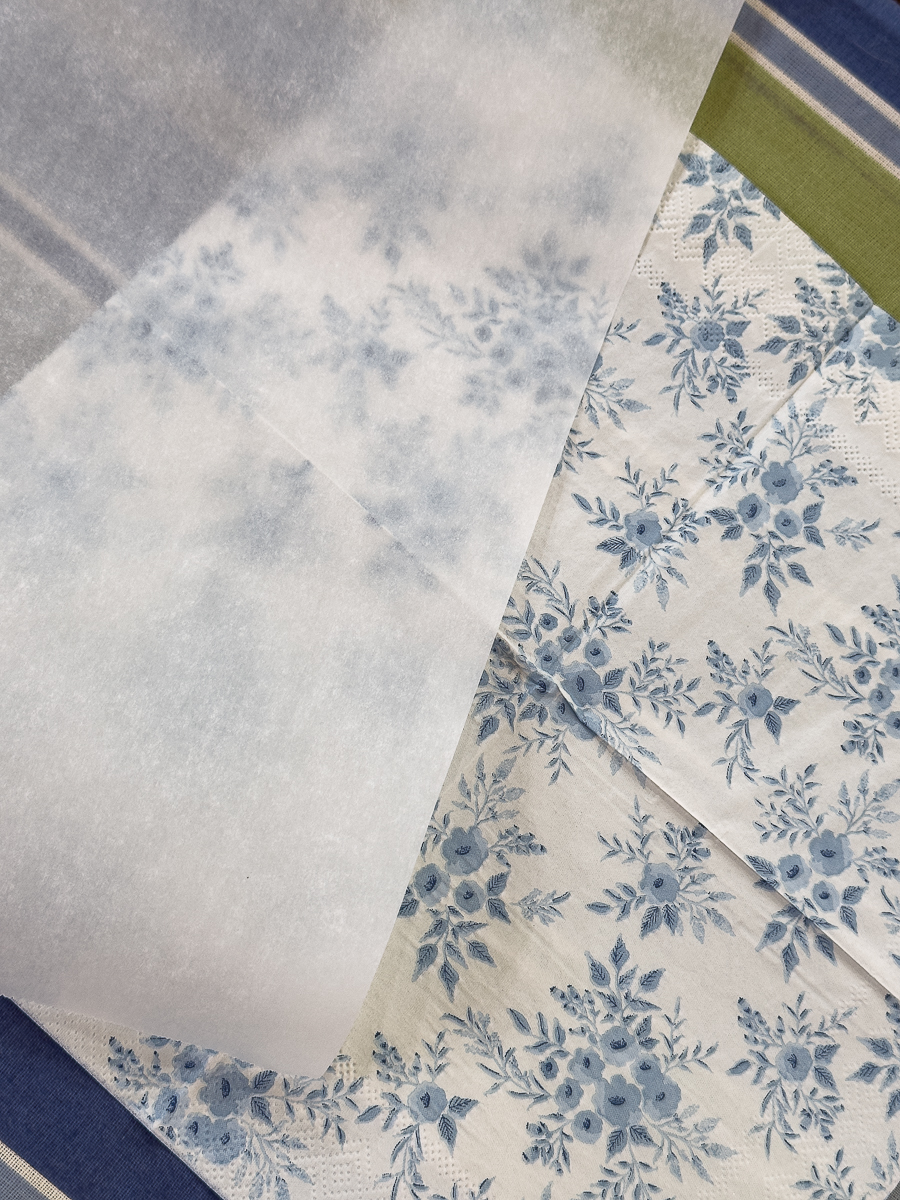
I wanted to remove the fold lines in the napkins
I placed a piece of parchment paper over it and ironed it with no steam.
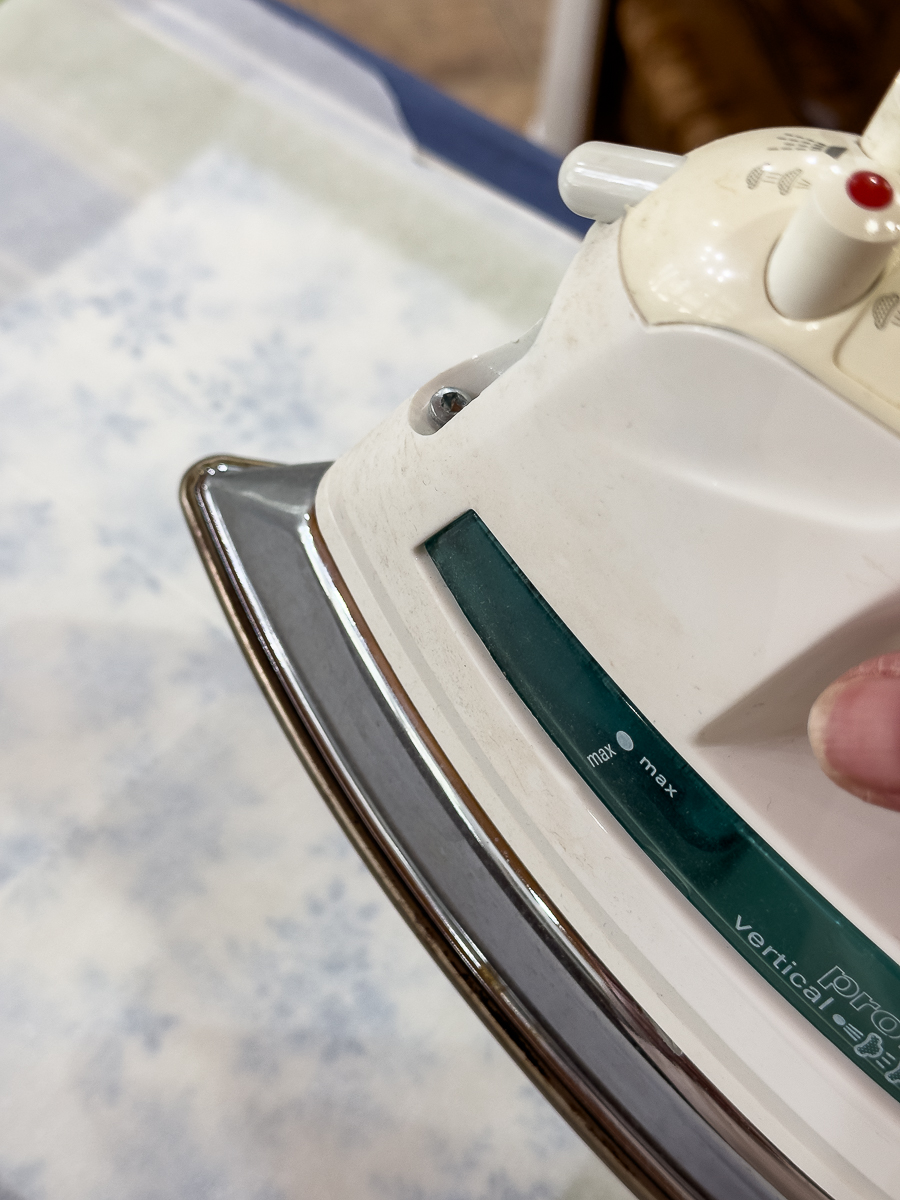
While the lines were not completely removed, it did help.
I debated several ways to decoupage the panels of the wastebasket.
At first, I thought I'd completely decoupage each side panel.
Then I thought I'd cut out individual flowers.
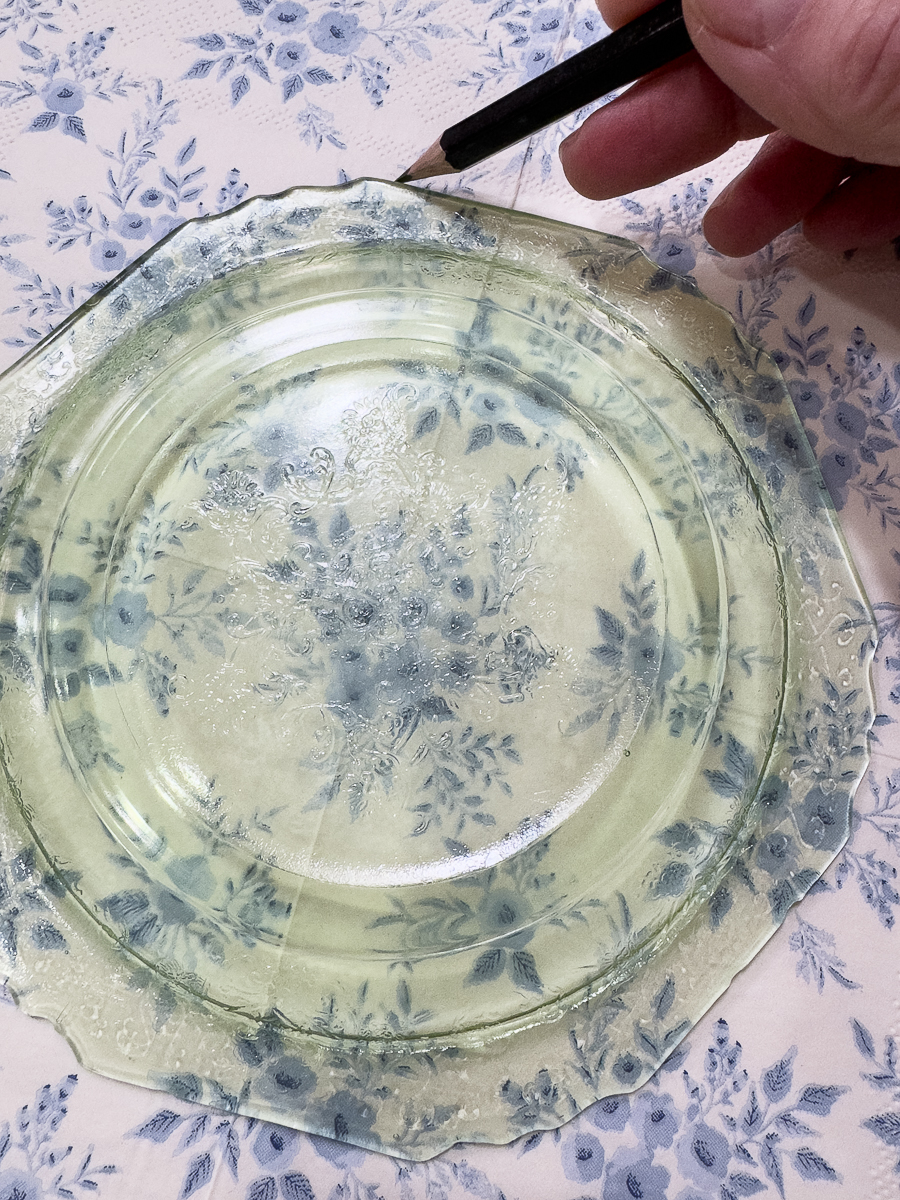
I then went easiest and used a clear plate to cut out a pattern for the center of each panel.
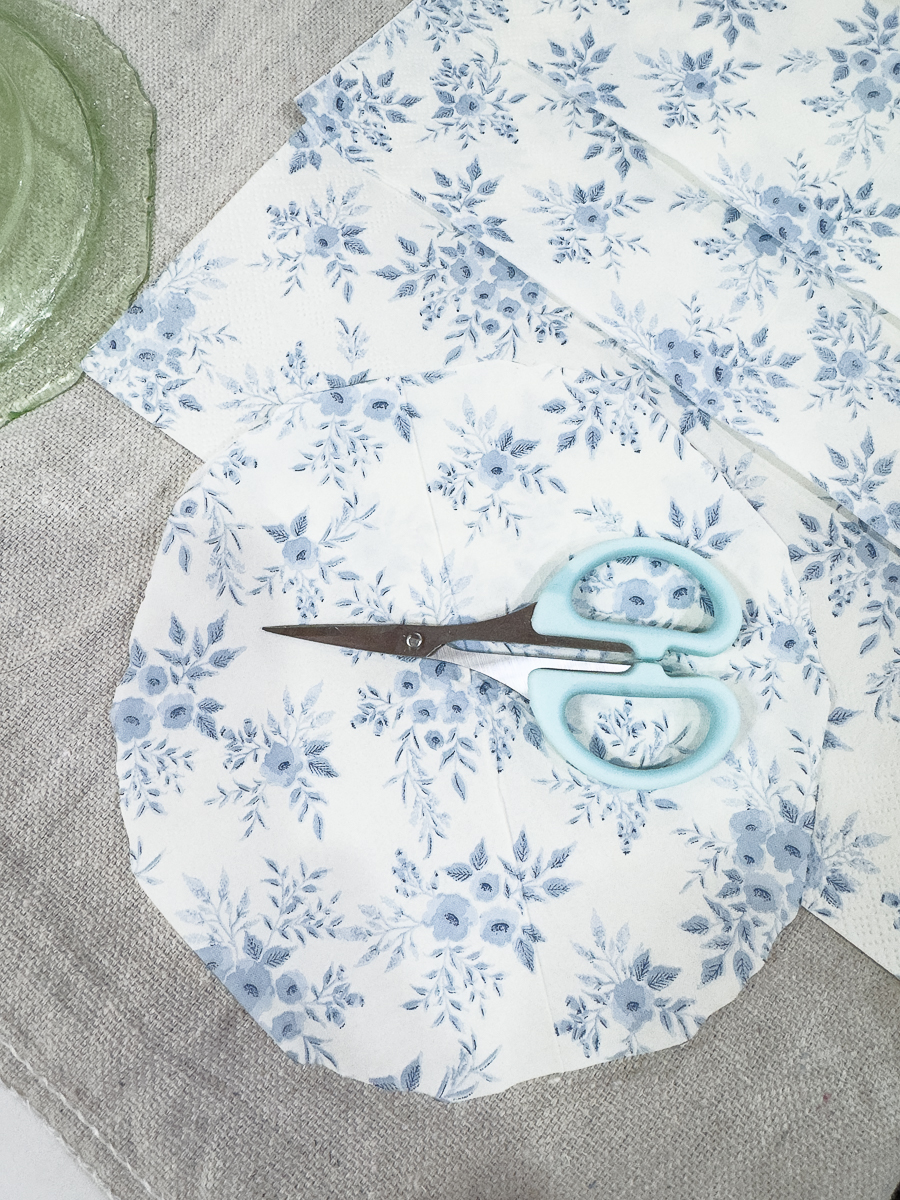
Use some sharp pointy craft scissors.
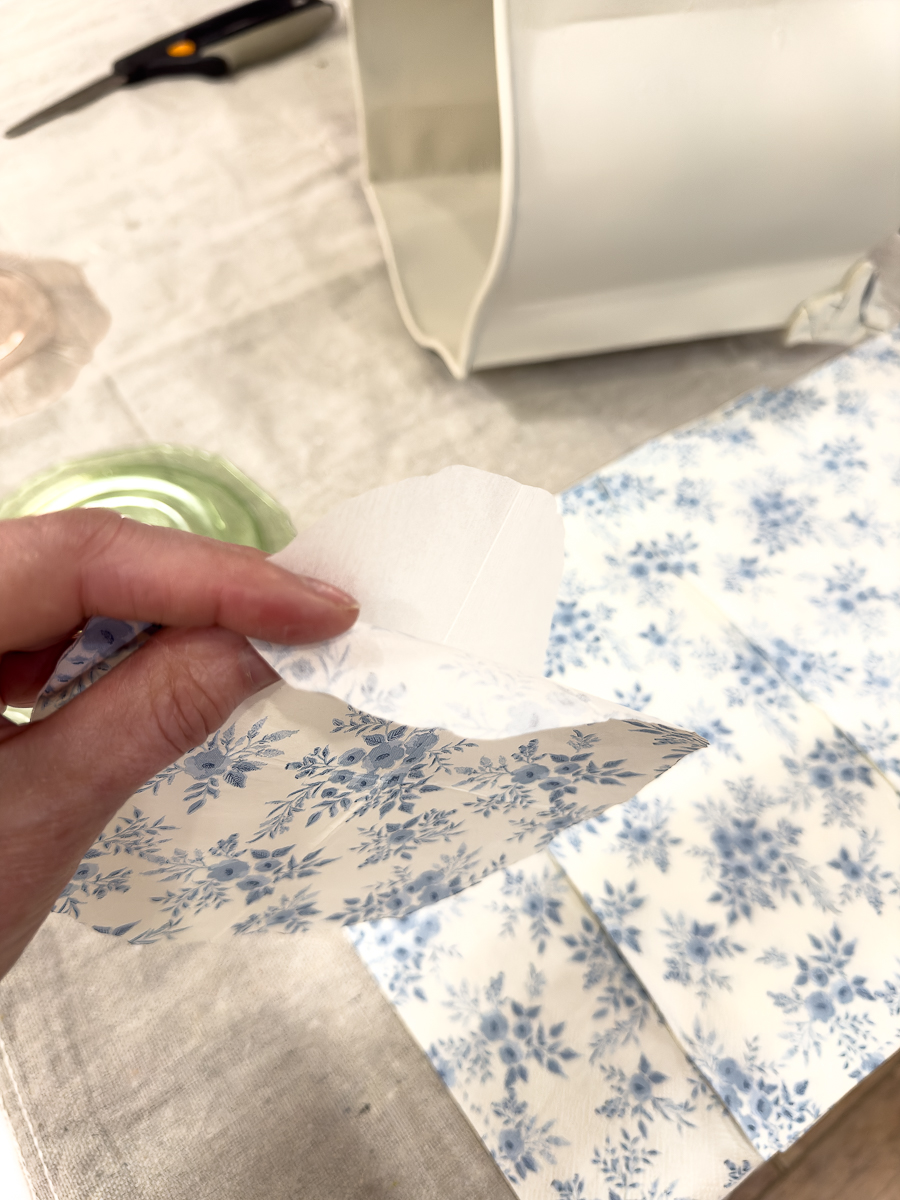
This part is very important. Your paper napkin is either 2 or 3-ply. You must separate the floral pattern from the back layers. You only want to use the top decorative part when decoupaging.
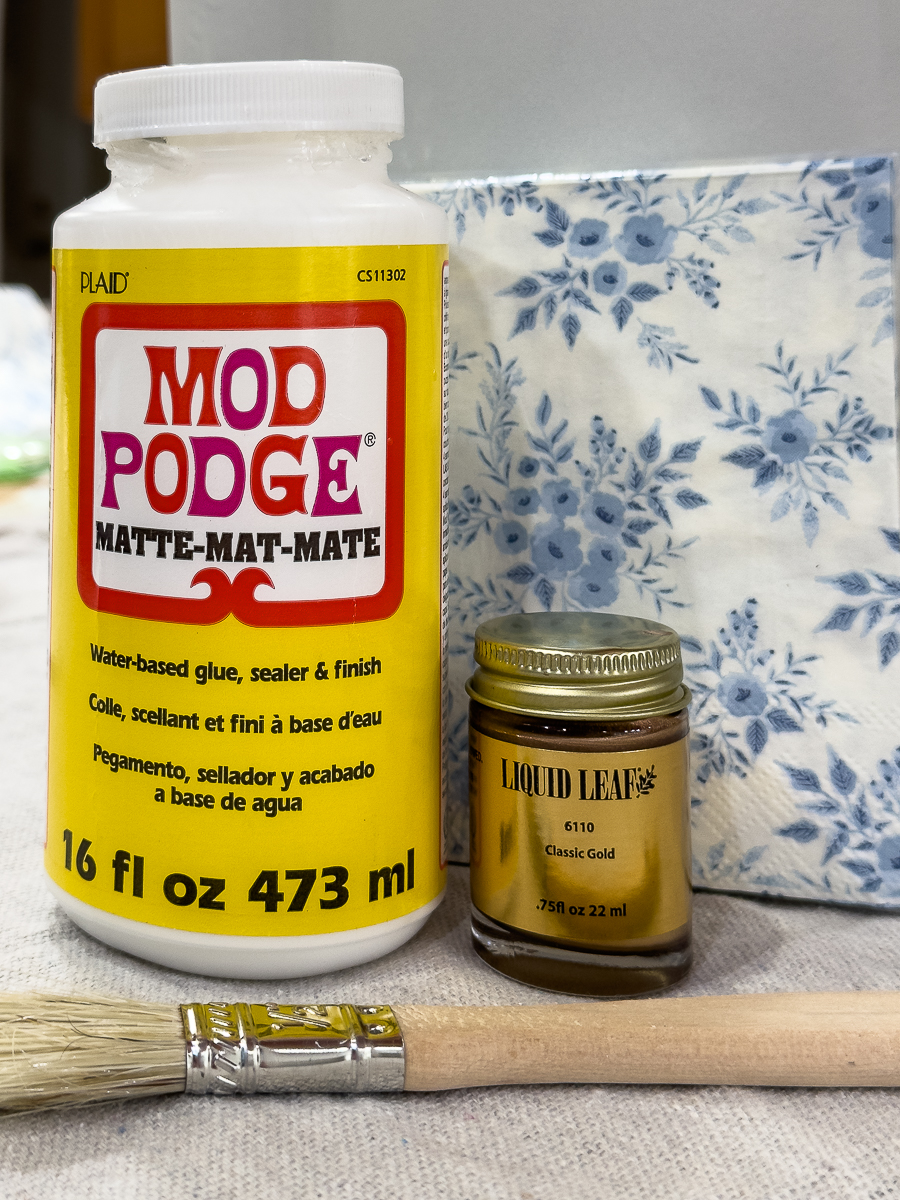
These are the main supplies for the next steps.
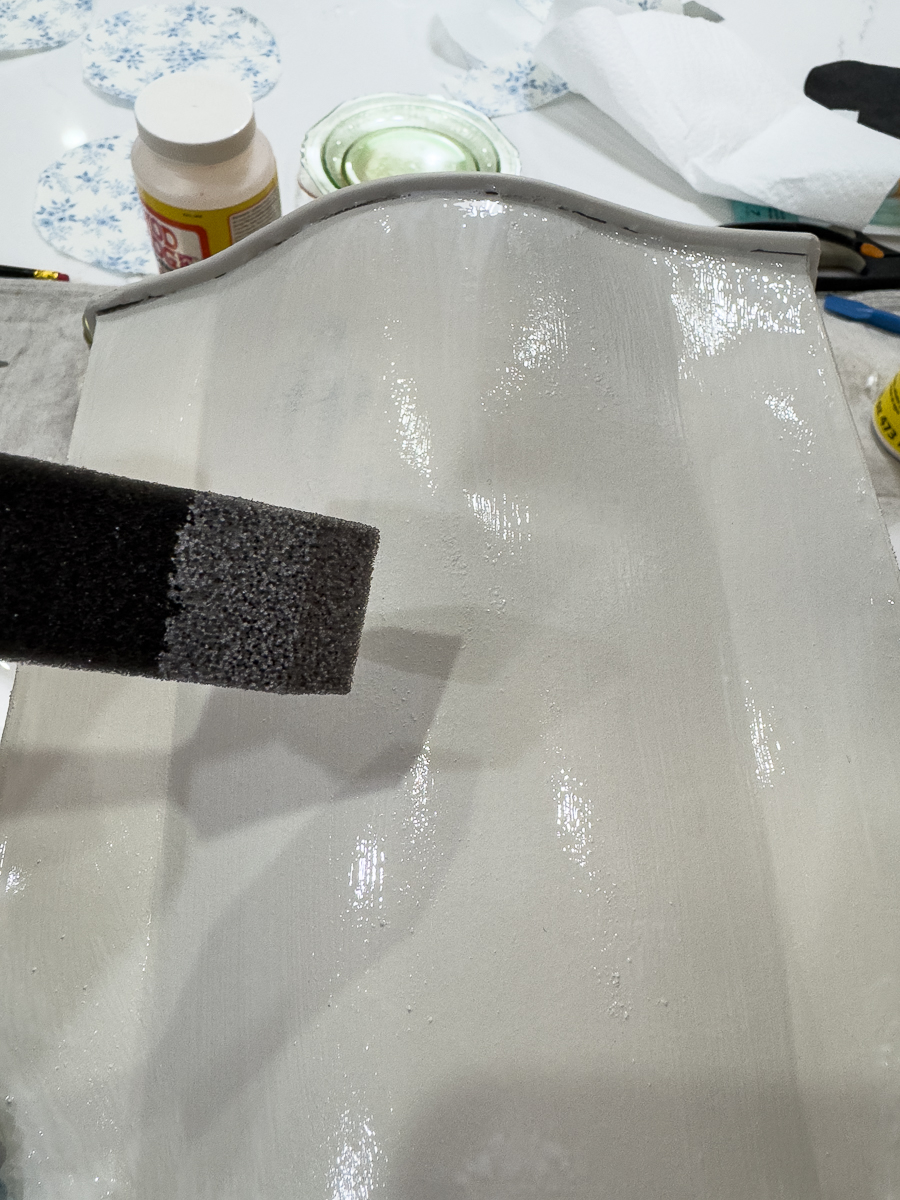
Apply a thin coat of Mod Podge on a panel. Do only 1 panel at a time.
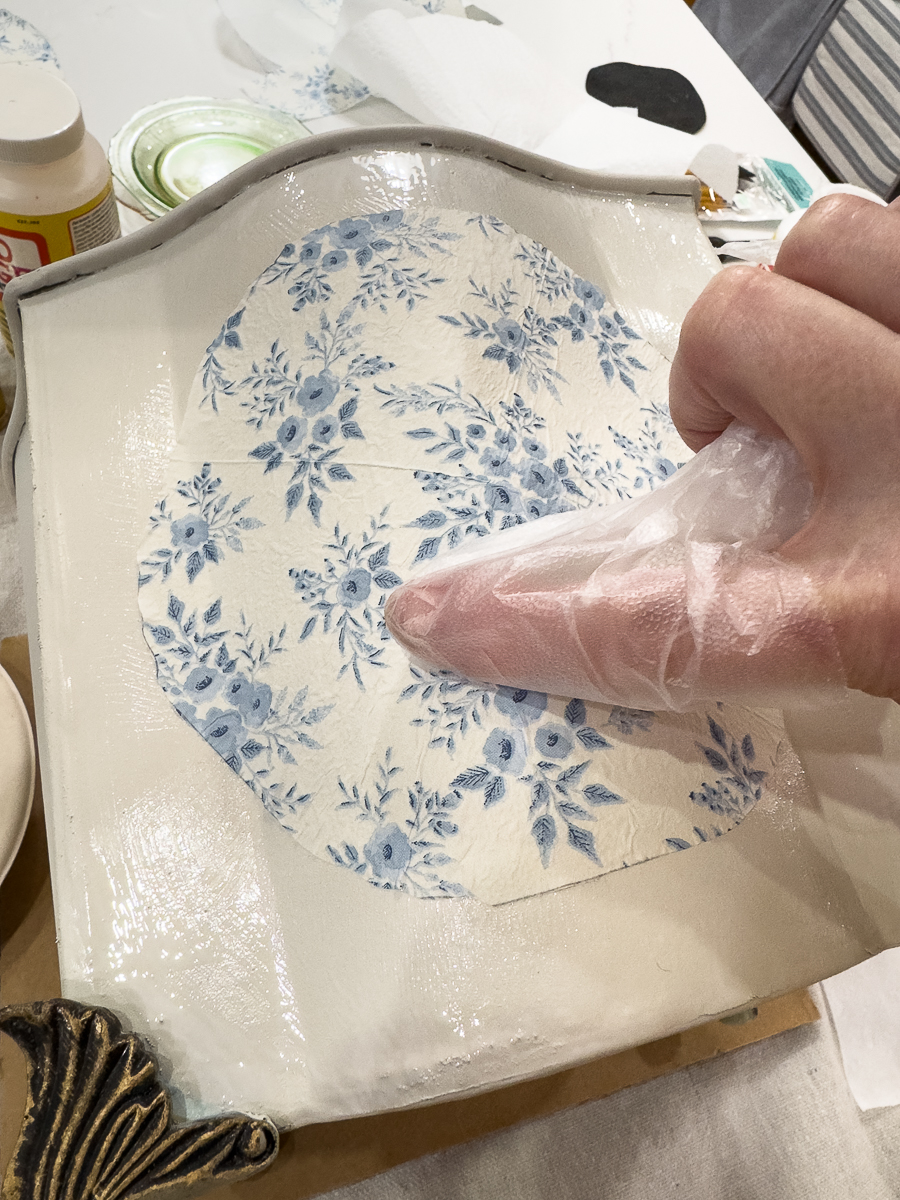
Working with napkins can be a bit difficult for larger projects. The paper is fragile. I put a piece of Press and Seal on my finger and used it to smooth the napkin down. This was very helpful. You do not want to over-manipulate the napkin.
Do this with each panel. Let it dry completely even overnight. Apply 1-2 more coats of Mod Podge on top to seal.
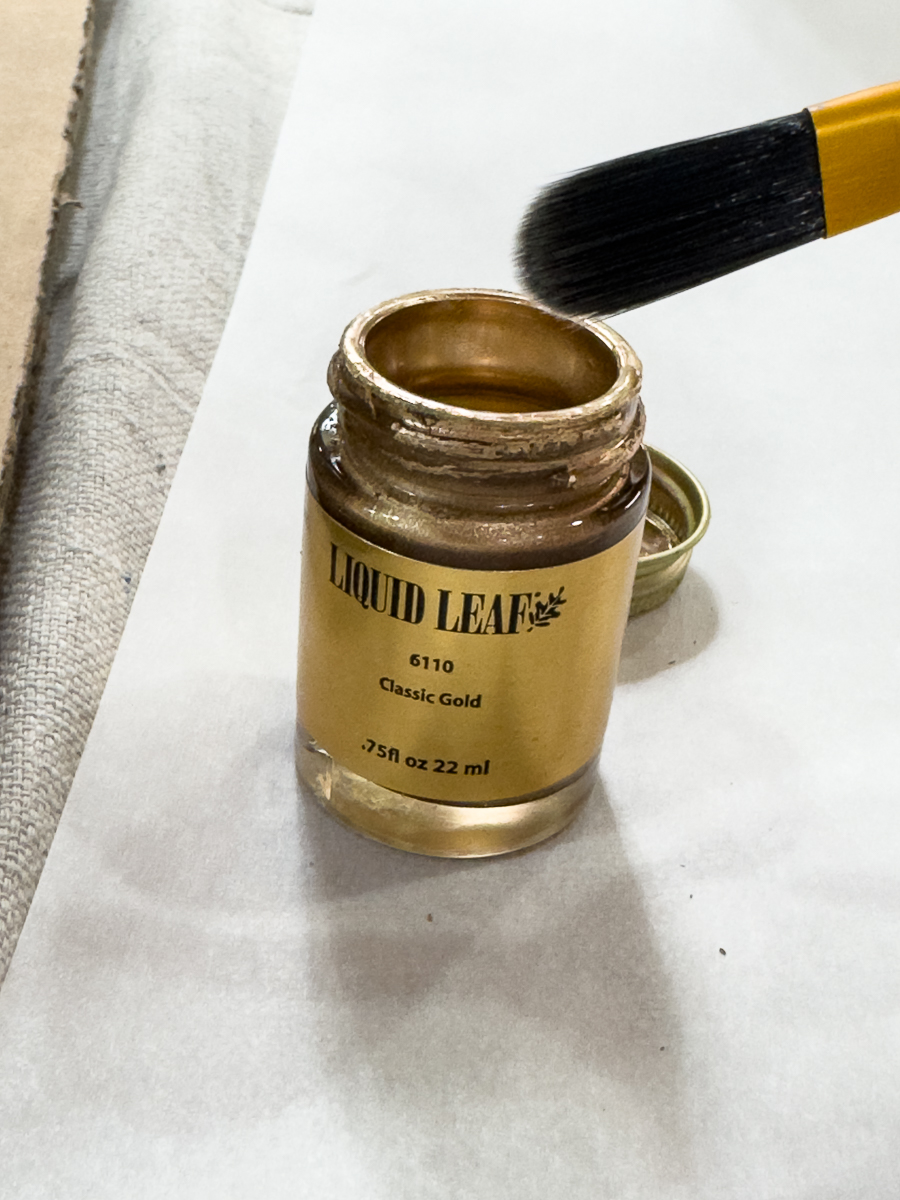
I love this gold paint if I need to paint gold. If not, I use Rub ‘n Buff.

I could already tell that with the vibe of the napkin, I'd want to tone down the gold.
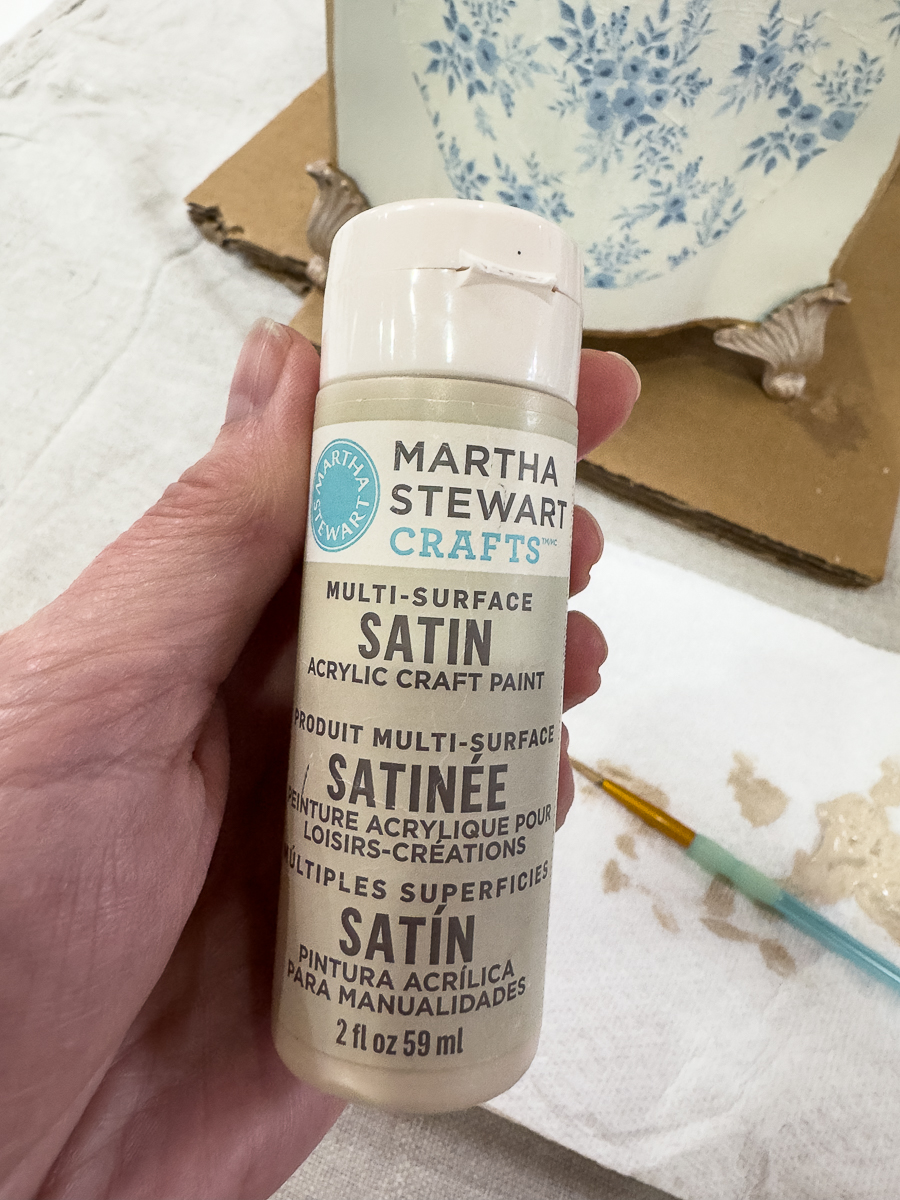
I used this paint in Putty to tone down the gold using a dry brushing technique.
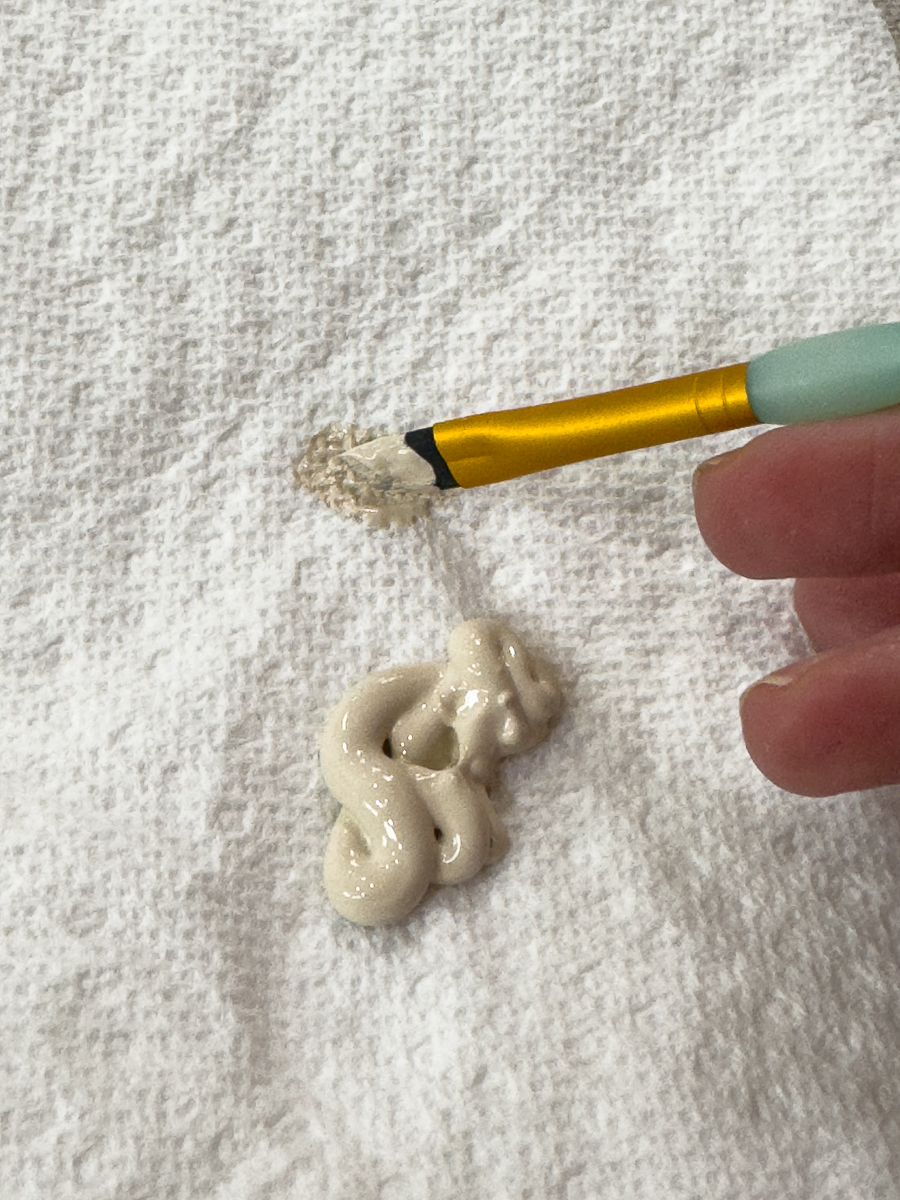
Dry brushing is simple. You load your brush with paint and then wipe it off with a paper towel. Then brush over the gold so that the gold still shines through.
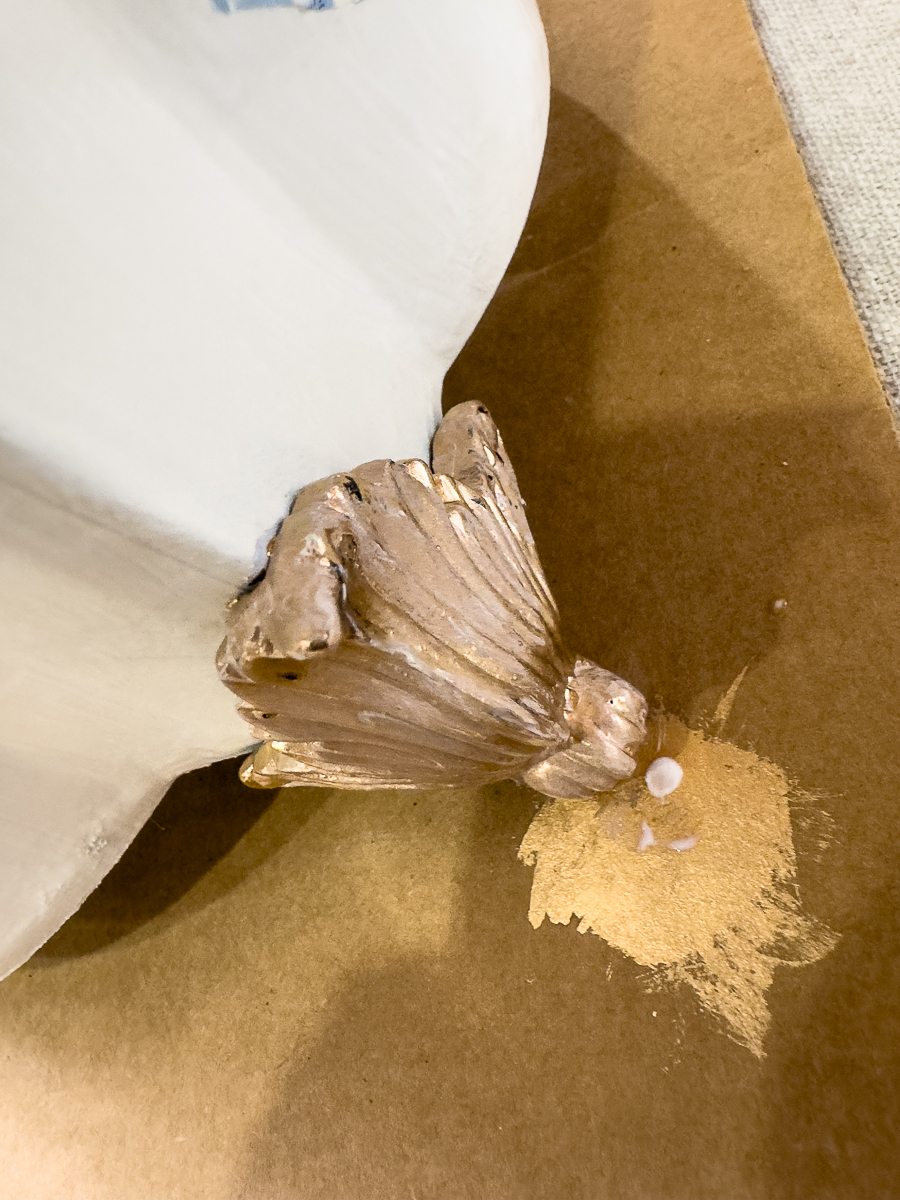
The toned-down look is much better.
I also used the gold to paint in freehand gold edges on the wastecan. I did not want sharp taped lines.
This last step is not required, but I took the finished can outside and sprayed 2 coats of a spray clear matte sealer.

I took my wastecan to Lowe's with me to find an inner liner for the can to look a bit prettier and protect the basket.
This is a paint bucket.
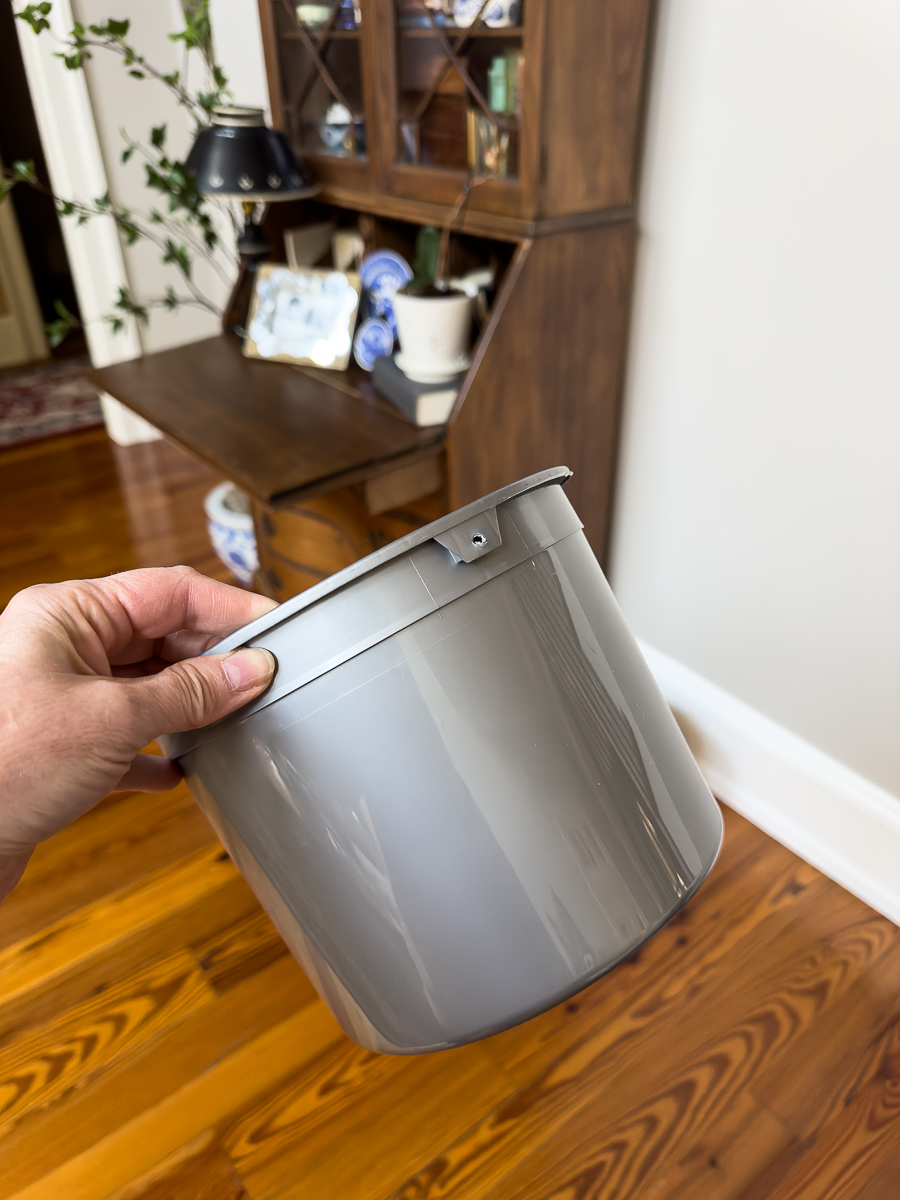
Remove the handle and throw it away. It fits in the wastecan perfectly.

I like the imperfect nature of it.
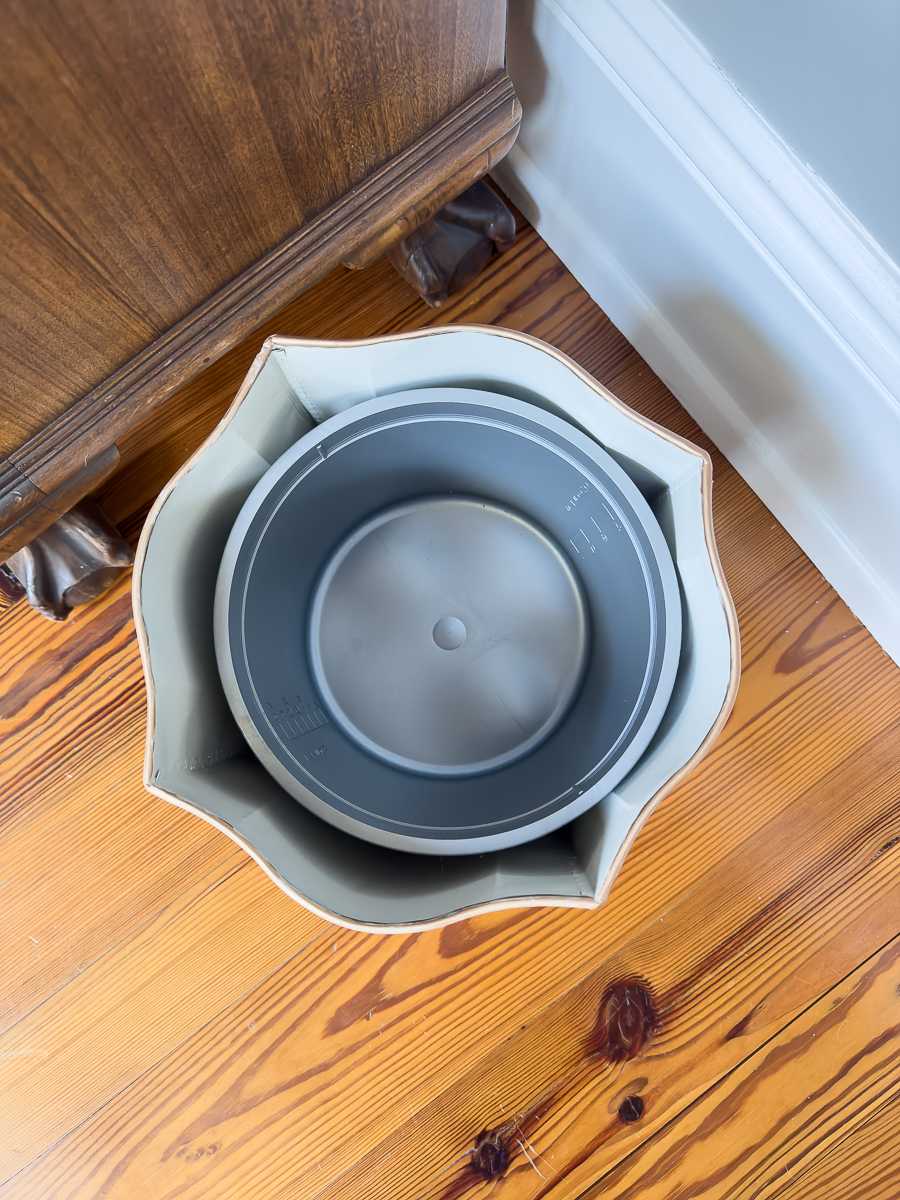
Add the paint pail.
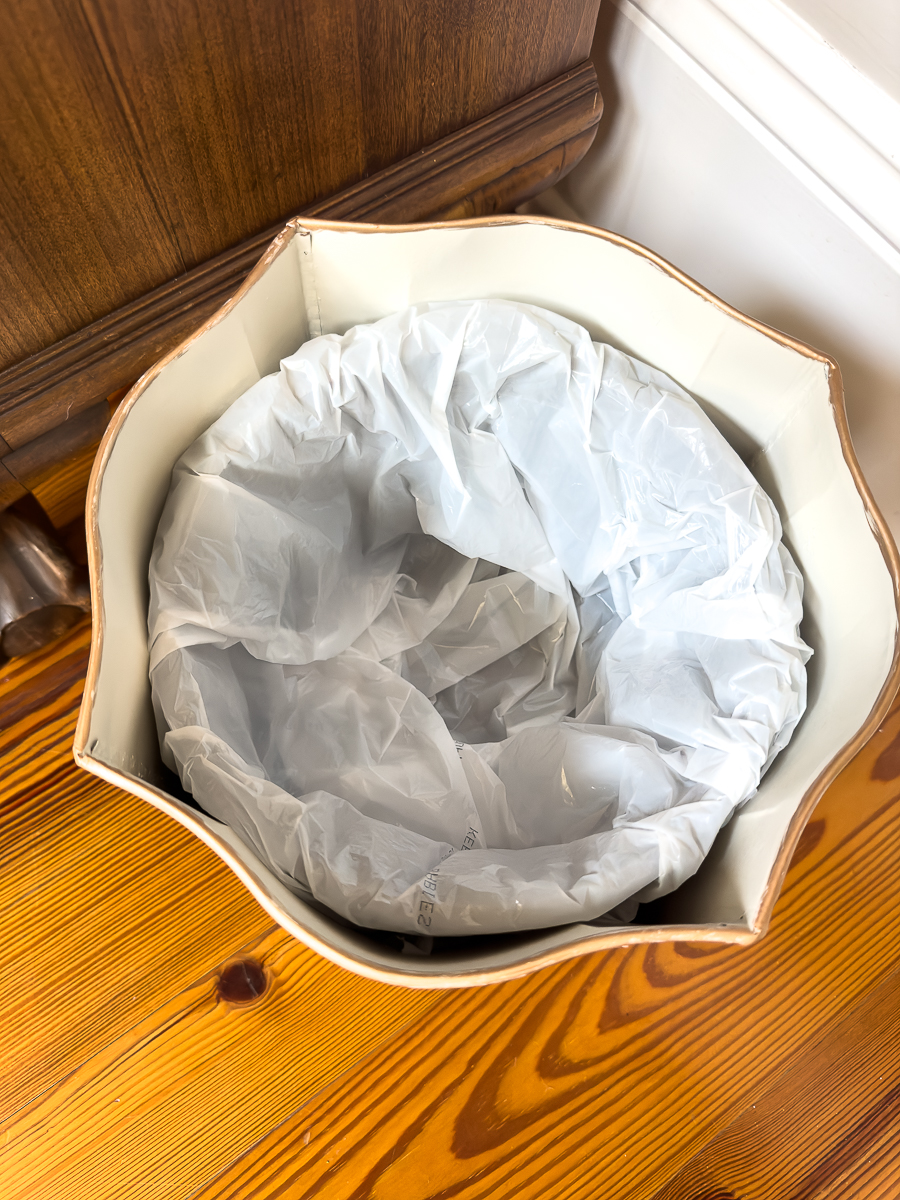
I added a plastic bag liner to the can.
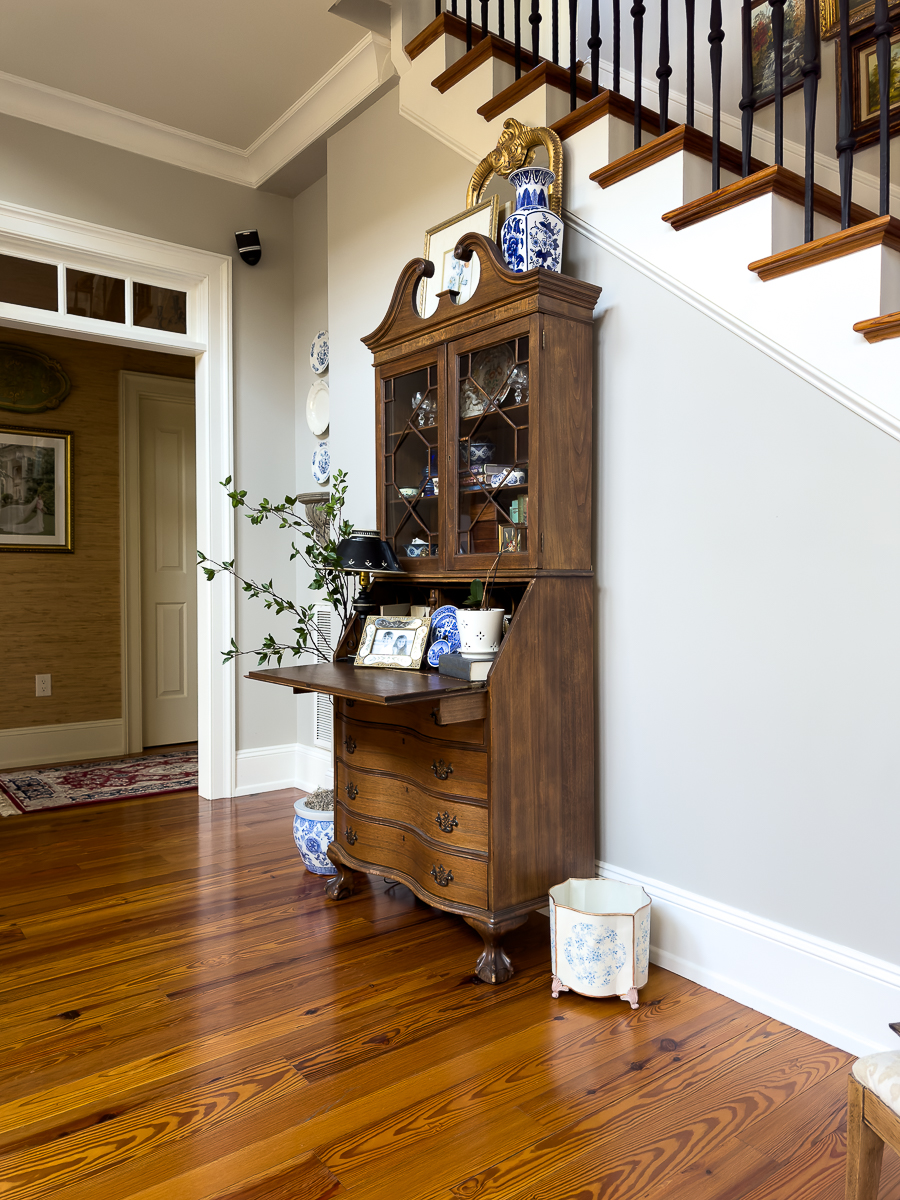
The can will have a permanent home in the upstairs guest room that I am currently working on completing.
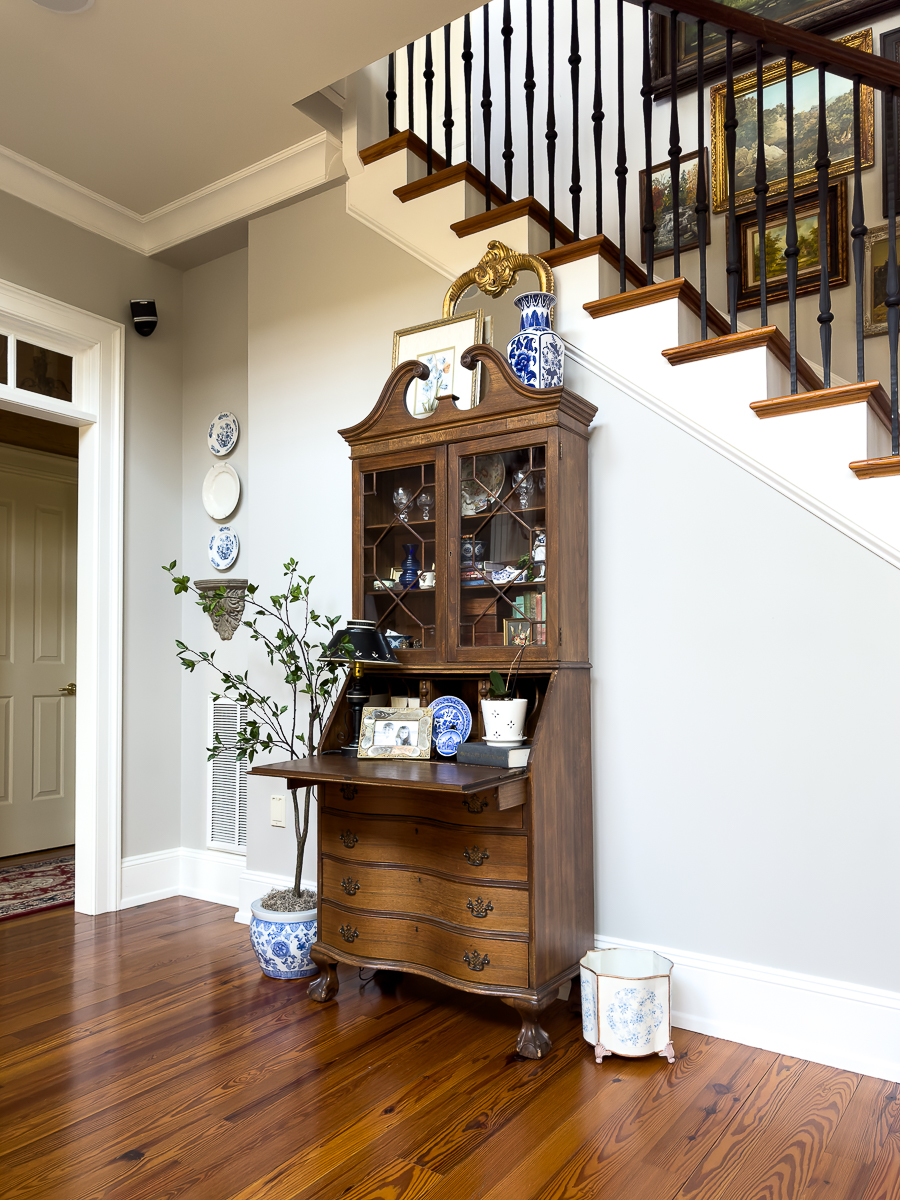
I am happy with how it turned out for the guest room. Have you ever decoupaged anything?
I also completed this decoupaged ice bucket that is a favorite.
Check out the other projects!
- House of Hawthornes- Salvaging A Vintage Porcelain Enamel Kitchen Table
- Domestically Speaking- Cane Wrapped Vase
- My Uncommon Slice of Suburbia – DIY Wood Candle Holders from Finials
- Sadie Seasongoods –Mid-Century Modern Wall Decor from a Collage Frame
- Petticoat Junktion –Paint A Wood Mirror
- My Repurposed Life – Simple Small Table Makeover
- Our Southern Home –Decoupage Wastebasket Makeover
- Organized Clutter – Thrift Store Hinged Box Spring Makeover
- Shop at Blue – Upcycle Garden Pots with Paint

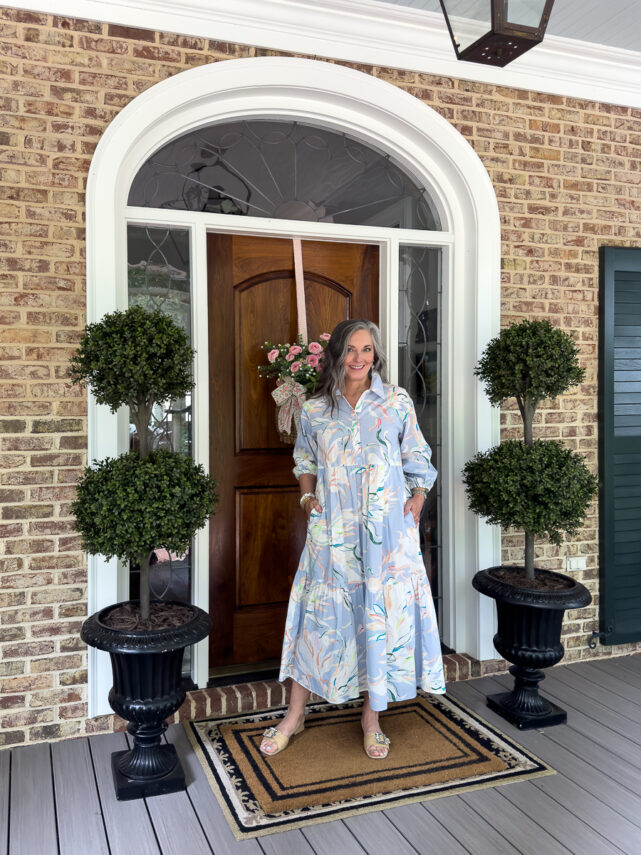
Christy has been creating content for Our Southern Home since 2012. She has been featured in numerous print and online publications. Her classic, eclectic design approach spans her home and fashion style. Christy has a way of mixing store-bought with thrift store, antique and vintage finds. As a recent empty nester, she is having fun navigating this new stage of life. Read more about Christy HERE. Be sure to subscribe below. You can also contact me HERE.


Your trashcan looks so good with your other blue and white items in your living room! You surprised me with the gray bucket as a liner. It works out perfectly!
This turned out so pretty Christy! It fits perfectly with your decor!
It turned out beautiful! I looks great with all the other blues in your room.