Hanging a Gallery Wall {TIPS}
Here is the third post on my gallery wall series. You can find the other 2 posts here.
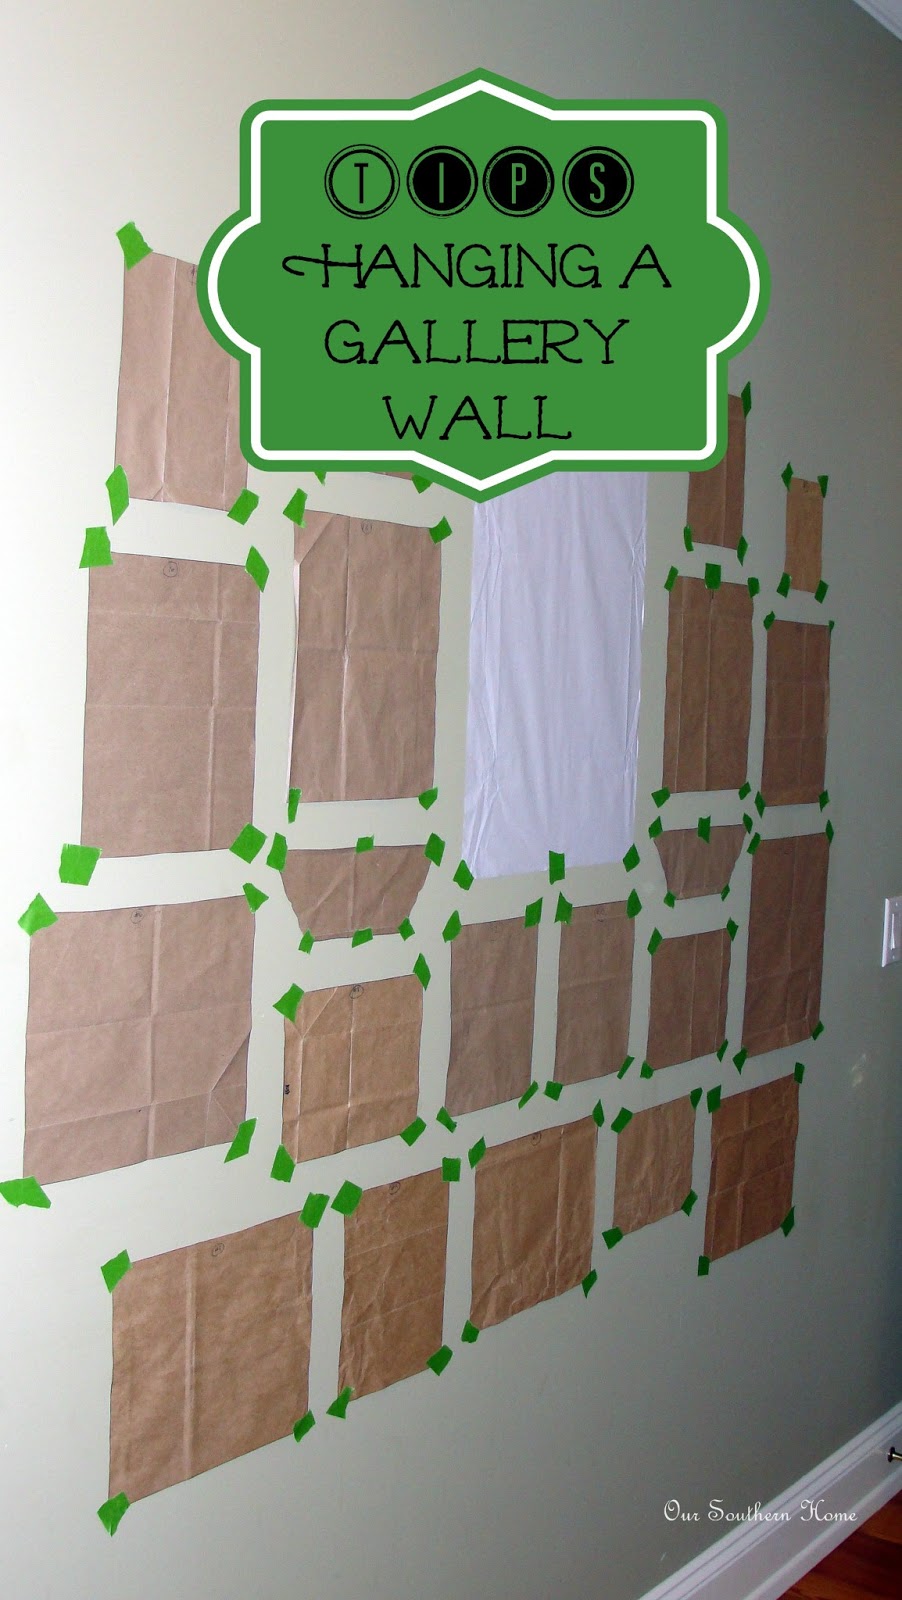
I know……why do you have those grocery bags all over your wall??? It may seem like a lot of up front work, but trust me that it makes the hanging so much easier in the long run!!!!!
First off…..I could not have completed this project without this tool!!!!!! I highly recommend it.
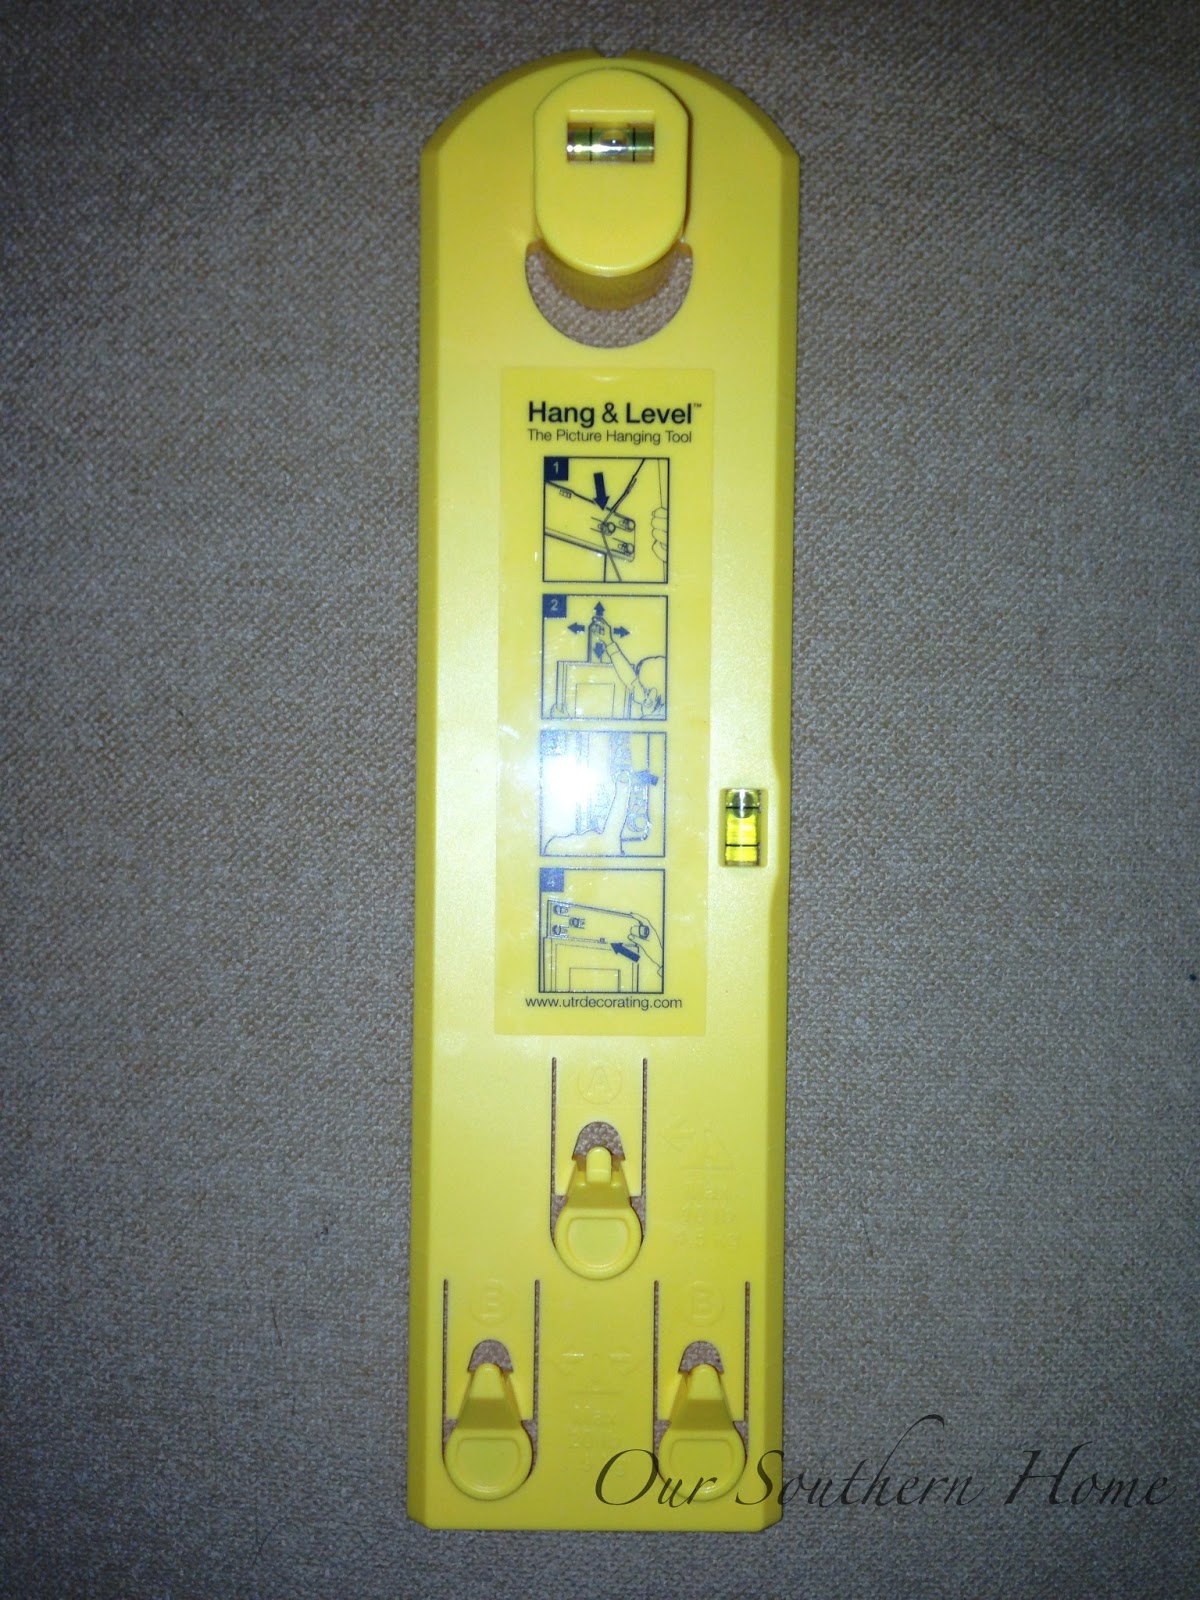
This was the best $14.11 I've spent in a while!
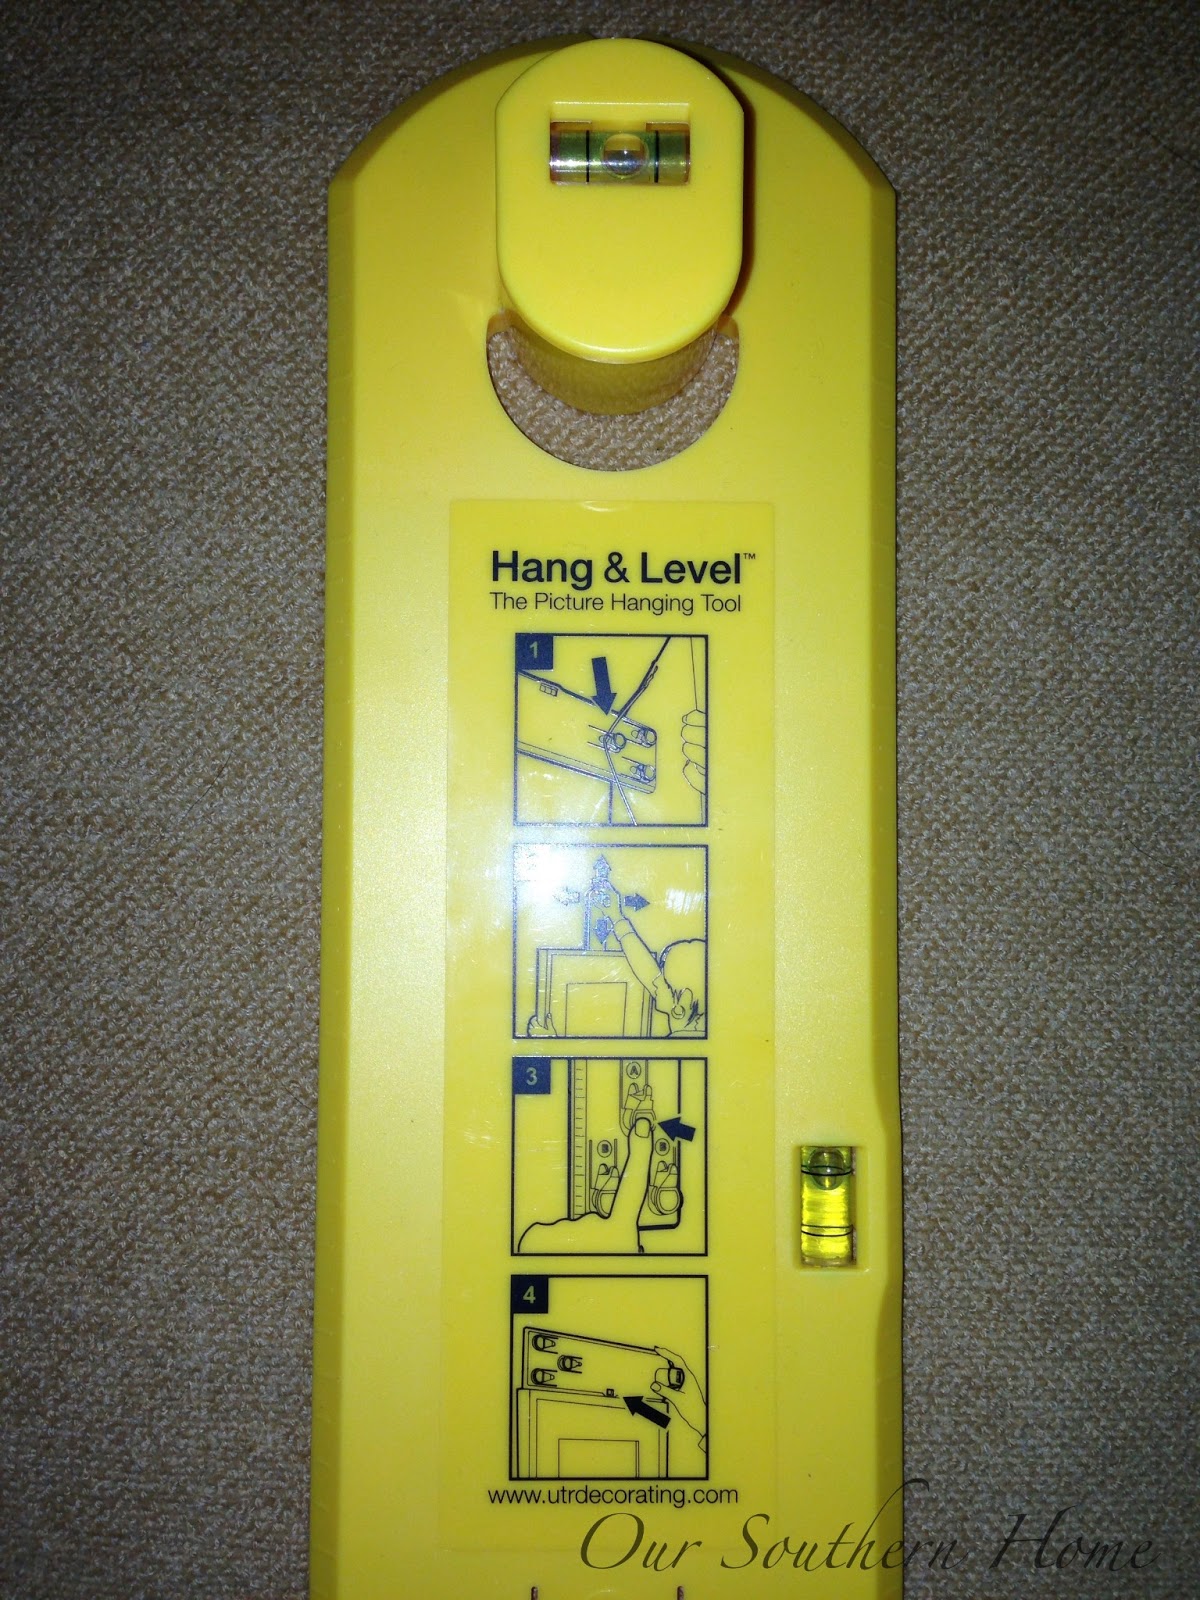
Basically what you do is hang the frame from the hook….it will work with 1 hanger or a wire where you want to hang 2 hooks for stability for larger items. Once the frame is in the correct location and level with the built in levels, you simply push in the pin. It creates a tiny pin hole where you place your hanger!
Here are the frames before they were painted with ASCP in Old White.
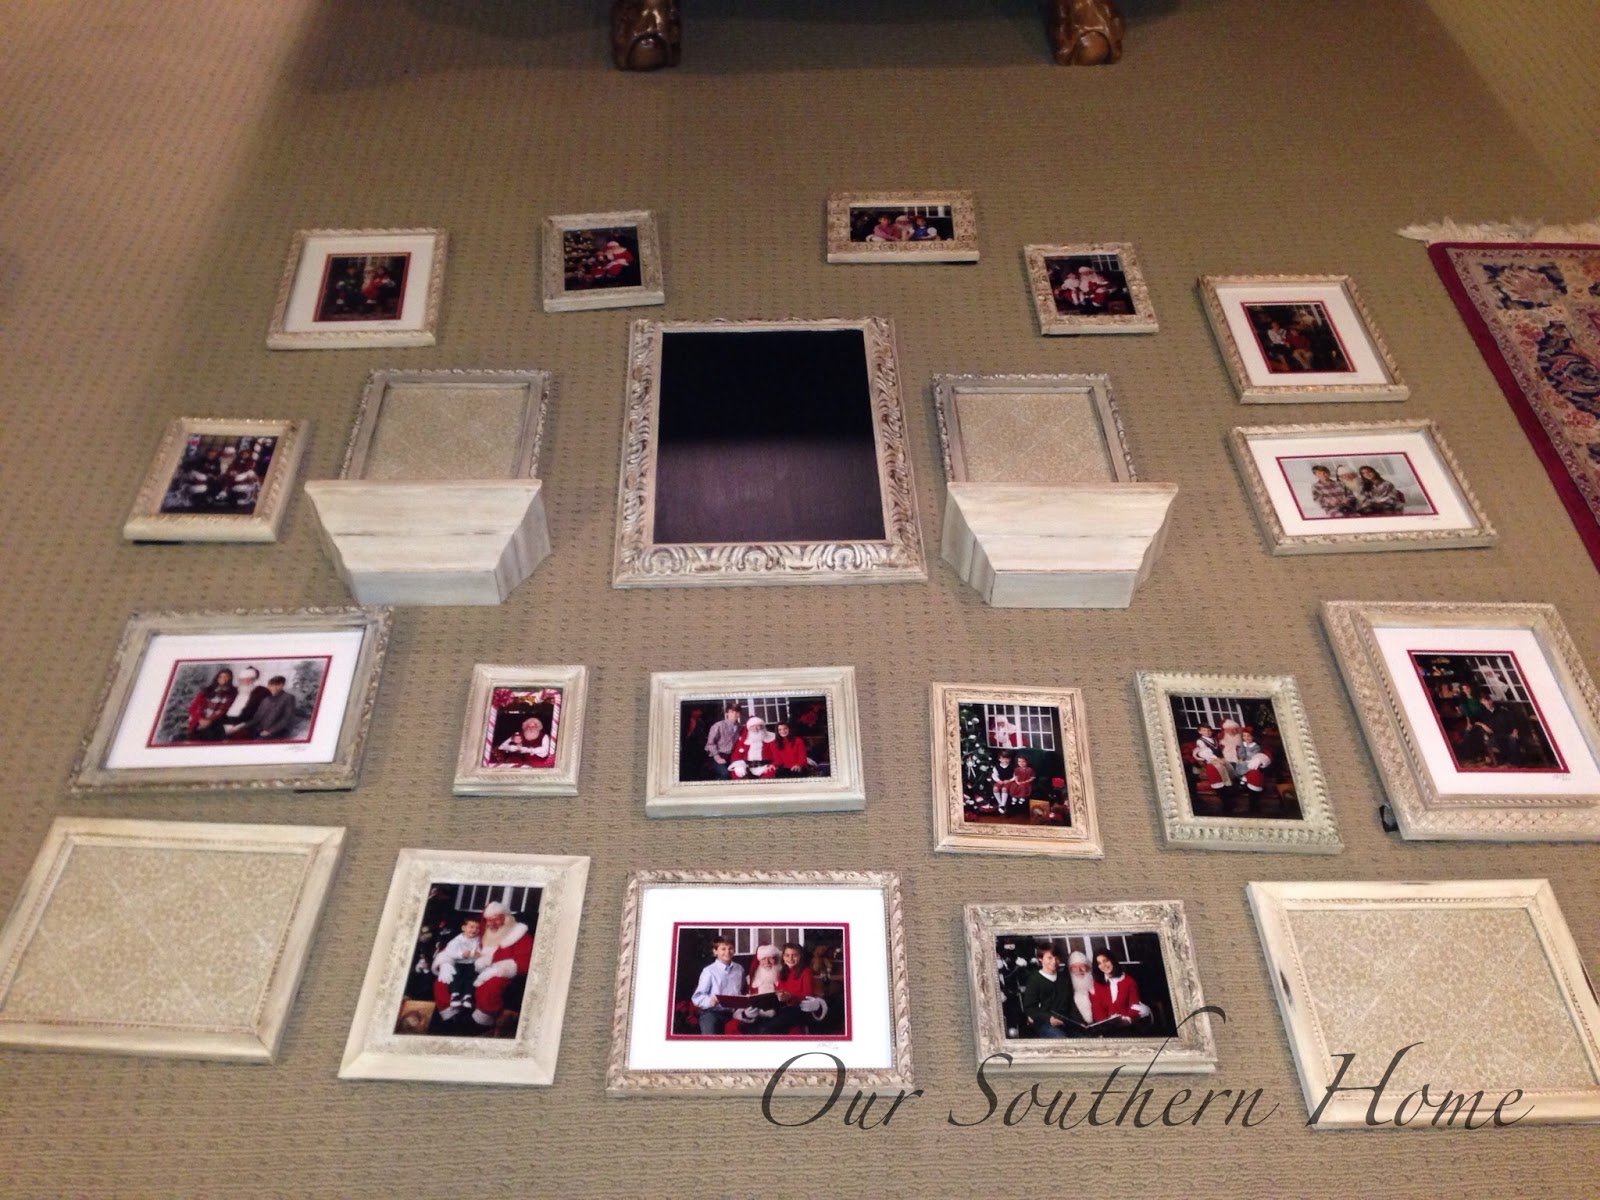
Here they are all painted. I failed to take a picture of this next step. I numbered each item for the gallery wall with a sticky note. Then I cut open the collected paper grocery bags. I traced each frame onto the paper and cut it out. Next, I placed the number of the frame on the cut out paper at the top of the paper in the direction it was to hang. Place the frame back on the floor with the paper under it.
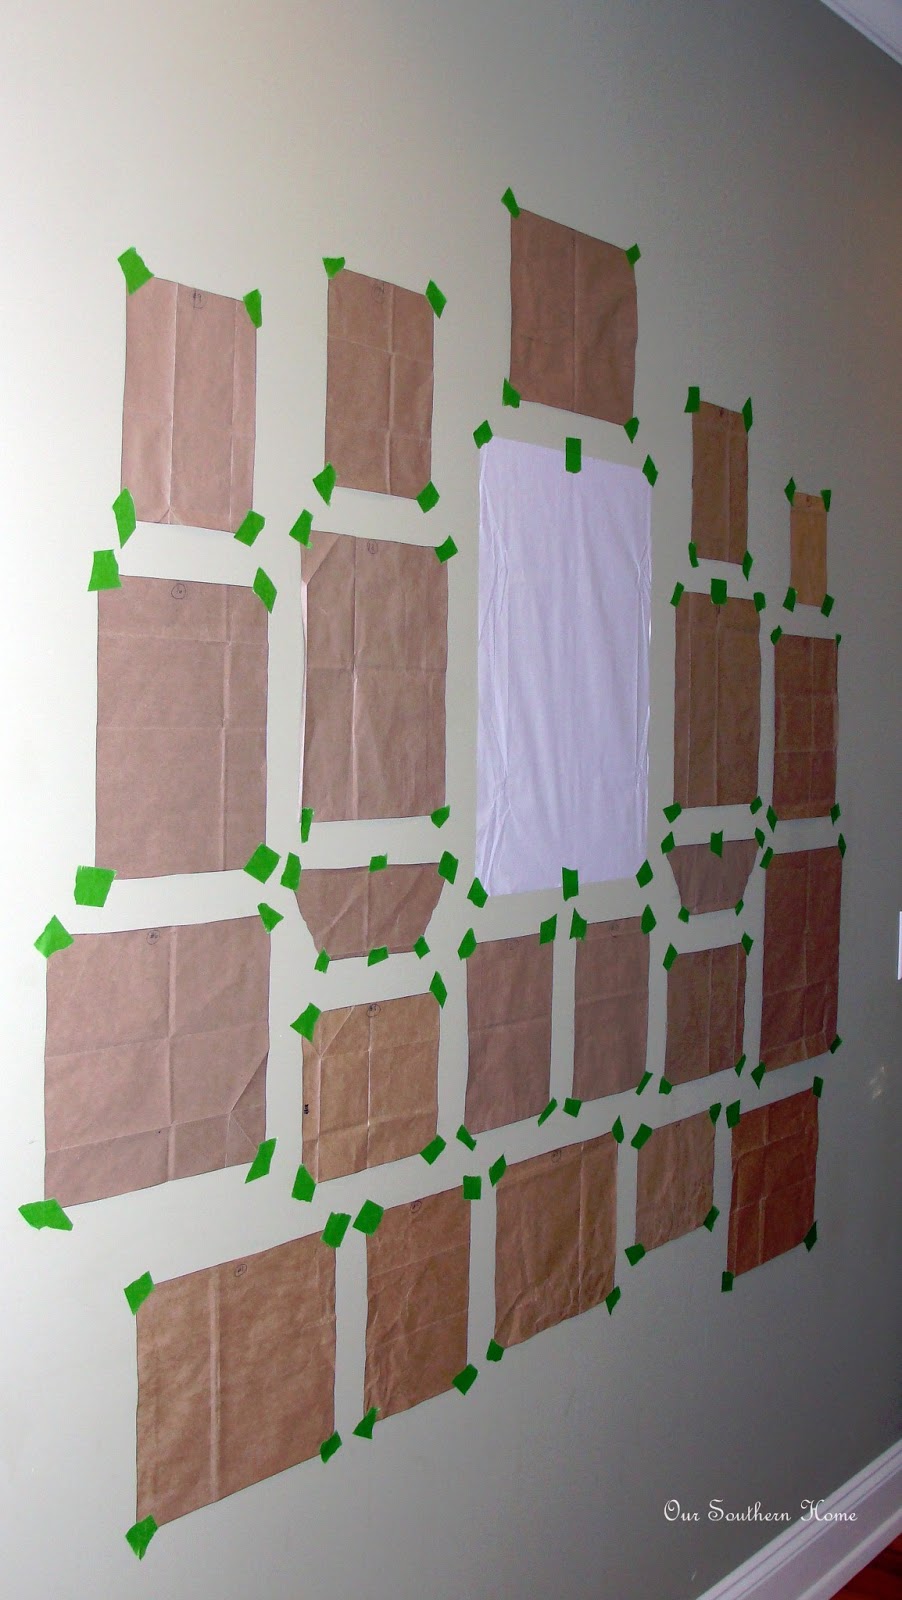
Here is the wall all ready with the paper patterns in place. I used green Frog tape to hold it in place.
I didn't want to get out my ruler and measure the distance between each photo every time That would be way too time consuming. I am at the point that I want this project completed. When you read the earlier posts on this, you will read that it has been a work in progress since last summer…..taking up valuable real estate on the playroom floor!!!
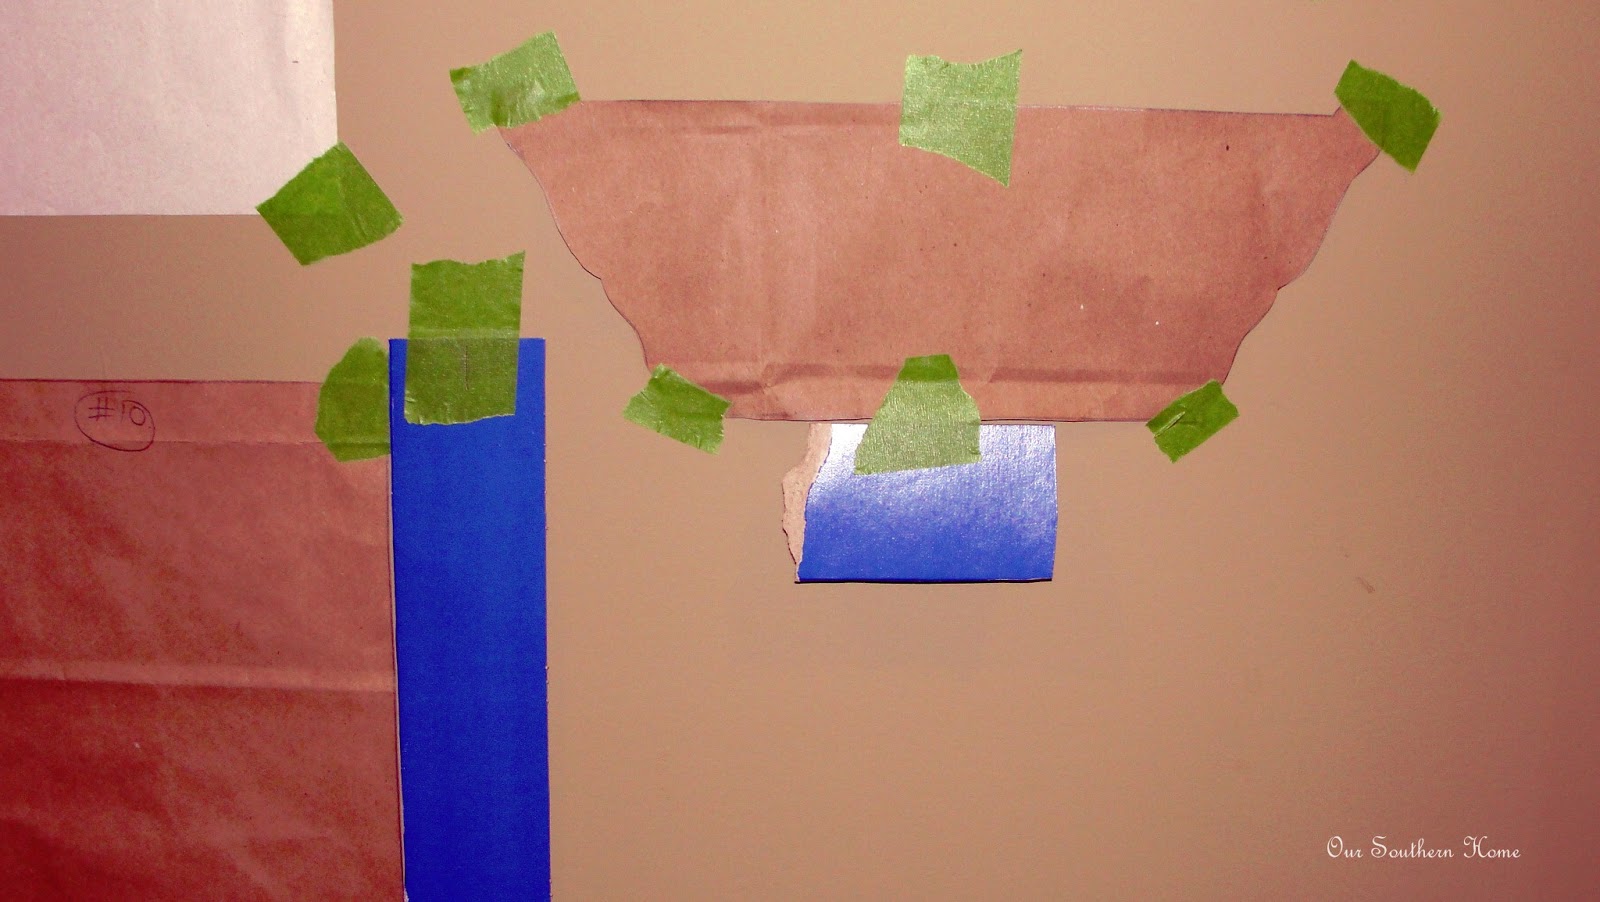
What I did was cut the side off of a Belk gift box. It was the perfect distance being approximately 2 inches. There were some instances where this didn't work like around the wall shelf area, but for the majority of the frames it was a time saver!!!
I used a small level to get the paper straight on the wall.
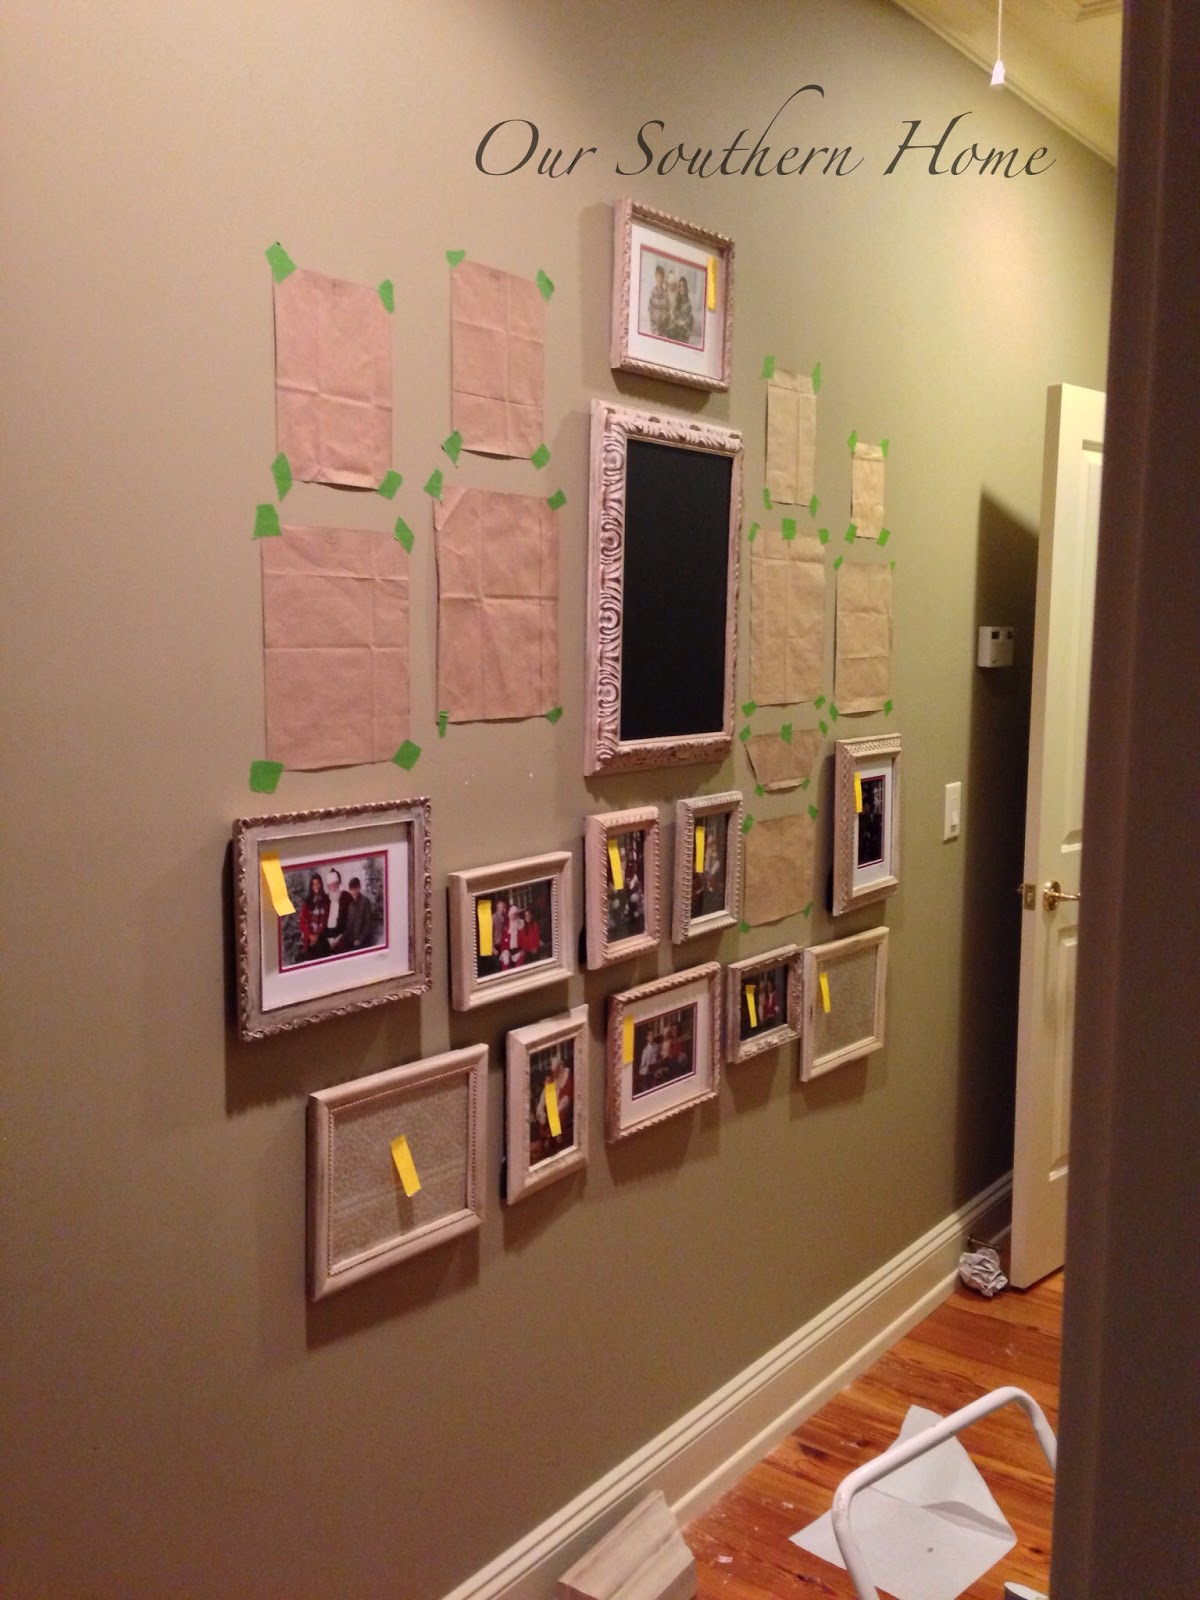
The numbered sticky notes on each frame allowed me to easily match them up to the correct paper for hanging. There were a few frames that I moved around as I hung the gallery wall so the numbers really helped keep me organized!!!!!
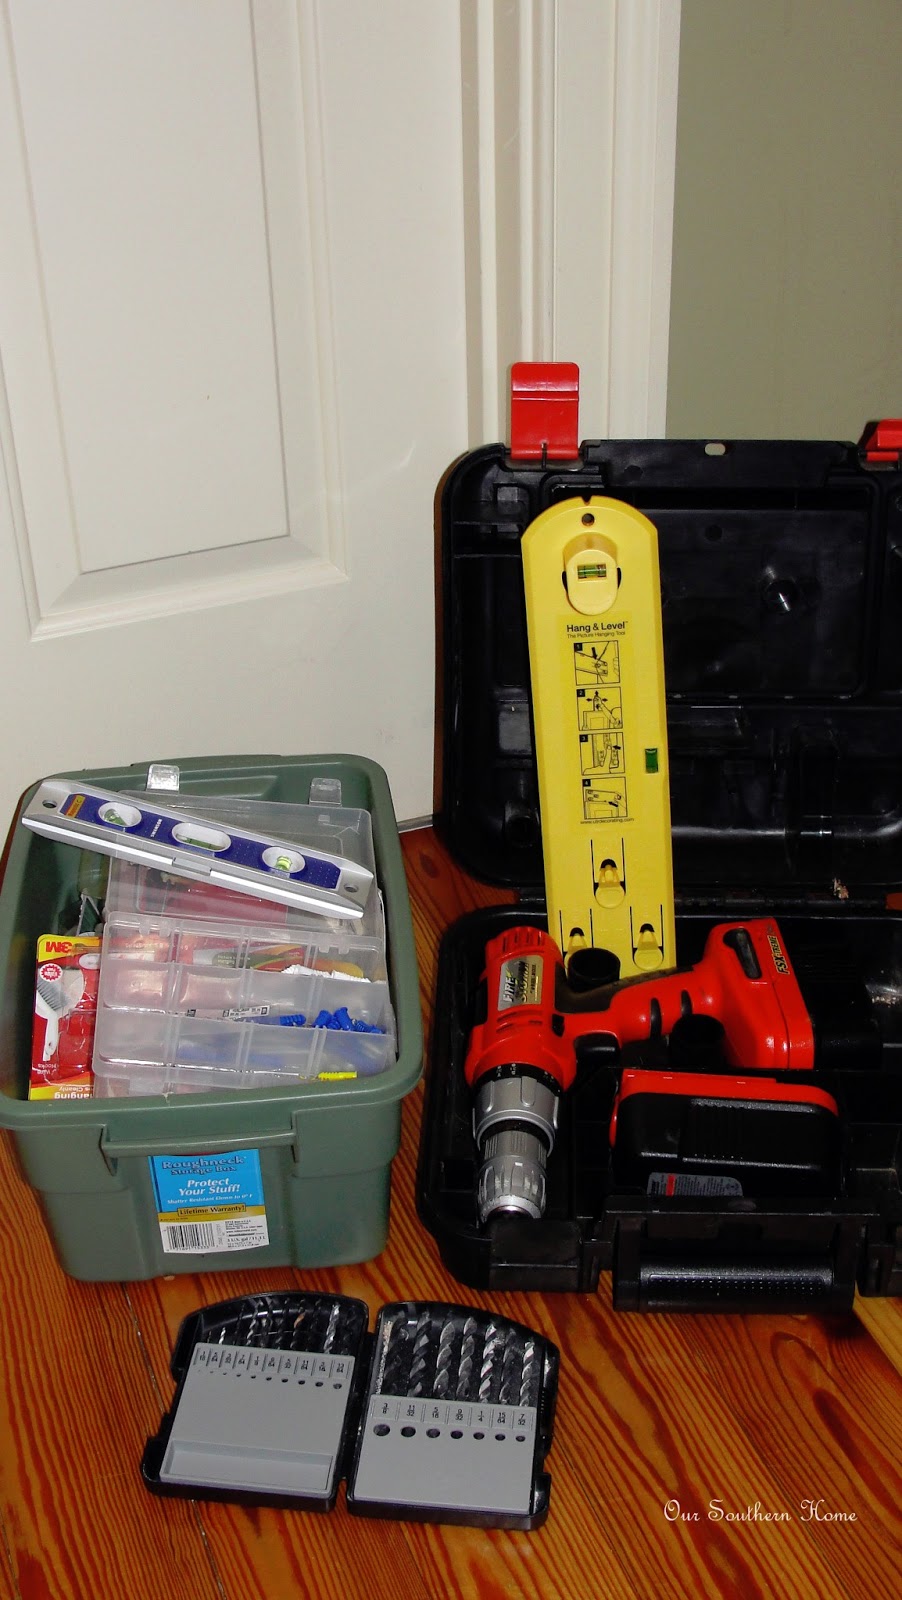
All of my frames were table top frames. I had to tear off that little flap that allows it to sit on a table. This enables it to lay flatter against the wall. I then had to hammer a claw into each frame to hang on the wall. I would love to have used Command hanging strips, but with the majority of the frames being felt backed, I just couldn't get the tester to adhere to it. Since I had to hang the claws very close to the top of the frame, I couldn't use a very simple hammer in picture hanger because it would have been visible above the frame. I actually prefer to use very small wall anchors. Over time, they are just sturdier. I needed my box of hangers, drill, drill bits and a screw driver. In a perfect world, all of the frames would have originally been wall hanging ready. Budget wise, I had to make do with what I already had.
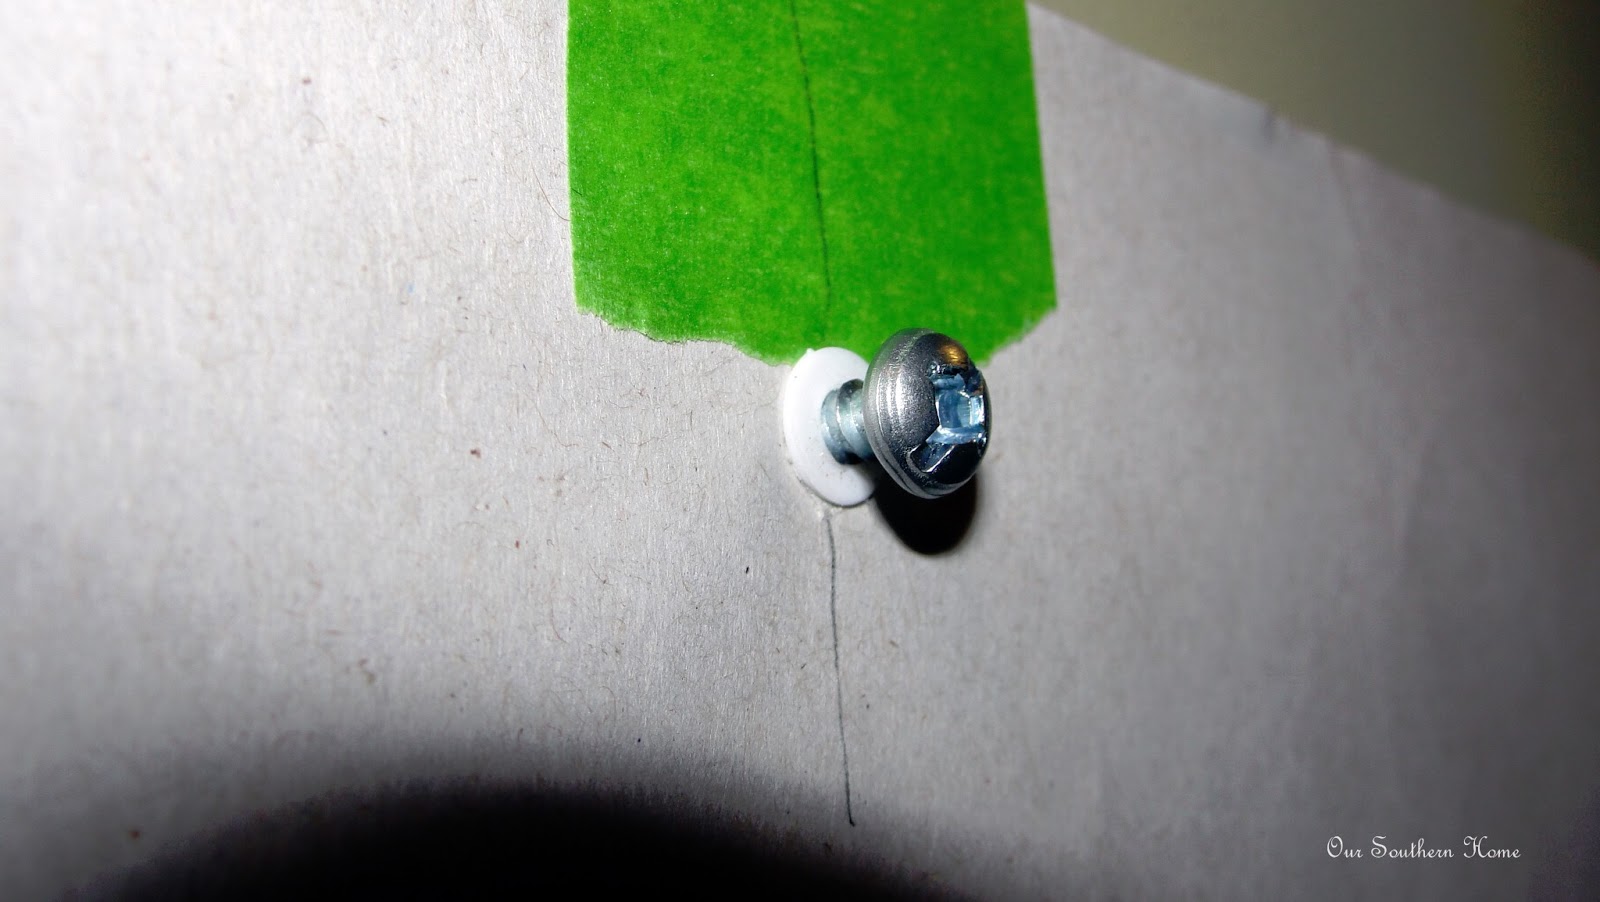
All I had to do at this point was attach the frame to the yellow hanger tool and align it over the top of the paper template. I used the level attached to the yellow tool and pushed the button to make the tiny wall hole. Next I installed the tiny anchor, tore the paper off the wall and hung the frame. I've gotten pretty handy with the drill over the years, so this went pretty fast!
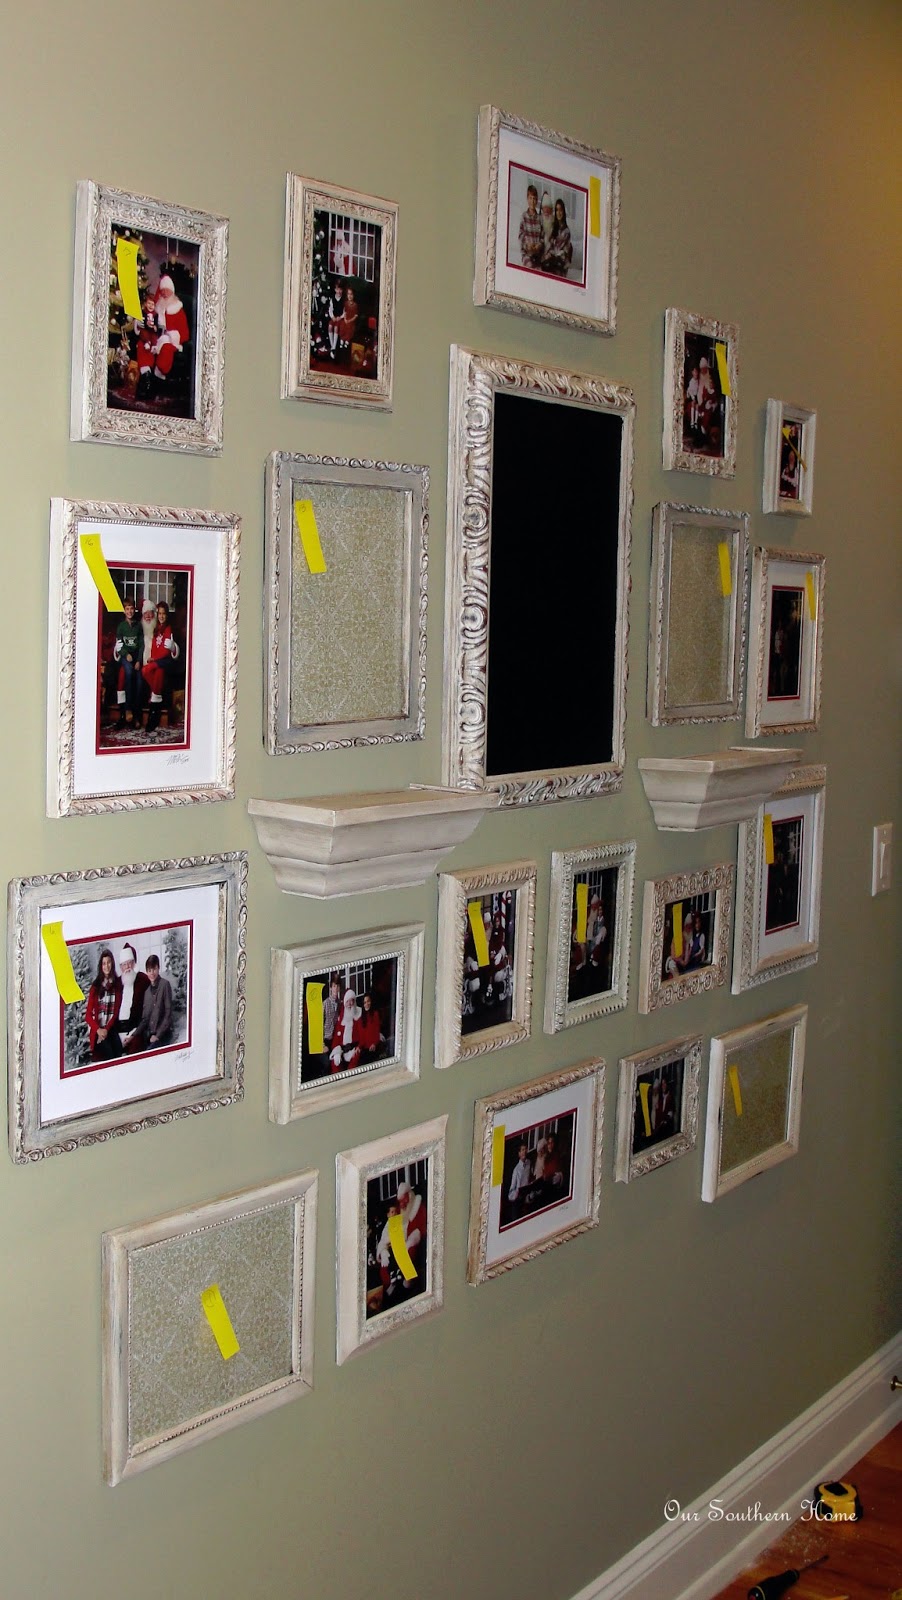
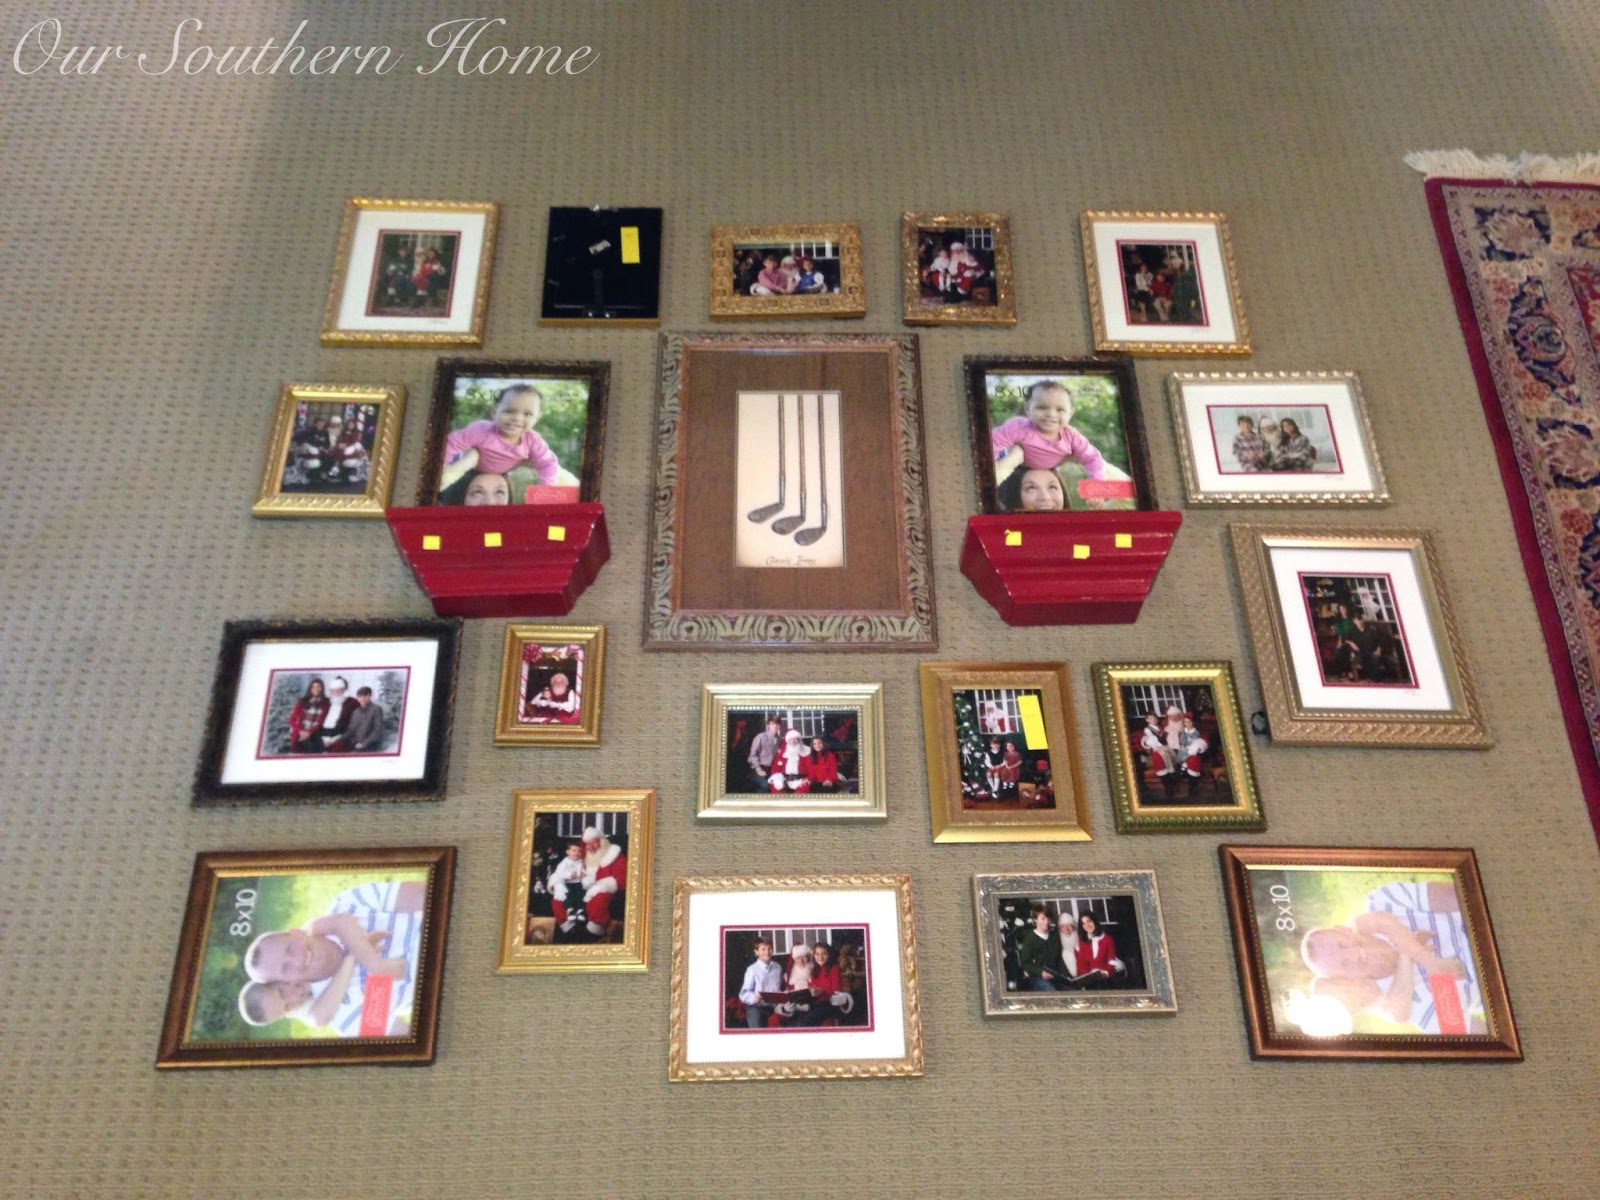
Everything is in place….time to remove the sticky notes!
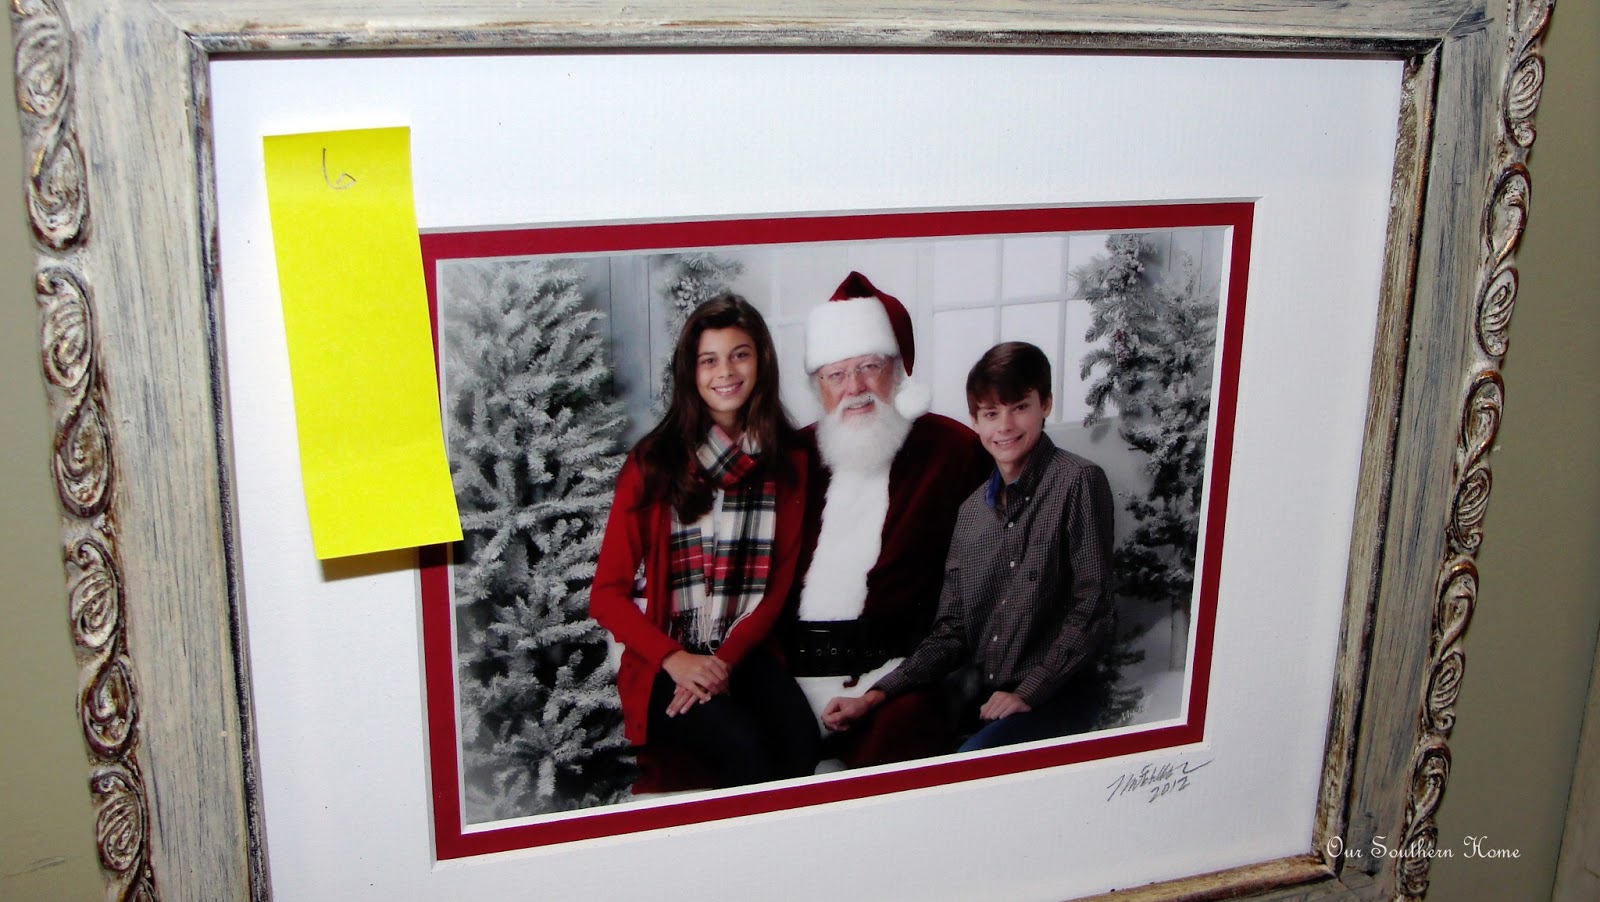
Santa photo from this year…..Ashlyn (13) and Woods (16). At least 4 more years to go! That is why there are 4 frames with scrapbook paper in them. They are holding the place for future pictures.
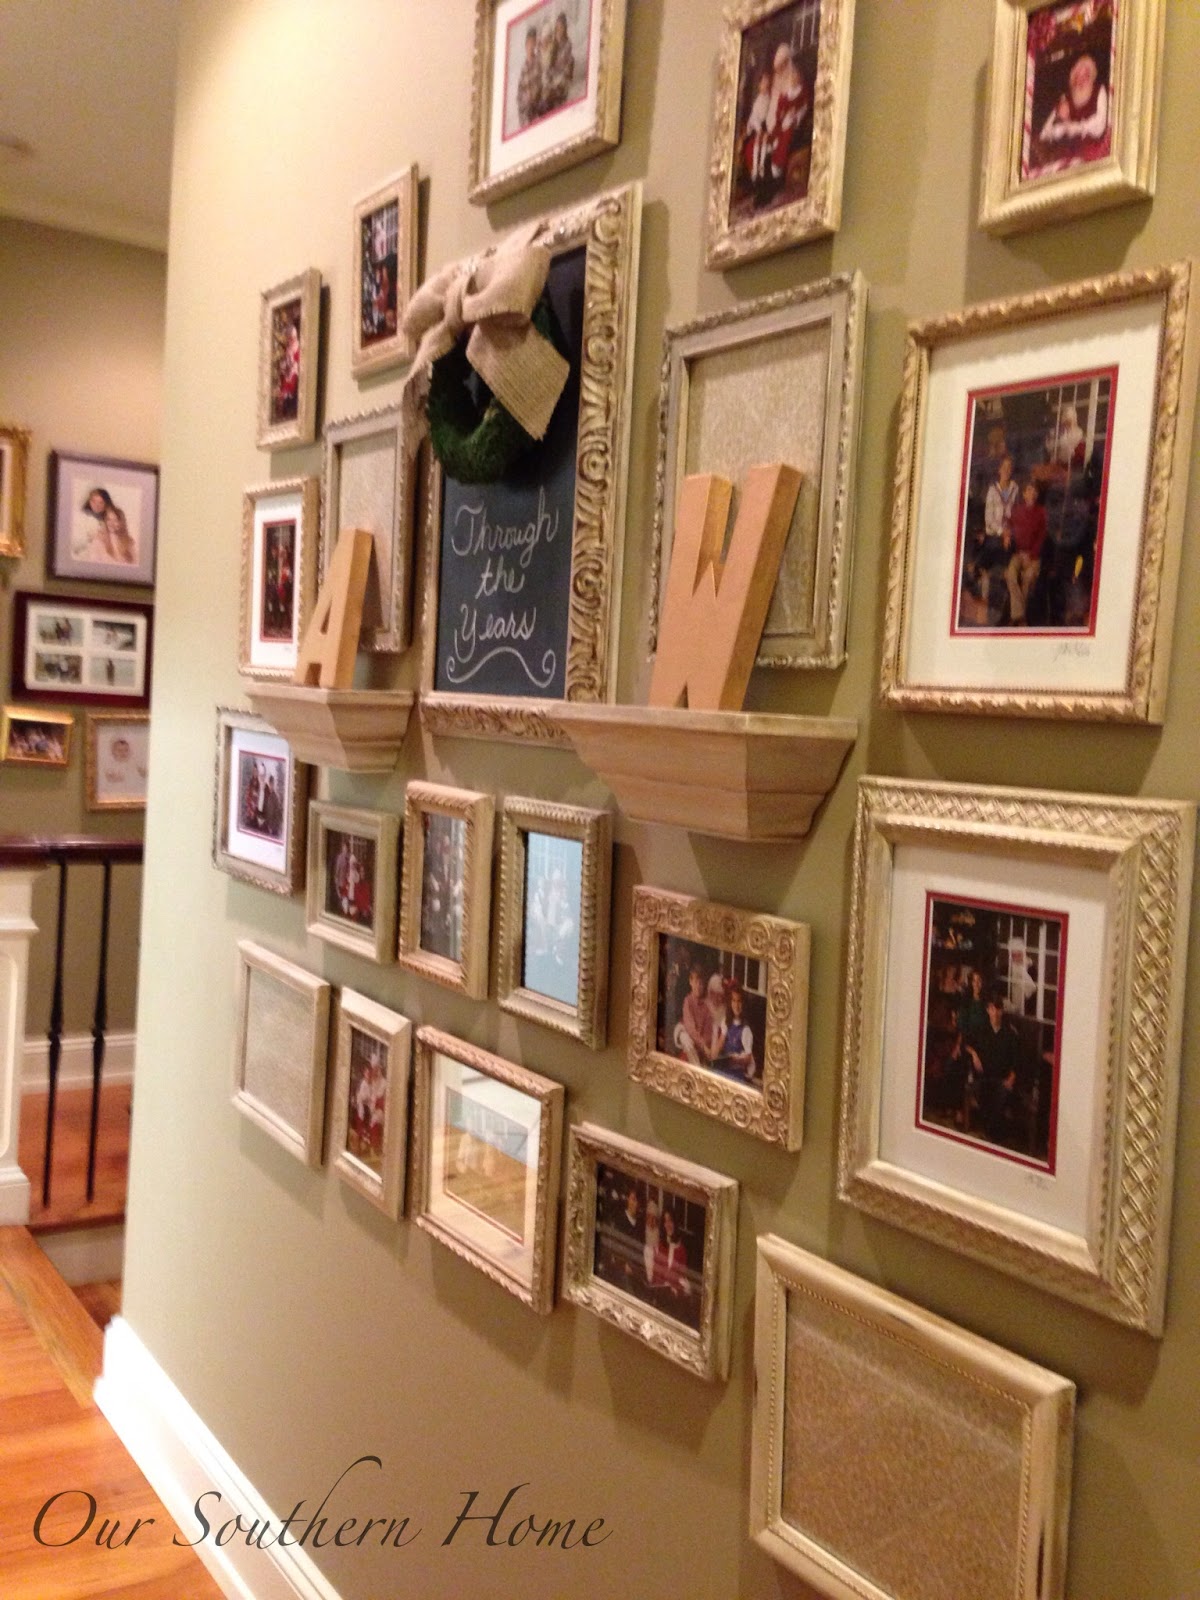
Here is the completed wall of Santa Photos through the years. I love having these on display in the upstairs hall. Here are the links to 2 earlier posts with more detail and lots of pictures.
Painting Mismatched Frames with ASCP
BufferThere are three more posts to come in this series:
- Turning a framed print into a chalkboard
- Inexpensive cardboard letters finished with an antique brass look
- Mini moss covered wreath
Please feel free to ask questions if you are unsure of a step. I highly recommend this for hanging a gallery wall. It allows you the freedom to plan and move things around before making holes in the wall!
Thanks so much for visiting I'd love for you to be a follower of OSH!!!
I am moving to WordPress very soon. As a result, I will be losing my Google Friends Connect. I would love for you to follow in other ways!!! Various ways are on the right sidebar.
Link Parties OSH occasionally participates
Sunday
I {heart} Nap Time, Nifty Thrifty Things, Flamingo Toes, DIY Showoff, The Creative Home Acre Blog Hop, Homemaker on a Dime Blog Hop Party , Three Mango Seeds,
Monday
Alderberry Hill/Make the Scene Monday, Clever Chicks Blog Hop, Motivate Me Monday, Skip to My Lou, Craft and Tell by Cherished Bliss, The Winthrop Chronicles, The Dedicated House, Uncommon Designs, Under the Table and Dreaming
Tuesday
Tuesday
Coastal Charm, Cedar Hill Ranch Cow Girl up, Homework: Be Inspired, Not Just a Housewife, Tip Junkie, A Diamond in the Stuff, My Uncommon Slice of Suburbia, Our Thrifty Ideas, The Kurtz Corner, Elizabeth & co, Creatively Living Blog, Home Stories A2Z/Tutorial and Tips, Sugar Bee Crafts,Chef In Training,
Wednesday
Thursday
Friday
504 Main, Keep Calm and Link Up, Common Ground, Redoux, Debbiedoo's, The Charm of Home, Rooted in Thyme,
Saturday
Funky Junk Interiors, It’s Overflowing, Six Sisters Stuff, Tatertots and Jello , Positively Splendid
Monthly
Your photo wall turned out great! Mapping out the frames with paper is a great idea. I’ll have to keep that in mind!
Thanks!
Great gallery wall! We are a military family & move often so do something similar. Each of our brown paper squares are labeled with the name of the picture on them & we move them with us in the car so we can decide where to hang all of the pictures before our household goods arrive. It’s super helpful, especially because we can move the paper squares from wall to wall or room to room until we are happy with the placement.
Thanks so much!!! Great tips on moving!!! Have a lovely day!! XXOO Christy
Hi! I just wanted to let you know that I shared this awesome gallery wall idea on my blog! Feel free to check it out if you like 🙂 http://littlebitsofeverythingqce.blogspot.com/2013/05/pinned-it-friday-rachel-edition.html
Have a great weekend!
Rachel @ Little Bits of Everything
Thanks so much for linking to my post on hanging a gallery wall!
Christy,
I’m following you through Bloglovin now! Sure wish I’d seen this post a few years ago when I hung family photos in the hallway! Love how you’ve left space for future pics of your children with Santa!
Thanks Jane! I am following you there as well!!
Looks great! Definitely worth the extra effort.
Found you @ Sumo’s link up!
Thanks so much Bekah! It was a rewarding project!
Thanks for the tip on your picture hanger, I’m going to have to get one of those! Our level is about 2″ and we often use it as a spacer when hanging up frames. Of course, the other option I like is just putting all the frames flush together, like I did on the gallery I just finished: http://www.dejongdreamhouse.com/2013/03/chair-rail-family-gallery.html
Thanks Jen! The level is a great idea. I just needed something I could kind of tape up since I was working alone. Love this idea of doing a wall with frames flush together. Easy!!!
Love it! Turned out really pretty. Thanks for sharing!! =)
Thanks so much Ashley! Happy you stopped by!
That is just gorgeous Christy!!!
Love the frames – and love how it you’ve placed them 🙂
Came by to thank you for your comment on my Ladder – ( you’re a no reply blogger )
and to thank you for following – ( I’m following you too)
Hugs,
Suzan
Thanks so much Suzan! I went and checked the no reply blogger thing when I saw it mentioned on your site. I am running Google + so I’m not sure how to correct that. It doesn’t give me the options you mentioned. Do you have any suggestions??? Have a fab evening!!!
Suzan….thanks so much! You are the first person to tell me this! I found a Google + fix….I hope!!! I guess that explains why I get very few comments back!!! Hope it works!
Christy- That was a lot of work but look how great it looks. You did a wonderful job and it is a wonderful warm welcoming wall- xo Diana
Thanks bunches! So sorry that I am a bit behind with comment replies! Happy Easter!
Thanks so much Britiany! I am working on it now!
I nominated you for the Liebster Award 🙂 Head on over to my blog to find out what it is and how to participate 🙂
http://craftycrazinessandlife.blogspot.com/2013/03/nominated-for-liebster-award.html
Britiany
craftycrazinessandlife.blogspot.com
Thanks so much!