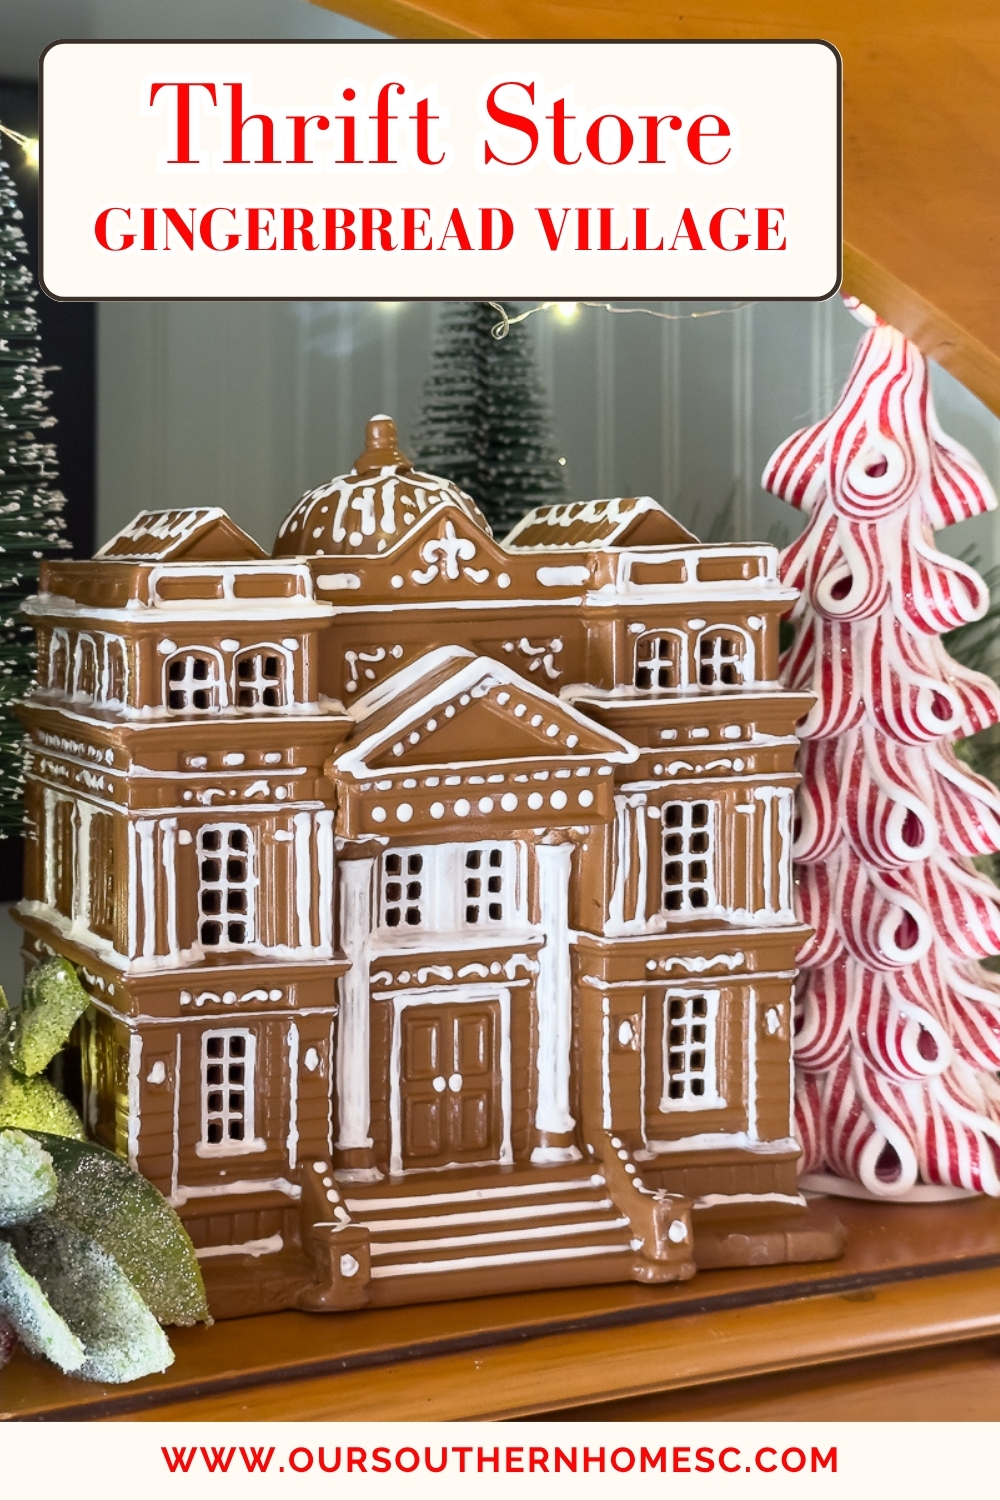
DIY Gingerbread Village from Thrifted Christmas Houses
Create a charming DIY gingerbread village from thrifted Christmas houses for just $35! Step-by-step spray-paint, “icing” details & styling tips.

Latest from OSH
- How to Make Piña Coladas in an Ice Cream Maker
- Saturdays on the Porch #86
- Saturdays on the Porch #85
- Easy European Wall Art with Thrift Store Frames
- Piano Bench Makeover with New Color and Fabric
This post may contain affiliate links. If you purchase something using one of my links, I may earn a small commission from the retailer costing you nothing more. You can read more on my disclosure page. Christy Little of Our Southern Home is a participant in the Amazon Services LLC Associates Program, an affiliate advertising program designed to provide a means for sites to earn advertising fees by advertising and linking to amazon.com.
Thrift Store Makeover Day

Join us each month for NEW thrifty ideas from the team. You'll find links to all of the projects below.


Use the slider below to see the before and after!
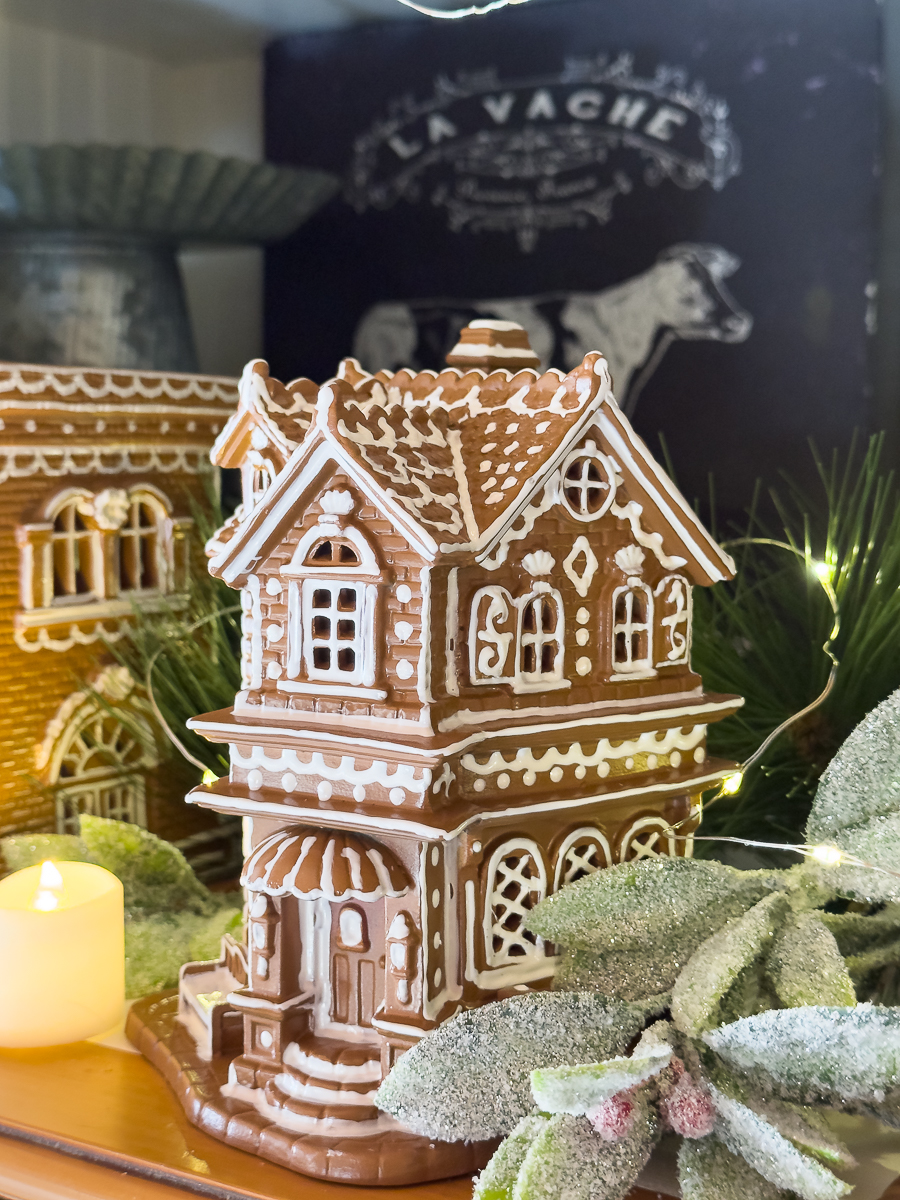
I’m so excited to share this fun—and incredibly budget-friendly—project. I scored eight vintage Christmas village houses for only $35 (none were pricey collectibles, so I knew painting was fair game!). Follow along to transform dusty thrift finds into a charming gingerbread village that’s perfect for your kitchen, mantel, or holiday tablescape.
The Before
I was so excited to find all of these houses. They are not the same brand and are different sizes. That works out perfectly because they will be unified with the warm caramel spray paint.
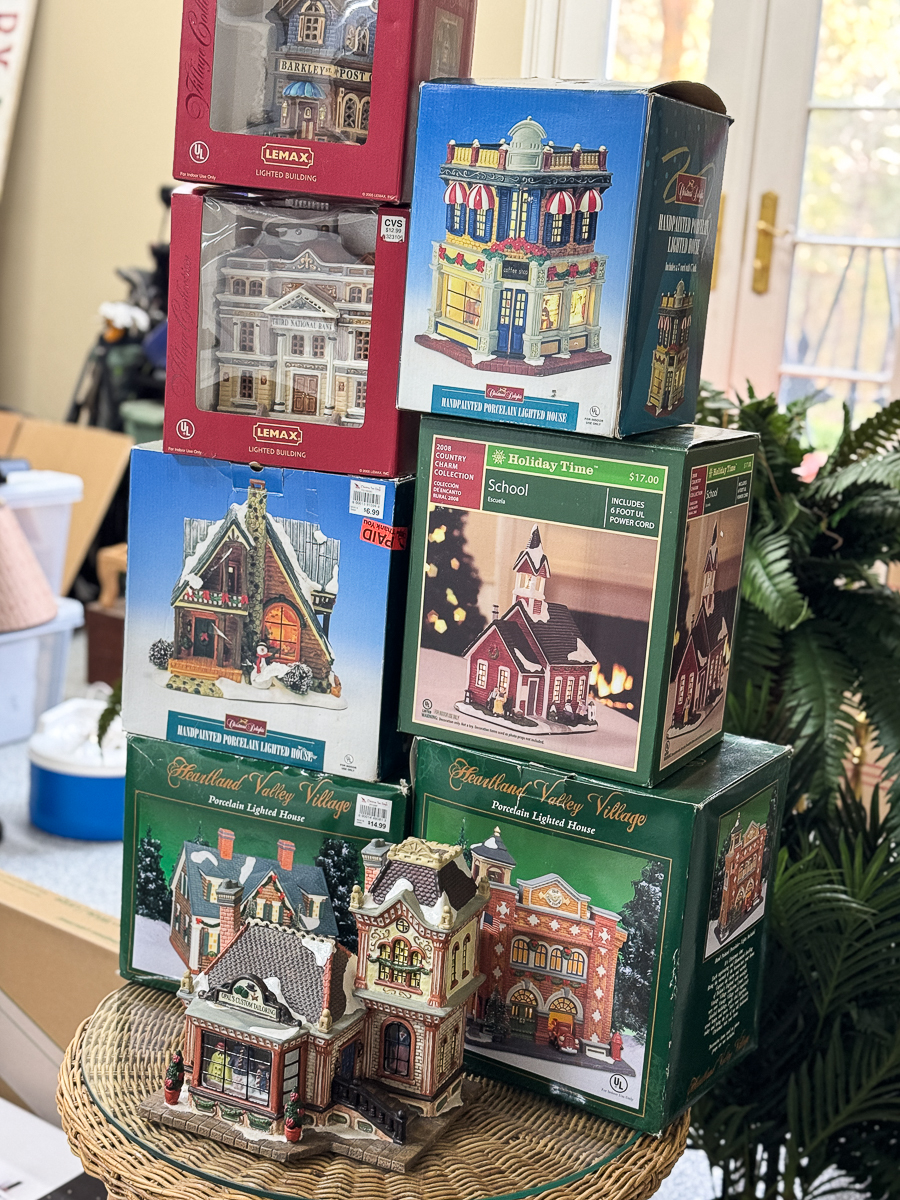
Have you priced out gingerbread houses like these? They can get very expensive! I have painted some all white that I love. So I figured it wouldn't be too hard to create the gingerbread look.
Supplies Used
- 8 Thrifted Christmas Houses (total cost: $35)
- Rust-Oleum 334083 Painter’s Touch 2X Ultra Cover Spray Paint, Satin Warm Caramel ( I used 2 cans)
- Rust-Oleum 241526 Comfort Grip spray-paint handle (for better control)
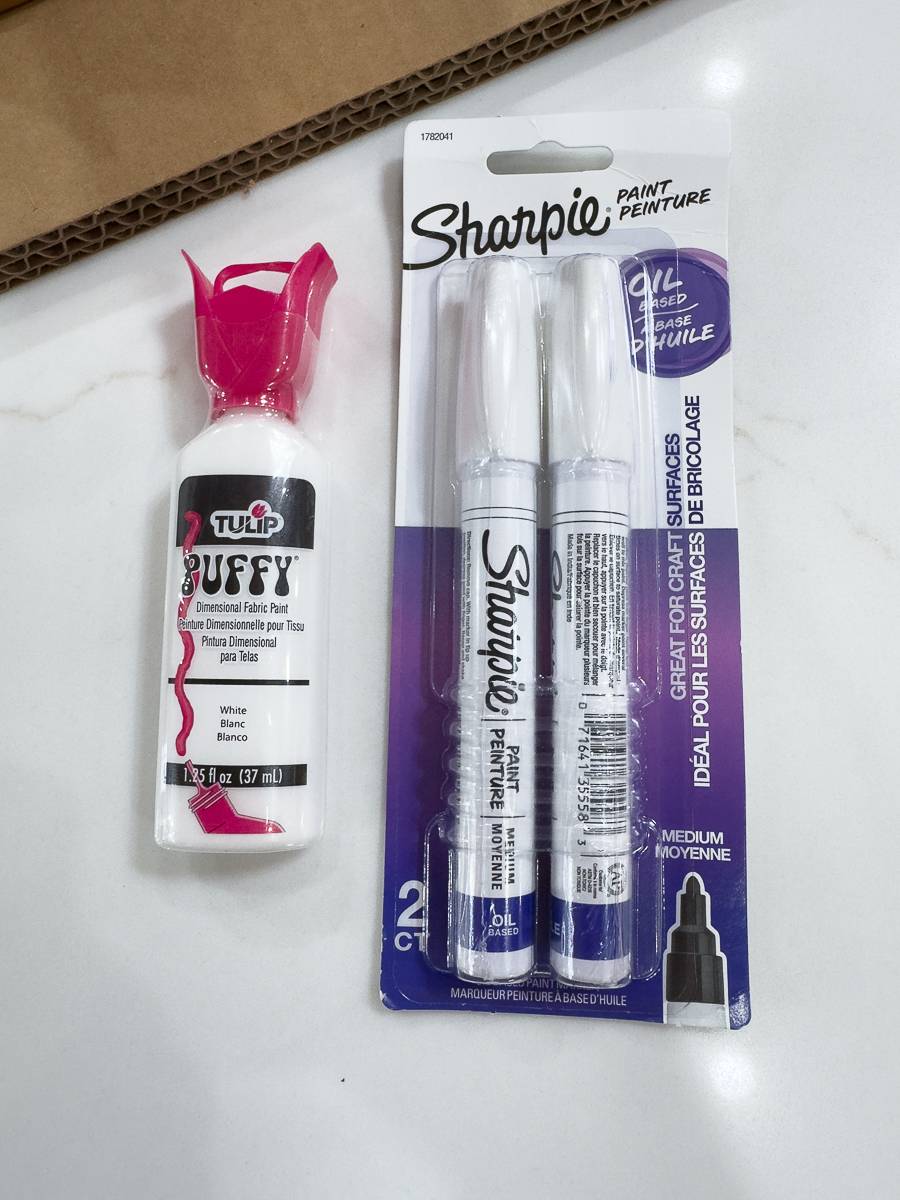
- Tulip Dimensional Fabric Paint (Puffy White) (I used 2)
- Sharpie Oil-Based Paint Markers, medium point (2-pack)
- Dawn Power Wash (for cleaning)
- Soft scrub brush
- Painting blocks or scrap wood (to elevate pieces for full-coverage spraying)
- Drop cloths & old sheets (to protect your work surface)
- Battery-operated fairy lights, tea lights or remote/timer candles
- Frosted greenery, bottle brush trees, candy cane ribbon trees, and any other seasonal accents
Step-by-Step Makeover
Clean Your Finds
Spray each house with Dawn Power Wash and gently scrub with a soft brush to remove years of dust and grime.

Rinse in the sink and let dry on a counter for 24 hours.
Prep for Painting
Lay out old sheets or a drop cloth in a well-ventilated area.
Raise each house on a painting block so you can spray from every angle—even upside down.
Spray-Paint Base Coat
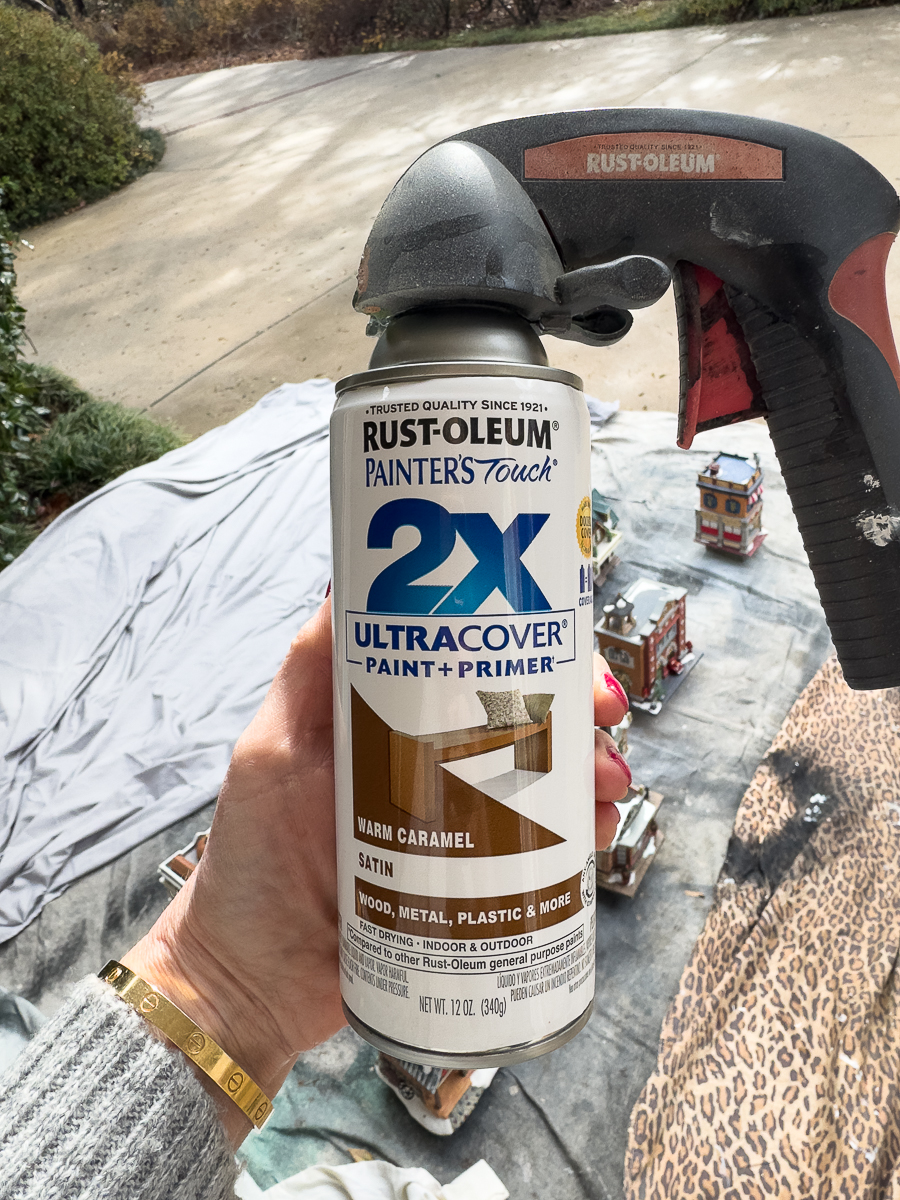
Attach the Comfort Grip handle to your spray can for extra control and a smoother finish.
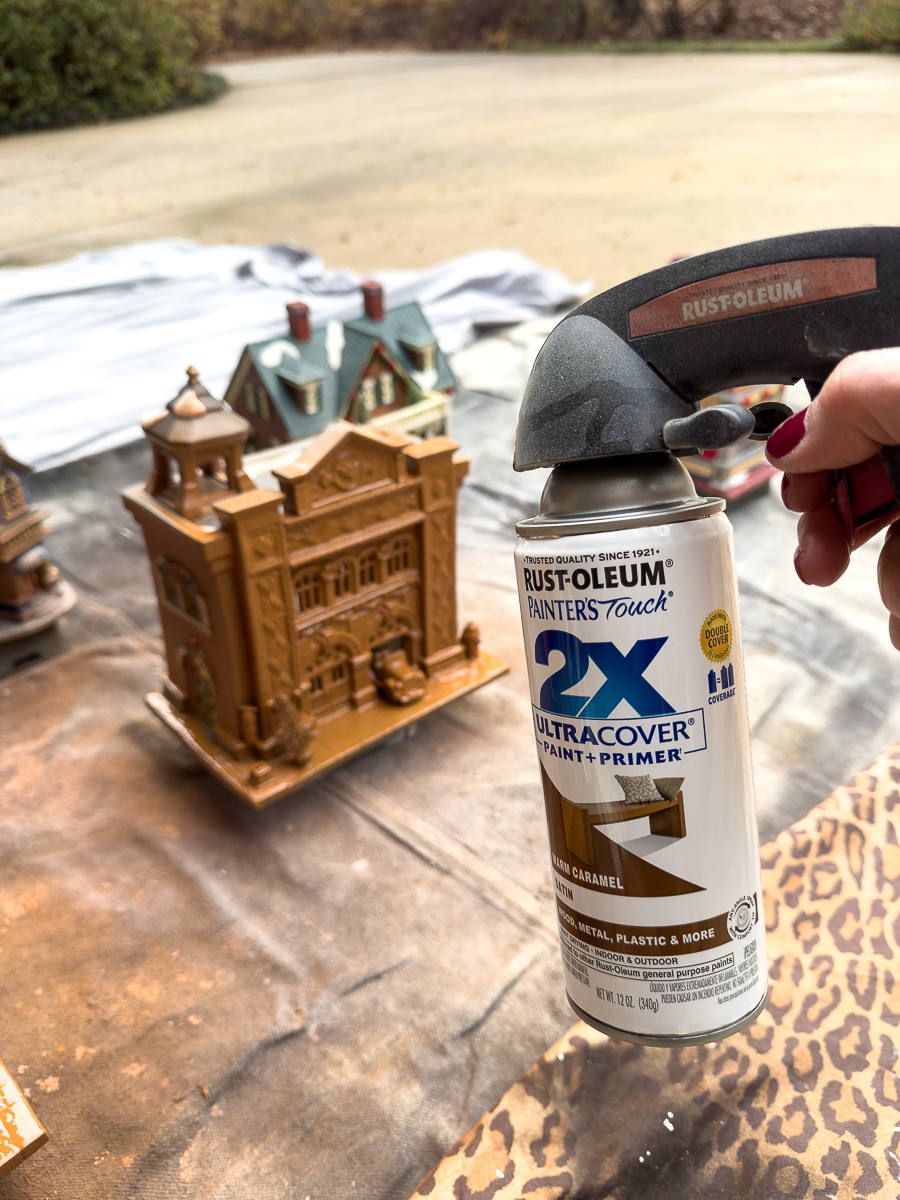
Apply two light coats of Warm Caramel, allowing 10–15 minutes between coats. This paint covers beautifully, so you won’t need a third.
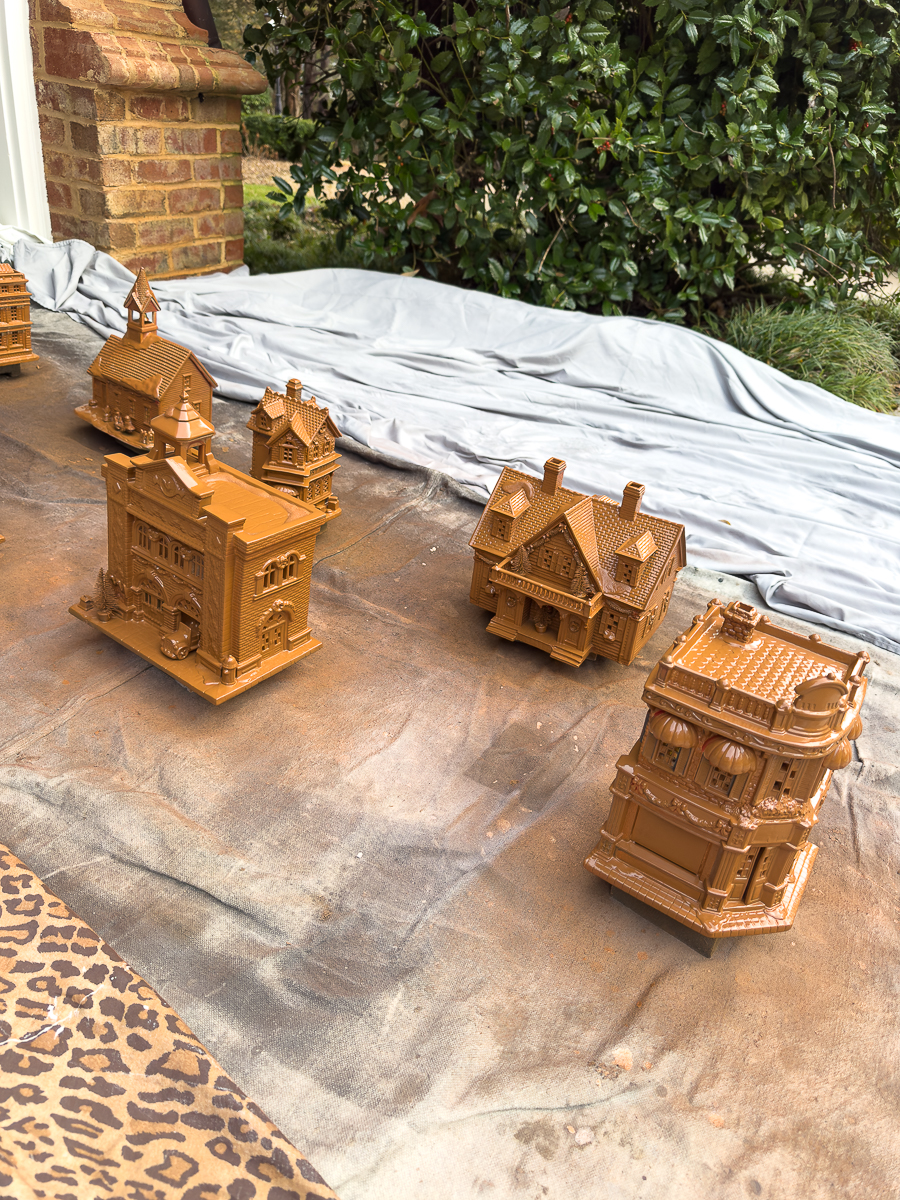
I let them dry outside for a couple of hours. I then transferred them to the garage to dry for 24 hours.
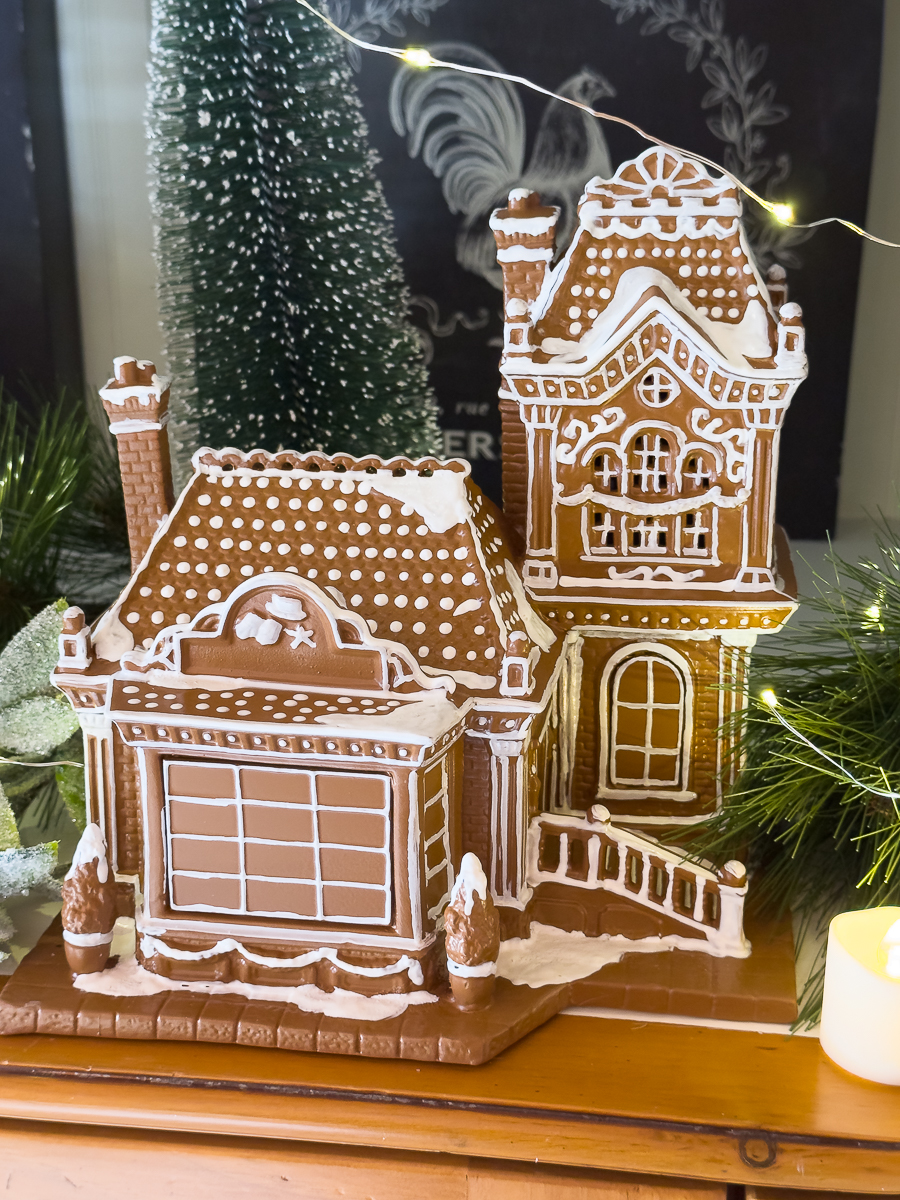
Add “Icing” Details
Bring your dried houses to a comfortable spot (I worked at my kitchen island!).
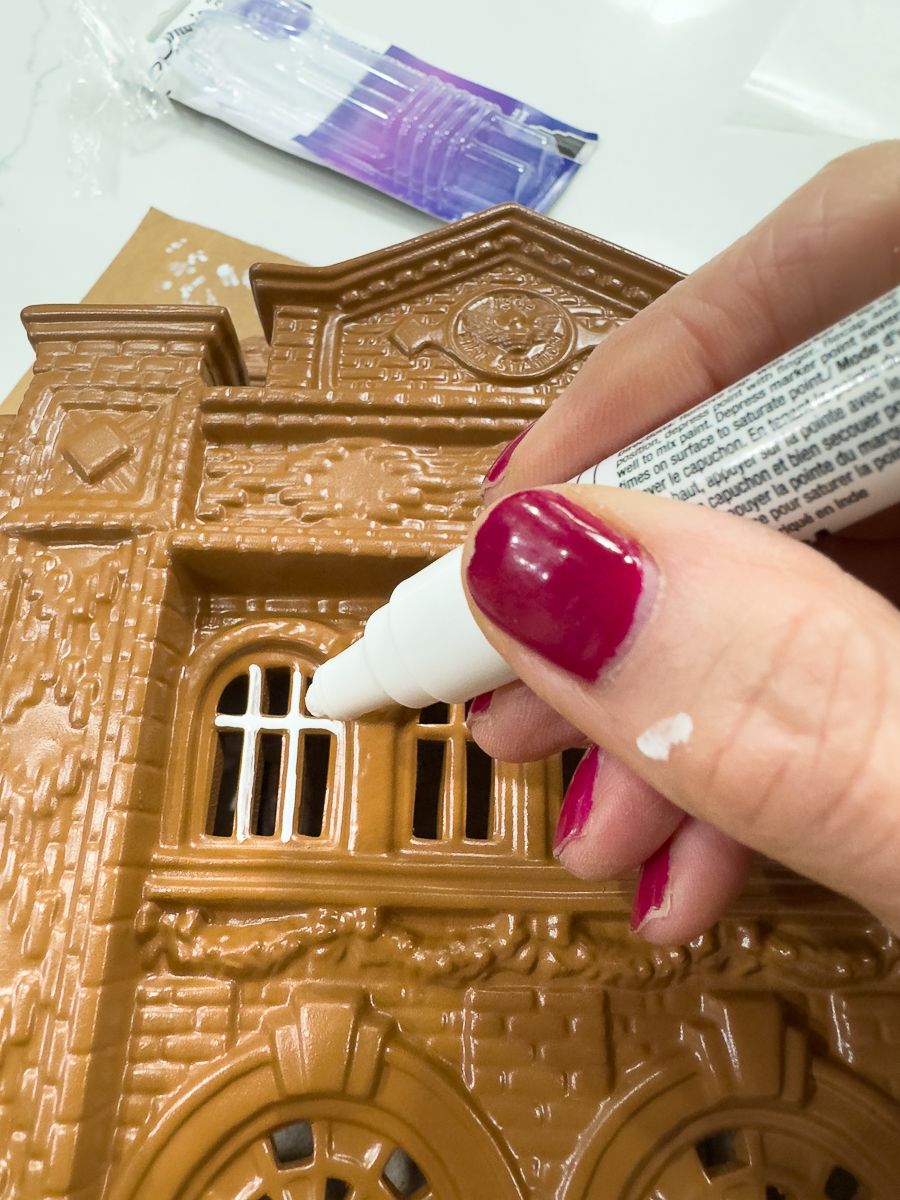
For small accents (windows, doors, rooftop trim), switch to the oil-based paint markers. Don’t stress about perfection; once you get in the groove, it goes surprisingly fast!
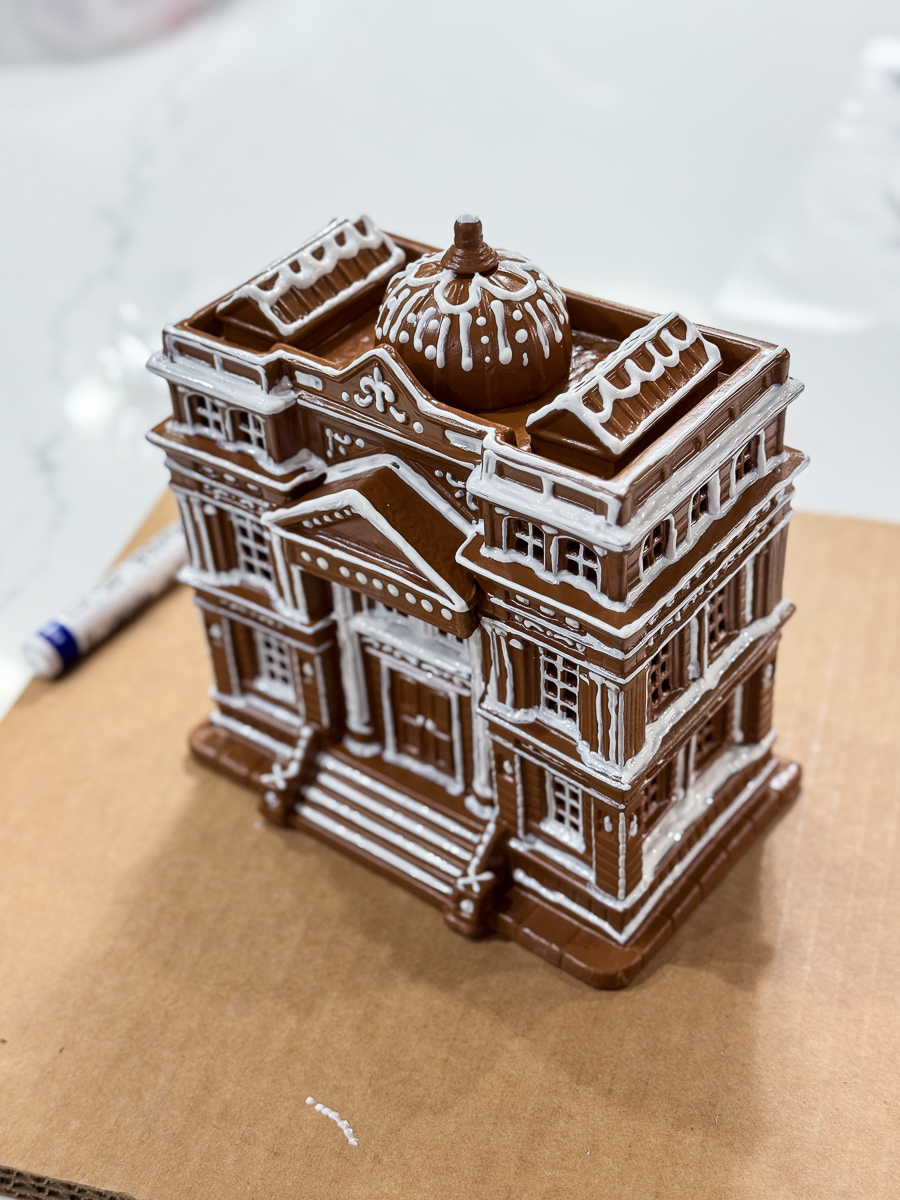
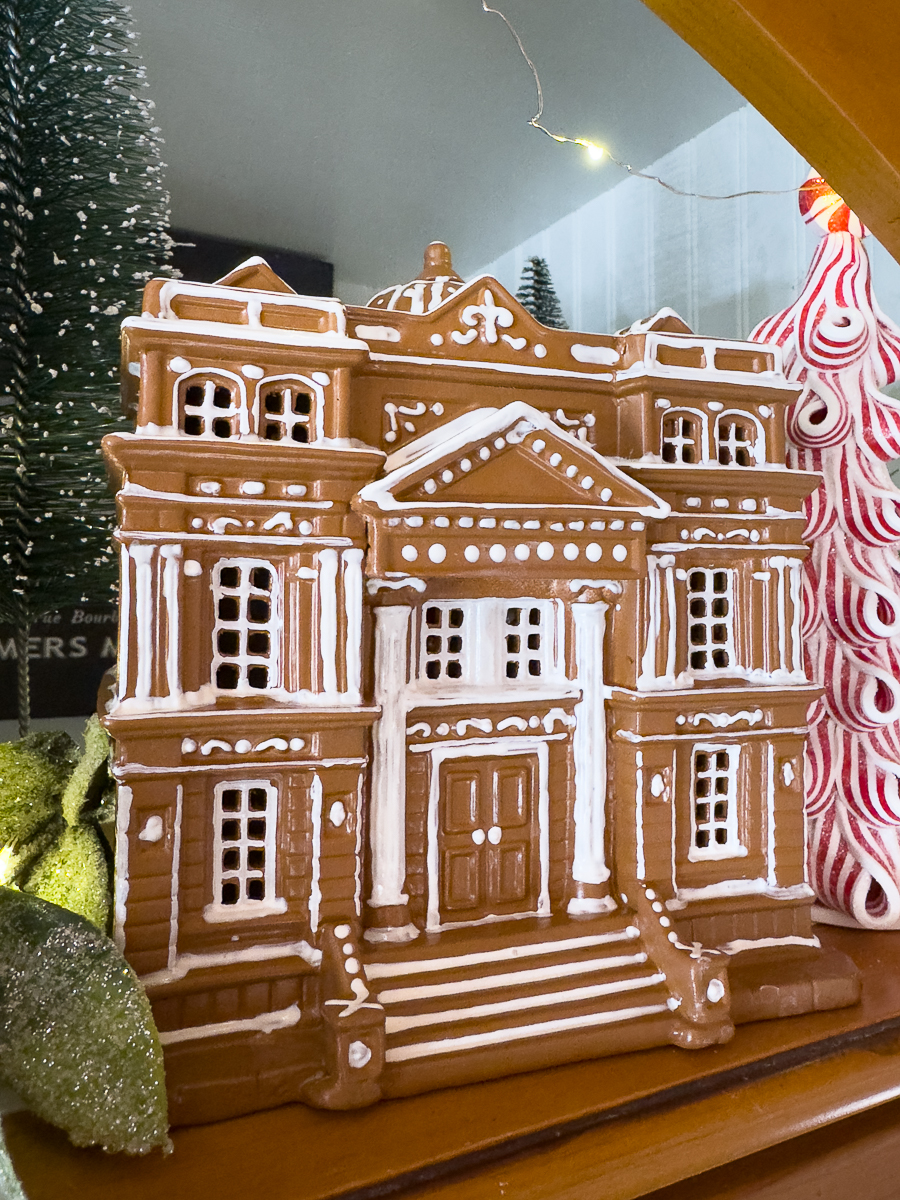
Use Puffy White fabric paint to pipe snow-drifts and icing swirls—this gives delightful dimension. I did not paint the backs of the houses with white paint.
Allow painted details to cure for 36–48 hours before styling.
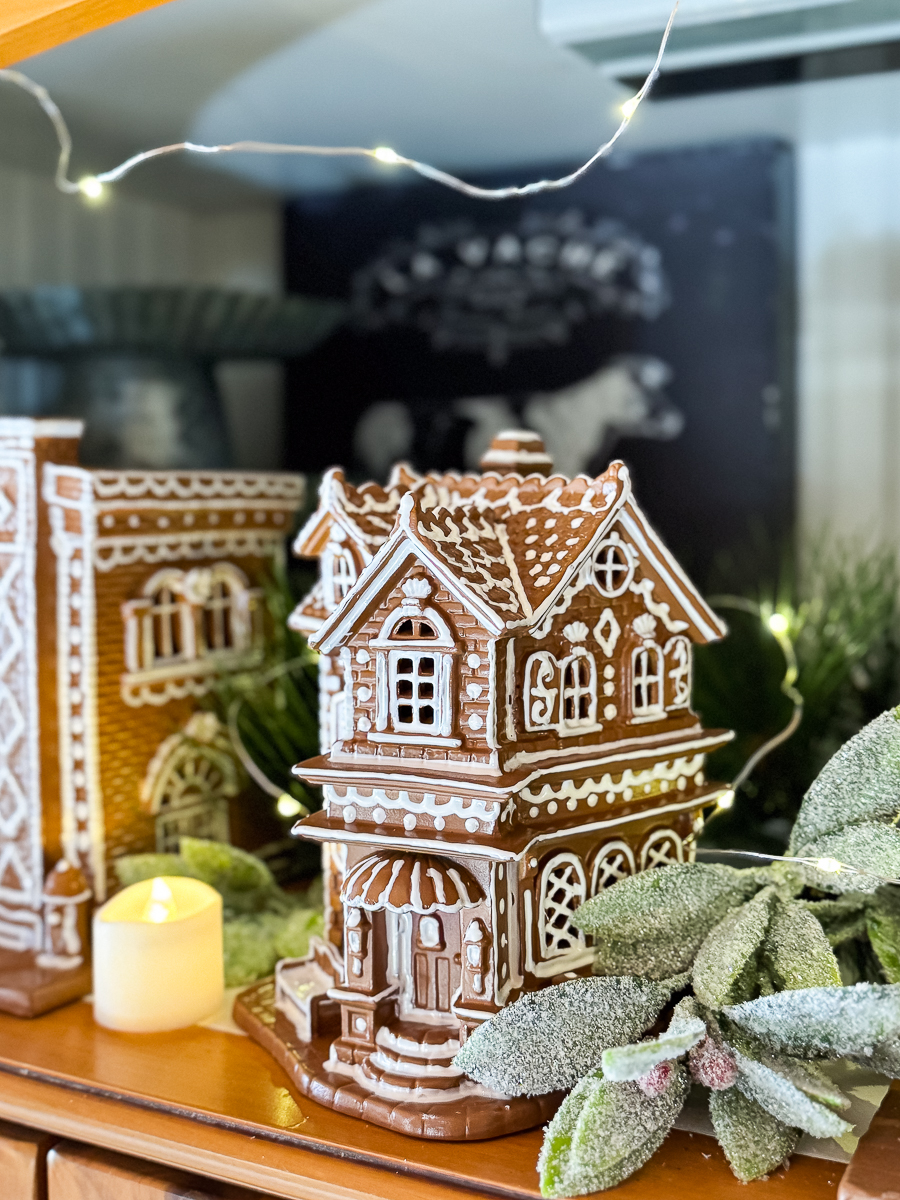
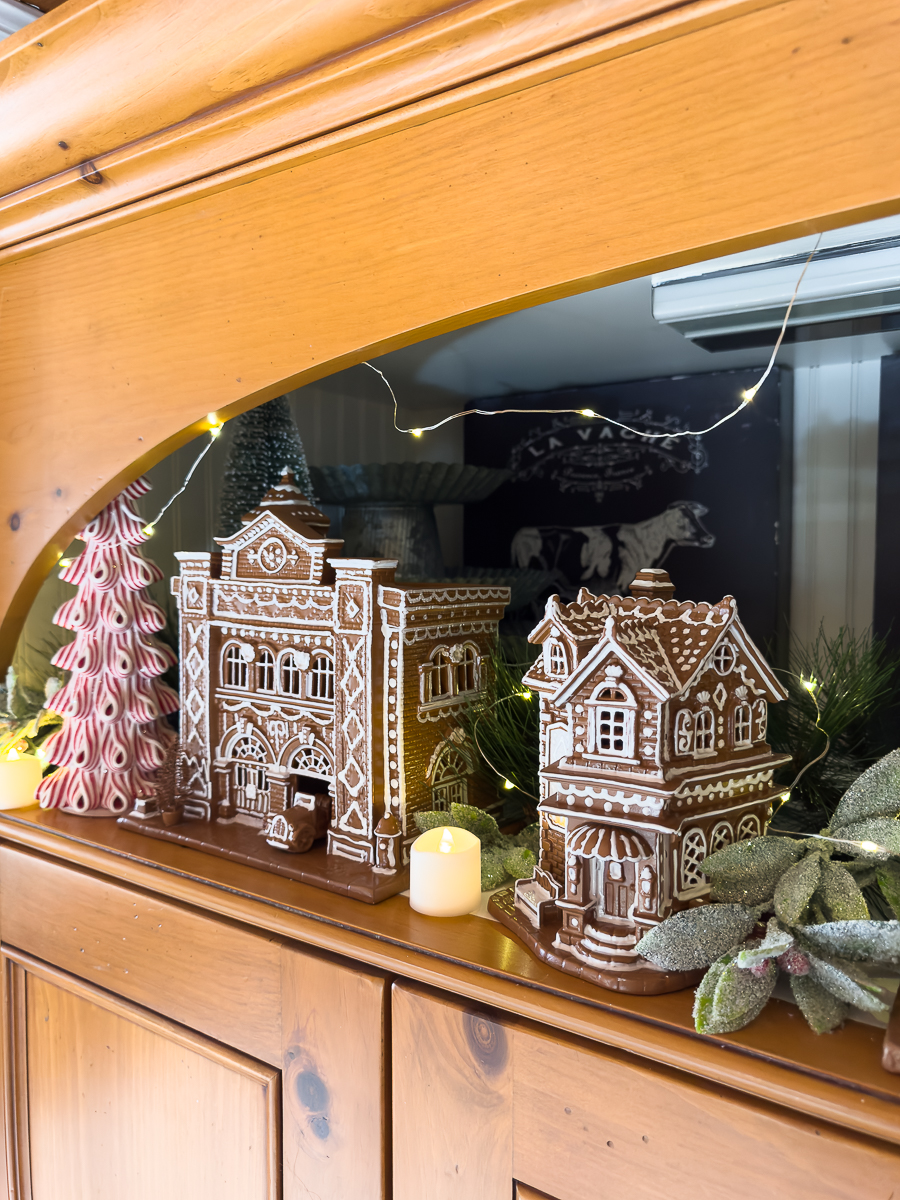
Styling Your Gingerbread Village
Once your houses are fully dry, it’s time to bring them to life.
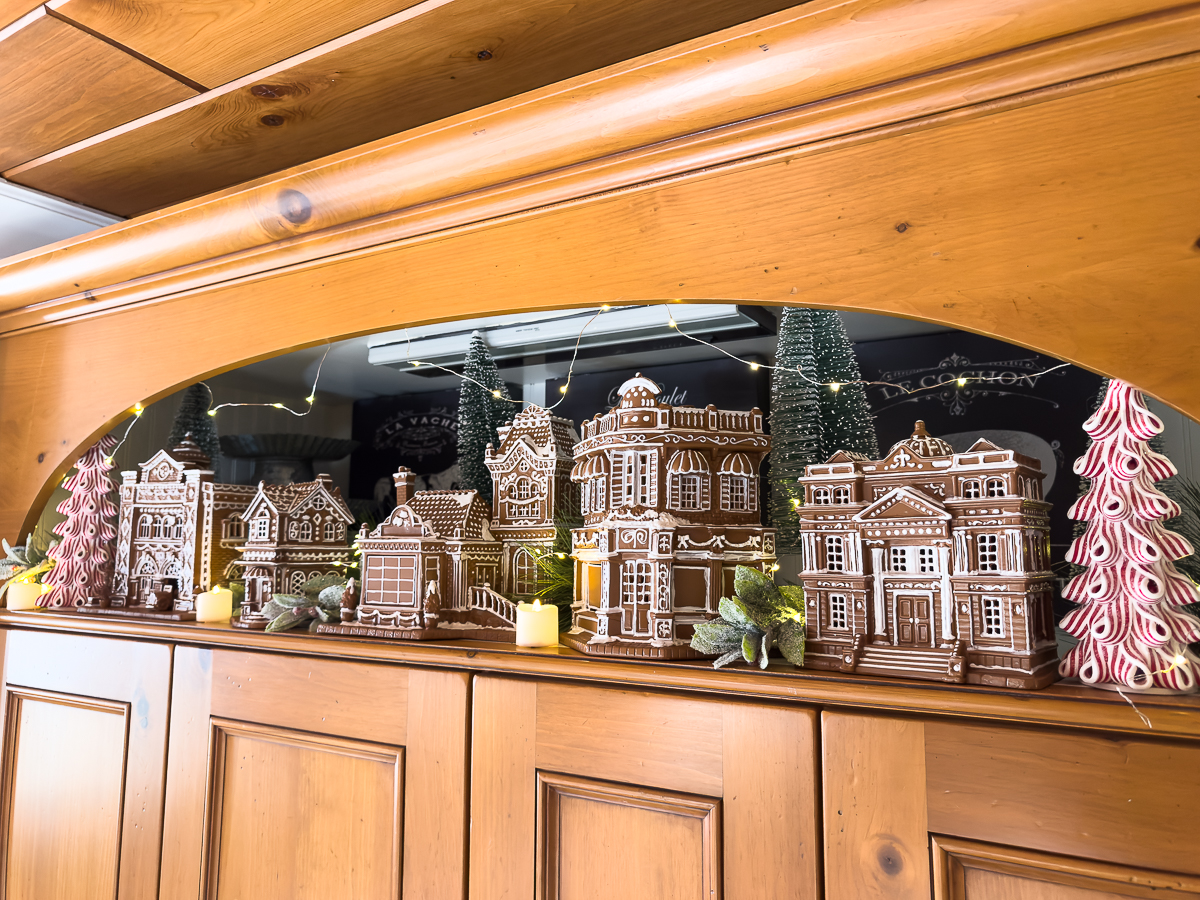
I completed this gingerbread village last year, about a week before Christmas. It brought me so much joy to look at it while cooking and doing dishes.
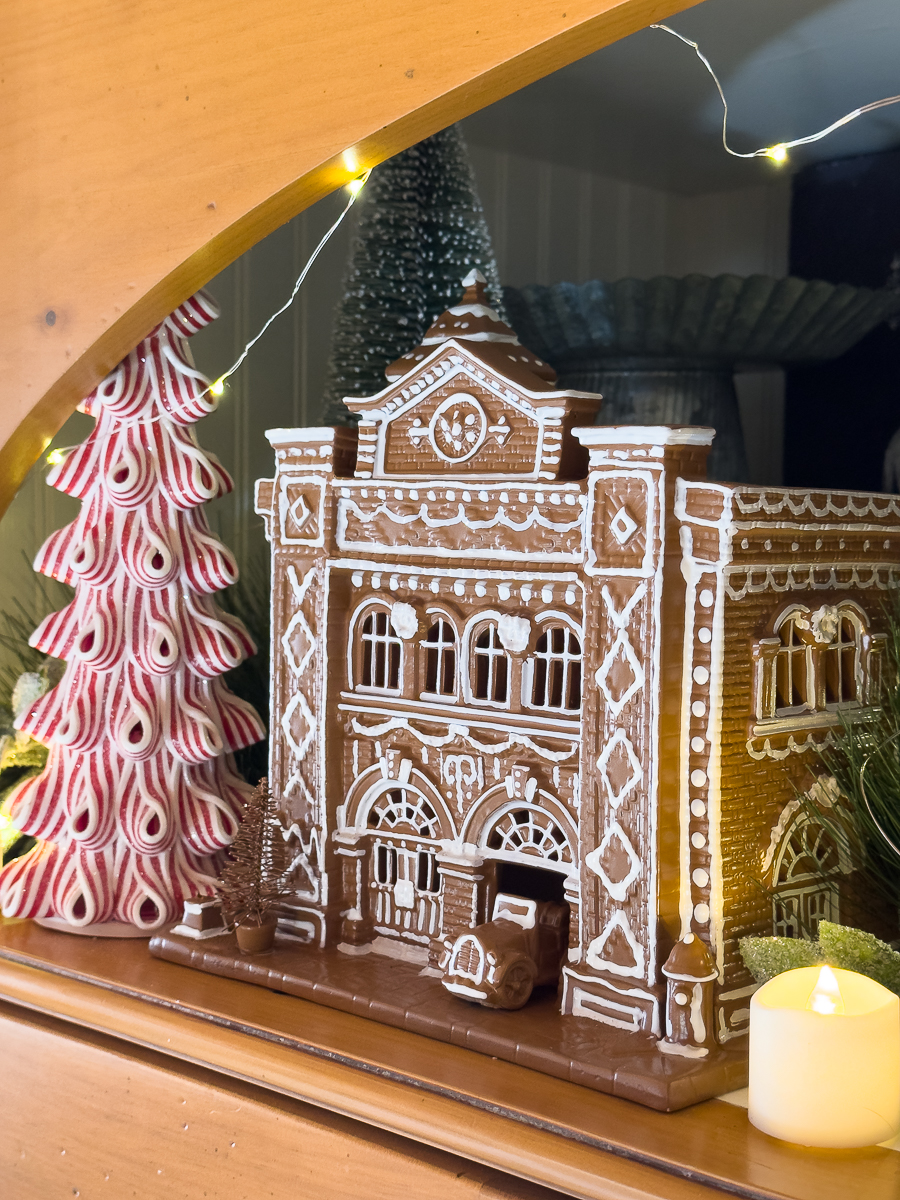
Lighting: Tape a string of fairy lights inside the archways and along rooftops. Add battery-operated tea lights (with timers or remote controls) for extra glow.
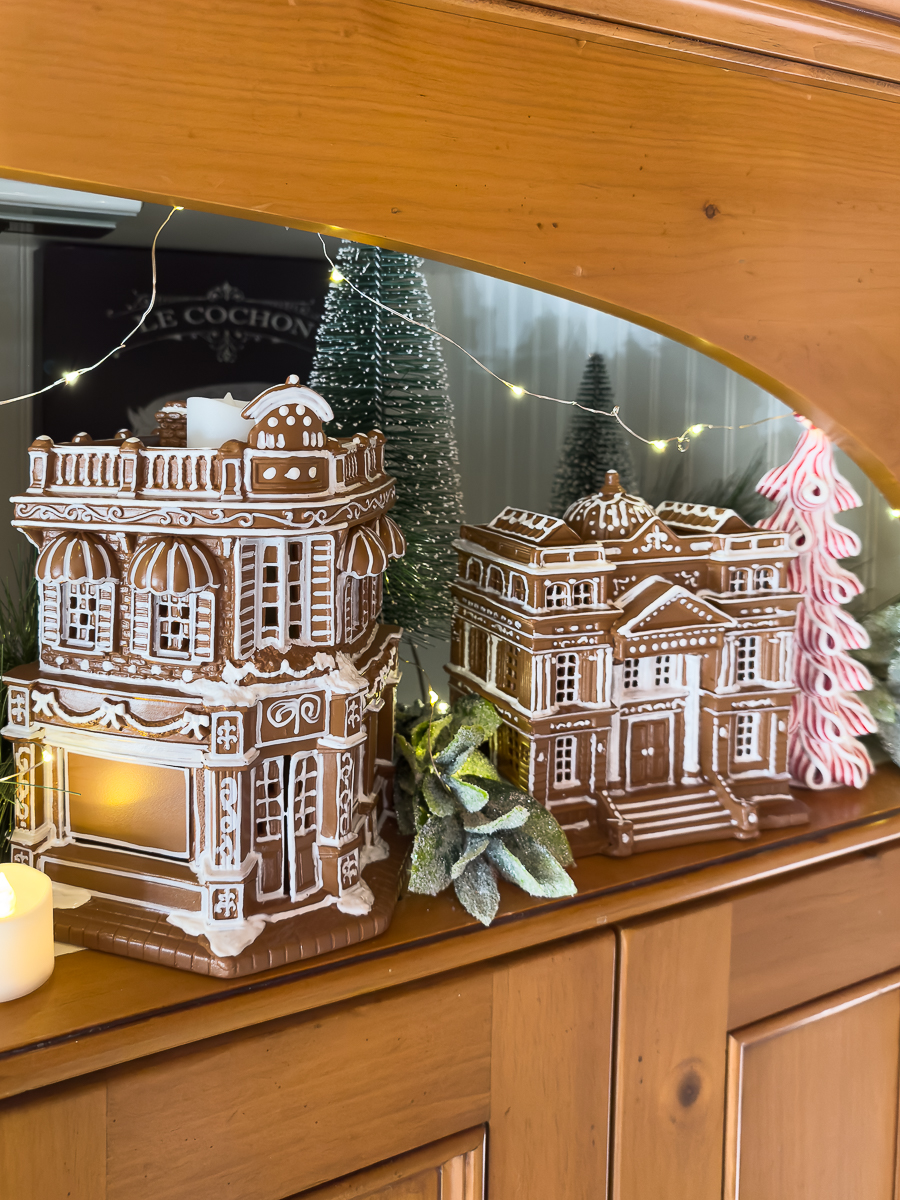
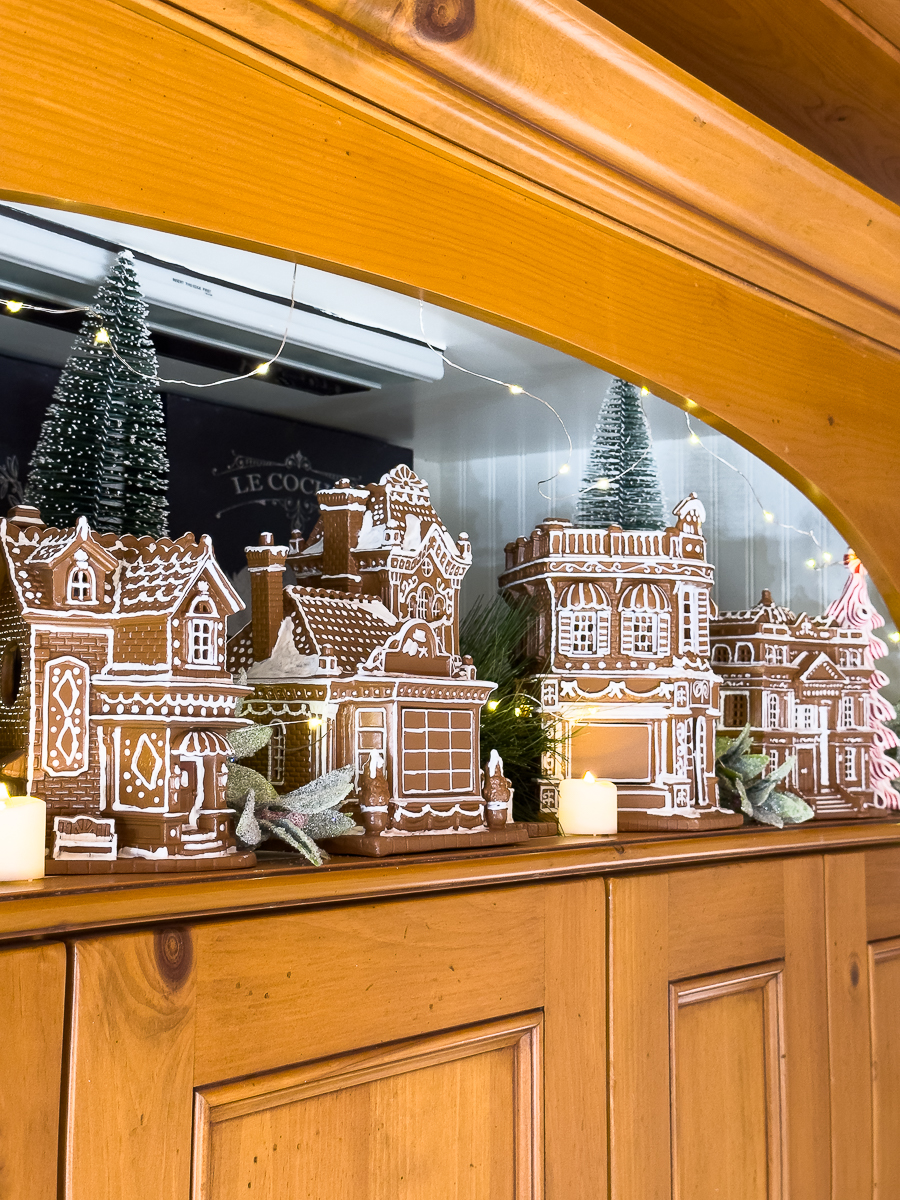
Greenery & Trees: Tuck frosted sprigs and bottle brush trees around the base.
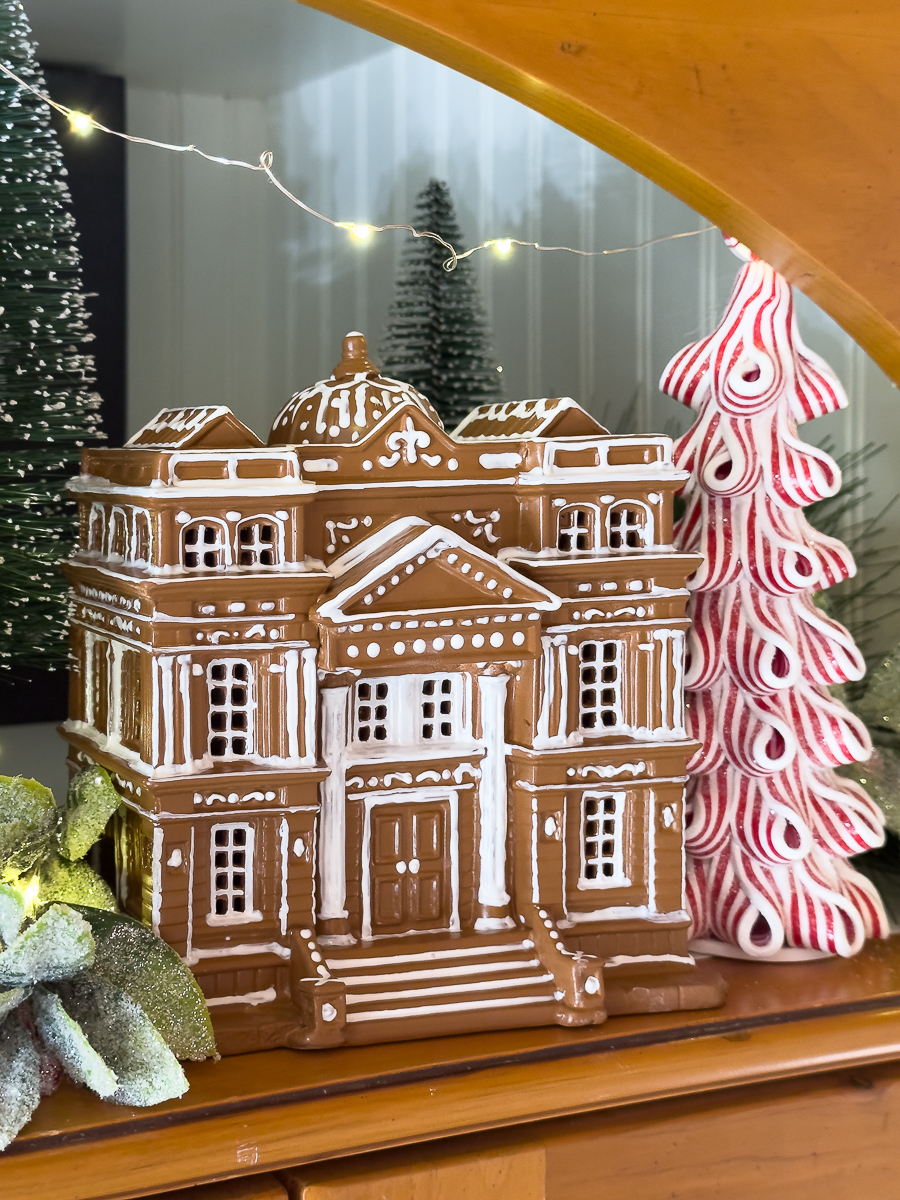
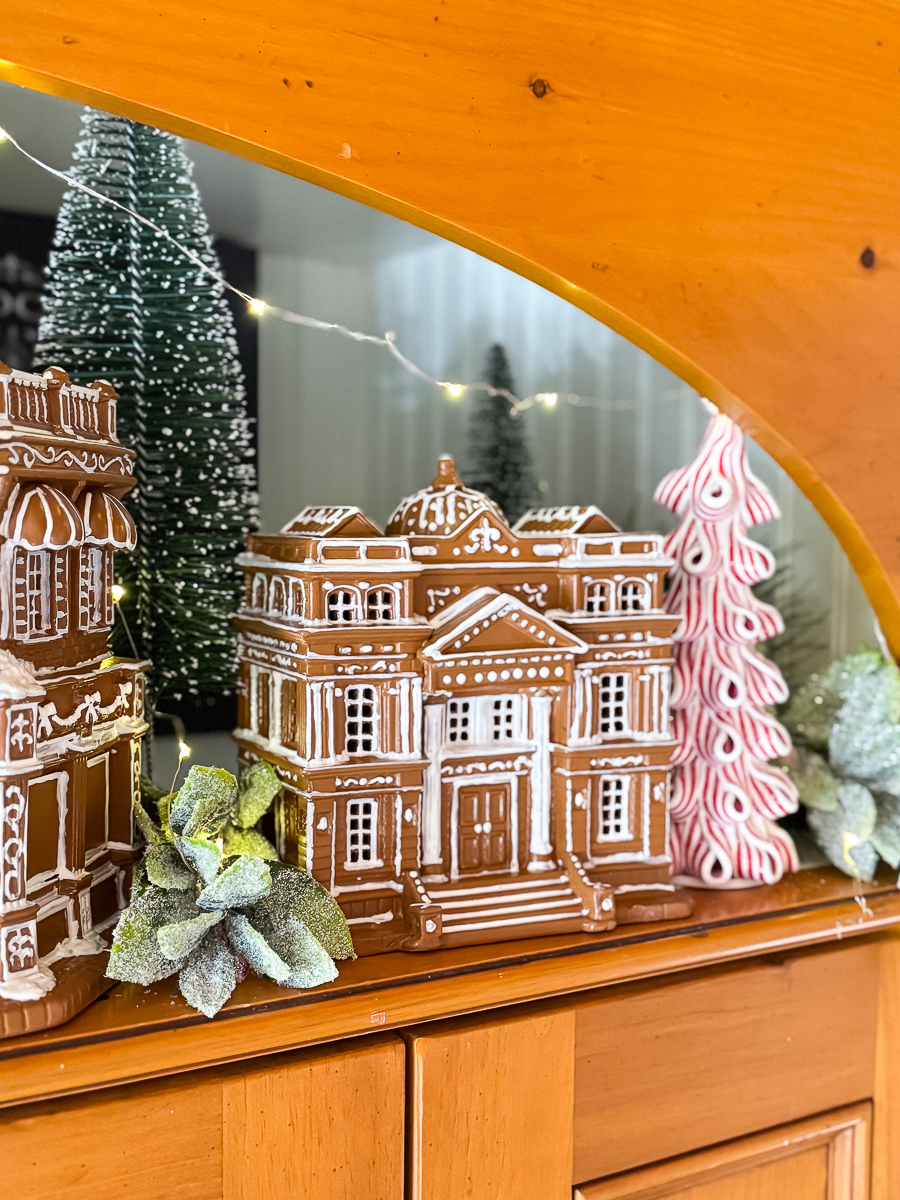
Candy Cane Ribbon Trees: You can craft mini trees by winding candy cane–patterned ribbon around foam cones. I found these at Hobby Lobby last year.
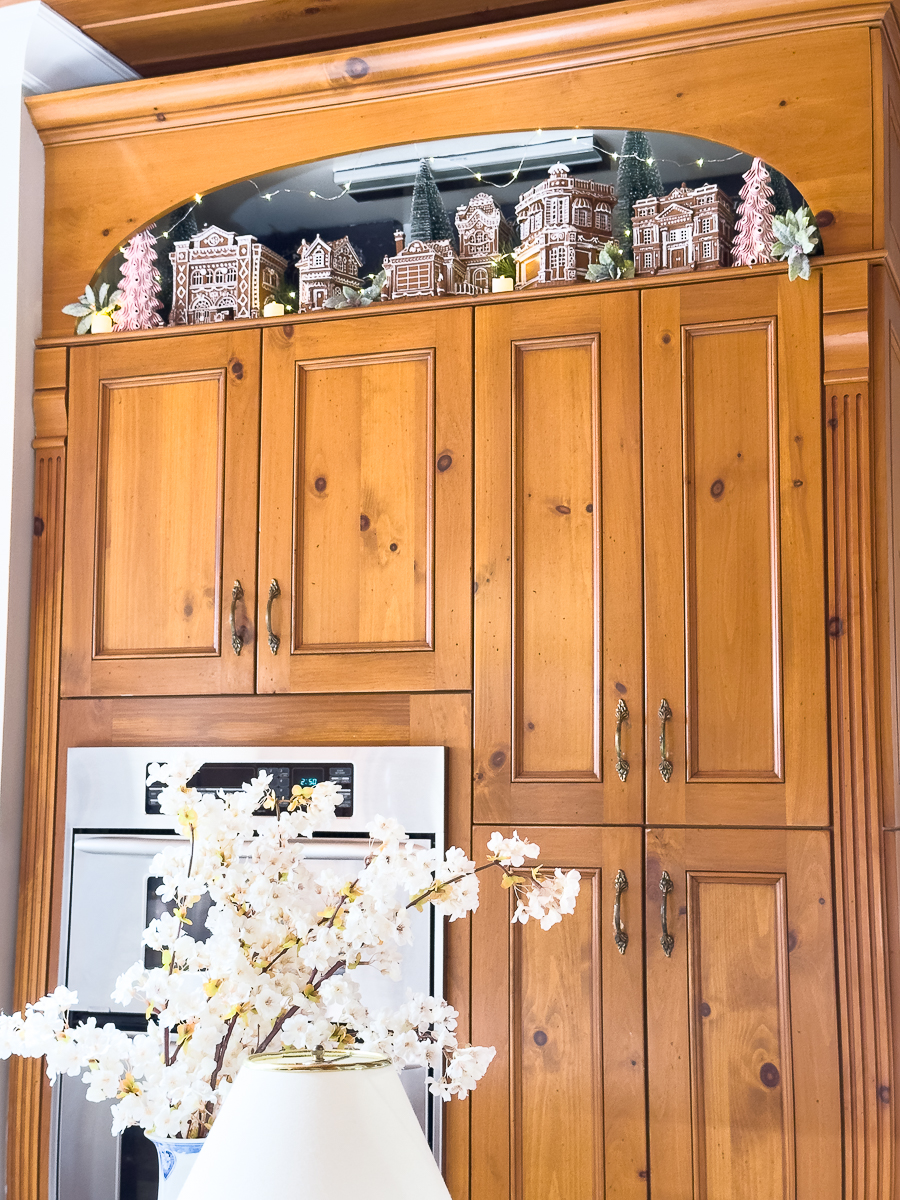
Who knows where I will place these this year, but I believe they will go right here. They would also be great as a centerpiece or even on a mantel. I could break up the set around the kitchen as well, but I like the impact of one large village. I do not have all 8 here. They wouldn't fit.

I decided not to store these in the attic. I have them in a spare bedroom closet on the top shelf.
I’m over the moon with how this turned out—and I know sweet Phoebe (granddaughter) will be just as enchanted this Christmas!
PRO TIP!
Christmas villages pop up year-round in thrift shops, Facebook Marketplace, and yard sales. Hunting down those treasures now means you’ll be ready for holiday decorating—and you might even find pieces at a fraction of holiday-season prices! Do yourself a favor…..If you think you want to do this project, buy your paint supplies now. I struggled to find mine so close to Christmas.
More Thrift Store Decor from the Team
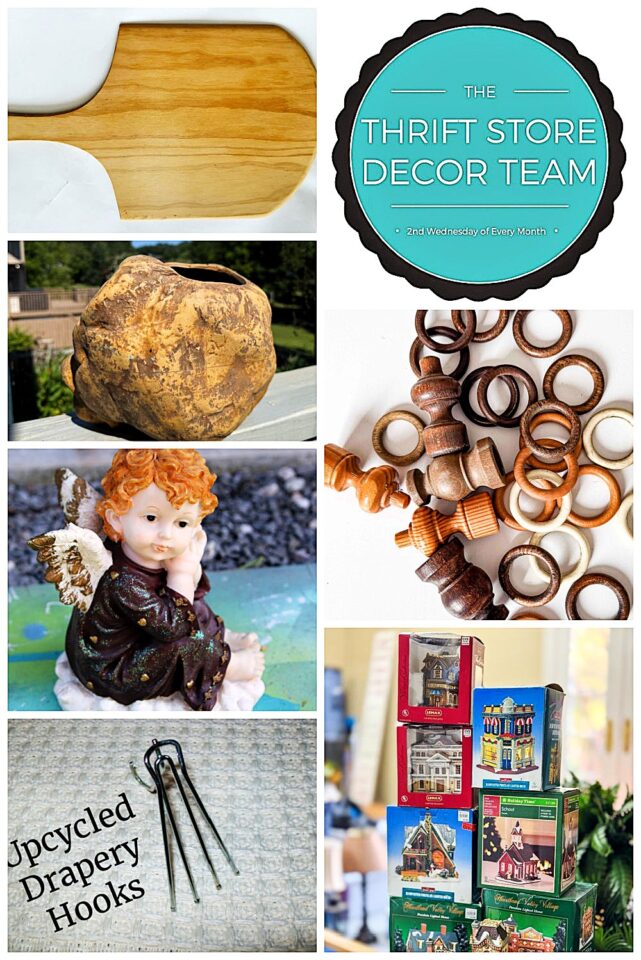
Upcycled Drapery Hooks by My Repurposed Life
Paint A Plastic Cherub Statue by Petticoat Junktion
Faux Rock Finish by Shop at Blu
Double-Sided Decoupage Cutting Board by Our Crafty Mom
Curtain Rings Candle Holders by Songbird
Gingerbread Village by Our Southern Home (you are here)
I hope this inspires you to start your own thrifted gingerbread village. Drop a comment below if you try it—or let me know your best thrift-store score! 🎄✨


Christy has been creating content for Our Southern Home since 2012. She has been featured in numerous print and online publications. Her classic, eclectic design approach spans her home and fashion style. Christy has a way of mixing store-bought with thrift store, antique and vintage finds. As a recent empty nester, she is having fun navigating this new stage of life. Read more about Christy HERE. Be sure to subscribe below. You can also contact me HERE.


Christy these are fabulous! What a spectacular change! This is on my list. Pinned!
Oh my gosh Christy, your gingerbread village is so adorable! It inspires me to do something similar! Thanks for all the great tips.
Pinned!
gail