
How to Refinish a Vintage Thrift Store Mirror
Turn a $9.99 Goodwill mirror into a timeless treasure—strip, tone down orange oak with a custom Minwax mix, and seal in a soft matte finish.
Latest from OSH
- Traditional Den Decorating Ideas for a Cozy Home
- How to Refresh a Thrifted Classic Ginger Jar Lamp
- Easy Summer to Fall Decorating with Collected Decor
- Easy Rattan Furniture Refresh with New Seat Fabric
- Simple Layered Summer Tablescape with Collected Decor
This post may contain affiliate links. If you purchase something using one of my links, I may earn a small commission from the retailer costing you nothing more. You can read more on my disclosure page. Christy Little of Our Southern Home is a participant in the Amazon Services LLC Associates Program, an affiliate advertising program designed to provide a means for sites to earn advertising fees by advertising and linking to amazon.com.
Thrift Store Makeover Day

Join us each month for NEW thrifty ideas from the team. You'll find links to all of the projects below.
Use the slider below to see the before and after!


It's amazing what reclaiming the original wood of a piece can be! While the list of supplies and work may appear daunting, this would be the perfect beginner-friendly furniture stripper project!
Why this makeover works
Budget-friendly: A $9.99 mirror + supplies we already had on hand.
Real wood glow: Stripping back to the oak lets the grain shine.
Tone-correcting stain: A custom mix softens the orangey cast that oak can have.
Matte sealer: Keeps it looking vintage, not plasticky.
Supplies Used
I have divided the supplies into sections to make it easier for you to complete in stages.
Mirror & Prep
- Solid wood mirror
- Heavy-duty staple gun & staples (for reinstalling glass)
- Sawhorses
- Drop cloth + plastic sheeting
- Disposable gloves, eye protection, and mask/respirator rated for organic vapors
- Rags + paper towels
Stripping & Cleanup
- Jasco® paint/finish stripper
- Chip brush for applying stripper
- Scraper
- This scraper is a must!
- Stripping pads (coarse + medium)
- Small wire brushes (detail crevices)
- Acetone (for wipe-down)
- Old metal can or a disposable container for waste
Sanding
- Palm sander + sandpaper (120, 180, 220 grits)
Finishing
- Pre-stain wood conditioner (oil-based)
- Minwax® Provincial stain
- Minwax® Classic Gray stain
- Foam brush or inexpensive bristle brush
- Polycrylic, clear matte
- Mirror hanging hardware
Safety First!
Work outdoors or in a very well-ventilated area. Wear gloves, eye protection, and an appropriate respirator. Keep chemicals away from heat/flame, read and follow all label directions, and dispose of waste per your local regulations.
How-To Refinish a Mirror
Disassemble & Set Up
- Remove the glass: Flip the mirror over and carefully remove the backing, staples, and glass. (It’s much easier—and safer—to strip and sand without the glass.)
- Cover the floor/work surface with plastic sheeting and add a drop cloth on top. Set the frame on sawhorses for good access.
Strip the Old Finish
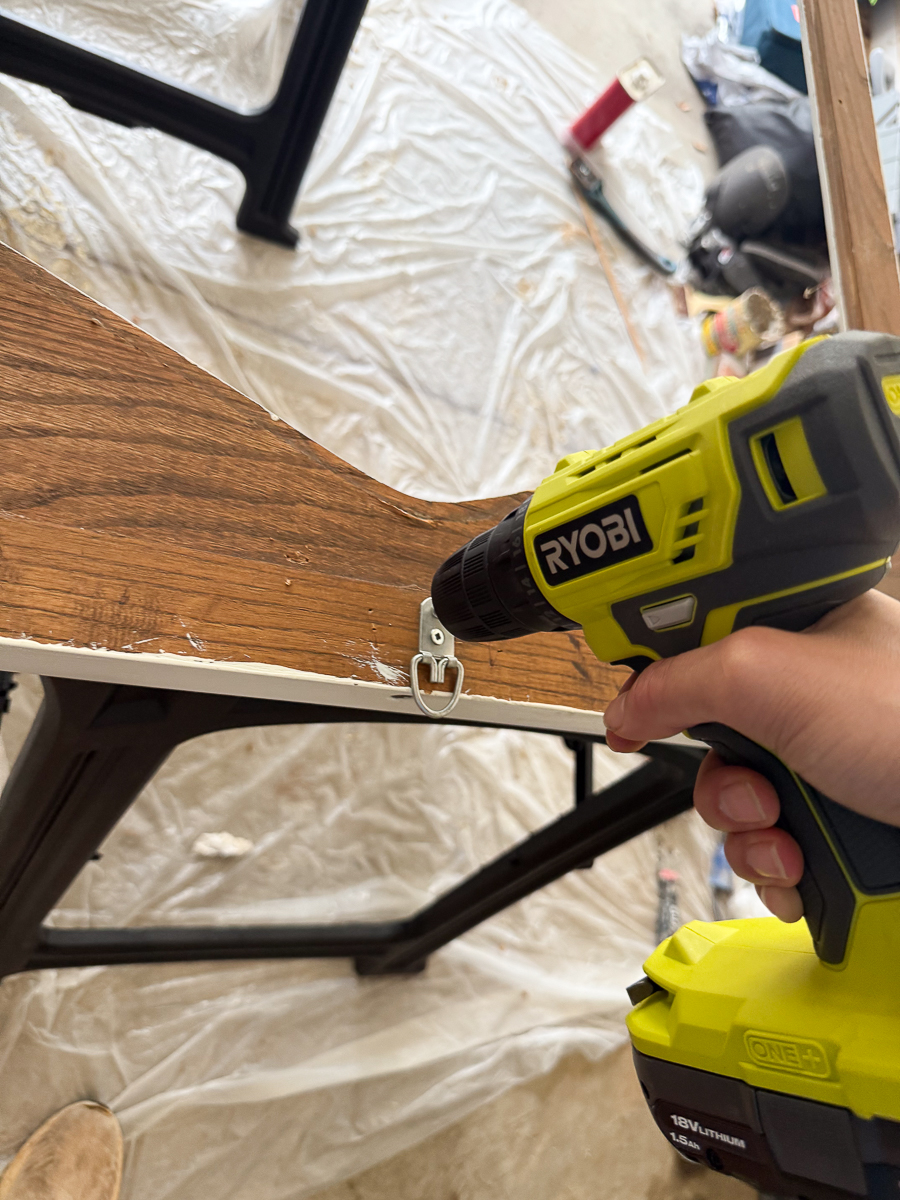
- Brush on Jasco stripper per the container directions using a chip brush. Work in sections.
- When the old paint/finish wrinkles, use a scraper to lift it off. Deposit the residue into an old can (do not pour down drains).
- Use stripping pads and small wire brushes to get into details and crevices until the wood is clean.
- Wipe the frame with acetone to remove stripper residue and let it dry.


Sand Smooth
- Sand with 120 grit, then 180, finishing with 220 for a smooth surface.
- Wipe again with acetone (or a tack cloth) to remove dust.


Condition the Wood
- Apply an oil-based pre-stain wood conditioner following the label directions. This step helps prevent blotchiness on raw oak.
- Allow it to penetrate and dry as directed.`


Create a Tone-Correcting Stain Mix
Oak can lean yellow/orange. To counter that, I mixed:
- 3 tablespoons Minwax Provincial
- 2 tablespoons Minwax Classic Gray
Stir well in a disposable container. Test the color on the back of the frame or a hidden spot first.


Stain the Frame
- Apply the stain with a foam brush (or inexpensive bristle brush you can toss). Work with the grain.
- Let it sit about 5 minutes, then wipe back with a clean, lint-free rag until you love the tone.
- Allow to dry 48 hours for best results.


Seal in a Vintage Matte
- Brush on 1 coat of clear matte Polycrylic. (For extra durability, you can add a second light coat after the first is fully dry.)
- Let dry overnight.
Reassemble & Hang
- Reinstall the glass and secure with a heavy-duty staple gun—I add one staple at the center of each side, then staple generously all the way around. The glass is heavy.
- Add D-rings and picture wire rated for your mirror’s weight (or French cleat). Make sure hardware screws into solid wood.
- Use appropriate wall anchors or screw into a stud. Be safe and follow the hardware ratings.


Finish Notes & Tips
- Tweak the tone: If your oak still reads too warm, bump up the Classic Gray ratio a bit (always test first!).
- Detail work: For stubborn paint in carvings, use a toothpick or detail brush with stripper, then a quick acetone wipe.
- Why conditioner matters: Especially on oak and pine, conditioner helps stains absorb more evenly and prevents those cloudy patches.
Style It!
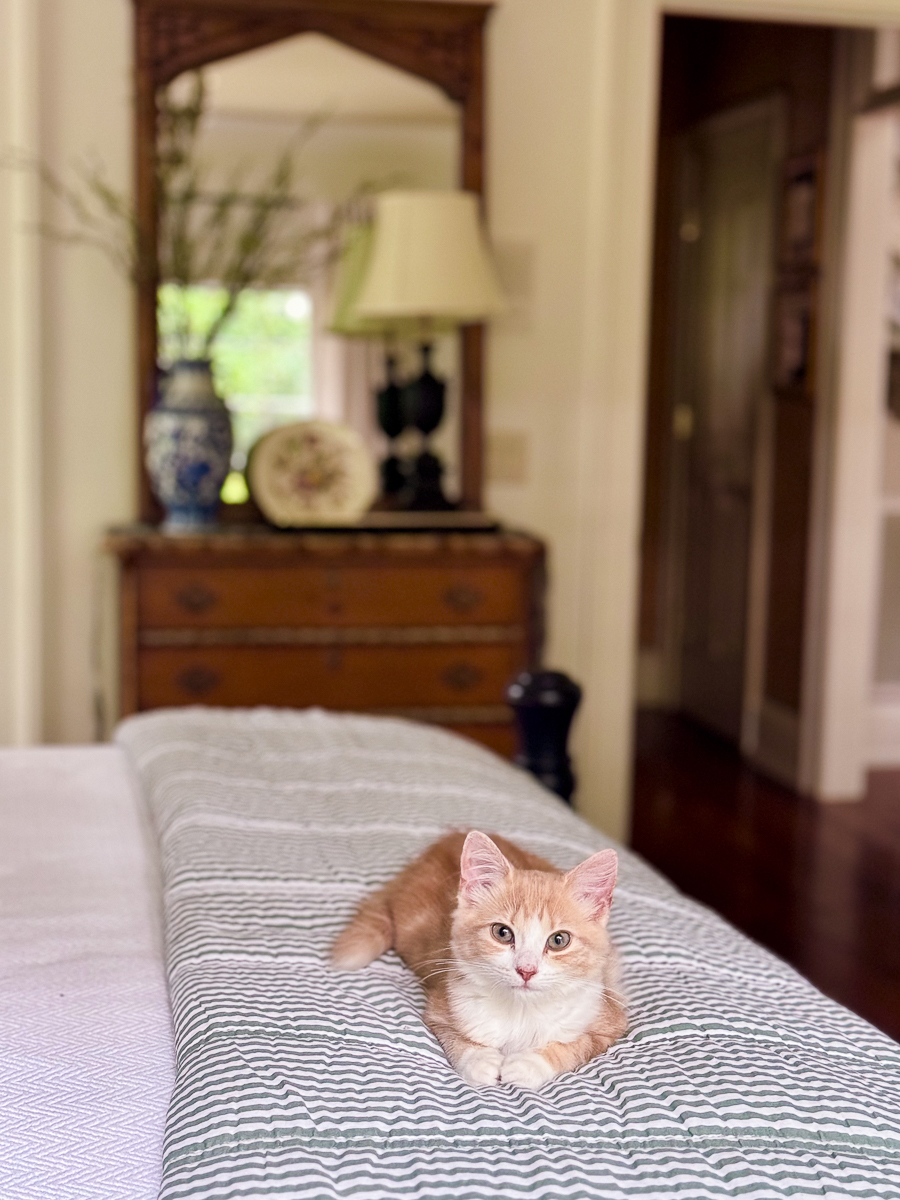
I styled the finished mirror in our guest room and instantly fell in love—so much that I joked with Ashlyn that it might not leave. 😉 But truly, I’ll be delivering it to their house for Sunday dinner, and I’ll update this post with photos once it’s hanging over their gray dresser. It’s going to be gorgeous.
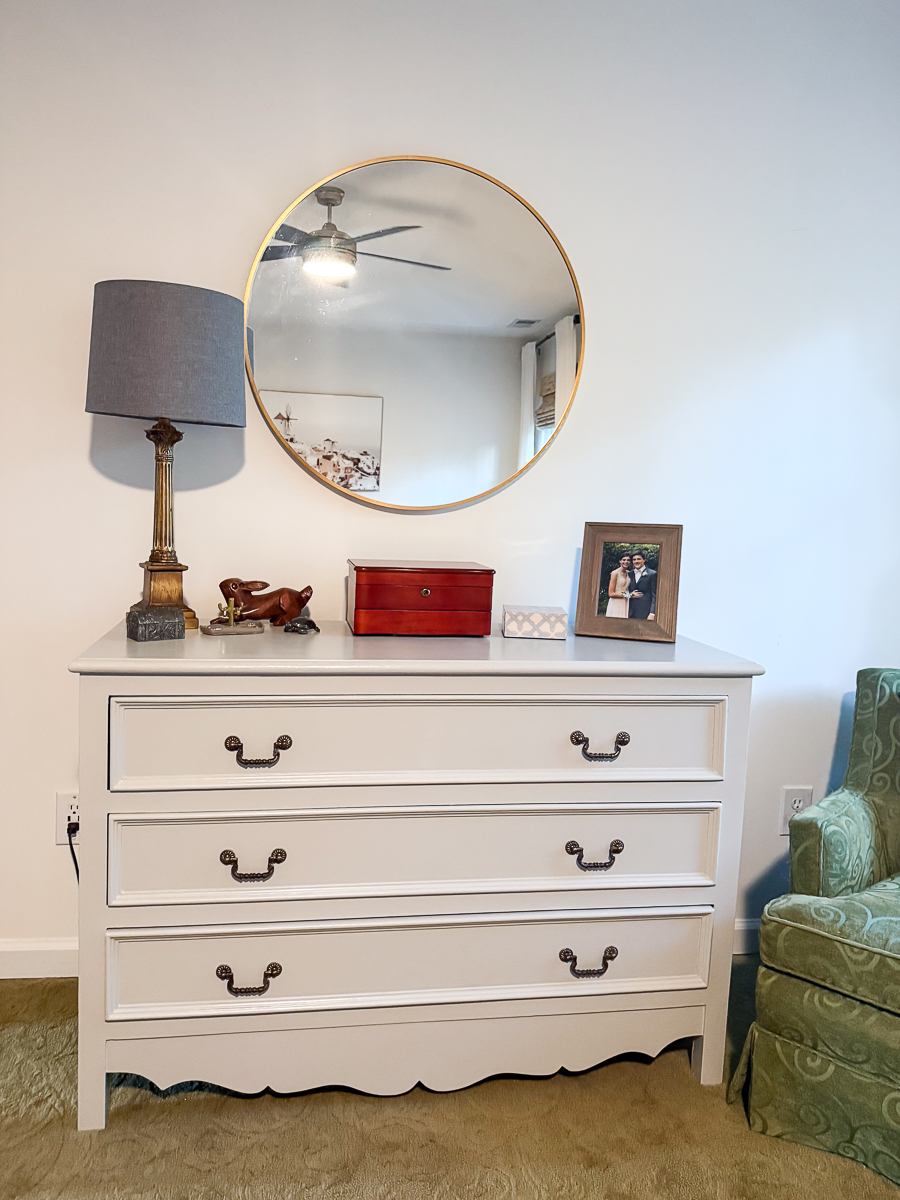
This is one of the dressers in Tim and Ashlyn's bedroom. It was from her childhood room. She painted it several years ago while living at home.
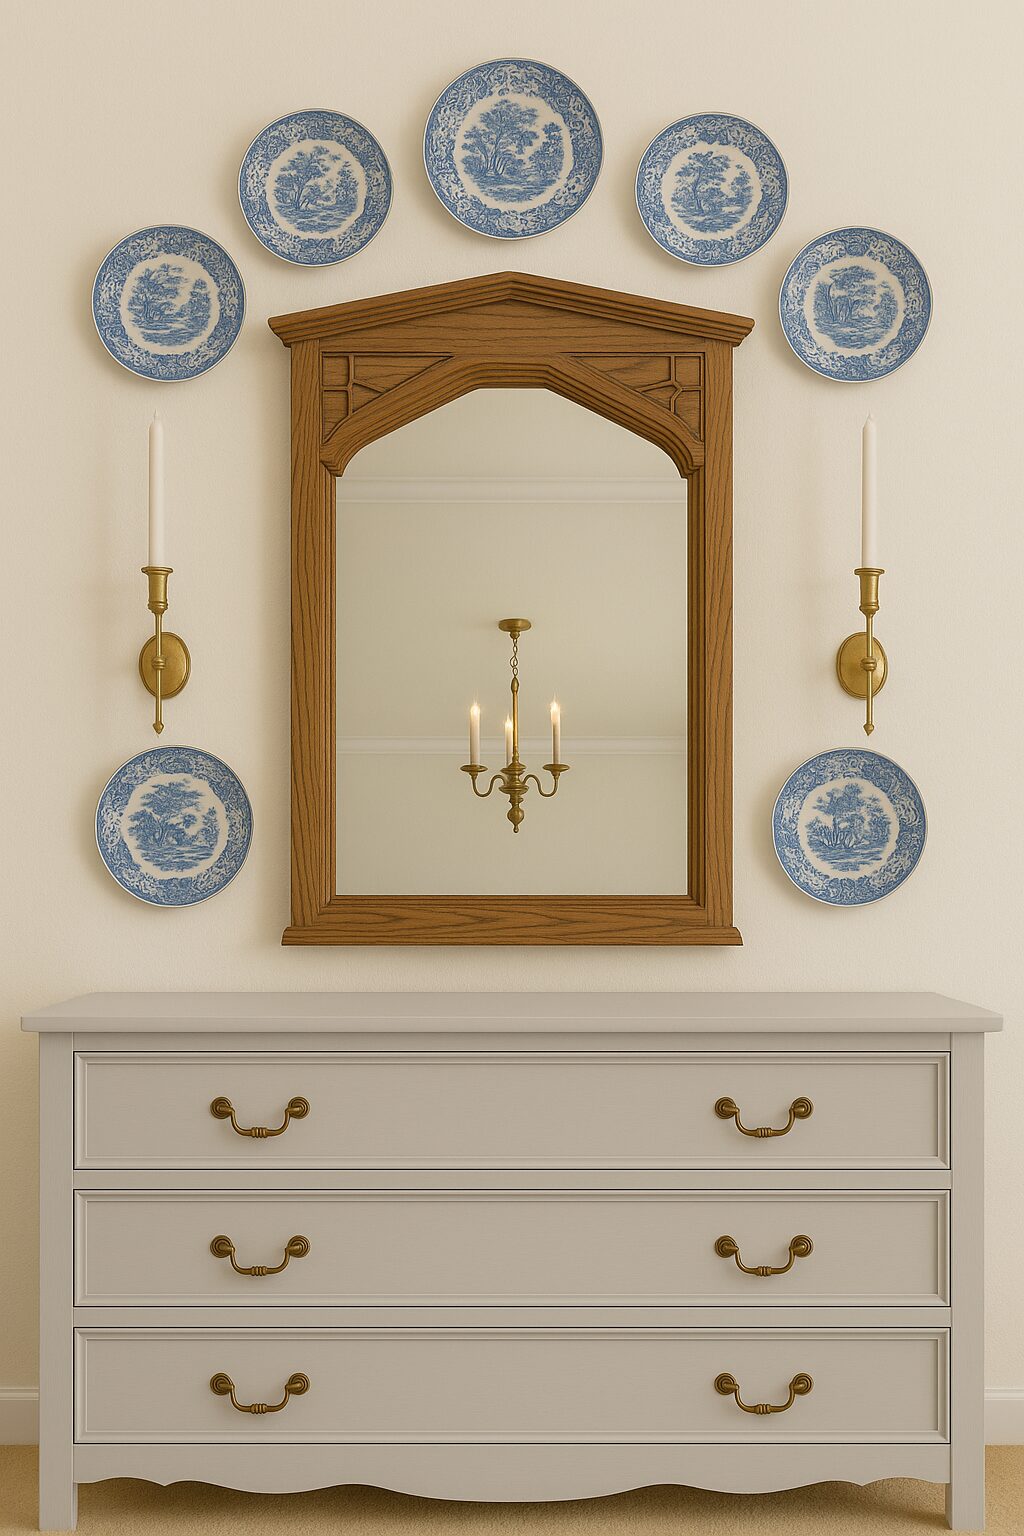
I added the dresser photo and mirror photo into AI to generate a rendering of how it might look.
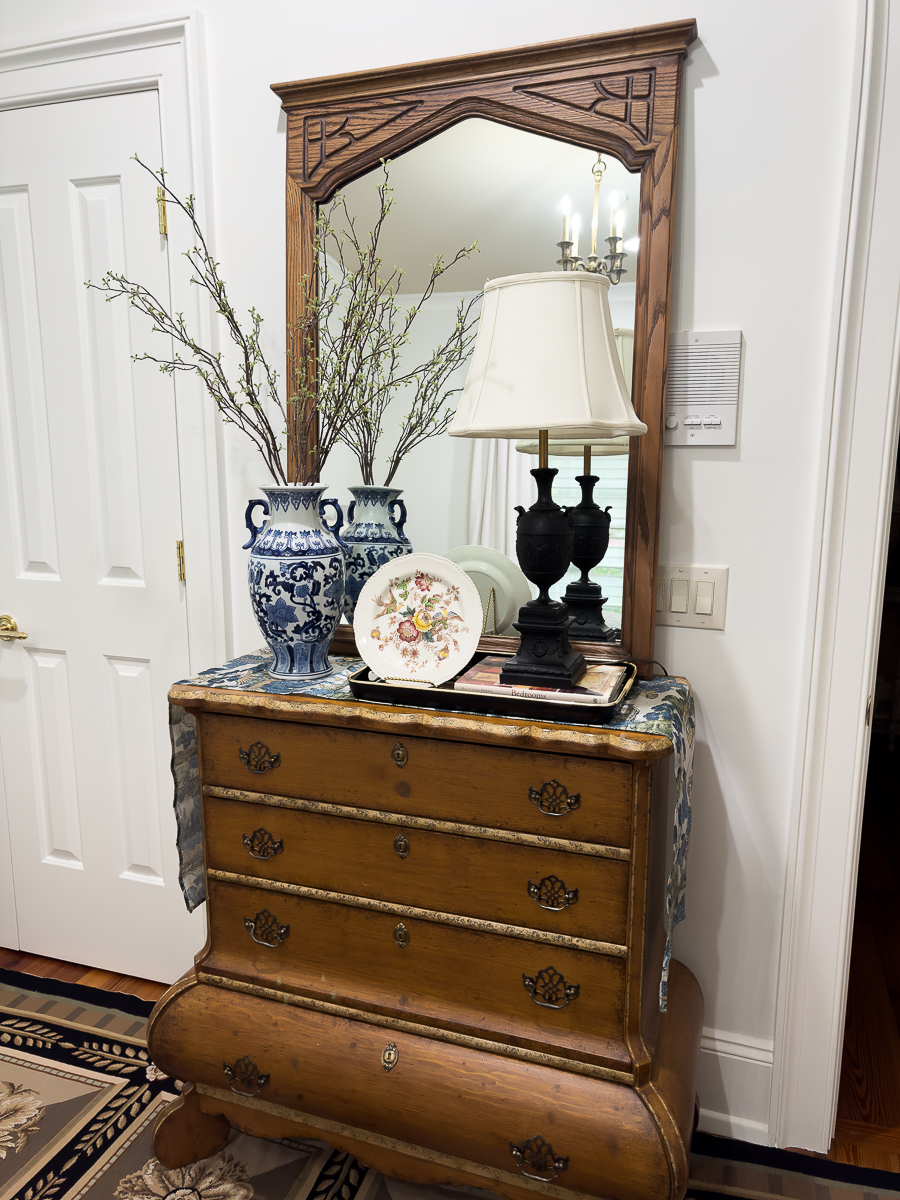
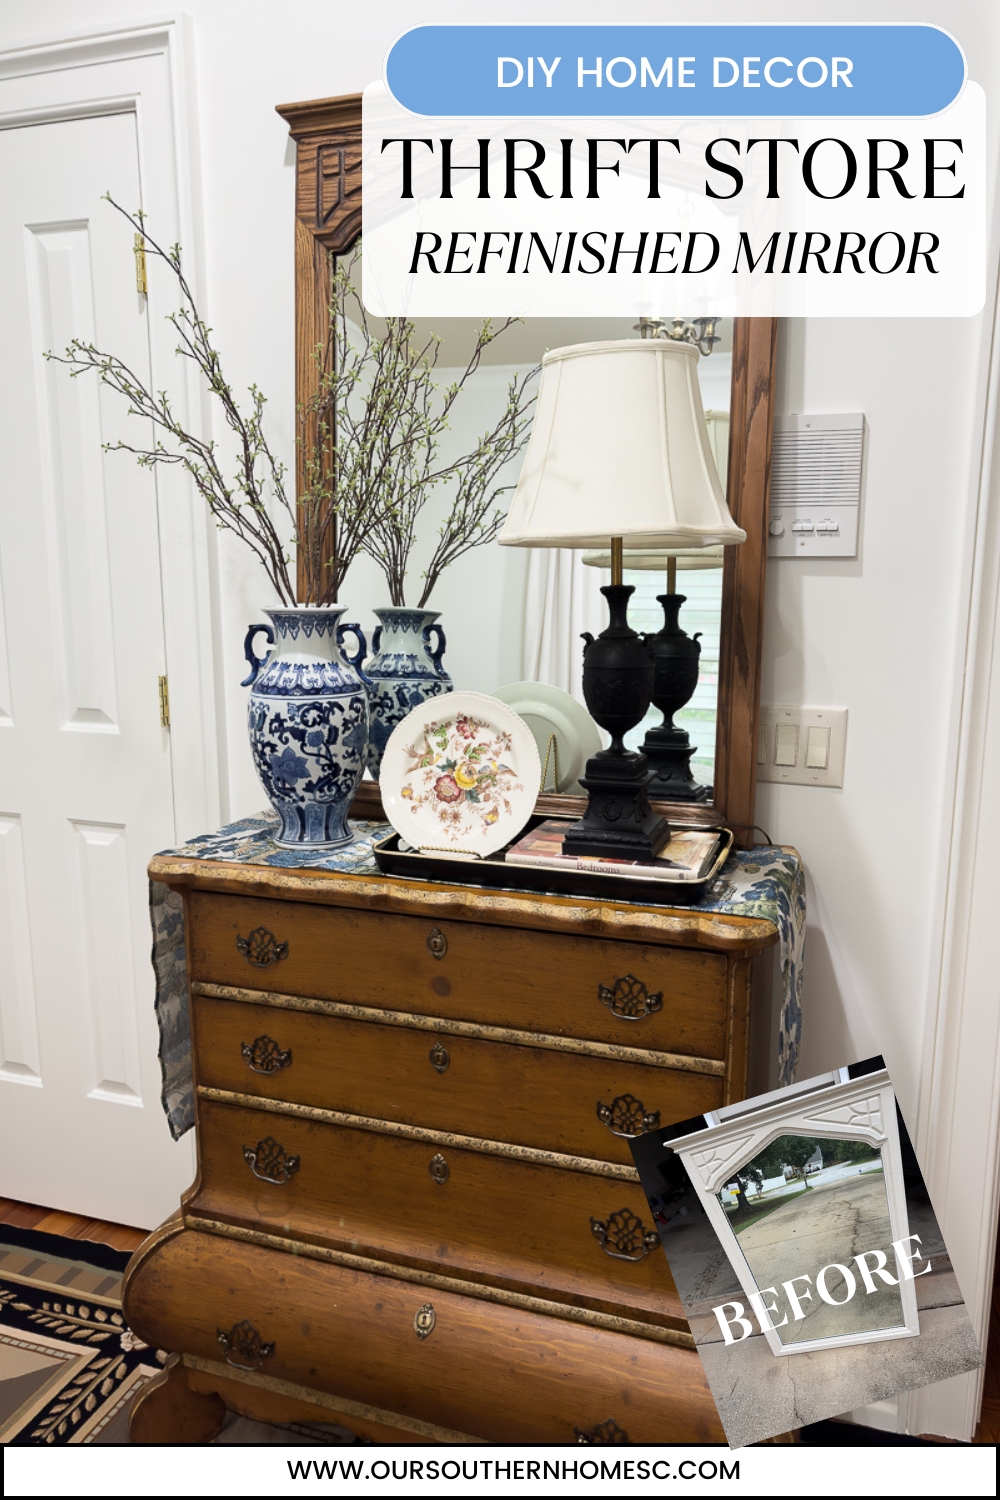
For now, I have styled it in our guest bedroom. I added the runner to make the 2 mismatched styles and wood tones work together. I'd like to just keep it myself! I think the size is perfect on this wall.
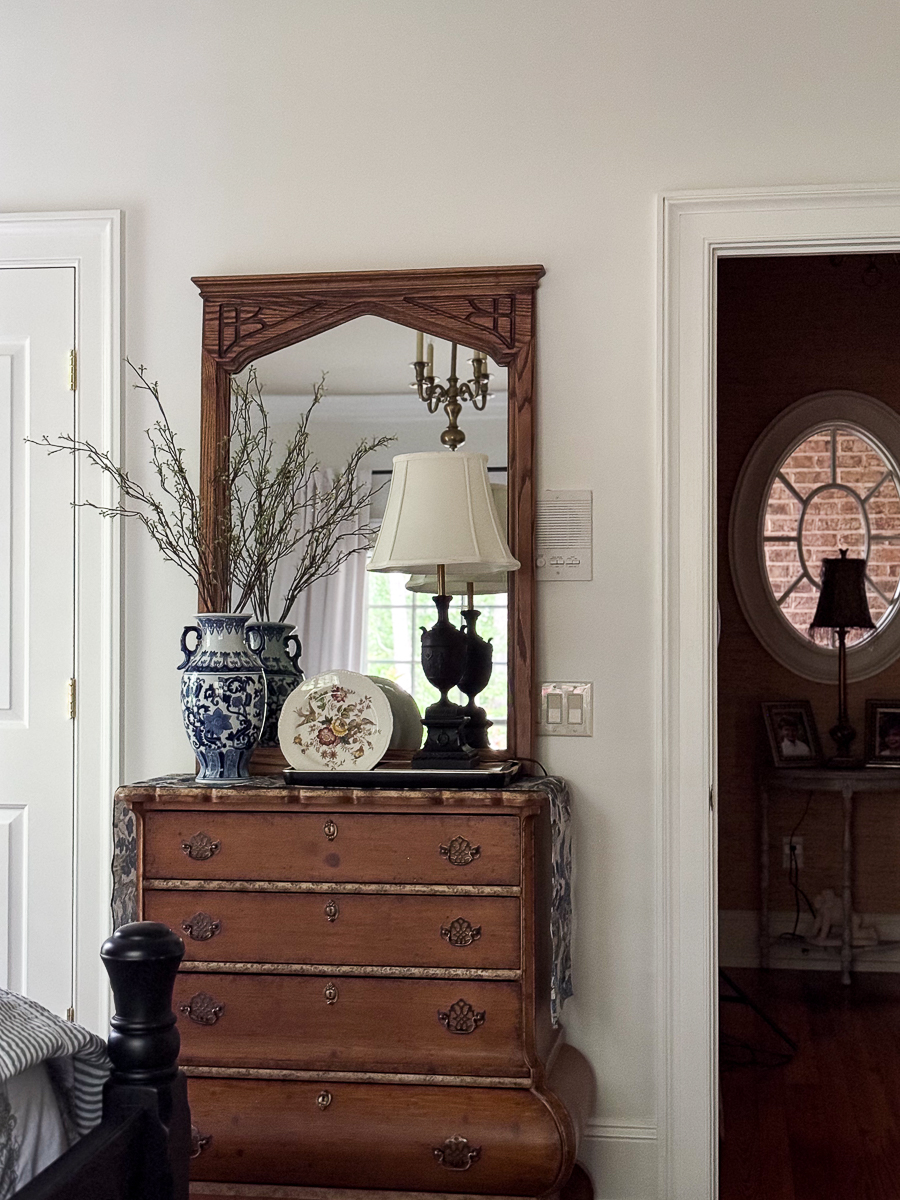
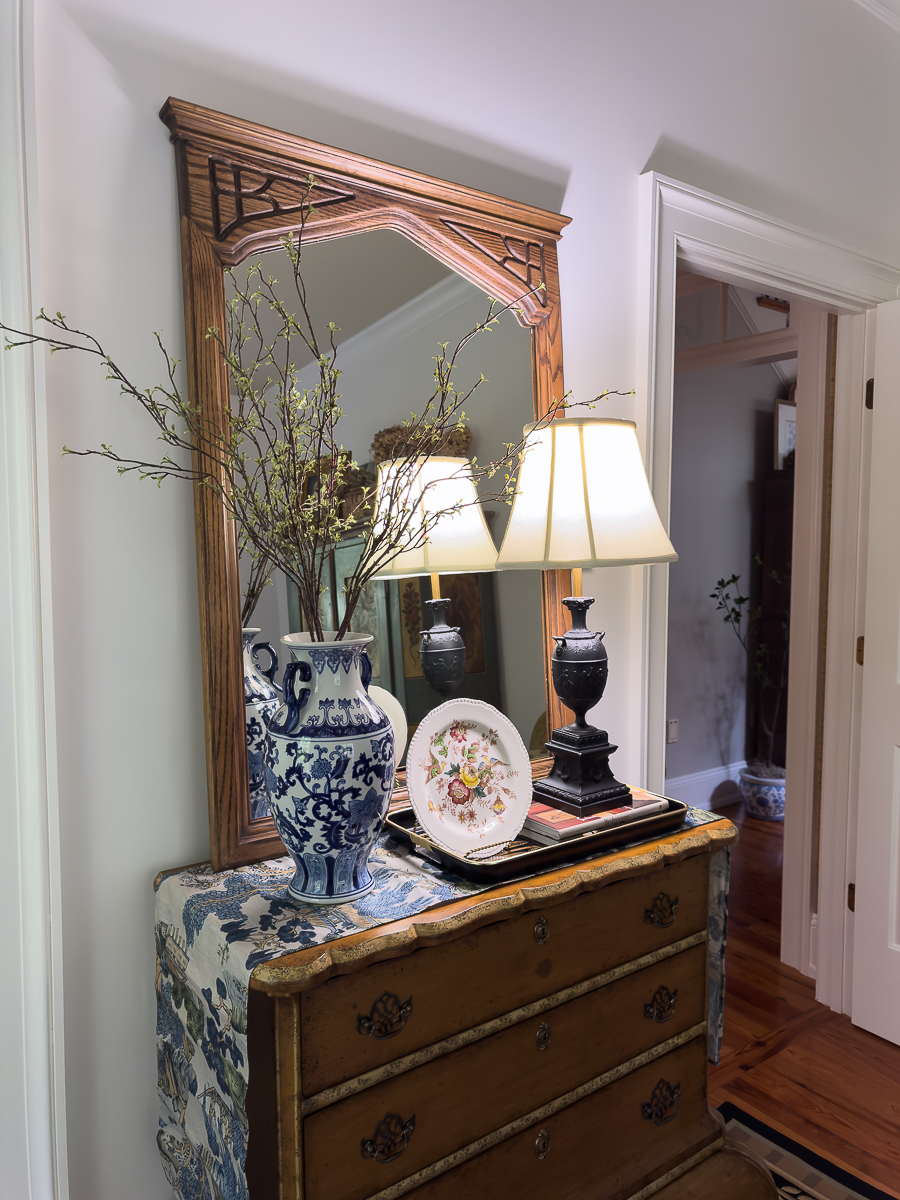
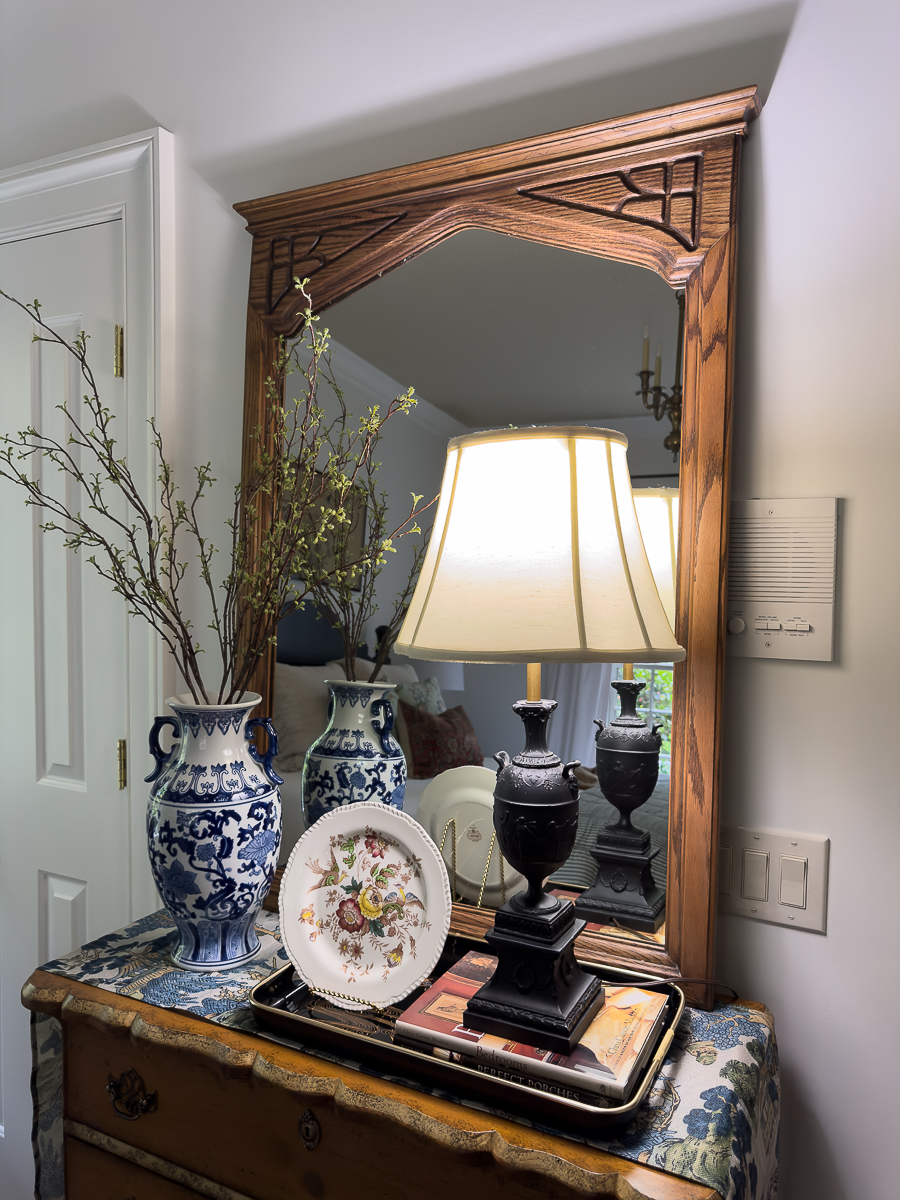
This vignette has several thrifted items: The mirror, lamp, tray and plate. The runner was an inexpensive find!
Frequently Asked Questions
Check Out the Other Projects
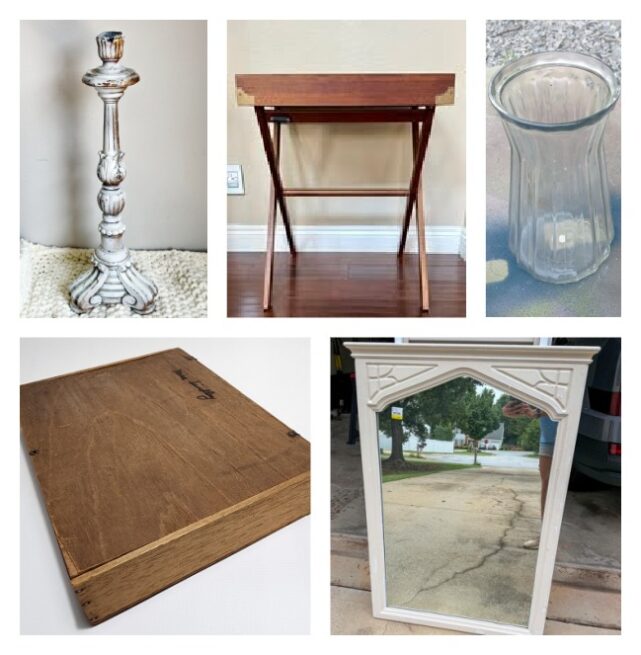
DIY Candle Holder Centerpiece – My Crafty Mom
Easy DIY TV Tray Makeover Using Paint – My Uncommon Slice of Suburbia
DIY Frosted Glass Vase –Petticoat Junktion
Wooden box makeover- My Repurposed Life
Refinish a Vintage Mirror-Our Southern Home



Christy has been creating content for Our Southern Home since 2012. She has been featured in numerous print and online publications. Her classic, eclectic design approach spans her home and fashion style. Christy has a way of mixing store-bought with thrift store, antique and vintage finds. As a recent empty nester, she is having fun navigating this new stage of life. Read more about Christy HERE. Be sure to subscribe below. You can also contact me HERE.




First off, the sweet kitty is just darling!! What a score this mirror was. The paint makes such a difference and really shows the details. Thanks for the inspiration!
Thanks so much, Michelle! I’m quite obsessed with our sweet, Cleo. She’s been such a wonderful surprise for us.
Christy,
The AI rendering is awesome! But, I love how the new to your mirror looks in the guest room with that antique bureau!
Ashlyn is very lucky to have a generous momma.
You did a fabulous job stripping the paint and making it look better than original!
pinned
gail
Thanks so much, Gail! I sure hated to give that mirror back. It looked like it was made for the space.
This is so pretty Christy, I bet Ashlyn is going to love it. And the cat is adorable! I need to learn how to work with AI with photo’s 🙂
XO
Kristin
Thanks so much, Kristin! We can chat if you want me to share how I use it. Ashlyn has been looking at pieces on Facebook Marketplace. It has been so helpful for me to have AI place those in a room for her. It’s quite fun!