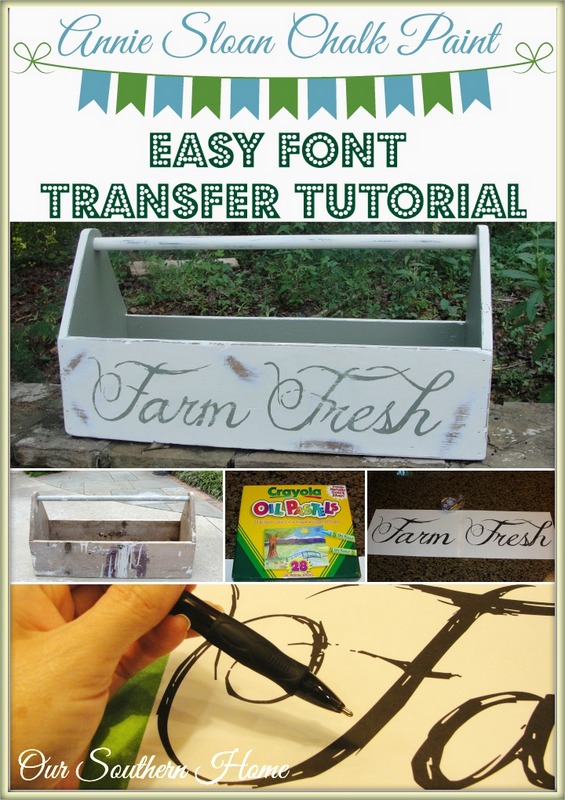
Easy Font Transfer Tutorial with ASCP
Today was the day…..the kids went back to school. I'm not one wanting to rush them out the door. I love them being home, but it's time to get back into a routine and blogging! I've taken a bit of a break while they were out of school.
I hope you had a wonderful holiday season with friends and family.
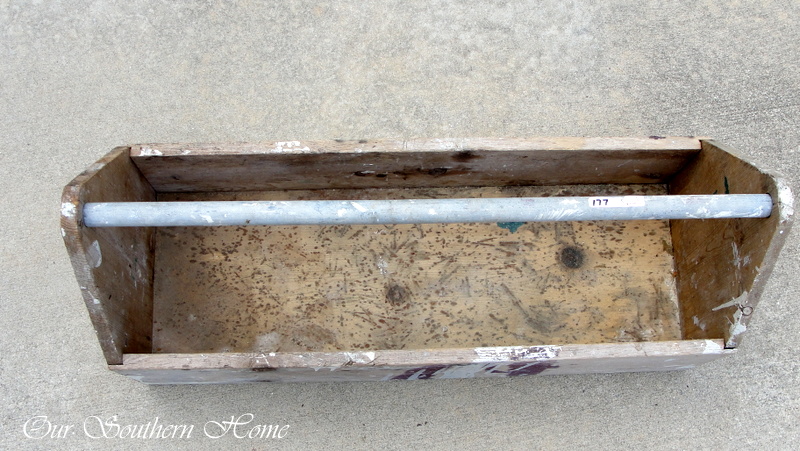
I picked this wonderful vintage tool box up a while back. It is huge!!! I want to share with you how we transformed it and an Easy Font Transfer Tutorial using Annie Sloan Chalk Paint.
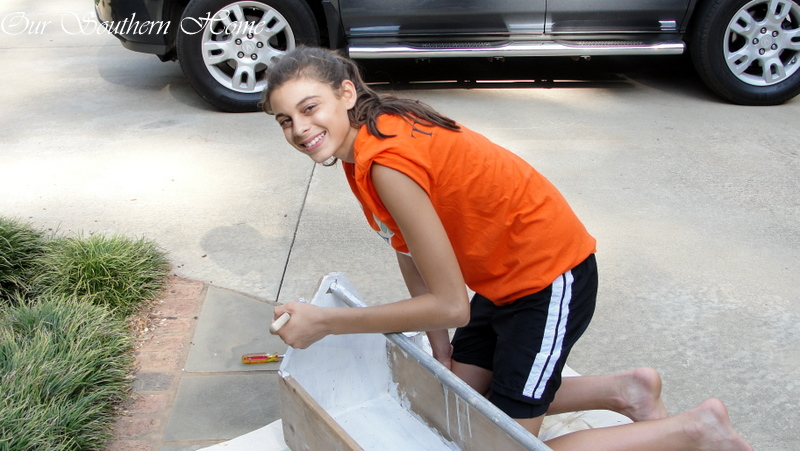
Over the summer, my daughter took on the project.
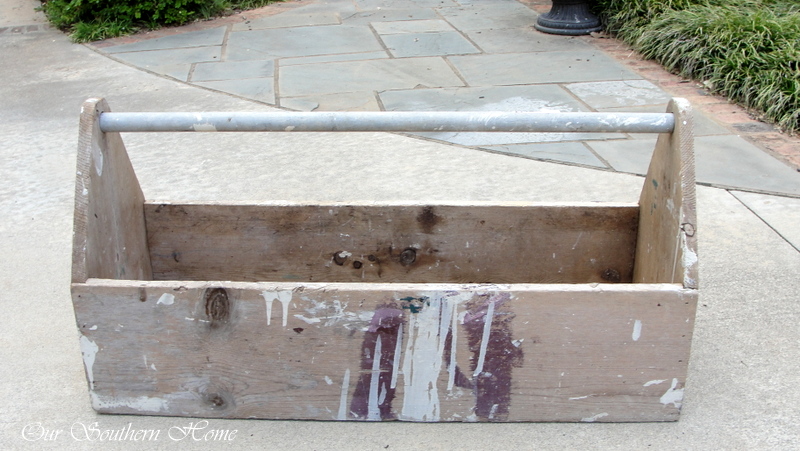
It needed some clean up work before painting. She used a putty knife to scrape off gobs of paint.
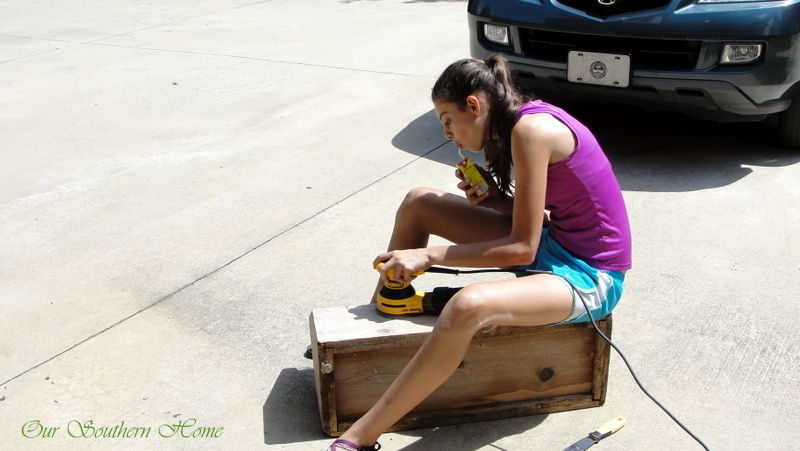
She then sanded the box. Ashlyn loves helping and asked if she could do the tool box. She did everything except the letter transfer, distressing and waxing. I did make her put the safety glasses back on!
She ended up painting 2 coats of Annie Sloan Chalk Paint in Old White on the areas that are all white.
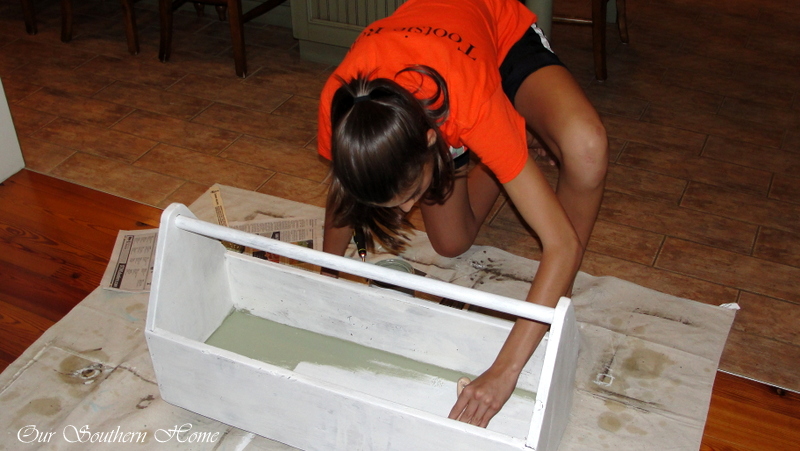
She then came up with the cool idea to paint the interior in Chateau Grey from ASCP. Chateau Grey is one of my favorite colors. It's really more of a sage green. The green is 2 coats. You can really tell here how large this tool box is!
I knew when I saw it that due to its size, it was a perfect candidate for a large font.
This was my first time trying this method, and I knew I had to share with you…..it is so fast and easy! It could be used with fonts and images.

Materials that I used:
Computer
Pic Monkey
printer paper
oil pastels
pen
painter's tape
Annie Sloan Chalk Paint and small brush

Here is the before. The exterior is painted in Old White and the interior is in Chateau Grey. It just needed something more!

This part takes a bit of trial and error. PicMonkey is a free online photo editing site that is fabulous! I have a yearly paid subscription that allows me full access, but the free portion will give you lots! You could also make this in any word processing program like Word. I chose PicMonkey because of the awesome fonts like Delicious Cake that I used here. You will need a blank image. Just email me on my blog ([email protected]) if you need me to send you a quick file to use for it. You will upload the blank image as a photo edit. I went up to font size 987 which fits perfectly on the tool box. What I did was saved each word separately as a png file so they would print large. Again, this was printing a copy and looking at it on the tool box and making adjustments. This size will give you an idea based on your project. In other words, Farm was a file and Fresh was a file.
Here is the FREE printable for FARM FRESH.
To print this, I used Windows Live Photo Gallery. I printed each word on a legal sized piece of printer paper using landscape mode. Print as a full-page un-checking “Fit to picture frame.” I then taped the two pieces together to get my font.

I then placed it on the box panel to get it centered. It was pretty easy, using the straight edge of the paper as a guide.

My daughter already had these so that is why I used them. Some people use colored chalk. I really like how these performed though. I had no trouble with any color transferring anywhere other than where I wanted it! I knew that I was going to use Annie Sloan Chalk paint in Chateau Grey to do my lettering on the Old White. I chose the green pastel…the one closest to my paint color.

Turn your paper to the back side and color just in the area of the font.

Flip it over and carefully place back where you originally centered it. Center before coloring so you don't transfer any unnecessary oil pastel. I taped in place with painter's tape. Resist the urge to lift it up to see if it is working. You may shift it causing it to come out of alignment. Take a ball point pen and trace and shade in. Because of the detail of my font, I completely colored it all. You may just need to do the outline.

Can you tell how it looks with it traced with the pen. This transfers the green oil pastel to the tool box.

When I am finished with the pen, I remove the printer paper, and this is what I'm left with….an easy font transfer that is ready for paint. You could use acrylics or paint of your choice!

I just did one good coat in Chateau Grey since I was distressing. After it dried, I distressed with a sanding block. It was then finished with two coats of clear wax. So easy!

Here it is in our breakfast room for fall.
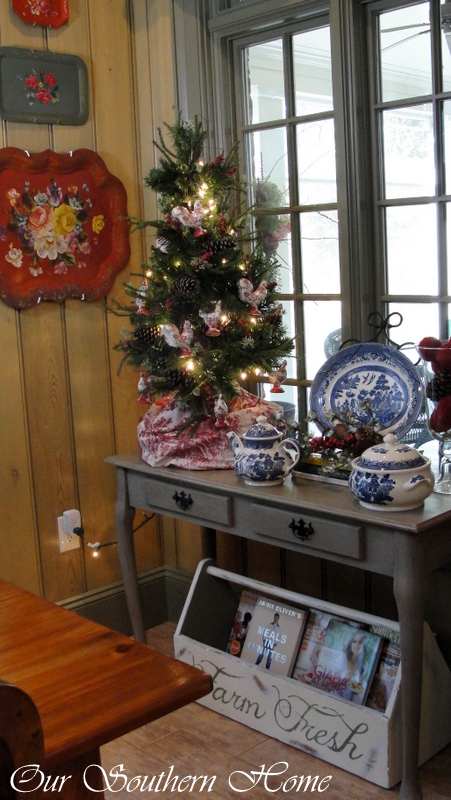
Here it is at Christmas. I think this is where I'll keep in now. It has been great for cook books that I regularly use! I am thinking about adding smaller bun feet to the bottom to raise it off the floor.
Happy New Year! I'd love for you to follow me! Lots to in 2014.
Our Southern Home, blog Facebook / Pinterest / Instagram / Twitter / Hometalk / Google+

Link Parties that OSH parties at on occasion!
Monday: Between Naps on the Porch
Tuesday: The Scoop at Cedar Hill Farmhouse and Inspire Me Party at A Stroll Thru Life, Setting for Four – Project Inspire{d}
Wednesday: Savvy Southern Style
Thursday: From My Front Porch to Yours, 52 Mantels, Stone Gable, Home and Garden Thursday at A Delightsome Life, The Shabby Creek Cottage ,No Minimalist Here
Friday: French Country Cottage, My Repurposed Life, Miss Mustard Seed Furniture Friday, Common Ground, The Charm of Home, Rooted in Thyme,Imparting Grace, Keep Calm and Link Up, at the picket fence – Inspiration Fridays, My Romantic Home – Show and Tell Friday, Craftberry Bush – Inspiration Gallery Friday, SnapCreativity – Show and Tell
Buffer
Love it love it!!! This is just what i needed for that extra weekend inspiration I was looking for…
Thanks!
Ahhhh!!! Help!! 🙂 please :)) I printed out my wording and flipped the paper over and colored in the backside of the letters with a white crayon (this is probably where I went wrong). I turned it over and lined it up and taped it down. I colored over the words using a ballpoint pen. I removed the paper and there was nothing other than an indentation of my words. Now this probably wouldn’t be a problem for most people lol. But, I have multiple sclerosis and constantly have tremors in my hands. I’ve done woodworking, furniture restoration and have painted for years. I can still do the woodworking and furniture but when it comes to the fine details of painting, I’ve lost all my ability. Stencils have become my “friend” for most projects but I miss being able to paint letters. When I add color to the backside of the printed out wording, what other paint or products could I use to transfer most of the coloring to my project? I have TONS of acrylic paints and paint markers but I wanted to check and see what you’d recommend. I’m thankful that distressed painting is very popular these days because it affords me room for error because it doesn’t have to be perfect. Eventually I’d love to get a silhouette so that I can cut vinyl and paint my words that way but, medication costs to treat my MS is almost $1,000 a month and that’s AFTER insurance. So, any advice that you can give, I’d be so grateful! I LOVE your website and have had a blast reading through and getting ideas. It reminds me of a good book that you never want to end 🙂
Thank you!!!
Kristi
Thanks so much for the sweet compliments! Makes my day! So sorry for you health troubles. Great for you staying active and doing what you love. You said you used white crayon. That won’t transfer. I used oil pastels. You could also use chalk. If you have a ball point pen imprint and the wood is soft enough to leave an imprint then go with it! But crayon doesn’t transfer. Chalk and oil pastels will. You can definitely try out the paint pens and acrylics for your words. I used black acrylic on mine and was not as happy with distressing as chalk paint. It stained the white background a bit. I don’t think it would be a problem with a lighter color. Good luck! Let me know if you need more help!
It’s gorgeous!! Thanks for the printable – I love that font!
xox
Awesome tutorial!! What type of paintbrush did you use for the lettering? Also what kind if wax did you use to seal it? Thanks so much!! 🙂
I just used a couple of different basic artists brushes. I didn’t wax this piece. I just used Wipe-On poly in satin by Minwax. Thanks so much!!! ~Christy
This is such a great tutorial! Thank you for giving such detailed instructions on it! I do have one question though. Would this technique work on a coffee cup or plate? I’ve heard the oil based sharpie markers work for such a project and once you bake them, it becomes part of the cup and dishwasher safe. I don’t own a Silhouette or Cricut yet, so vinyl cutting isn’t an option. Yet I still want to do the cups for grandparents, godparents and family.
Thank you again!
Claire
Claire,
Thanks so very much!!! I just so love the tool box. Using it to hold my cookbooks right now! I’m not sure if the pastels would transfer onto the mug. Michaels has some great small stencils that would be perfect for a mug. I’m sure the other craft stores have similar! You could possibly color in a cool shape/design using a sharpie and stencil. Then freehand their name. I think they would love that! Sharpies are fabulous with so many options! I hope this helps. Let me know how they turn out!! ~Christy
Great tutorial and project. I’ll be trying this in the future for sure. If you’re ever looking for a new link party you’re welcome at mine, History and Home, Tue-Fri weekly. Take care- Dawn, We Call It Junkin.com
Thanks so much!!! I’ll be sure to checkout your party! XOO Christy
Love it love it!!! This is just what i needed for that extra weekend inspiration I was looking for…
Thanks!
Thanks so very much, Joanne!!! Let me know if you need any help! Hugs~Christy
Love this idea will definately try
Thanks so much!!! Let me know if you have questions when you get started!!! ~Christy
Love this, turned out wonderful, and I bet I have some of those pastels somewhere – wonderful tutorial!
I do appreciate you sharing with Home and Garden Thursday,
Kathy
Great crafty tip! Thank you so much for sharing!
Very clever and very creative…love this idea! Thanks for the tutorial!
Thanks so much!!! ~Christy
Had to come back to thank you for sharing at AMAZE ME MONDAY!!! So nice having you…
Blessings,
Cindy
Found your post thru 52 Mantels thursday. Very glad you shared this technique, I have a hard time with this kind of thing. I’ve seen lots of techniques on blog land but never one using oil pastels. I printed out the post so I can refer back to it when I need to. Thanks so much for sharing this. Your tutorial is so helpful.
I’m meant to be cleaning out some of my craft supplies, emptying out iris carts so I can make room for a bookcase/stand for all my paints. I’m having hard time separating myself from some of craft supplies but I haven’t used any of this stuff for at least a good year or more. My interests are on different crafting now. I have so much money tied up in all of it,clay with molds, tools, texture plates, embossing powders, rubber stamps, many stamp pads, clay and tools, but I keep telling myself I have to do this, time to let go of so much not being used. I’m hoping maybe I can sell my rubber stamps in the summer, have many of the art stamps. Will have to see I guess.
I’ll see if my youngest grand daughter might like some of it. She’s only one of 6 grand kids that is interested in art or crafting. Once in awhile she’ll come over to craft with me. She’ll be 14 in April. I had to keep my house mouse stamps, those I just couldn’t get rid of, those little guys are too cute. Maybe at some point I can let them go also. Have you ever faced this dilemma?
Your daughter is a very pretty young lady so nice she is showing interest in what you do and how to make things to decorate your home, that will come in handy when she grows up. Being able to make your own decorations is so much fun and can make what you want your way. Does she like to sew also? Better let you go, happy days
Thanks so much, Jane! You have quite the crafting collection! No, Ashlyn doesn’t know how to sew, but I’m sure she’d love it. May have to look into a summer class!!! Thanks so much for visiting! ~Christy
I just love this project Christy!! One of my favorites! Thanks for the tip on using Oil Pastels…I have used regular chalk but never those!
Nancy
Wow. This is easy I had no idea transfer could be so painless. Thanks for sharing!
Christy I love this project! It looks so pretty in your home!
Happy New Year!
Tami
Thanks so much, Tami! Love working with paint!! ~Christy
Wow this turned out wonderful! Thank you for sharing how you did it! I need to really start looking around. That would make a great magazine rack in a smaller size too!
Turned out beautifully! Enjoyed the “how to”!
Blessings,
Cindy
I love that Ashlynn is so eager to help you with projects. Before long she’s going to need a blog of her own!
Thanks for sharing this technique. One of these days I know I’ll need to refer back to this post when I have a project that needs words added to it.
It turned out great! Love the font!
Thanks bunches!!!
Beautiful! I love it!
Patty at Home and Lifestyle Design
Soooo CUTE! Ok, that tool box for starters is an awesome find! Not to mention how great it is that your sweet daughter is into the DIY thing too! 🙂 Love your helpful tips on transferring, Christy! Thanks for sharing.
Cheers
Very cute Christy!! Your daughter did an awesome job painting it!! My oldest daughter likes to help me too:)
Looks awesome Christy…and of course you know I LURVE “Farm Fresh”. 🙂
Great tutorial! I’m curious, did you have any trouble with the paint sticking to the oil pastel? Your finished product looks great – just wondering if it took a few coats for the words? Any of the green pastel show through the paint? Thanks!
Thanks, Sara! The beauty of ASCP is that it will paint over and cover almost anything! It has incredible coverage! I only painted 1 coat with the lettering and the oil pastel did not show through. I planned to lightly distress so more than 1 coat wasn’t necessary. Honestly, 1 one was enough regardless especially once sealed with wax. Don’t hesitate to stop by and ask any other questions! XXOO ~Christy
Christy, I love the way your daughter works on projects with you. Hope your creativity rubs off on her!
Sure wished I lived near you so you can teach me how to do some of the projects you have posted on your blog. I have to have people to show me in person and sometimes work with me on a project,,then I can do it myself usually. What do they call people like that? (Besides people with no creativity of their own?) Hey, I’m honest and not too proud to admit it.
Thanks so much, Betty! Happy New Year! I love how Ashlyn loves to help. I think she’ll really appreciate what she has learned as an adult! Sometimes you just have to dive in on a project. Start small!!! Hugs! Christy
Love this idea, I like your idea of adding legs to it also-such a cute idea, so many great ways to use it throughout the year!!!!
Thanks so much, Theresa! Glad you like the idea of adding the bun feet. I think I’m going to work on it soon! Thanks for stopping by! ~Christy
I loved this box in your Fall Tour! Looks like Ashlyn was enjoying a juice box while she “worked!” 🙂
Thanks, Sonya! Yep…14 and still likes a good juice box! She’s usually just a water drinker though. Happy New Year! ~Christy
This project turned out great, I love the font! Your daughter is so pretty and a great help.
Cynthia
Thanks so much, Cynthia! It is fun working on projects together! Happy New Year! ~Christy
Christy…thank you so much for sharing your transfer method. I love how the tool box now looks and especially love that font. I’ll have to check out PicMonkey and give it a try. I know what you mean about AS Chateau Grey. I just used that color on the inside of any open cabinet I have. I need to go into your site and see if you have any advice on using AS Dark Wax. Thanks again.
Thanks so much! Yes, dark waxing can be a bear! Always start with clear wax first, before doing a dark layer of wax. You can always go back over with clear to tone the dark down. I’ve been dark waxing less all over and just concentrating it in grooves and crevices where you’d expect to see wear. You can mix clear and dark together for a lighter mix as well. Good luck with your journey! ~Christy