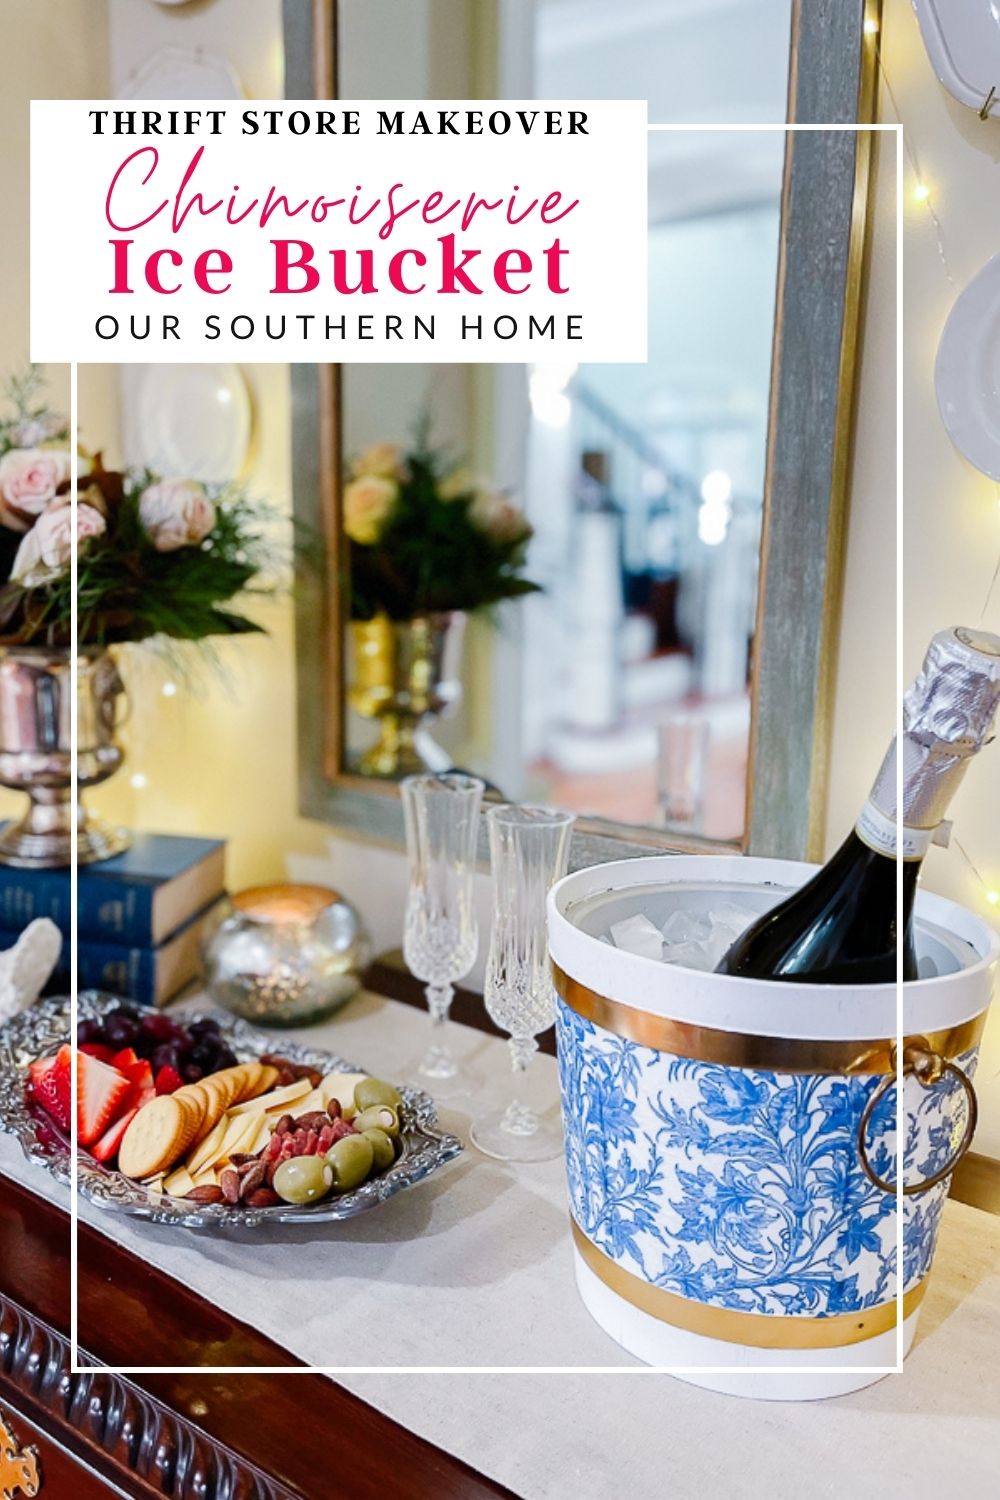
DIY Chinoiserie Ice Bucket
Get this classic chinoiserie look without the price tag with this DIY Ice Bucket from the thrift store. Easily get the look with Mod Podge.
DIY Chinoiserie Ice Bucket


Welcome to another thrift store makeover with the team! Each month I get together virtually with my blogging girlfriends to hopefully inspire you to create similar looks with what you already own or with your thrifty treasures.
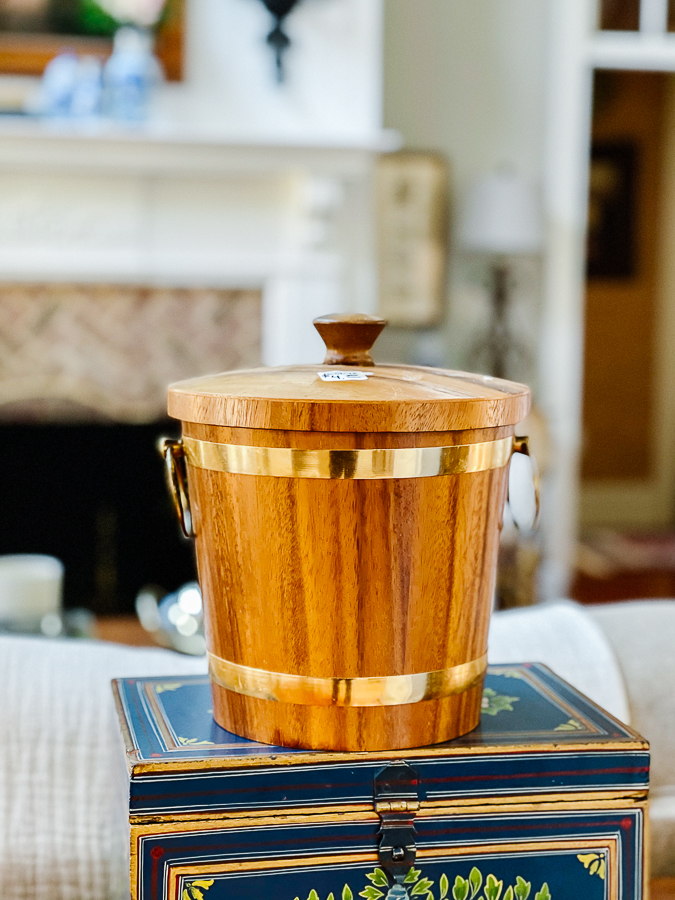
I picked this ice bucket up for $4 many years ago. I sent Ashlyn up to the attic to hunt for it. I'm a bit scared to venture into the attic these days since I found a snakeskin or 2 in there while putting Christmas decorations away. I'm terrified of snakes so I may never step foot in the attic again!
The Supplies
- ice bucket
- spray paint
- drop cloth
- foam brush
- Mod Podge
- decorative paper napkins
- pencil
- scissors
- xacto knife
- painter's tape
I was kind of dreading this project, to be honest. I knew it would be a bit more time consuming than others since I was dealing with Mod Podge.
I was so wrong! This project was so simple and competed in a couple of hours.
I cleaned it really well and used Goo Gone to remove sticker residue.
Make sure it dries completely after cleaning before you spray paint.

I taped off the brass on the bucket. This was simple with a xacto knife.
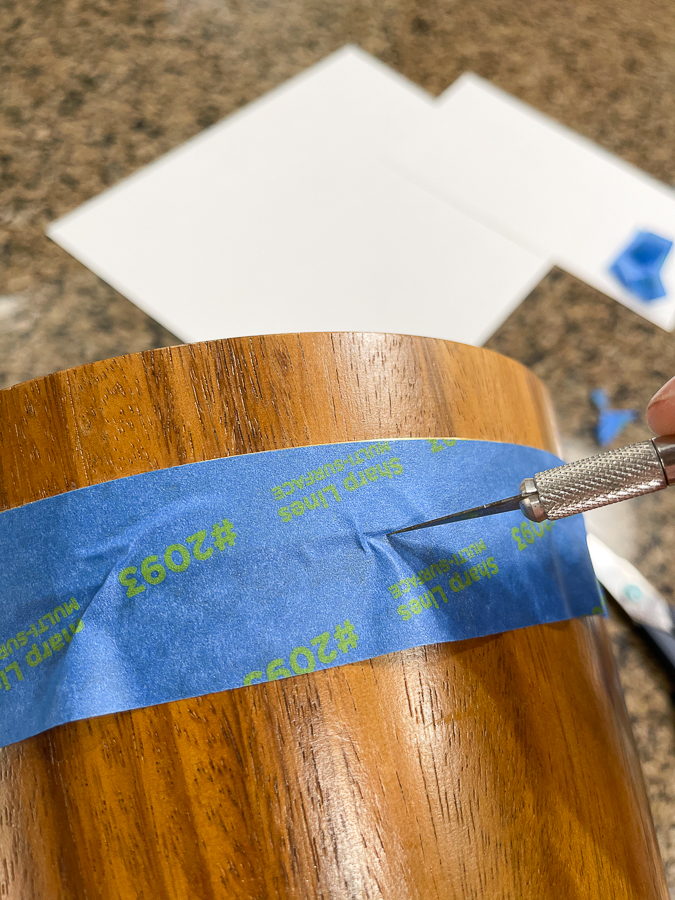
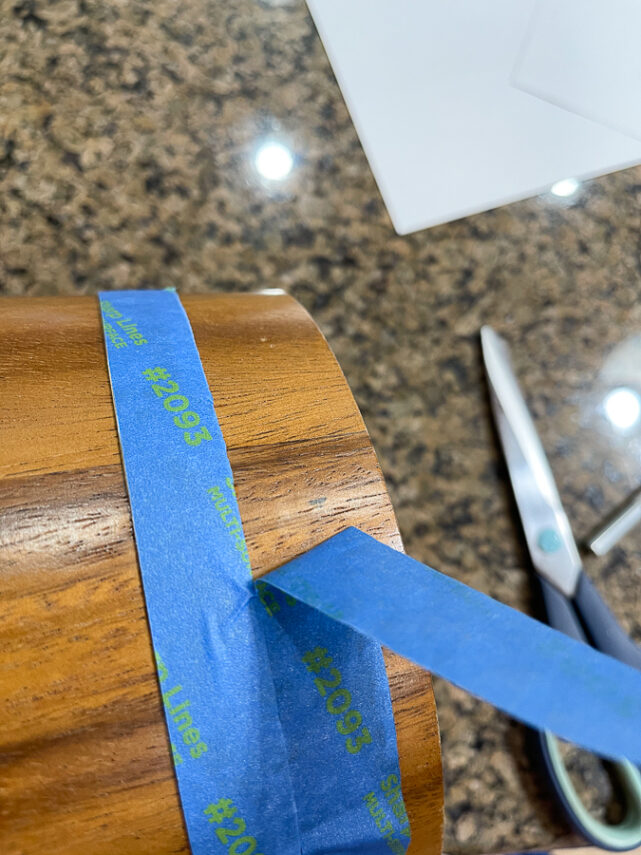
The painter's tape is wider, but that's ok. Firmly tape the brass lining up one edge as perfectly as possible. Then use the other side of the brass to run the knife along to cut the other edge of the tape.
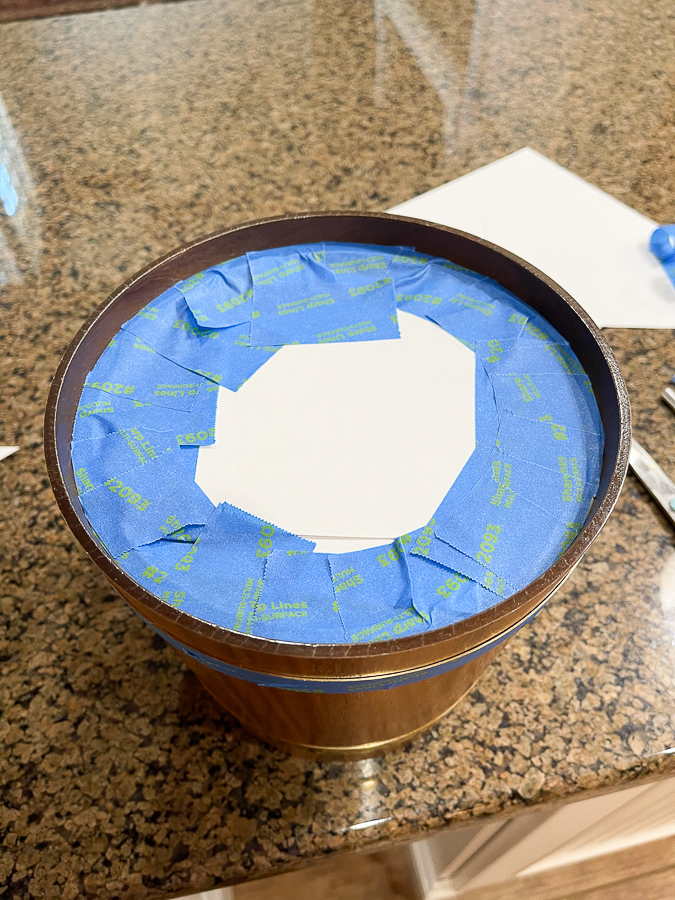
I also taped the inside of the bucket so the paint would not get on the insulated part.
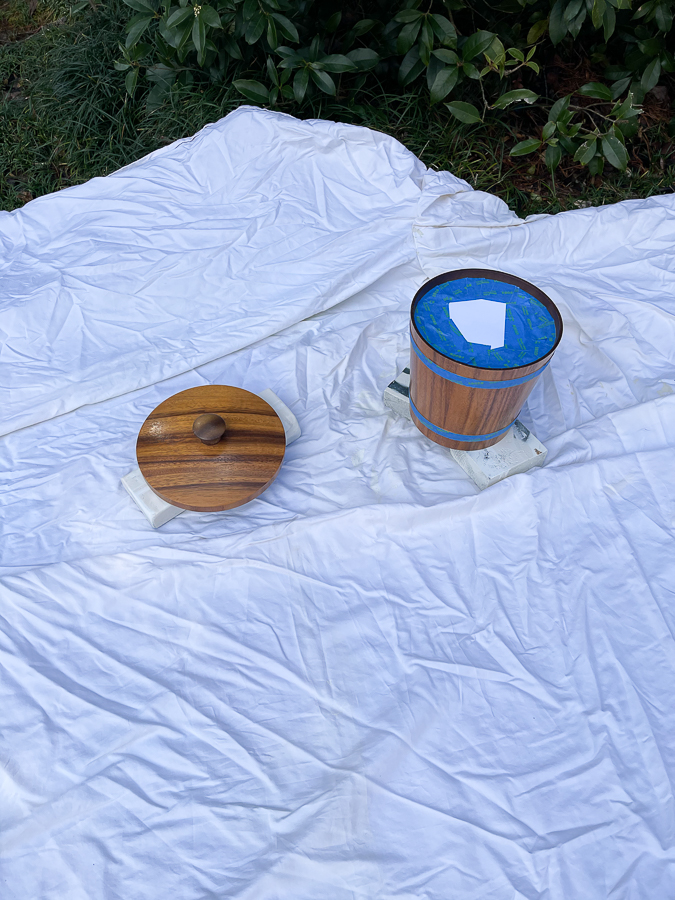
Layout your tarp and spray paint your ice bucket. This handle is great for spray painting!
I sprayed 3 light coats.
Before it dries completely, remove the tape off of the brass. Now is the time to remove any excess paint that may have gotten on the brass. Also, remove the tape around the inner insulated container.
You'll want a pencil, straight ruler, and scissors for the next part plus some pretty paper napkins.
Here are a few pretty napkins I found!

Open your napkin up and position it in between the 2 brass lines going around use the pencil to mark cut lines.
Use the straightedge to draw a line and cut with scissors.
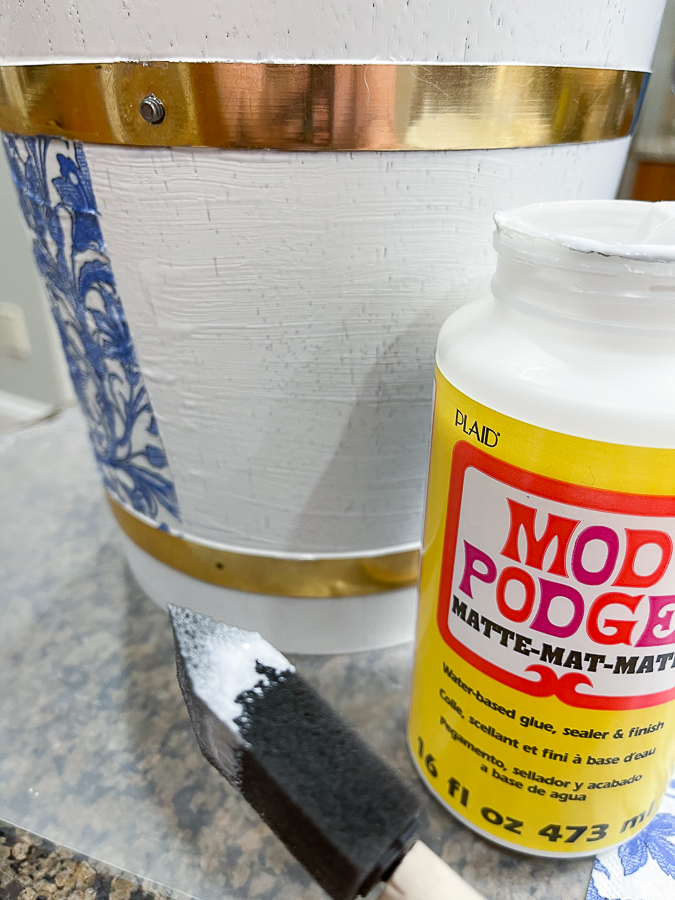
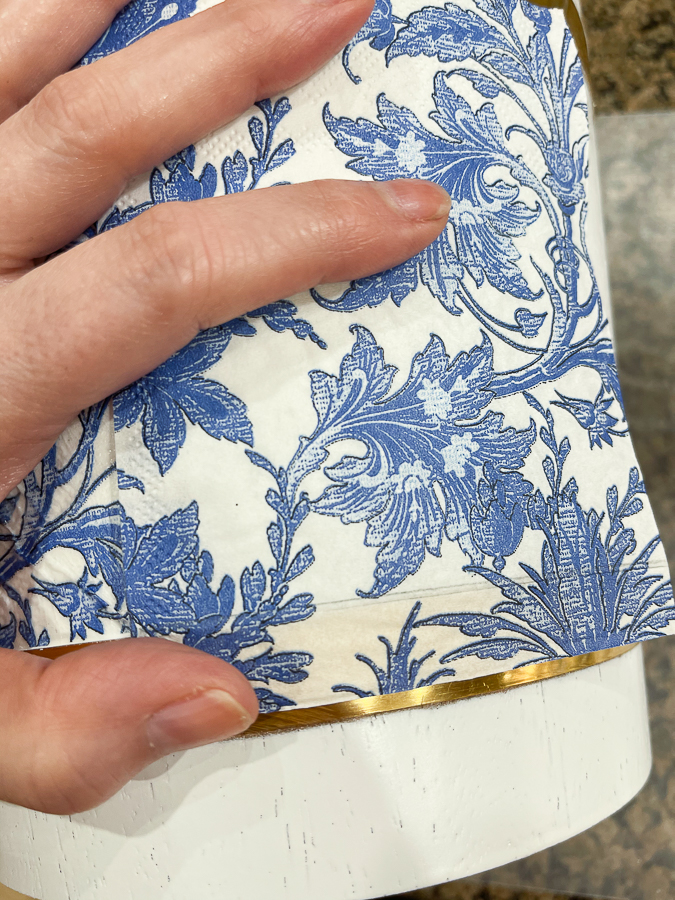
Using a small foam brush, I applied enough Mod Podge for one square of the napkin. Apply the glue thinly.
Make sure you have removed any inner napkin layers. You'll just want the single ply.
Position it over the glue and very gently position it with your fingers. It's ok if not perfectly smooth. It just adds to the look in my opinion. After you position the section, got back of the top of the napkin with the Mod Podge glue.
I completed about half of the bucket and took a break to let that dry. It dries fairly quickly especially if you do thin layers.
I did this so that I could easily work on the other side to handle it.
After the bucket is complete let this dry thoroughly. I then added one additional coat of Mod Podge on the entire ice bucket. Be sure to use a wet paper towel to remove any glue residue from the brass.
To buff up the brass and remove any glue residue, I used Never-Dull after the bucket was dry.


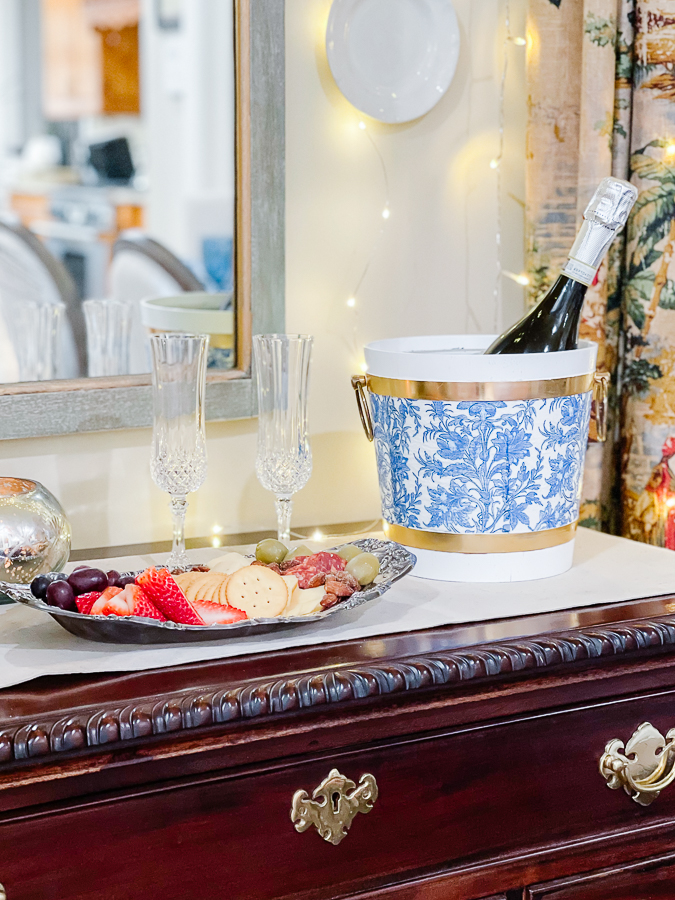
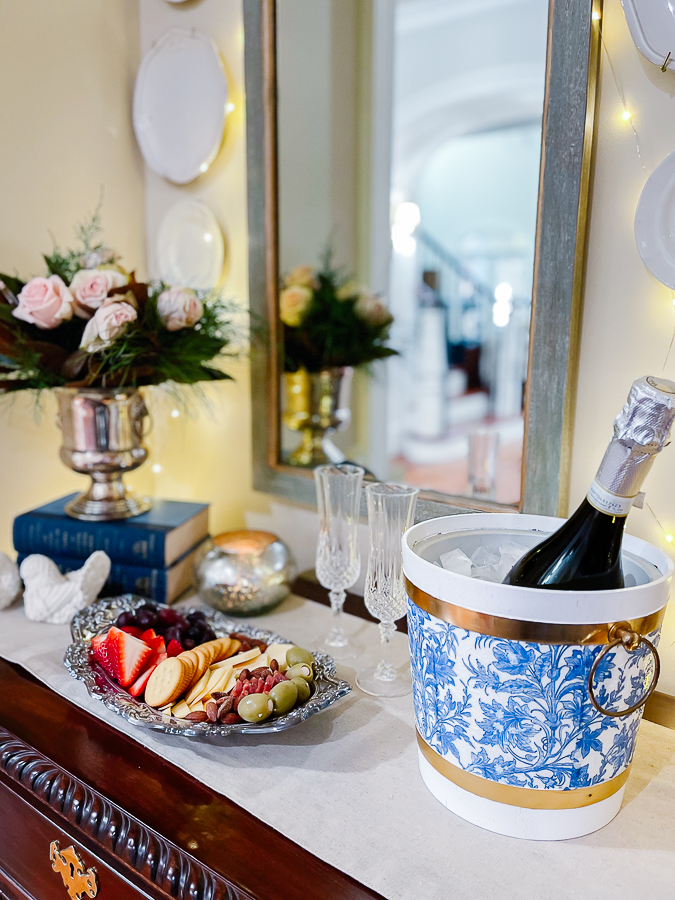
I so love how it turned out. I painted the lid as well, but will just keep it in a cabinet somewhere. I don't think I'll use the lid much if ever.
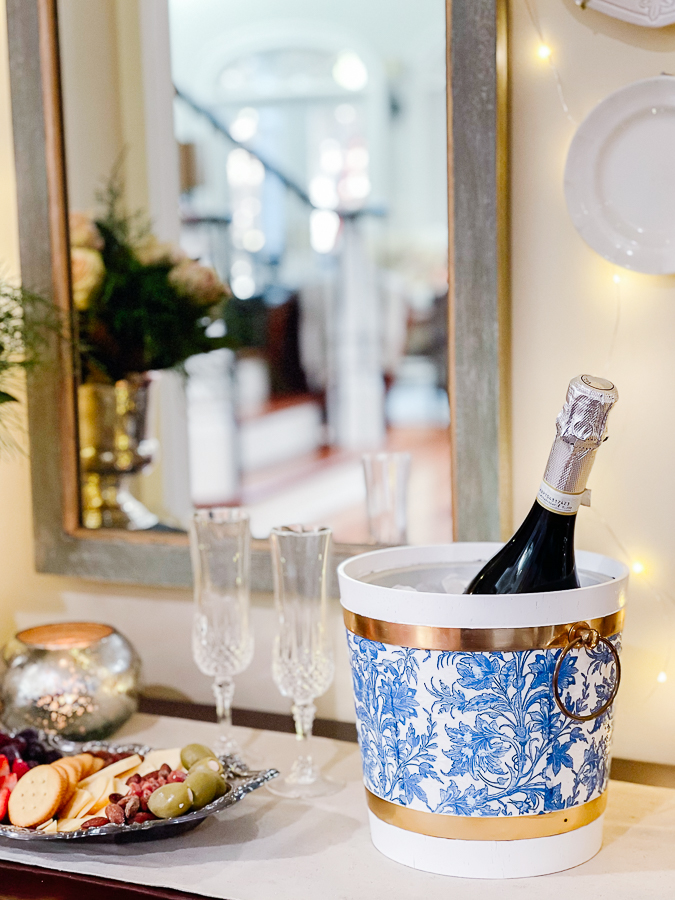
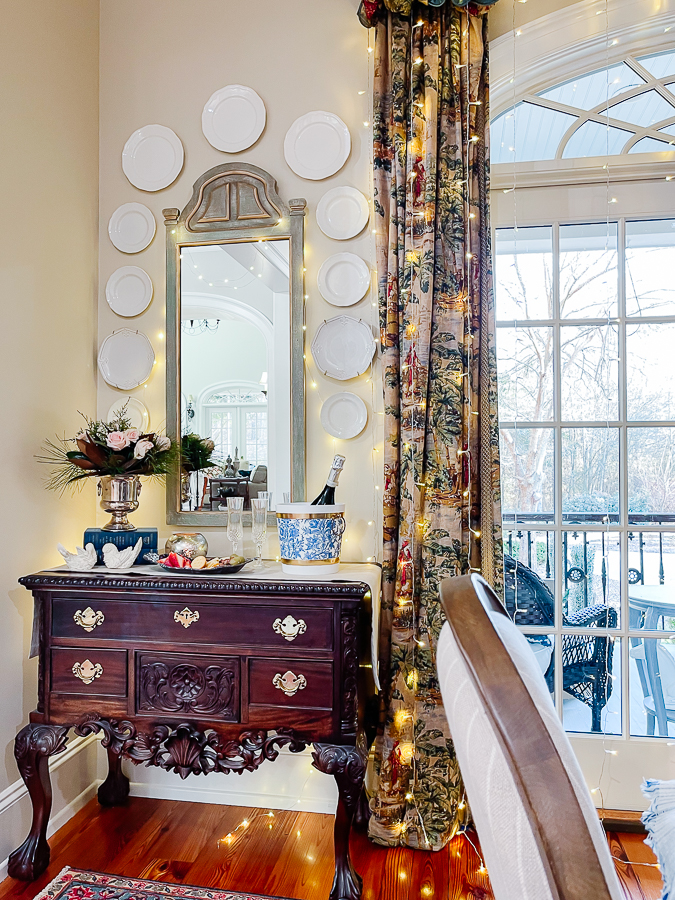
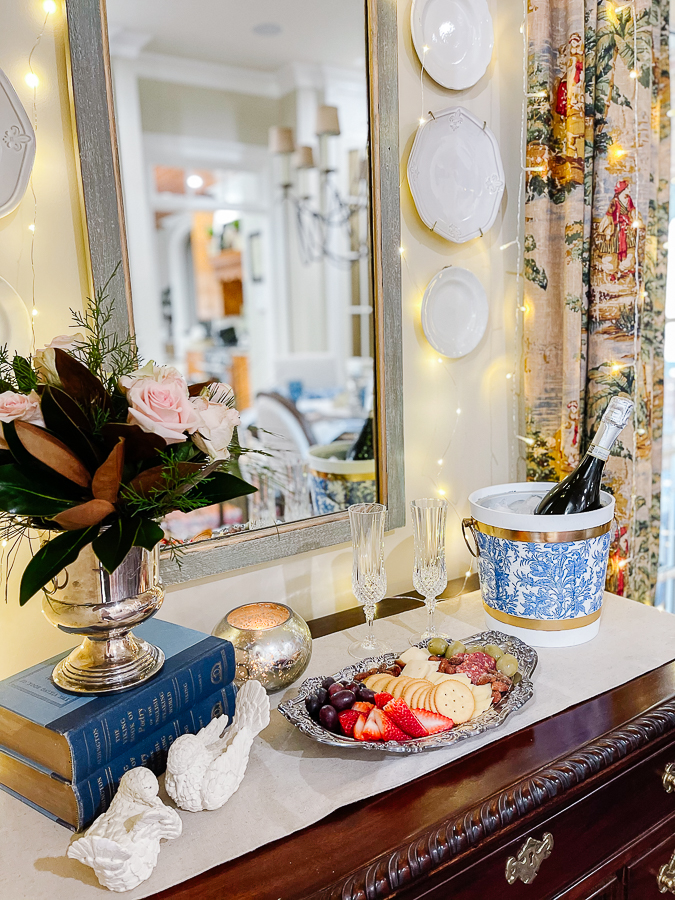
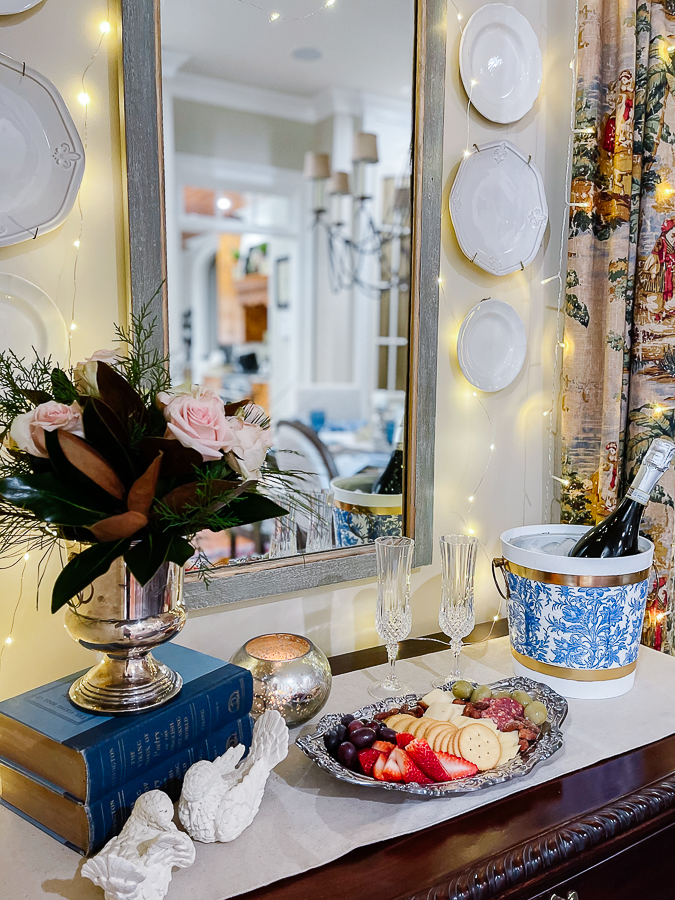
I'll use this as more of a wine cooler as in these photos.
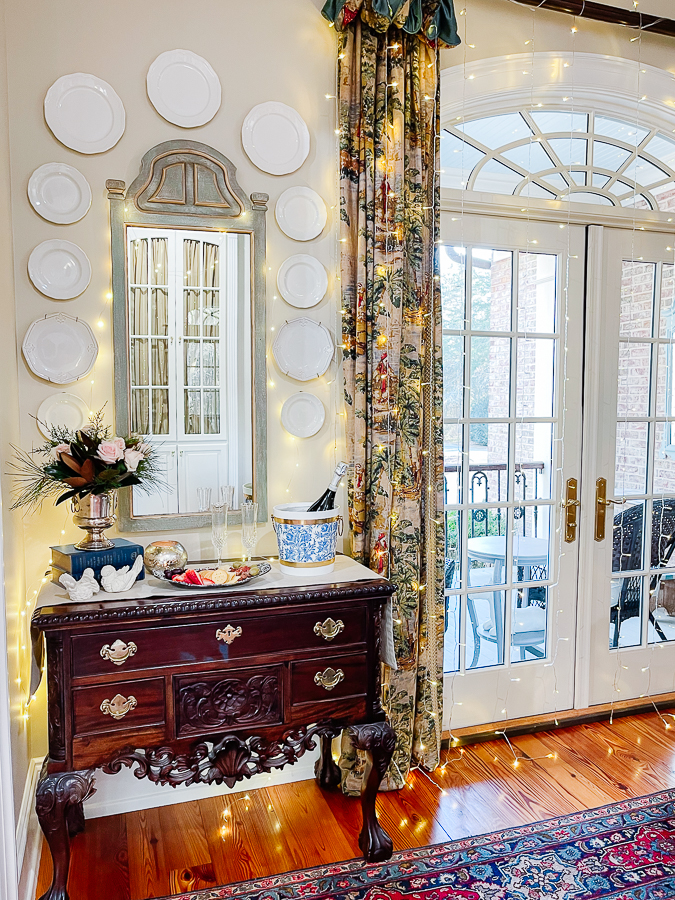
So much from the thrift store in this corner!!! The mirror is one of my favorite makeovers. Other items from the thrift store: ironstone plates, silver urn, books, silver tray, and pair of birds.
Looking to just purchase a Chinoiserie Ice Bucket? I found one HERE and HERE.
Uses for Ice Buckets
- ice
- wine cooler
- kitchen utensil holder
- plant pot
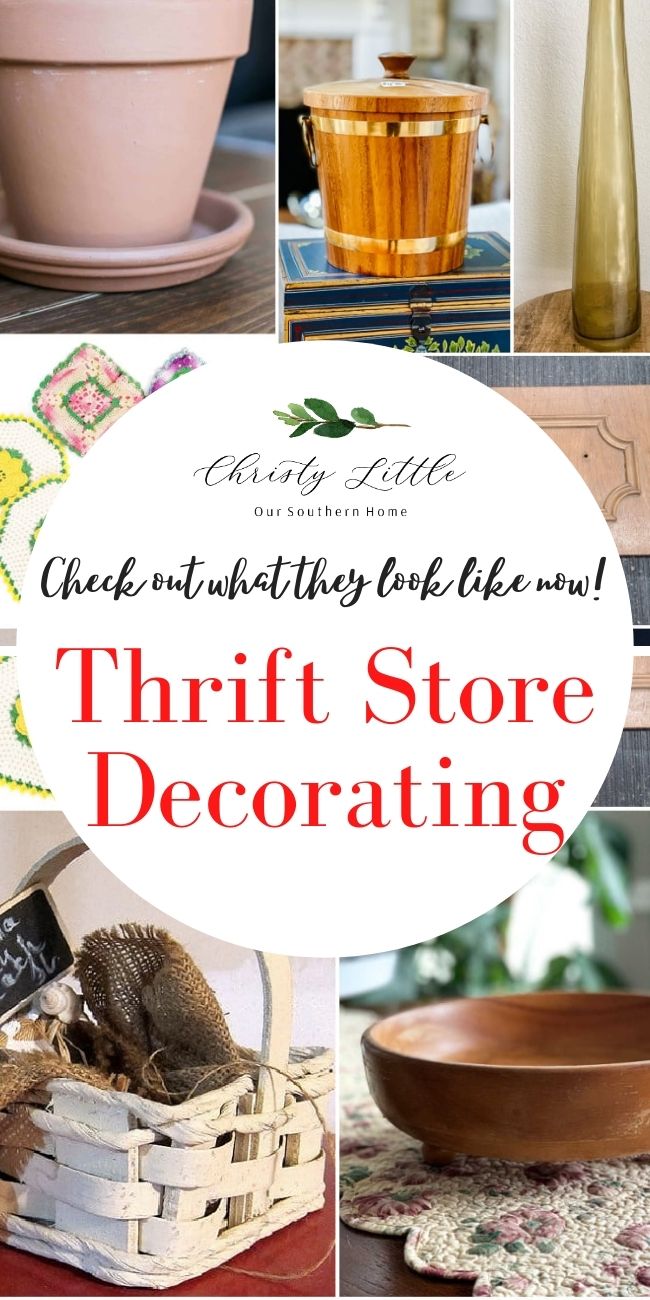
Be sure to check out the other projects!

How to Make a Macrame Plant Hanger Domestically Speaking
DIY Chinoiserie Ice Bucket Our Southern Home
Textured Stoneware Using Paint and Baking Soda My Uncommon Slice of Suburbia
DIY Coin Purse from Crocheted Potholders Sadie Seasongoods
Cabinet Door Vanity Tray My Repurposed Life
Bird Nest In A Basket Petticoat Junktion
Bleaching Wooden Bowls | Farmhouse Look House of Hawthornes


Beautiful result, Christy. I love blue and white and Mod Podge projects. You had me at chinoiserie.
Wow, that is such a chic makeover. Love it!
This is SO gorgeous!!! And I love the original gold against the new makeover, too- it’s seriously stunning. Great job!
This turned out amazing! I haven’t worked with Mod Podge forever, makes me want to bring in out of the craft closet!
Love those blue napkins you found – so pretty with the brass!
OMG! Great job. I love it.
Oh my gosh! That’s an incredible makeover Christy. You did a fabulous job, and you have me wanting to break out my Mod Podge to do a project!
Pinned
gail
That bucket is beautiful now Christy. I love your home and all of your decor. Those curtains are to-die-for!