Give Thanks Sign
**This post was sponsored by Porch.com. All Opinions are my own.**
With Thanksgiving next week, there is still time to get in one or a few Thanksgiving projects to make your holiday extra special.
Today myself and 8 other bloggers have teamed up with Porch to bring you a fabulous Thanksgiving Home Hop.
If you are visiting from Thistlewood Farms…….welcome! I am so happy to have you with me today.
Here in South Carolina we are teased daily this time of year with the weather. On Thanksgiving Day, we may be in scarves and boots or very possibly flip flops and short sleeves.
Regardless the weather, it is still a day of sharing with family and friends our feelings of being blessed.
I am overjoyed to be sharing today with the ladies above.
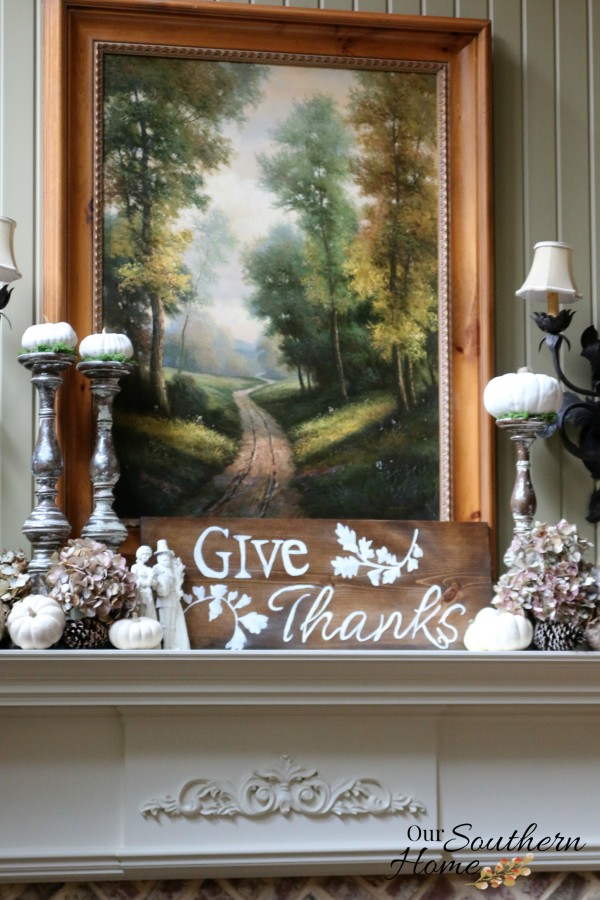
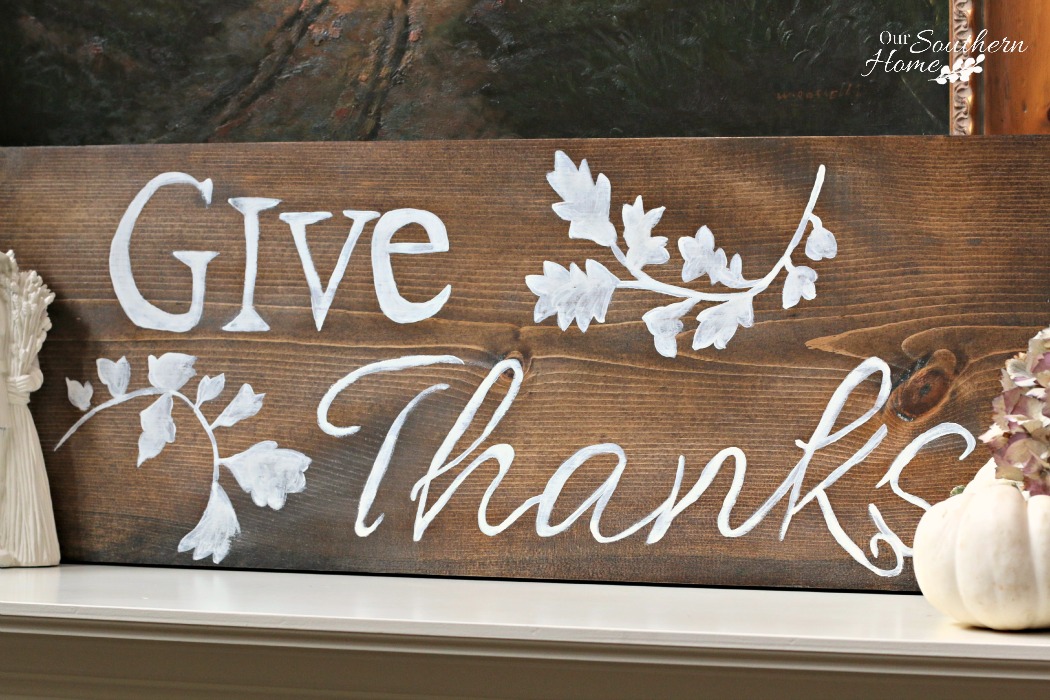
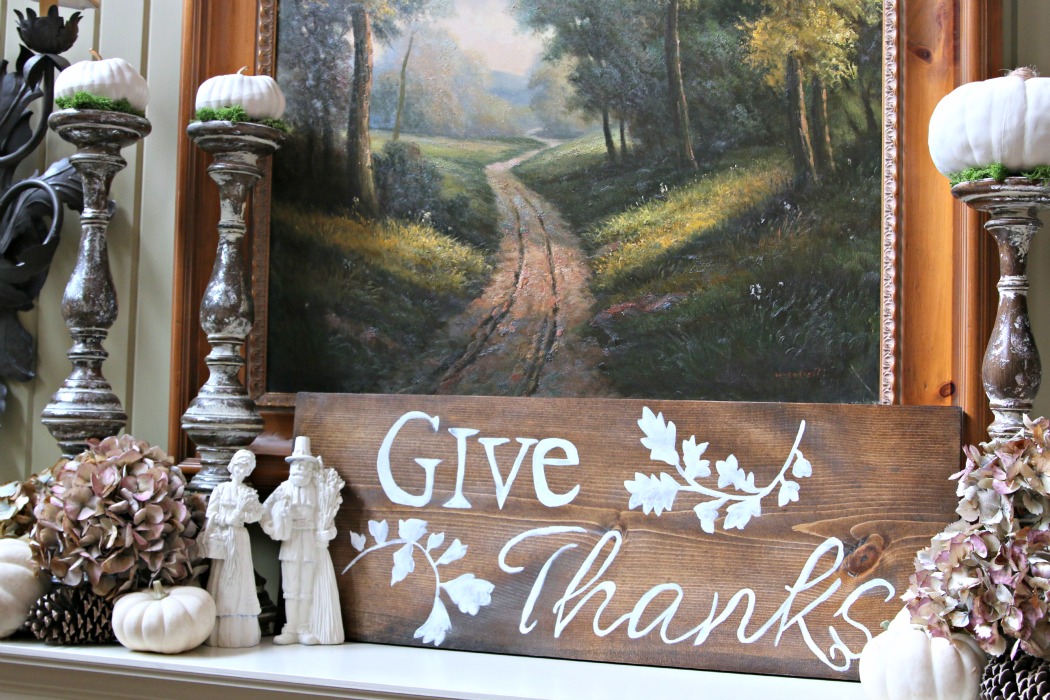
Thanksgiving is day to give thanks for all of our blessings. To share that reminder, I created this very simple sign with a leftover piece of wood in the garage.
You could make this sign really as small or as large as you'd like to fit your space.
You will need the following items: {contains affiliate links}
- Board of desired length and height. An old cabinet door would even work.
- wood conditioner
- stain of your choice (I used Dark Walnut by Minwax)
- foam brush
- rags
- Overhead transparency of the “Give Thanks” graphic
- White oil pastel
- Tape
- White paint
- Artist brush
- fine grit sandpaper
- Clear Wax
Here is the free graphic for you to use for your sign or just to print and place in a frame. Please visit this link to print without the watermark.
You will want to use a preconditioner like one by Minwax to prep a board of raw wood. It just helps the stain to go on more evenly.
Apply the stain per container directions once the pre-conditioner is dry. I use foam brushes
to apply pre-conditioner and stain. They are cheap and can just be tossed when finished. You will need old t-shirts, paper towels or rags to wipe the stain.
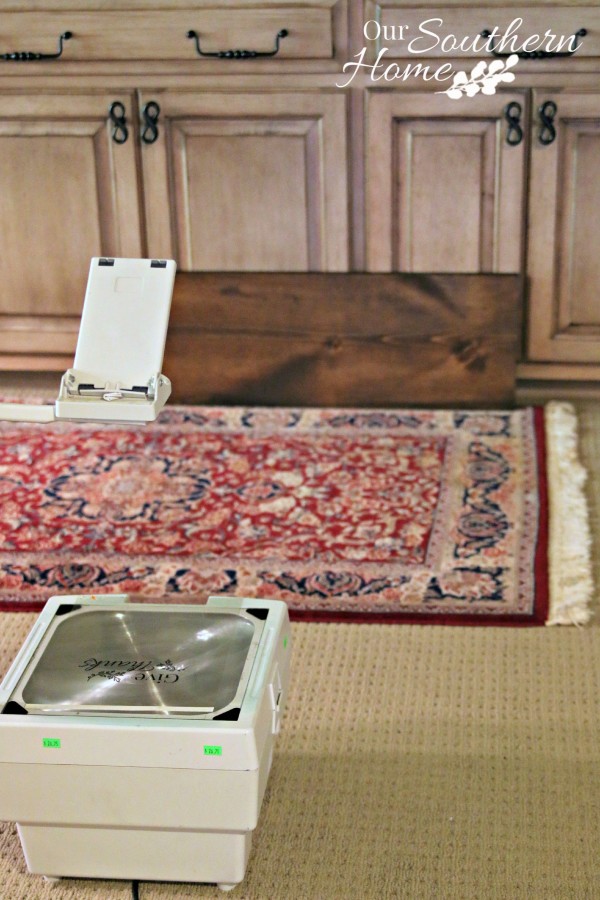
Overheads are becoming a thing of the past with Smartboards. I picked mine up at the thrift store for under $20. I use it quite frequently for signs and chalkboard designs. If you craft a lot, be on the look out in thrift stores and check Craigslist. You may even be able to borrow one from your church. I'll also share a way to do this same project without an overhead in just a sec.
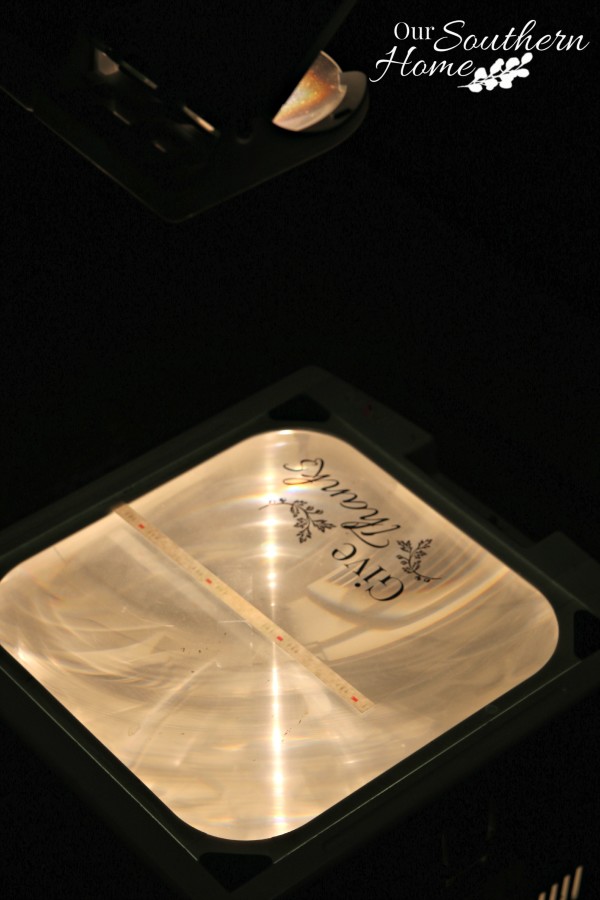
Position the overhead transparency and tape it to the overhead. You don't want it to shift while you are drawing your letters on the board. Trust me, I've learned the hard way.
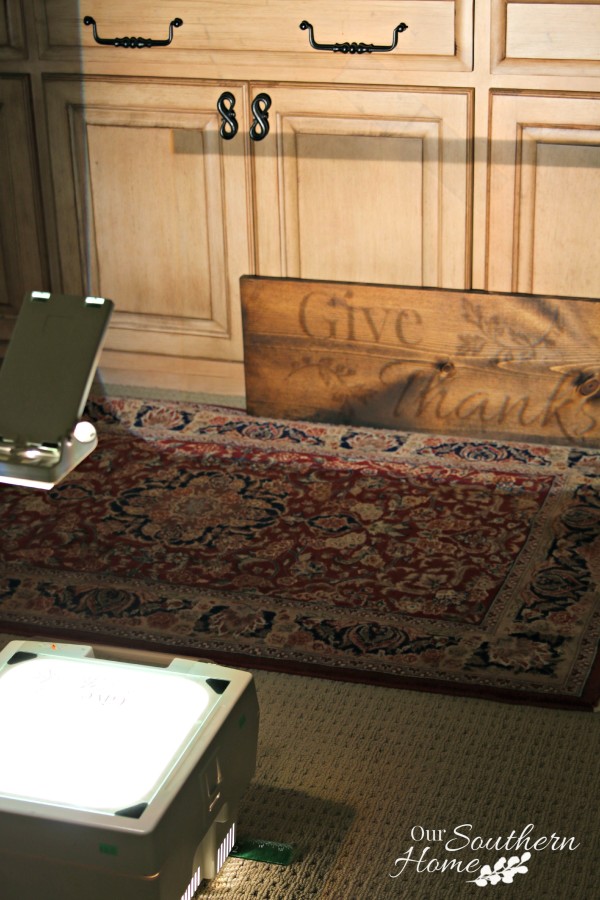
With the overhead, you will move it until it frames up the way you'd like on the board.
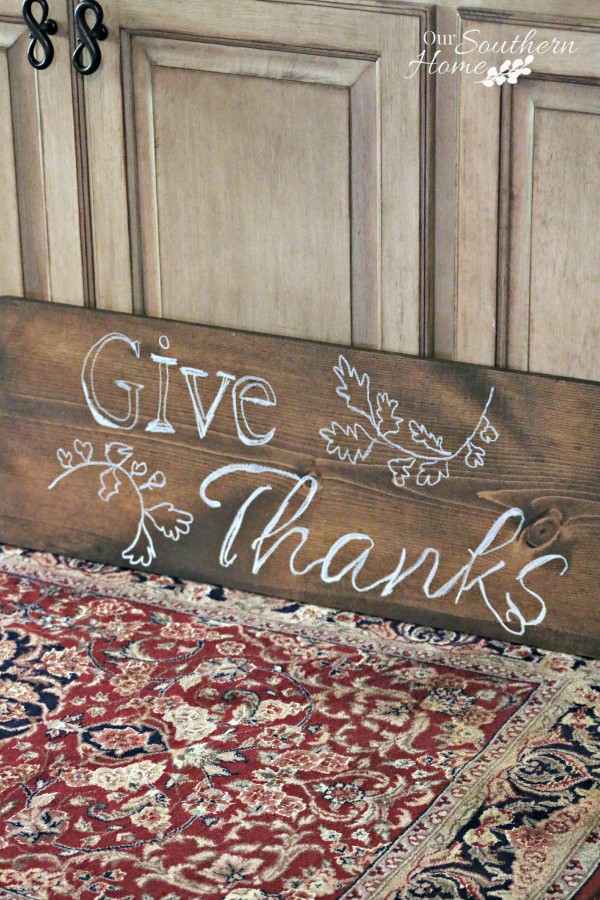
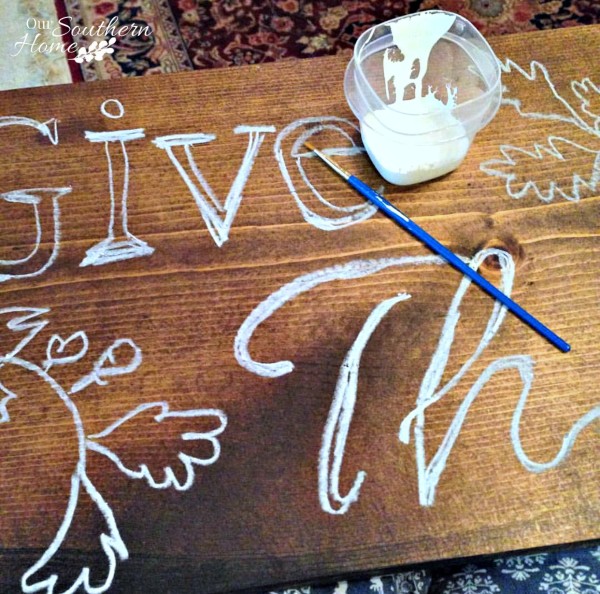
I like to trace my project onto the board in a color that closely matches what I'm painting. I love to do this with oil pastels. They write so smoothly. You could also use chalk or pen/pencil.
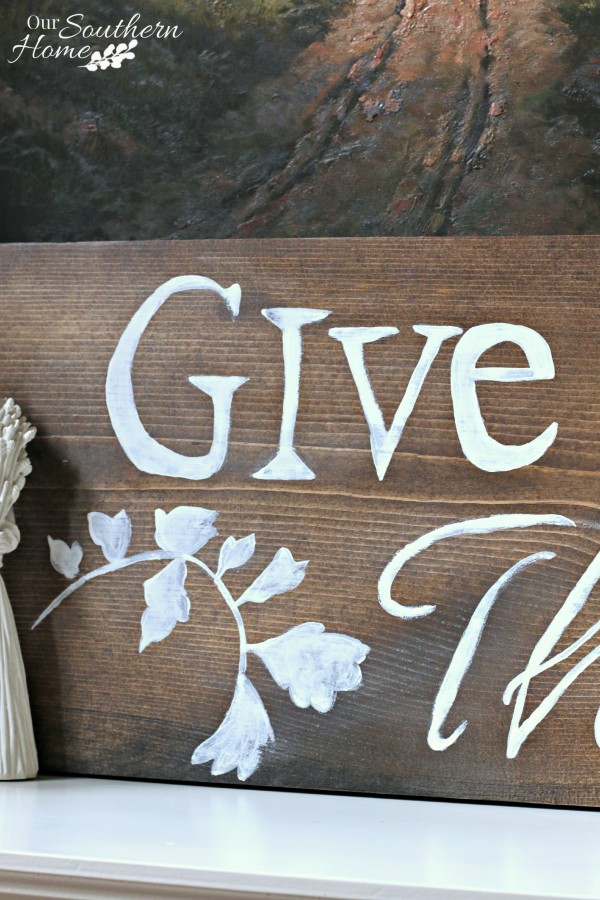
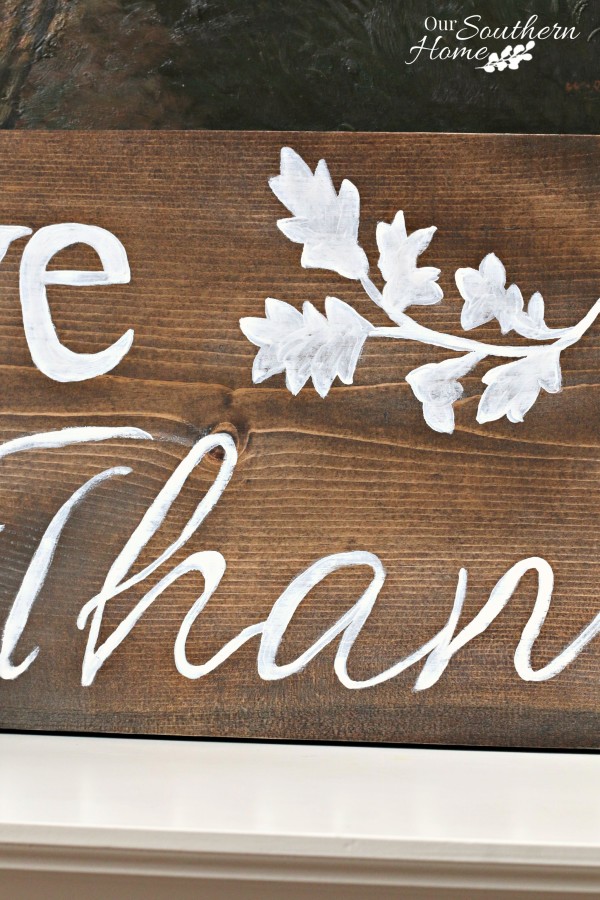
This is such a small project that I can paint it in my lap while watching a TV show. I used Annie Sloan Chalk Paint in Pure White applied with an artist brush. Once dry, you can slightly distress the letters with the fine grit sand paper
.
Finish with a coat or 2 of wax. I used ASCP clear wax. Once it is dry, buff to desired sheen.
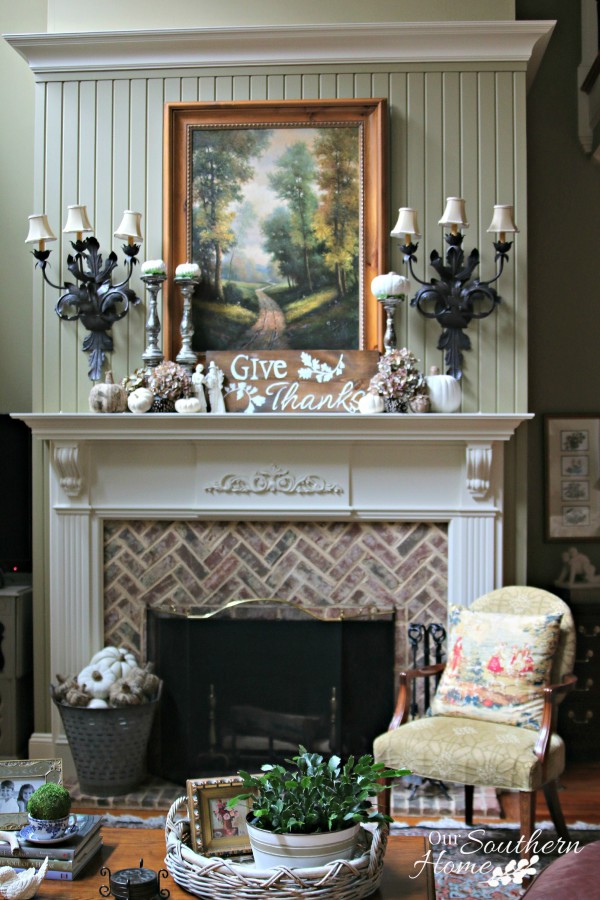
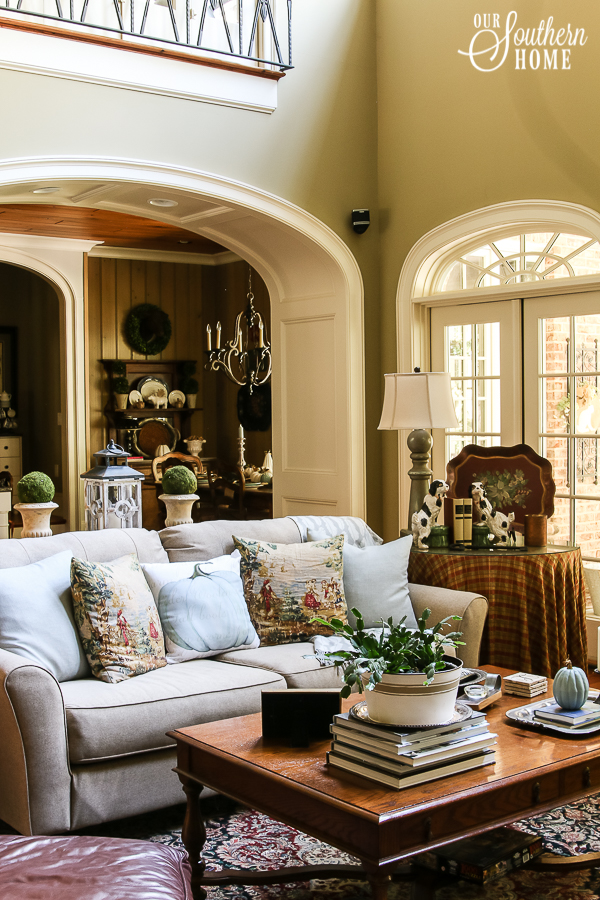
To see the details on my Thanksgiving mantel you can visit HERE.
If you don't have an overhead, that's OK! You can print the graphic with BlockPosters.com on your home printer to your desired size.
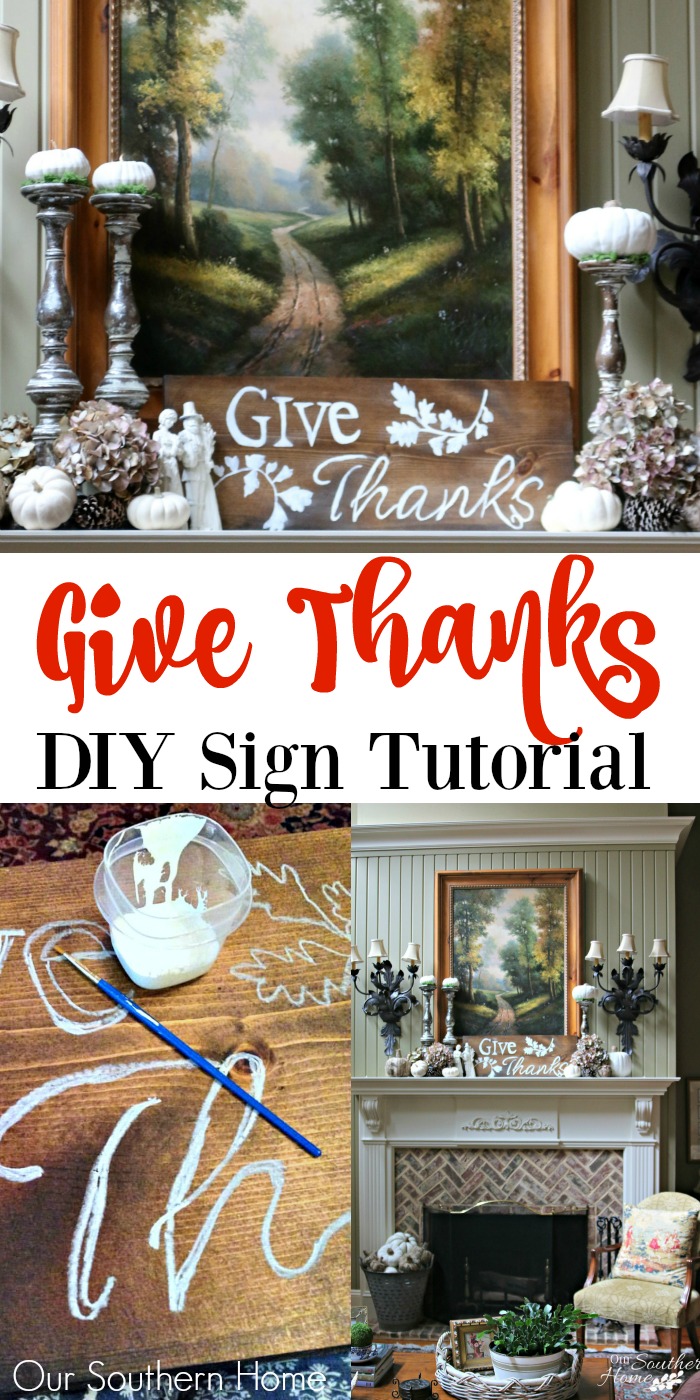
PIN the above image for later. Thanks!!!
Now it's time for you to go check out another fabulous Thanksgiving project from the very talented Porch blogger Maison De Pax.
I’d love for you to follow along on social media!
–>> Facebook | Pinterest | Instagram | Twitter|Google+
Home Stories A to Z Not Just a Housewife Kammy’s Korner The Happy HousieDesign Dining and Diapers Liz Marie Blog Funky Junk Interiors Savvy Southern StyleTatertotsand Jello DIY Show Off Redoux Interiors Between Naps on the PorchThe DIY DreamerOh My Creative Little Miss Celebration Just a Girl and Her Blog Sand and Sisal InteriorFrugalista House on the Way Addicted 2 DIY I should be Mopping the FloorMiss Mustard Seed Stone Gable- The Scoop Inspire Me Tuesday Feathered Nest Friday Treasure Hunt Thursday Northern Nesting
Buffer




Ooh you are sooo sweet. Thank you! I am excited. You rock, sweet girl! ????????
Oh this is so pretty. I am in love! It cannot be printed at BlockPosters.com though because they only do jpeg files. Is there anyway you can convert this to a jpeg? I would appreciate it so much. I really want to make this for Thanksgiving this year and I don’t have any other way to print the graphic other than on an 8 1/2 by 11.
Thank you for sharing your talent.
Thanks so much, Patti! Yes, I’ll locate the file and see if I can convert for you!!! I’ll do it today. XO, Christy
How much of a difference does the wood conditioner make? Out of all the DIY projects I’ve seen, I’m not sure I’ve seen anyone use a pre-conditioner before staining wood. I would have guessed that would make the wood have a more difficult time soaking up the stain. But I bet it makes it look less rough.
The purpose of a wood condition is just for raw wood. It allows the application of stain to go on evenly and not look splotchy or dark in some areas. It’s not a must, just a step I elect to do.
I’m a sucker for signs…always!! Love it! 🙂
Nancy
Love it! I need to get my projector out!
Beautiful Christy!! I love it – and it looks perfect on your mantel. What a lovely warm space for the holidays!!