Spring Monogrammed Wreath and Hometalk Michaels Event
I just love Pinterest! I was an avid pinner even before starting my blog. I've been crafting since I was a kid constructing my own Barbie furniture out of tissue boxes and such. I never had that coveted Barbie Townhouse. Instead, I used my desk chair and created my own 2 level townhouse. Come to think of it, I don't think it really ever bothered me that I played this way!
So when Hometalk asked me to participate in the Pinterest Party with Michaels Craft Stores, I was eager and excited!
Join Our Southern Home (me!!), Hometalk and Michaels for a Pinterest Party!
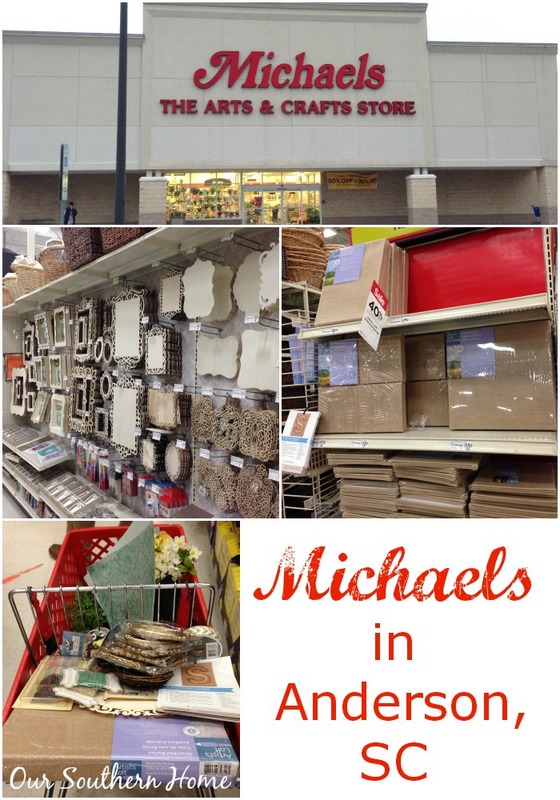
Feb 16th, 1pm – 4pm at the Anderson, SC Michaels store.
Not near me! Bummer! Don't worry though, check the Michaels website for a participating location near you. This is a nationwide blogger event!
Check out the Pinterest inspired displays at your local Michaels store, buy your supplies, and meet us in the classroom to create your own pin-worthy project.
I know that I have mentioned Hometalk on here quite a few times! It is free to join and such fun getting detailed ideas in one place! It's your go to for a home & garden social network!
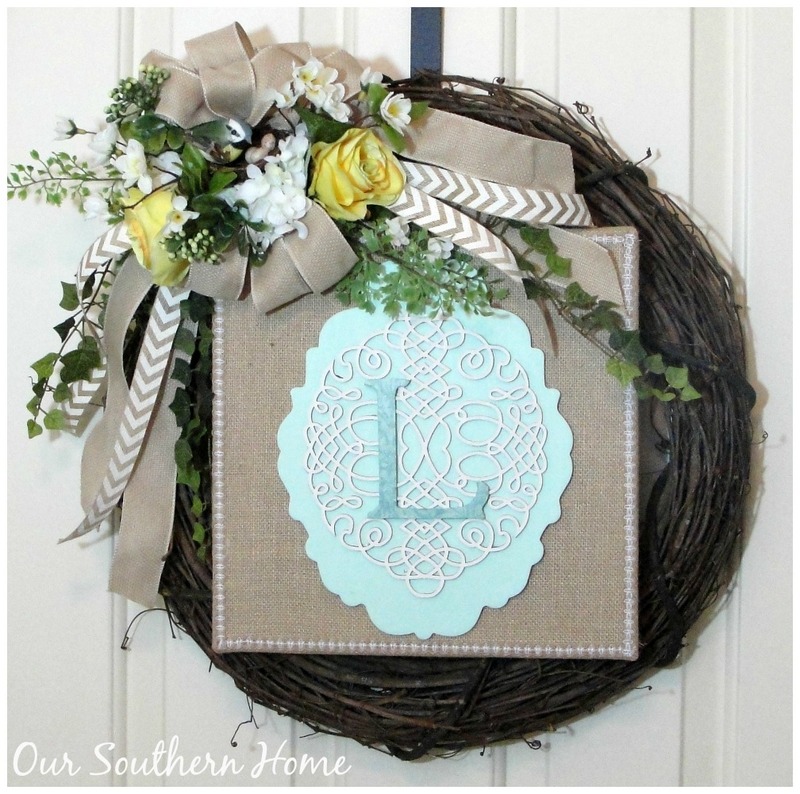
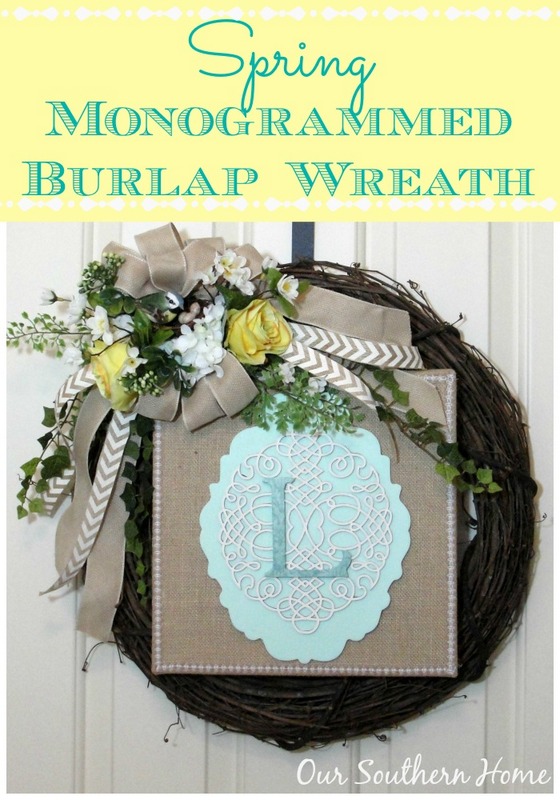
Here is my final project: Monogrammed Spring Wreath
I had such a wonderful experience discussing and planning the event with the store's Events Coordinator. The staff is just so friendly and can't wait to meet and craft with you all!
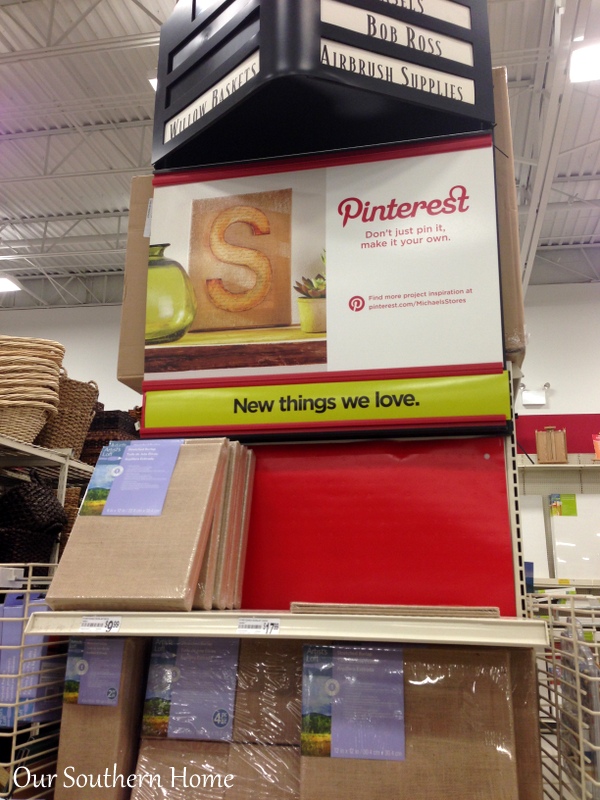
When you go in the stores, you will see end caps with the Michaels Pinterest Party signs. I fell head over heals for these burlap mounted canvases! So many sizes to choose from! I went with the 12×12. I stood there and thought. I had already checked out the laser cut wood art section and knew that I wanted to incorporate it. I decided to craft a monogram spring wreath for our front door.
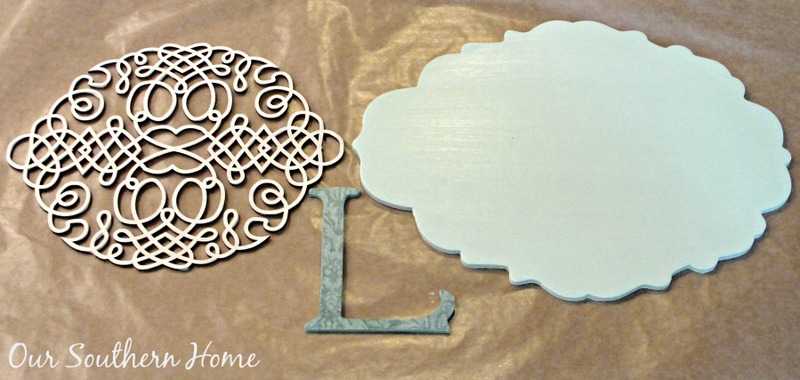
I'll be going over it all in more detail the day of the event so if you have any questions here please let me know! The first thing that I did was to pick a pretty scrapbook paper. I have the duck egg blue furniture on my porch so I wanted to keep that color scheme going. All you do is cut out a square piece of the paper larger than your letter. Coat the backside of the paper with Mod Podge using a foam or craft brush and place the letter on it backwards! That way when it is dry and you flip it over, it is facing the right direction! Put this to the side and allow to completely dry.
While it is drying, paint your 2 wood shapes. I painted the intricate cut out piece with a creamy white in the Martha Stewart craft paints. I then mixed the creamy white with a pool color to get it slightly lighter so the “L” would stand out better. I painted 2 coats on each wood shape. These dry quickly. While I waited, I moved on to my burlap canvas.
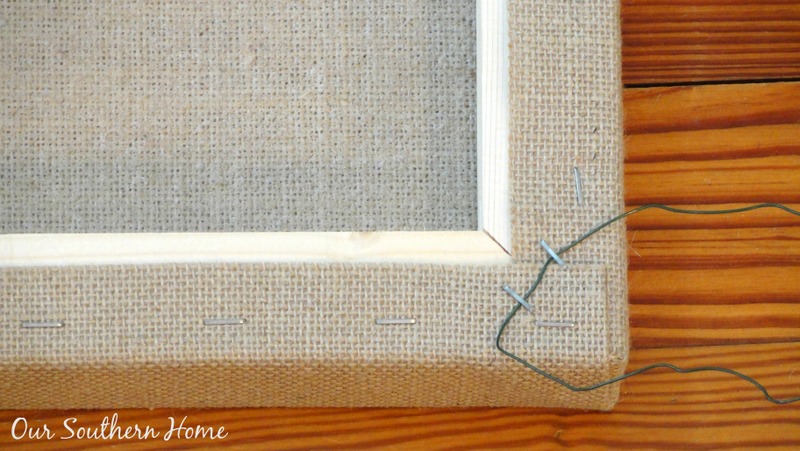
You do not need to do this step if you are using your monogram as a wall hanging or to place on an easel. I wanted to create a wreath, but I wanted the option to remove it if I wanted. I attached a heavy gauge floral wire with 2 staples on each corner. This will allow me to secure it to the grapevine wreath form. If you do this, please do before attaching anything to the front.
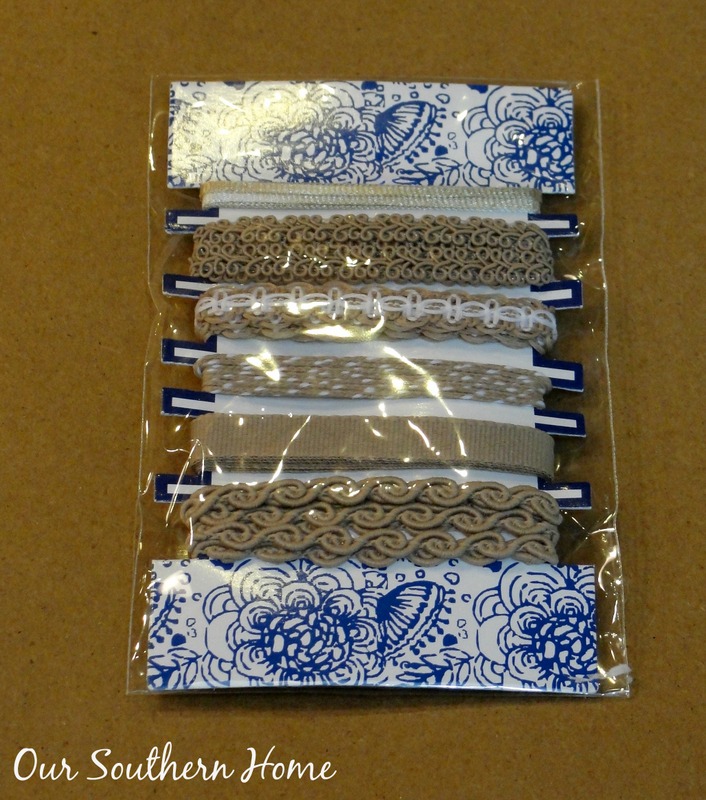
Have you ever noticed the $1 spot at the front of the store near check-out? They have some seriously fabulous stuff there! Luckily, I bought 2 packs of this….not originally intending to use it here. Glad I did!
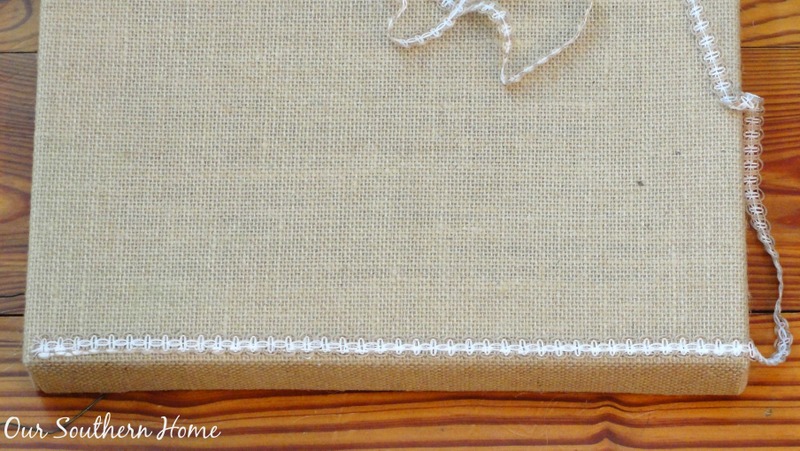
It took 2 packs to go around the outer edge of the burlap canvas. Just simply attach with a craft glue from Michaels that dries clear.
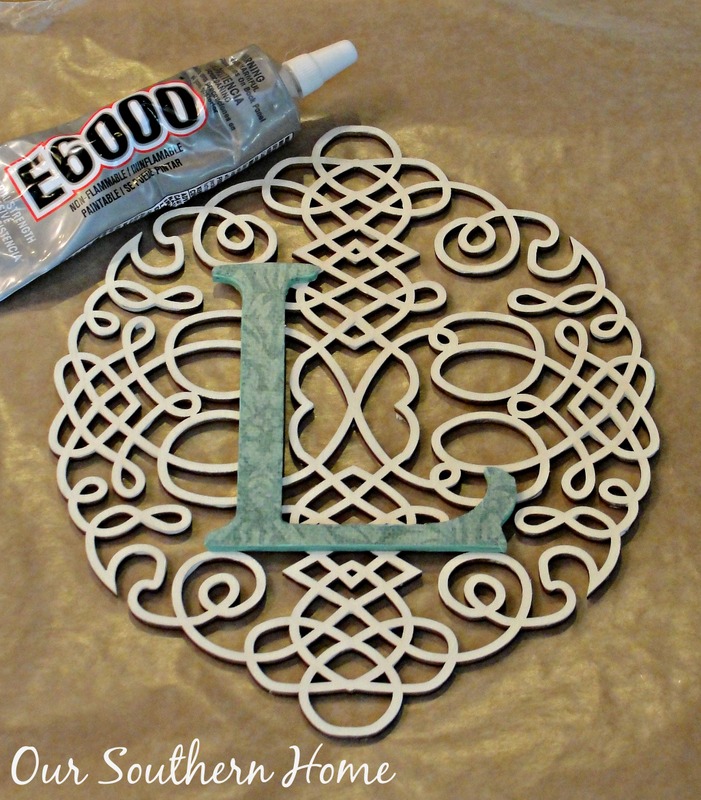
Make sure you purchase the E600 in clear! It dries to a very hard, secure finish that will be clear. I attached the “L” to the top. It takes a little time to set up.
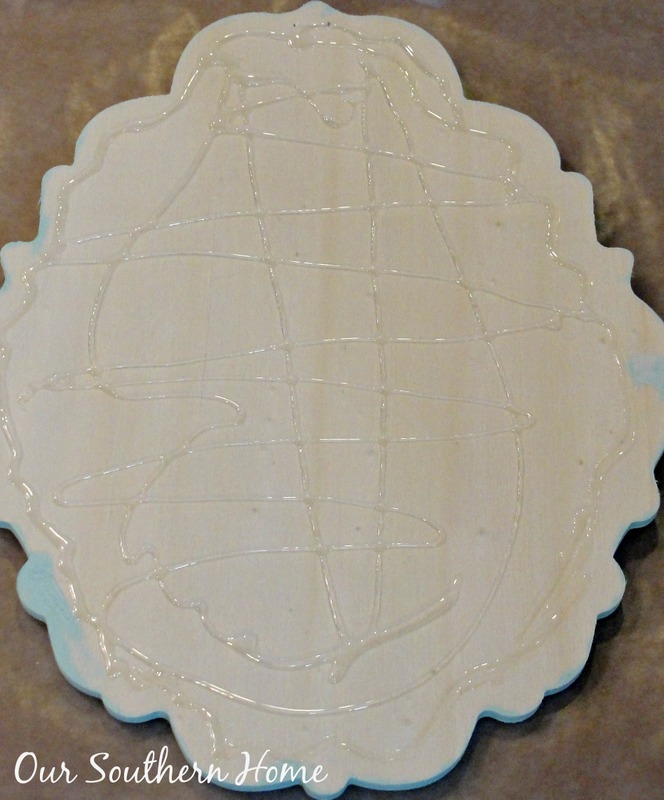
Now, I've already attached to 2 wood pieces to the front and they have dried completely. Coat the back of this piece well. Please read the E600 directions for set-up prep! Attach it to the center of the burlap. I place one hand on the backside of the burlap to apply pressure as I made sure the wood piece attached itself. Leave this alone while you work on the floral part.
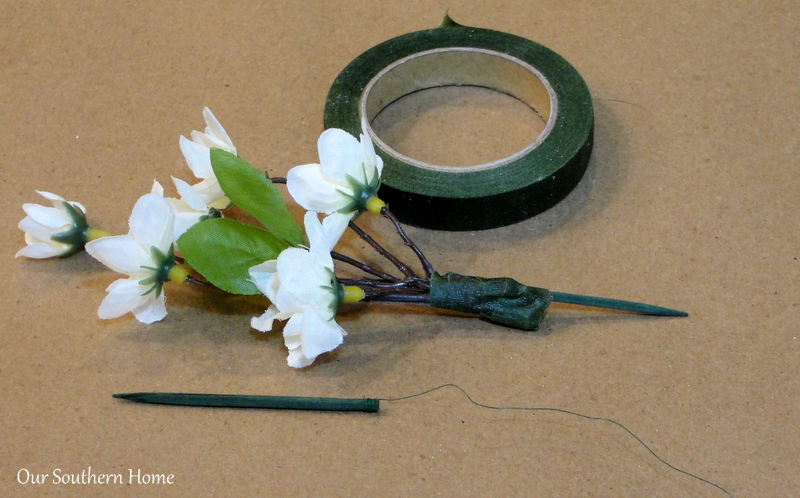
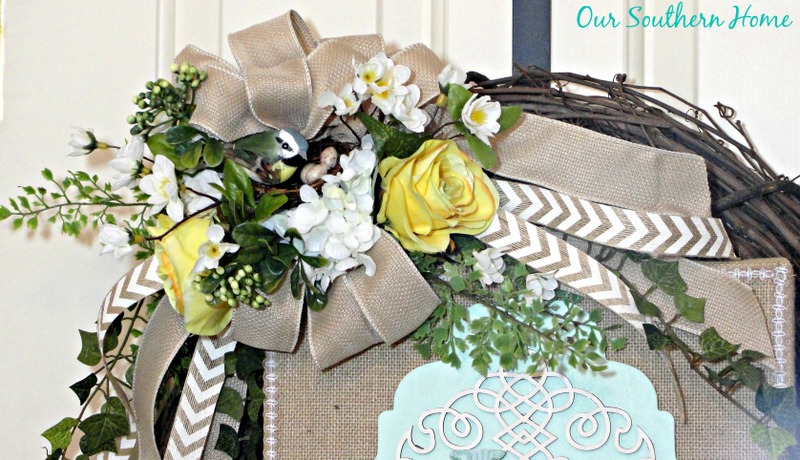
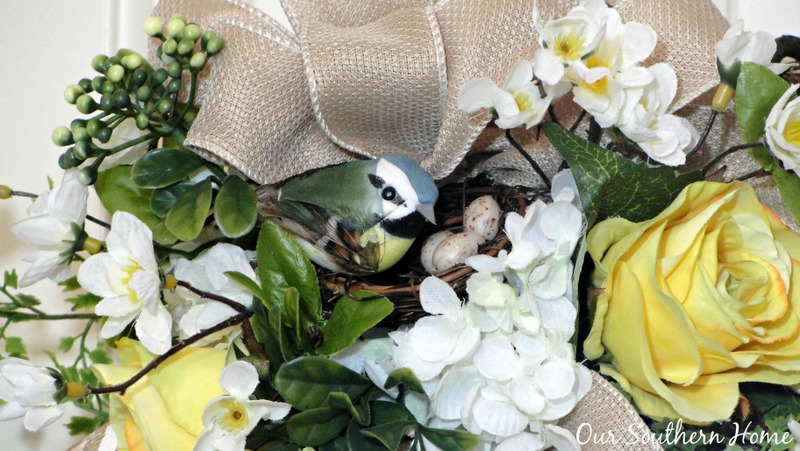
You will need a small block of green floral foam, small wooden floral picks, wire cutters and floral tape. This used to be apart of 1 large floral spray. Simple cut a few smaller pieces from it and attach together with the pick and secure with the tape. Then arrange in your floral foam. If I'm using a single flower that I've cut and using by itself, I don't attach a pick if it will go directly into the foam. I attached all the flowers, greenery, bow, ribbon and bird's nest in this manner. Again, I didn't want anything super permanent. I attached the foam floral piece to the wreath with wire. It is not glued to the wreath. Once it is all in place, you can fill in with more ribbon.
To add extra ribbon, you can form a simple loop or a long strand attached to one of the wooden picks…..then just stick in the foam where you want it. Only the top part of the arrangement is a one piece bow!
This part of the wreath could be used on its own!
The corner floral spray is not attached to the burlap canvas. It is simply wired to the wreath form. This allows you to make adjustments.
I'd love to meet you on February 16th from 1-4pm at the Anderson, SC Michaels! I'll be bringing this project for you to look at and discuss further. I also plan to show you another way you can personalize the burlap canvas. Also hope to show you some ways to personalize a chalkboard styled bunting/banner for birthdays and special occasions!
So get your girlfriends together or bring your daughter. Would be appropriate for preteens and teens. They would love to craft a burlap monogram for their room!
Follow Michaels on Hometalk to enter to win a $100 Michaels gift card. Five winners will be announced on Hometalk's FB page on Feb 17, after the party.
You can also visit Michaels online for the sales and coupons.
There are 5 fabulous projects to choose from! You can make any of them + put your own spin on it. You will need to purchase your materials which you can do at the start of the event. There will be Michaels associates there to help you find your items. I'll be there to help inspire you and craft! All of the projects are very simple made as is.
Link Parties that OSH parties at on occasion! Monday: Between Naps on the Porch Tuesday: Not Just A Housewife, The Scoop at Cedar Hill Farmhouse and Inspire Me Party at A Stroll Thru Life, Setting for Four – Project Inspire{d} Wednesday: Savvy Southern Style Thursday: From My Front Porch to Yours, 52 Mantels, Home and Garden Thursday at A Delightsome Life ,No Minimalist Here Friday: French Country Cottage, My Repurposed Life, Miss Mustard Seed Furniture Friday, Common Ground, The Charm of Home, Rooted in Thyme,Imparting Grace, Keep Calm and Link Up, at the picket fence – Inspiration Fridays, My Romantic Home – Show and Tell Friday, Craftberry Bush – Inspiration Gallery Friday, SnapCreativity – Show and Tell
Buffer

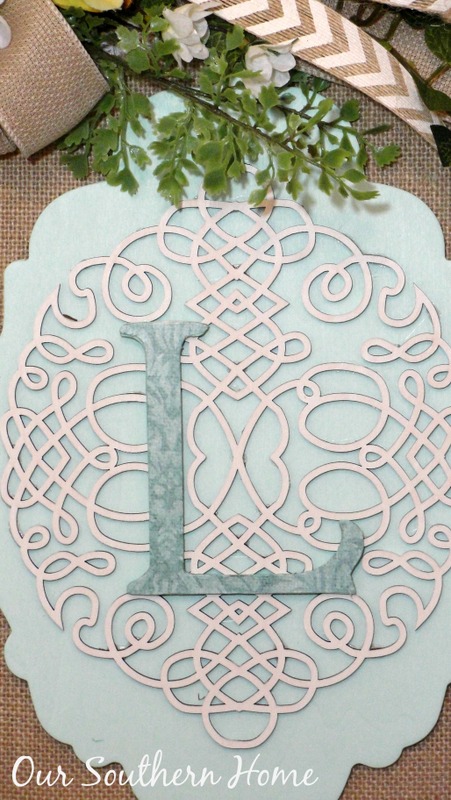


You mentioned that you bought scrapbook paper but don’t see where it is used on the wreath. I have everything ready to go to make mine! Hope it turns out half as beautiful as yours. Wish you were in Missouri to come do demo at one of our Michael’s.
Thanks
Barbara! You are so sweet. Thanks so much! The scrapbook paper is on the L. It’s tone on tone blue so she may have mistaken it for paint. Happy crafting. So wish I could craft in person with you!!! Hope you are getting some spring weather now! XXOO Christy
I love your wreath. It’s beautfiul.
Thanks bunches!!! It really was a fun project! Bring on spring. 🙂 Christy
I really love your wreath. It is so elegant. I hope to copy it. I wish they had the event in all cities. I would love to go mingle and watch and look at all the crafts.
Sheryll,
We had such a great time!!! Let me know if you have questions when you get started. Thanks bunches!! XXOO Christy
Just beautiful! Enjoyed getting to know you + your blog from the Pinterest Party!
Thanks so much, Sarah! The creativity with this campaign was amazing!!! So glad we have connected!! XXOO Christy
Wish I lived near so I could come at see you do your thing. That wreath is gorgeous!
Patty at Home and Lifestyle Design
Thanks so much, Patty! So wish you could be there as well!!! It was a fun project! ~Christy
Oh my! You’re going to be at ‘my’ Michael’s! I would love to be there, if I can get caught up on my schoolwork during this snow break I will!
I so hope you can make it!!! Would love to meet! Hope you enjoyed the snow! We sure did!!! ~Christy
I think your wreath is absolutely beautiful!! I love everything about it!
Thanks so much, Lori!! The big day is almost here for us! Best of luck at yours!!! XXOO Christy
This project is sure to be a hit at Michael’s this Sunday. I hope you enjoy the event.
I also made my own Barbie house. Mine was out of a box and had carpet and windows with curtains glued to the wall. Thanks for the memories!
So neat that you did the same with Barbies! I’m looking for to the event. The weather should be all cleared up for it! Thanks so much, Paula! ~Christy
So Pretty!!
Thanks so much, Martina!!! Bring on spring. ~Christy
Pretty wreath, Christy! Even though I’m still enjoying this bit of wintry weather that we’re getting, I’m still looking forward to doing some Spring decorating. Your wreath is the perfect inspiration!
Thanks so much, Shenita! I probably hang it toward the end of March! We had a great snow last week. Kids were out 4 days from it!!! Doesn’t happen very often in SC! ~Christy