Thrift Store Lamp Refresh with a DIY Pleated Fabric Shade
Give a thrift store lamp new life with a DIY pleated fabric shade. A simple, budget-friendly refresh perfect for the new year.
Latest from OSH
- How to Make Piña Coladas in an Ice Cream Maker
- Saturdays on the Porch #86
- Saturdays on the Porch #85
- Easy European Wall Art with Thrift Store Frames
- Piano Bench Makeover with New Color and Fabric
This post may contain affiliate links. If you purchase something using one of my links, I may earn a small commission from the retailer costing you nothing more. You can read more on my disclosure page. Christy Little of Our Southern Home is a participant in the Amazon Services LLC Associates Program, an affiliate advertising program designed to provide a means for sites to earn advertising fees by advertising and linking to amazon.com.
Thrift Store Makeover Day

Join us each month for NEW thrifty ideas from the team. You'll find links to all of the projects below.
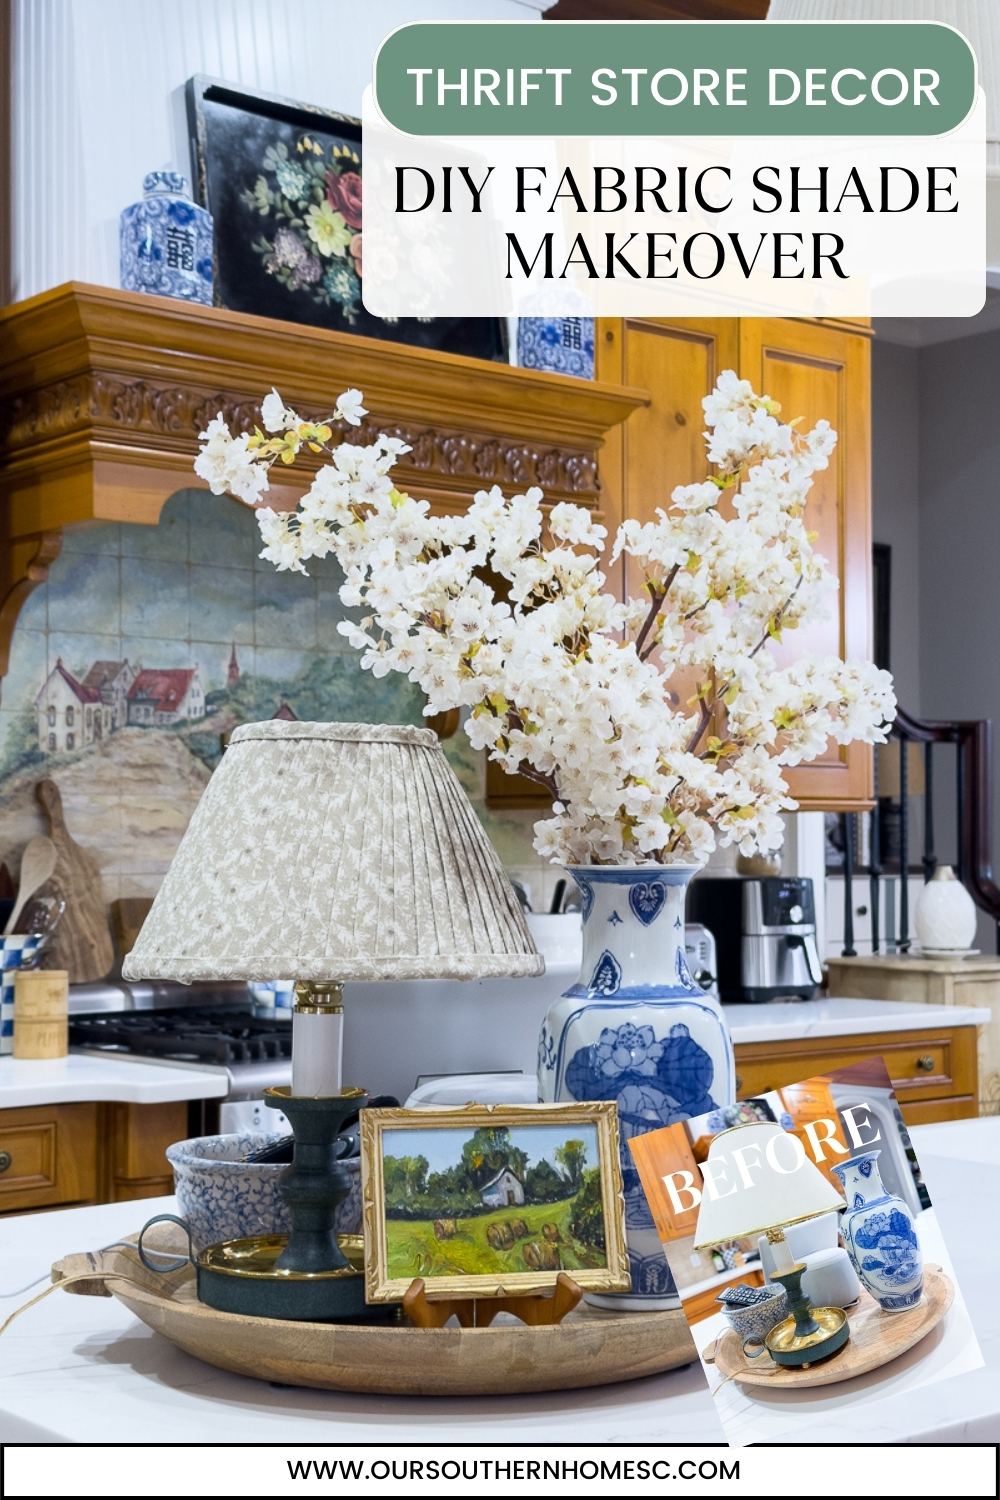
Use the slider below to see the before and after!


There’s something so satisfying about starting the new year with a simple thrift makeover that makes a big visual impact. After packing away my holiday décor, the kitchen counter vignette was feeling just a bit too empty. That’s when I remembered this little lamp I picked up years ago at the ReStore. It’s a great shape with a soft green-blue finish and brass accents — the perfect size for the kitchen counter — but the old shade was a bit sad: stained and yellowed with age.
So I gave it the DIY pleated fabric shade treatment using the same technique from this tutorial I shared last year.
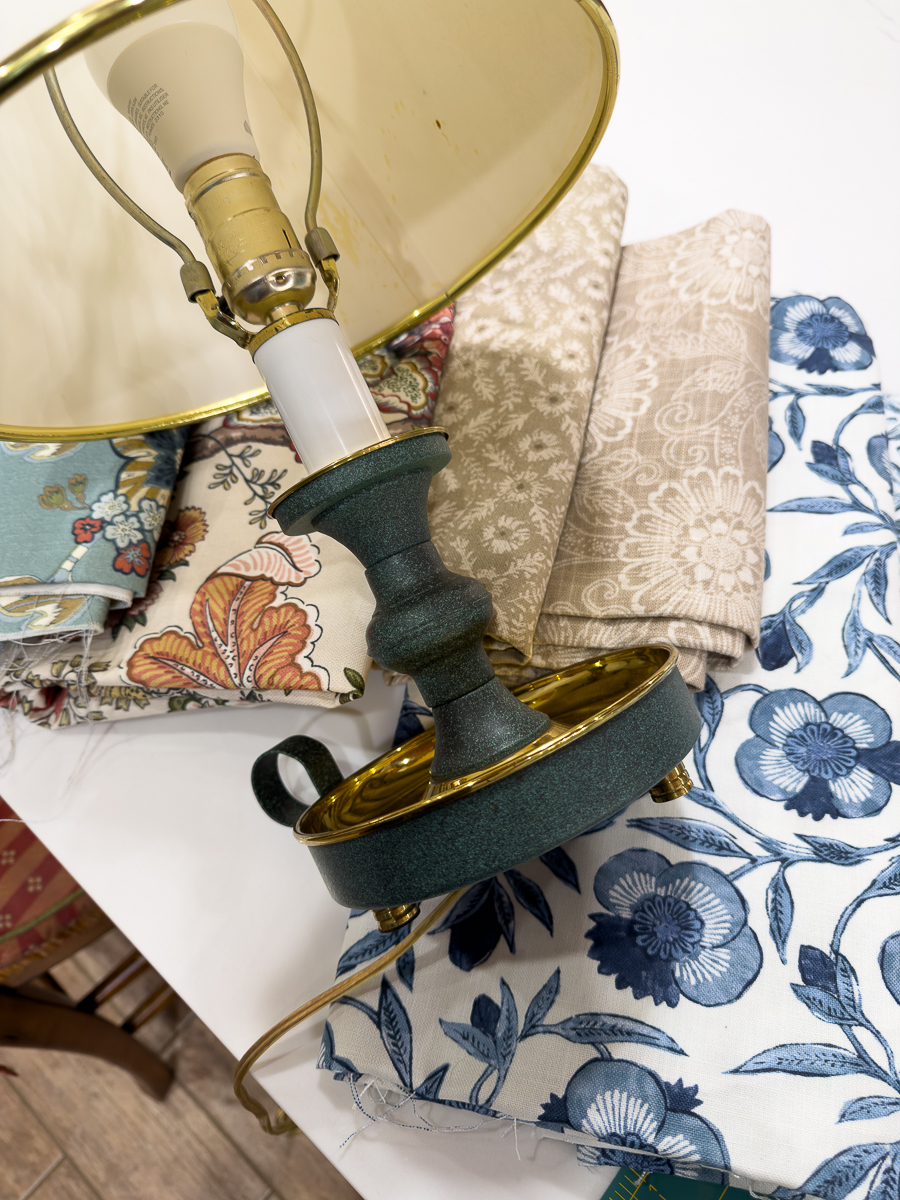
Before: Good bones, tired shade
The lamp base is charming on its own, so I left it as is. I gave the brass accents a gentle clean with a damp cloth.


The shade was not so great! It is yellowed and stained. I can't beleive that I have used it like this for several years.
It's such a charming little lamp.
Fabric Choices
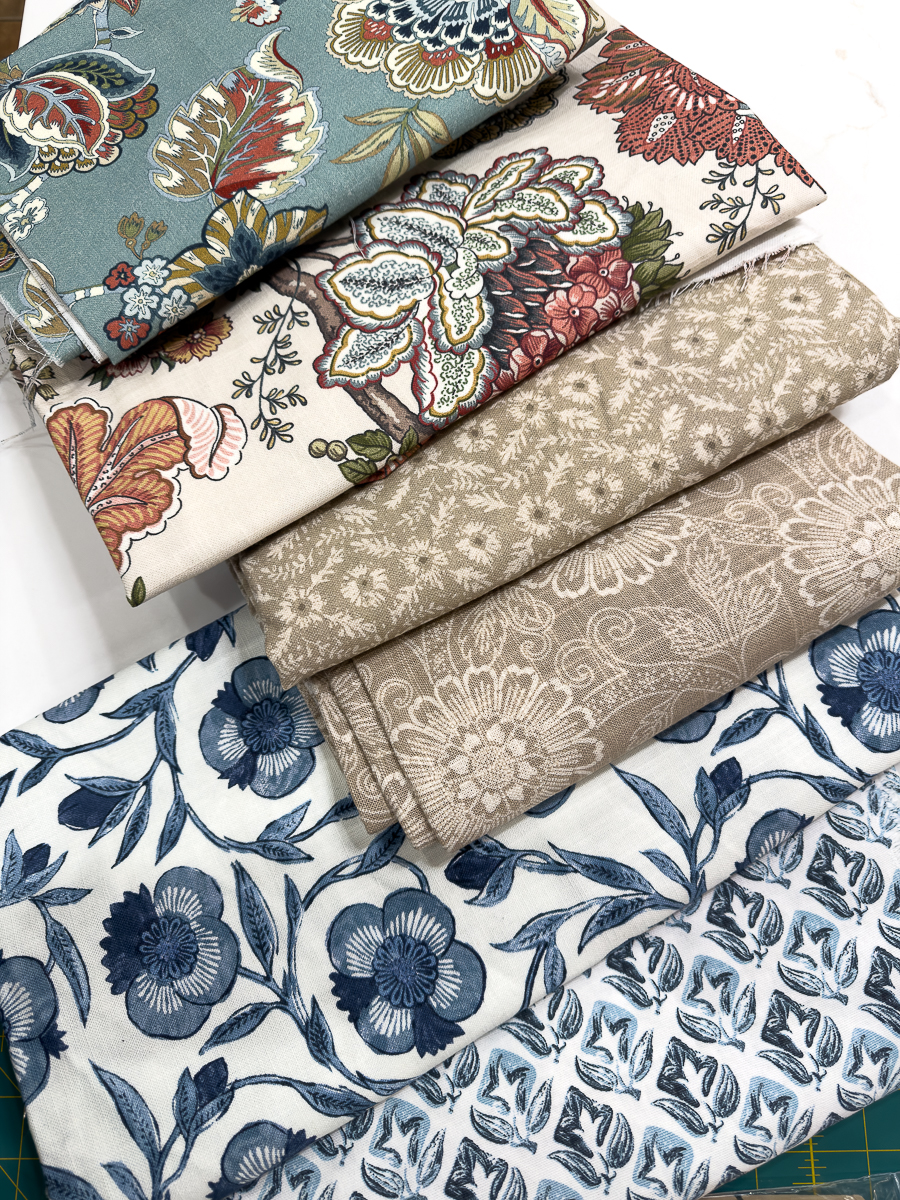
I pulled out my stash of fabrics from a local shop, All About Fabrics. They are a large discount warehouse that is open to the public on set days each month. You can also order online. I am fortunate to be a short drive away.
All of the fabrics would work. I decided to go with the smaller neutral print. I felt like it would span the seasons.
Supplies You’ll Need for the Pleated Shade
- Lamp
- Shade
- Fabric
- Cutting Mat
- Rotary Cutter
- Scissors
- Sliding ruler with lip
- Tape measure
- Mini glue gun
- Mini glue sticks for fabric
- Set of bias tape makers
- Never Dull (if your brass needs cleaning)
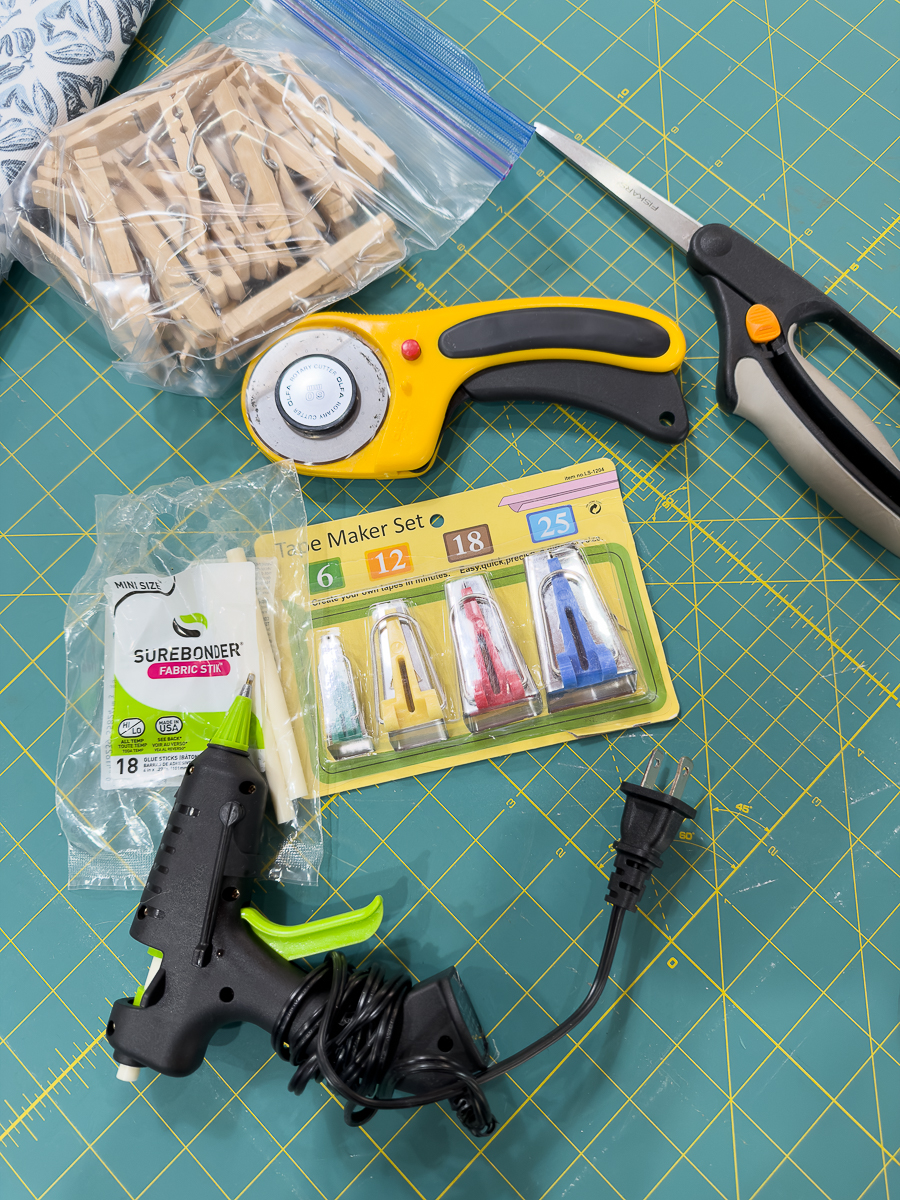
A mini glue gun with low-temp glue is essential — it lets you apply a small bead of glue and be precise so your fabric stays neat. I ran out of glue towards the end and had to resort to my regular-size glue gun, which is hot! The low-temp mini is the way to go for this project.
How to Make a DIY Pleated Lamp Shade
Here’s the step-by-step process, adapted from the original tutorial and perfect for this smaller shade. Please refer to that for the full tutorial! Below is a snapshot of the project.
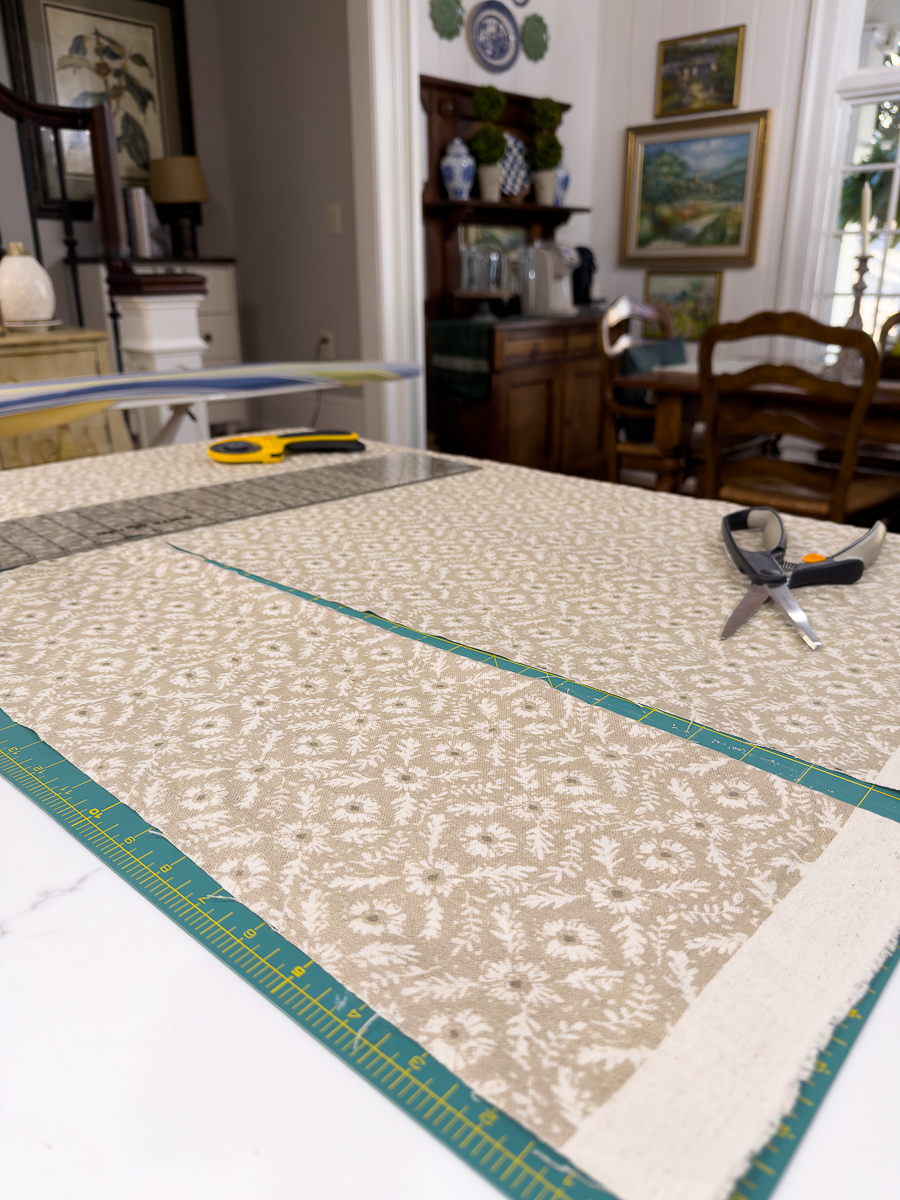
Prepare the Fabric
Start by squaring up your fabric. For a small shade like this, you’ll still want strips that are about 2″ wider than the length of the shade — this gives you plenty of fabric to fold and pleat.
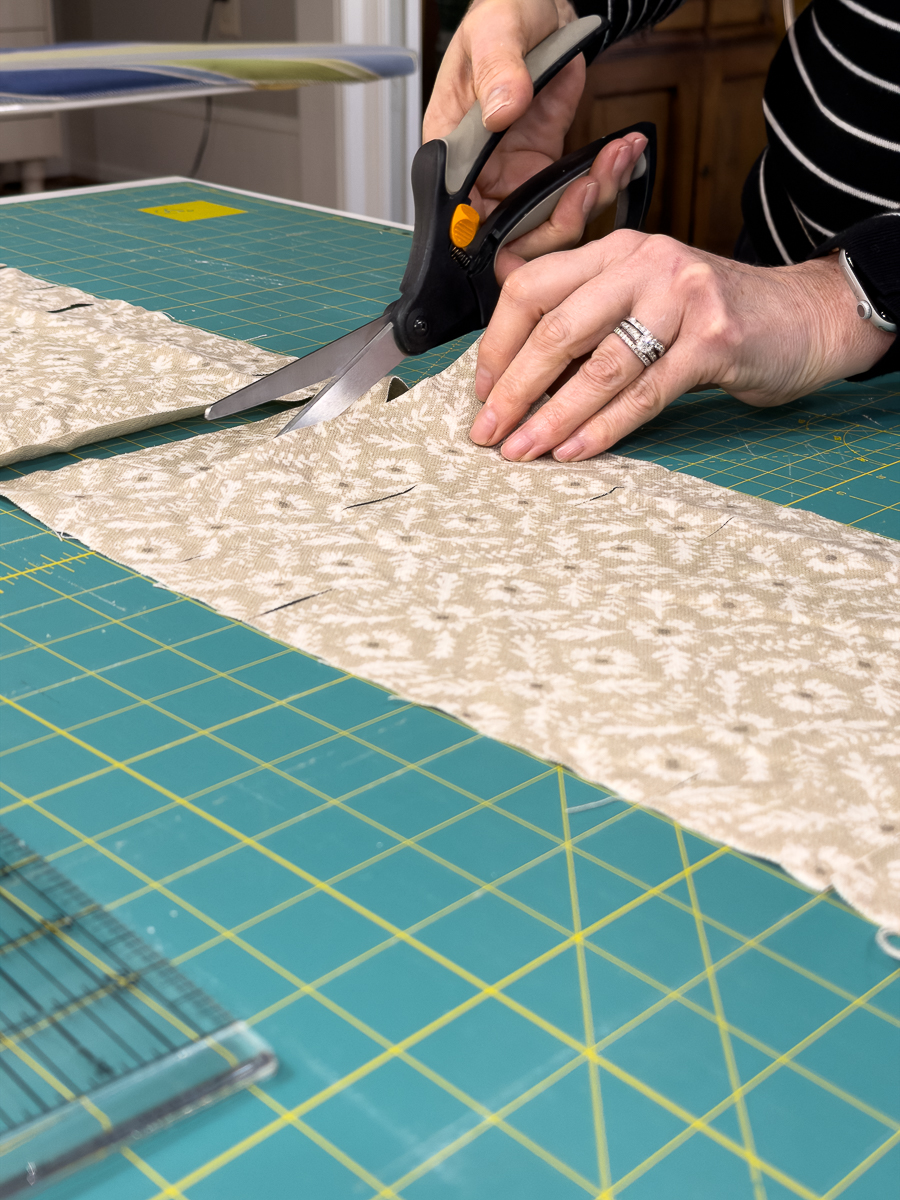
Cut and Press Fabric Strips
Cut your fabric into uniform 2″ strips. Use the bias tape makers to fold the edges under as you iron — this gives you clean, finished strips with consistent edges. (See full tutorial HERE.)
Stack Your Prepared Strips
Once you’ve ironed the strips with crisp edges, stack them up and prepare to start attaching them to the shade. The number of strips will depend on your shade size, but expect to make more than you think — the pleats add lots of texture.
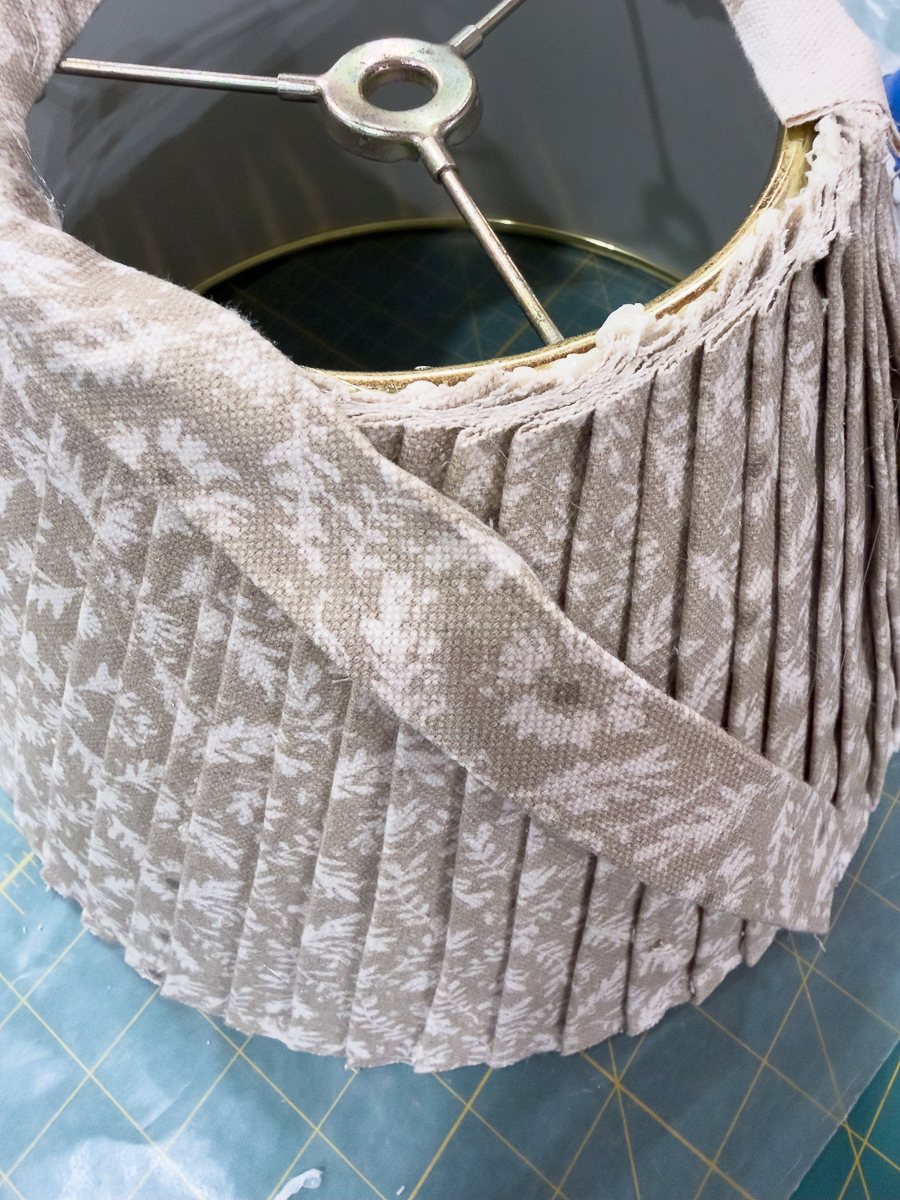
Glue Strips to the Shade
Starting at one seam, apply a small bead of glue along the top edge of the shade and press just the top edge of the fabric strip into place. Then glue the bottom edge of the strip to the shade’s bottom. Only glue top and bottom — don’t glue the middle of the strip.
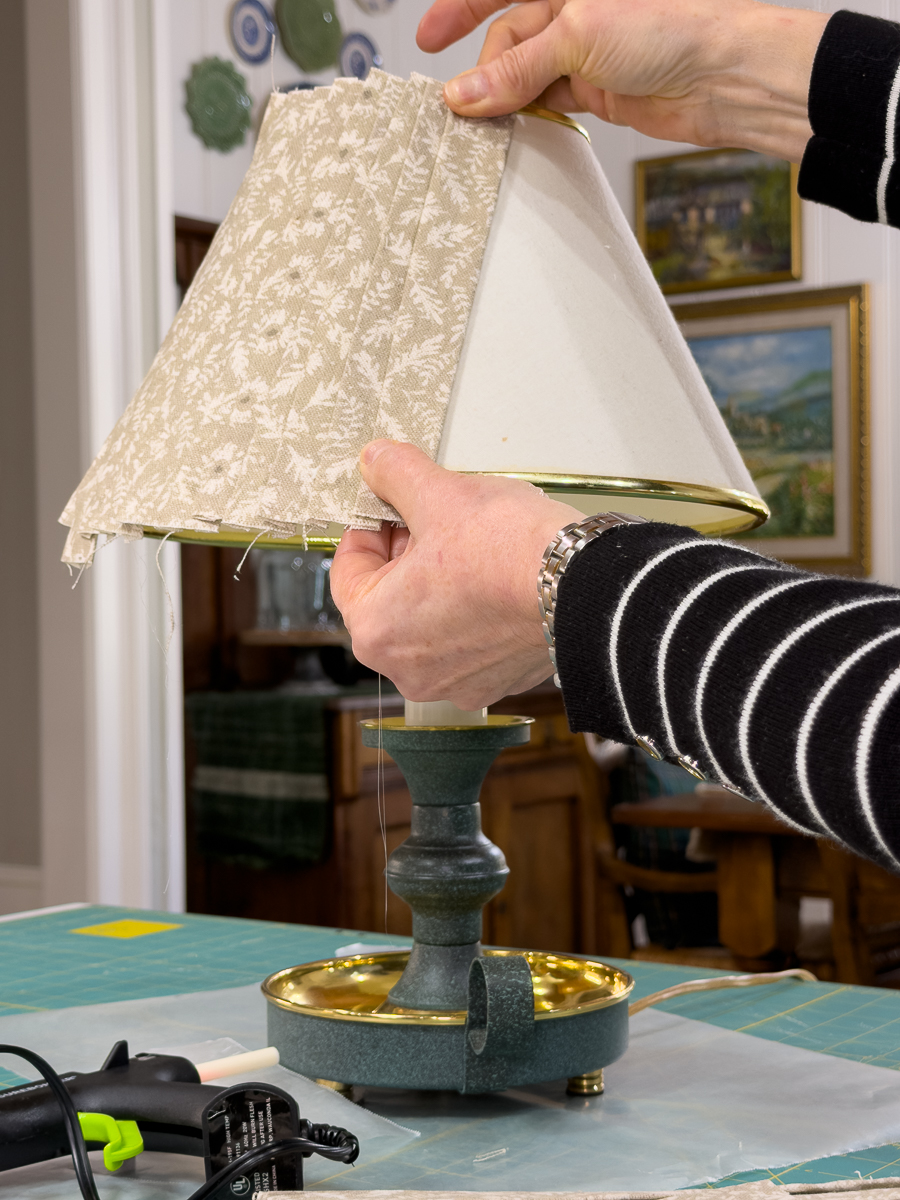
Continue around the shade, slightly overlapping strips so the pleated pattern builds beautifully. Because the shade narrows slightly at the top, I placed strips a bit closer together at the top edge and a little farther apart at the bottom for an even look.
Trim Excess & Finish Edges
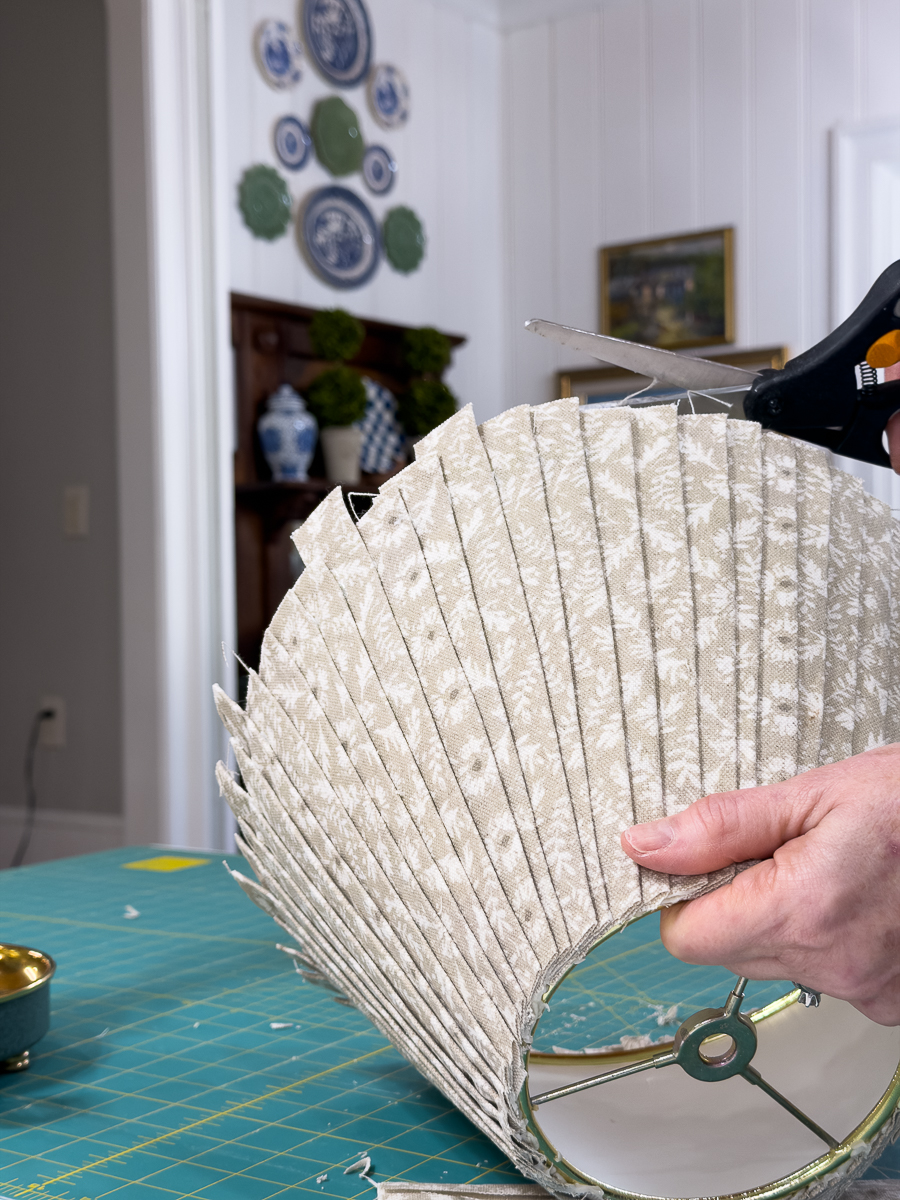
After all strips are glued, trim off any excess fabric along the bottom edge. Then measure around the top and bottom of your shade and make a long bias strip (in the same fabric) to finish both edges. Glue this strip around the top and bottom to hide edges and give a polished look.
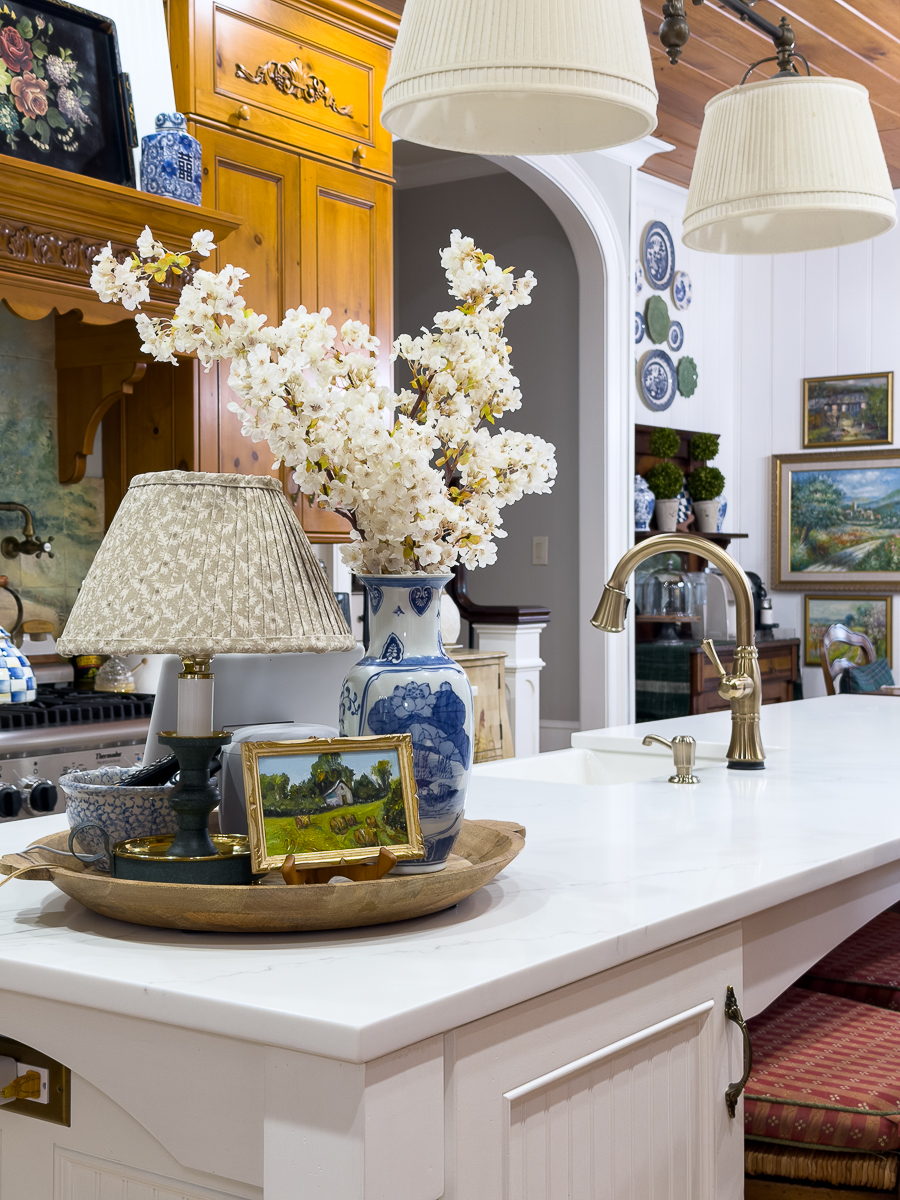
Styling It Back Into the Kitchen
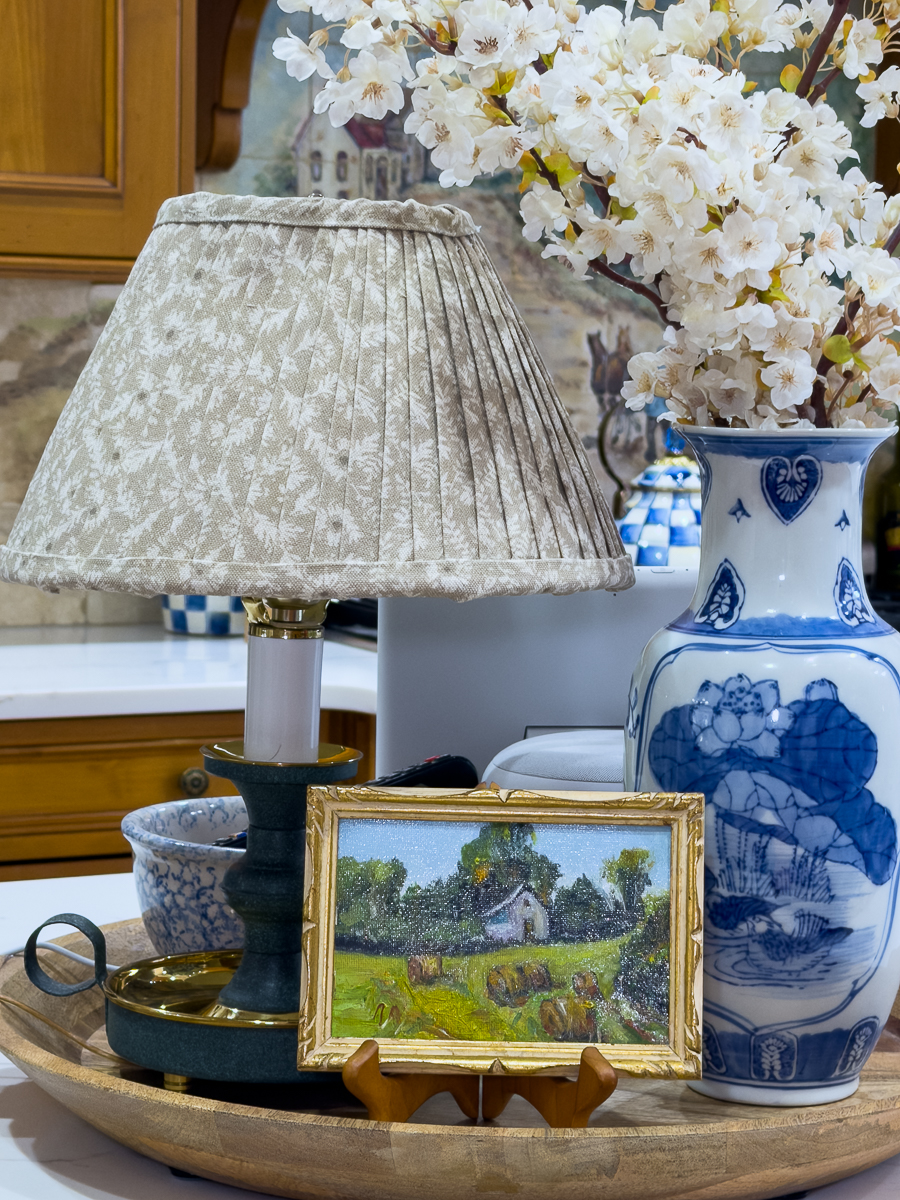
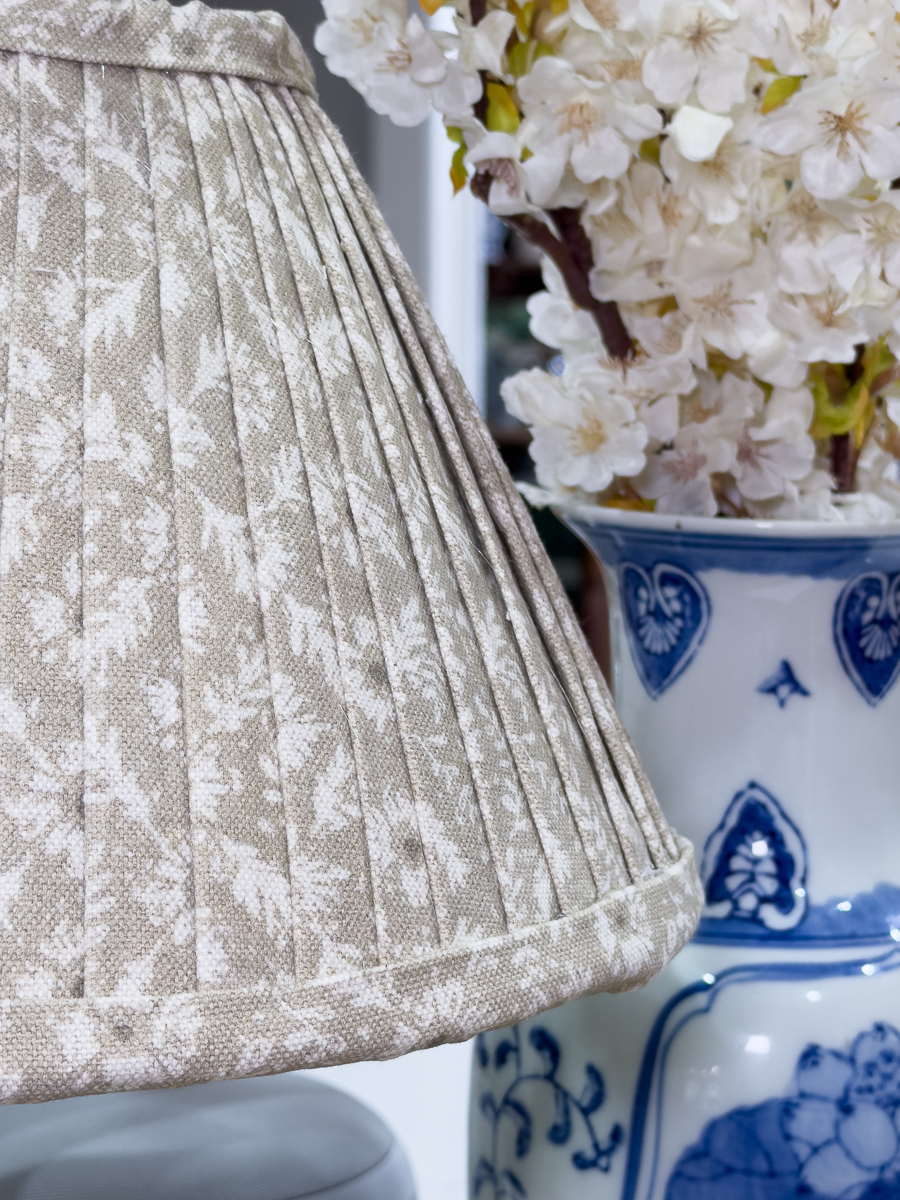
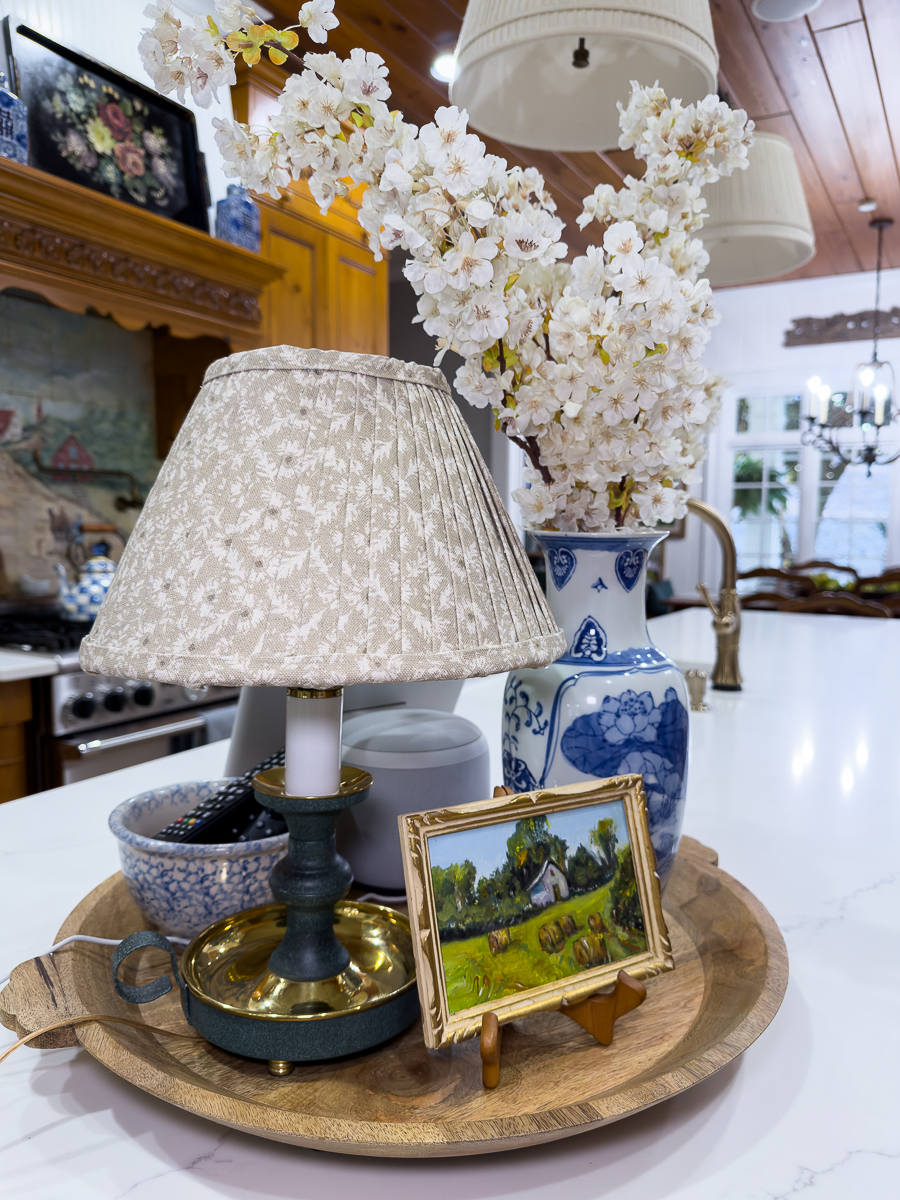
Once the shade was complete and the brass polished, I placed the lamp back onto my counter tray alongside a blue-and-white vase and a small bowl — it instantly felt cozy and intentional again. The floral neutral pleated shade softens the light and adds a beautiful layer of texture without overwhelming the space.
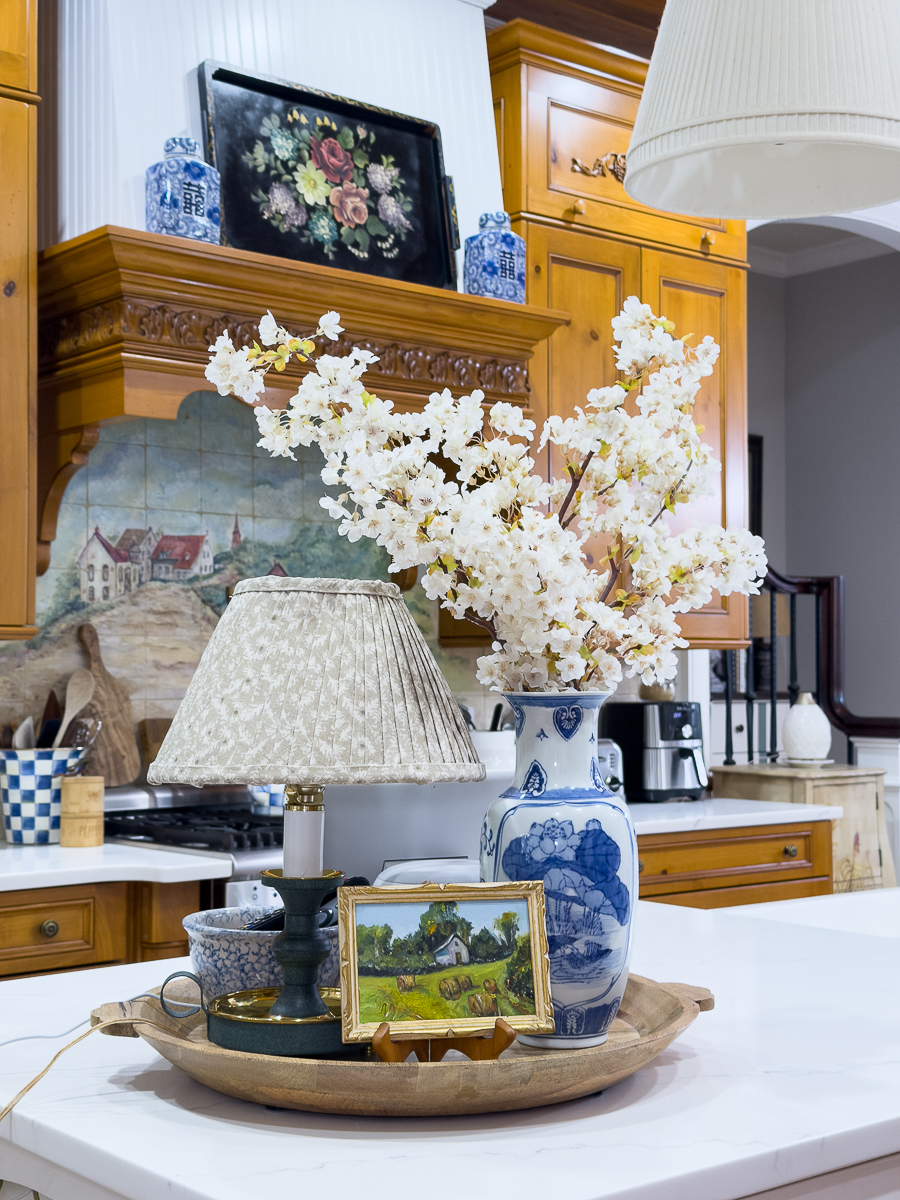
The little vignette feels complete now! This large wooden tray is perfect on the counter! I put appliance sliders on the bottom of it so that I can easily slide it out of the way for cleaning. The vase was picked up on a weekend trip in a consignment shop. The little oil was from a flea market in Amsterdam.

- Similar Lamp
- Pleated Shades (if you don't want to DIY)
- Similar Wooden Tray
- Appliance sliders
- Similar Vase
- Faux Flowers
- Alexa (on backside of tray)
- Little Oil Paintings
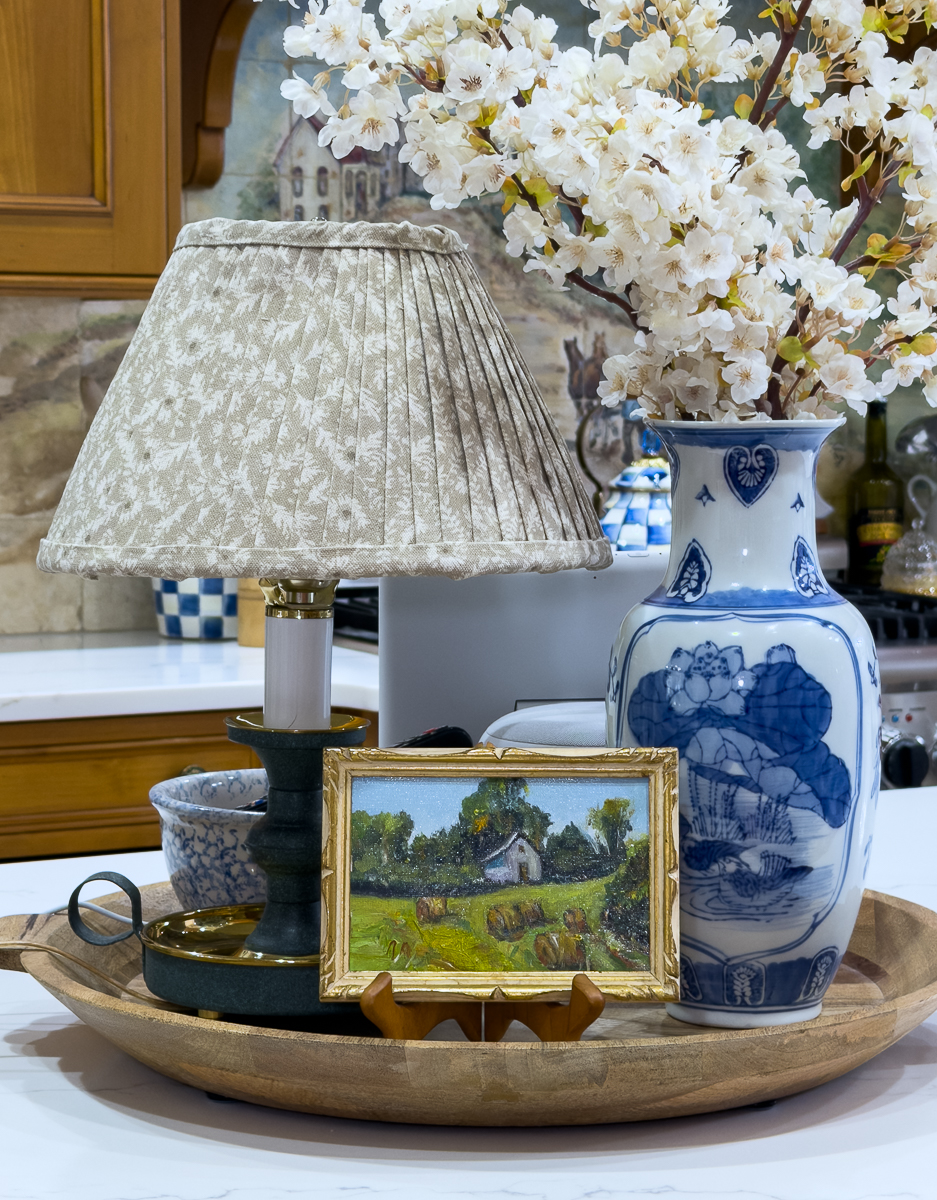
The decor on the front somewhat blocks the Alexa on the backside, along with the bowl that collects the small kitchen TV remotes.
I love the little pop of pattern that the shade has given this little area. I am glad that I went the neutral route with my fabric choice. Be sure to check out the complete tutorial with this lamp makeover post.
Final Thoughts
This tiny lamp refresh is a gentle reminder that big impact doesn’t have to mean big effort or expense. A thrift store find + a simple handmade shade = charm that feels custom and collected. If you’ve got a tired lamp shade in your stash, this pleated fabric option is worth the time.
Check out the other projects from the team!

My Repurposed Life Quilted Casserole Carrier Ideas Using Salvaged Fabrics
Our Southern Home Thrift Store Lamp Refresh with DIY Pleated Shade
My Uncommon Slice of Suburbia Stool Dupe that Looks Authentically Aged
Shop At Blu Mom's Vintage Jewelry Box Makeover
Our Crafty Mom Heart Shape Paper Craft From Wrapping Paper Roll
Songbird Rubber Stamp Storage Idea
Funky Junk Interiors Upcycled Ceiling Fan Blade Wall Mounted Coat Hooks
Exquisitely Unremarkable Adorable DIY Pin Cushions
Redhead Can Decorate My 91 Year Old Dad's Thrift Store Living Room


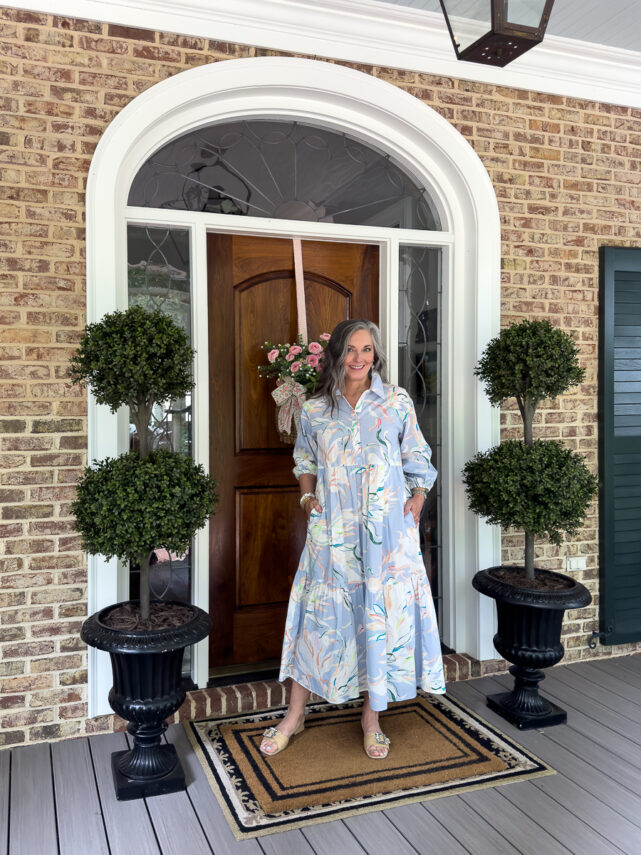
Christy has been creating content for Our Southern Home since 2012. She has been featured in numerous print and online publications. Her classic, eclectic design approach spans her home and fashion style. Christy has a way of mixing store-bought with thrift store, antique and vintage finds. As a recent empty nester, she is having fun navigating this new stage of life. Read more about Christy HERE. Be sure to subscribe below. You can also contact me HERE.

Oh my goodness , Christy! This is a fabulous project to revive a shade that is still perfect for a lamp but just needs a refresh. Sometimes it’s so hard to find a good replacement. Pinned!
Ohhh it’s wonderful Christy! I love your colors, pinning for when I need to do a pleated shade.
Christy, that is the cutest little lamp! Perfect in your kitchen with the new fabric! xo Kristin
I’ve never tried to make a pleated shade, but I really should, I bought a few recently and they were pricey! I have tons of fabric and now I have the complete DIY to follow and a beautiful inspiration piece to motivate me! Thanks!
What a neat project. That lamp looks so much better now! Thank you for a great tutorial.