Halloween Chalk Art Tutorial {Free Printable}
Halloween is almost here!
It's not too late to add a little spook to your decor.
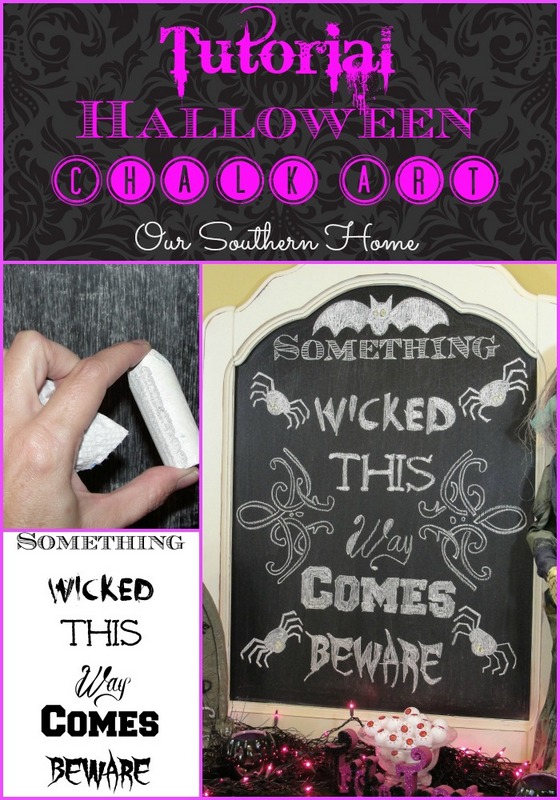
I'd like to share my tutorial on how to create Halloween Chalk Art……the easy way!
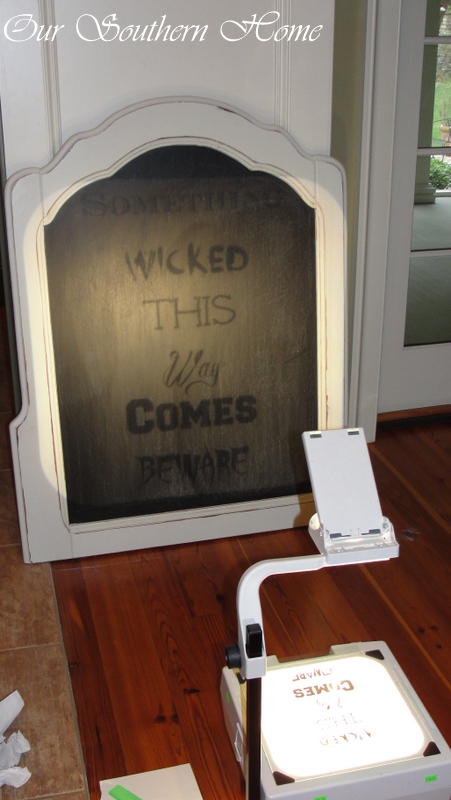
Over the summer I purchased an overhead projector at a thrift store for $25. It works! I have really been on the look out. This particular store actually had 2 available, but this one looked to be in the best shape. Many schools are doing away with overheads due to the widespread use of Smartboards in the classroom. You can frequently find them listed on Craig's List. Your church may even have one on hand that you can borrow. I'd love one of the new ones that attaches to the computer….eliminating the need for overhead film. There are also craft projectors available at craft stores.
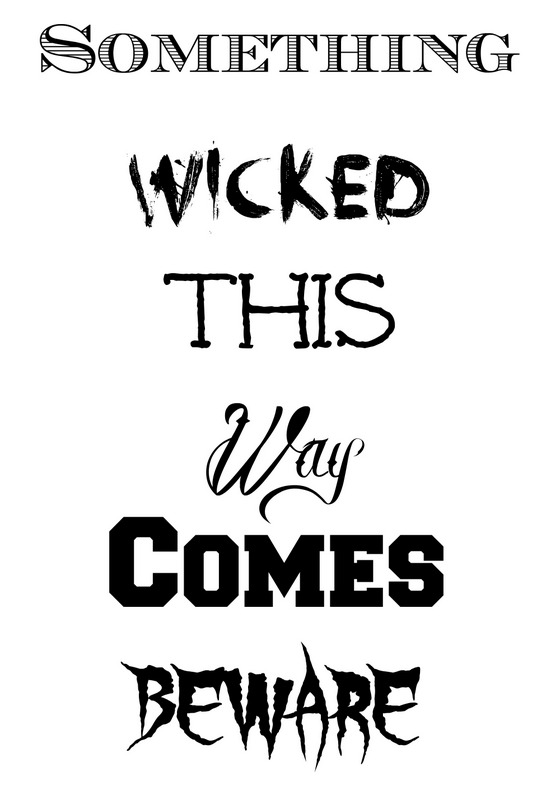
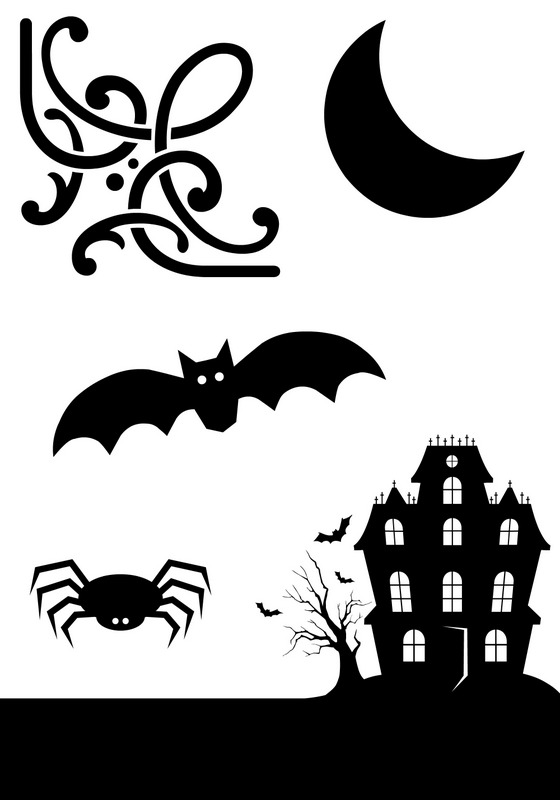
I created the following two graphics in Pic Monkey for your free use. They are saved as a jpeg. Just simply save to your computer and print as a full-page on paper of your choice to frame or on ink jet overhead projector film. Luckily, I still have a box left over from my elementary school teaching days.
AND
You will see that I did not use all of the clip art in this one. To make it easier to position these shapes in the areas that I wanted, I cut them out. I plan to make a file to place these in for future use so I don't have to keep remaking with the overhead film sheets.
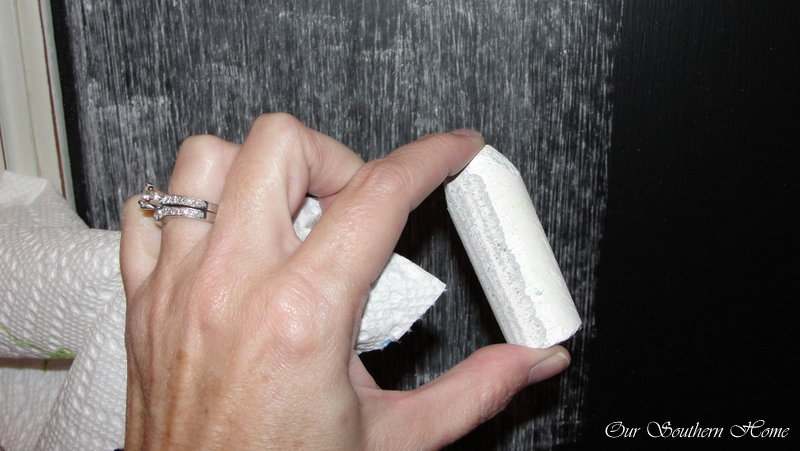
Before you begin your chalk art on freshly painted chalkboard, make sure you prime it first. Simply get a piece of chalk and with it on its side…….color all over the board. Then take a paper towel or eraser and rub it in. This will create a surface that can be erased easily later on. I happened to have sidewalk chalk available from the kids. I used it.
Just simply place the film on the projector and adjust to fit your desired project. This is also a great method for painted projects.
This was my first attempt with this method, and I'll never go back! It really didn't take that long….about an hour. A big hint is to keep your pieces of chalk sharp by using a hand held pencil sharpener. That make it much easier. I bought my box of chalk at Wal-Mart for less than $1!
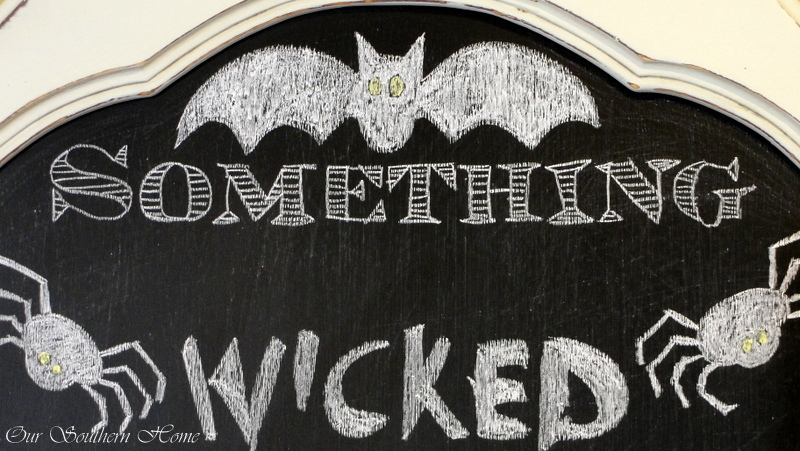
Trace all areas that are to be colored in and turn off the projector. It's not necessary to have the overhead on for coloring. I didn't try to be perfectly exact on centering the piece. I just eyed it. I didn't mess up one time! Don't feel the need to be perfect…it's chalk!
There are other methods for creating this without the overhead. You can print the words up until you get them large enough to fit the space. Then simply color over the backside of the print. Position it on the chalkboard and use a pencil to trace it on the chalkboard. When you remove the paper, a chalk outline will be left. I'd be on the lookout for an overhead for future projects!!
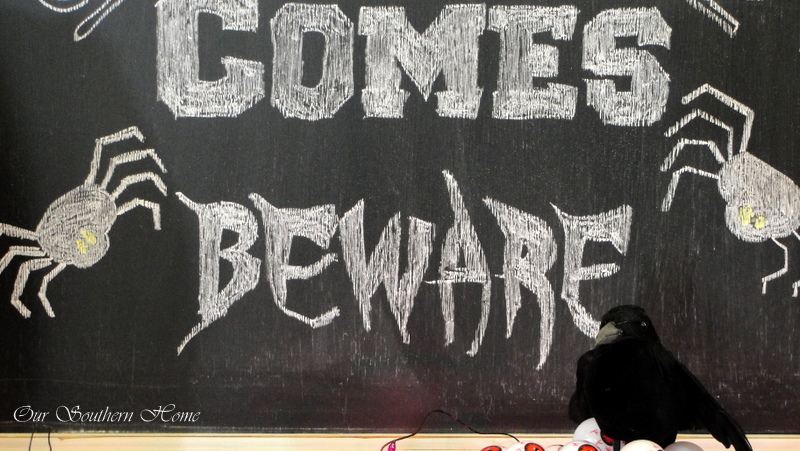
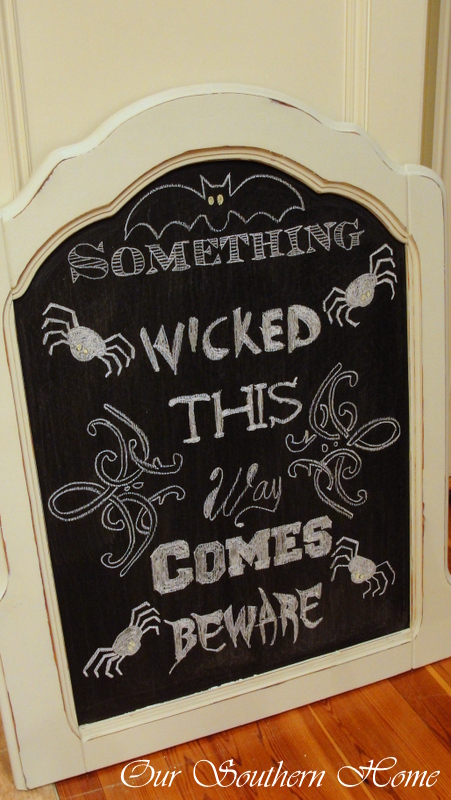
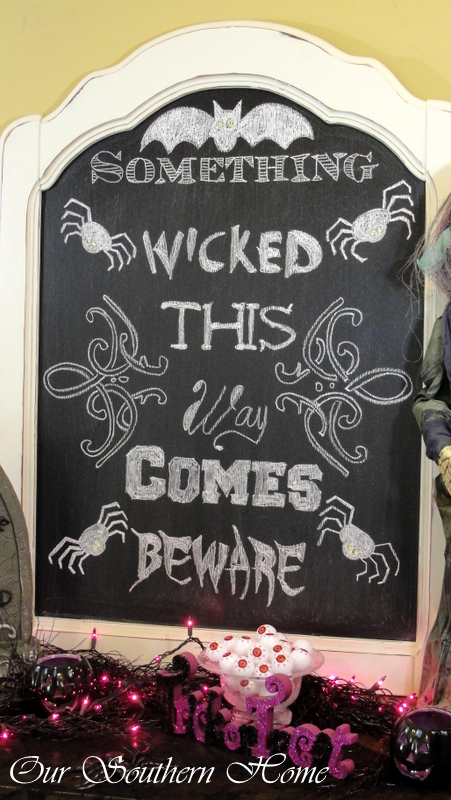
I did my board all in white. I did color in the bat and spider eyes yellow. Feel free to use colored chalk as well!
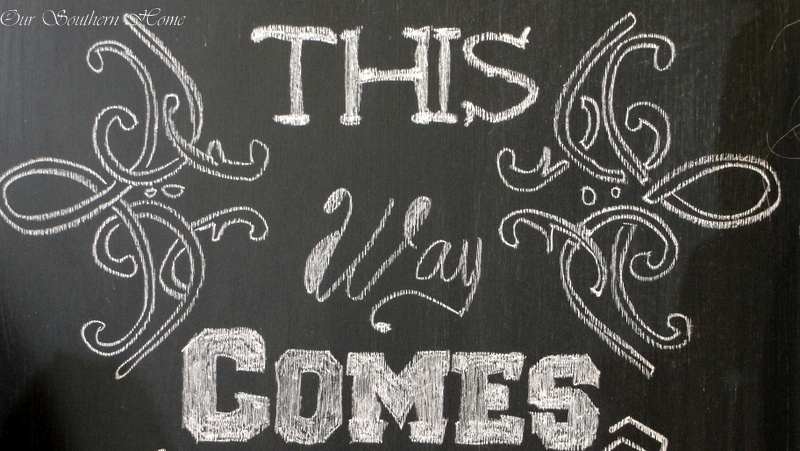
I decided not to color in the side scrolls to go with the “something” font.
This was such a fun project! I look forward to creating other boards for the seasons!
Check back on Wednesday! I'll be sharing this entire vignette along with a crazy, easy last-minute Halloween craft that can be completed in a flash!
Please let me know if I can answer any questions! Happy Halloween! Later this week, I'll share how to turn an ugly thrift store mirror into a chalkboard!
Link Parties that OSH parties at on occasion!
Saturday: Funky Junk Interiors
Sunday: DIY Showoff, Three Mango Seeds
Monday: Between Naps on the Porch, Alderberry Hill/Make the Scene
Tuesday: The Scoop, My Uncommon Slice of Suburbia, Home Stories A2Z/Tutorial and Tips, Inspire Me Party, Project Inspired{d}, Brag About It Tuesday
Wednesday: Savvy Southern Style
Thursday: From My Front Porch to Yours, 52 Mantels, Stone Gable, Home and Garden Thursday at A Delightsome Life, The Shabby Creek Cottage,No Minimalist Here
Friday: French Country Cottage, My Repurposed Life, Miss Mustard Seed Furniture Friday, Common Ground, The Charm of Home, Rooted in Thyme,Imparting Grace, Keep Calm and Link Up
Buffer
You did good! Great idea using the overhead, turned out so good!
Blessings,
Cindy
This is so cute! I have a projector at school that I can use, now i need some projector film. I’ll bet someone in my school still has a box hiding somewhere, I’ll have to ask around. I definitely will use your technique because I’m not one bit artistic.
Thanks, Paula! Believe me…without the overhead …it wouldn’t be happening!!! ~Christy
That is an awesome design and a great way to apply the pattern. Thanks for sharing.
Thanks so much! I’m looking to making one for Thanksgiving! It is fun and pretty fast! ~Christy
Very cute Christy!! Don’t you just love the projector?! It really does make it so easy.
Pinned!! 🙂
Nancy
You did an amazing job, not only creating the artwork, but putting it on your chalkboard.
I also got an overhead projector and found it easier than I thought to do the tracing. I do, however, have trouble sizing the image on the transparencies–I have been making them too big and so when I project they are blurry. I need to practice to find the perfect size that can get bigger without blurring out.
Thanks so much! Sadly, I’ll be erasing and doing one for Thanksgiving! Such fun to change out art in an easy way! I’m still tweaking the process too. Mine was a tad blurry if I got it really large. I think if we just play with it on copy paper first and reduce the size a bit before printing on the film, them we will be good to go! Thanks so much for stopping by! ~Christy
Love this and you make it seem easy. I need to go rent a projector and give this a try. Thanks tons for linking to Inspire Me. Hugs, Marty
Thanks bunches, Marty! It was such a fun project! I’m officially hooked! ~Christy
This is so cute. I need to find a projector!
Thanks, Kathy! You do need a projector. Think of the cool things you could add to your paint projects!
I LOVE this soo much!! What an awesome find on the projector and the unlimited ways you will be able to use it. The chalkboard art turned out fabulous!!
Thanks Megan. It was such a fun project. That first chalkboard project was addicting! Looking forward to creating one for Thanksgiving now!!!
OOh! I love it Christy! I never thought to use an overhead. What a great idea! It turned out perfectly spooky my friend!
Have a great week!
Cheers
Thanks, Therese! The overhead made it so much faster than other transfer methods for chalk! Be on the look out for one at a thrift store! 🙂
Love it! I much prefer “old School” ways of doing things 🙂 Great fonts you picked out!
Thanks, friend! It was a fun project!!
Love it!! I will have to be on the lookout for a chalk board! Or did you make yours?
Thanks, Heidi! I actually made mine! I found an old dresser mirror at the Goodwill. Friday, I will have a post up on how I transformed it!! Thanks for stopping by! ~Christy
LOVE your chalk board sign! And so appreciate the tutorial on this, I want to make one this year for Christmas!
It was such a fun project! I think I may have found my newest addiction! LOL! Thanks so much! 🙂