Wooden Stool Makeover with Oven Cleaner
Wooden stool makeover with oven cleaner is a quick and simple way to bring new life to a thrift store piece of furniture.
Latest from OSH
- How to Make Piña Coladas in an Ice Cream Maker
- Saturdays on the Porch #86
- Saturdays on the Porch #85
- Easy European Wall Art with Thrift Store Frames
- Piano Bench Makeover with New Color and Fabric
This post may contain affiliate links. If you purchase something using one of my links, I may earn a small commission from the retailer costing you nothing more. You can read more on my disclosure page. Christy Little of Our Southern Home is a participant in the Amazon Services LLC Associates Program, an affiliate advertising program designed to provide a means for sites to earn advertising fees by advertising and linking to amazon.com.

Welcome to this month's thrifty makeovers from the team. Be sure to read to the end of the post where you will find links to this month's projects!
Wooden Stool Makeover with Oven Cleaner
This stool has been in the garage for about six months waiting its turn in line. I think in the back of my mind, I was hoping that Ashlyn would get to it before she got married. No such luck. I'm back in the game now. For several months, she has been doing the monthly feature as they decorate their first apartment on a shoestring budget with caviar dreams. It is really pretty. I'm very proud of them!
On a funny note, they got the comforter on their registry for the wedding but did not get the matching euro shams. I've never minded getting gifts for the house, and have frequently requested such things. I guess that's a girl thing.
Tim's birthday is on Halloween. I asked her today if Tim wanted us to get the euros shams for his birthday. Ashlyn frowned and said no, she'd already tried that! Ha, ha!
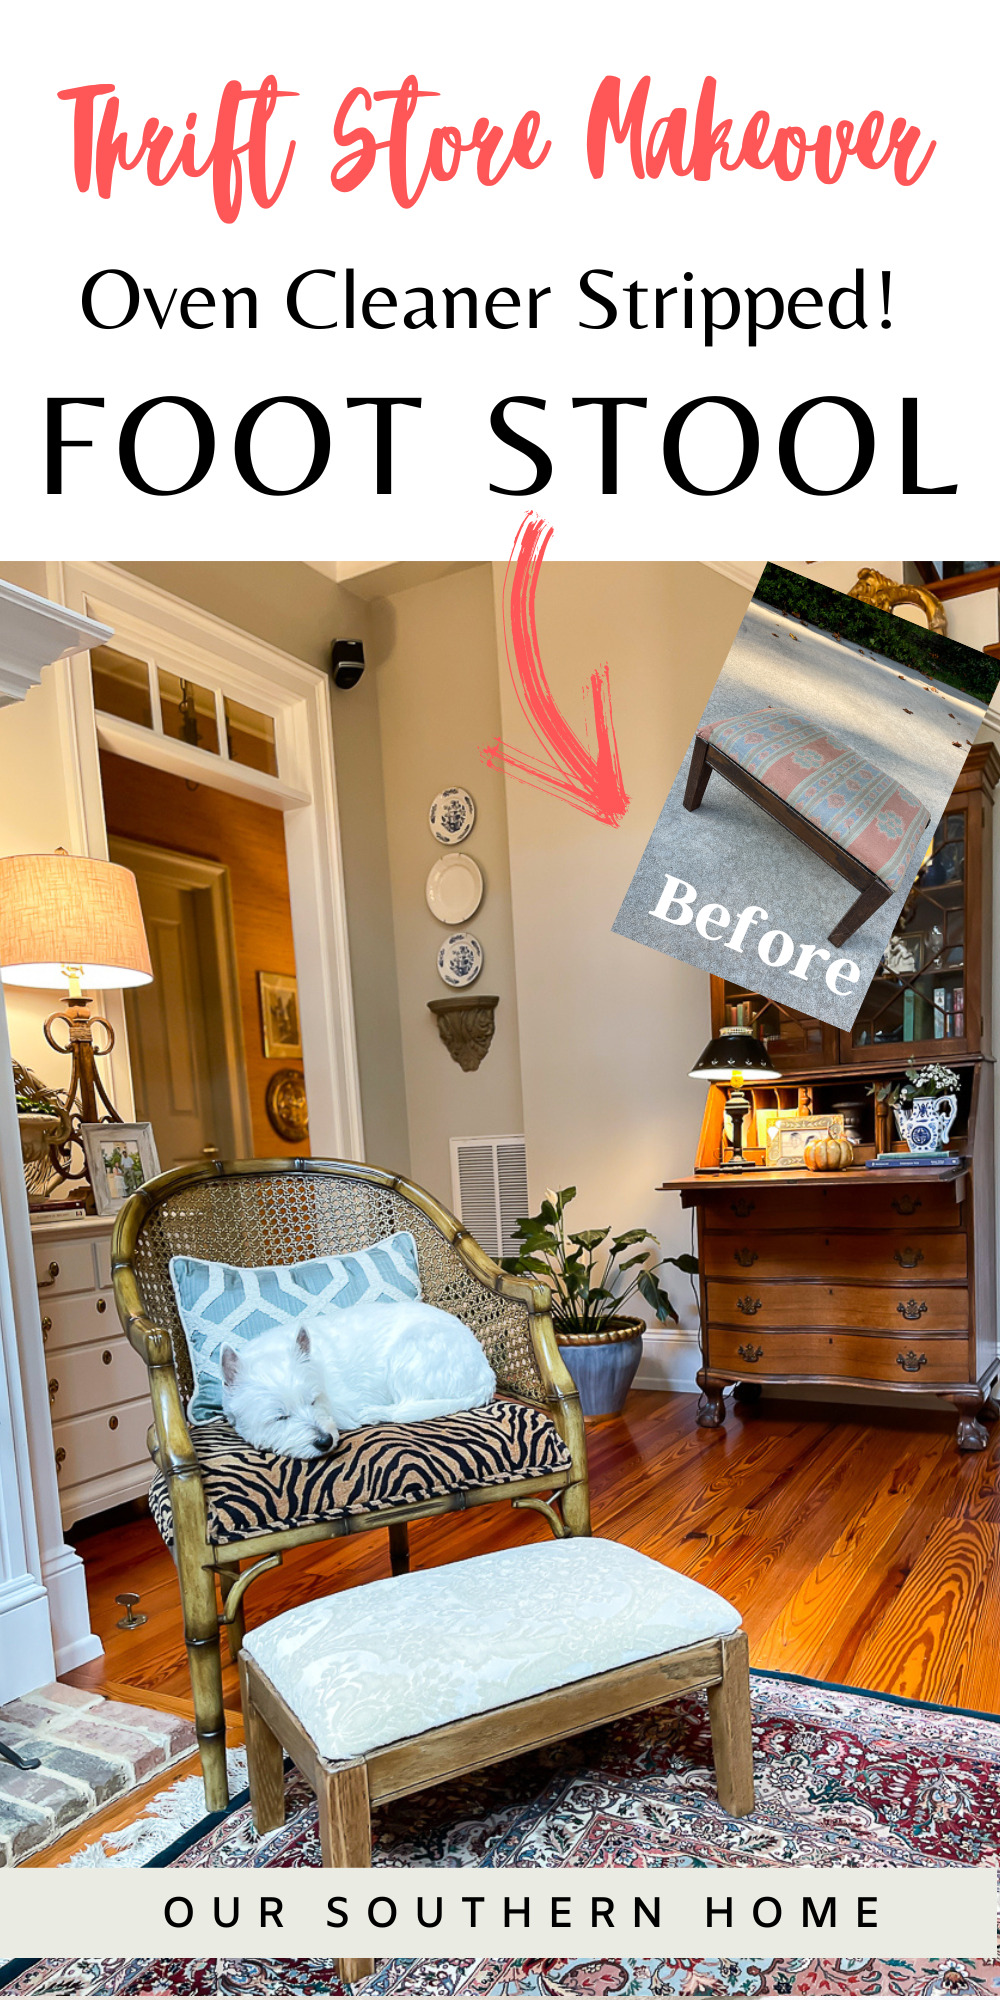
Below you will find a before and after of the wooden stool. The wood is a subtle difference, but I am very pleased with the end result. Just grab the little arrow slider on the photo to drag it back and forth to see the full photo.


Before of the Stool

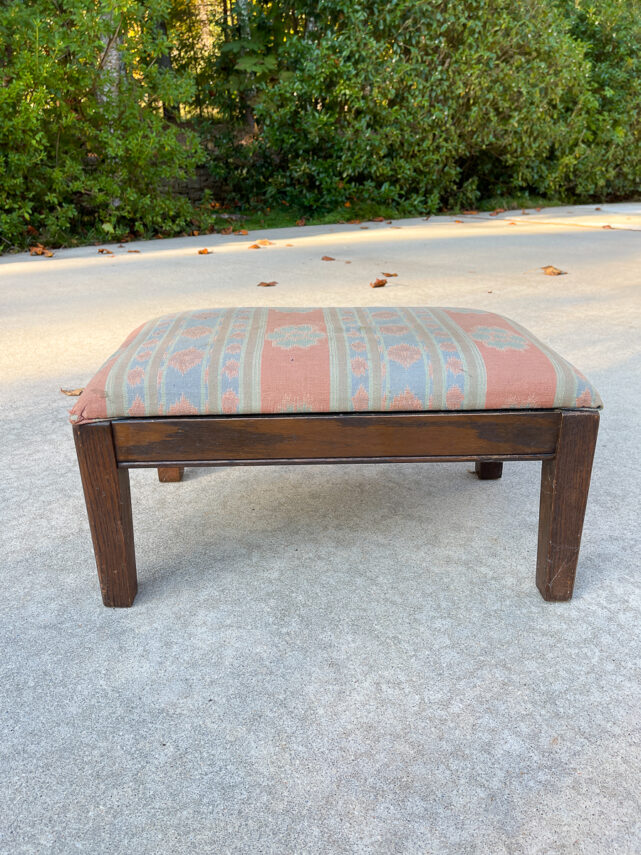
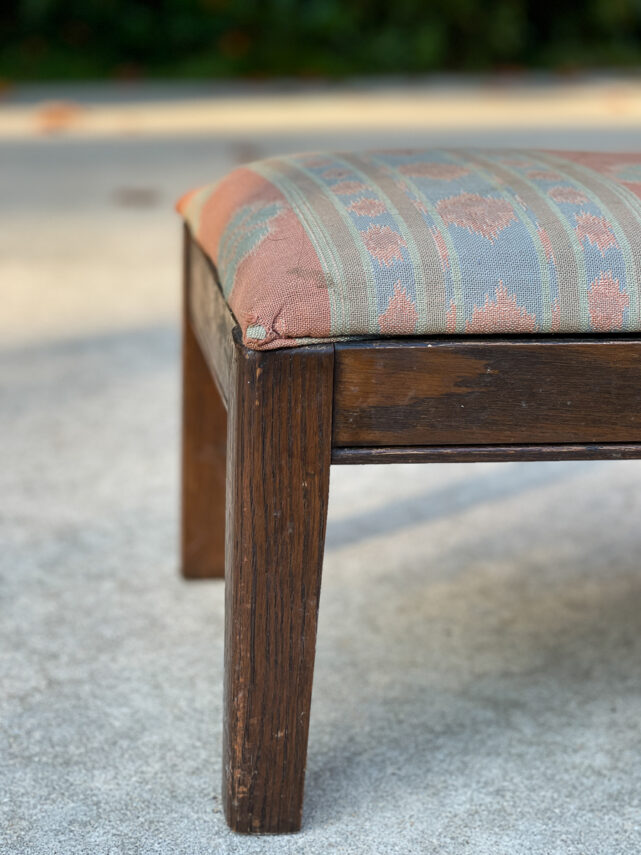
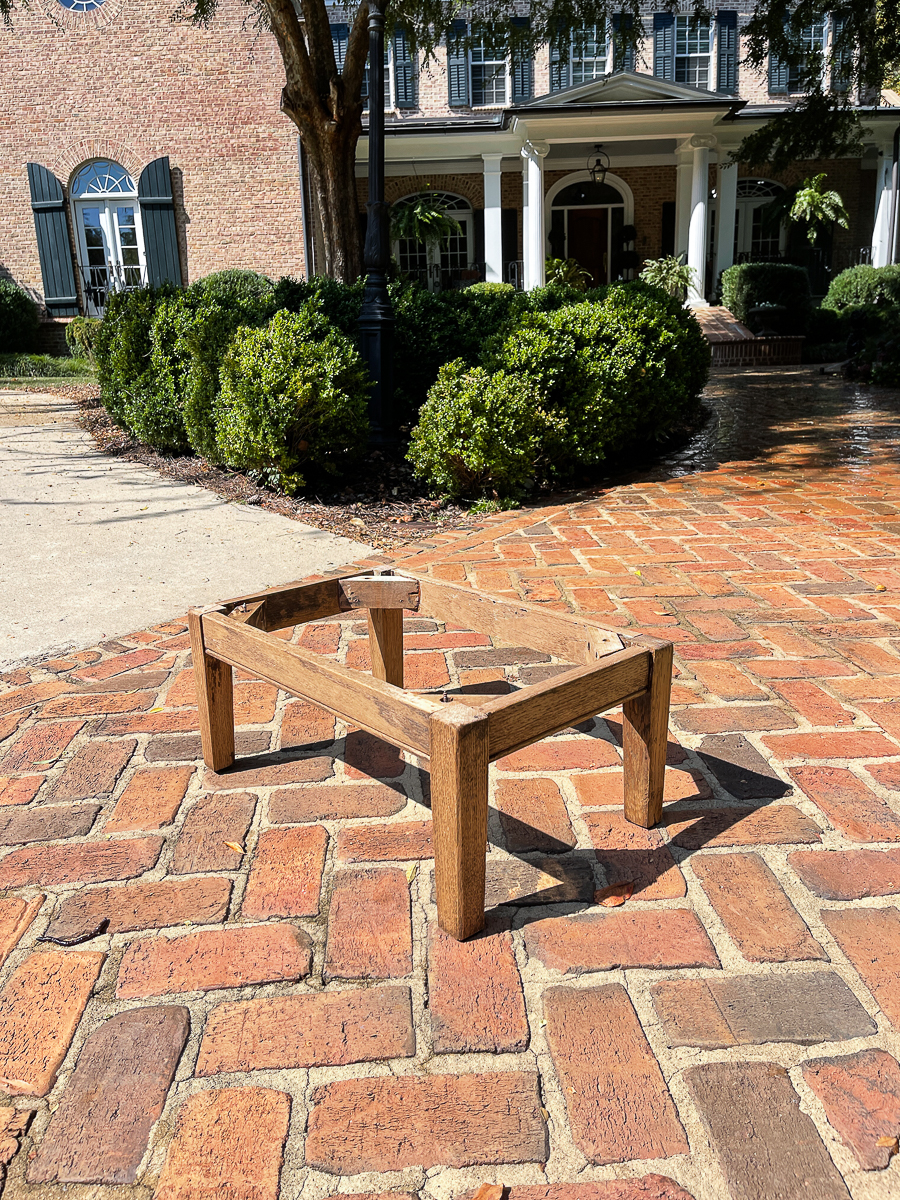
The stool had seen better days. It was well used, but quite dinged and torn with the dirty, old fabric. I paid $5 for the stool.
Supplies Needed
- small piece of stained furniture
- fume free oven cleaner
- rubber gloves
- scrub brush
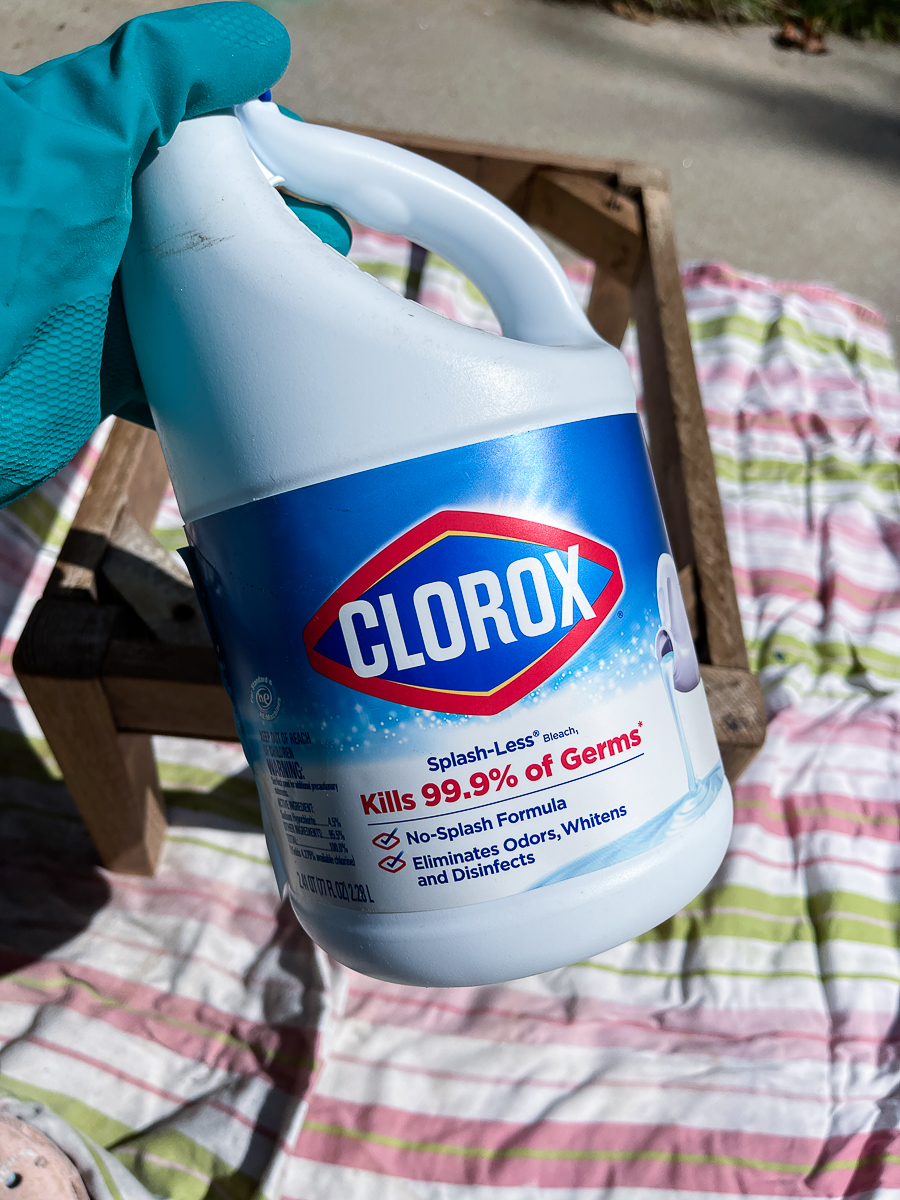
- bleach
- old rag
- orbital sander
- Polycrylic Sealer
- brush
- heavy-duty stapler
- fabric of choice
- scissors
- pliers
- flat head screwdriver
- Phillips head screwdriver
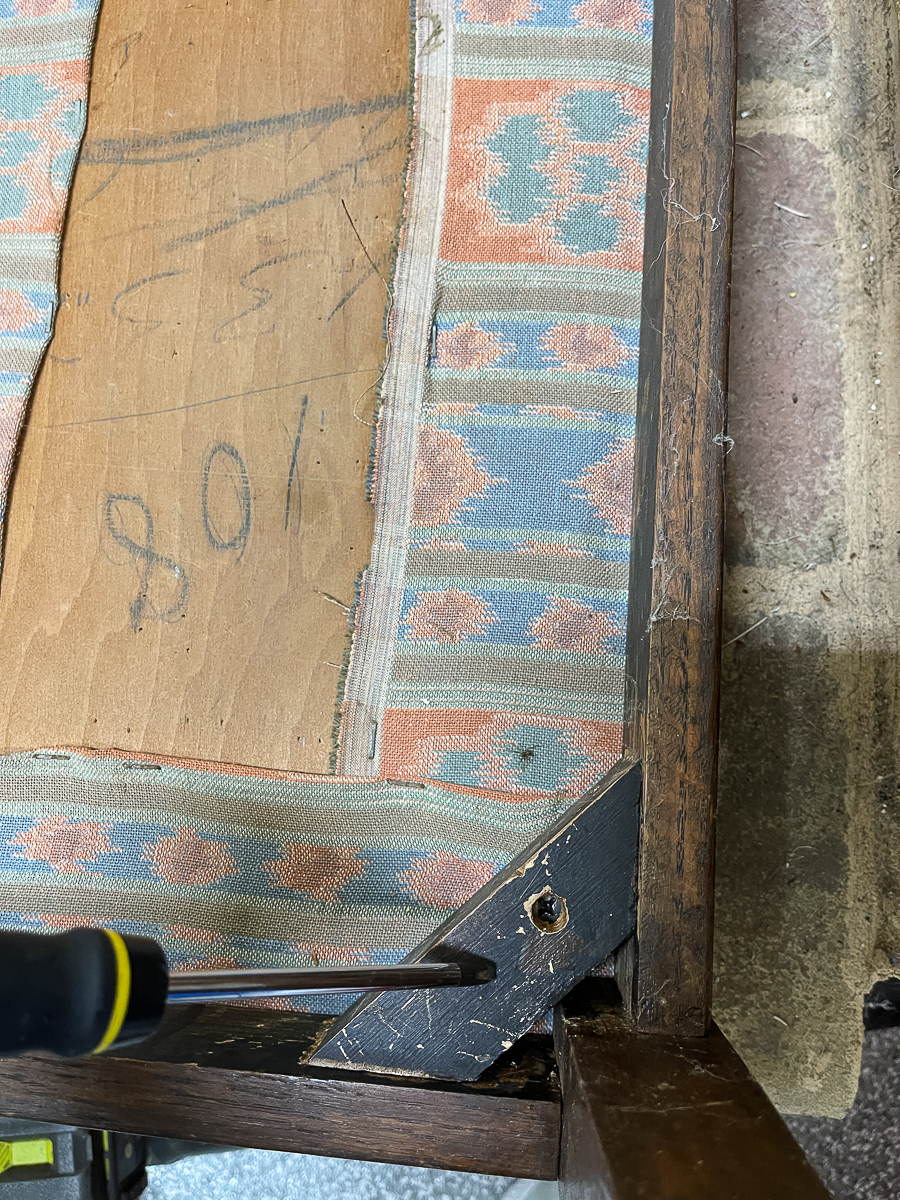
Remove the fabric top for the stool by flipping it over and unscrewing it.
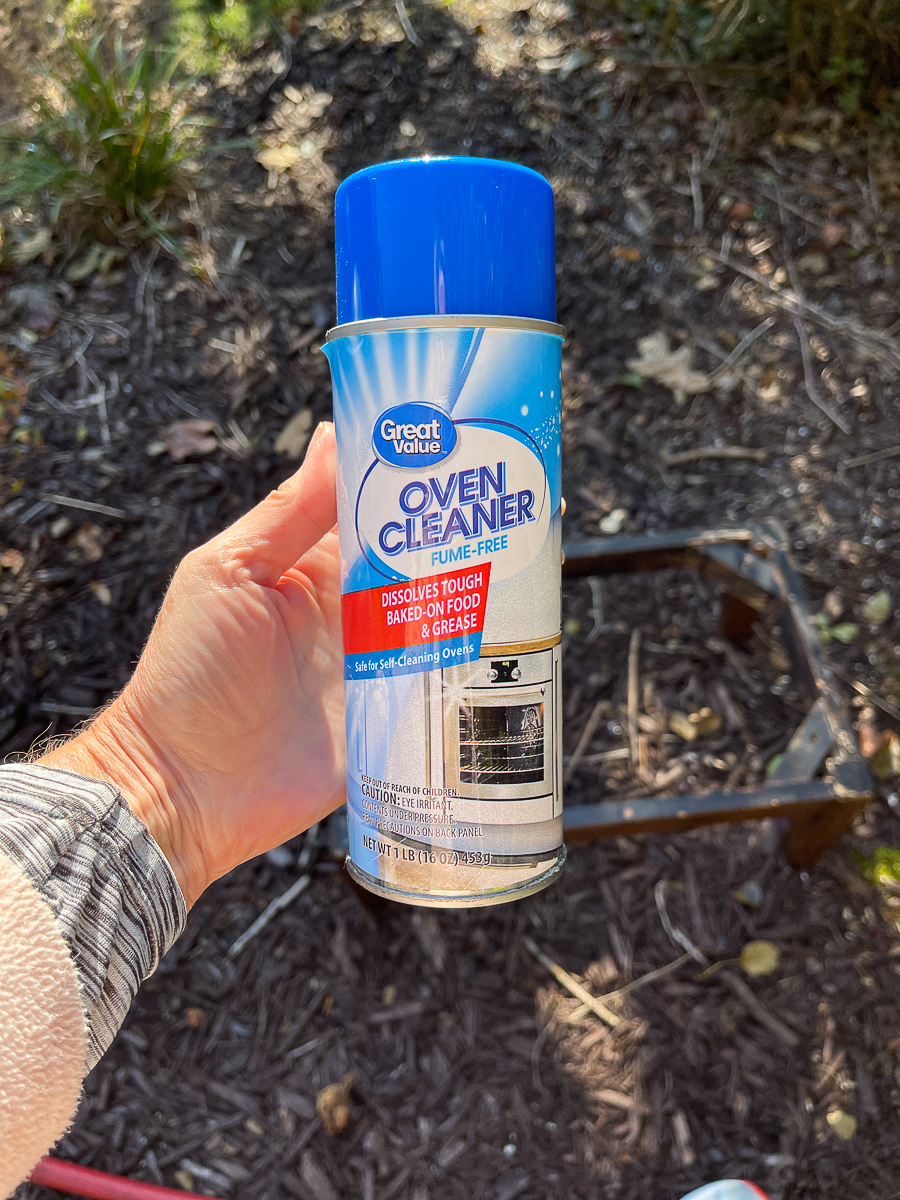
Let's Talk Oven Cleaner
I've been wanting to try this method of removing stains and varnish for a while.
I've been quite intrigued by the ease at which many completed this task on Instagram.
I researched a lot and read quite a few blog posts. Just google the topic.
It may or may not work. I think a lot depends on the amount of varnish applied. This piece was aging and didn't have a heavy finish.
Many did not recommend using this technique on painted pieces.
I decided to give it a try with a small piece.
I've read that you may not want to try this with heirloom pieces or ones of value. It does raise the grain of the wood.
If in doubt, I'd use Jasco to remove paints and varnish.
I didn't have a problem giving it a try on a $5 piece from the thrift store.
I cleaned the wooden stool first with a rag and warm soapy water.
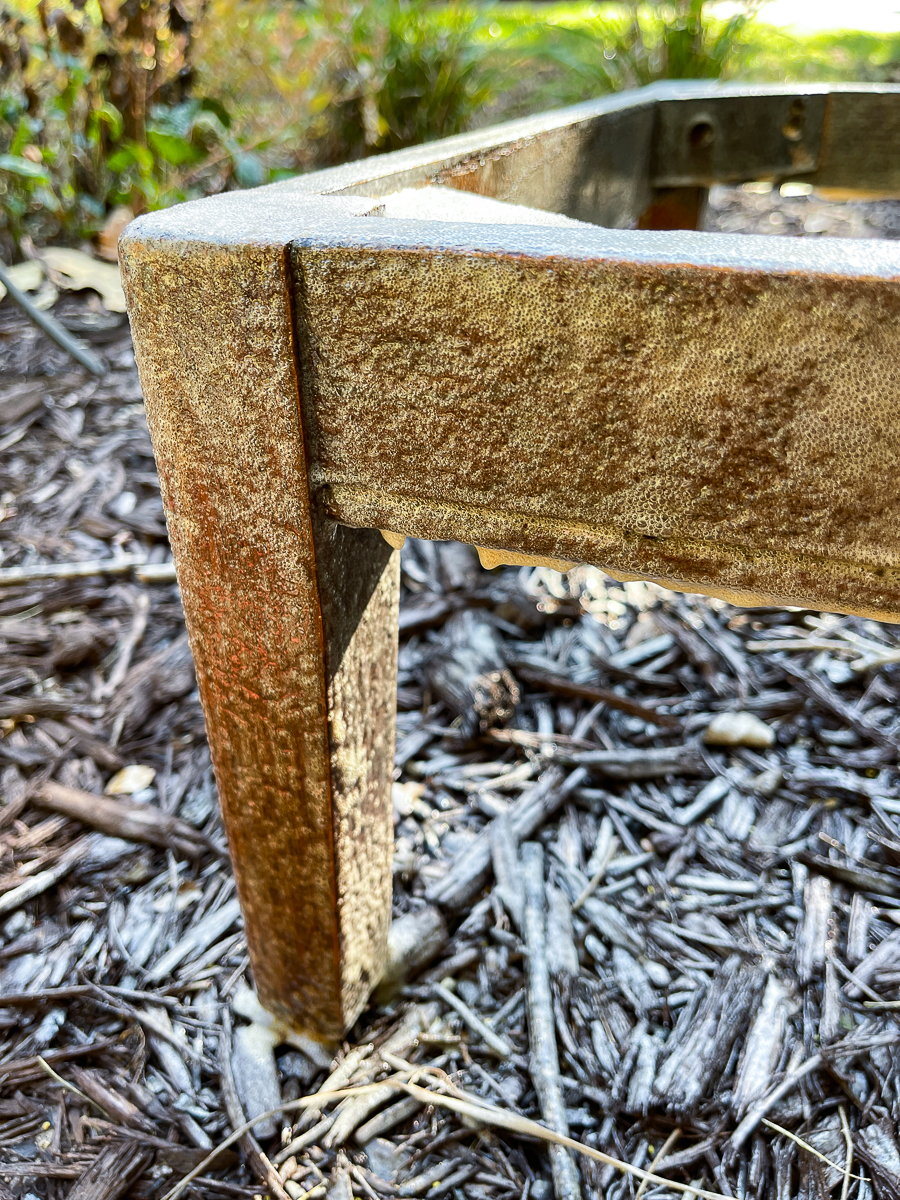
Spray to coat the stool with the oven cleaner.
Let it sit for about 15-20 minutes.
Use a tarp, or be lazy like me and do it in a bare area of the mulch.
If it was a larger piece, I would have completed the task on plastic.
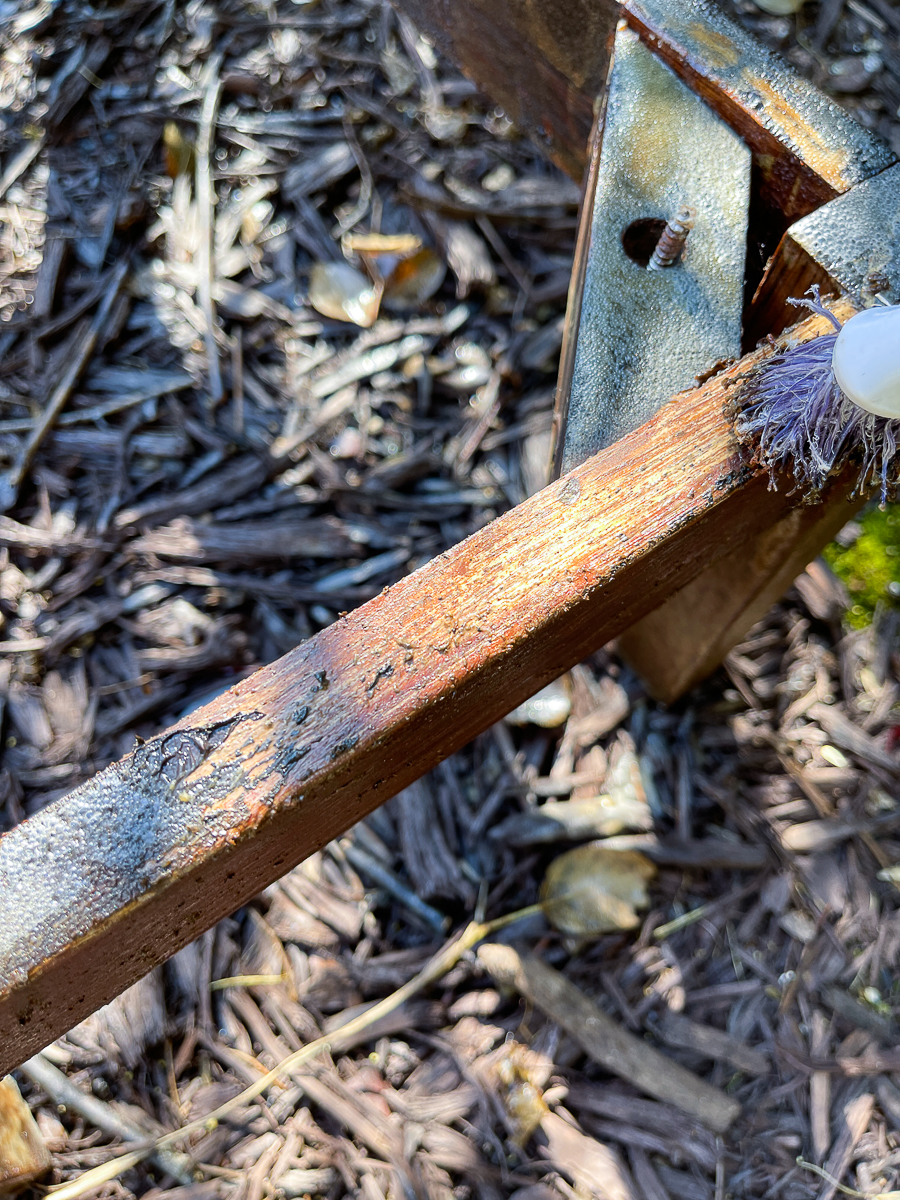
I used a regular household scrub brush….an old one.
You can see the gunk easily scrubbing off.
I scrubbed the entire stool and then sprayed it one more time with oven cleaner. Let it sit for another 15-20 minutes. Scrub again.
With a hose spray it off completely. You do not want any remaining residue because it will leave a white residue.
Set it out in the sun to completely dry out.
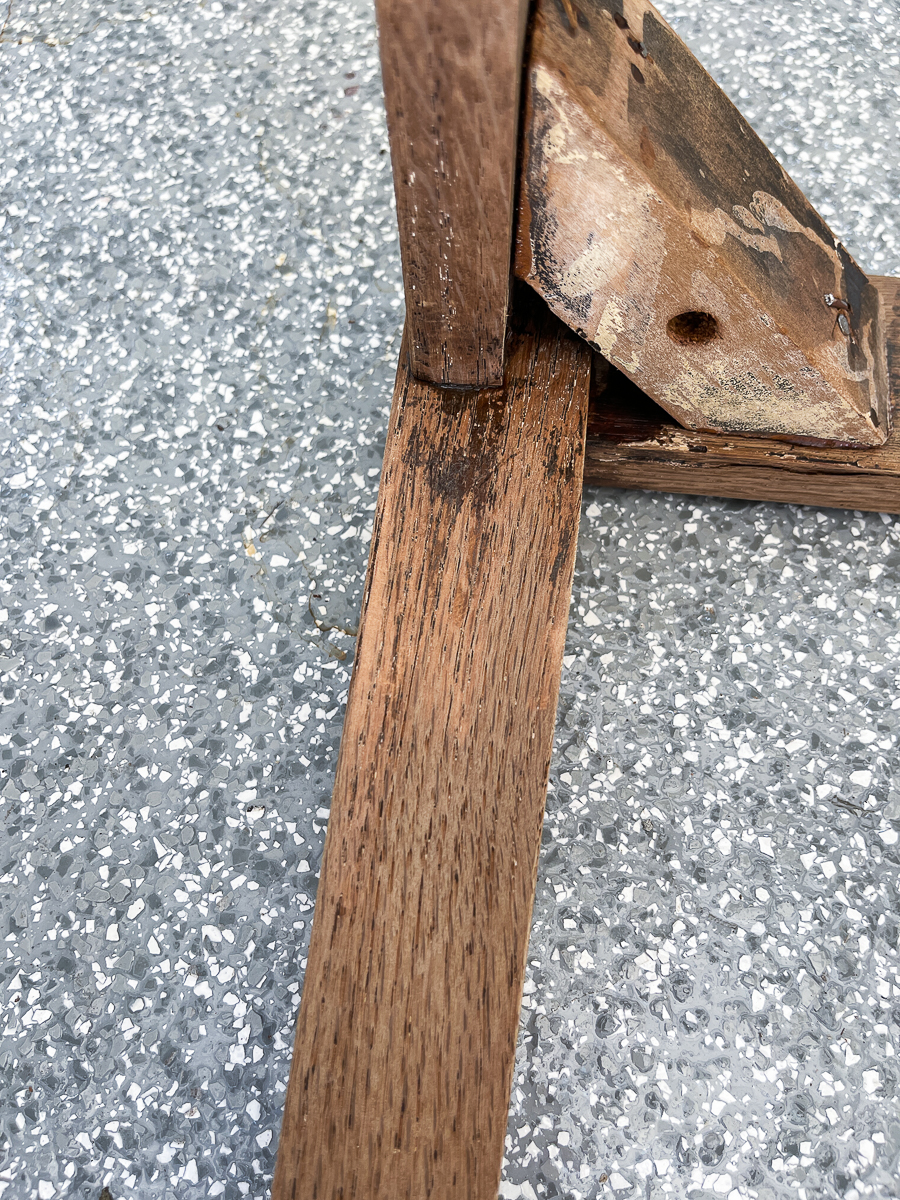
As you can see, I missed a few spots in the crevices.
I ended up giving the entire stool a quick fine grit sand with my orbital sander.
I wanted to lighten the wood a bit more.
We've bleached furniture before. You can find those posts below.
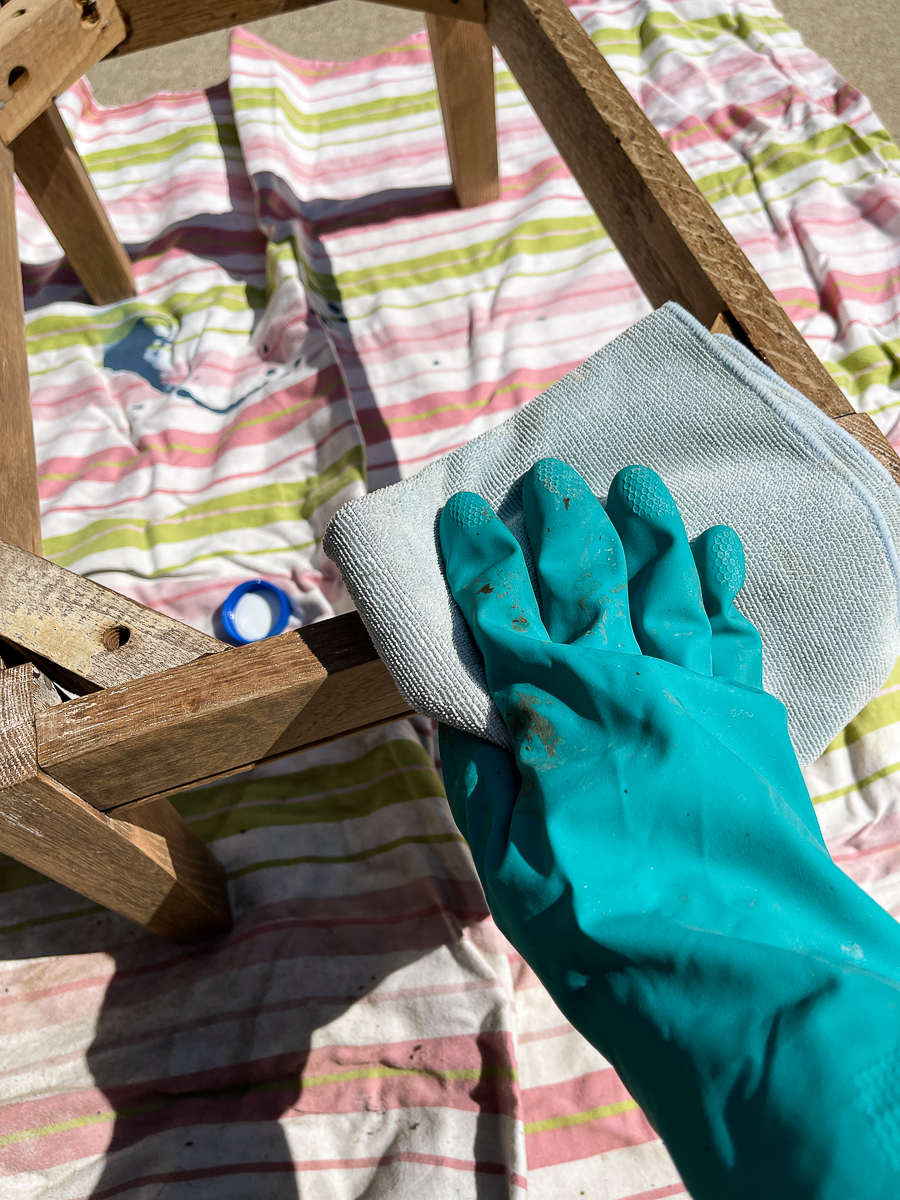
Wipe the bleach onto the stool using an old rag and wearing rubber gloves.
I applied 2 coats letting it sit in the sun for about 15 minutes between coats.
You can wipe down the stool with water after bleaching.
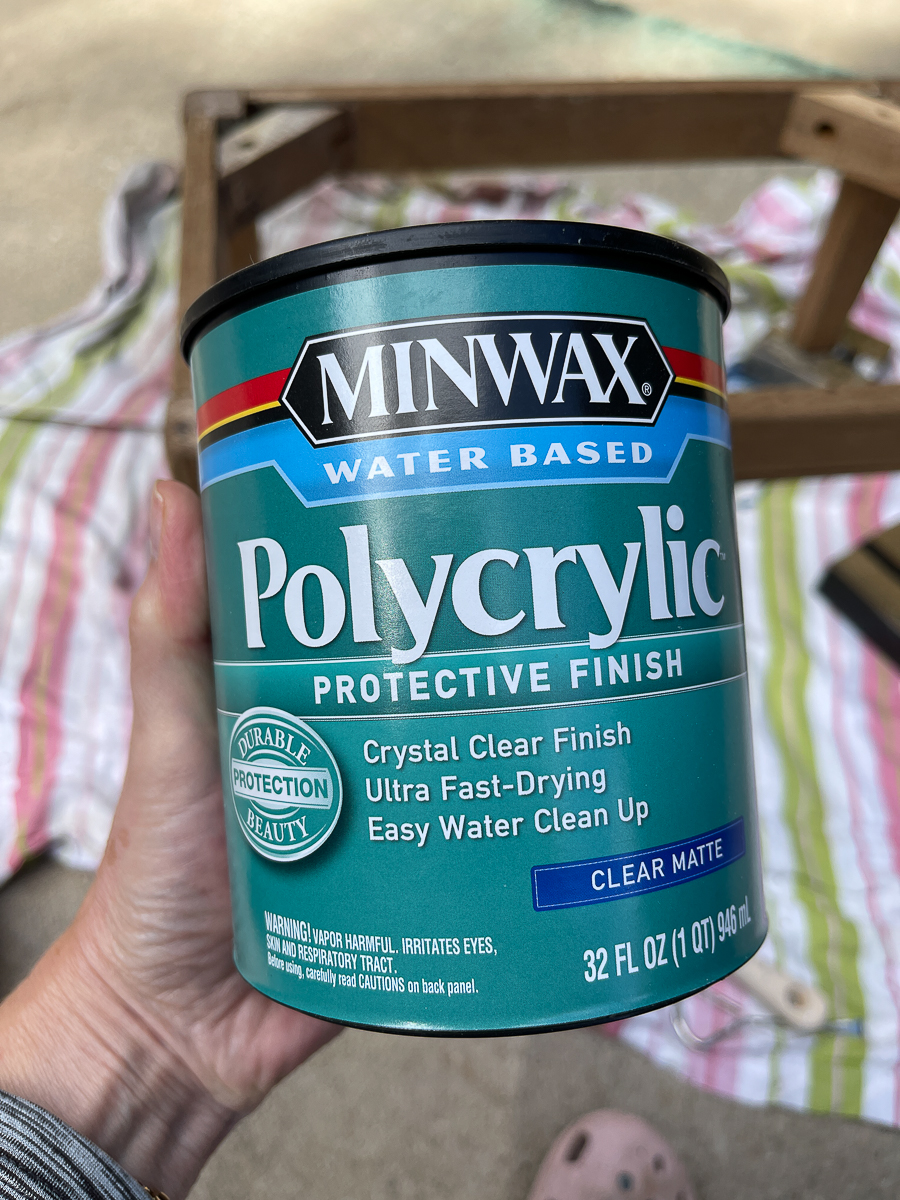
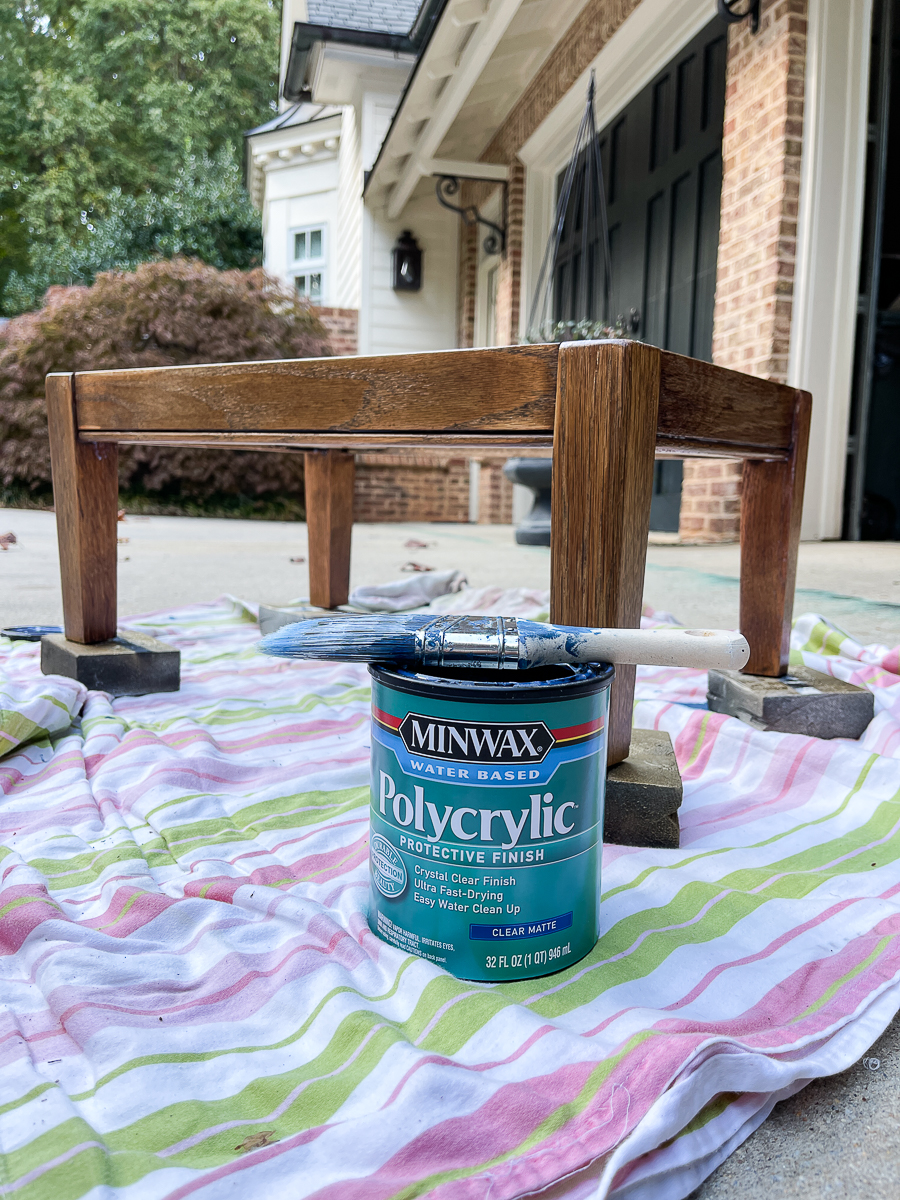
Once you have the desired bleaching effect, I applied 2 coats of polycrylic using a brush.
I typically prefer General Finishes Top Coat, but I didn't realize that Ashlyn had used it all up on the bar cabinet. The one that I used is good though!
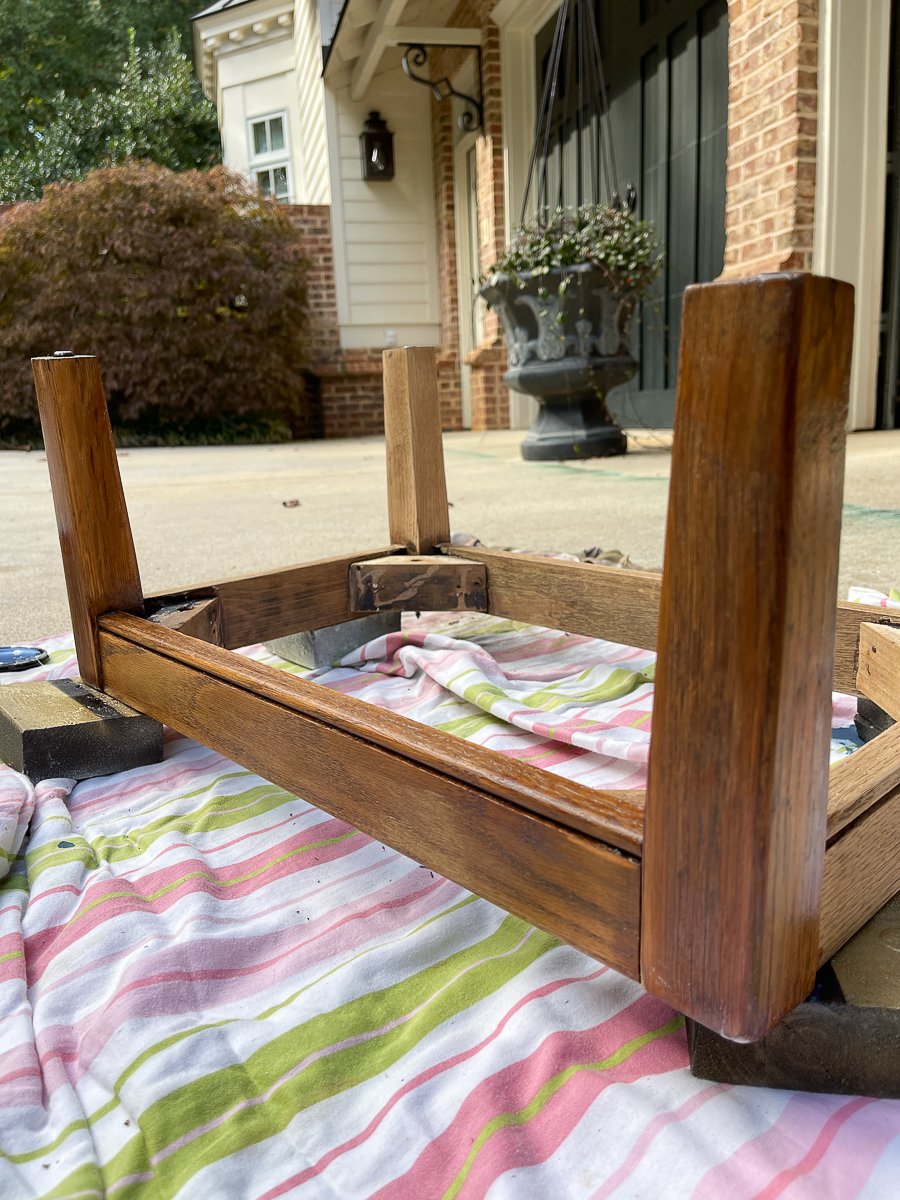
The top coat will richen and darken the wood a bit. Do you see the leg in the back? It has not been sealed yet.
I apply the first coat upside down to get in all the nooks and crannies.
Let it dry.
Flip it over and apply a second coat.
Let it dry thoroughly per the can instructions before reattaching the top.


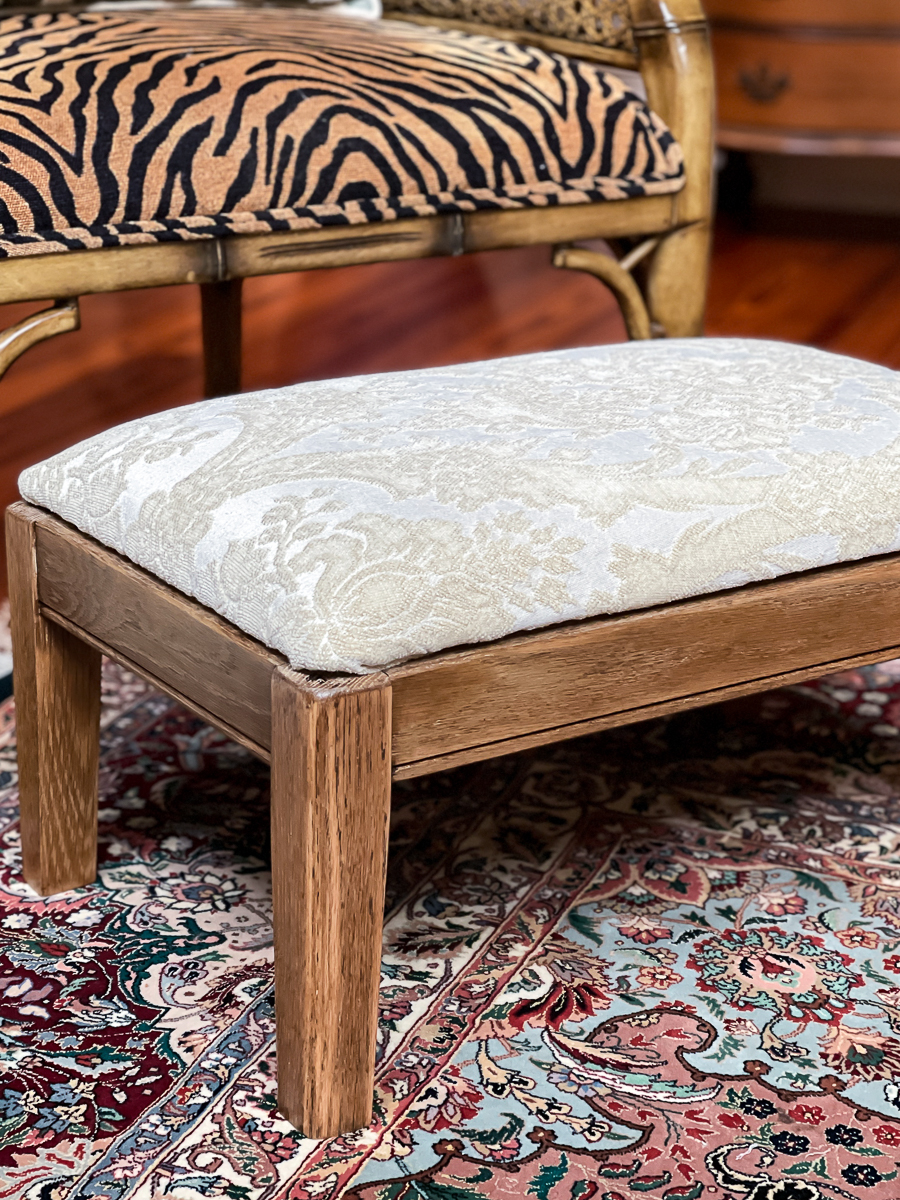
I found this fabric at the thrift store years ago. I washed it. It washed surprisingly well for decorator fabric.
Remove the old staples to remove the old fabric.
I eyed the placement of the fabric pattern and cut the rectangle to fit.
Make sure you have enough overlap to staple on the backside.
You must upholster with a heavy-duty stapler.
Reattach the top to the stool base.
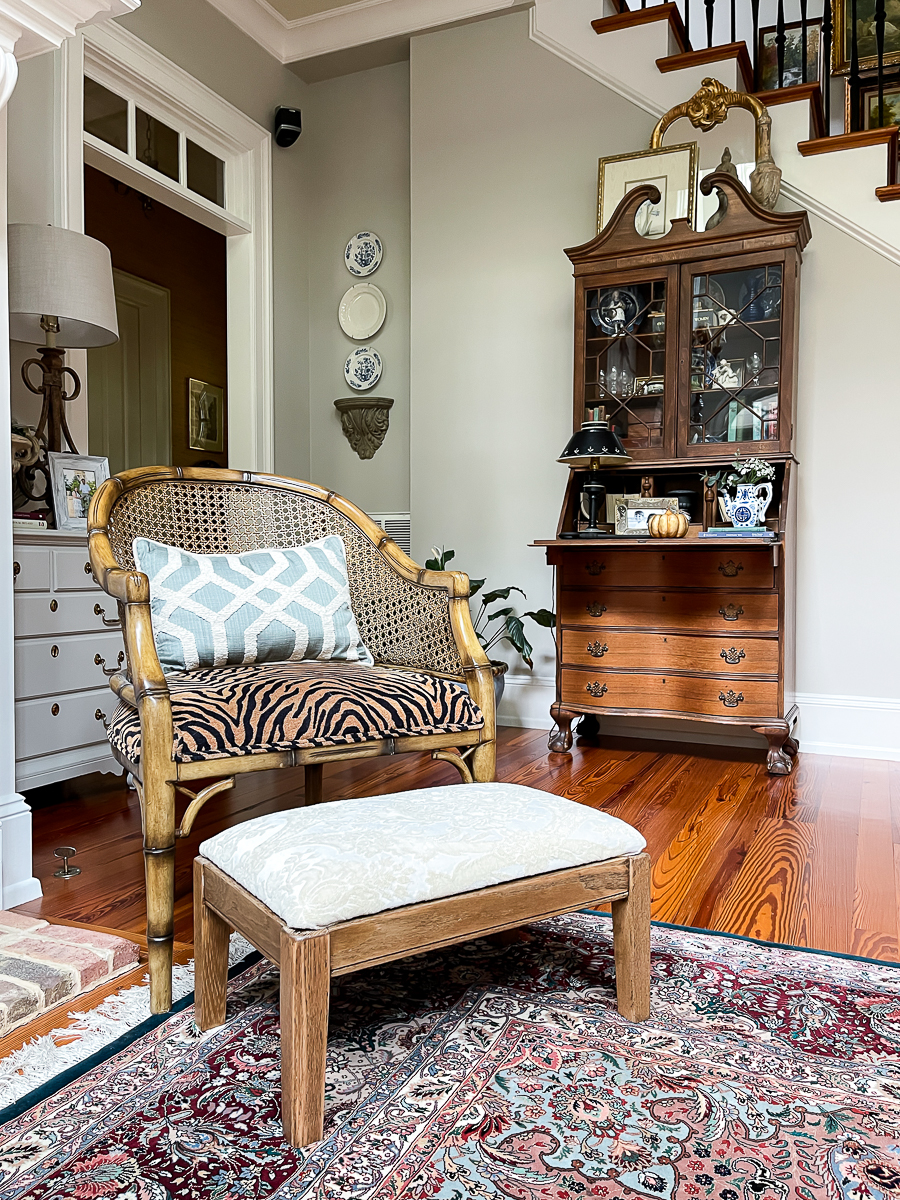
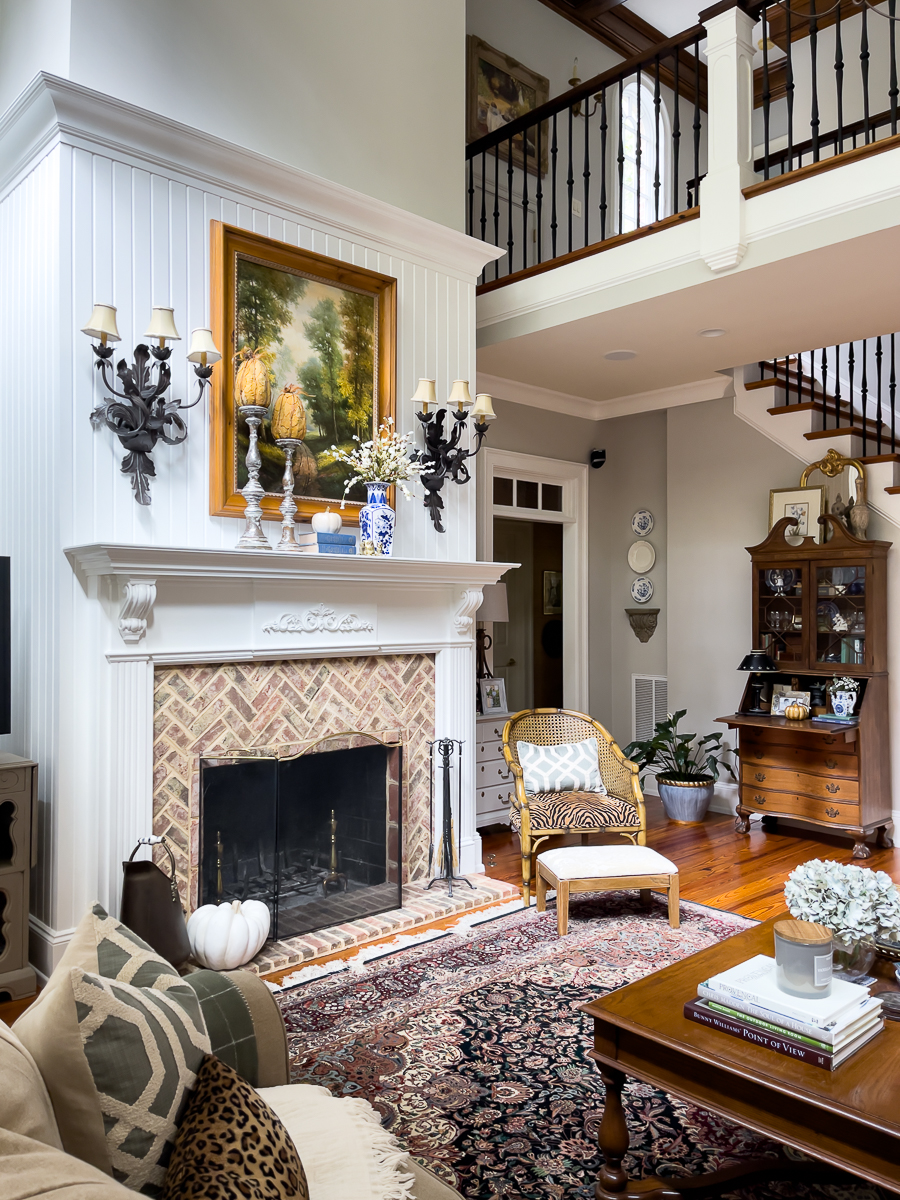
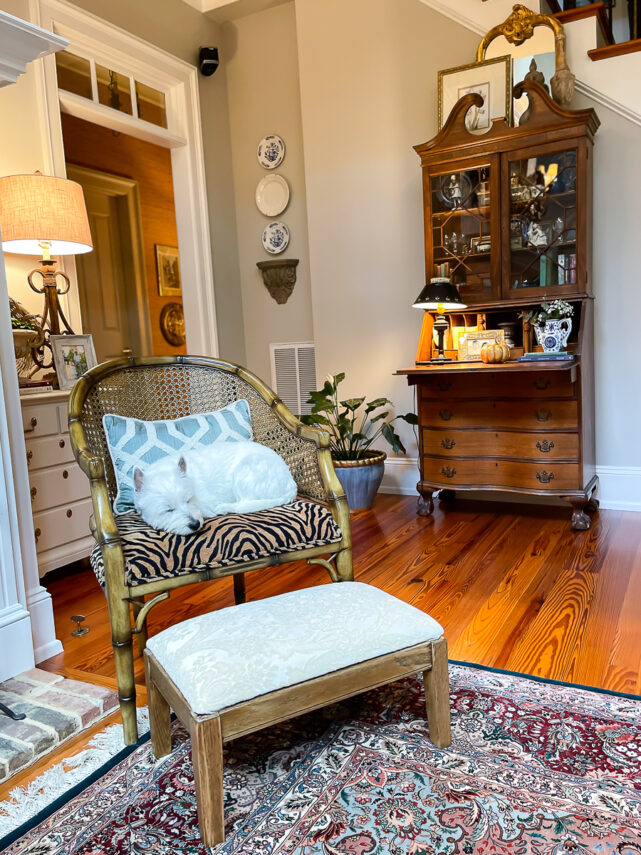
Isn't she pretty!
It's a very simple makeover.
It came together very quickly.
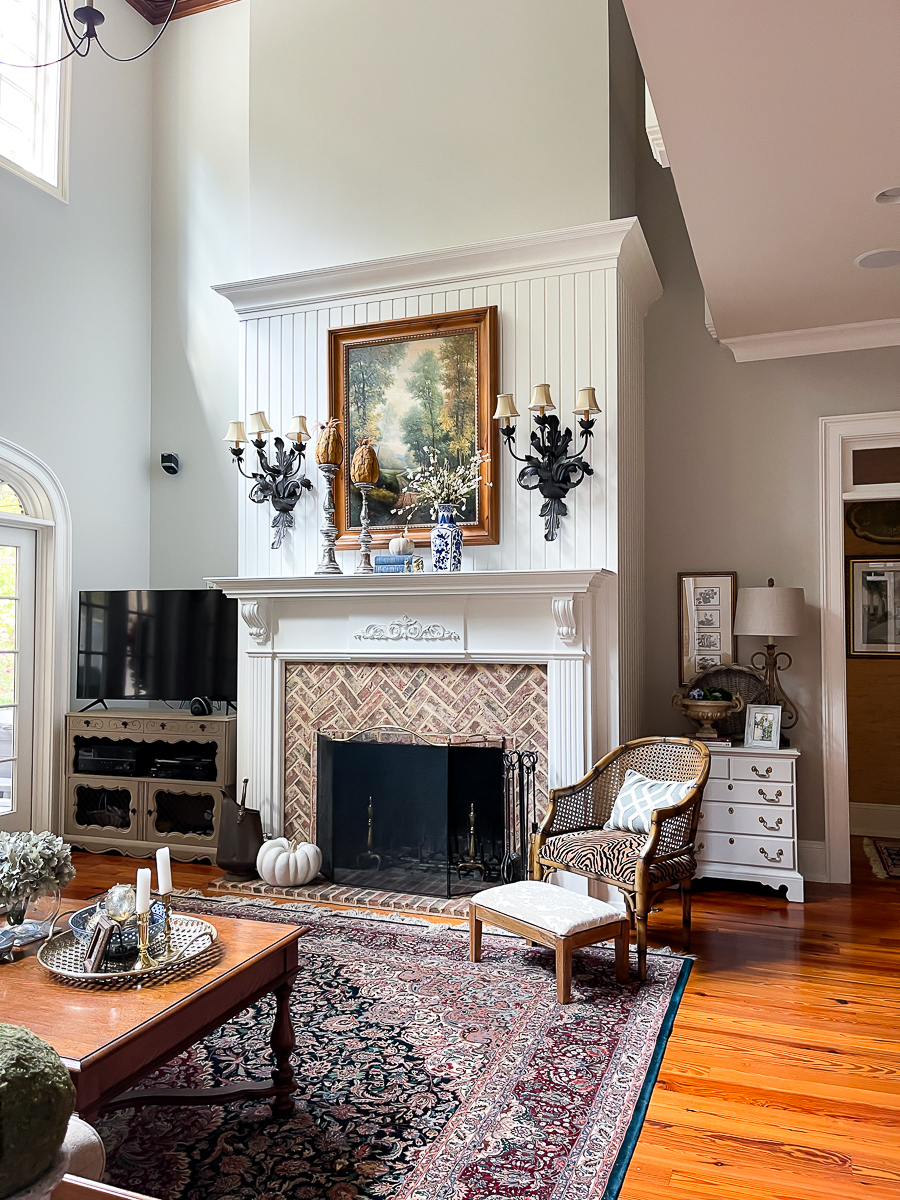
It's actually sturdy enough to sit on. It will be great for a game night around the coffee table.
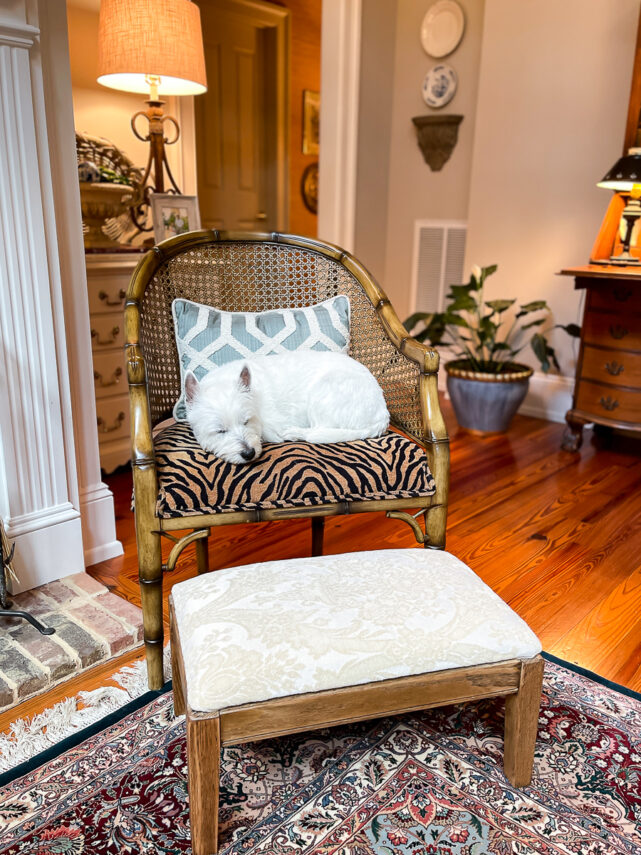
It's also Bentley approved!
Check out the other thrifty projects!

Thanks so very much for stopping by!


Christy has been creating content for Our Southern Home since 2012. She has been featured in numerous print and online publications. Her classic, eclectic design approach spans her home and fashion style. Christy has a way of mixing store-bought with thrift store, antique and vintage finds. As a recent empty nester, she is having fun navigating this new stage of life. Read more about Christy HERE. Be sure to subscribe below. You can also contact me HERE.


You did not mention washing off the bleach before sealing. Is that a necessary step? Thanks!
Thanks for letting me know! Yes you can wipe it down with water or spray it off. Just make sure it is thoroughly dry before sealing.
Awesome stool makeover! Love the outcome! Will also try this oven cleaner tip.
Thanks and good luck with it.
I love this Christy! Have to give it a try. I also love the chair you paired with the stool.
I, too, have been intrigued by the over cleaner hack! Hmm…you might have convinced me to try it…
You are really rocking the natural wood projects! I love them all!
This turned out so pretty! I have a couple of smaller thrifted stools with fabric cushions that need a makeover, they are fun little projects!
Such an improvement on this little footstool Christy! I’ve used oven cleaner once and you have inspired me to try it again! Love the fabric you used on this piece! Pinned 😊
This turned out really good! I have been wanting to try this method but haven’t gotten around to it! Thank you for your detailed instructions, love the fabric as well.