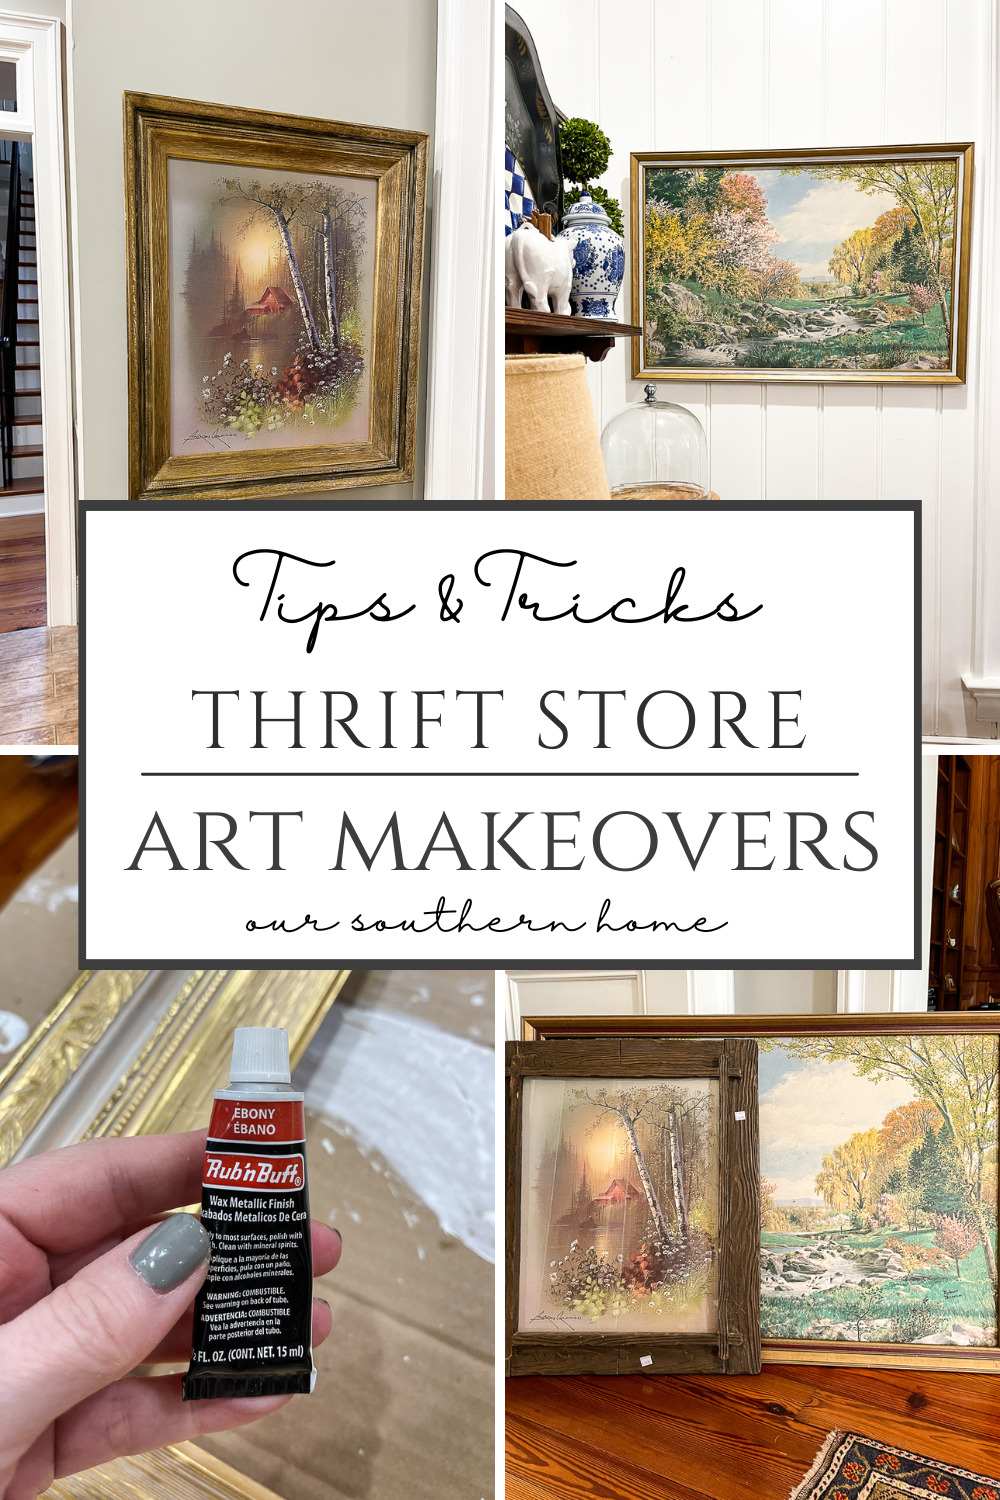
Tips for Updating and Decorating with Thrift Store Art
These tips for updating and decorating with thrift store art will have you decorating your home with eclectic style on a budget in no time!

Latest from OSH
- How to Make Piña Coladas in an Ice Cream Maker
- Saturdays on the Porch #86
- Saturdays on the Porch #85
- Easy European Wall Art with Thrift Store Frames
- Piano Bench Makeover with New Color and Fabric
This post may contain affiliate links. If you purchase something using one of my links, I may earn a small commission from the retailer costing you nothing more. You can read more on my disclosure page. Christy Little of Our Southern Home is a participant in the Amazon Services LLC Associates Program, an affiliate advertising program designed to provide a means for sites to earn advertising fees by advertising and linking to amazon.com.

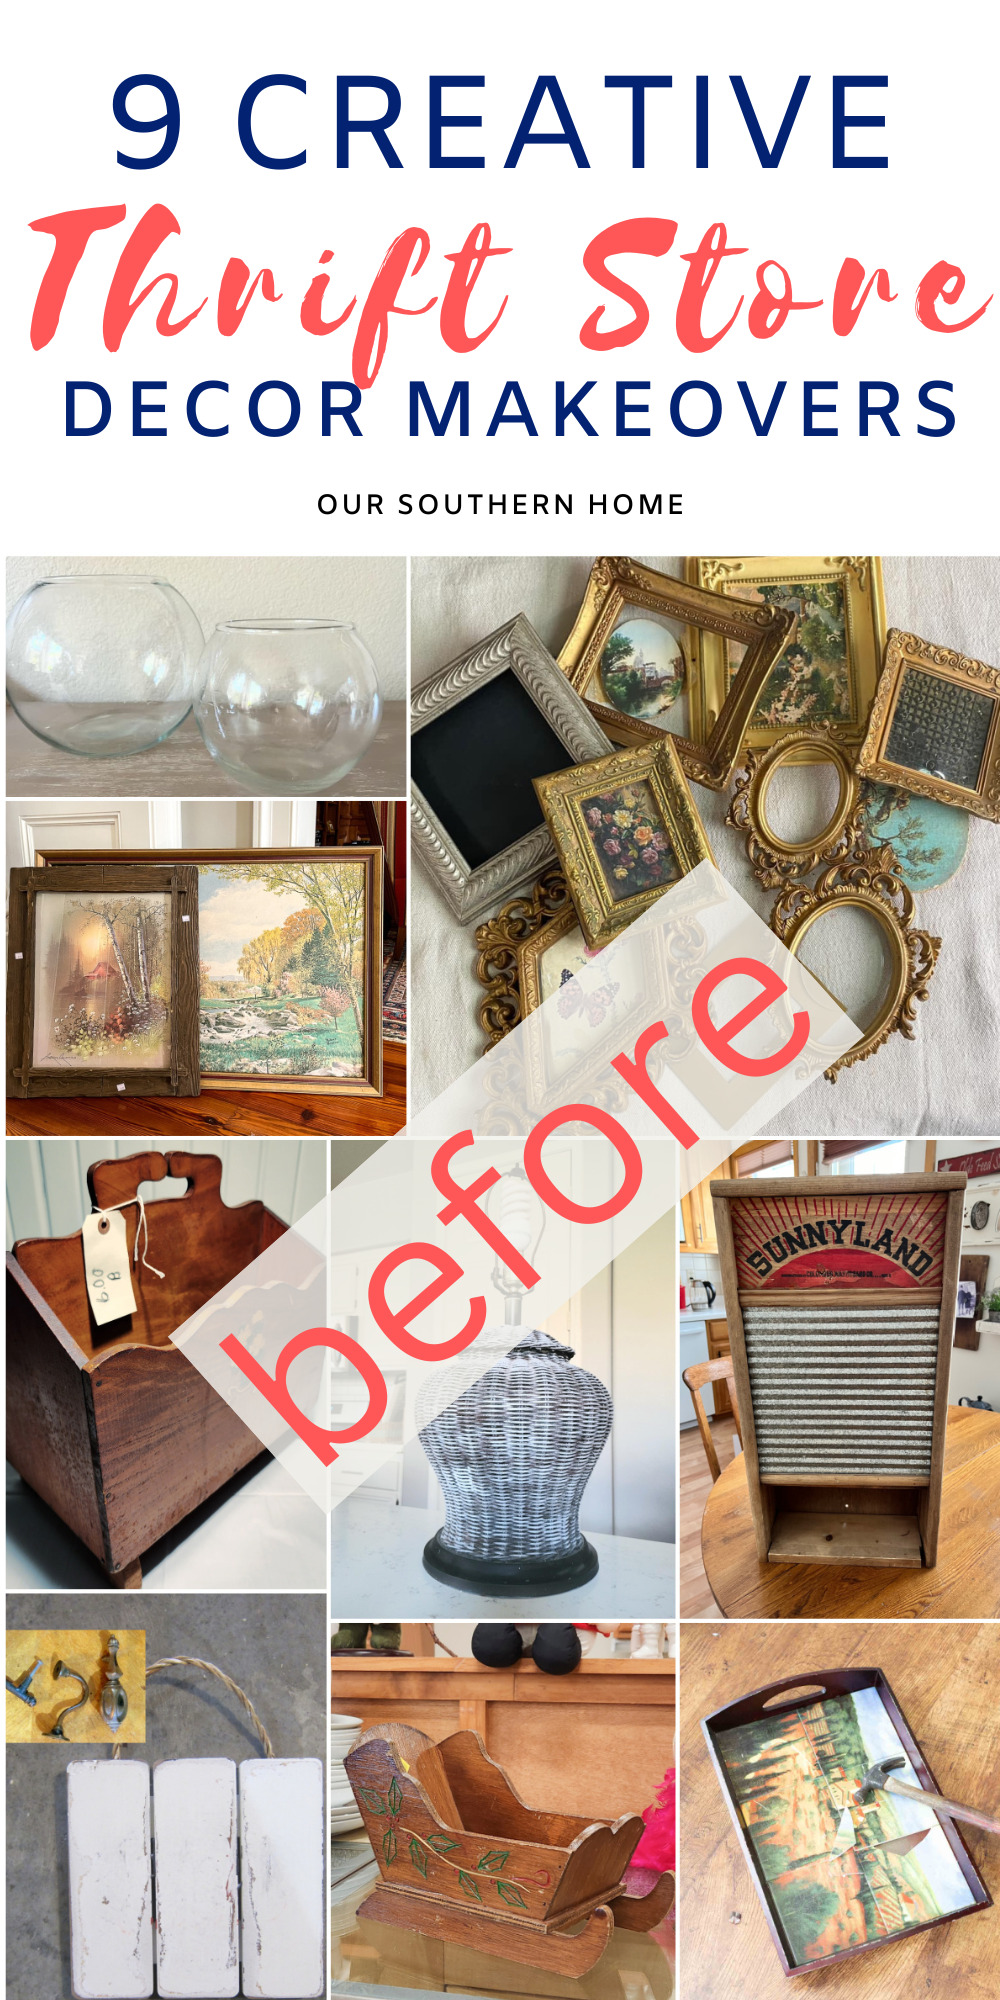
Welcome to this month's makeovers!!!! At the end of this post, you will find a list of 8 other NEW thrift store makeovers for the month!!!
Tips for Updating and Decorating with Thrift Store Art
Thrift store art is the first place I gravitate towards when I shop at the thrift store.
It can be one of your best values in the store.
If you remember my gallery wall on the staircase, patience rewarded me as a gathered art over several years until I had enough to put a dent in the space with my found treasures.
What to Look For
- ready to hang art that needs a cleaning
- fabulous frames – it's ok to toss or re-donate the art inside
- Oil paintings
- botanicals
- landscapes
The Before
These two pieces of art were found months ago with the intention of using them in the Broadway Lake Airbnb.
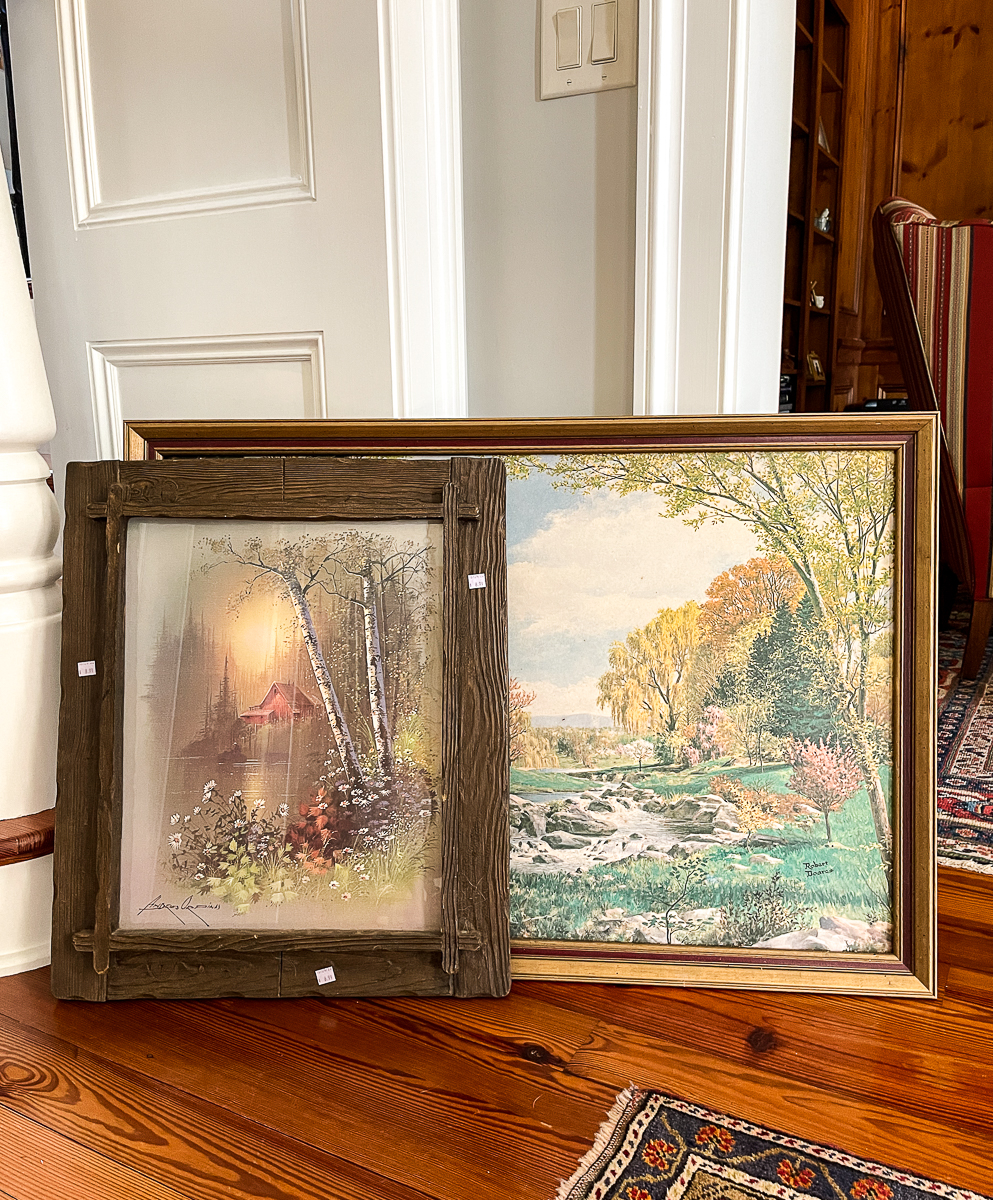
Neither of the two pieces of art is anything memorable. They are replicas of other art that have been printed on paper and applied to boards to look like oils. I'm ok with that! It totally fits the lakehouse cottage and eclectic vibe.
I knew for sure that I did not like the frame and glass on the boat in the lake piece. The frame isn't horrible, but a little too rustic for the vibe.
Do you remember when I mentioned that you should look for frames? I checked my frame stash and found this fabulous frame that would really elevate the look of the simple art.
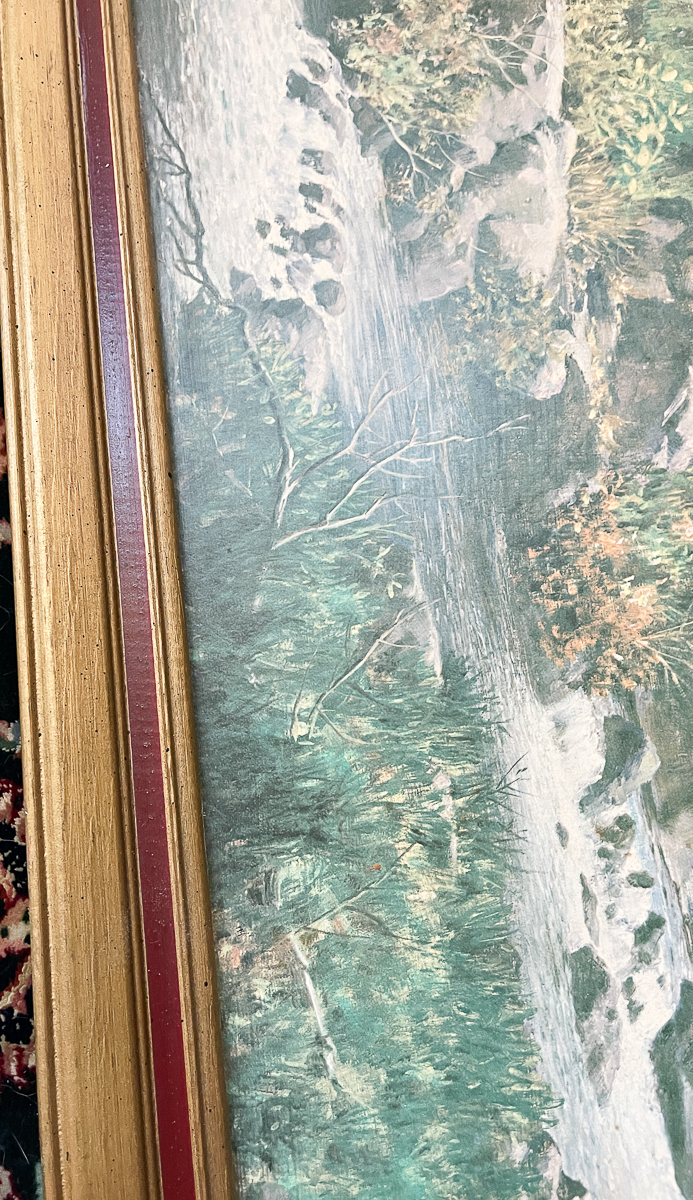
The larger rectangle art was pretty fabulous as is, but I wasn't quite loving the deep reddish burgundy inner band on the frame.
My Plans
I planned to use what I had in my paint stash to update the frames.
I used grayish-white paint to paint over the reddish burgundy inner band of the frame to give it a light airy look.
I painted 2 coats with the graying white using an artist's brush.
Sometimes my plans change as I work on a thrift store project.
It took 4 tries on the frame to get it just right using wax and paint!
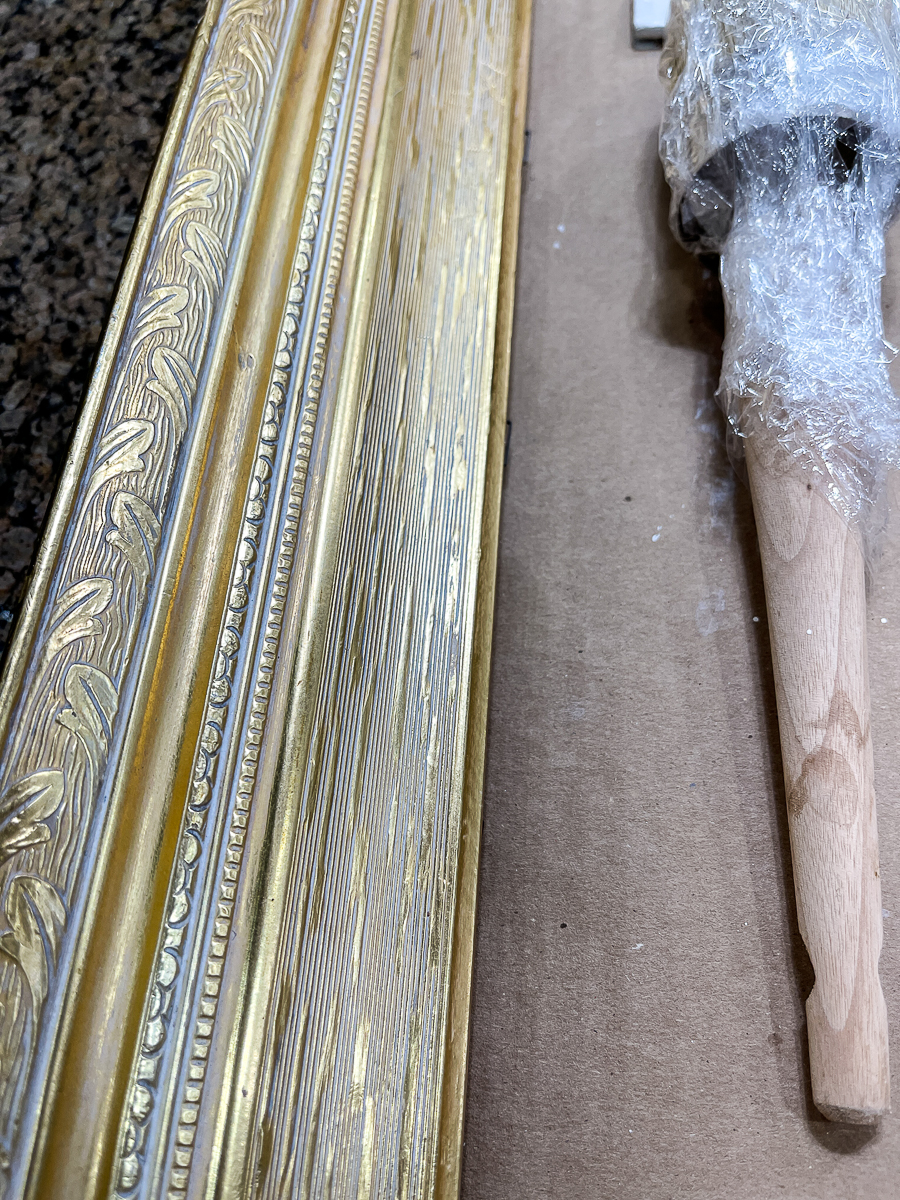
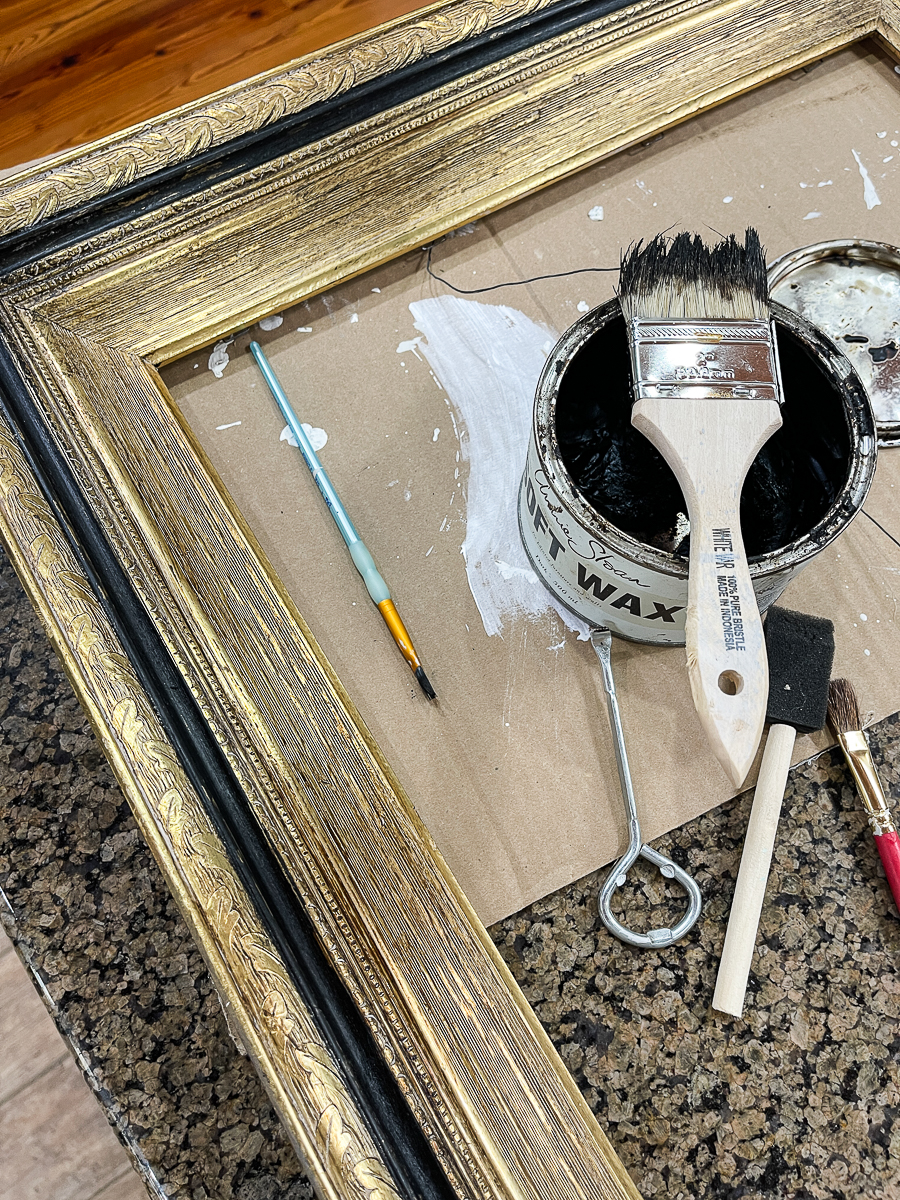
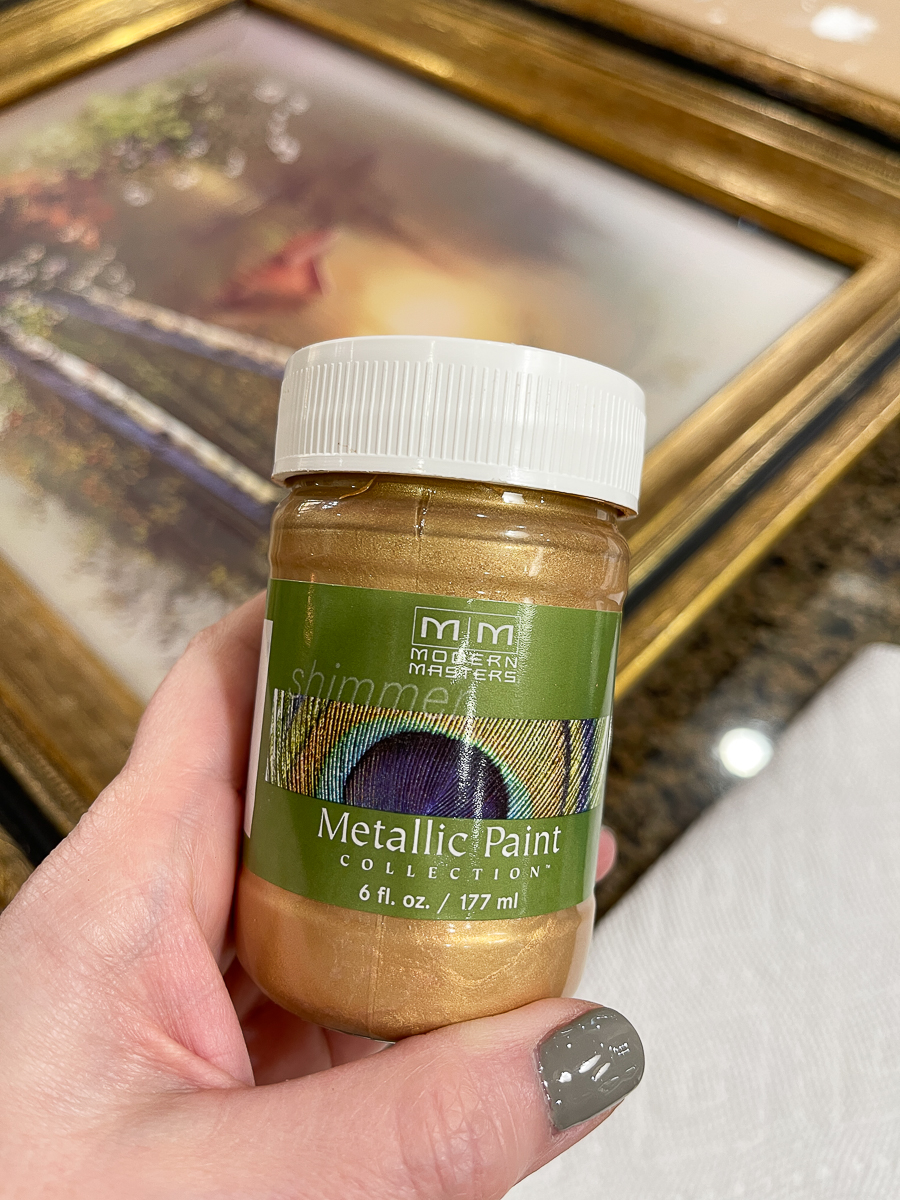
Supply List
- Grayish-white paint (similar-mine is no longer available)
- white wax (similar)
- dark wax (similar)
- ebony Rub ‘ Buff
- artist brushes
- heavy-duty stapler
- flat head screwdriver
- small hammer
- gold paint
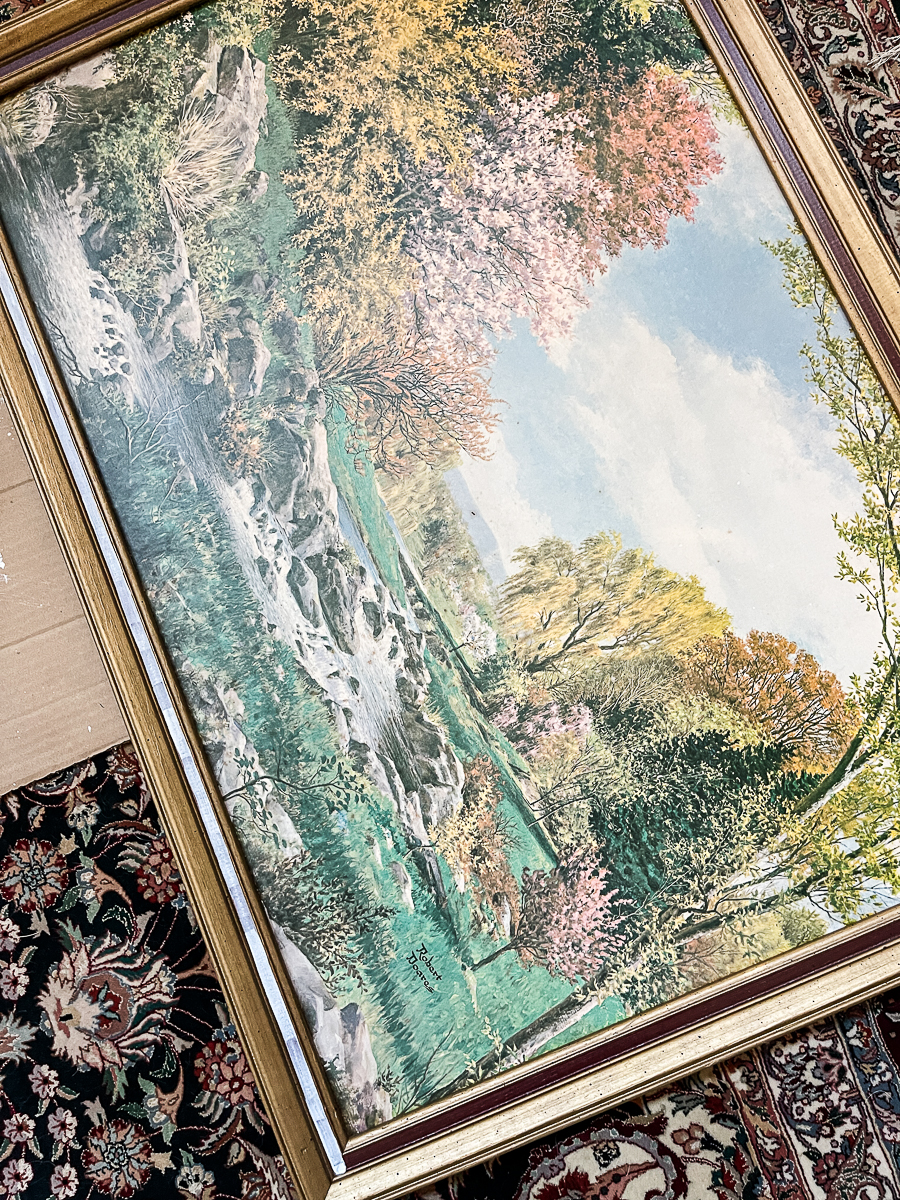
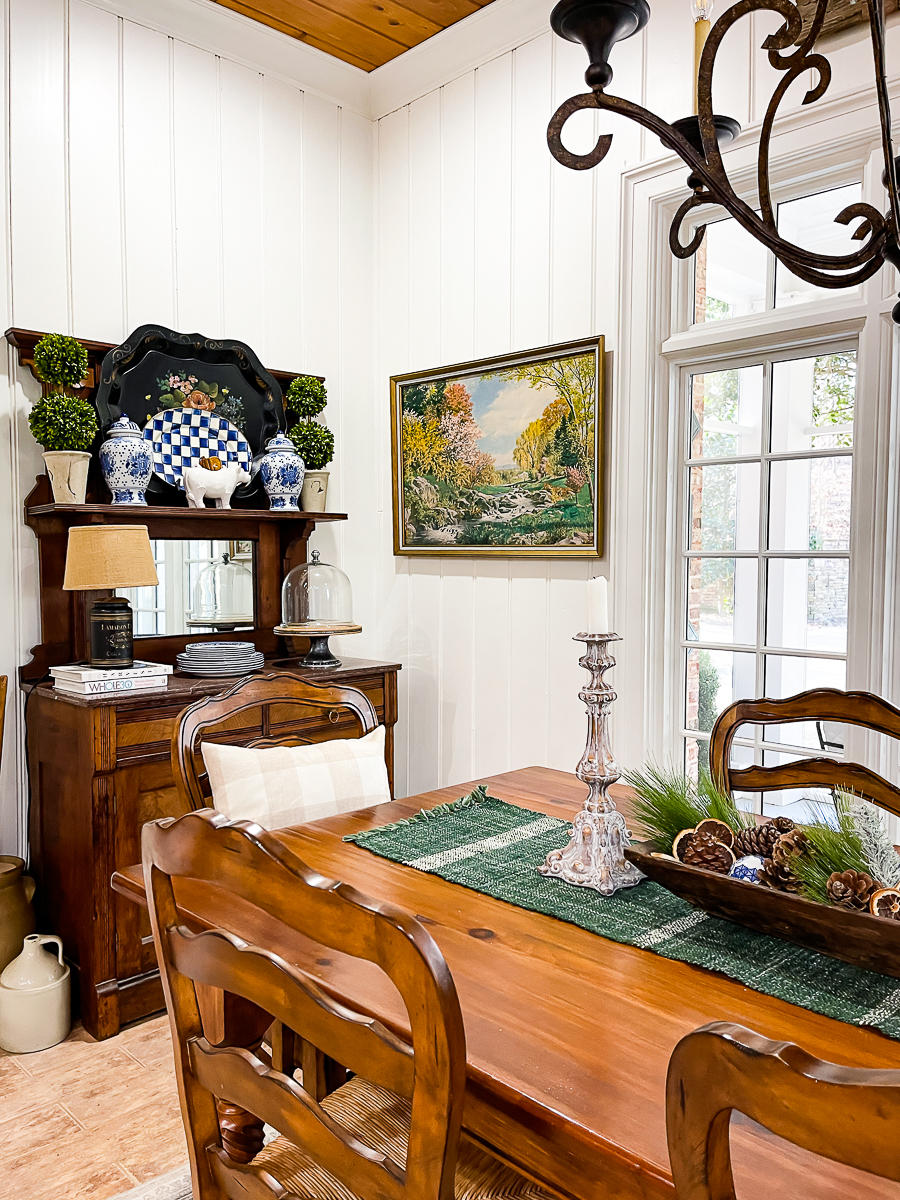
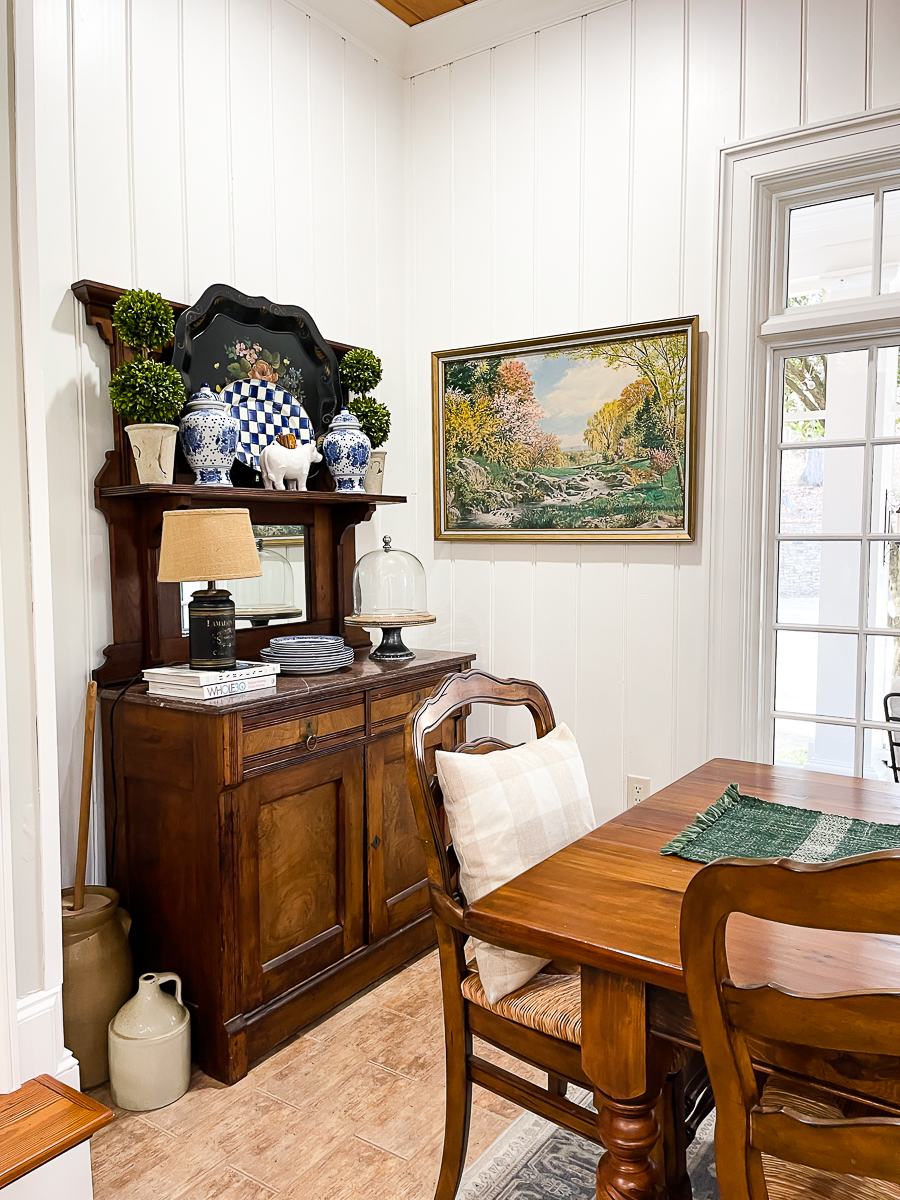
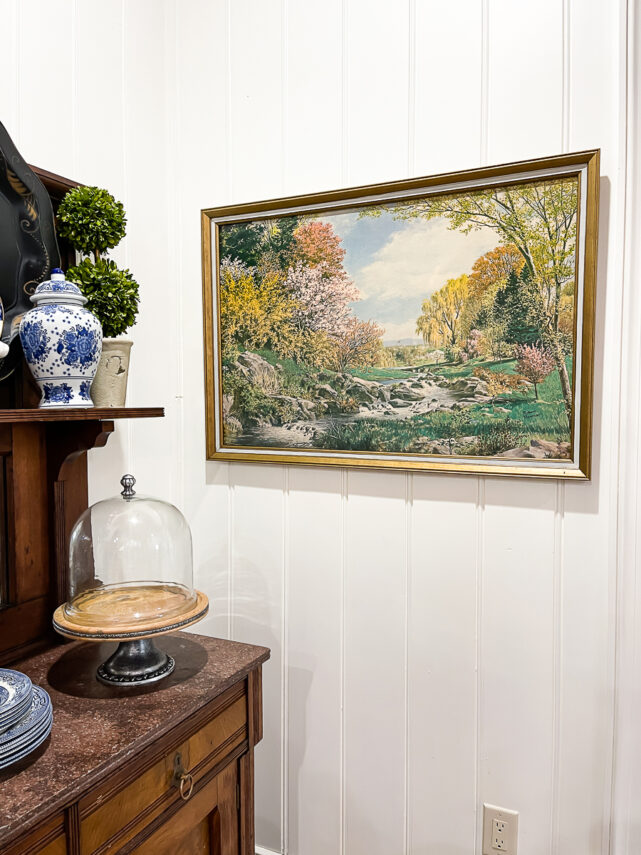
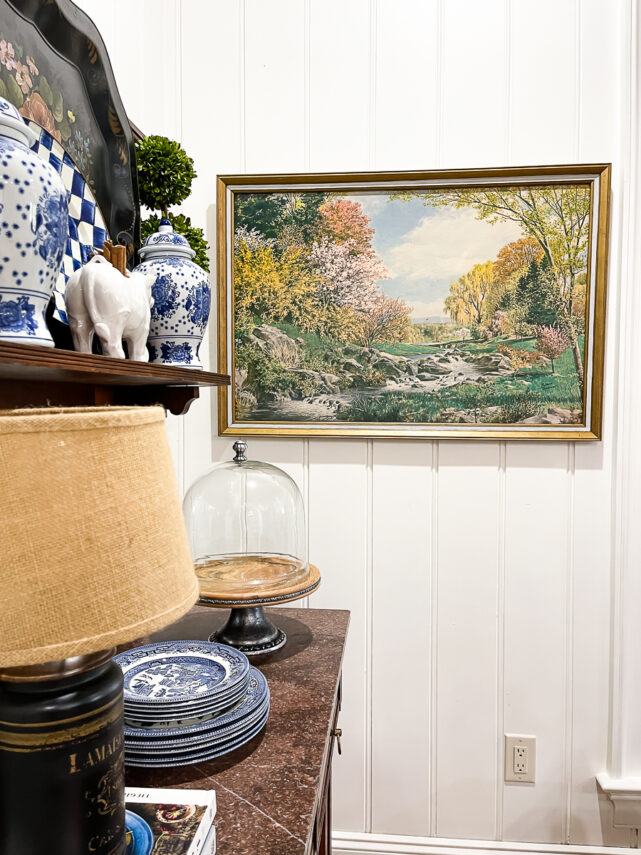
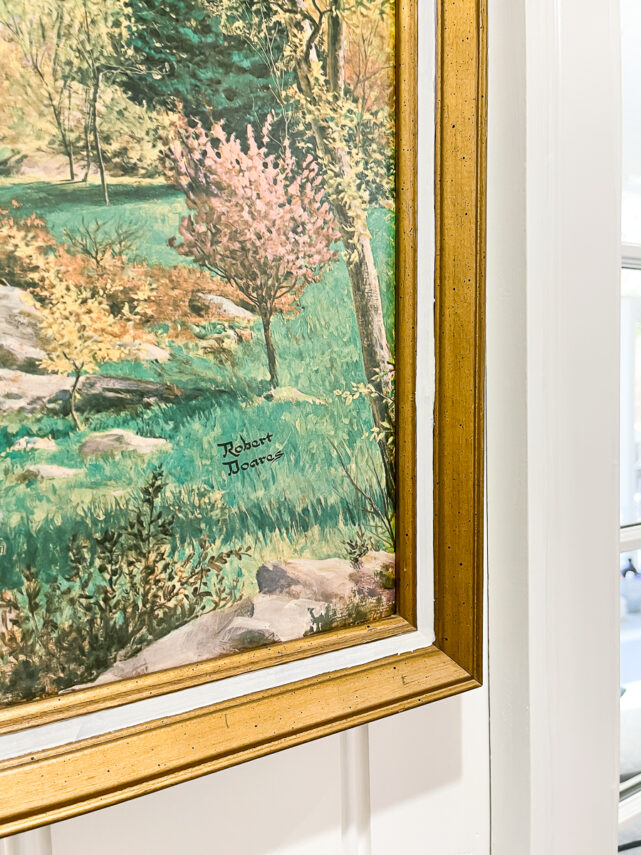
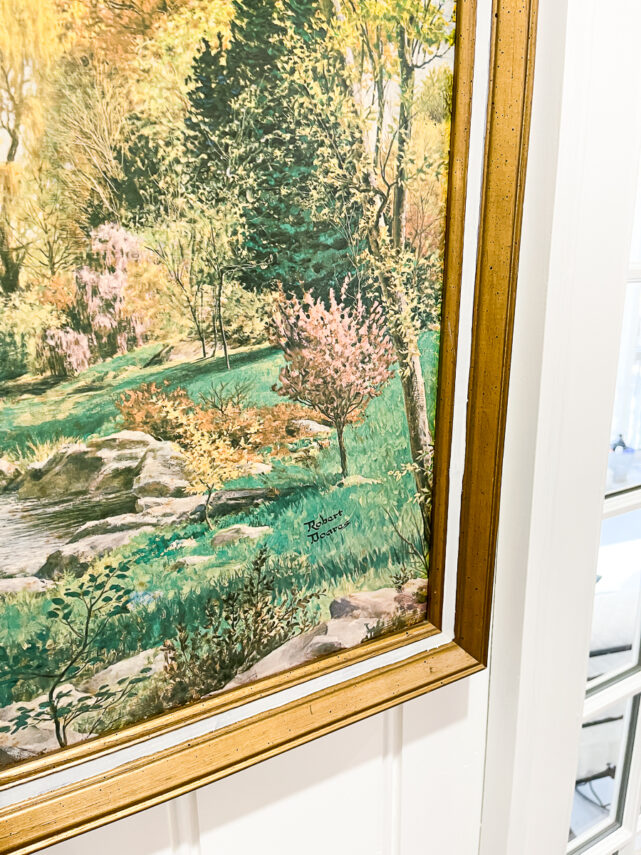
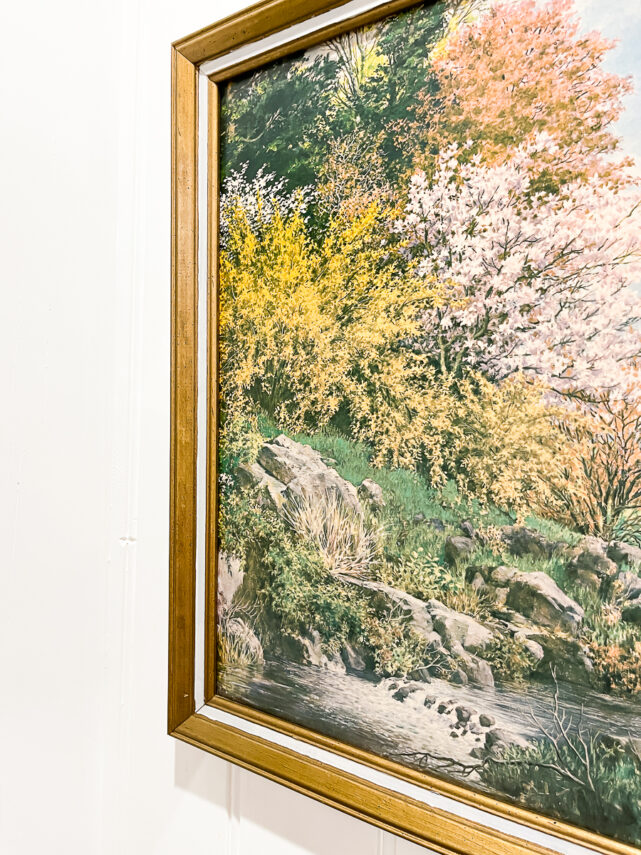
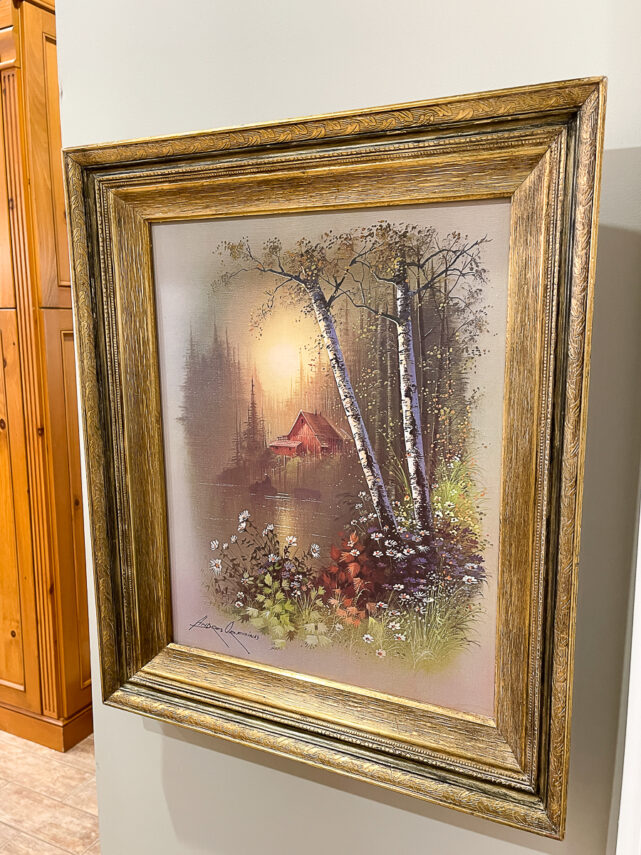
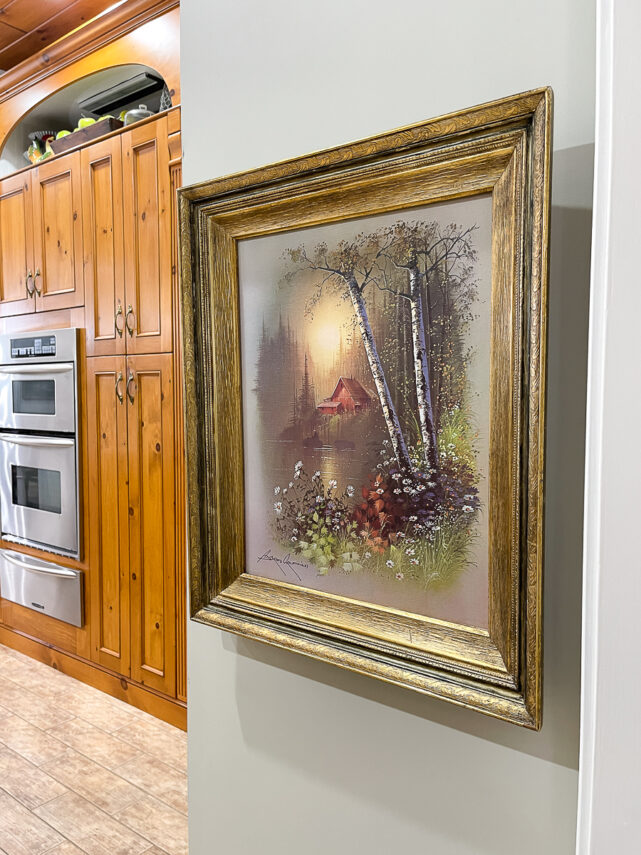
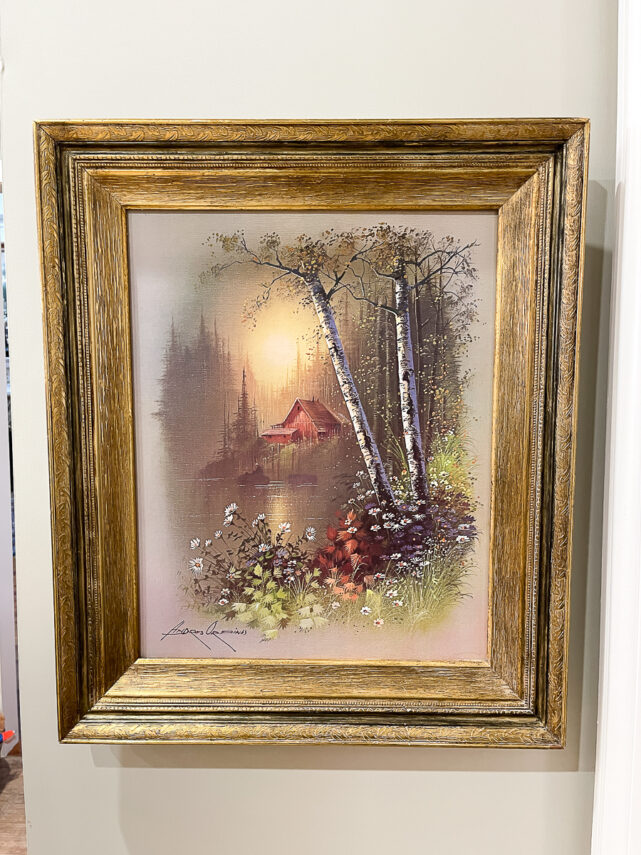
The Large Landscape
I knew when I saw this that it would be perfect in one of the two lakehouse bedrooms that need art over the bed.
The colors are pretty and fit our aesthetic. This was honestly a bit more than I would like to have paid at $17.99, but it was fabulous.
Before you get to work, you must clean your art. Be careful with the actual art itself. You don't want to ruin it.
Use a gentle cleaner. I just usually grab an all-purpose spray or some Lysol wipes. You'd be surprised by the amount of grime on these frames.
I don't go at this with that every stroke has to be perfect! This art is old, thrifted, and vintage.
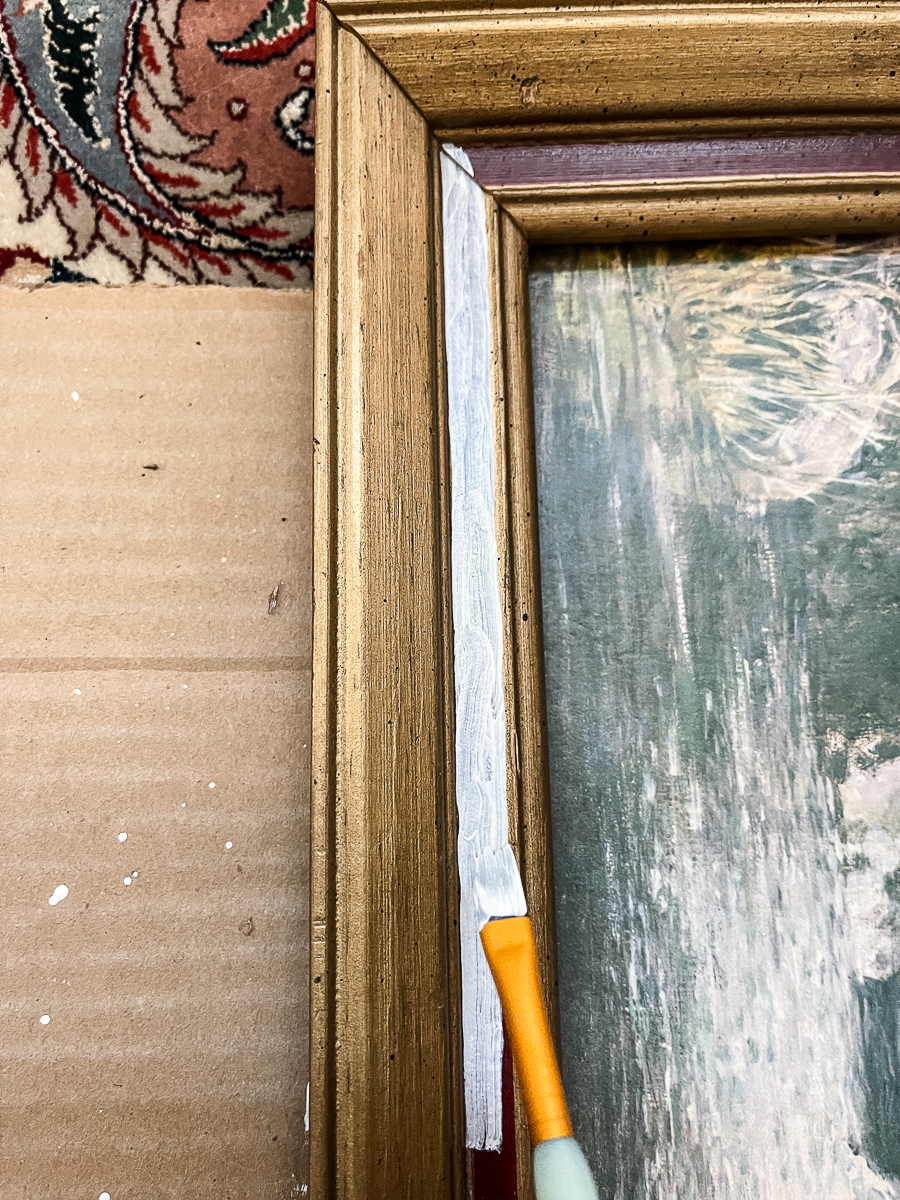
I used grayish-white paint to paint over the reddish inner line of the frame. Even a cream would have worked. I did not want a bright white. I didn't want it to look brand new and fresher than the entire frame.
Two coats of paint and this one was complete. I love it when one comes together this easily!
Scroll through the photos below!
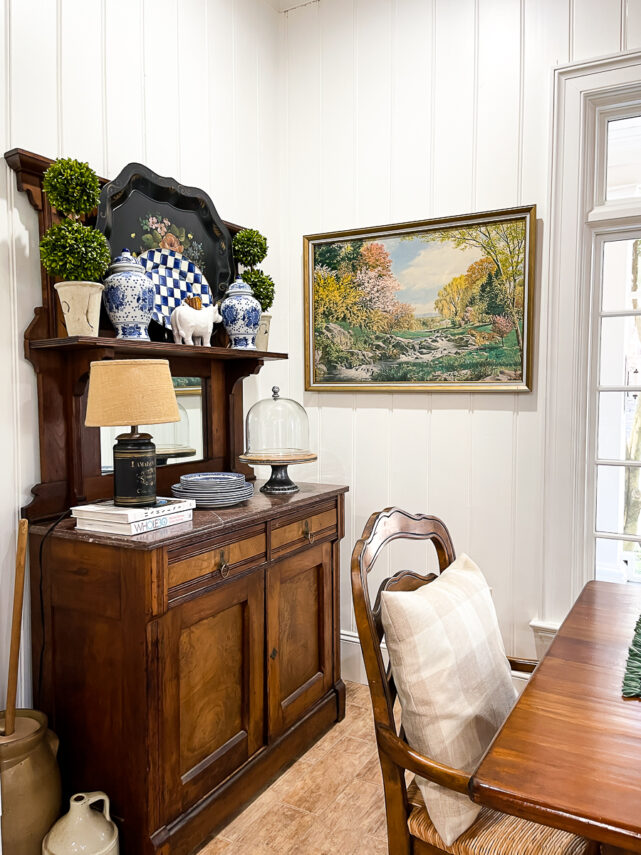
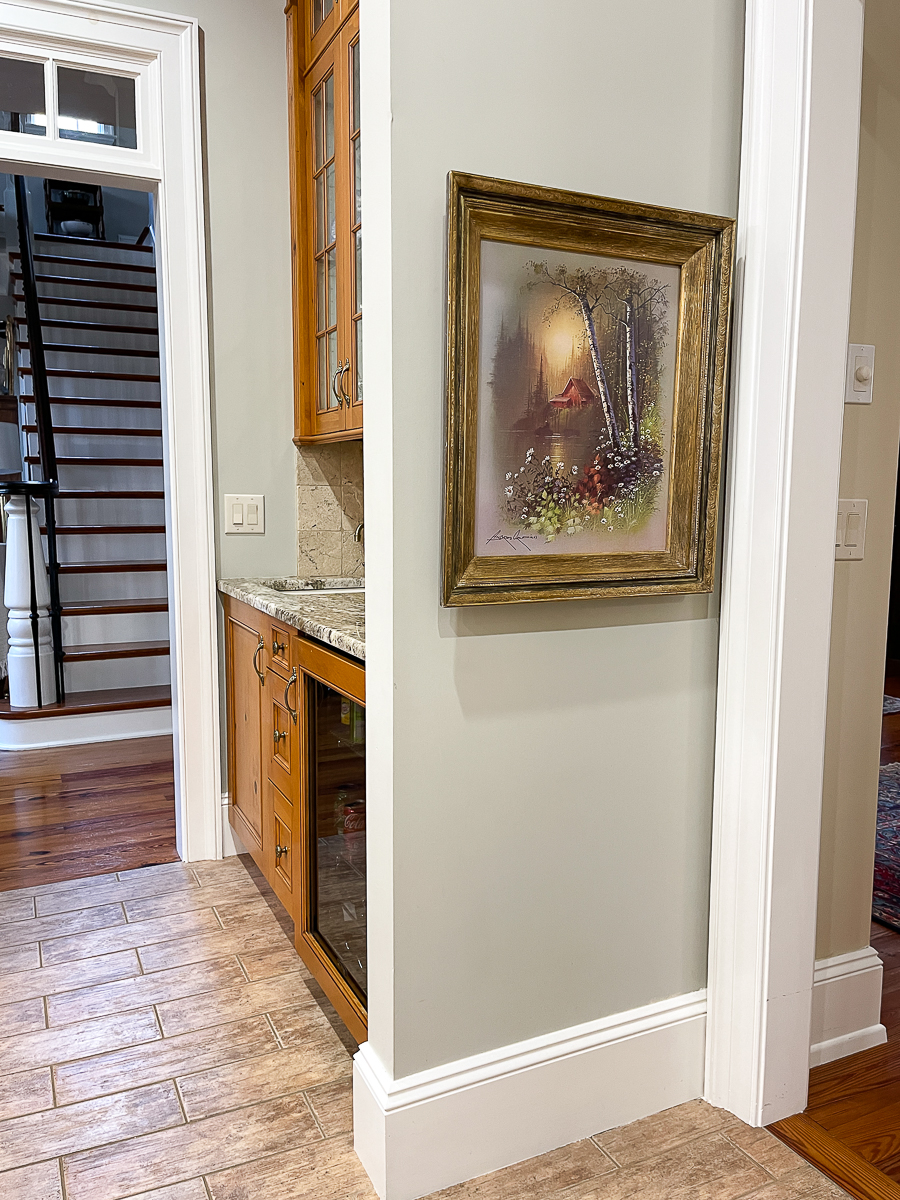
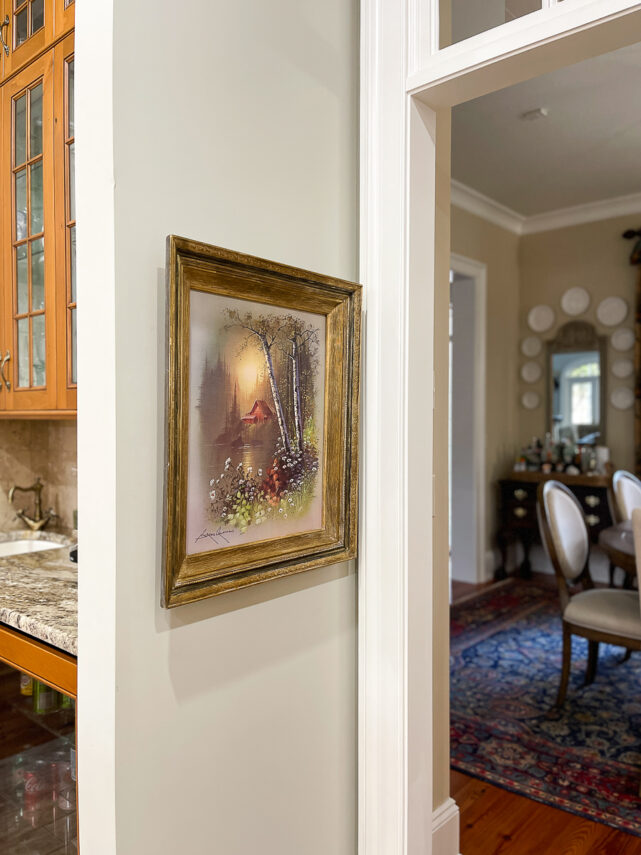
I took my existing art down in the kitchen just so I could photograph it for you. When I take it to the lake house, I'll be sure to update this post with it in its place there.
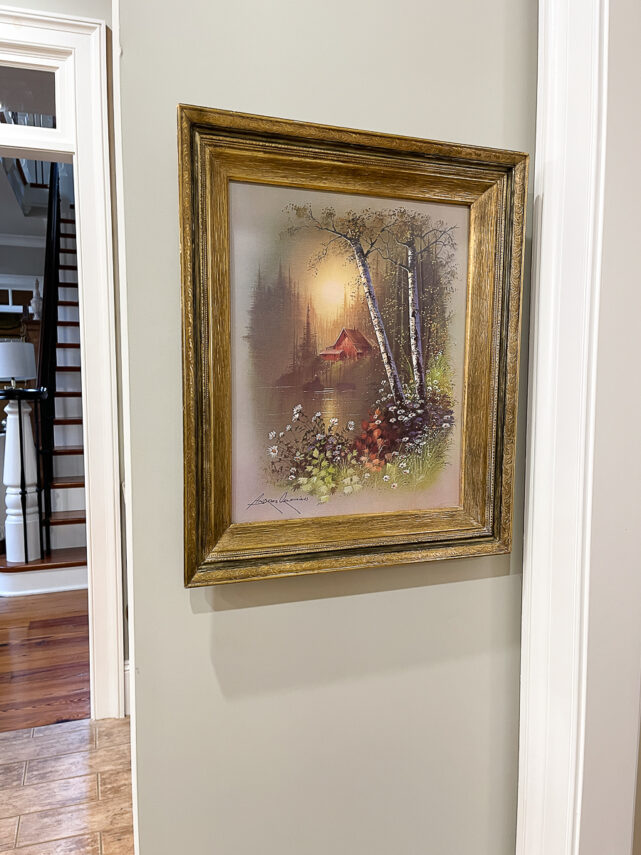
The Smaller Vertical Art
This is such a sweet print with the boat in the water. I did not like it hidden behind the glass. I honestly considered just taking the glass off the art and seeing if I could live with the frame.
I checked my frame stash in the attic and had this frame that I paid $6 for years ago in the attic. It is the exact size for the art! I was a bit torn. I'd rather save it for art for our house, but it really took this art up a notch or ten!
The frame was just way too shiny and new for the lake house and this more rustic-looking art.
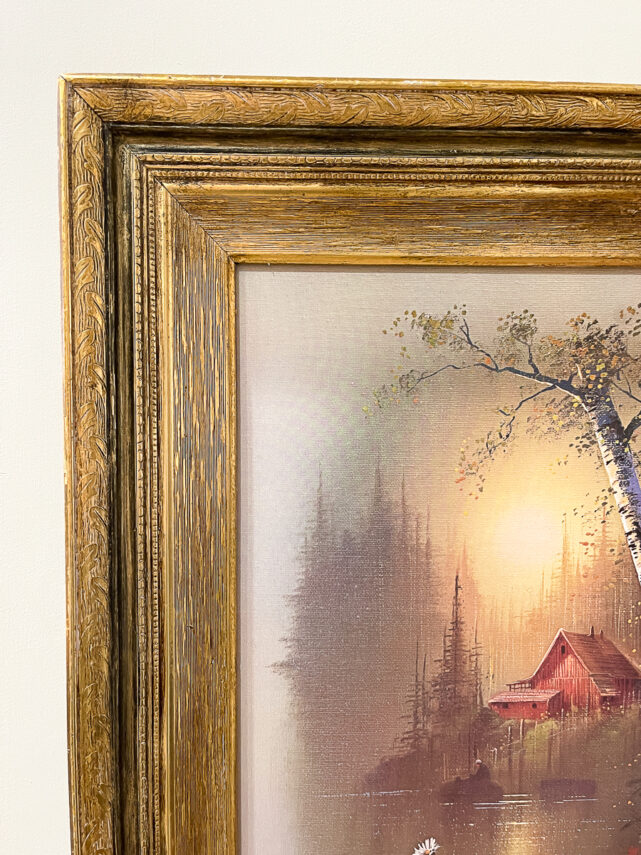
This is the piece that took 5 tries before I liked it.
I wanted to make it a bit lighter so I decided to bring out the white.
I had white wax on hand by Annie Sloan so I applied two coats on the frame buffing between coats and afterward.
This did nothing for me.
So I decided to use the same grayish-white paint on the narrow inner band. I did 2 coats. BEFORE I painted, I did sand just a bit to rough up the area since I had just waxed. I wanted the paint to adhere.
I still wasn't happy!
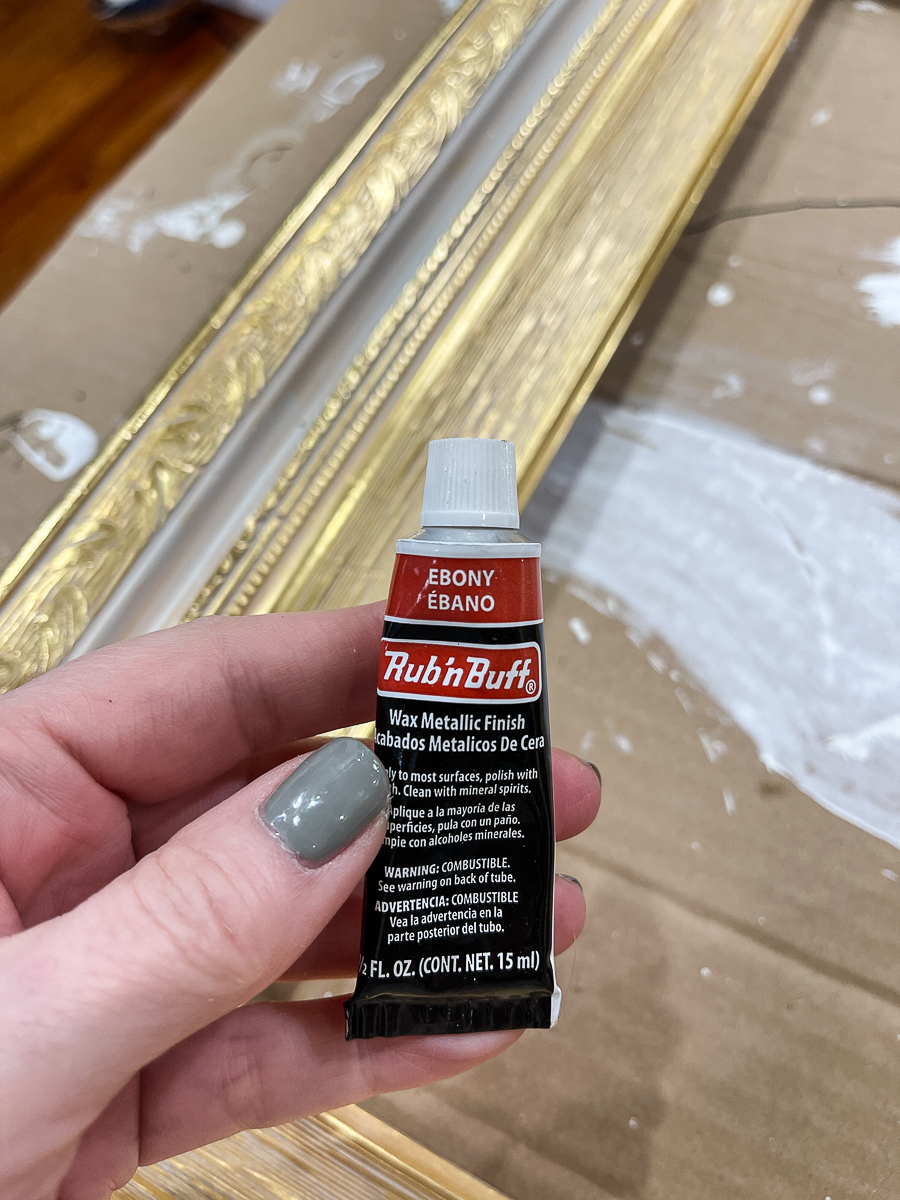
Next, I applied a coat of ebony Rub ‘n Buff. I like the contrast, but it was just way too harsh.
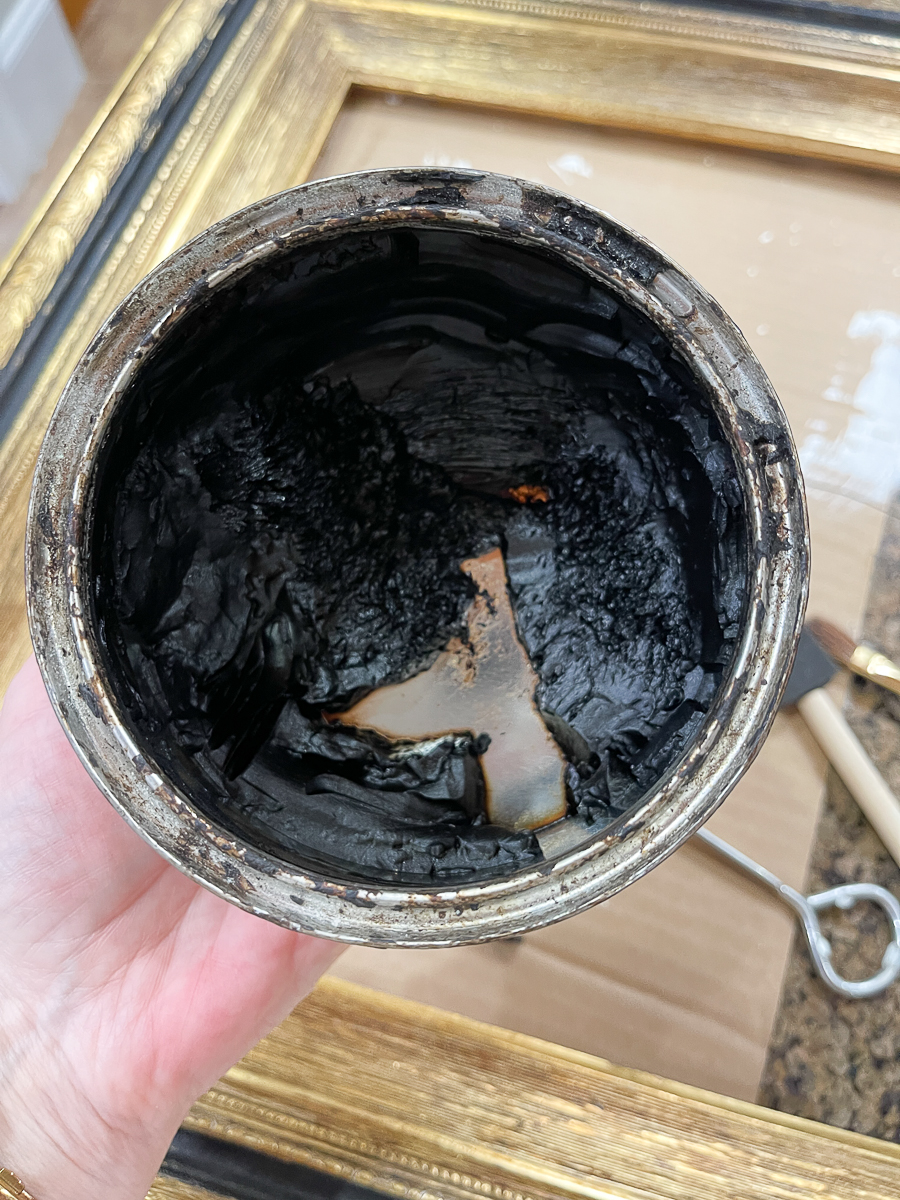
It still needed something. I reached for my dark wax and quickly applied a very light coat.
The sweet spot came on the fourth try when I dry-brushed gold paint over the black. It allowed there to still be some definition but softened it while allowing some light black to still show through.
Dry brushing is when you lightly dip the brush in the paint and then brush some of the paint off onto a paper towel before applying it to the frame.
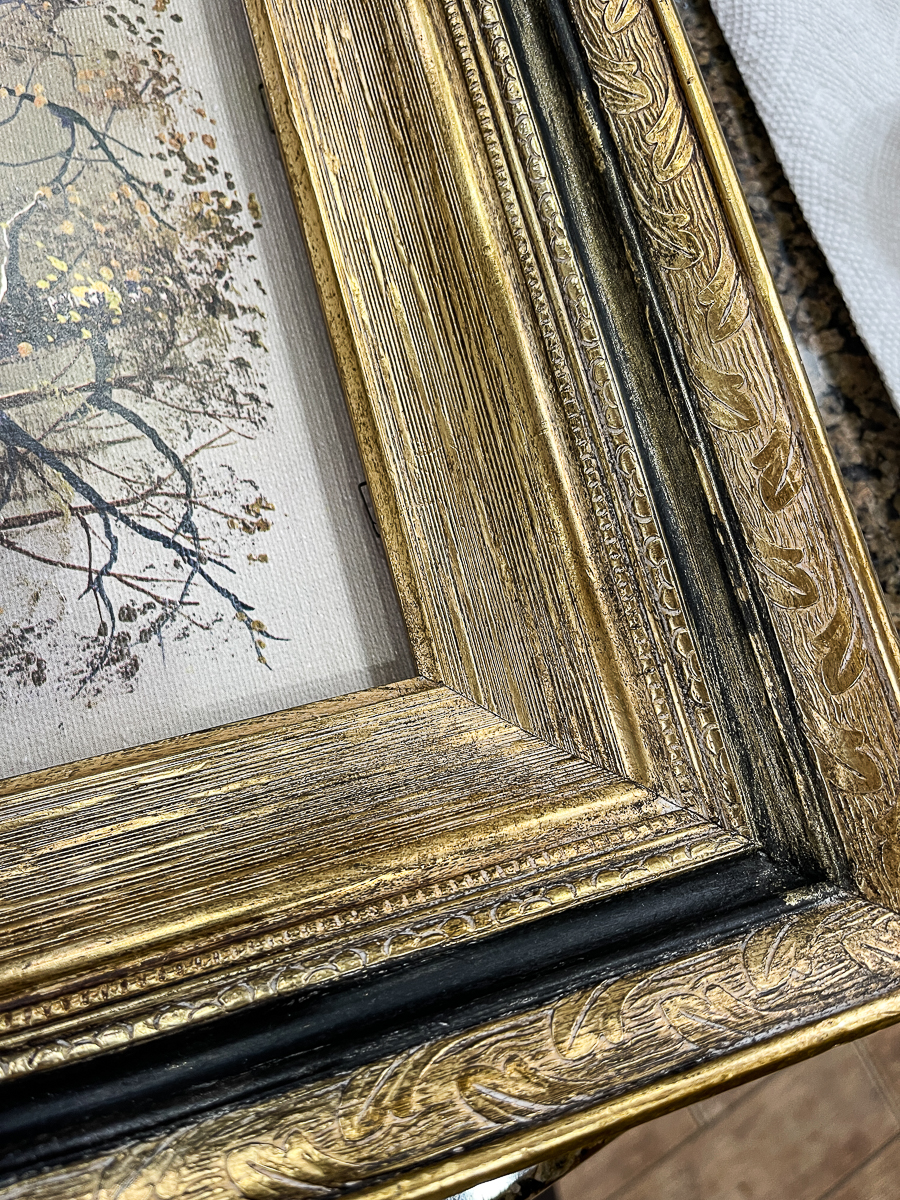
Do I regret the white wax? Absolutely not! It still softened the original gold finish to give it more of a softer look. I liked a bit of the white coming through.
This did the trick! I love the vintage look that the frame was taking on now. Use care when using dark wax. You must apply it over clear wax first or you will be left with a dirty-looking mess. In my case, I applied the white wax which helped the dark to glide on easier.
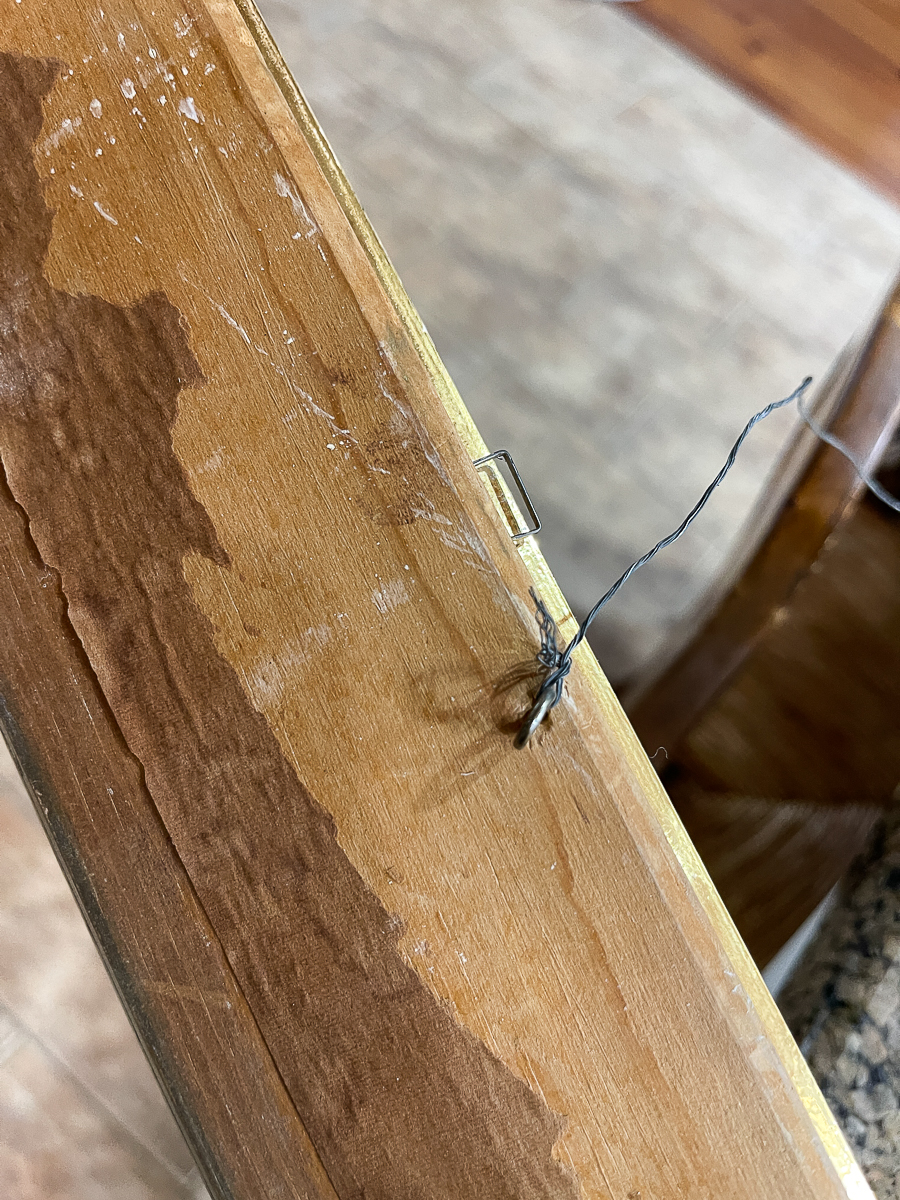
Next, I removed and repositioned the eye hooks to hold the wire for hanging. They were positioned horizontally for the frame. They needed to be for vertical placement.
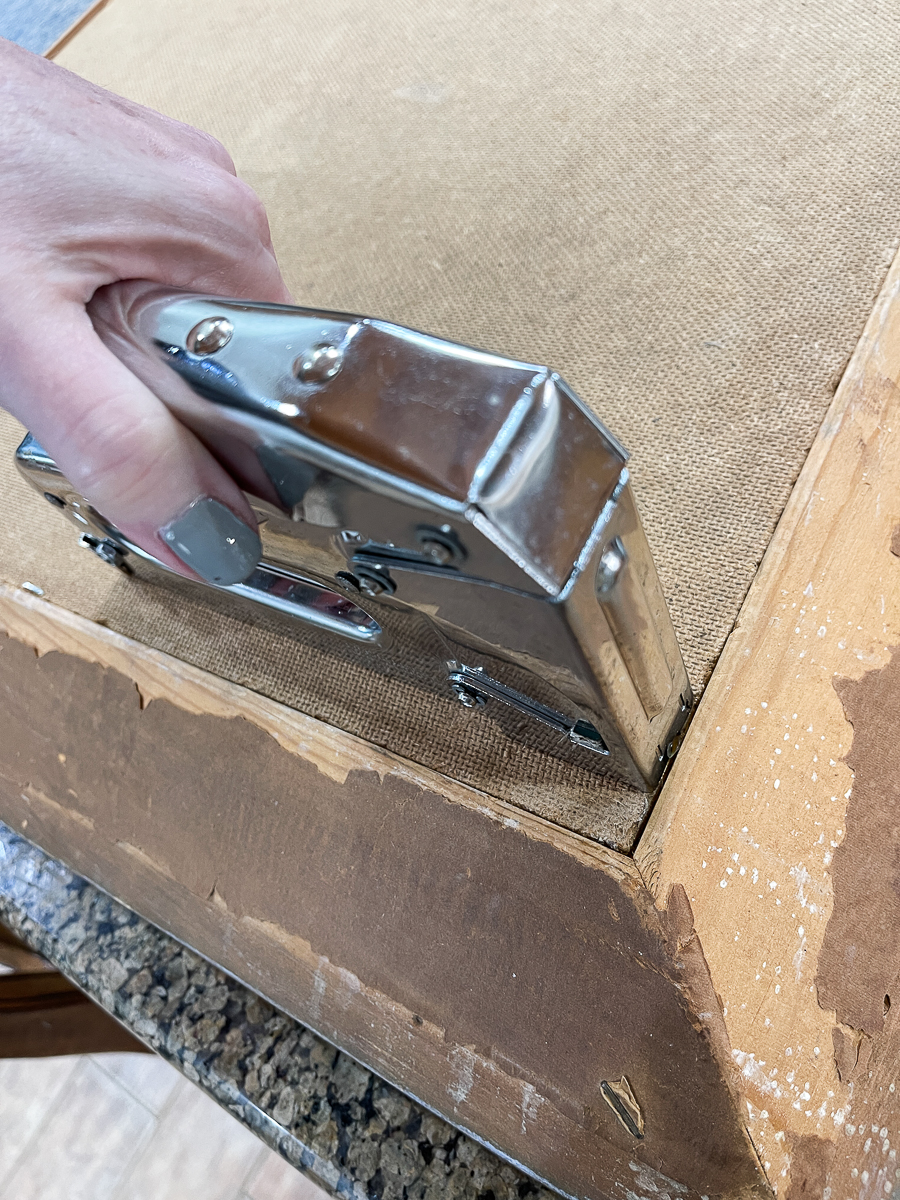
I had to remove staples on two sides to place the art in the frame. I then had to use my heavy-duty stapler to hold it in place.
I am so happy with the outcome here.
Scroll Through the Photos Below
The art that is normally in place here.
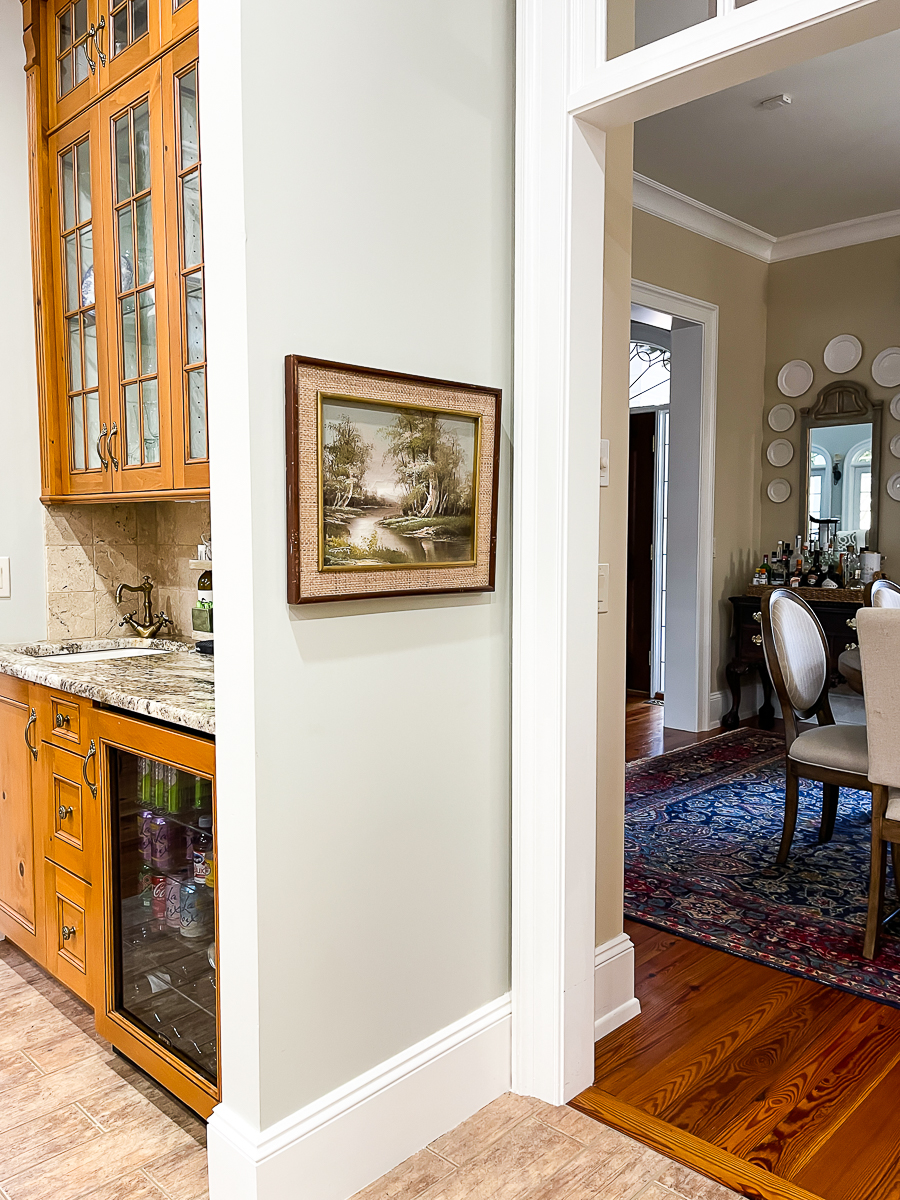
I removed another piece of thrift store art to photograph the makeover piece. I am not exactly sure where I will place it in the lake house yet but have the den in mind.
This is usually in place here. The frame has not received a makeover. If I do anything, it would be to add gold to the outer wood tone, but for now, I'm ok with it.
This is a piece of paper attached to the back. I paid $5 for this one.
More Budget Art Ideas
- Farmhouse Art Makeover
- Mini Gallery Wall
- DIY Wall Art Ideas
- Fabric Art
- Medallion Art
- European Art
- Thrift Store Art Makeover
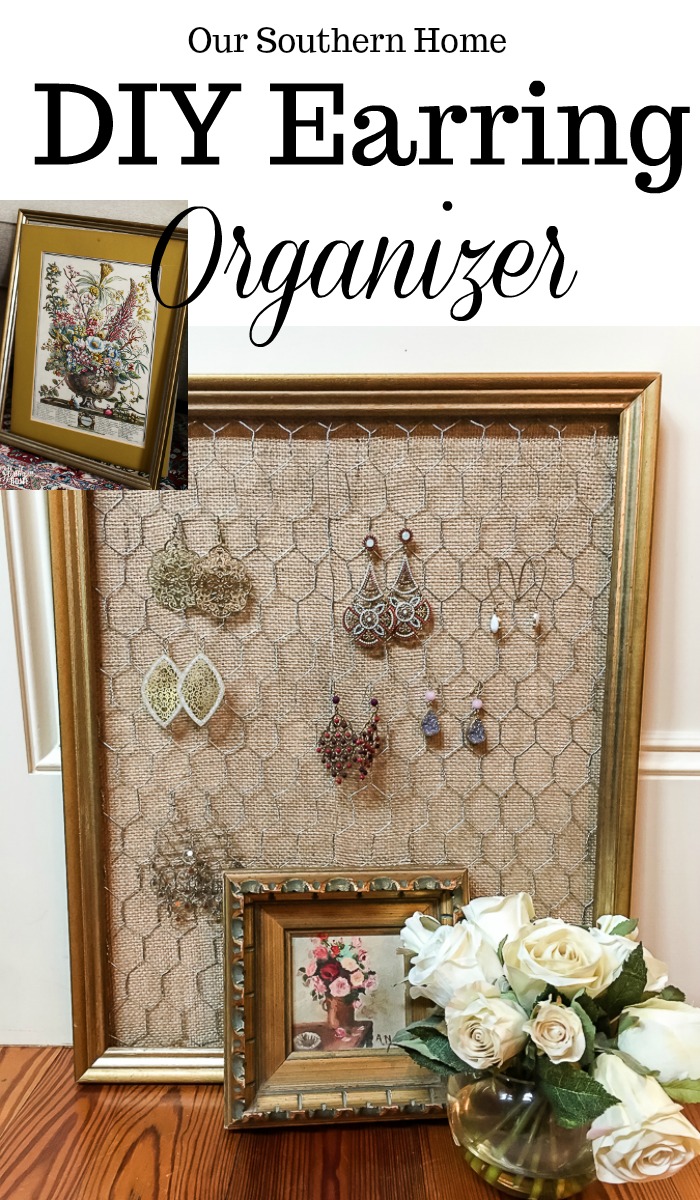
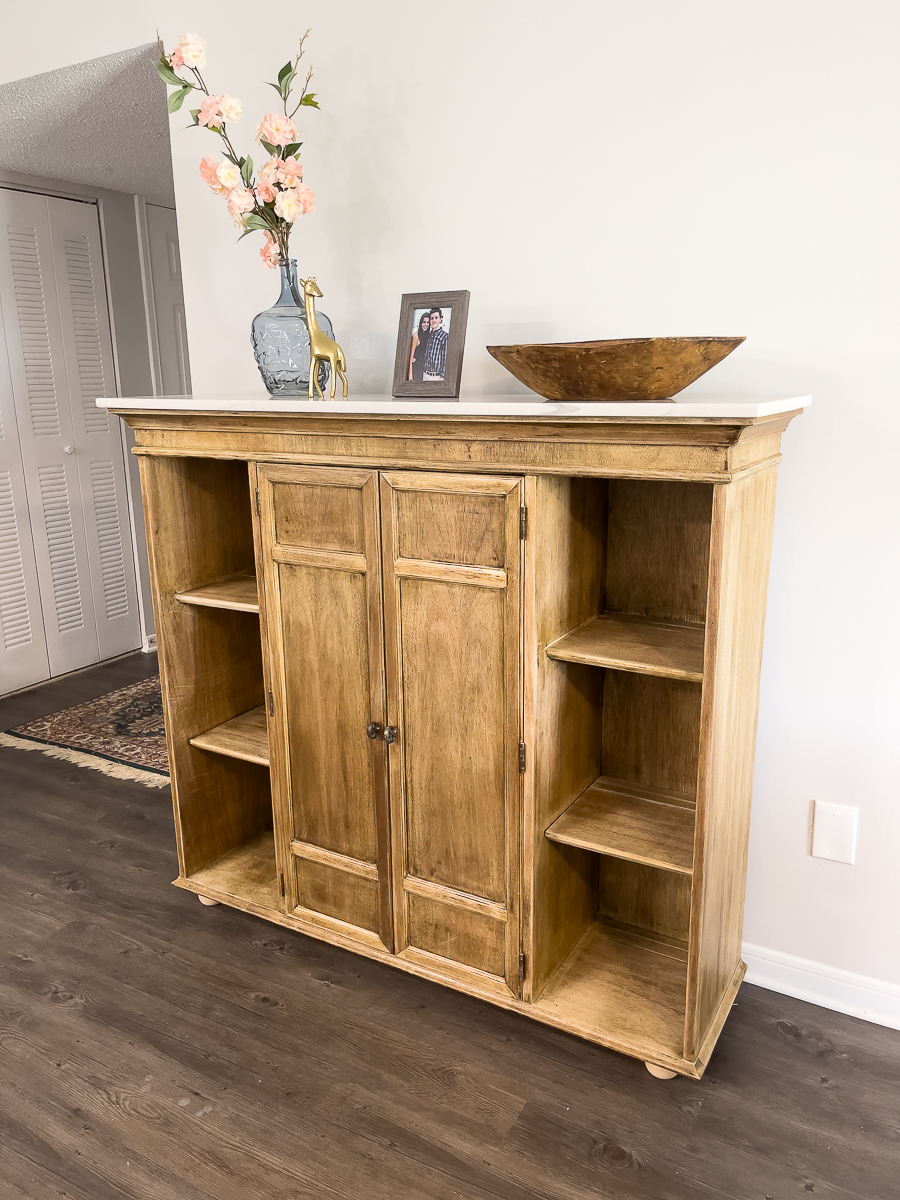
Thrift Store Team Projects
How To Hydro Dip Using Spray Paint My Uncommon Slice of Suburbia
Vintage Jewelry Projects Shop At Blu
Updating and Decorating with Thrift Store Art Our Southern Home
Get Organized With an Updated Magazine Rack My Repurposed Life
Updated Rattan Wicker Lamp Domestically Speaking
Washboard Cabinet Makeover Organized Clutter
Hanging Necklace Holder Petticoat Junktion
Wooden Sleigh for Winter Decor Sadie Seasongoods
3 Easy DIYs Reinvented Deleware

Christy has been creating content for Our Southern Home since 2012. She has been featured in numerous print and online publications. Her classic, eclectic design approach spans her home and fashion style. Christy has a way of mixing store-bought with thrift store, antique and vintage finds. As a recent empty nester, she is having fun navigating this new stage of life. Read more about Christy HERE. Be sure to subscribe below. You can also contact me HERE.
Thank you for sharing your tips. Your ideas are not only budget-friendly, but they also allow us to give new life to forgotten pieces and add character to our spaces.
Thanks so much! Thrift store decor is such a fun challenge.
Great job at pressing onward until you got the look you wanted, Christy! That second frame is gorgeous! Thanks for the inspiration! Pinned 🙂
I am *pretty sure* that you started my love affair with rub-n-buff from one of your previous thrifted art posts! It’s such a game changer and I’ll be forever in your debt for turning me onto it! Bravo!!
Now I have to play around with colored waxes on some old frames! I love how you got the second frame to really look old (in a good way)!
Christy, originally I thought you were going to completely paint the frames. It always amazes me when a little bit of paint completely transforms an item. And you did this with just a few swipes of the brush. I really like the black accent!
Awww, thanks so much! I love it when it comes together quickly!
All those layers you put on made for that gorgeous result!
Thanks so much! So glad it ended up working out!
WOW Christy, this is beautiful! Great work
Thanks so much, Kristin!!!
Loved this article. I too am a lover of thrift store art. Thank you for the ideas on updating the frames.
Thanks so very much! So glad you found it helpful!