Woodwork Update in the Family Room
This is a sponsored post written by me on behalf of FrogTape®. All opinions are 100% mine.
We built our home back in 2004. We lovingly picked out all the colors and watched with excitement as each color graced the walls. We absolutely adore our home to this day. There comes a time when things need to be repainted. You don't think of that when building a home. My thoughts were….this will last forever. It did last a long time. Back in the day oil paint was recommended by our painters for the trim and woodwork. We knew it would yellow over time, but we cared more about the durability with young kids. The trim paint has truly held up beautifully!
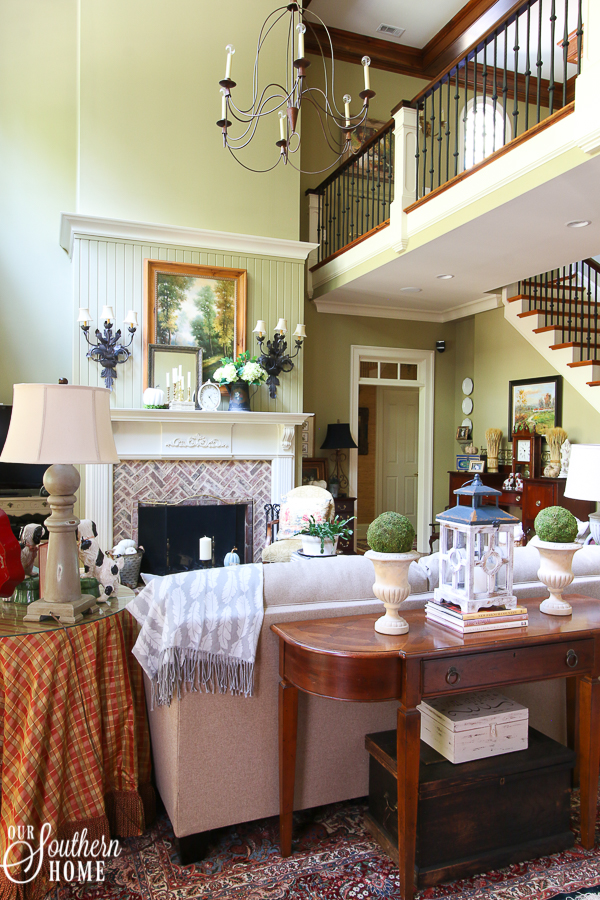
This was our original sage green paint color. I still love this color, but had grown tired of the look. The creamy white trim looked beautiful with the colors that we had selected. It was warm, inviting and felt so cozy.
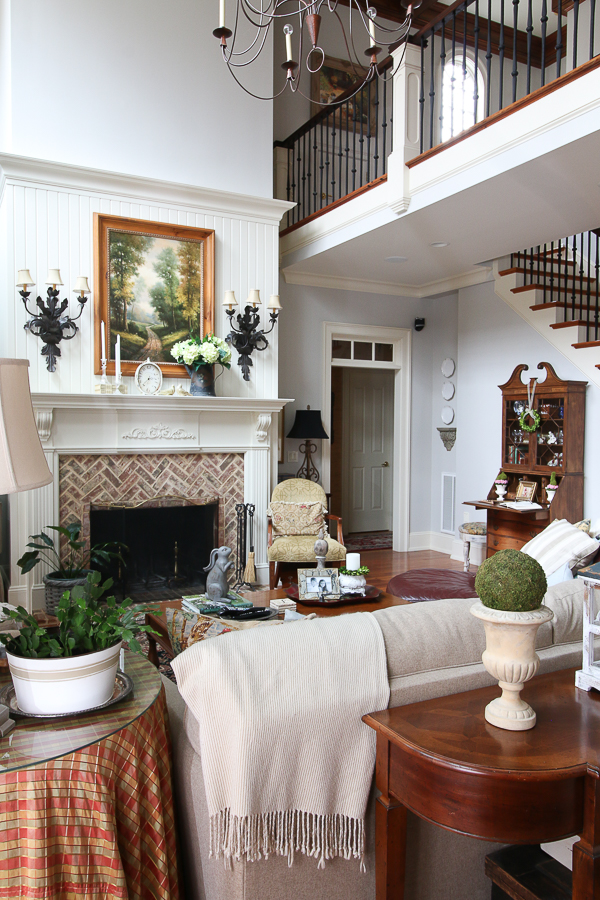
Last spring, we finally had the green changed to a neutral gray. I can't even begin to tell you how that gray transformed the space. The power of paint is amazing. While I loved the gray, I was not happy with the trim color. It was creamy and had yellowed slightly overtime. It really looked bad at night. It really turned an ugly yellow in low-light situations. I didn't want to push my need for change so I lived with the trim color for a year! I knew that this job would not be fun. If I change this family room it means changing the entire house! I've taken the plunge and I am so extremely happy with the results that I'm so motivated to keep going one section at a time!
The secret to an amazing DIY paint job is all in the prep and the tools!
Here are my steps for painting trim like a pro!
- Dust your space with dusters, rags or vacuum
- Clean the woodwork and let it dry completely
- Tape all areas up against the woodwork for a nice, clean edge
- Angled brushes are great for trim
- Use a small foam roller on areas like beadboard for quicker, smoother application
- Before the paint is completely dry, remove the tape slowly pulling the tape at an angle
- Stand back and admire your work
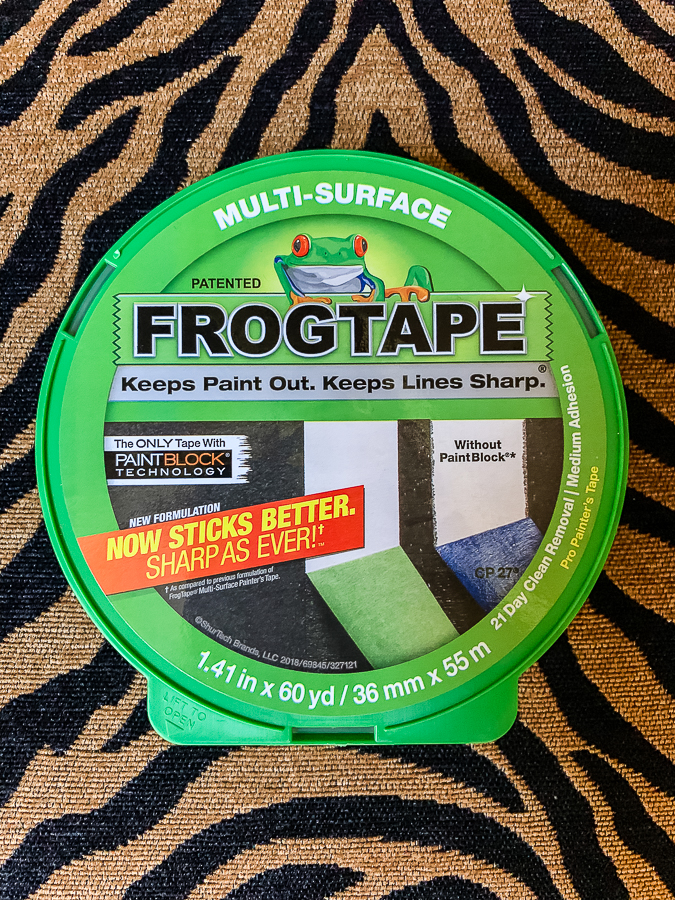
FrogTape® is my go-to when I start painting walls and trim. The secret to a professional looking job is in the prep. Take the time to prep the space. I promise you'll be pleased with the results. We remodeled our first home back in the early 90s. I really taught myself to paint back then. I actually enjoy painting. I'm slow, but that's ok because I think I do a great job! LOL! I used the green FrogTape® directly on my walls. They've been painted a year so have completely cured. FrogTape® is treated with patented PaintBlock® Technology , a super-absorbent polymer that reacts with the water in latex paint and instantly gels to form a micro-barrier that seals the edges of the tape. This prevents paint bleed and the need for touch-ups. The results are crisp, clean paint lines the first time. It is the only tape of its kind with this technology.
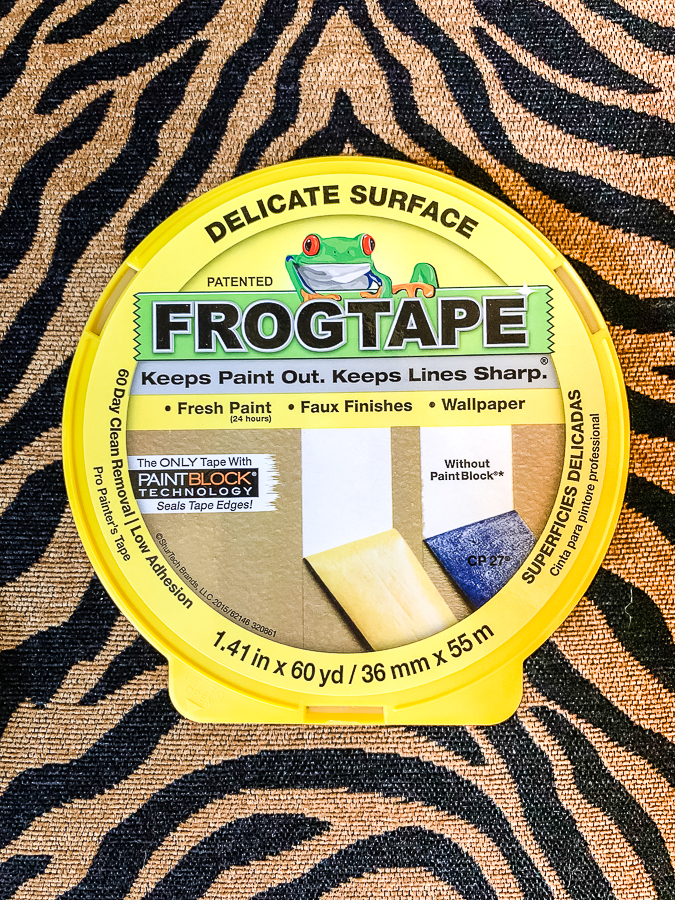
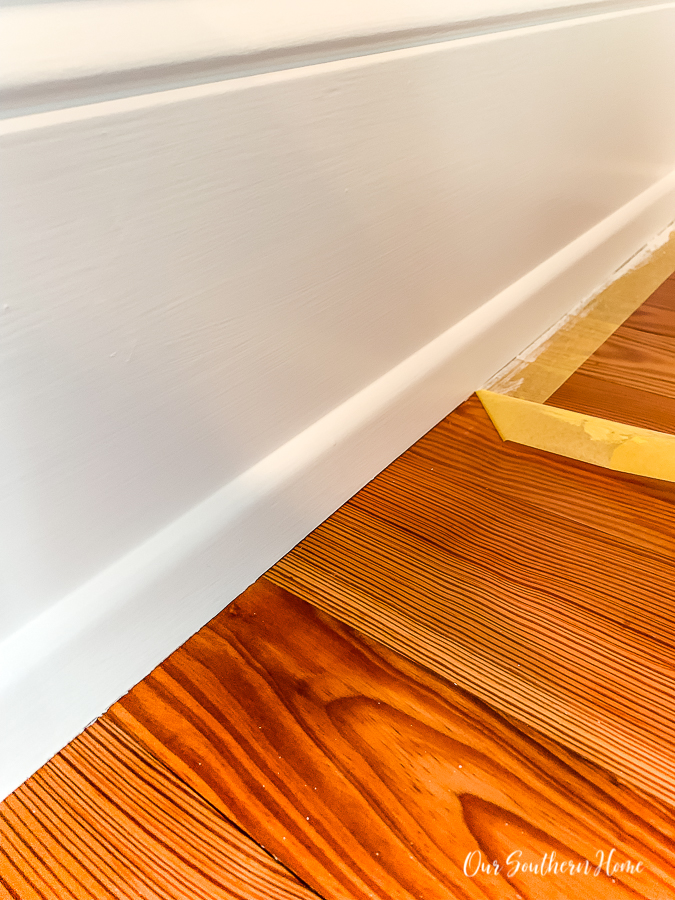
On our antique, heart pine wood floors, I used this yellow FrogTape®. FrogTape® Delicate Surface Painting Tape is best for use on finished wood, fresh paint (dry to the touch), wallpaper, veneer, laminate, vinyl and drywall (primed only). Both tapes grave me a nice, clean look when removed.
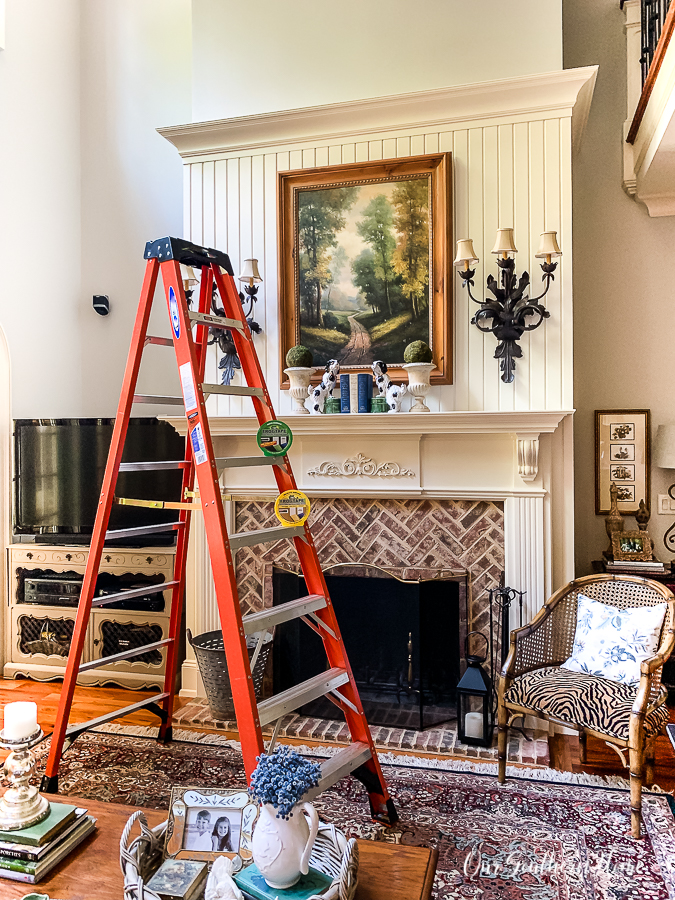
It was cloudy when I started prepping and painting. You can really tell the yellowness of the cream here.
I was literally giddy with excitement as the first coat went up! I did 2 coats drying completely between coats.
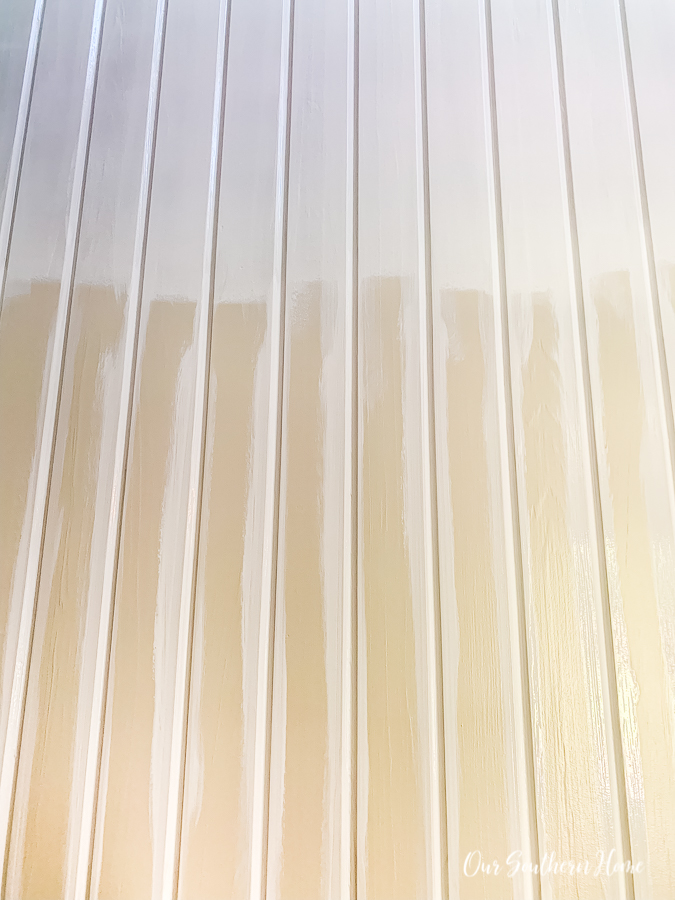
When painting the beadboard, I brushed the groves then go back and roll on the paint with a small, foam roller.
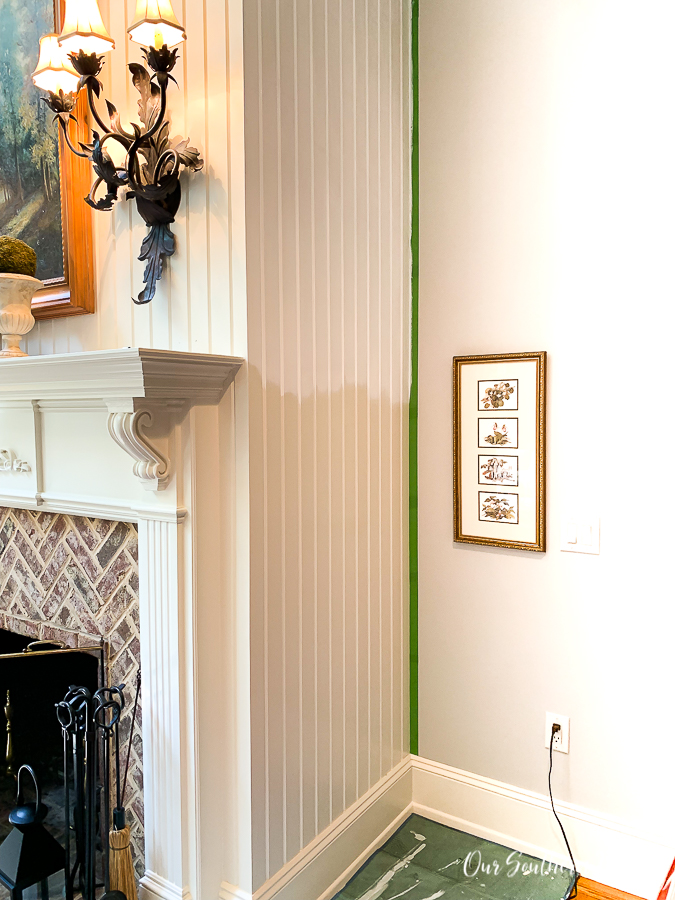
You can see here that the green tape is on the walls and the yellow is along the hardwood floors.
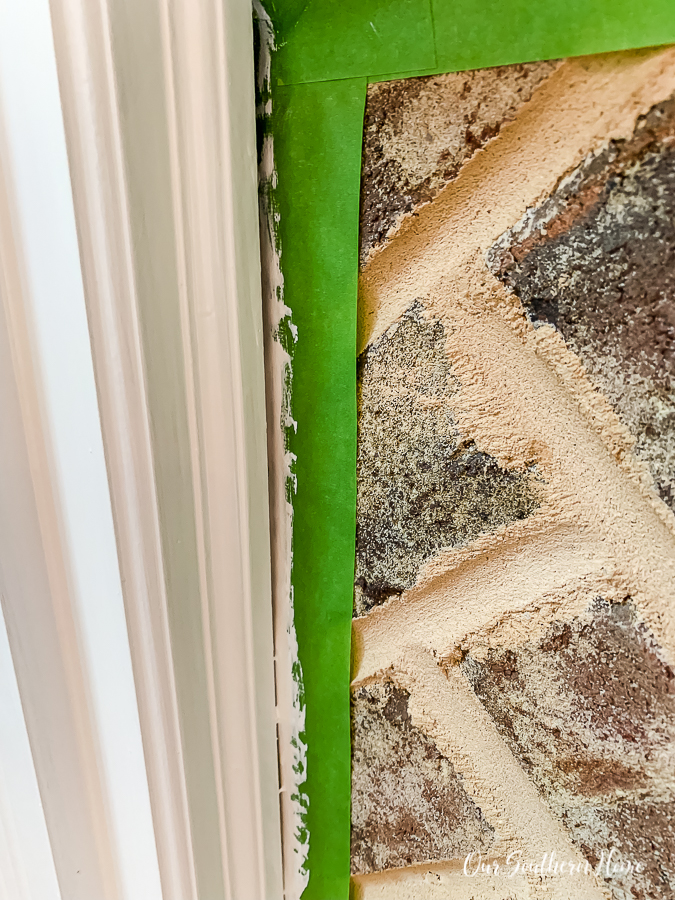
I used the green tape along the brick fireplace surround. It really stuck well to the brick and gave me a crisp edge.
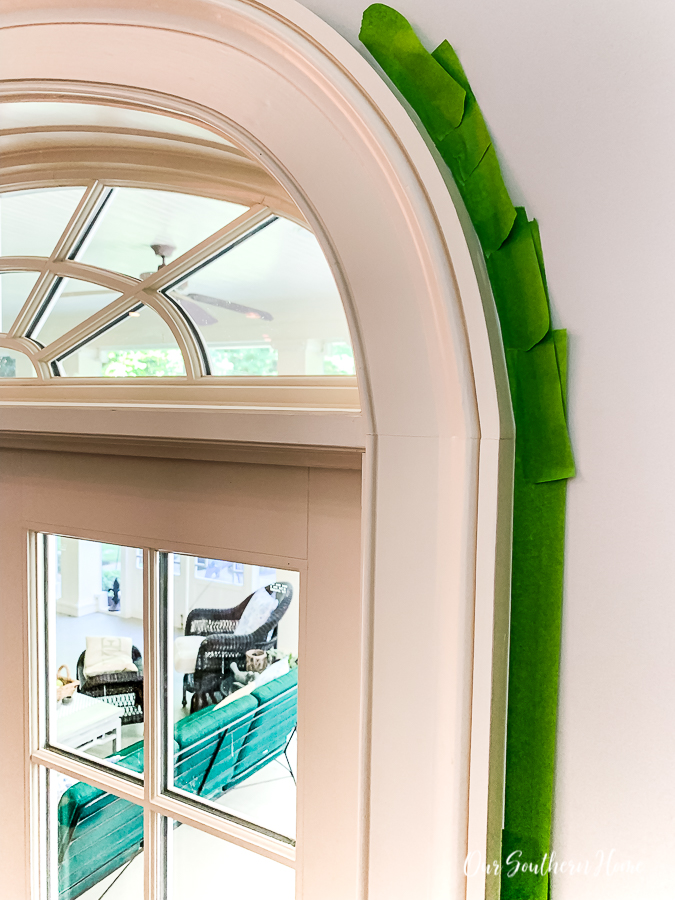
When trimming along the arch, I just cut smaller strips to make the arch.
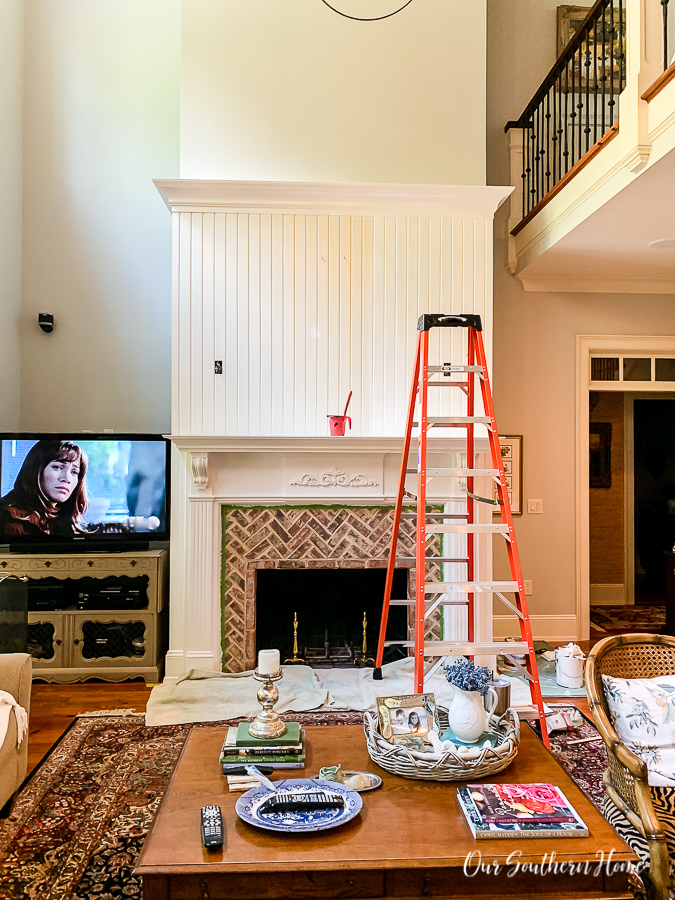
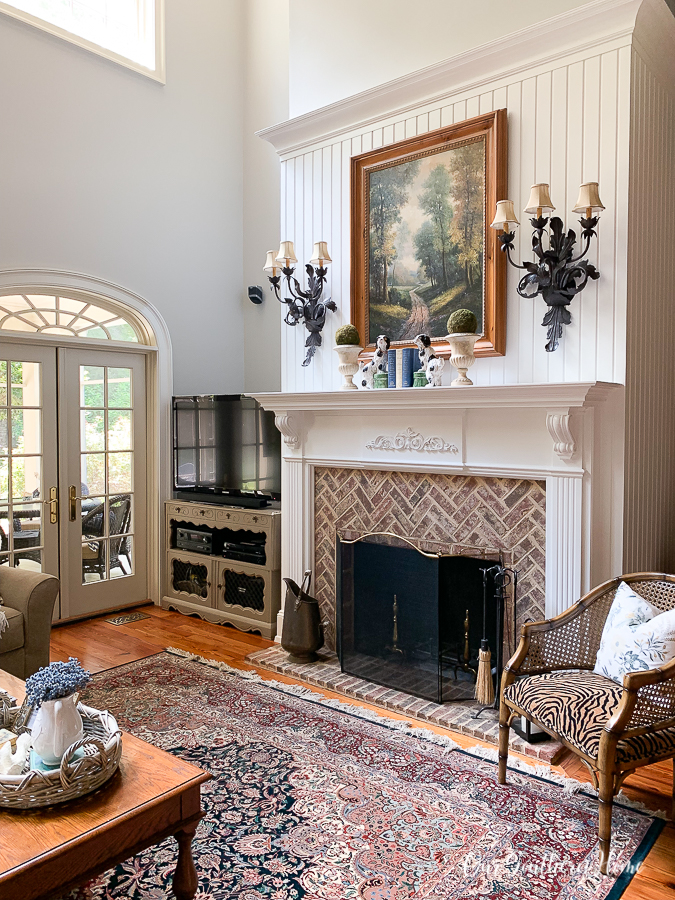
I removed the sconces to make the job easier and more professional. You can really tell that I've got the white paint on the right side of the mantel.
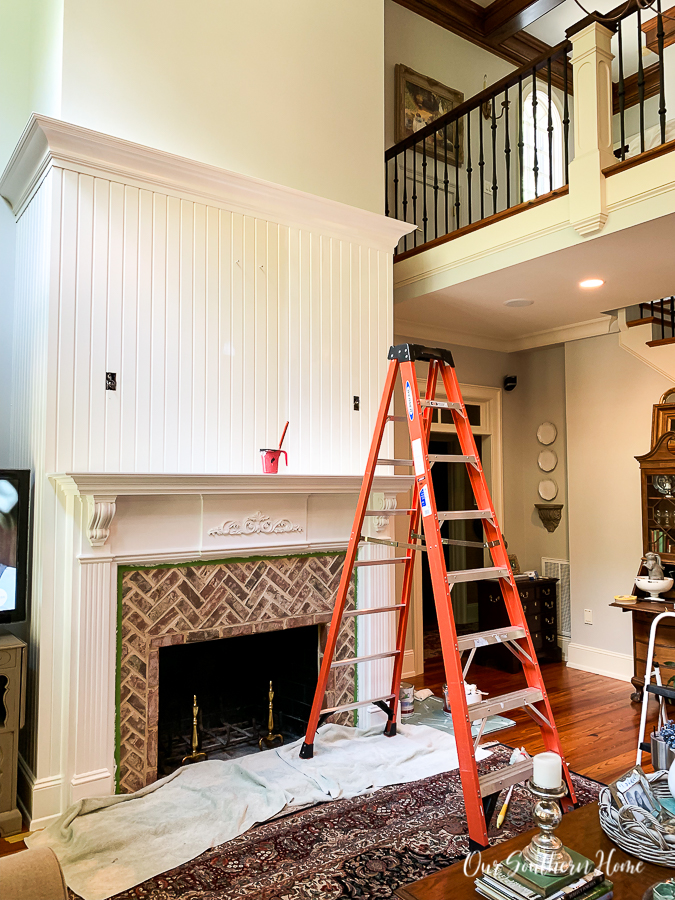
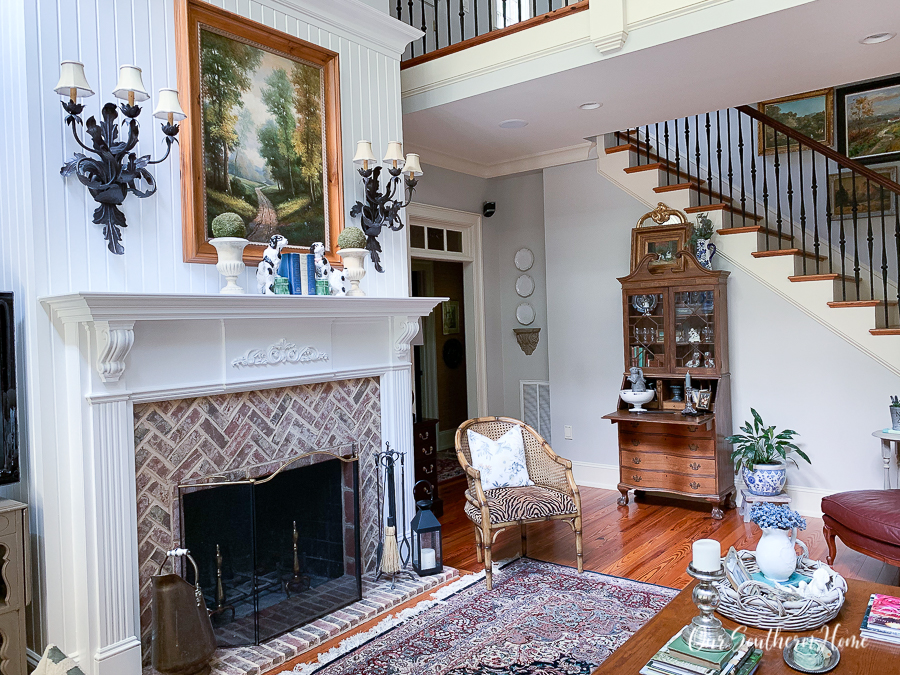
Look at the staircase. You can really tell the difference in the trim there.
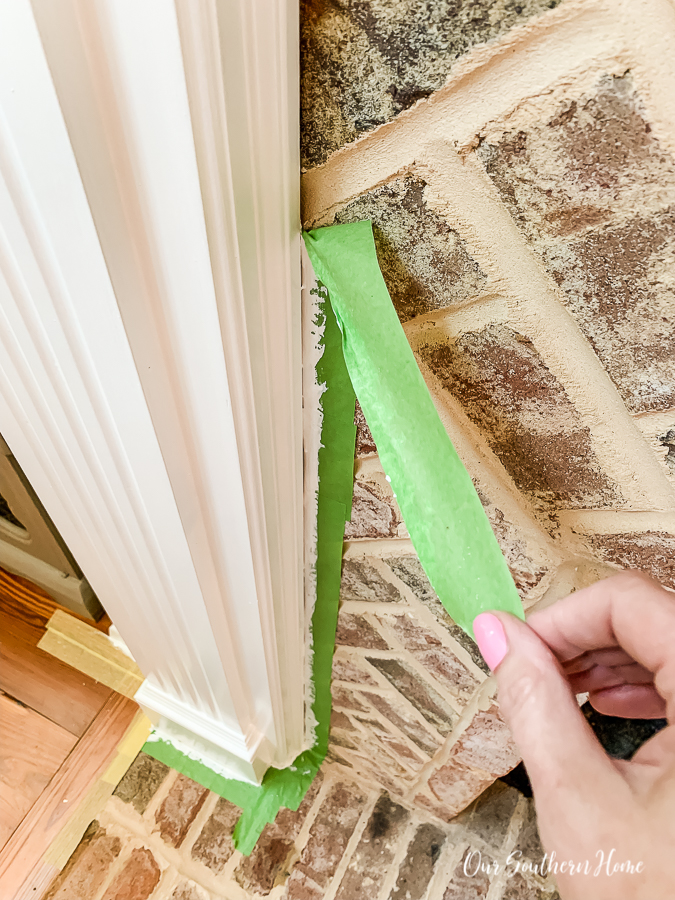
When finished painting, remove the tape slowly on an angle.
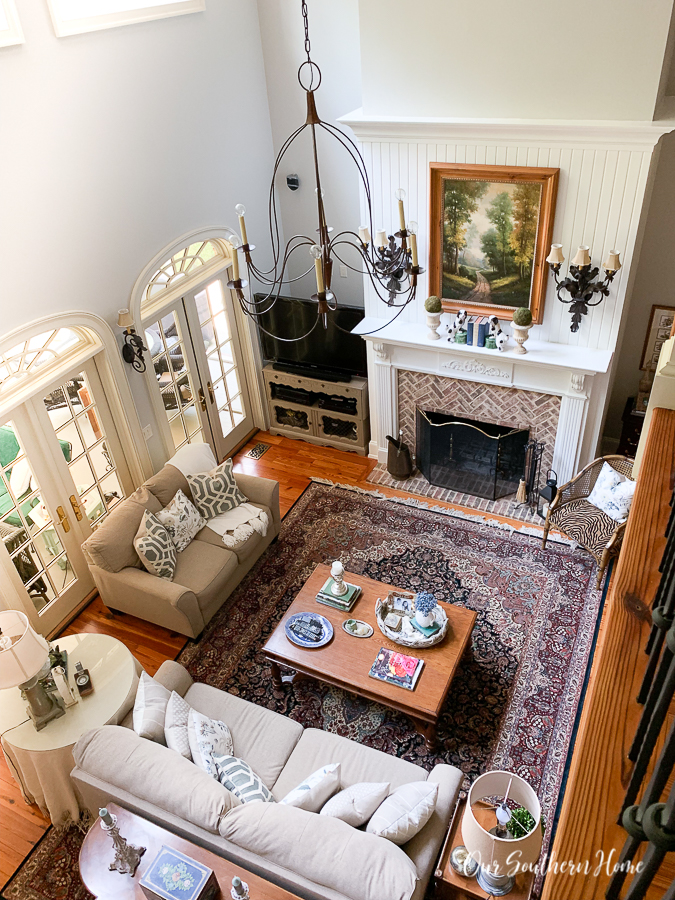
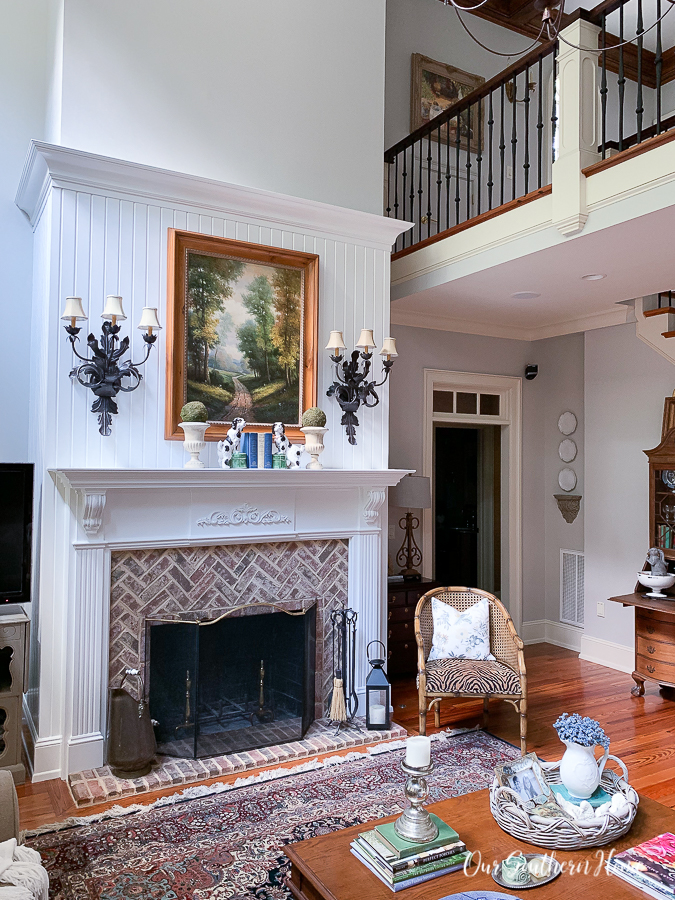
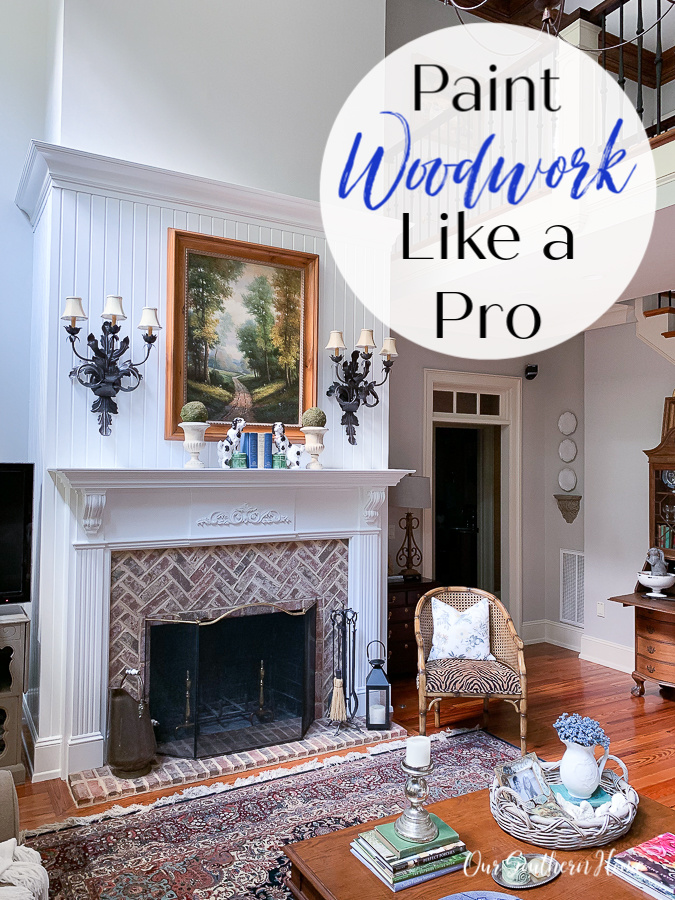
What a difference in the mantel! I absolutely love the fresh, new look of the white paint.
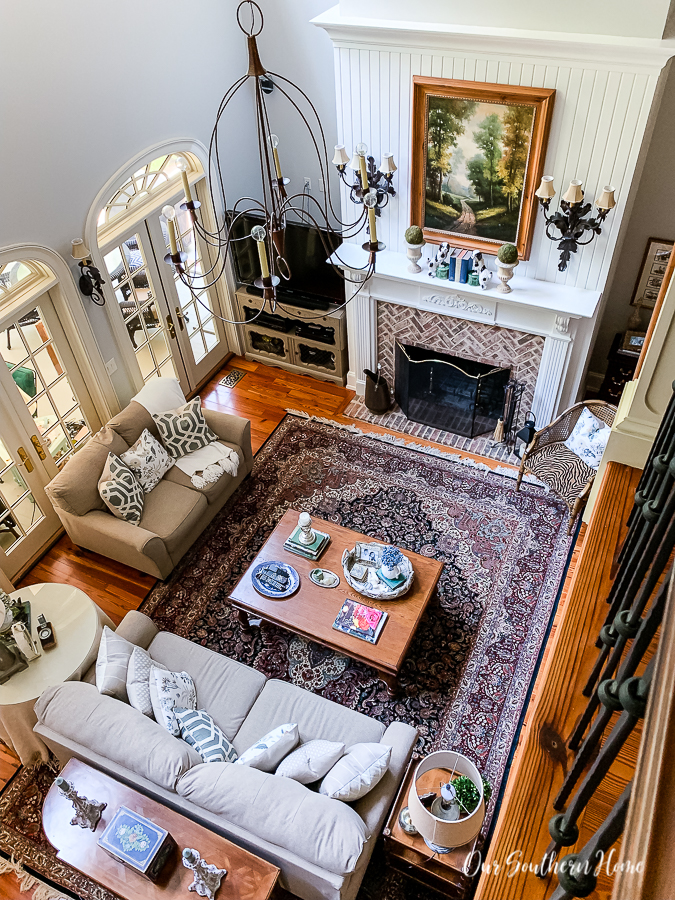
Of course, I have the entire room to go! I've decided to do the room in stages. That wall of French doors and the staircase will not be fun, but breaking it down into small parts will help me get it done.
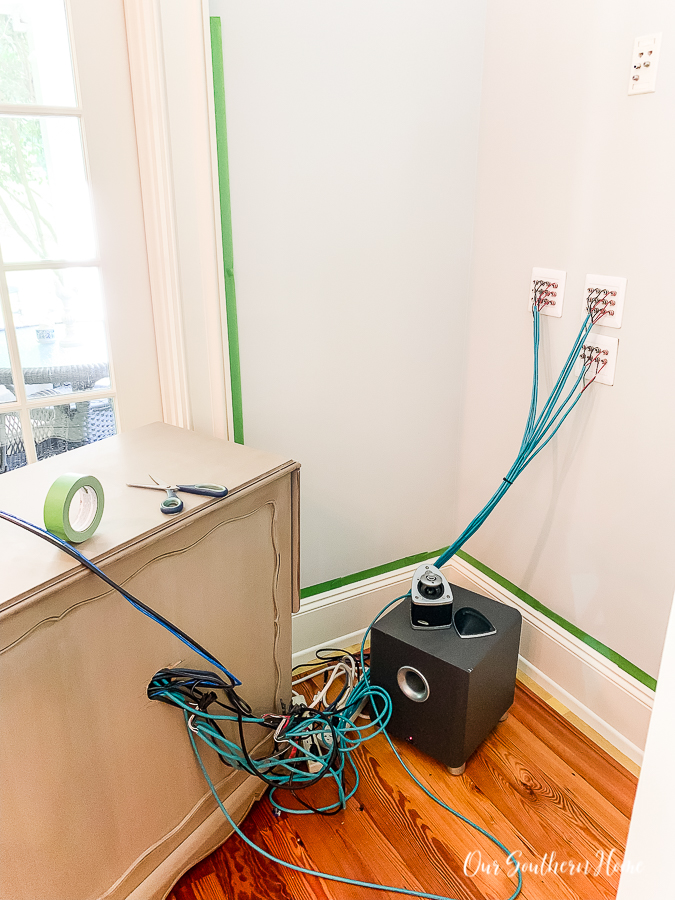
If you look closely at that French door, you'll notice that I've just done that one side by the TV. I wanted to get that done so I wouldn't have to move the TV cabinet again. I'm going to three sets of doors one at a time completely.
My next seasonal home tour is in September so I have a hefty goal of finishing it by then! I've got my fingers crossed!

I love how the frame of the oil panting really stands out against the white. I let the paint cure 3 full days before adding the items to the mantel and rehanging the art and sconces.
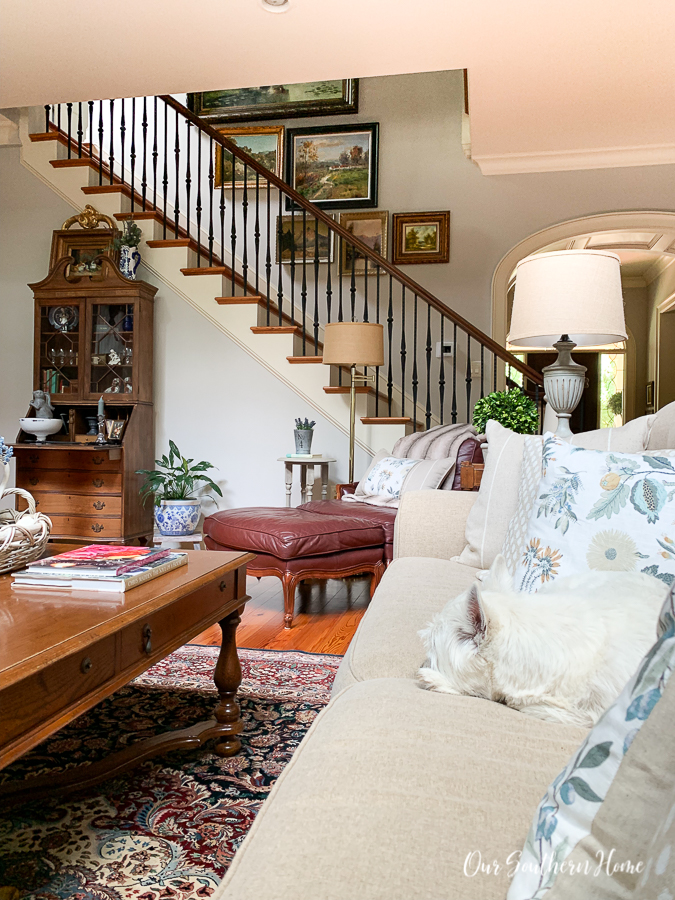
Bentley offered great moral support while I worked! I hope you are inspired to start your next painting project! What are your plans? I'd love for you to share them in the comments below. 
Be sure to visit FrogTape®!


That is QUITE a job to undertake, but you are fortunate to have so much beautiful molding! Is this your original fireplace and surround? It’s lovely and we will be moving soon to a home that has 2 70’s fireplaces that in serious need of a redo! Wondering if you had a tutorial for this one. Also, is the stairway railing original, or do you have a project post for that? New home also has 70’s stairs, haha! Lots of projects to come!
Thanks so much, Donna! Everything is original. We built in 2004. Our last home was a 70s remodel that we had a blast doing….it was before blogging, but I sure would have had a lot of DIY projects from that one!! Have fun!
Absolutely beautiful! I love those crisp, clean lines.
Thanks so very much!!! We are enjoying the brighter look!
Love the trim and the grey. Can you share the color brand and name of both??
Thanks so much!!! The walls are Agreeable Gray by Sherwin williams and the trim is Simply White by Benjamin Moore!
You have a beautiful home and I love that mantle. The grey and white trim gives it a fresh look and makes your home look so much brighter, it also looks nice with the color of the hardwood floors.
Thanks so very much! It’s an ongoing process, but loving the results!
Love it Christy! What trim color did you use?
Your home is beautiful! We are building soon and I want a soft warm (but not to creamy) white for the trim, cabinets and doors. What color did you use? Also, I know the painter will be using Sherwin Williams brand. What type of paint would you recommend? I don’t want to have to deal with yellowing paint either down the road, and I know water base paints have come a long way.
Thanks so very much! I used Simply White a Ben Moore color. for my trim and door update. I swear by Advance by Benjamin Moore in satin finish!
I think the white trim is perfect. You said that the original paint was oil based. Did you use oil again this time or did you switch to latex? Looking forward to seeing the home tour in September.
Thanks! Since the original paint was oil, I had to prime the trim first. I used Advance by Benjamin Moore. It’s also on my cabinets. It’s an amazing product. It has a oil properties but with water clean up. It’s the best trim paint I’ve ever used!
Christy I love it and it does make the oil painting pop. You are so right. The prep with painting makes a difference. No one likes it but in the end the best way to go.
Enjoy your day
Cindy
I absolutely love your home. The white looks great!
I love your home and the white looks amazing.
It looks amazing ! What paint did you use for the trim? Did you have to sand and prime first?
Thanks! I did not sand….only prime first. I use Ben Moore Advance line in satin finish in Simply White.