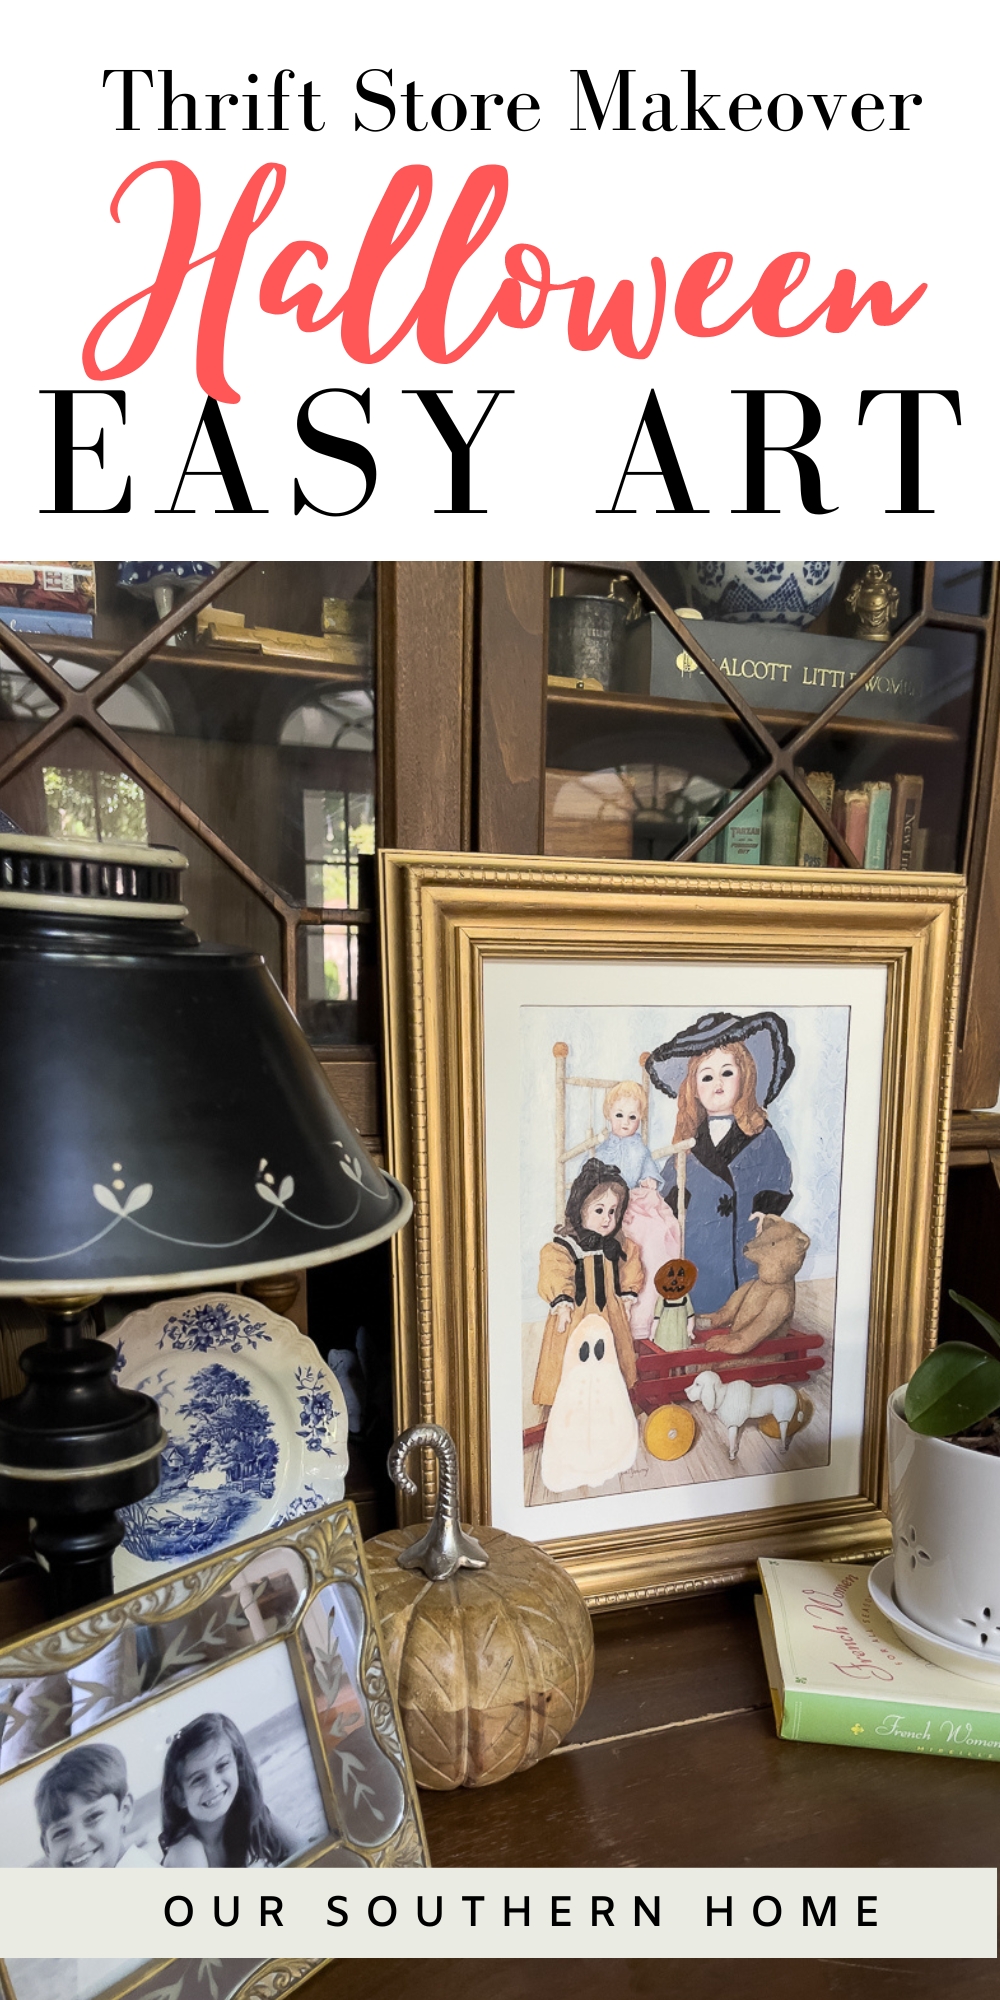
DIY Halloween Art Using a Thrift Store Framed Print
Make this easy DIY Halloween Art Using a Thrift Store Framed Print in an afternoon using acrylic paints, Mod Podge, and Rub ‘n Buff.
Latest from OSH
- How to Make Piña Coladas in an Ice Cream Maker
- Saturdays on the Porch #86
- Saturdays on the Porch #85
- Easy European Wall Art with Thrift Store Frames
- Piano Bench Makeover with New Color and Fabric
This post may contain affiliate links. If you purchase something using one of my links, I may earn a small commission from the retailer costing you nothing more. You can read more on my disclosure page. Christy Little of Our Southern Home is a participant in the Amazon Services LLC Associates Program, an affiliate advertising program designed to provide a means for sites to earn advertising fees by advertising and linking to amazon.com.
DIY Halloween Art Using a Thrift Store Framed Print
Thrift Store Makeover Day
Join us each month for NEW thrifty ideas from the team. You'll find links to all of the projects below.
Use the slider below to see the before and after!


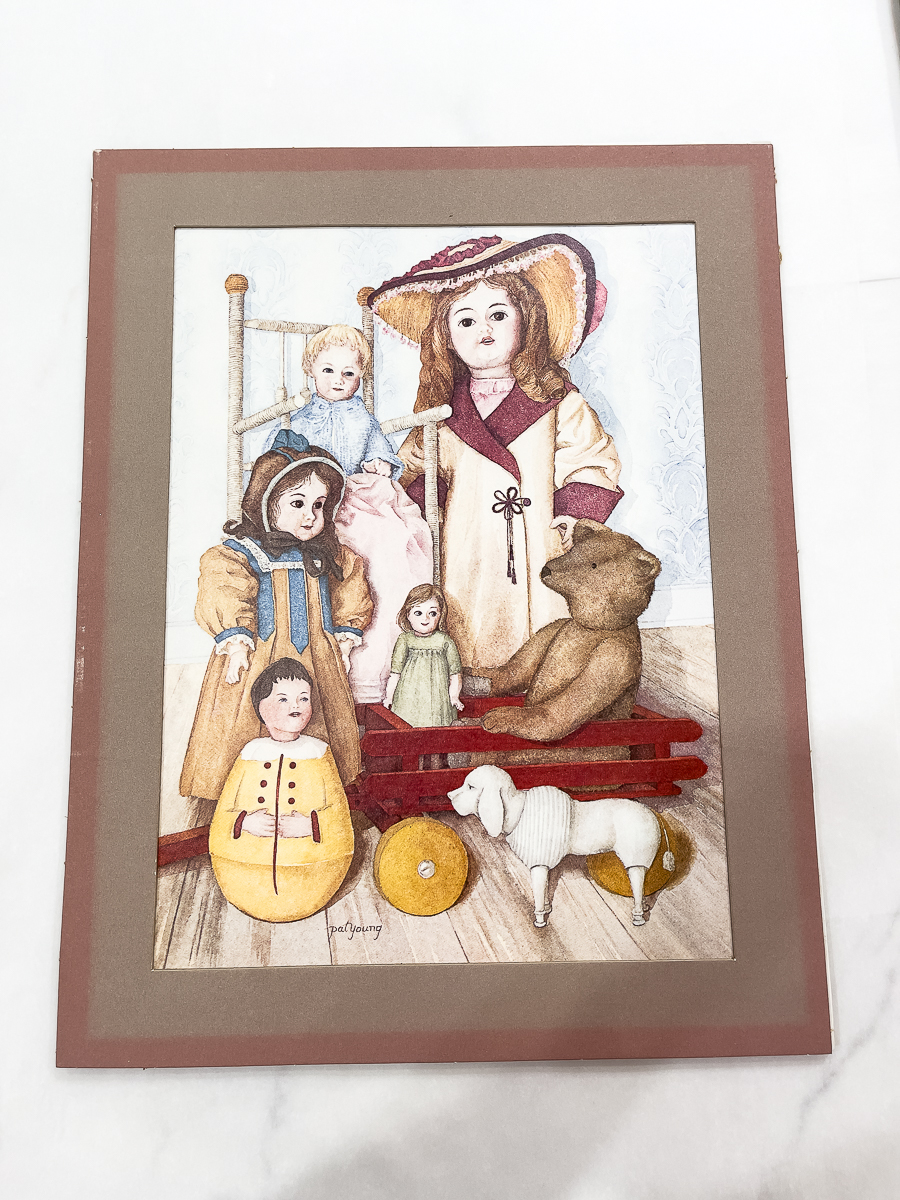
Years ago while visiting local thrift stores, I discovered a framed print that sparked my creativity. It's been in my stash for a while. I decided to use it as the base for a DIY Halloween art project! If anything, the frame itself was worth the $2.99 price tag. I love finding an old painting that I can bring new life to the frame. This find was so much fun with the children and toys that I knew I could give it a spooky touch with little effort. I didn't come up with this idea solely on my own. I've seen several Tik Toks and Instagram reels with similar things done to thrift store paintings. Those platforms are addictive for fabulous ideas.
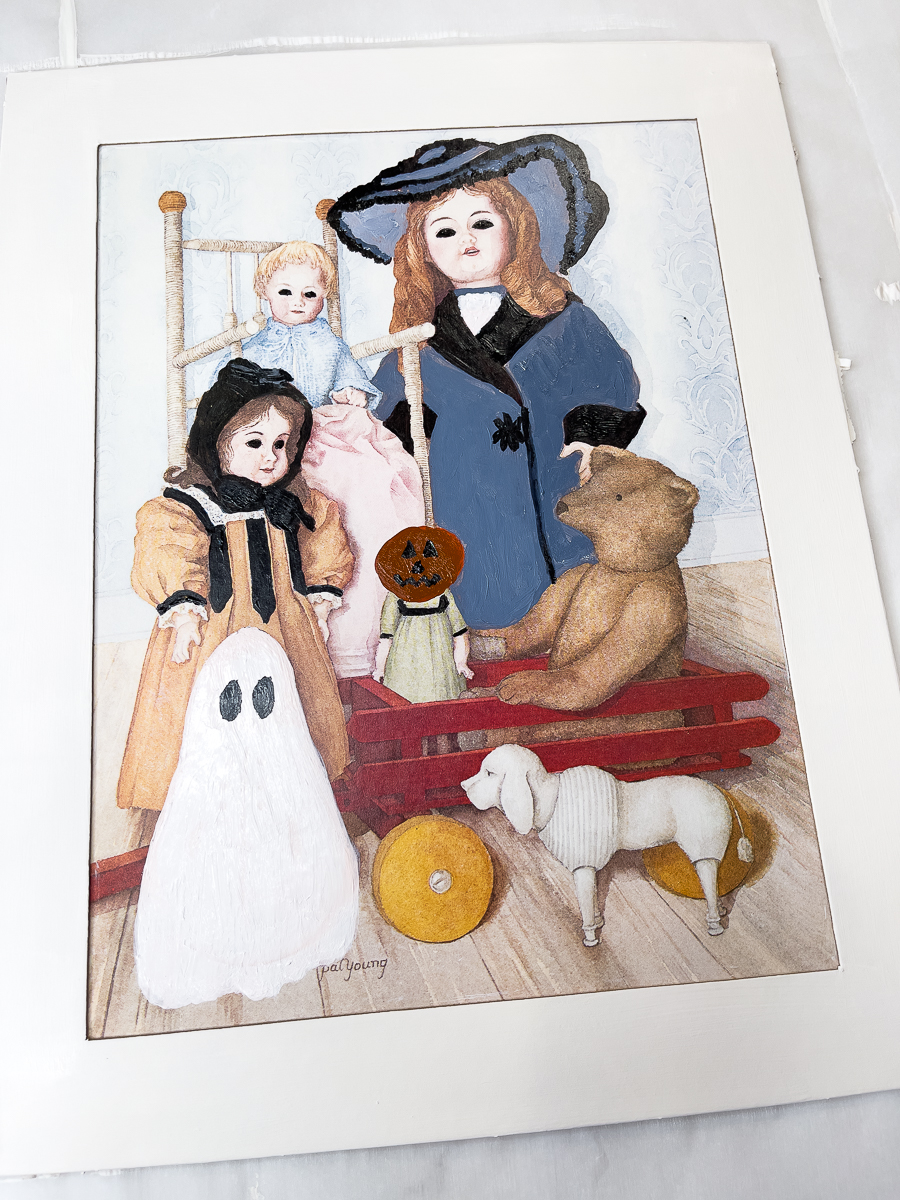
The Before
Thrift shops, flea markets, and even garage sales are fantastic spots to discover unique vintage frames. However, seldom do I come across a thrift store frame that truly has artwork worthy of keeping. I'm usually just on the lookout for a good frame.
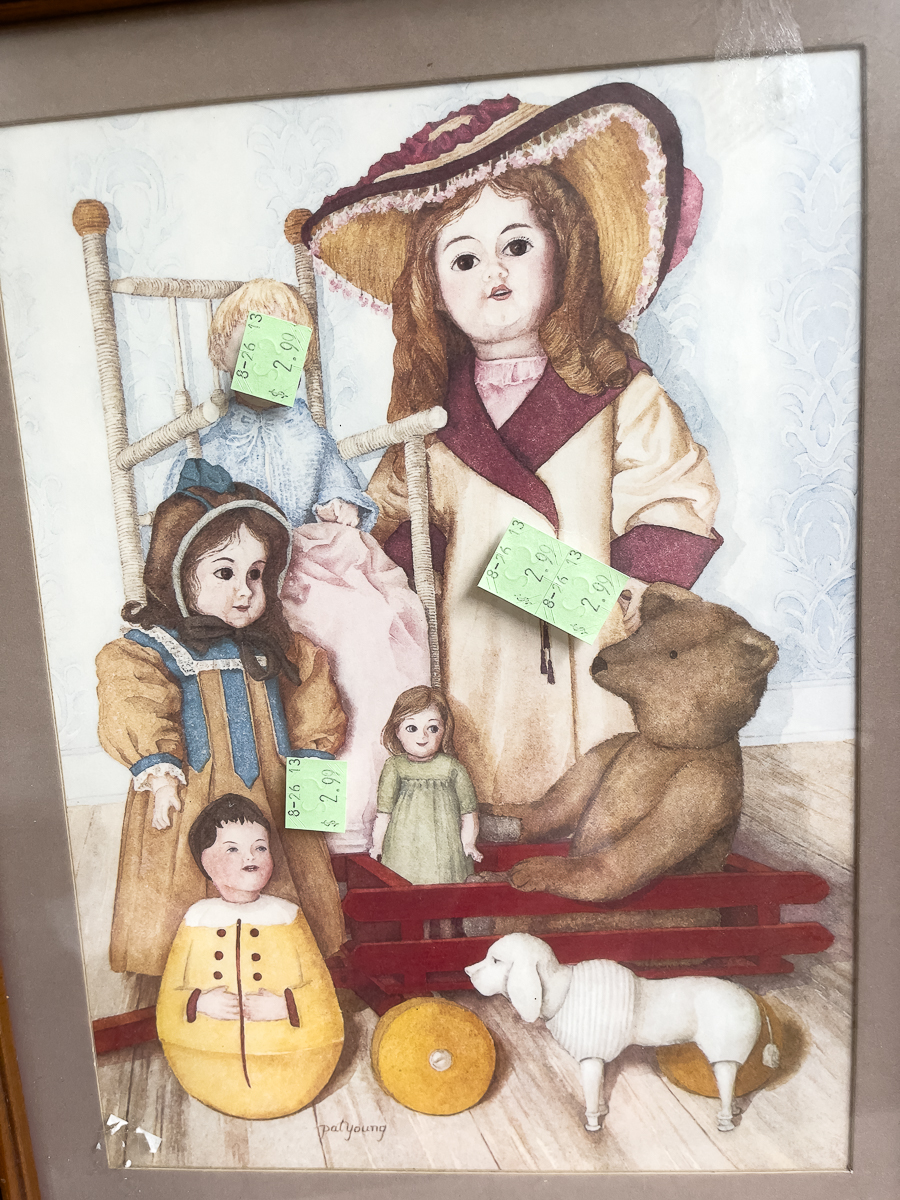
Upon a closer look at the art, I realized that the print was the perfect candidate for a friendly ghost and Halloween vibe! Nothing says Halloween decor like creepy children and haunted toys. Ha, ha!
With a little paint strategically placed here and there, I knew that I could come away with some quick and cheap art that would be perfect for decor or even a Halloween party.
Supplies Used
- Thrift store art
- Rub ‘n Buff in Antique Gold
- Optional gold spray paint (instead of Rub ‘n Buff)
- acrylic white paint
- Acrylic paint set
- Mod Podge
- screwdriver to remove staples
- paint brushes
- paper towel or rag
How To Create the Look
Here are the simple steps to create your own Halloween art.
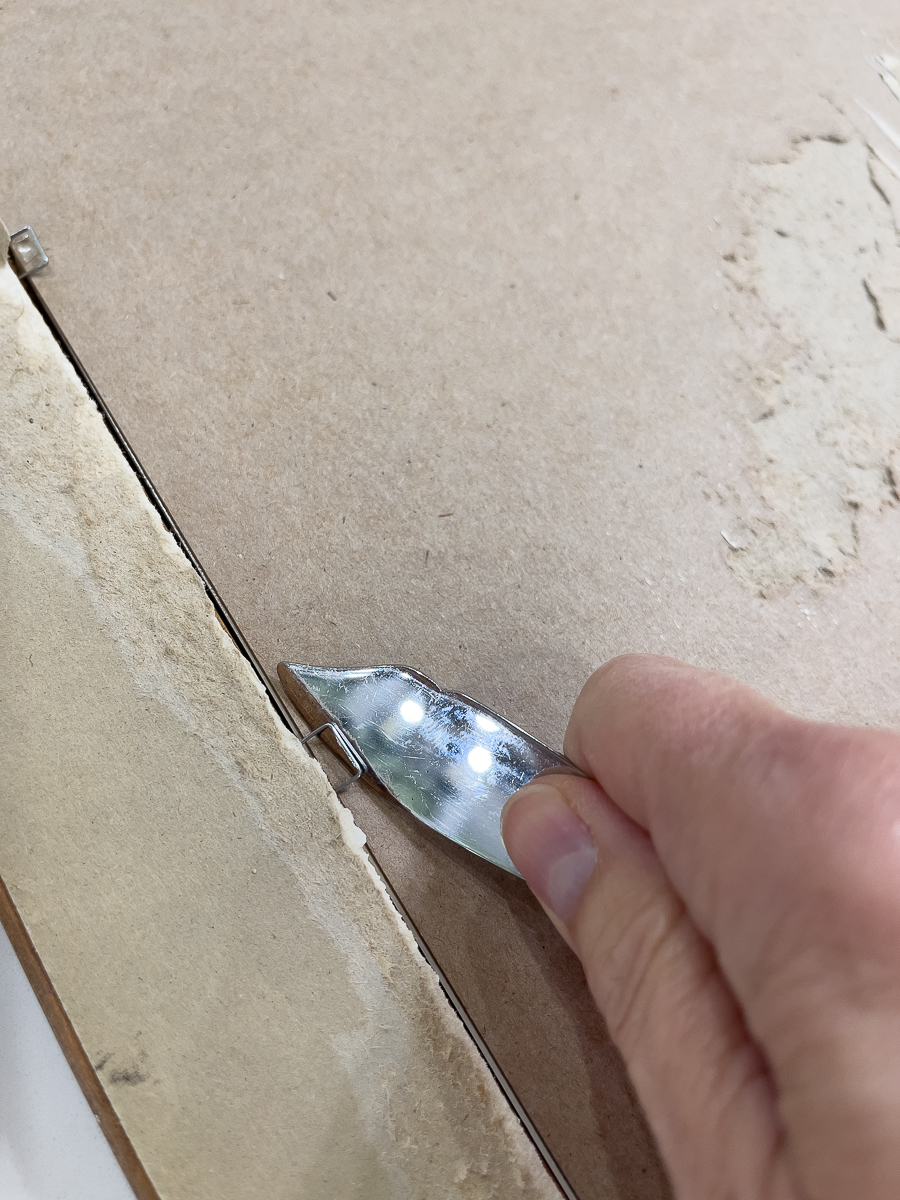
The first thing that you want to do is remove any paper backing and staples holding the art into the thrift store picture frame.
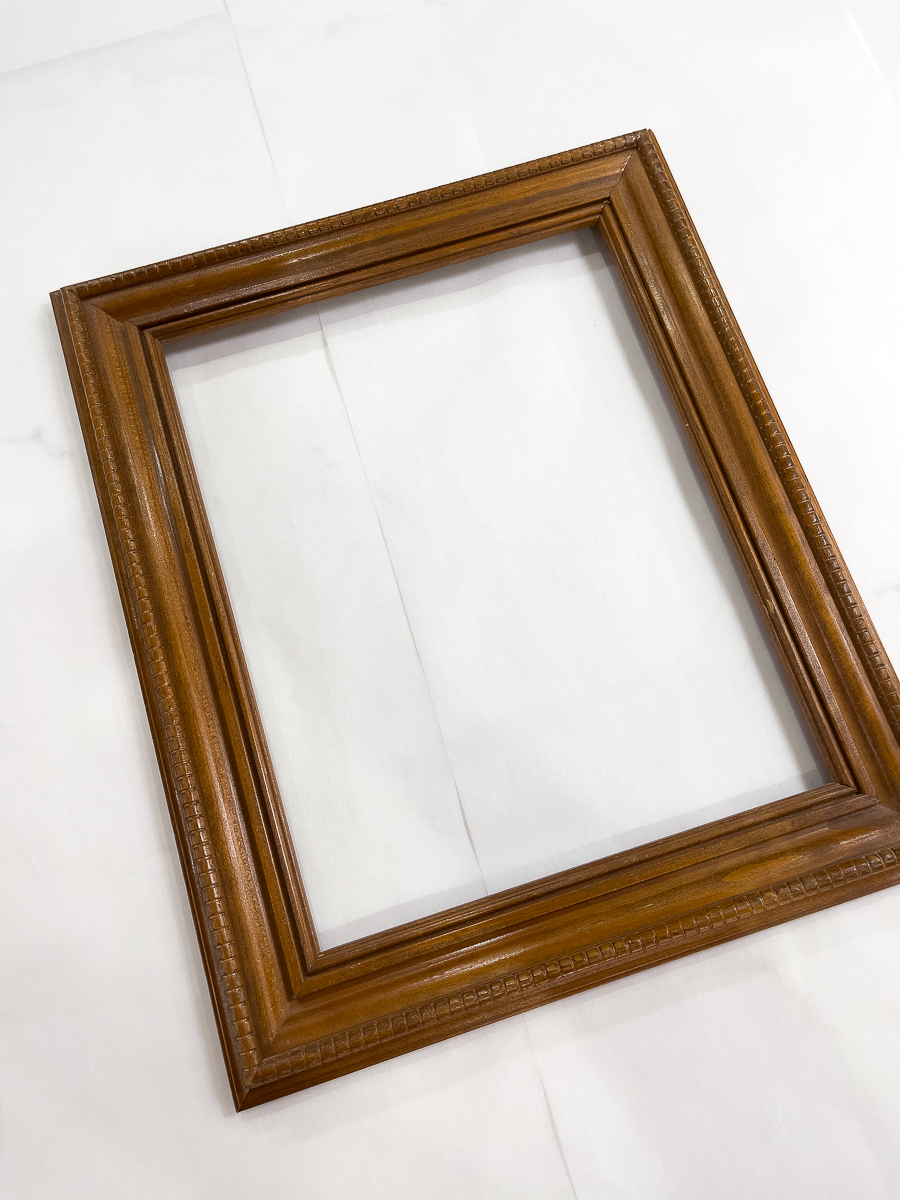
Even if you use the Halloween art for a party, you can always remove it later and you have a fabulous frame for another project. This one has really great detail. The plain brown color is just too dated for me.
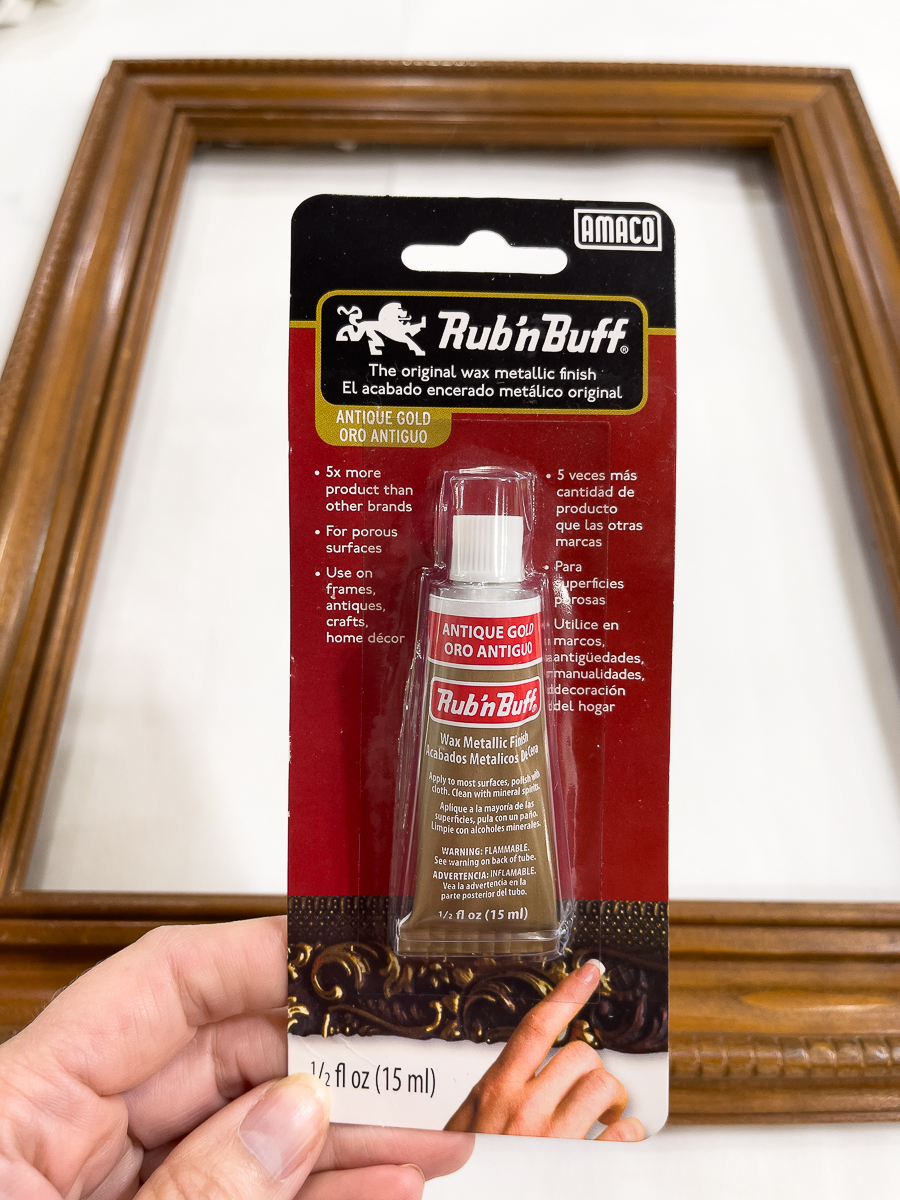
The next step is to clean the frame of dust and dirt. I used Rub n' Buff to brush and rub the paint in with a towel. Antique gold is my favorite. Read the application instructions on the packaging. It's a very simple product with great results. You could also spray paint the frame gold.
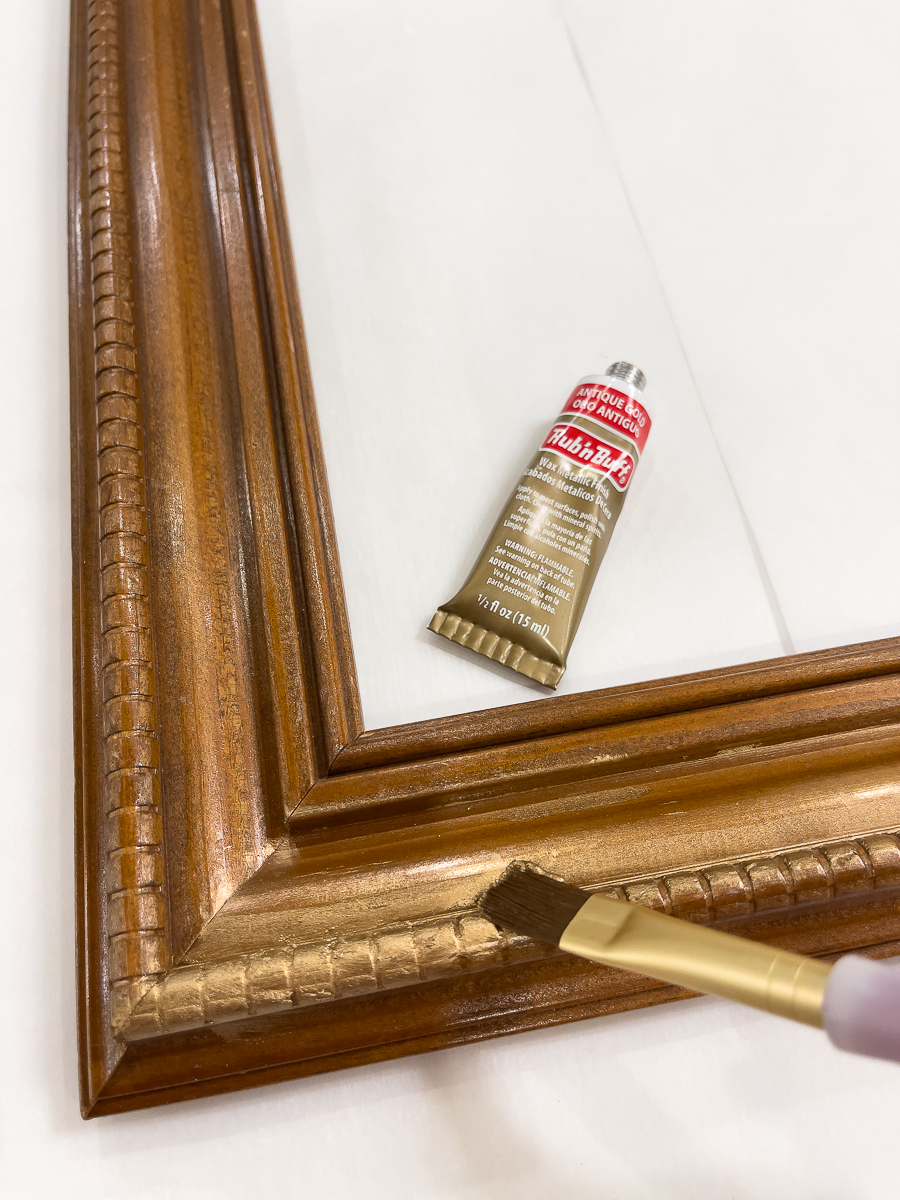
I typically brush it on and wipe it as needed with a towel or rag.
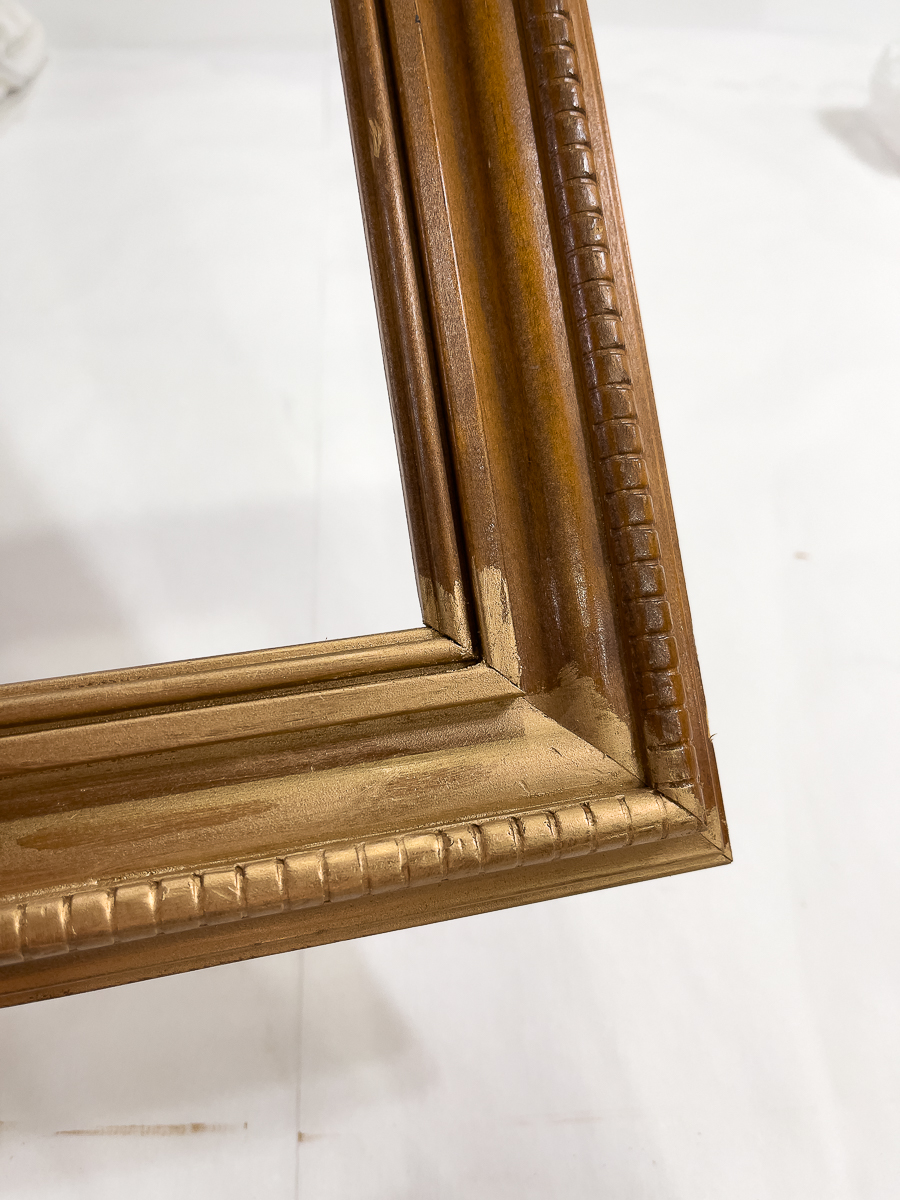
I only applied 1 coat.
The matt was attached to the print. I carefully painted the matt with white acrylic paint. I prefer to use flat wall paint, but I didn't have any. This worked just fine!
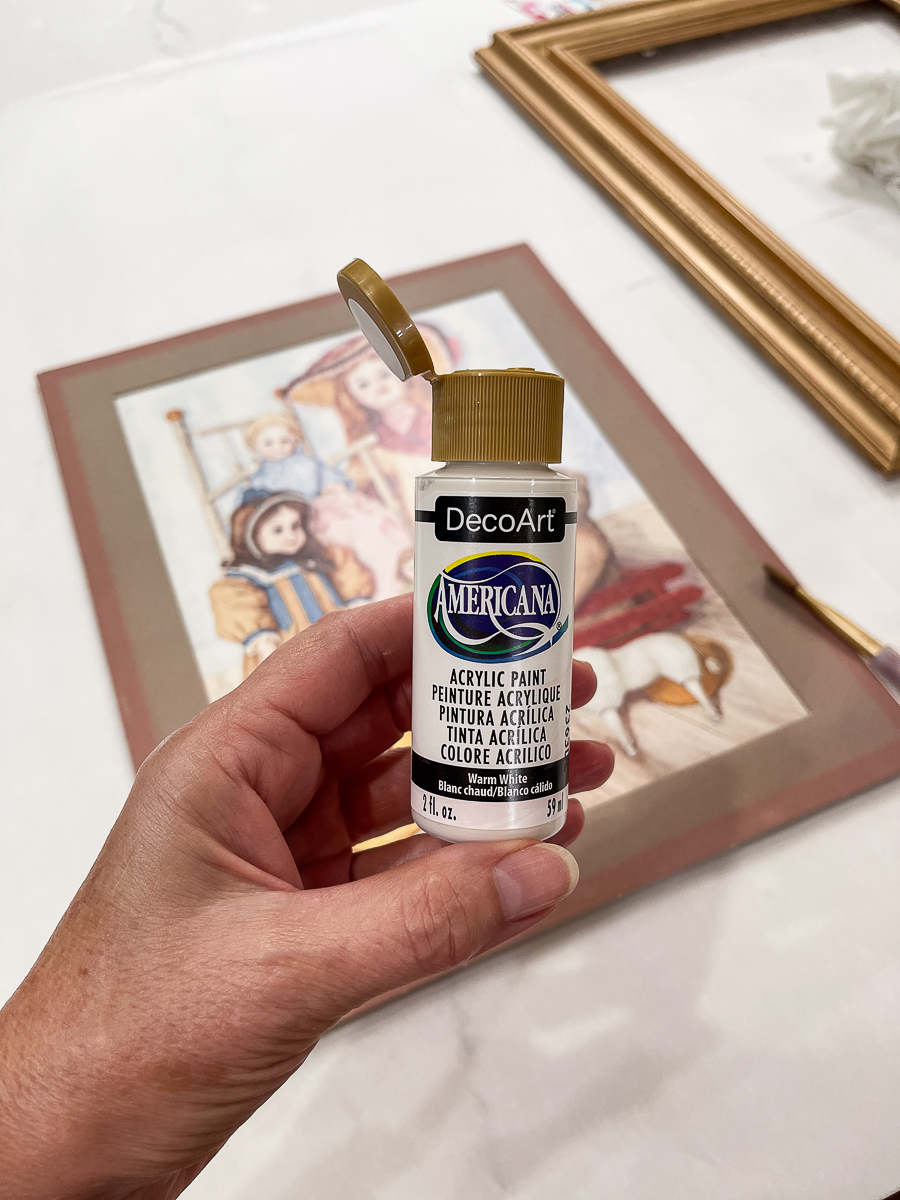
Carefully paint so that you do not get any on the print.
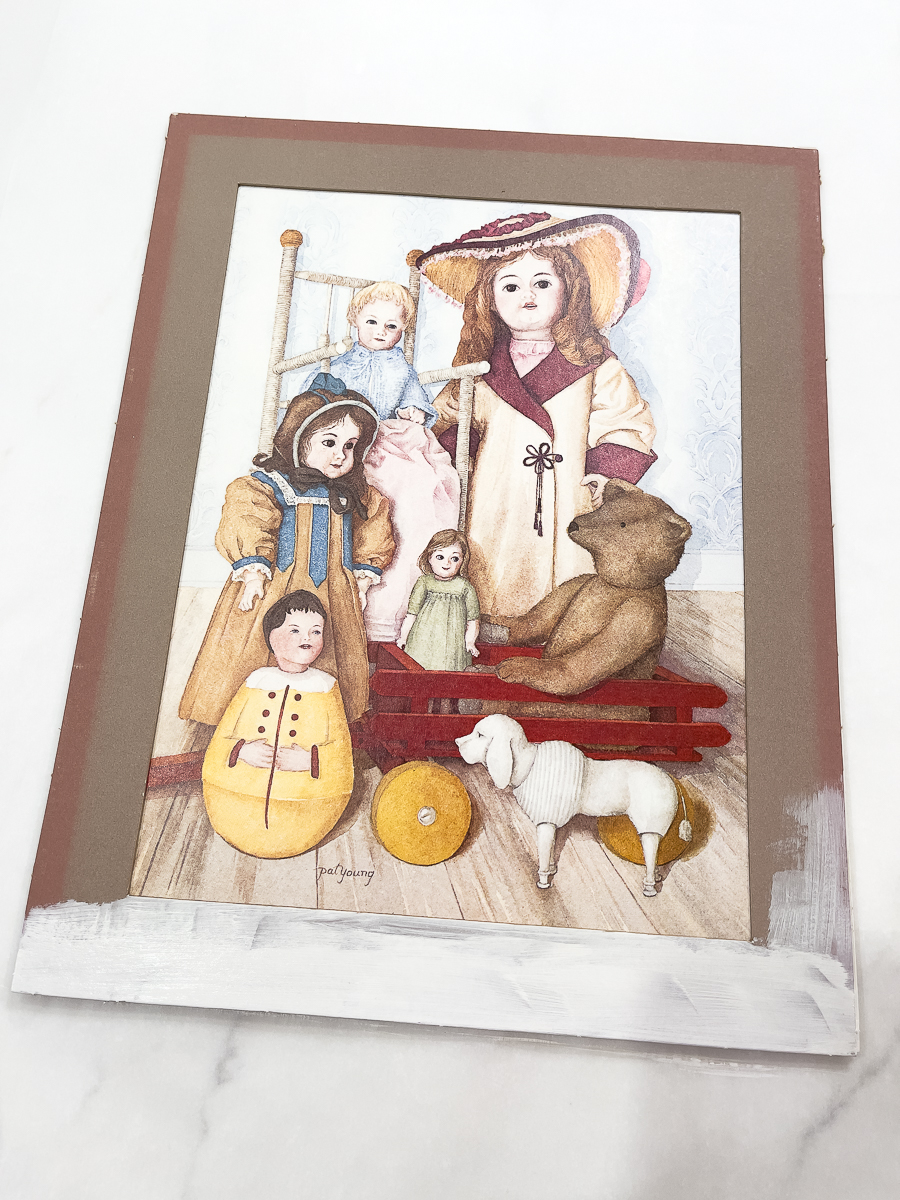
It took 5 quick coats to cover the matt. It dries very quickly.
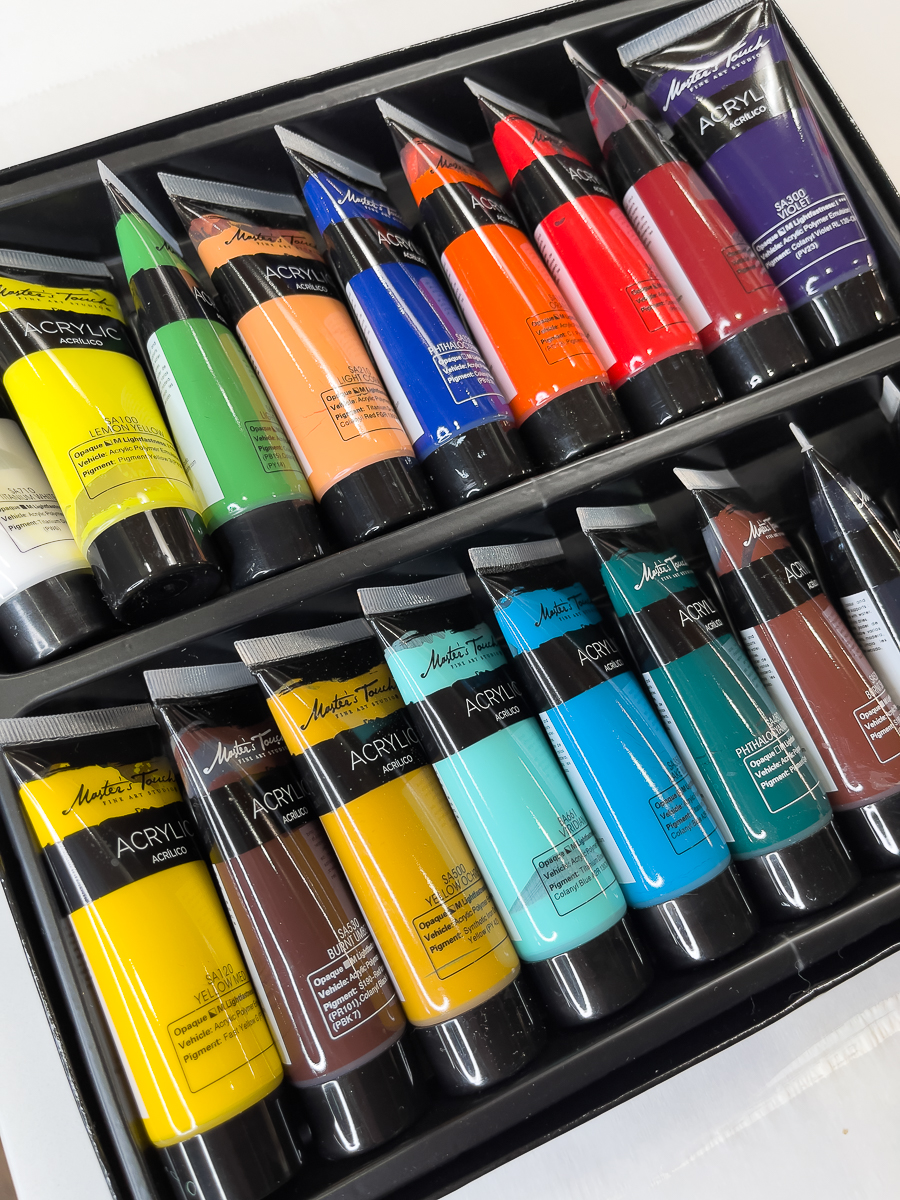
I already had this set of acrylics. It was from Covid when I thought that I could become an artist! You will see below that it is a good thing that I stick to painting walls and trim.
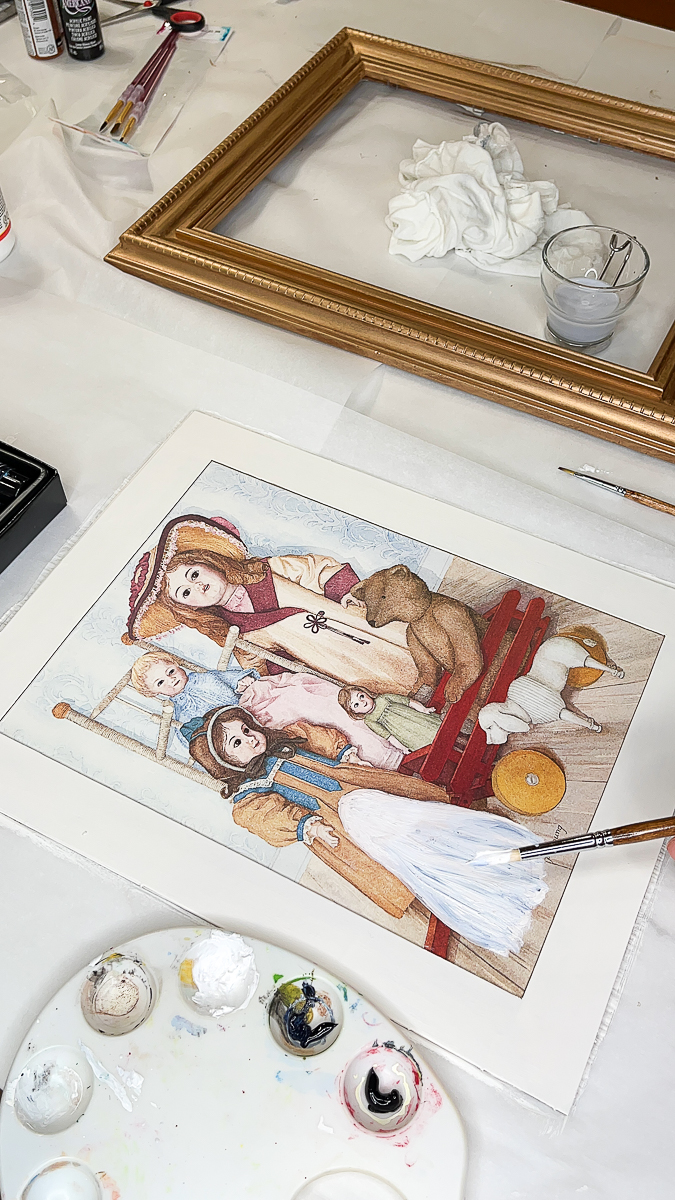
What a difference just painting the matt did to the look. I painted a freehand ghost over one of the toys. I painted several coats of white allowing some of the toy to show through.
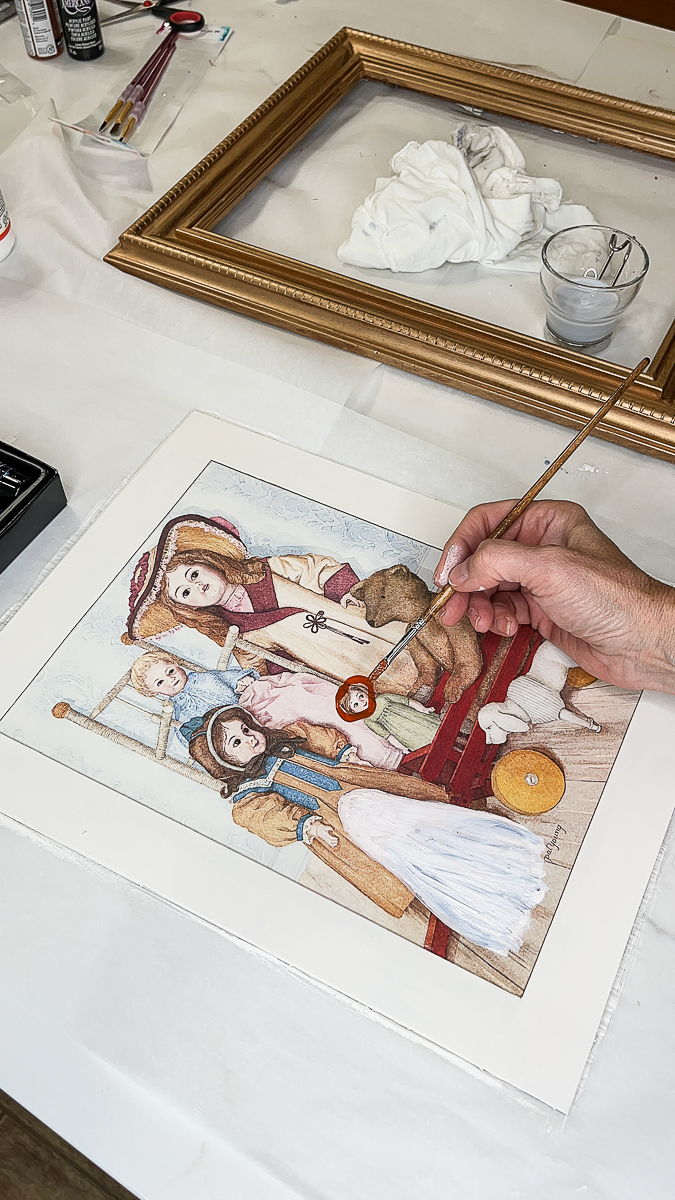
While a couple of coats on the ghost were drying, I moved onto the pumpkin head. It took two coats.
The orange was too bright for this vintage look so I mixed a bit of brown with it.
I painted some parts of the hats and dresses black and gray. Make the gray color by mixing white and black together.
Paint the eyes black.
When you are satisfied with your artistic painting, let it dry thoroughly.
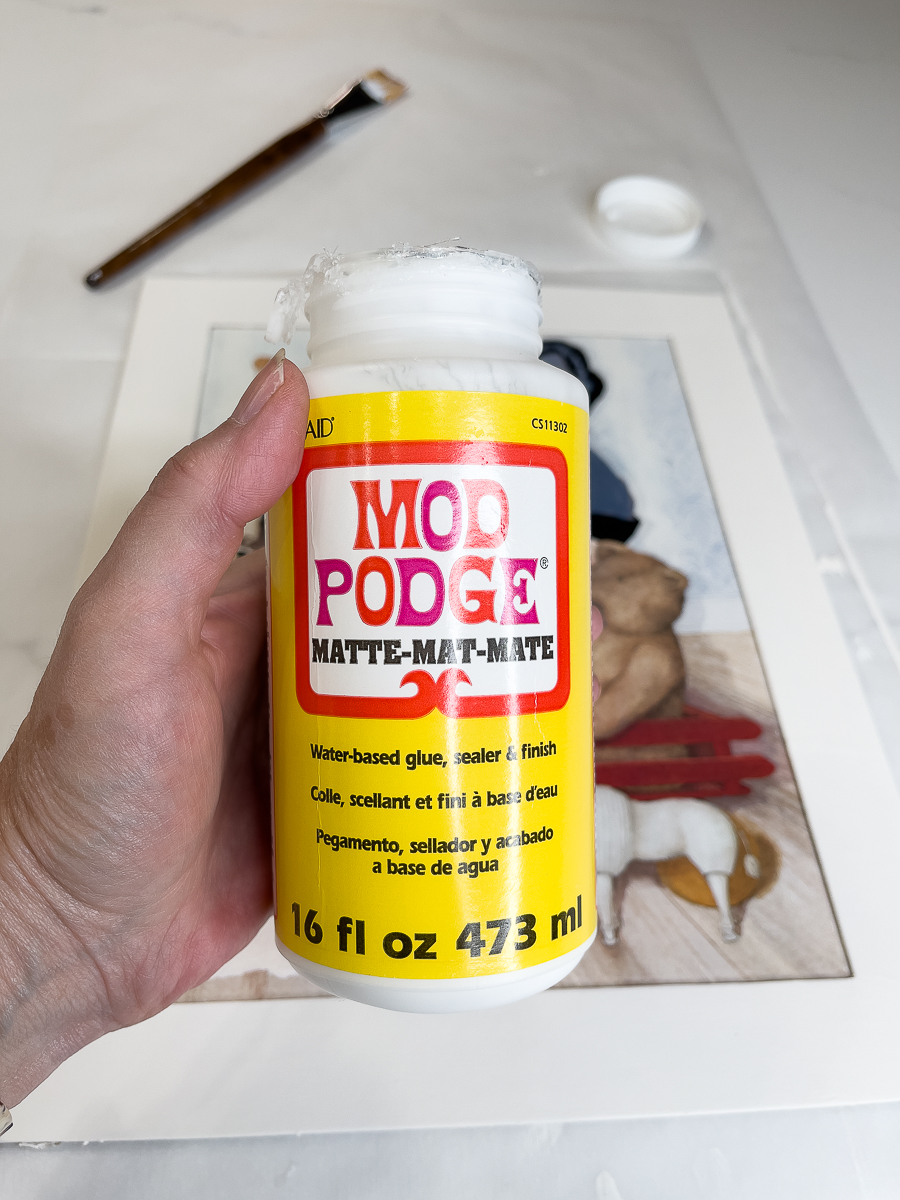
I then applied 2 coats of Mod Podge to seal my work.
Paint it haphazardly. This is the look before it dries. Try to keep it somewhat even. If you apply it too thickly, you will get a milky look. This dries quickly as well.
Let it dry in between coats.
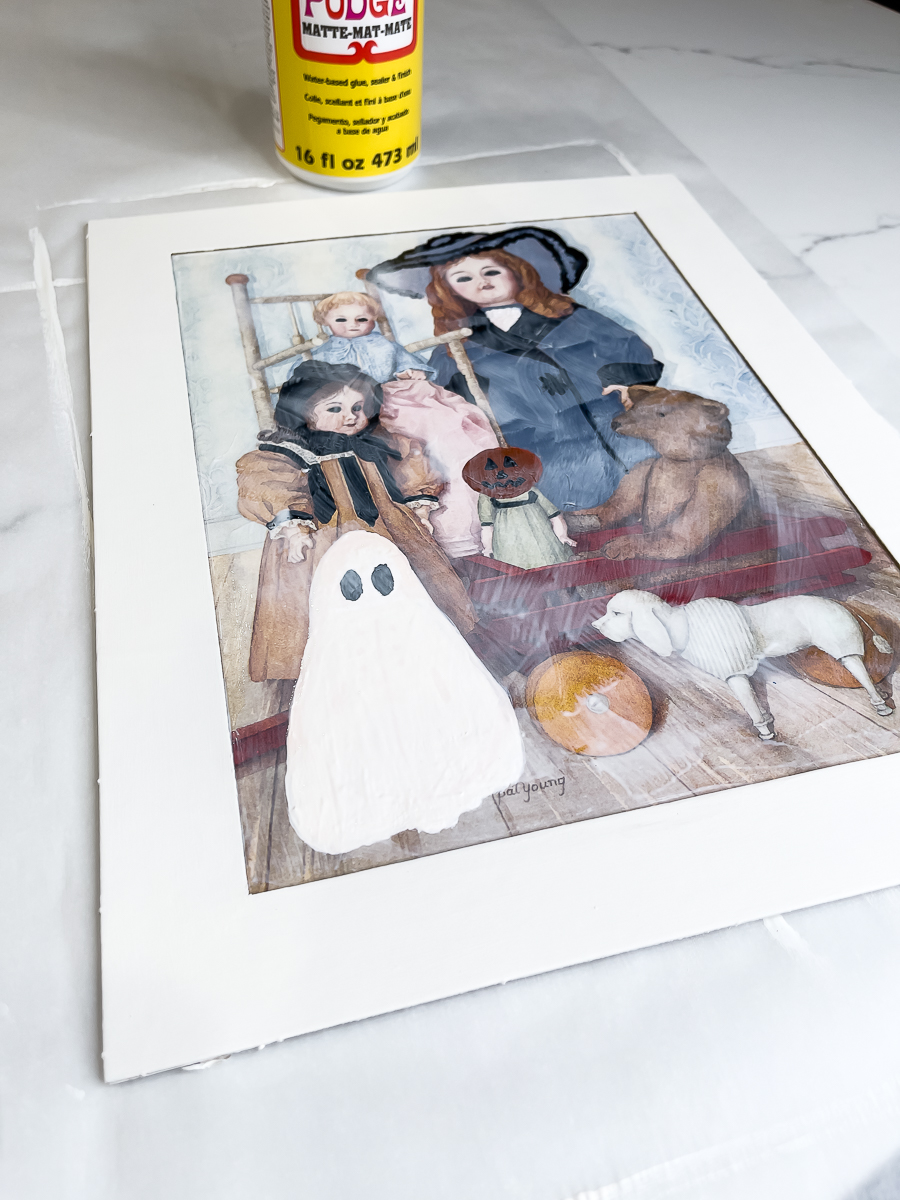
One of the reasons that I decided to apply Mod Poodge was so that I could use the print without the glass. This gives it a more finished look.
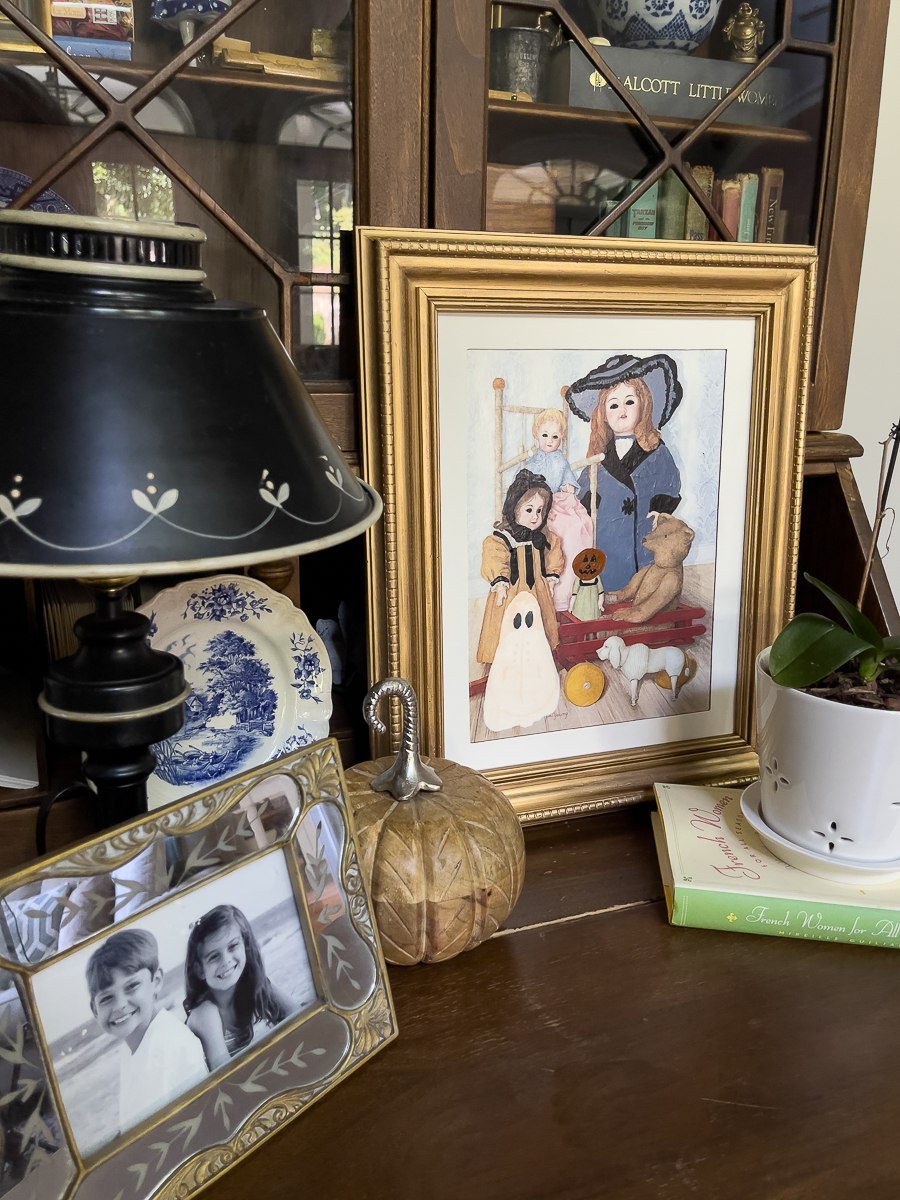
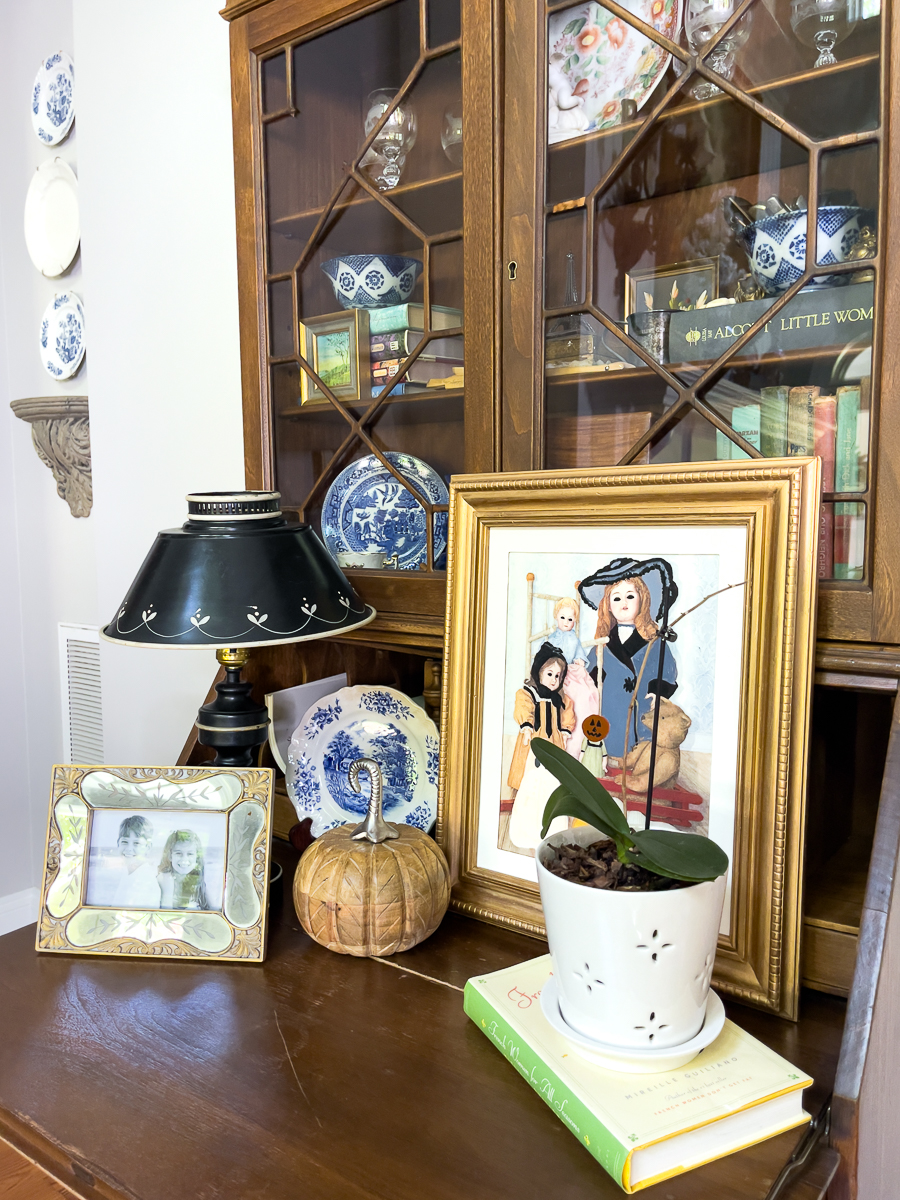
I really like how the little girl with the tan and now black dress turned out. She's pretty creepy.
The black eyes really unify them.
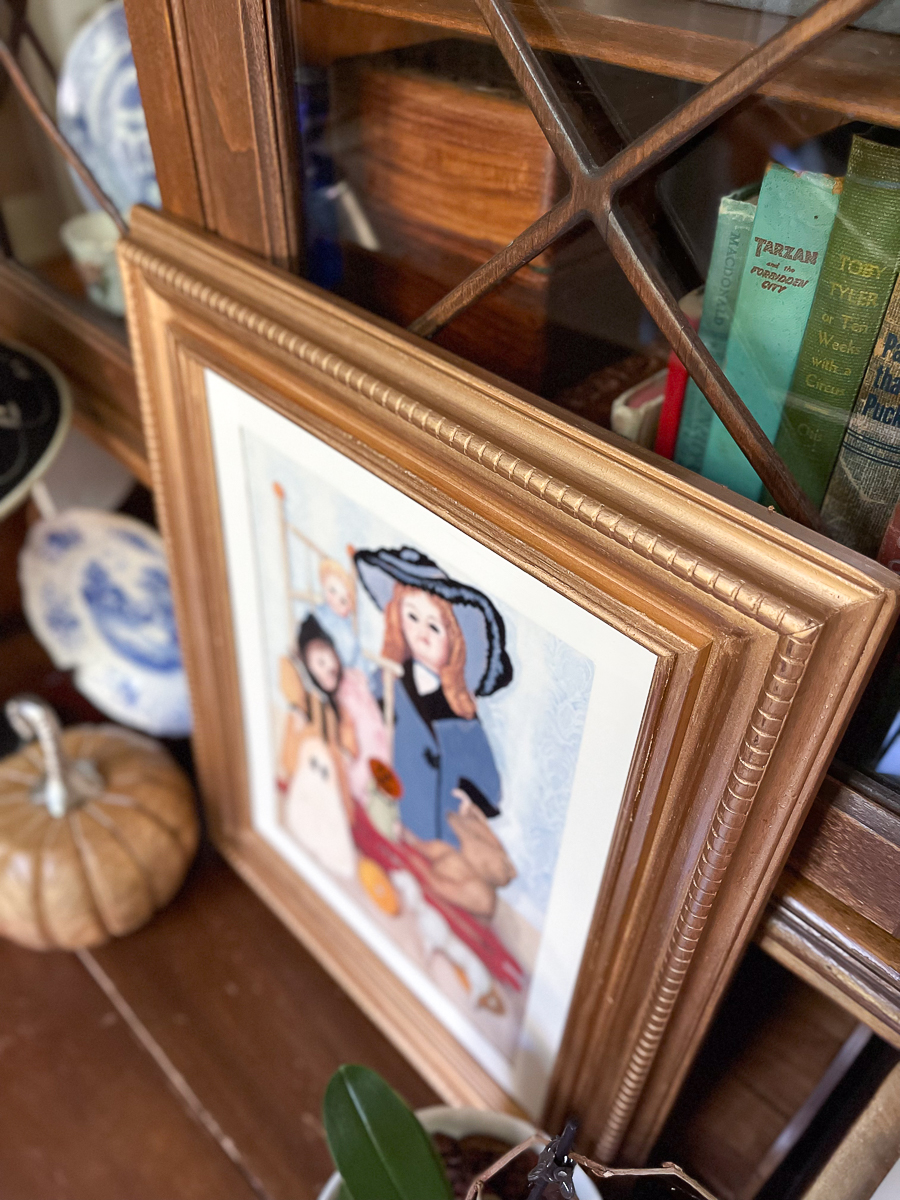
I can easily remove the Halloween art and add something else. The frame really shines with the new gold color.
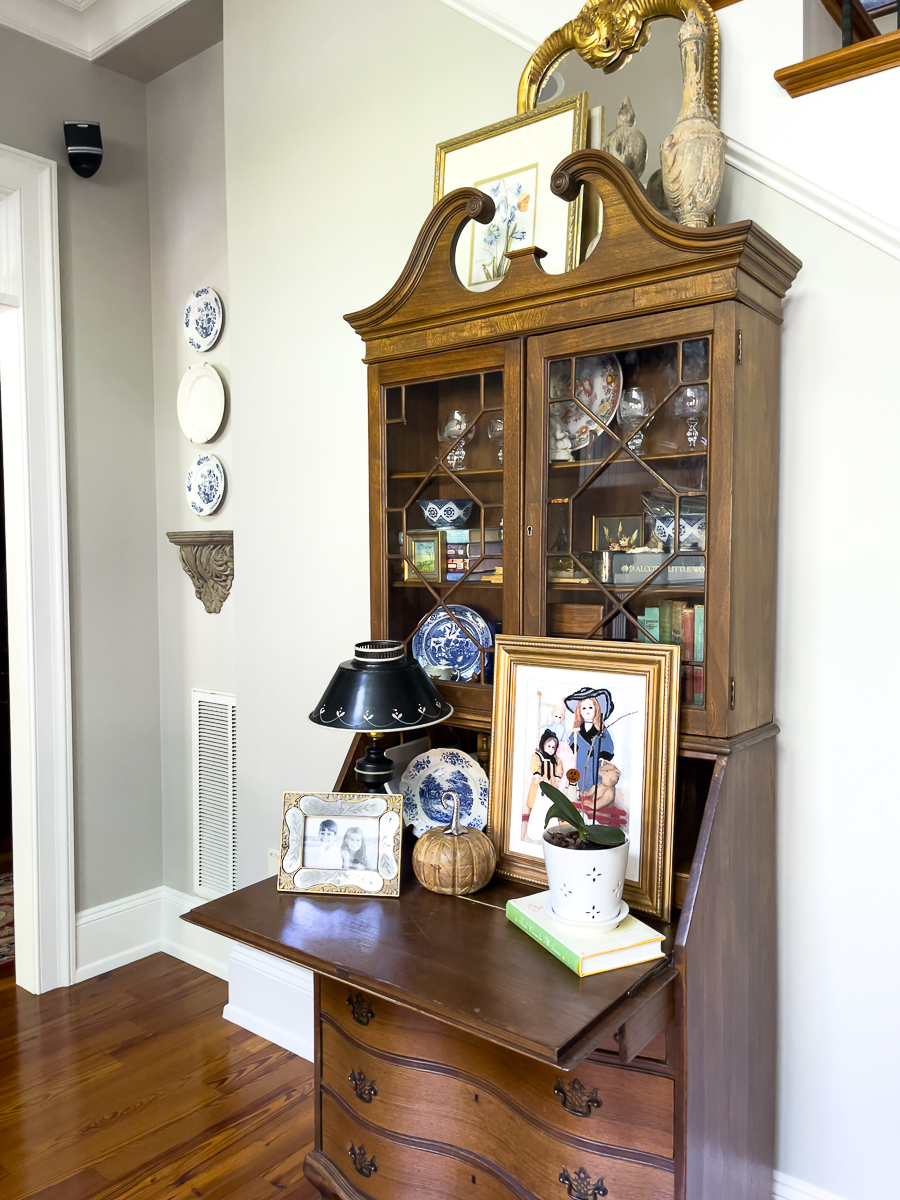

I added a very neutral pumpkin to the vignette for a subtle Halloween look.
I now want to find a piece of house art. That one could really be fun! to add things in the windows.
Halloween art can be just as spooktacular as anything store-bought! With a few simple steps, you can take something that used to be in the back corner of a thrift store and turn it into a charming showpiece. Plus, you get to repurpose something by giving it a new look while saving some money too. Fall is such an exciting season with so many creative ideas for decorating your space. Are you ready to decorate for fall and Halloween? You will find more fall and Halloween ideas in my archives. Just visit HERE.
More projects below from the team!!!
Check Out August's Thrift Store Projects!
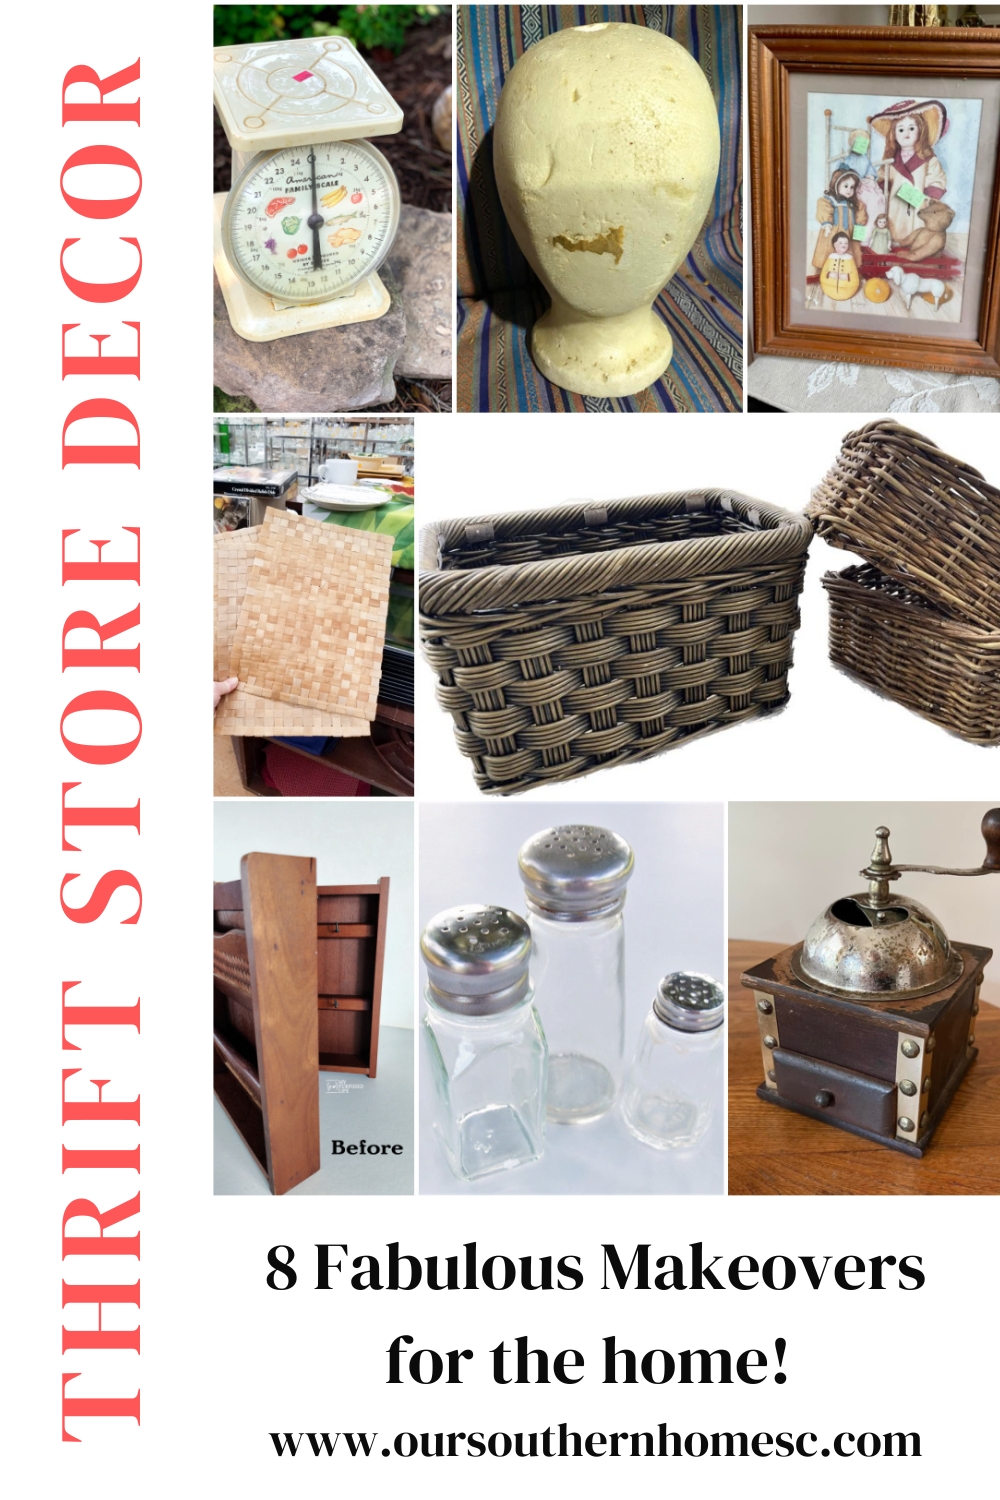
Vintage Scale Repurpose House of Hawthornes
Decoupaged Mannequin Head Shop At Blu
DIY Halloween Art Our Southern Home
Botanical Prints on Woven Mats Sadie Seasongoods
Update wicker baskets with paint to look like natural rattan My Uncommon Slice of Suburbia
Key Cabinet|Easy Makeover My Repurposed Life
DIY Sea Glass Bottles Petticoat Junktion
Thrifted Coffee Grinder Makeover Organized Clutter

Christy has been creating content for Our Southern Home since 2012. She has been featured in numerous print and online publications. Her classic, eclectic design approach spans her home and fashion style. Christy has a way of mixing store-bought with thrift store, antique and vintage finds. As a recent empty nester, she is having fun navigating this new stage of life. Read more about Christy HERE. Be sure to subscribe below. You can also contact me HERE.
FA-BOO-LOUS upcycle Christy!!
I’d love for you to join us over at the Creative Crafts Linky Party every Wednesday through Sunday
https://creativelybeth.com/creative-crafts-linky-party/
Followed and Pinned!
Creatively, Beth
Thanks so very much!!!
I love this idea, subtle but a little creepy, Kind of reminds me of the haunted mansion at Disneyland when you walk down the long hallway 🙂
Definitely creepier Halloween art now! Love it! Pinned.
Thanks so much, Carlene! It was a fun project!