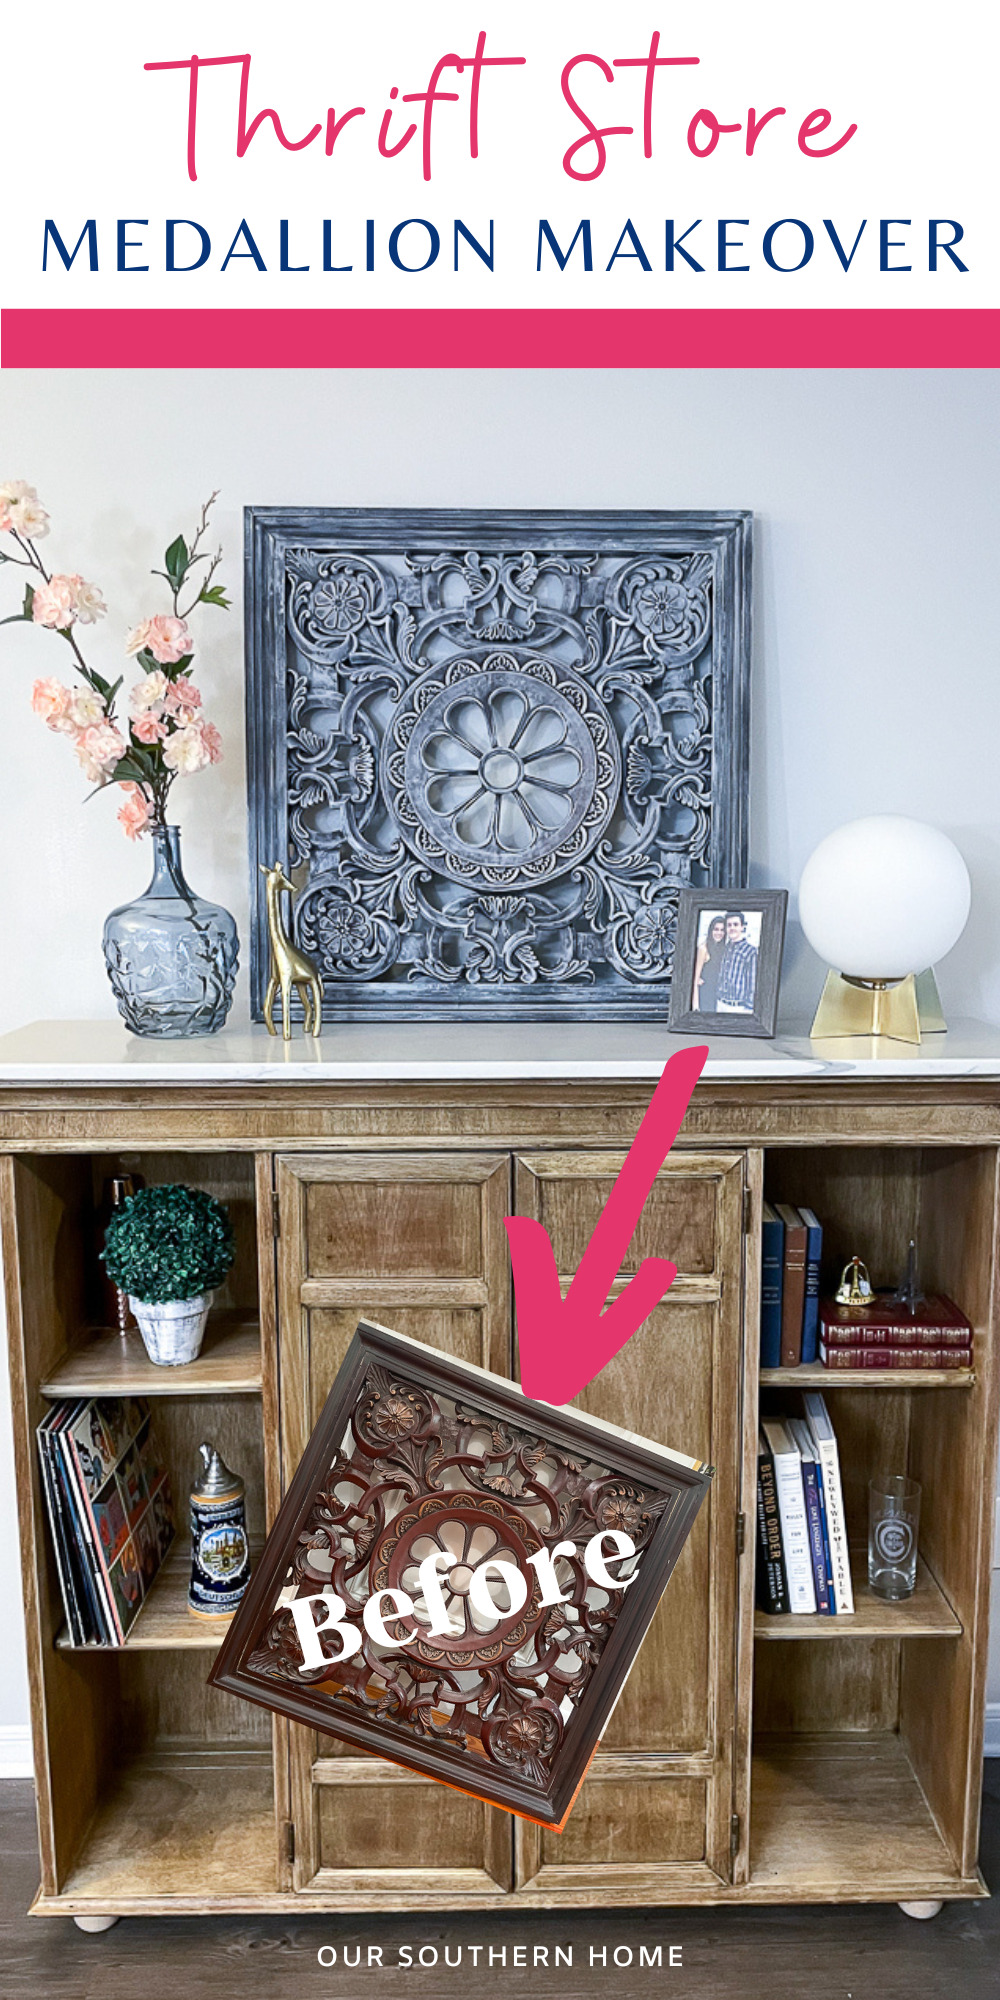
Medallion Wall Art Makeover
Medallion Wall Art Makeover is so simple with one paint color and a bit of water to thin for a washed application.
Latest from OSH
- Simple Layered Summer Tablescape with Collected Decor
- How to Make Piña Coladas in an Ice Cream Maker
- Saturdays on the Porch #86
- Saturdays on the Porch #85
- Easy European Wall Art with Thrift Store Frames
This post may contain affiliate links. If you purchase something using one of my links, I may earn a small commission from the retailer costing you nothing more. You can read more on my disclosure page. Christy Little of Our Southern Home is a participant in the Amazon Services LLC Associates Program, an affiliate advertising program designed to provide a means for sites to earn advertising fees by advertising and linking to amazon.com.
It's time for another thrift store decor makeover project with the team! I hope you love my Medallion Wall Art Makeover!
Medallion Wall Art Makeover
It's hard to believe that a month from today our daughter, Ashlyn, will be getting married.
Tim and Ashlyn signed a lease on an apartment back in June. Tim has moved in. It actually worked out great to allow them to be gradually getting their home ready before Ashyn moves in after their honeymoon.
Ashlyn has grown up learning how to decorate frugally. She loves the hunt for that perfect vintage find. We always try to hit thrift stores when traveling. We even found a few small things to bring back from France.
They were blessed with friends of ours giving them furniture when they moved in February. It will definitely get them started in life.
Ashlyn and I have had lots of fun thrifting over the last year in preparation for their own home.
The Details
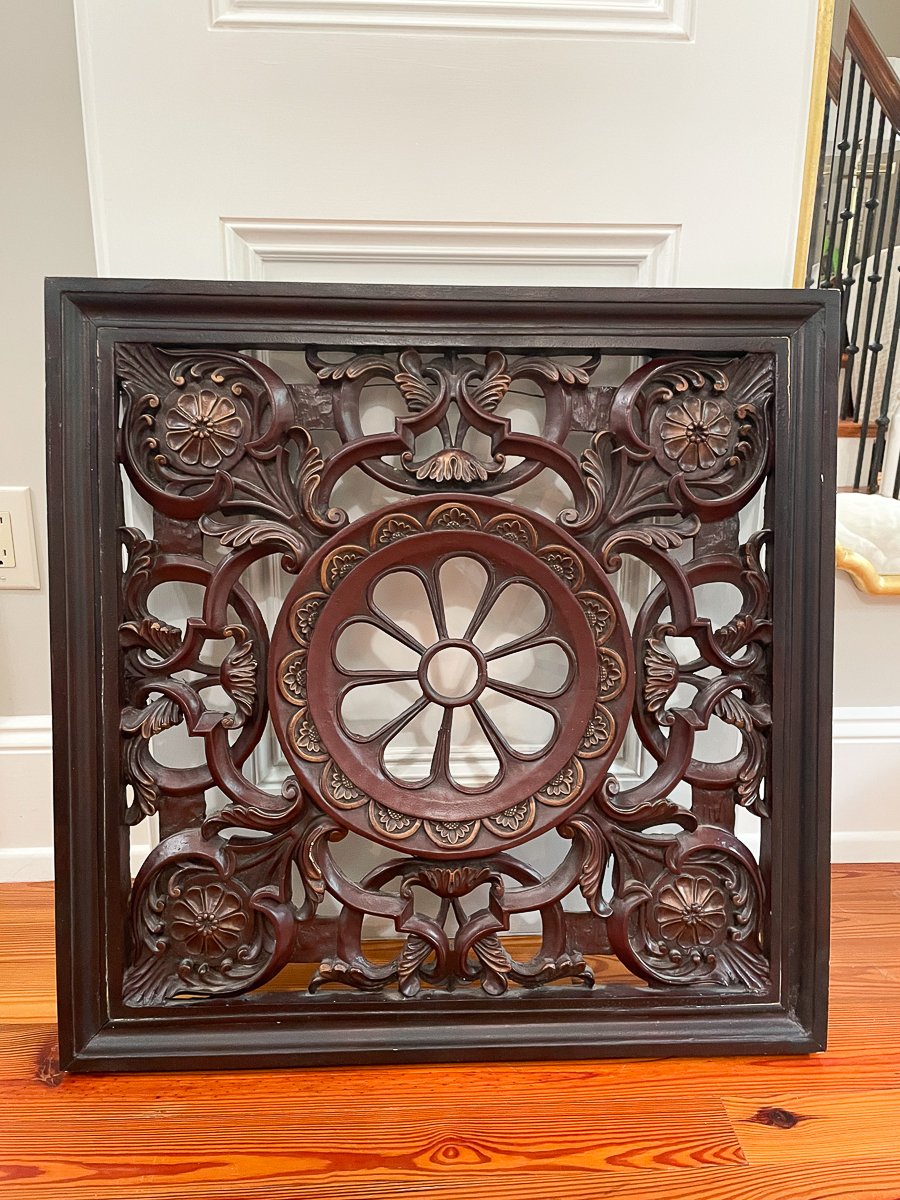
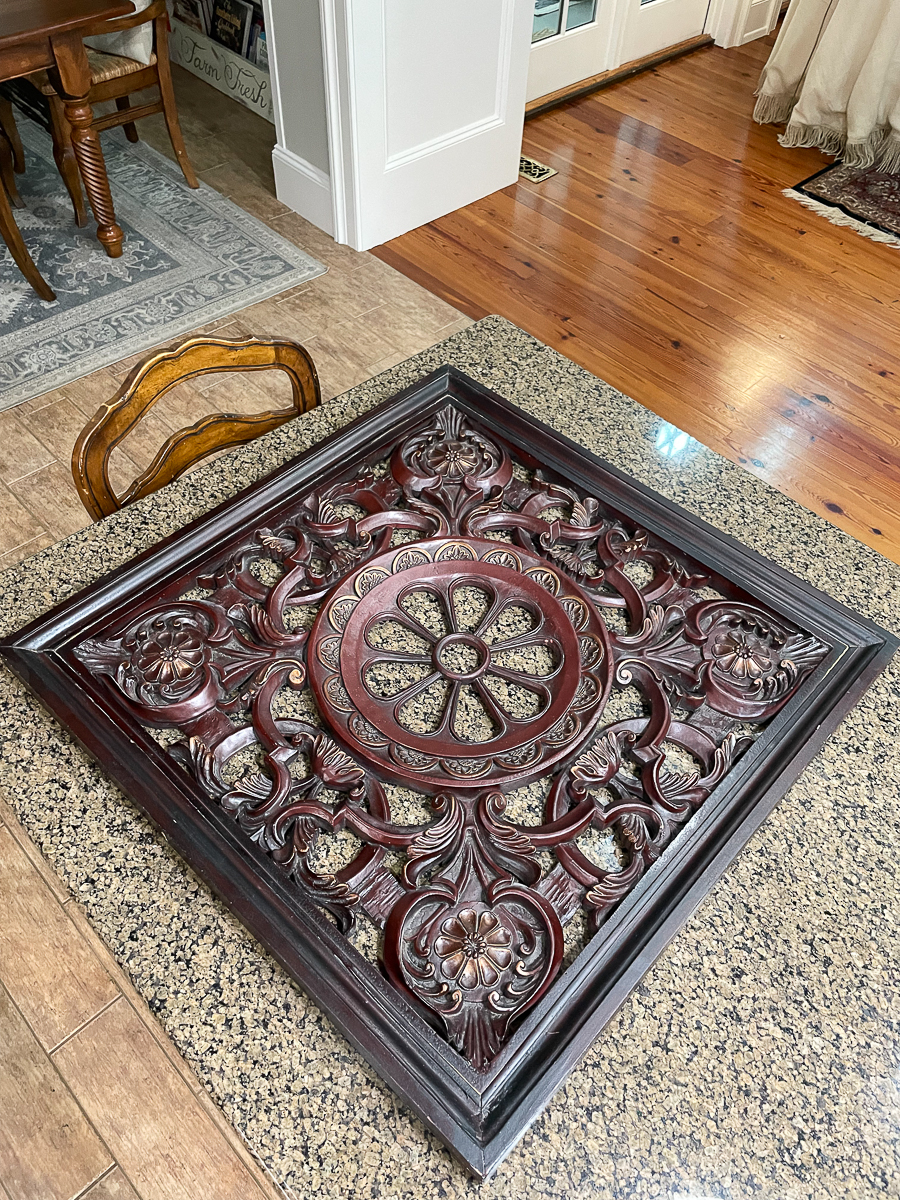
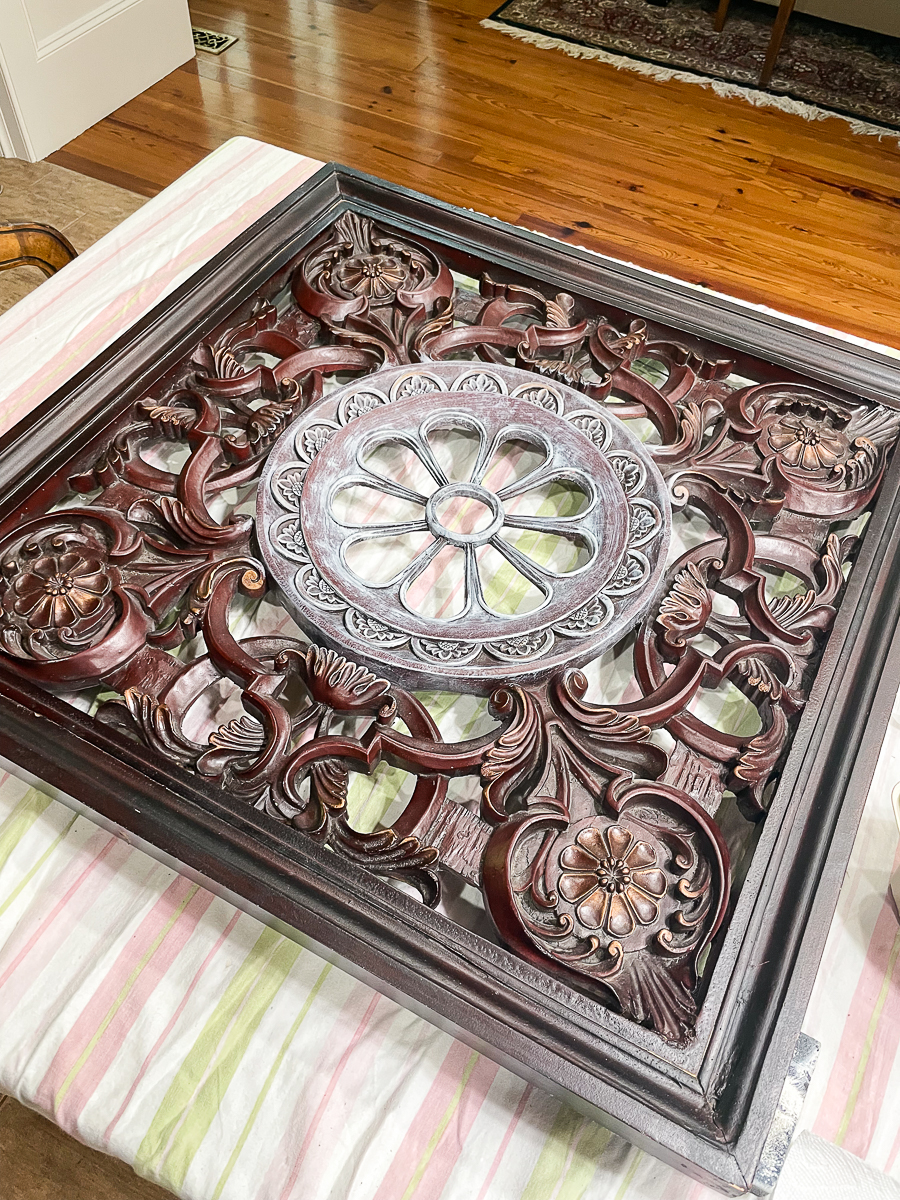
This medallion wall art was looking a bit dated with the dark, red finish. It has makeover written all over it!
Medallion decor can be found in the form of metal wall art, medallion stencils, or wood pieces.
We knew that when we saw this that it would make an interesting focal point in their dining room, living room, or guest room.
Medallion art has been around for quite a while now and can fit in traditional design all the way to a farmhouse look. It all depends on the finish.
Ashlyn and Tim have collected quite the collection of DIY Wall Art. You will love how this art turned out for their apartment!
Wall decor can be one of the easiest things to find when thrifting. Larger pieces can be a great way to fill empty wall space. This medallion wall art makeover is just the item their space needs.
They have not hung this piece yet. They are waiting to get a feel for all of their art before they hang them.
It's a good thing that they have waited since we just found this fabulous piece just this week at the beach. I really wanted it for myself. It is that fabulous!
This medallion wall art makeover is so easy just using one paint color!
If you want more depth with multiple colors, you could go with a finish that I used on this thrift store mirror. It's one of my most popular projects on the blog.
You could make this beautiful by simply spray painting the piece in a solid color.
Ashlyn wanted a more vintage feel.
Brief History of Medallions
Medallions tend to be larger and commemorative.
The first medallions were produced by the Romans.
They were more significant in size and were presented by the Emporer to important people.
The Italians created the next ones during the Renaissance Period. They spread throughout Europe quickly.
How to Paint the Medallion Wall Art
This is the easiest paint project and perfect for a beginner. Here is a printable instruction sheet.
Medallion Art Makeover
Perfect first painted DIY project using little product and time!
Materials
- Medallion of Choice
- paint
- paint brush
- cup or container
- drop cloth
- water
- paper towels
- spray sealer
Instructions
- Dust and clean your medallion.
- Let it dry completely after cleaning.
- Mix a small amount of paint with water to thin.
- Dip your brush in the paint and water mixture.
- Brush your brush on a paper towel to remove excess.
- With a very light touch, start to paint your medallion.
- You want to lightly brush the paint on so that the original finish shows through.
- Apply the finish heavier in some areas to give the medallion depth.
- Allow to dry thoroughly.
- Seal with a spray finish. I prefer a look with no shine.
Recommended Products
As an Amazon Associate and member of other affiliate programs, I earn from qualifying purchases.
-
 Rust-Oleum 302151 Universal All Surface Clear Topcoat Spray, 11 oz, Dead Flat Clear
 -
HANDy Paint Cup Holds 16 oz. of Paint or Stain, Integrated Magnetic Brush Holder Ideal for Trim Work, Touch-ups, 1 Count (Pack of 1), Red
-
Wooster Brush Q3211-2 Shortcut Angle Sash Paintbrush, 2-Inch, White
-
Hyde Paint Can Opener, Chrome
-
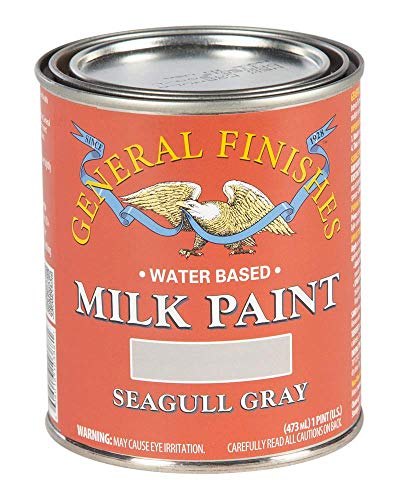
General Finishes Water Based Milk Paint, 1 Pint, Seagull Gray


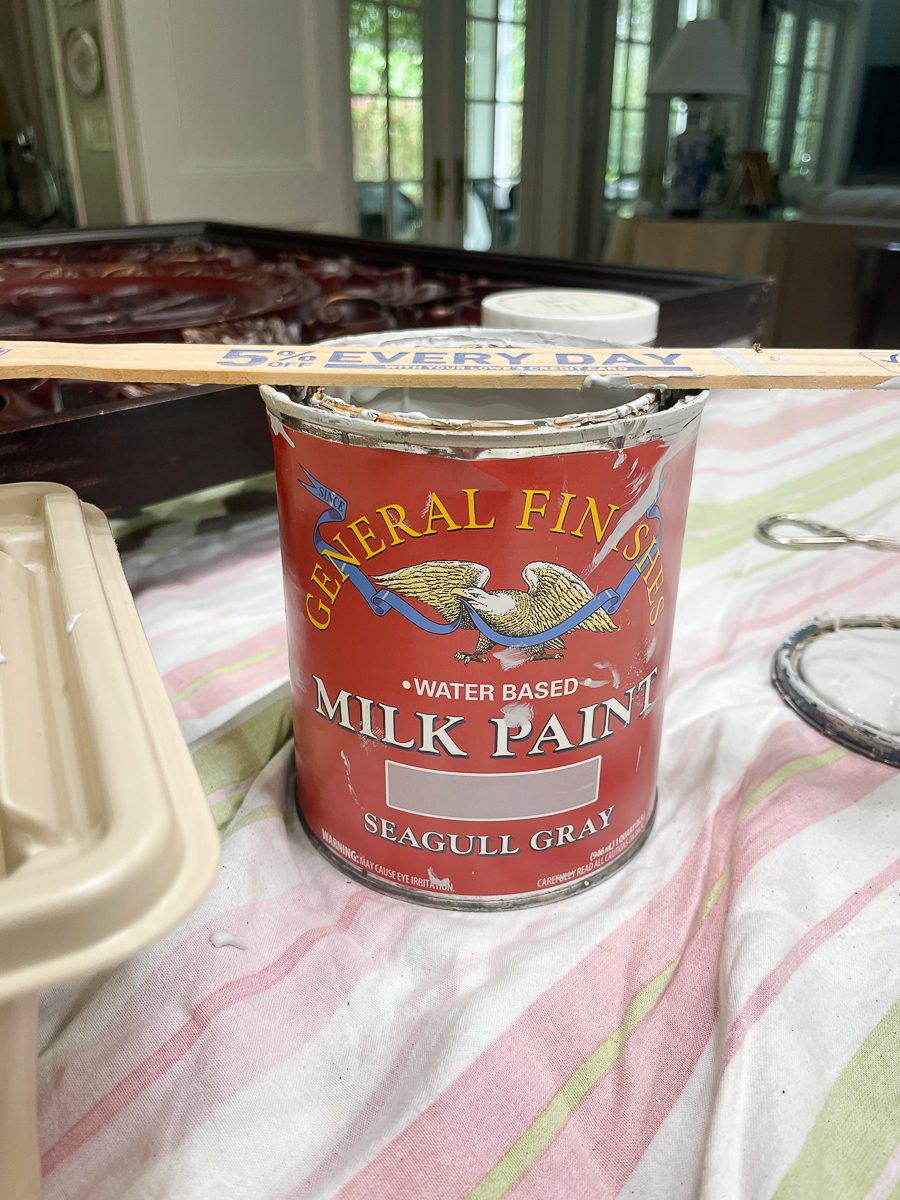
For small projects like this, we use whatever paint that we have on hand. When thinning paint with water to do a wash, I use flat wall paint or flat furniture paint.
Always protect your surface with a drop cloth or old sheet. This method takes very little paint. This roughly used 2 tablespoons of paint.
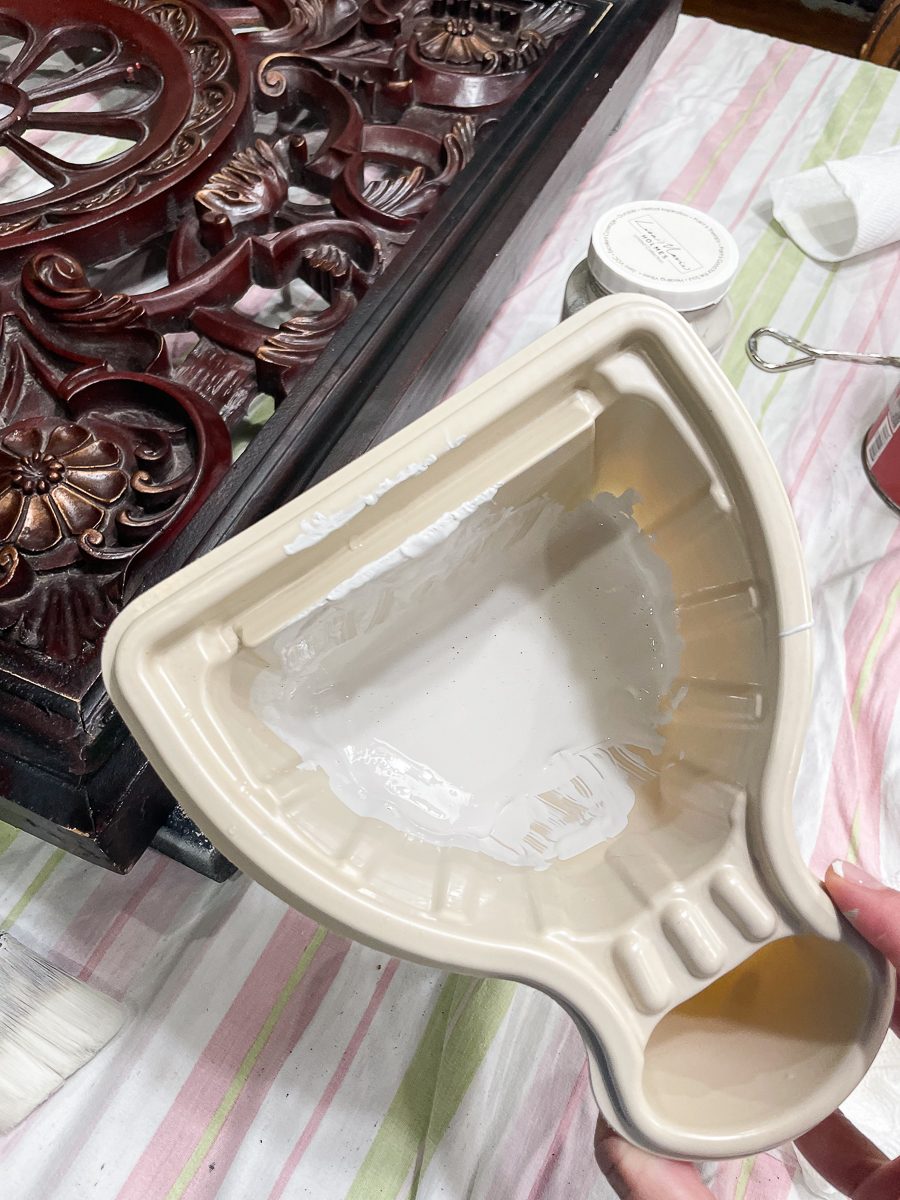
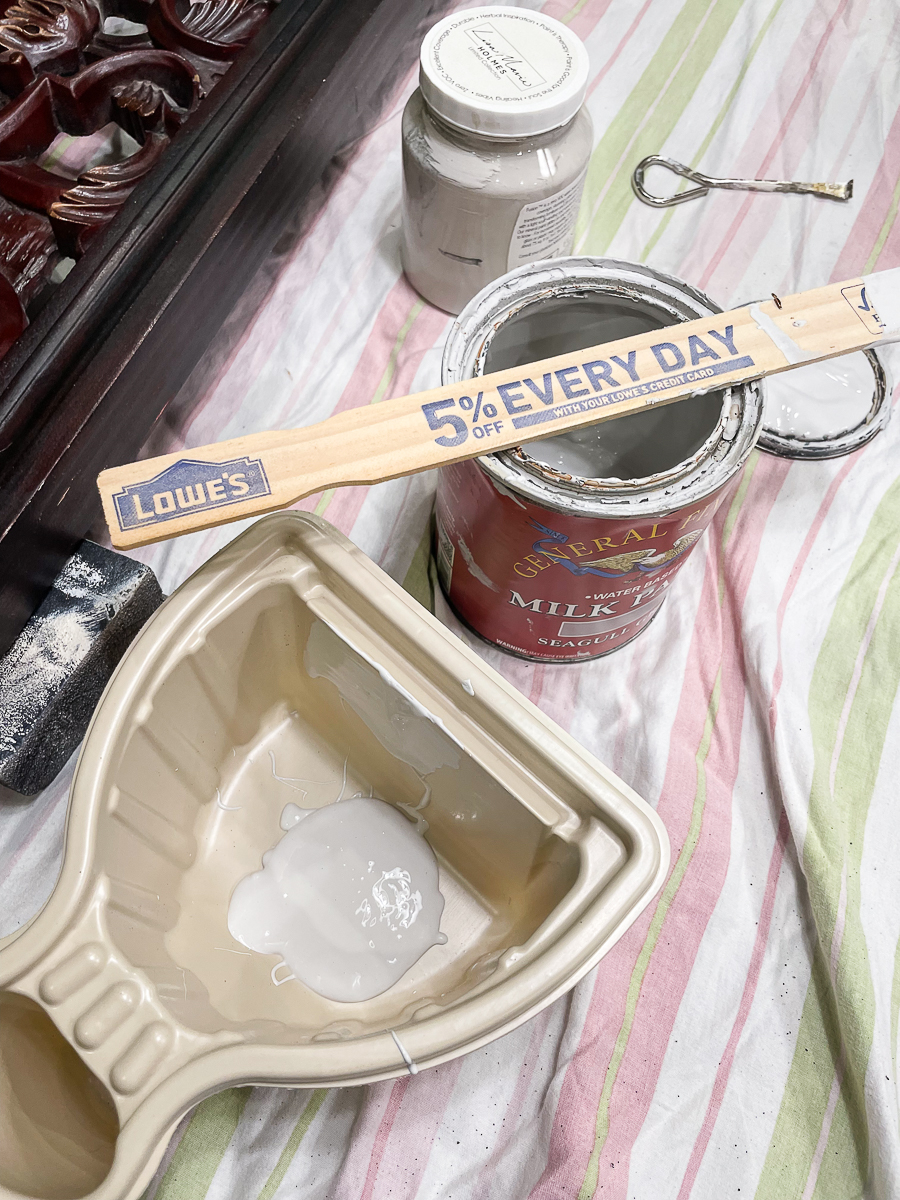
Thin the paint with about 1 tablespoon of water. Stir it to thin,
Please see the video above or on Youtube for more up-close details of the painting. Dip your brush in the paint. Then brush the paint on a paper towel to remove some paint.
With a very light hand, begin to brush the paint on the medallion.
Give some areas a bit heavier hand to get that old look. This will allow some of the original finish to show through giving the piece a bit of depth.
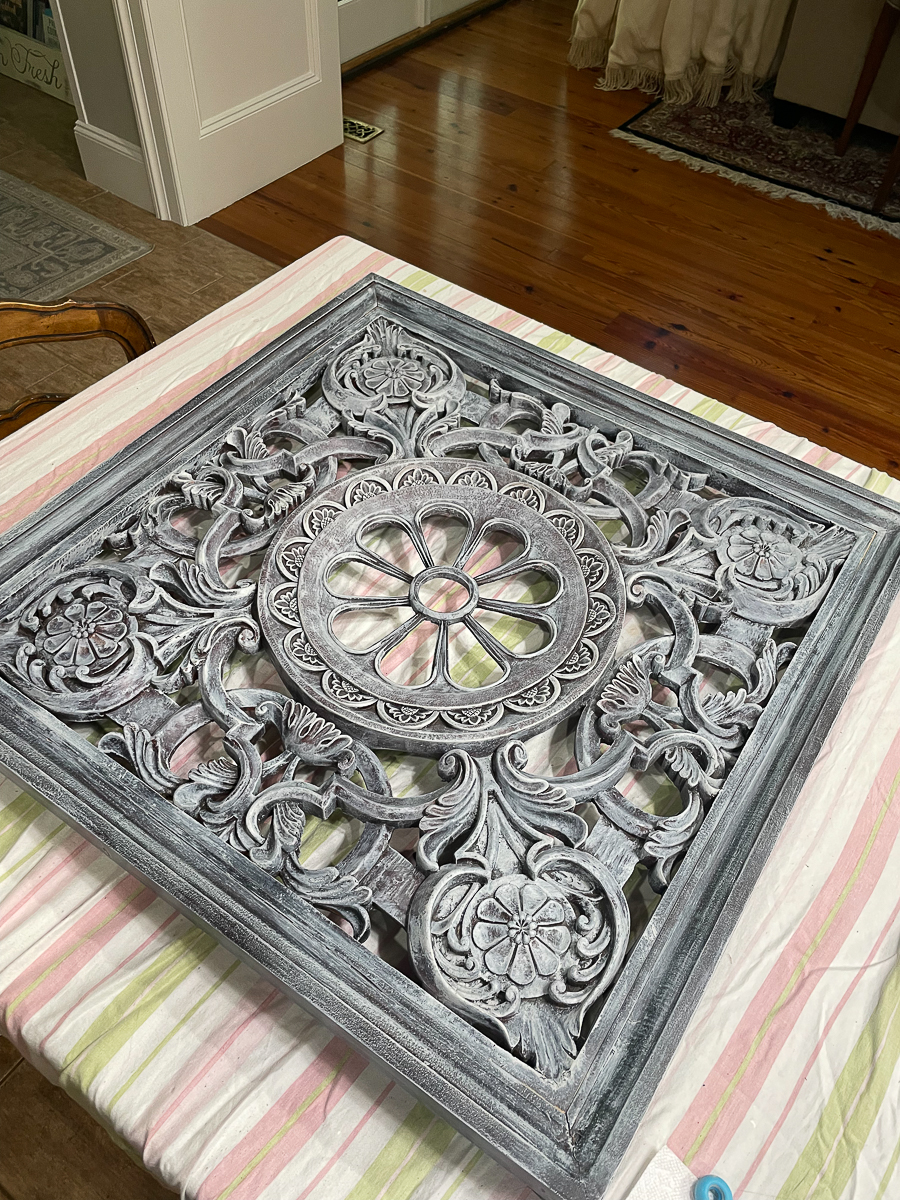
This project completes fast in about 20 minutes.
This only takes one coat of paint. It's so easy!!!
Allow it to dry thoroughly. It will be dry in about 10 minutes. Flat paint thinned with water dries fast!
Take it outside and spray with a coat of flat sealer.
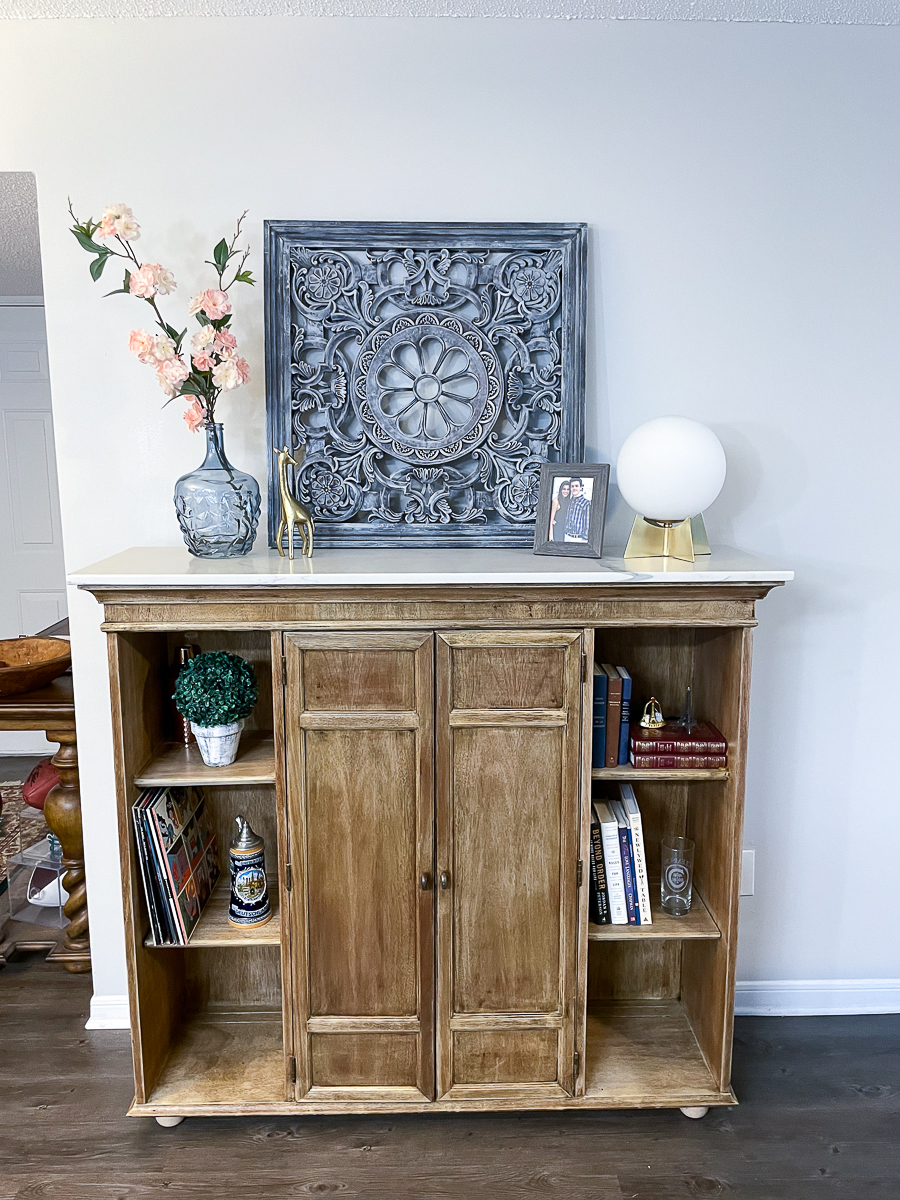
Hang or lean on a wall.
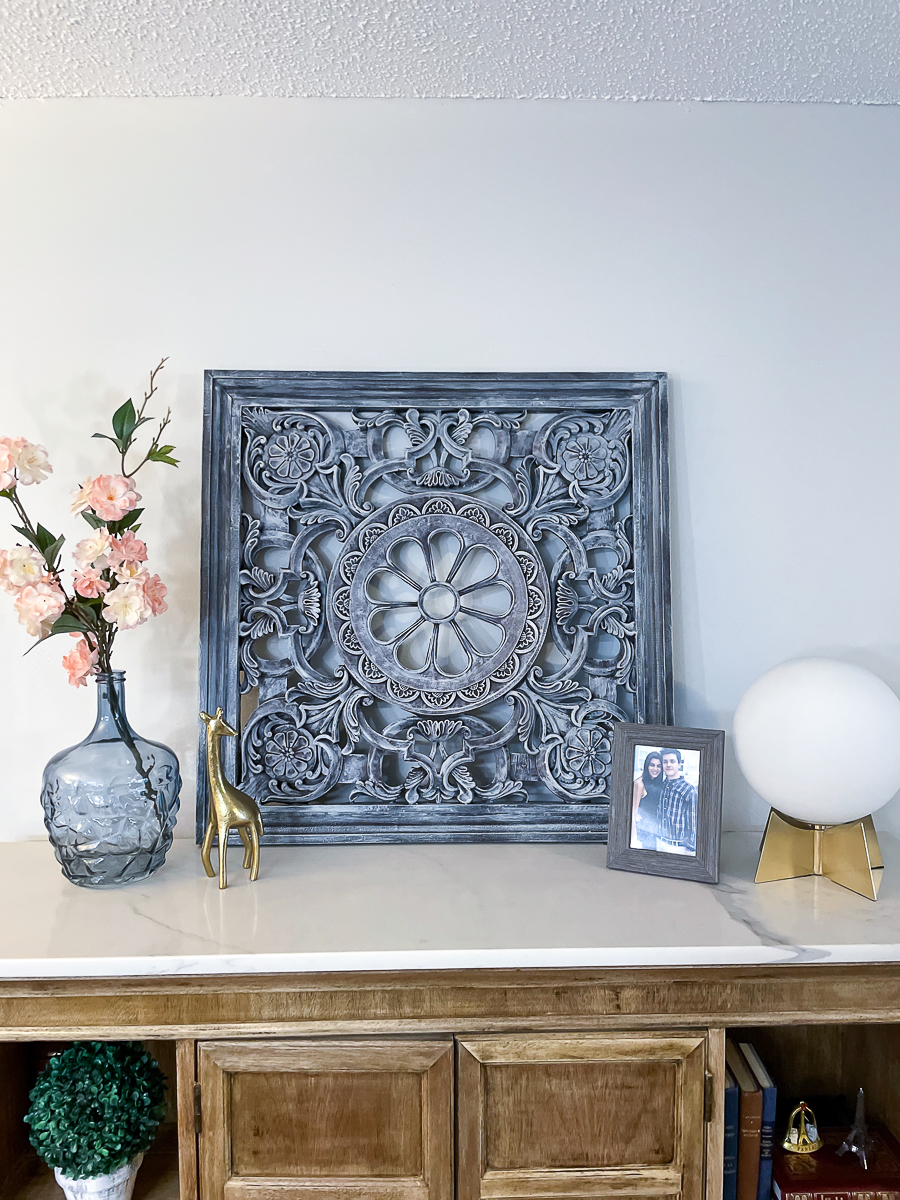
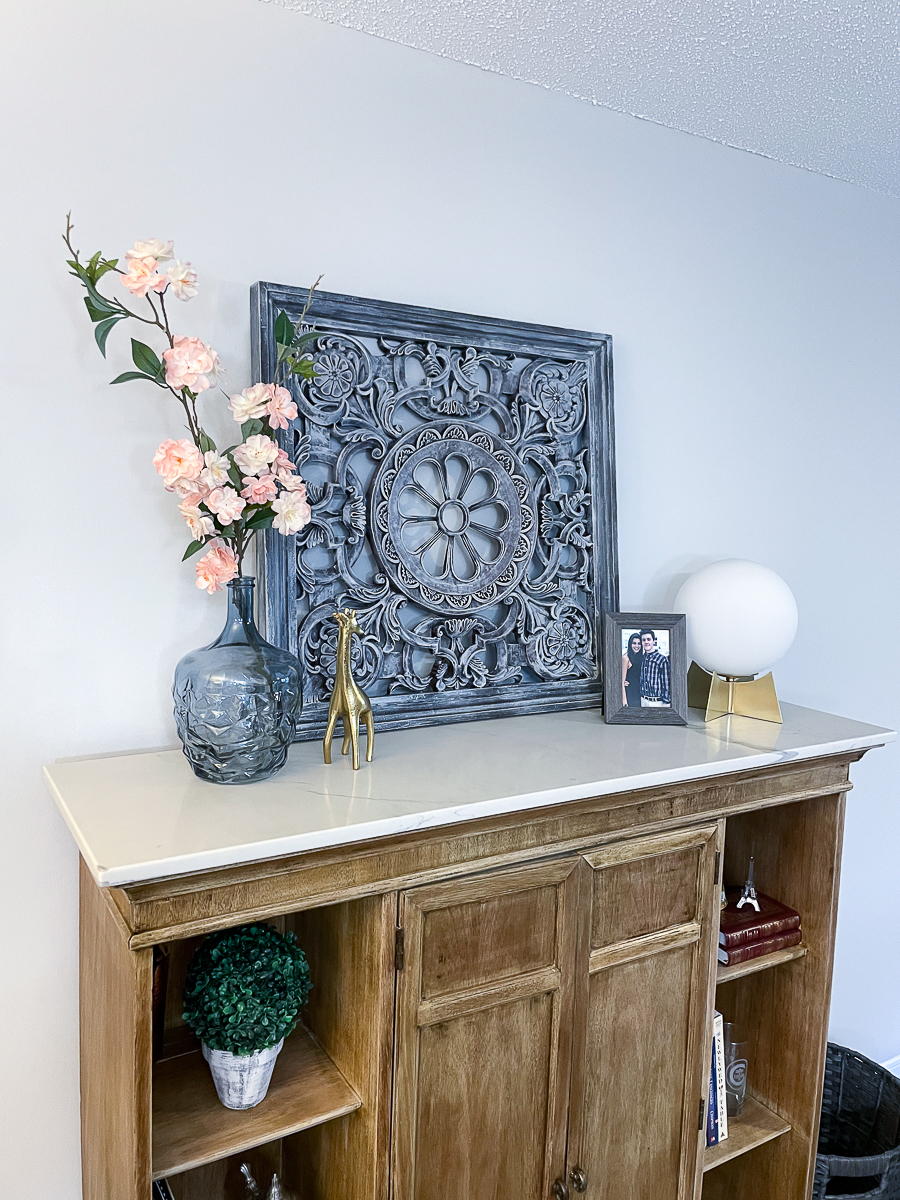
They are still not sure where they plan to ultimately hang the medallion in the apartment.
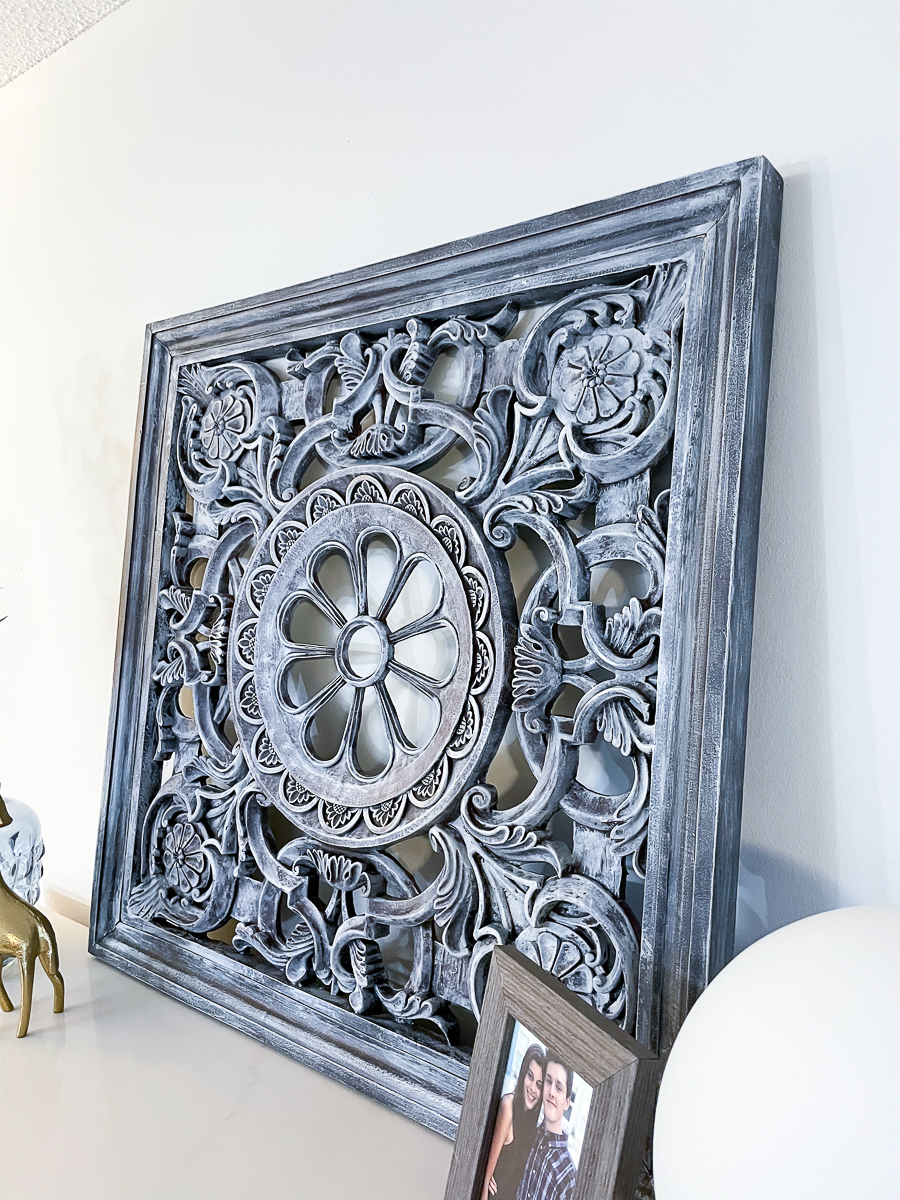
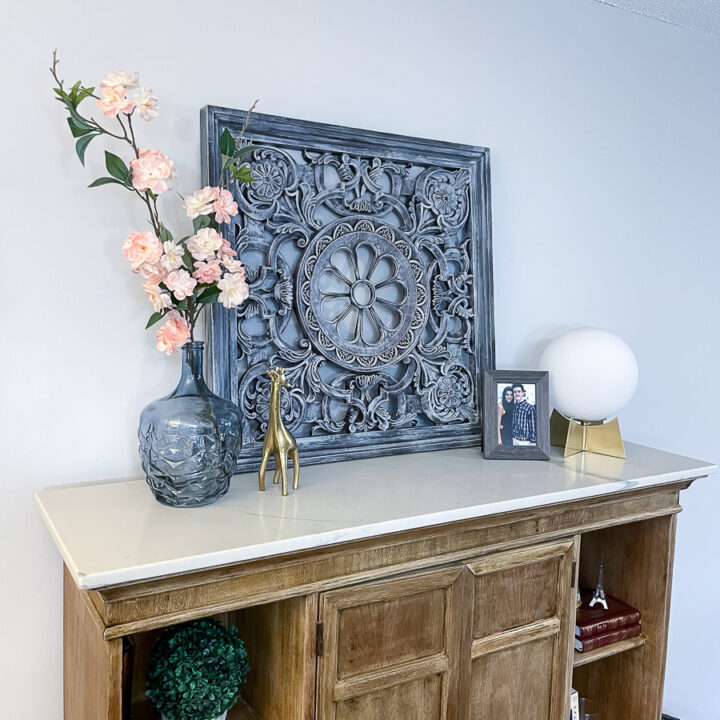
The intricate details really stand out now. It looks really nice here leaning for now.
It looks so pretty on this thrift store bar cart makeover that you can see HERE.
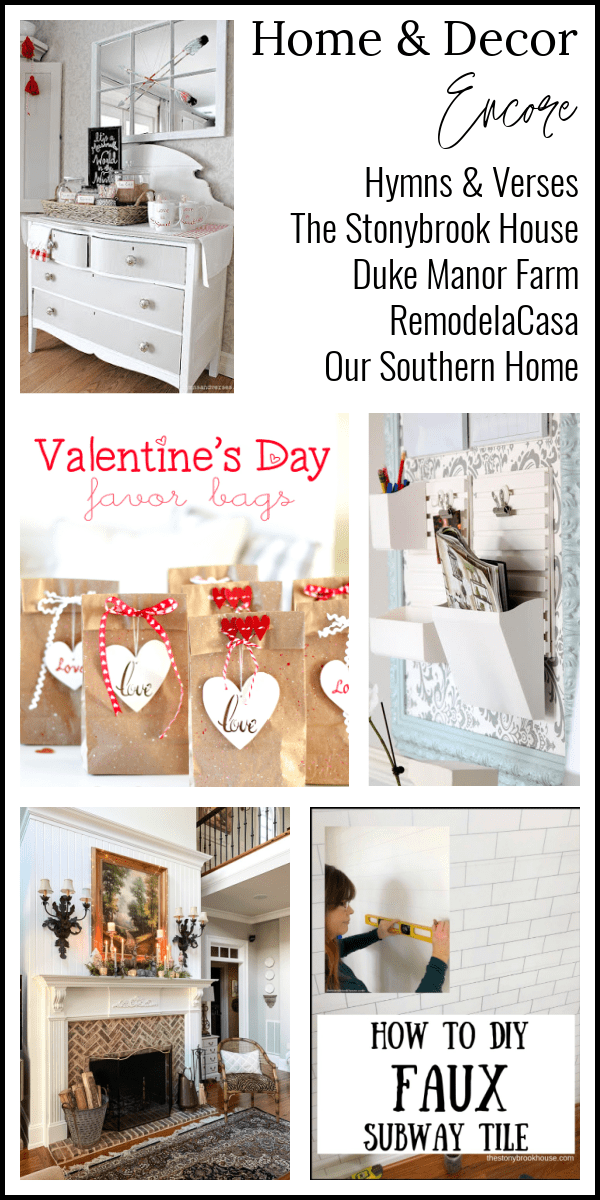
Check out the other projects!


Well, shoot! I just took one of those medallion pieces to the thrift store a few weeks ago! Now I feel like I should run down there and buy it back to give it a makeover!
Fabulous paint makeover! I love love love the new look!!
Pinned!
Gail
Christy, I love the faux finish! So much depth!