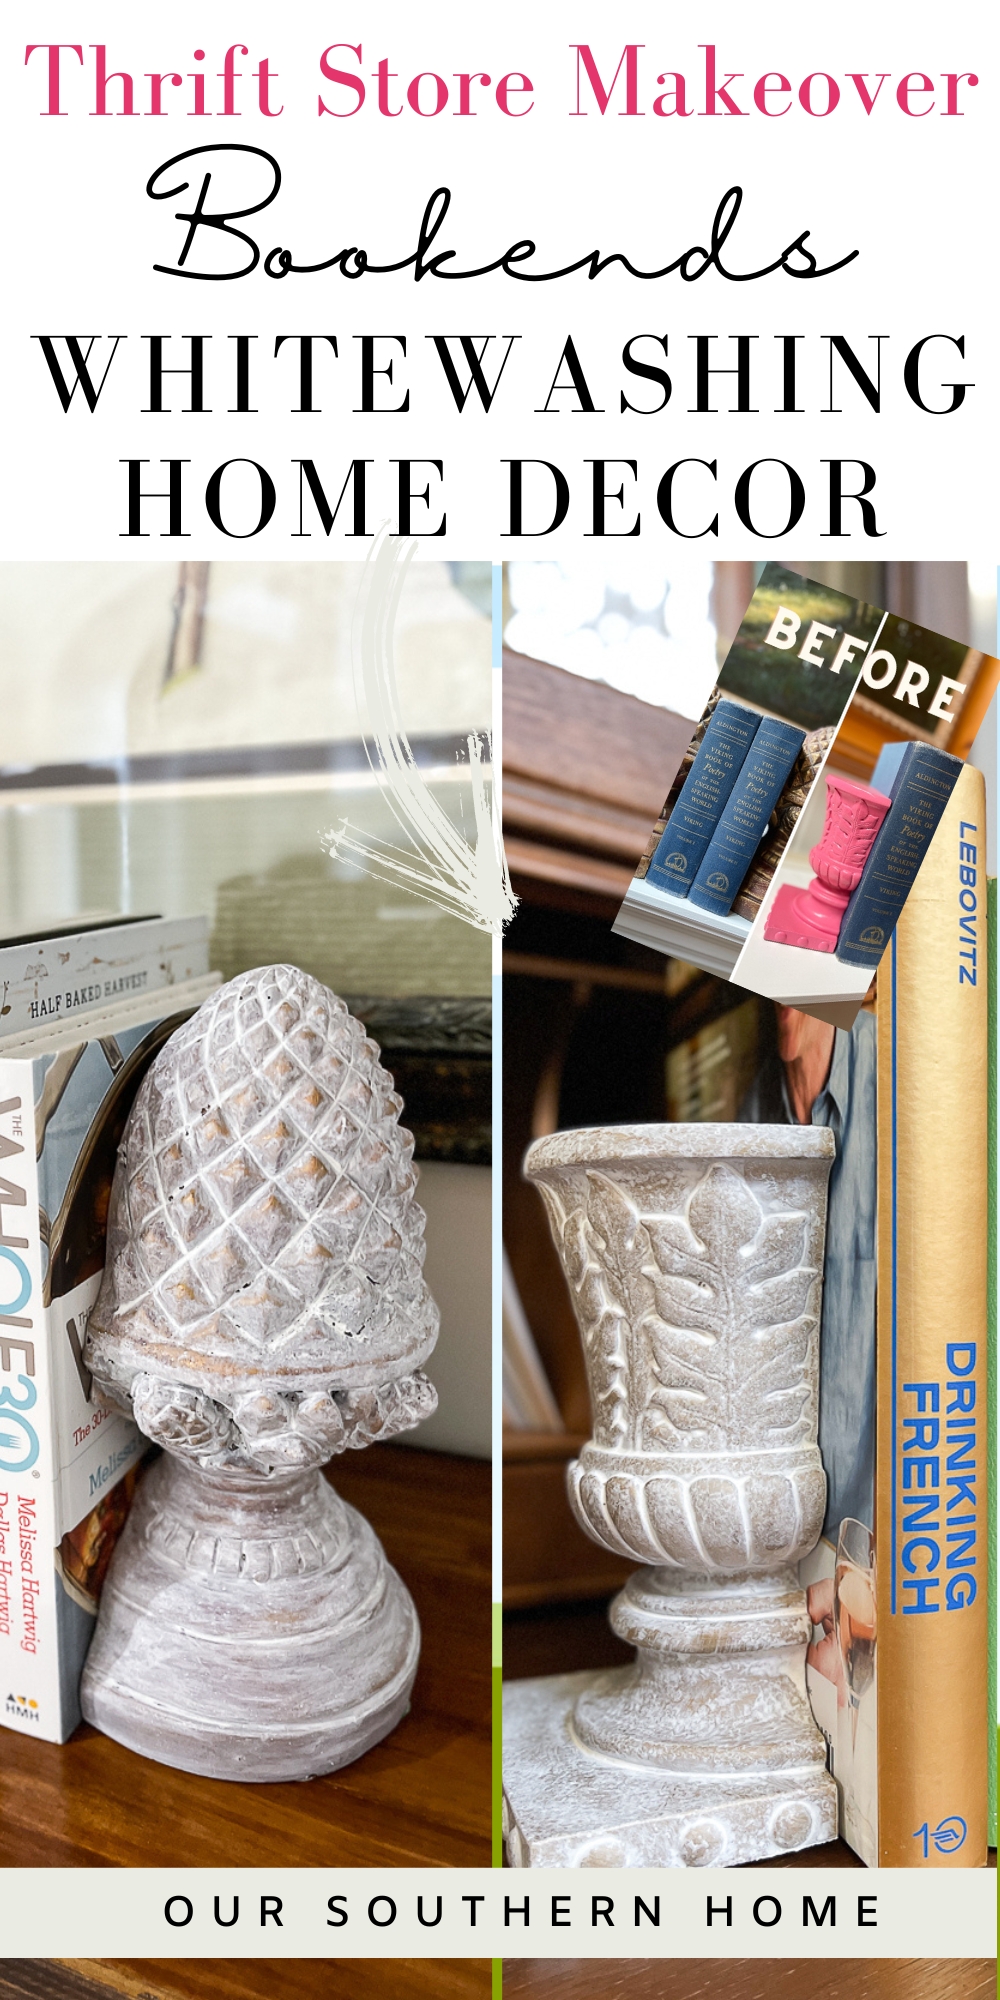
How to Whitewash Home Decor for an Updated Look
Learn how to whitewash home decor for an updated look that is very budget-friendly with minimal paint used.


Latest from OSH
- Simple Layered Summer Tablescape with Collected Decor
- How to Make Piña Coladas in an Ice Cream Maker
- Saturdays on the Porch #86
- Saturdays on the Porch #85
- Easy European Wall Art with Thrift Store Frames
This post may contain affiliate links. If you purchase something using one of my links, I may earn a small commission from the retailer costing you nothing more. You can read more on my disclosure page. Christy Little of Our Southern Home is a participant in the Amazon Services LLC Associates Program, an affiliate advertising program designed to provide a means for sites to earn advertising fees by advertising and linking to amazon.com.
Thrift Store Makeover Day
Each month the team comes together with ideas that you can use to give new life to items that you already own or with your thrifty finds.

Join us each month for NEW thrifty ideas from the team. You'll find links to all of the projects below.
What is whitewashing?
Whitewashing is a form of painting or coating that is commonly used to enhance and decorate the appearance of wood, brick, and stone surfaces. It is a mixture of water and white paint that produces a semi-translucent coating with a soft hue. Whitewashing techniques have been used since ancient times and it has become increasingly popular.
It's commonly used on furniture, home exteriors, fireplaces, and more!
What paint works best?
I prefer to use flat finish paints and chalk paint. I have even used regular flat-finish wall paint. You could do this technique with any color, but white is the most popular.
It's a great way to achieve a cottage, farmhouse, coastal, or vintage look.
It's a fabulous way to change the look of home accessories that may be too gold and dated with their current coloring. It;'s such a simple DIY project.
Supplies Used
- white chalky finish paint
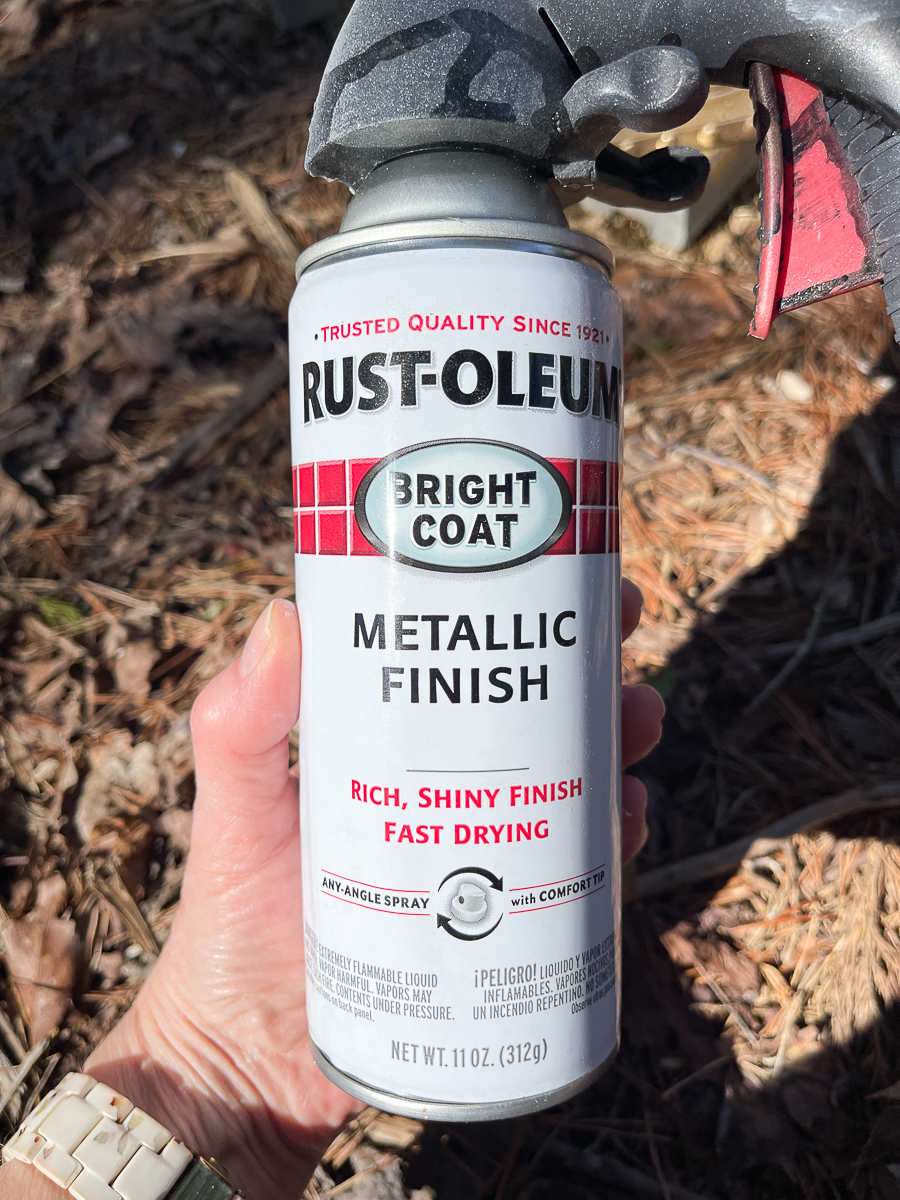
- gold spray paint (only on the smaller bookends)
- small chip brush
- plastic cup
- water
- spoon
- paper towels
- waxed paper or parchment paper
- spray sealer
- spray nozzle
- risers (I use blocks of wood)
How-To Whitewash
- Clean your piece of grime and dust. A paintbrush can be sued to dust ornate pieces.
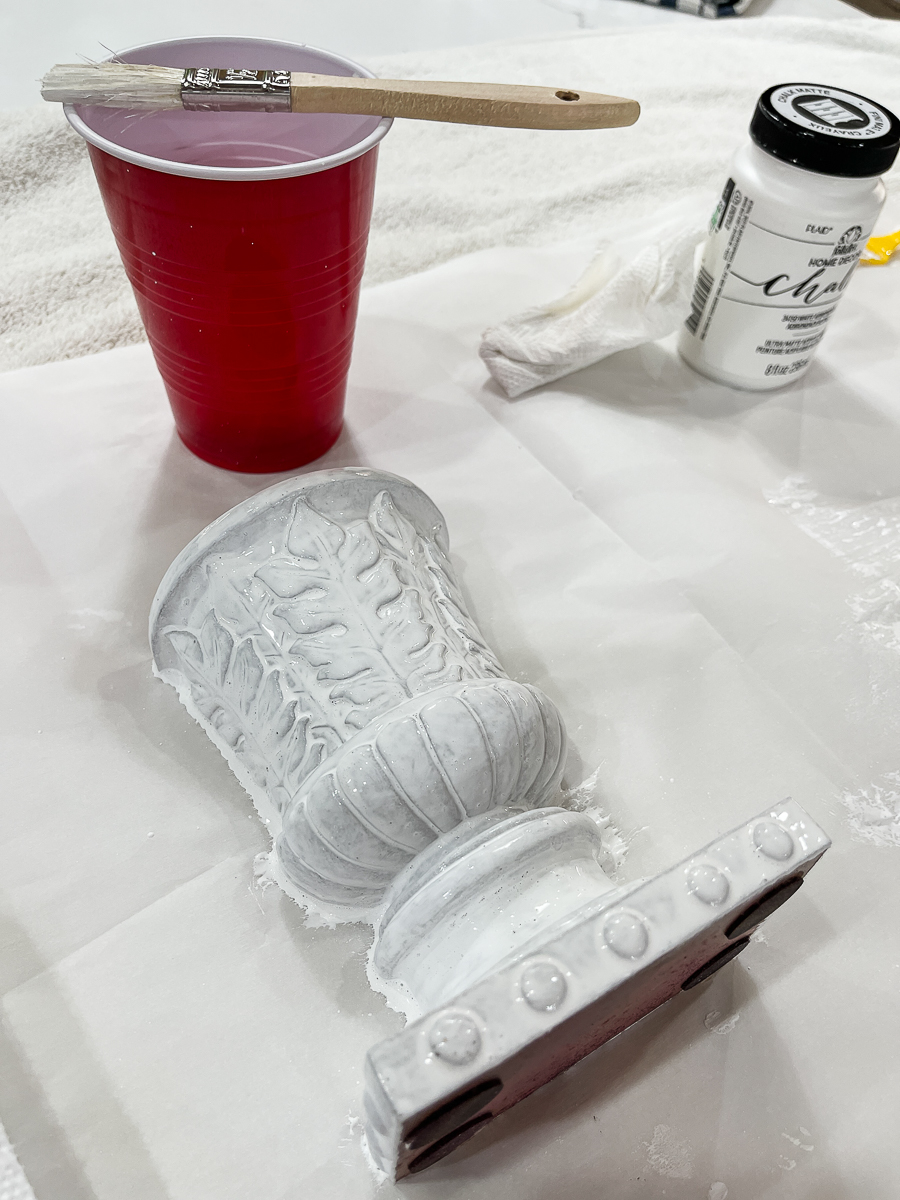
- Place a small amount of white paint in a plastic cup.
- Add small amounts of water to thin your paint to the consistency of milk.
- Brush the paint on the piece. Let the paint sit for about a minute on the decor.
- Take your paper towel and wipe the paint off in the same direction. You can also blot the paint.
- Depending on how thin your paint was when you started, you may do more than one coat.
- I only did one coat on each set of bookends.
- Let the piece dry thoroughly.
- Take the bookends outside and spray several coats of spray sealer on the bookends. This is a must to keep your finish from wearing off. You've thinned the paint considerably, so it needs to be sealed to protect it from scratching off easily.
- Let the sealer dry completely and style in your home!
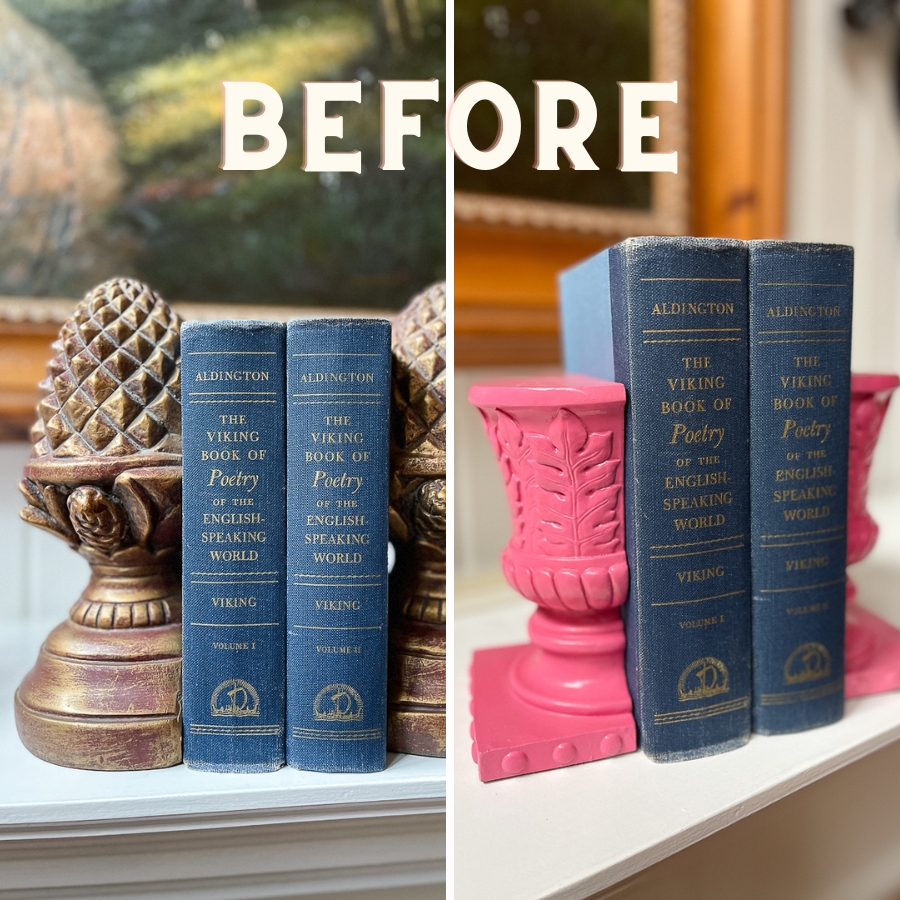
Bookend #1
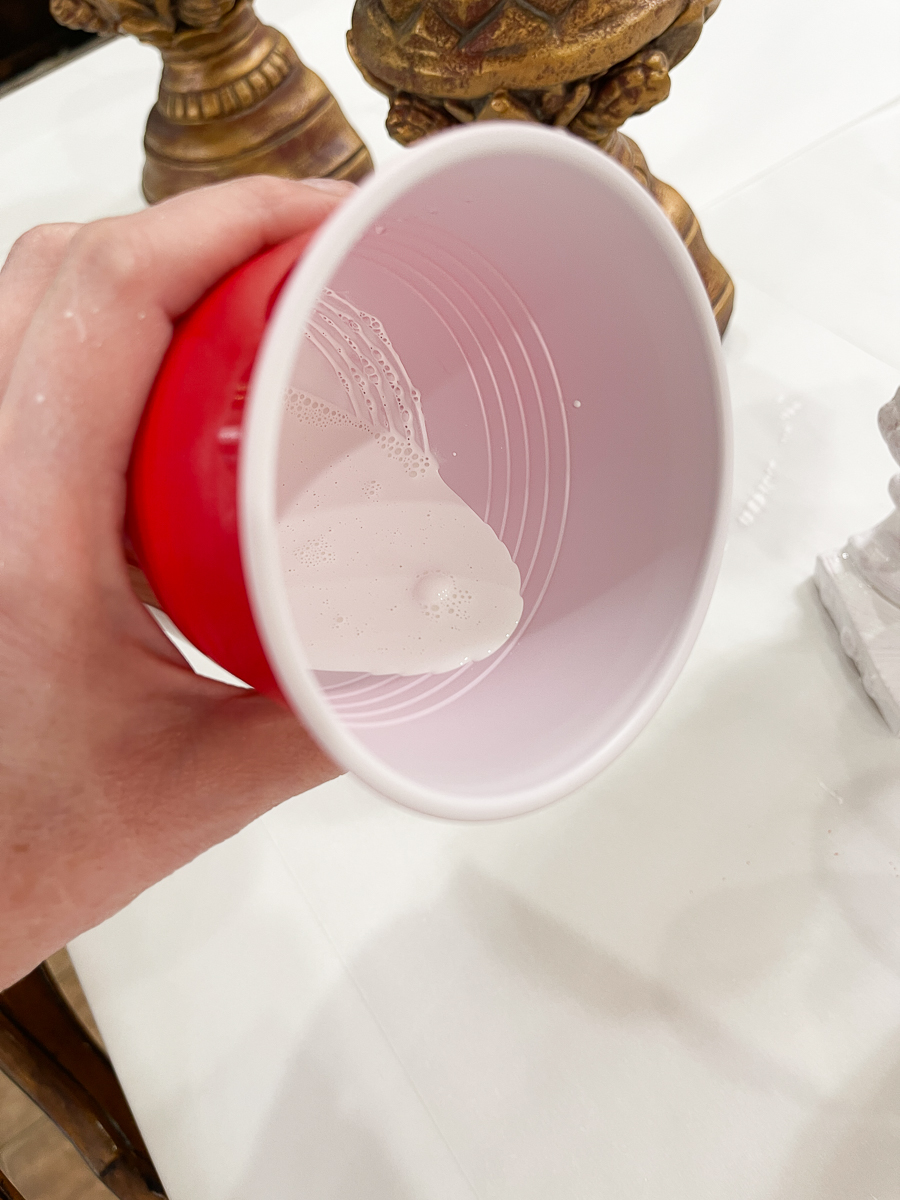
Thin your white paint with a little water to the consistency of milk. It will be very runny when you paint with it.
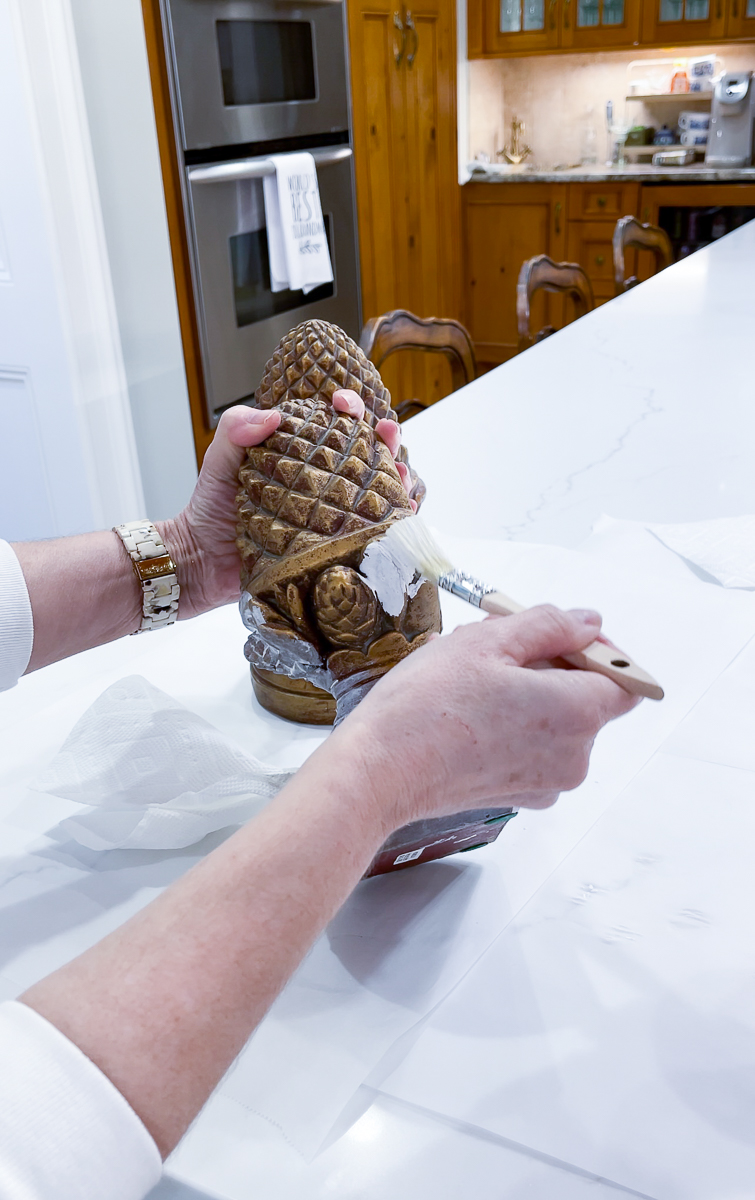
These bookends are pretty great, but a little too old-world for my tastes. Brush your thinned paint liberally over the bookends.
Let it sit briefly for about a minute.
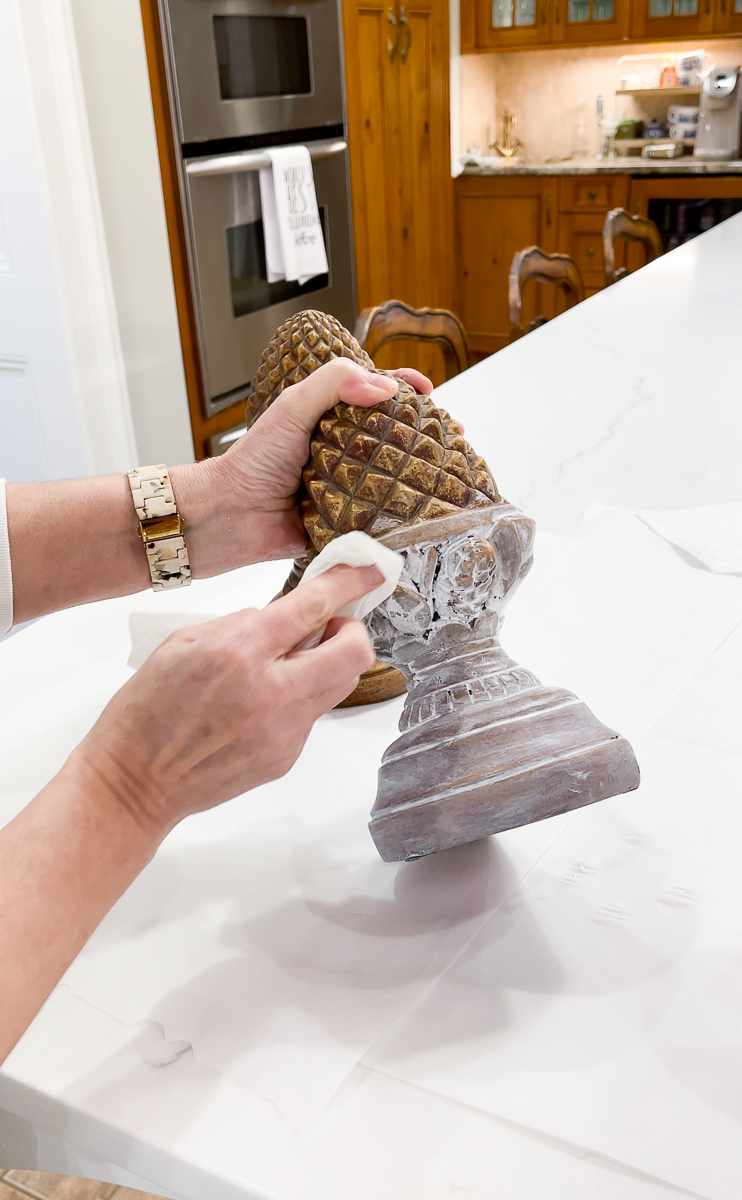
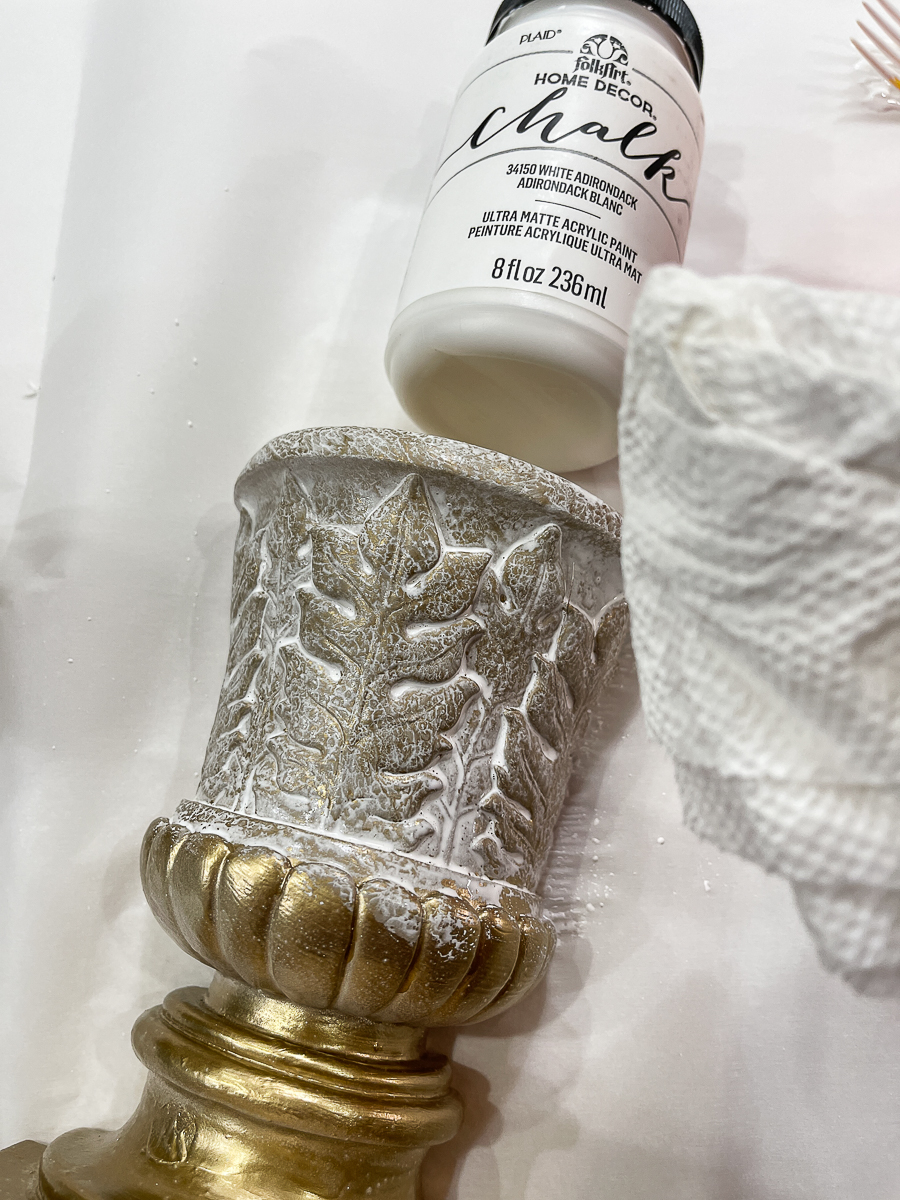
With a Bounty paper towel, wipe the paint off with light pressure. The paint will rest in the crevices. You can wipe more in certain areas if you'd like more gold to shine through.
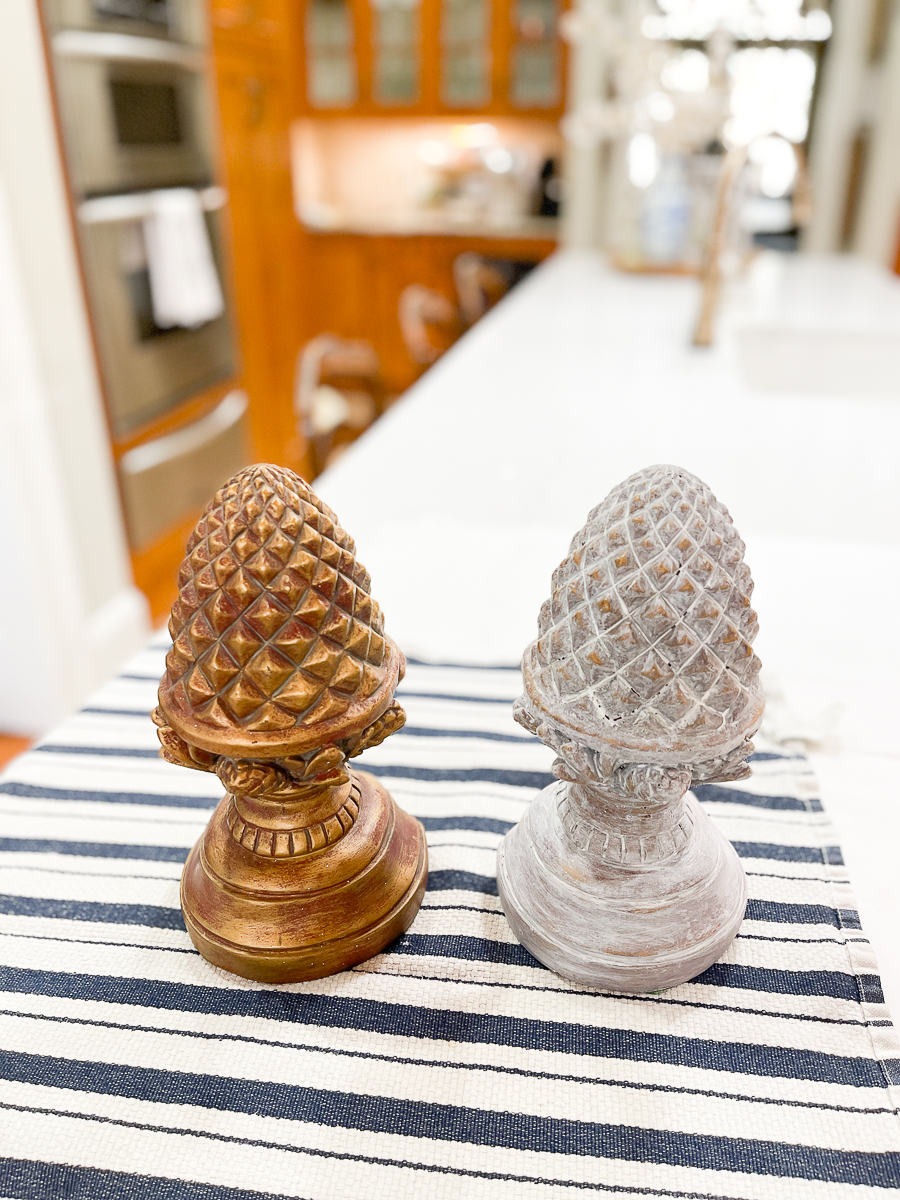
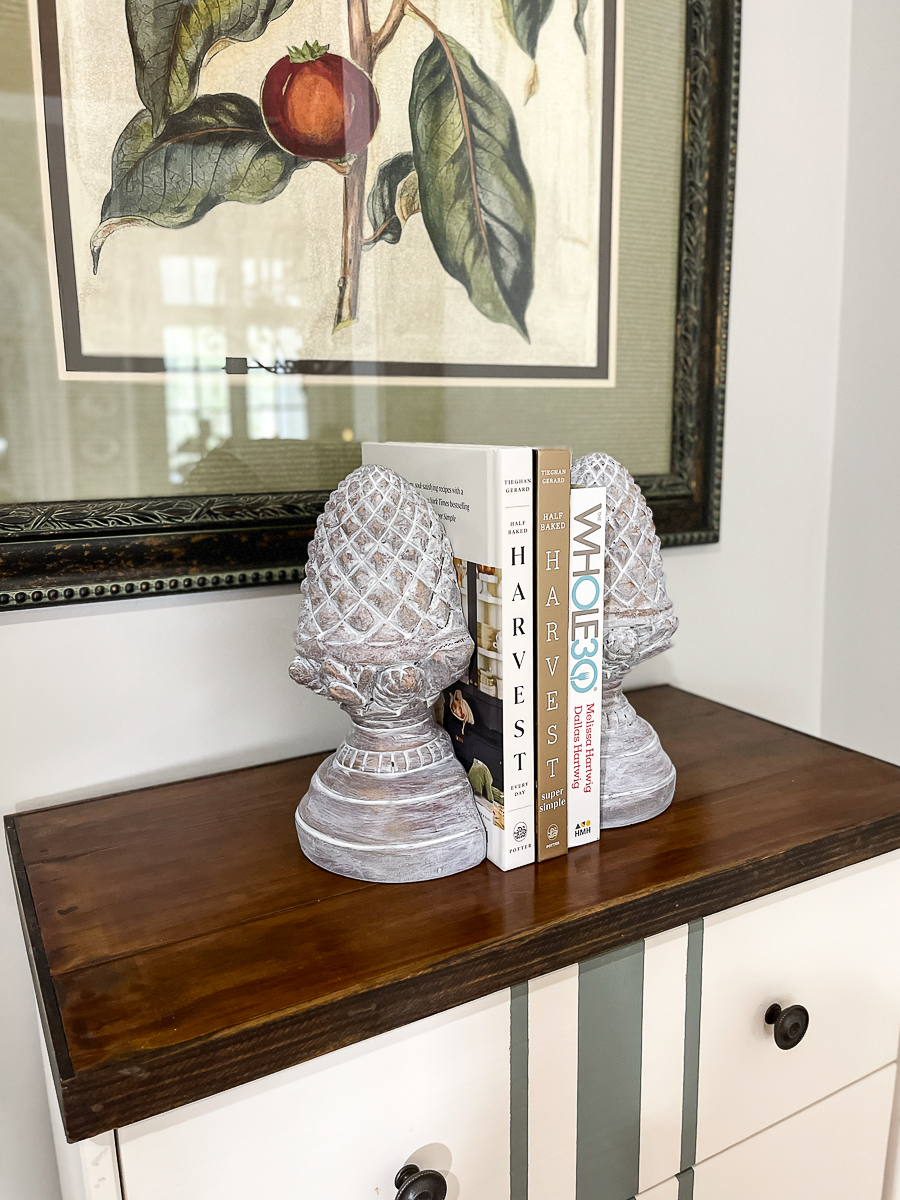
Now they have a more vintage appearance. Be sure to seal them. You'll see more on that below with the 2nd set of bookends.
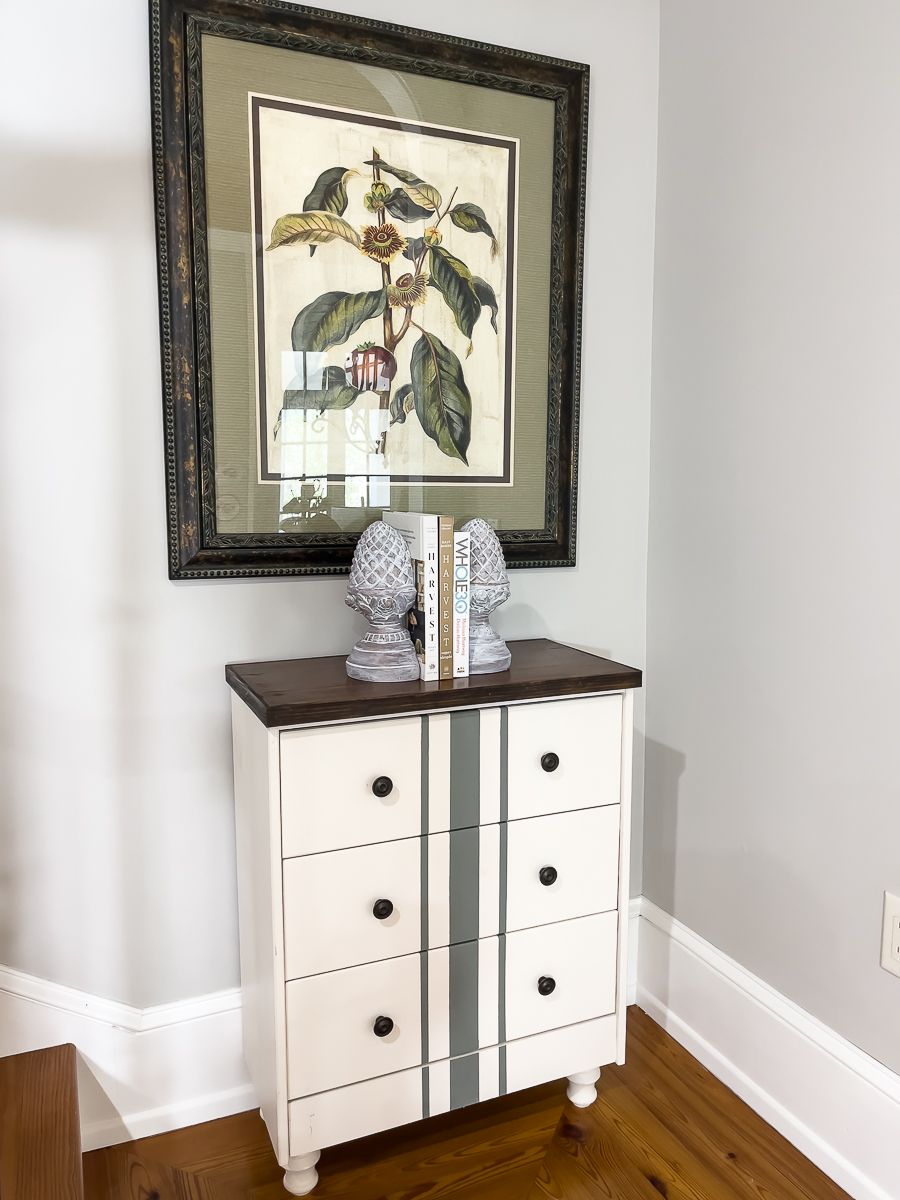
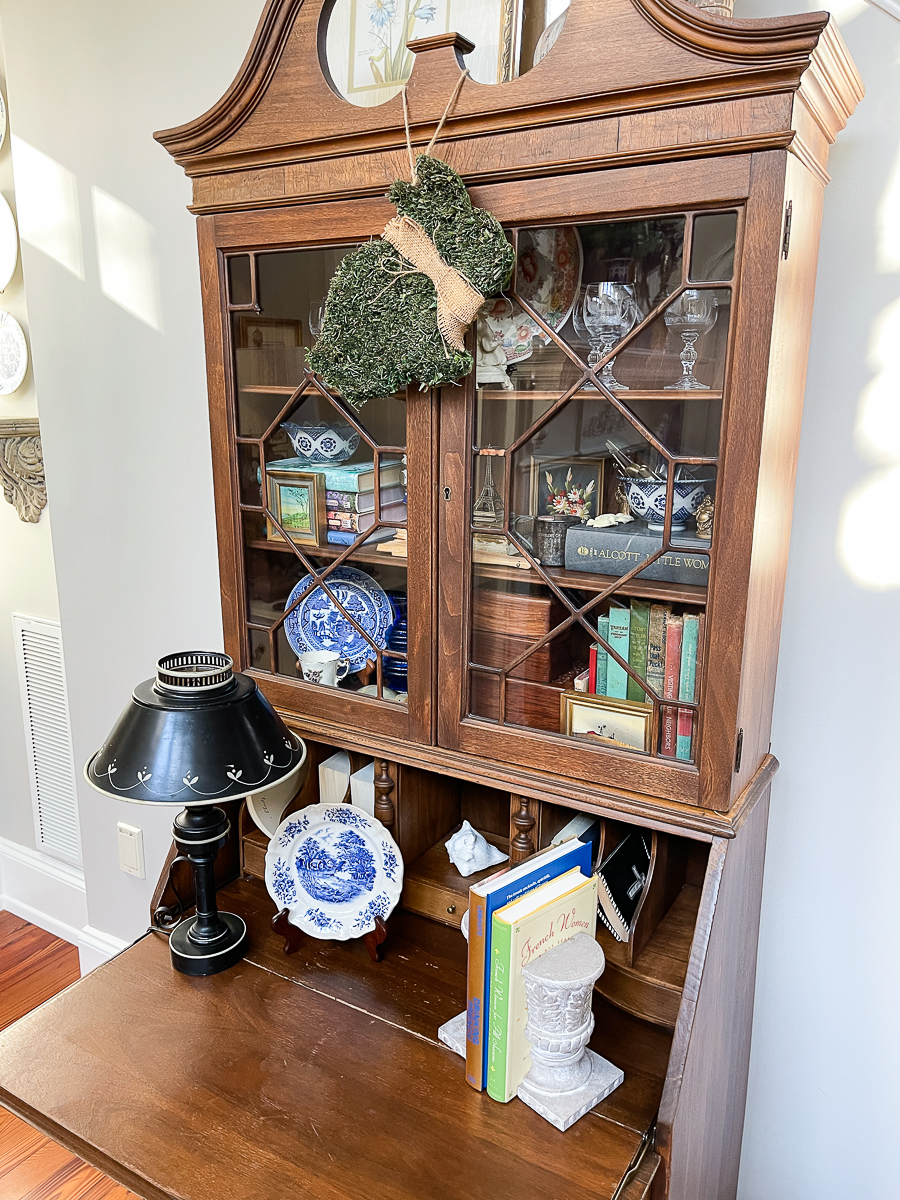
This is a little nook in the staircase off the kitchen. The little chest was actually a very old post where we used a basic IKEA piece that we did a little makeover. I store napkins in it. Yes, I have quite the napkin collection. I have a weakness.

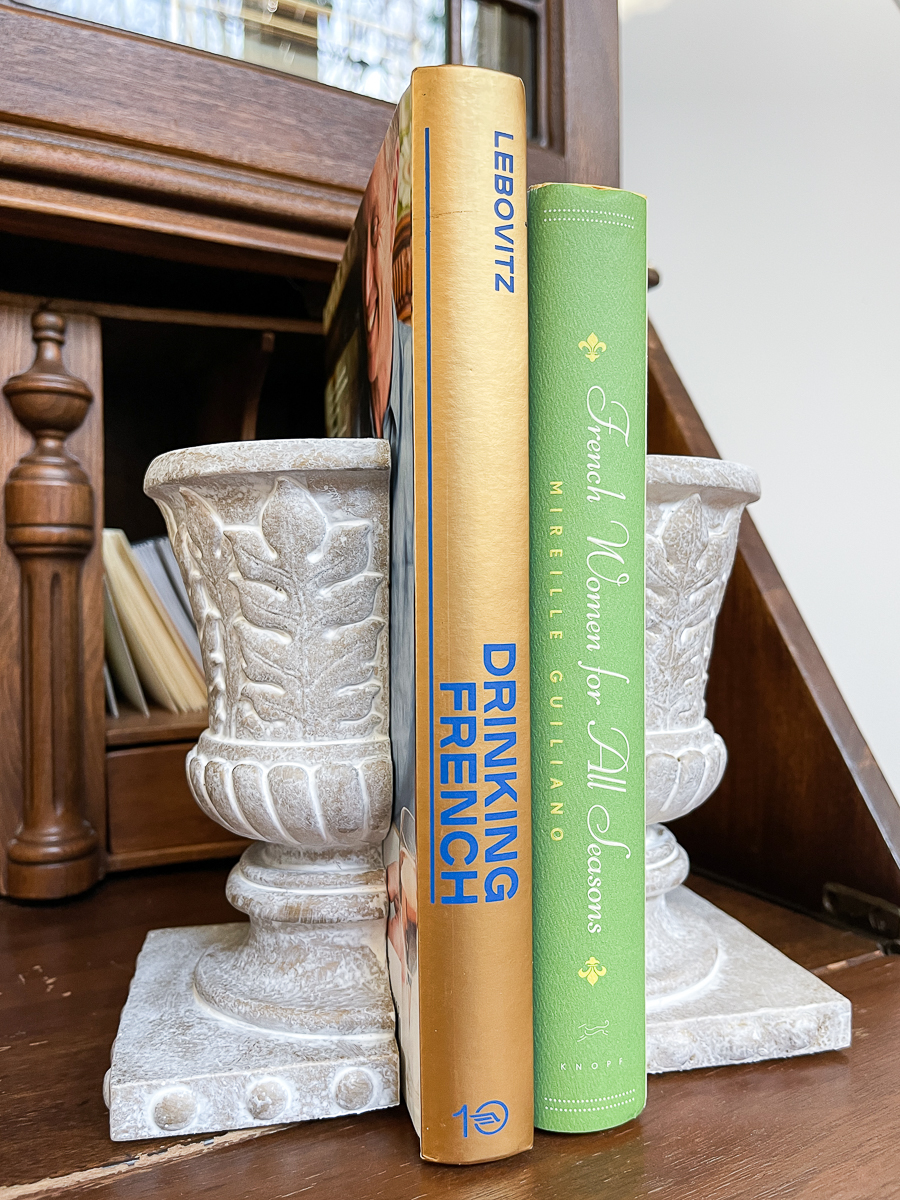
Bookend #2
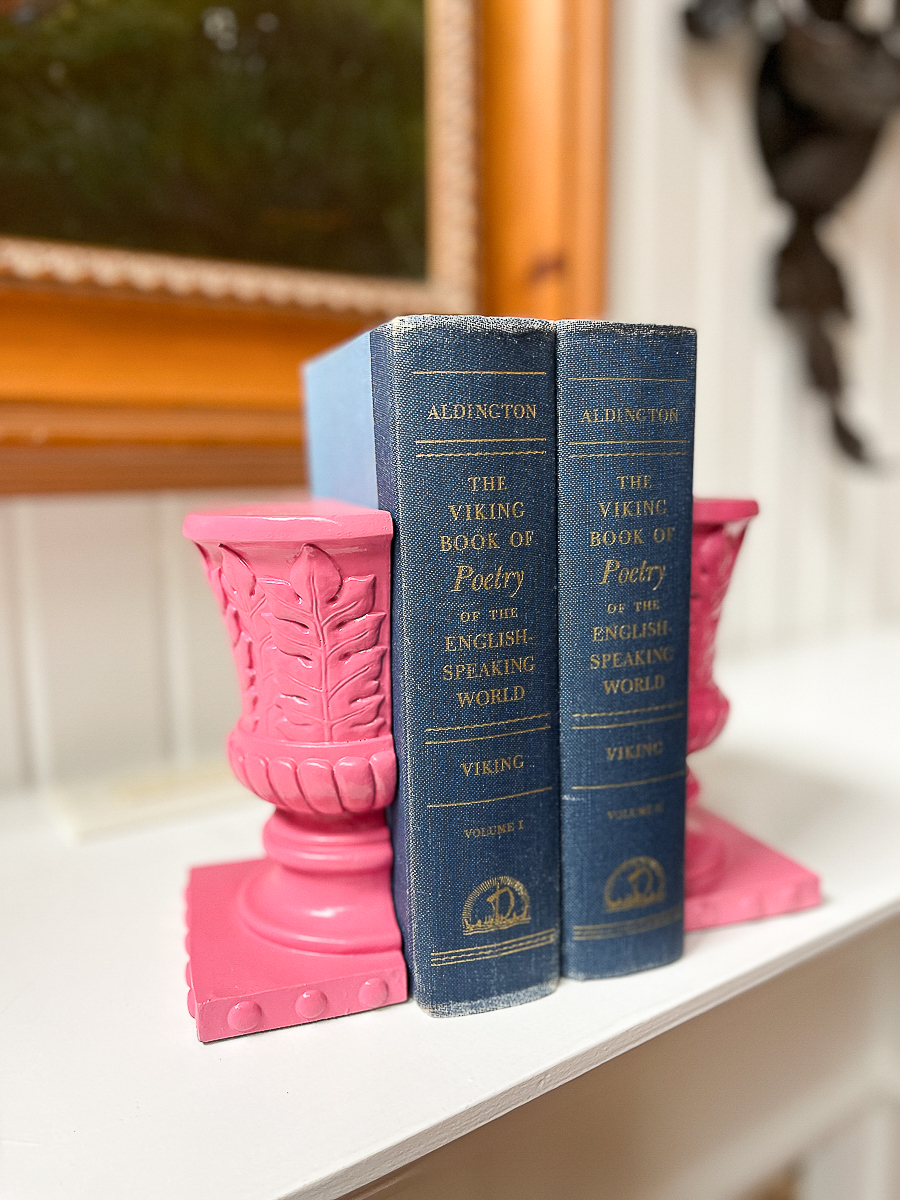
These bookends are a very old thrift store find. I don't even remember the original color. Back when Ashlyn was single digits (now 24!!), we sprayed them pink to go with her room. We went thrifting together a bought a few things for her new desk area that we were decorating.
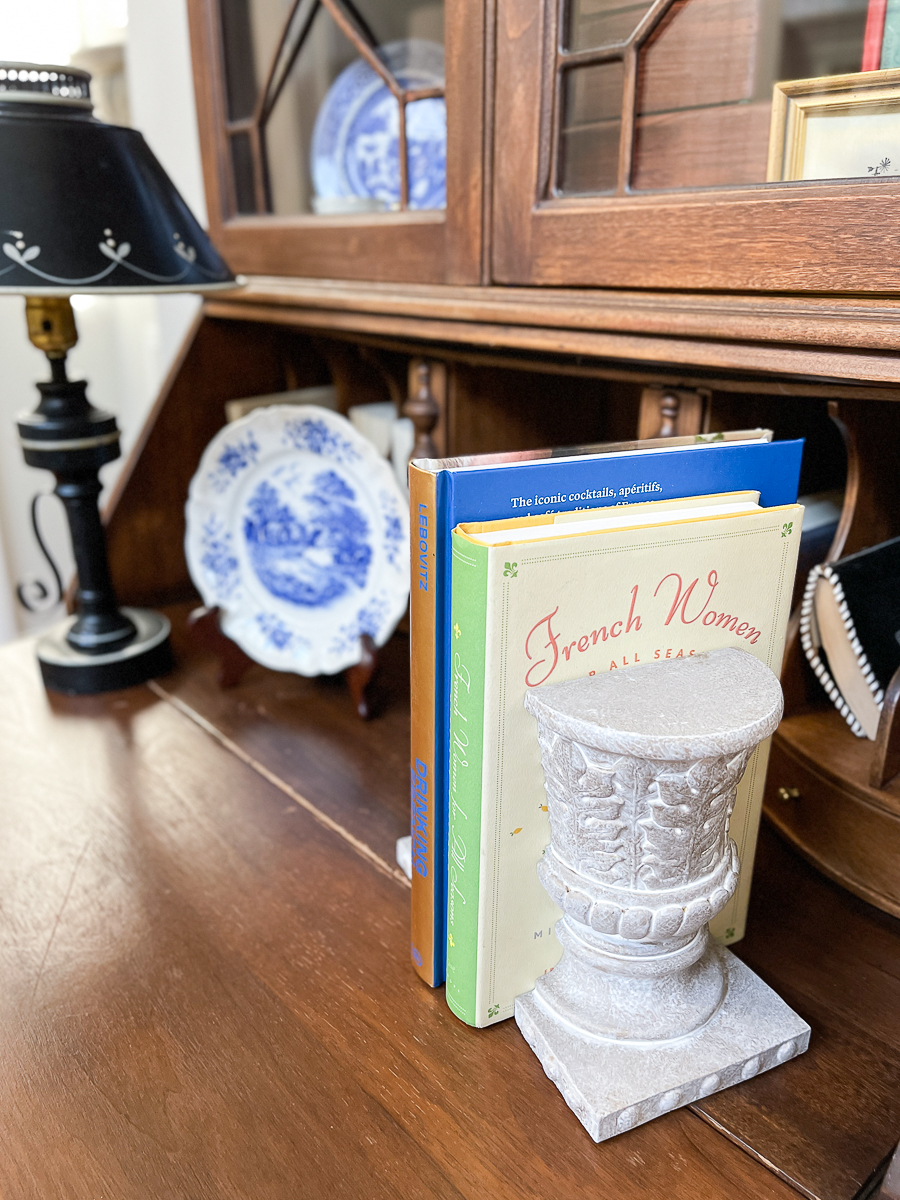
I wanted to give these bookends a similar look to the ones above.
I started by spray painting them gold. The exact gold is linked above in the supply list. It is my favorite gold spray paint.
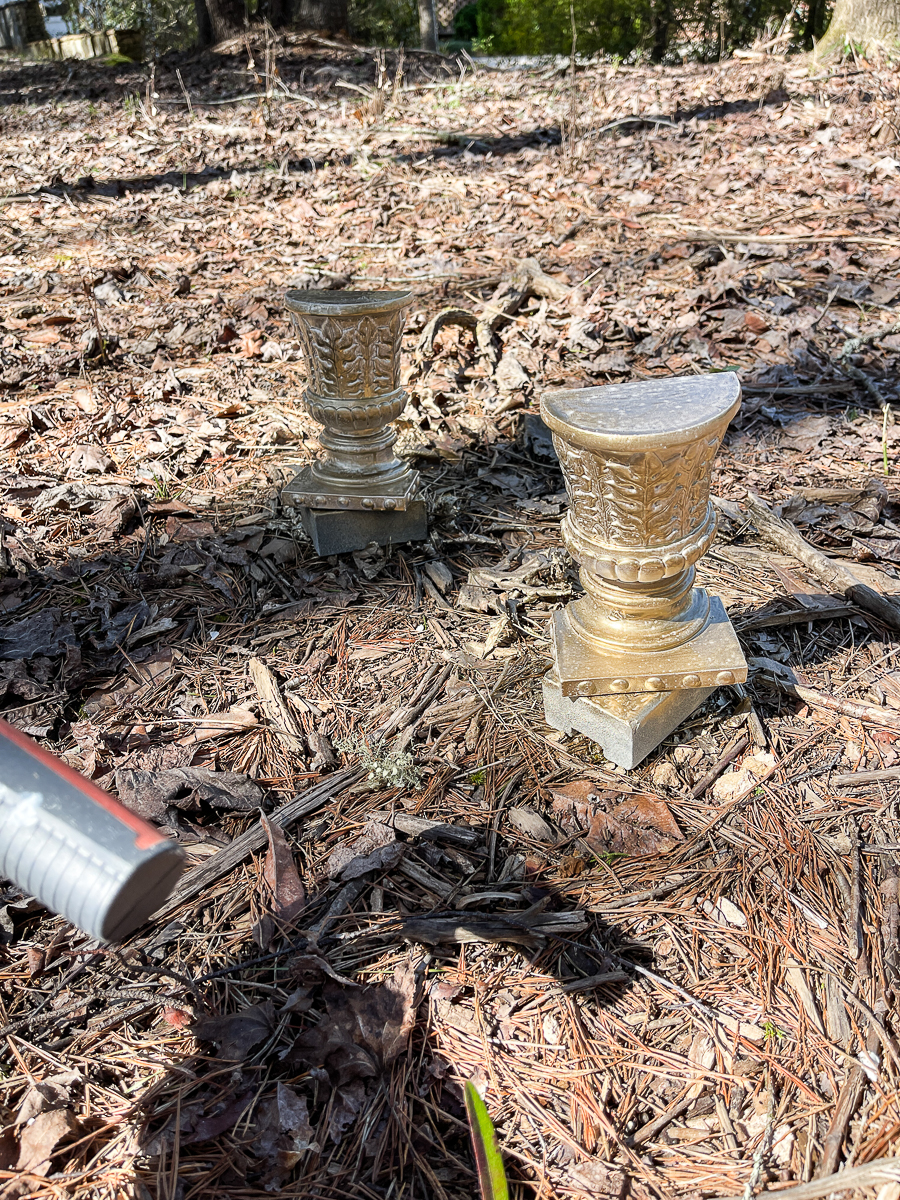
This spray paint look does not have to be perfect. I sprayed two coats. Be sure to turn the piece upside down to get it sprayed from all angles. You just want to cover all the pink!
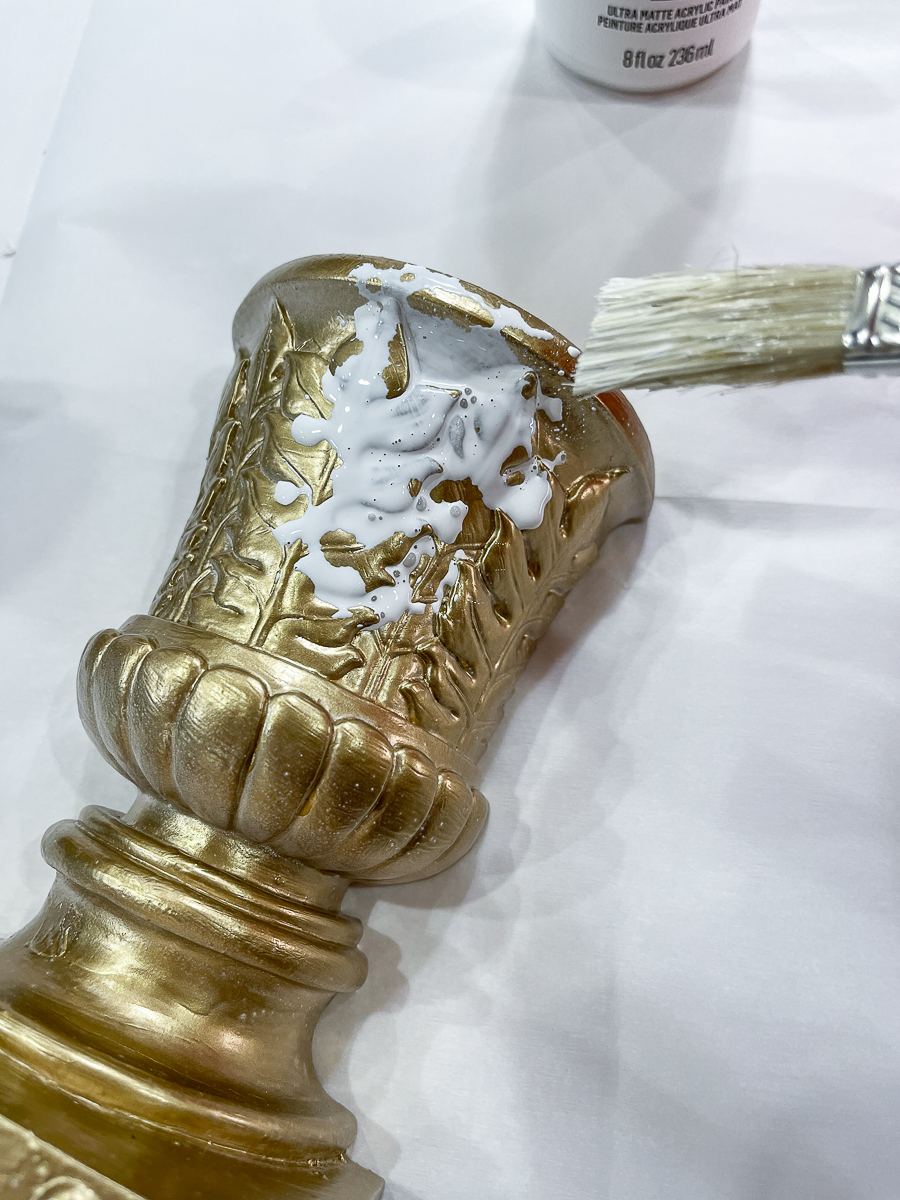
Brush your watered-down paint all over the piece and let it sit for about a minute.
If you have a larger piece, work in small sections.
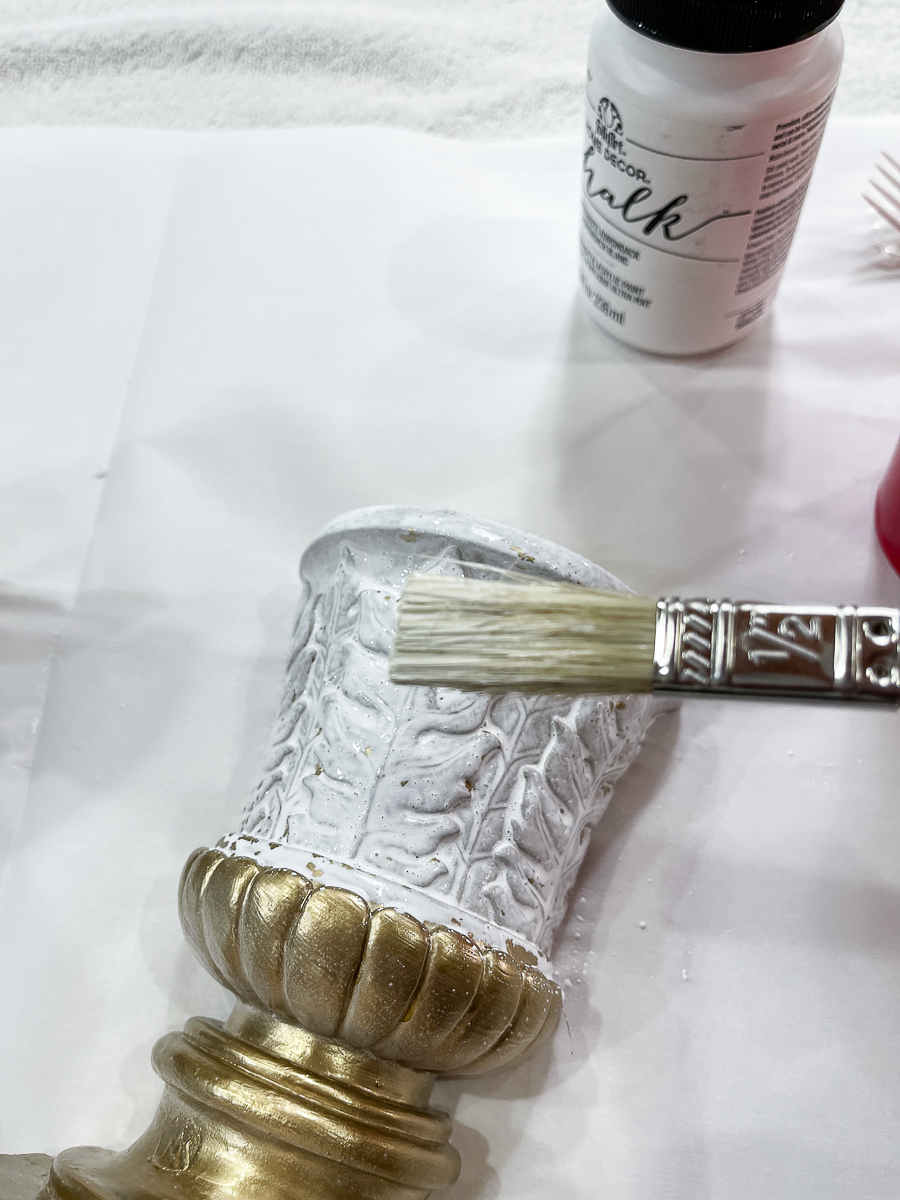
Instead of rubbing the paint off, I blotted with a Bounty towel. I love the texture it gives the bookend.
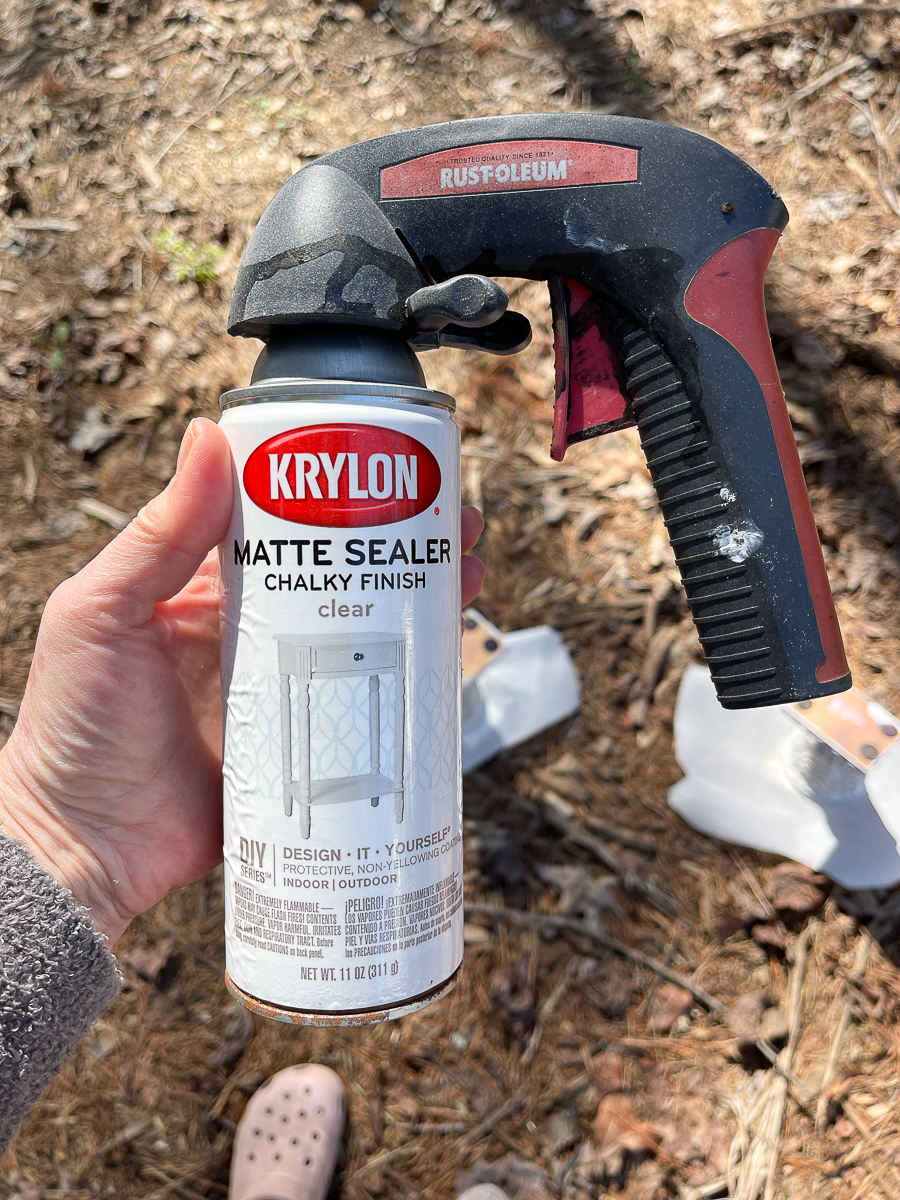
Let your bookends DRY thoroughly! No wet paint…..take them outside and spray them with several coats of a matte sealer.
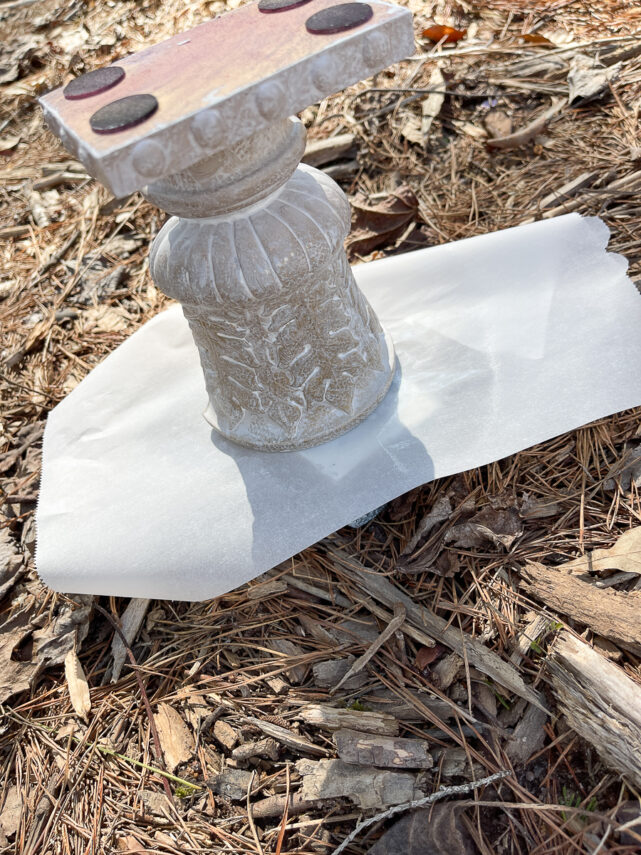
Turn it upside down to get it from all angles.
Please do NOT skip the sealer step.
You have thinned your paint so it is a bit more fragile. To prevent it from scratching off, sealing will protect it and lock it in place.
I Love how these turned out.
Sadly, I won't be keeping these. I am going to give them back to Ashlyn to put in her work office.
Whitewashing is a fabulous way to quickly and cheaply give older, dated home decor a fresh look!
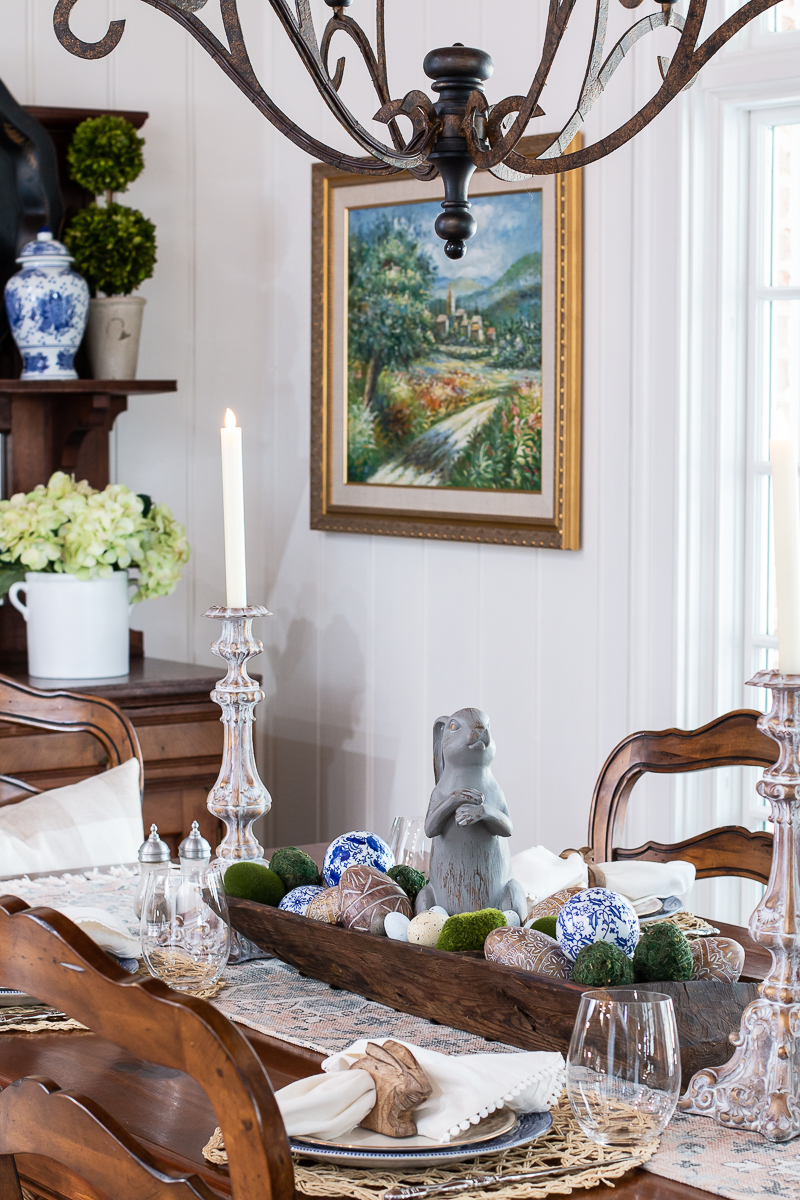
The above candlesticks received the same whitewashing treatment. Sadly, I don't have a before of them. I did the project many years ago.
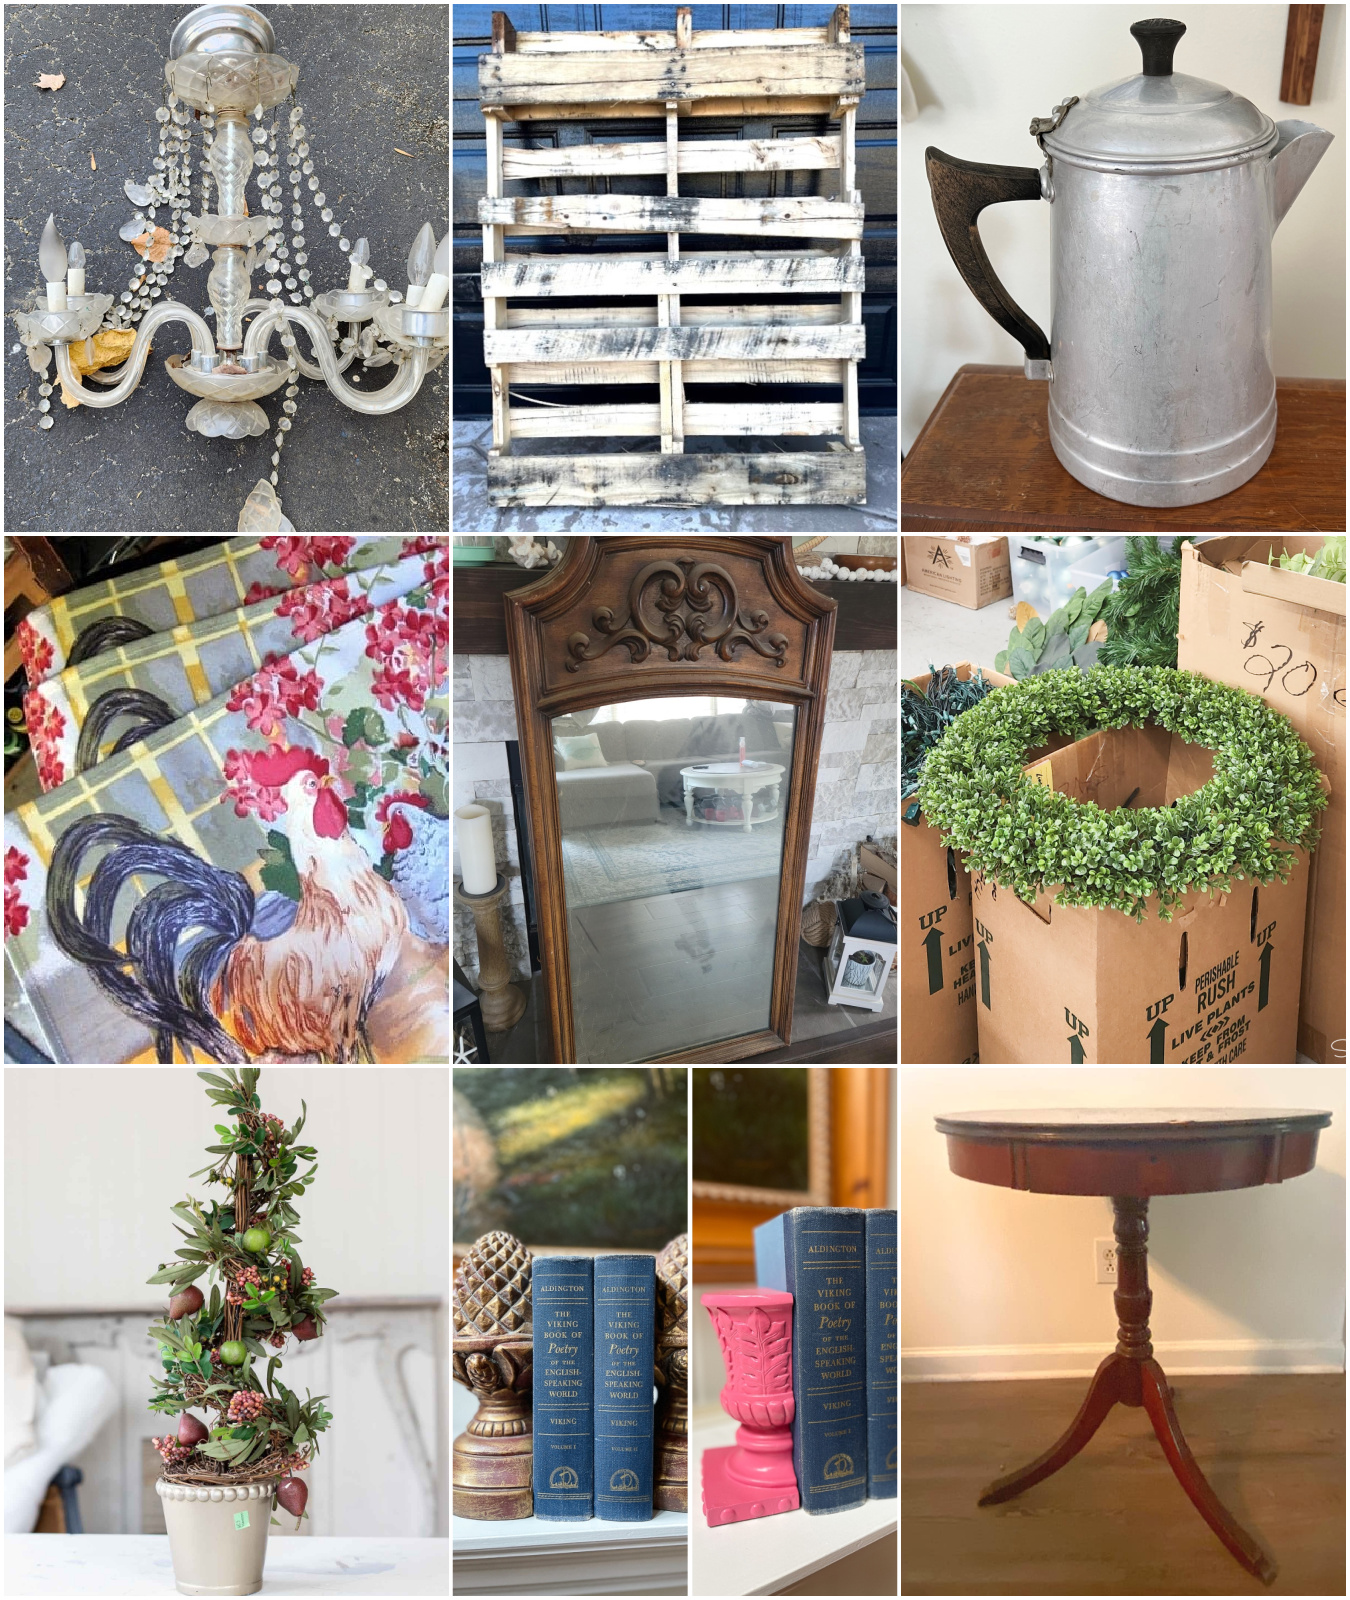
Check out this month's thrifty makeovers!
Upcycled Glass Chandelier My Repurposed Life
Pallet Herb Garden My Uncommon Slice of Suburbia
Old Coffee Pot Upcycled As A Flower Pot Organized Clutter
Chicken Wall Decor Idea Petticoat Junktion
How to Update an Old Mirror Domestically Speaking
St. Patrick's Day Wreath Sadie Seasongoods
Thrift Store Upcycle Idea for Spring Reinvented Deleware
Whitewashing Bookends Our Southern Home
Thrift Store Painted Side Table Shop At Blu


Christy has been creating content for Our Southern Home since 2012. She has been featured in numerous print and online publications. Her classic, eclectic design approach spans her home and fashion style. Christy has a way of mixing store-bought with thrift store, antique and vintage finds. As a recent empty nester, she is having fun navigating this new stage of life. Read more about Christy HERE. Be sure to subscribe below. You can also contact me HERE.


The white washing updated those pieces perfectly!
The whitewashed look is so pretty! This would be a great way to update so many pieces Christy! Pinned 🙂
Both sets of bookends turned out so well! You would never know the one set was hot pink! Pinned.
I love the fresh new update on these bookends! Thank you for your awesome tutorial on white washing!
I never think to do things like this but love it! Like the pink ones for instance. If my brain works it goes straight to just using spray paint in white. It’s genius to paint it gold first.