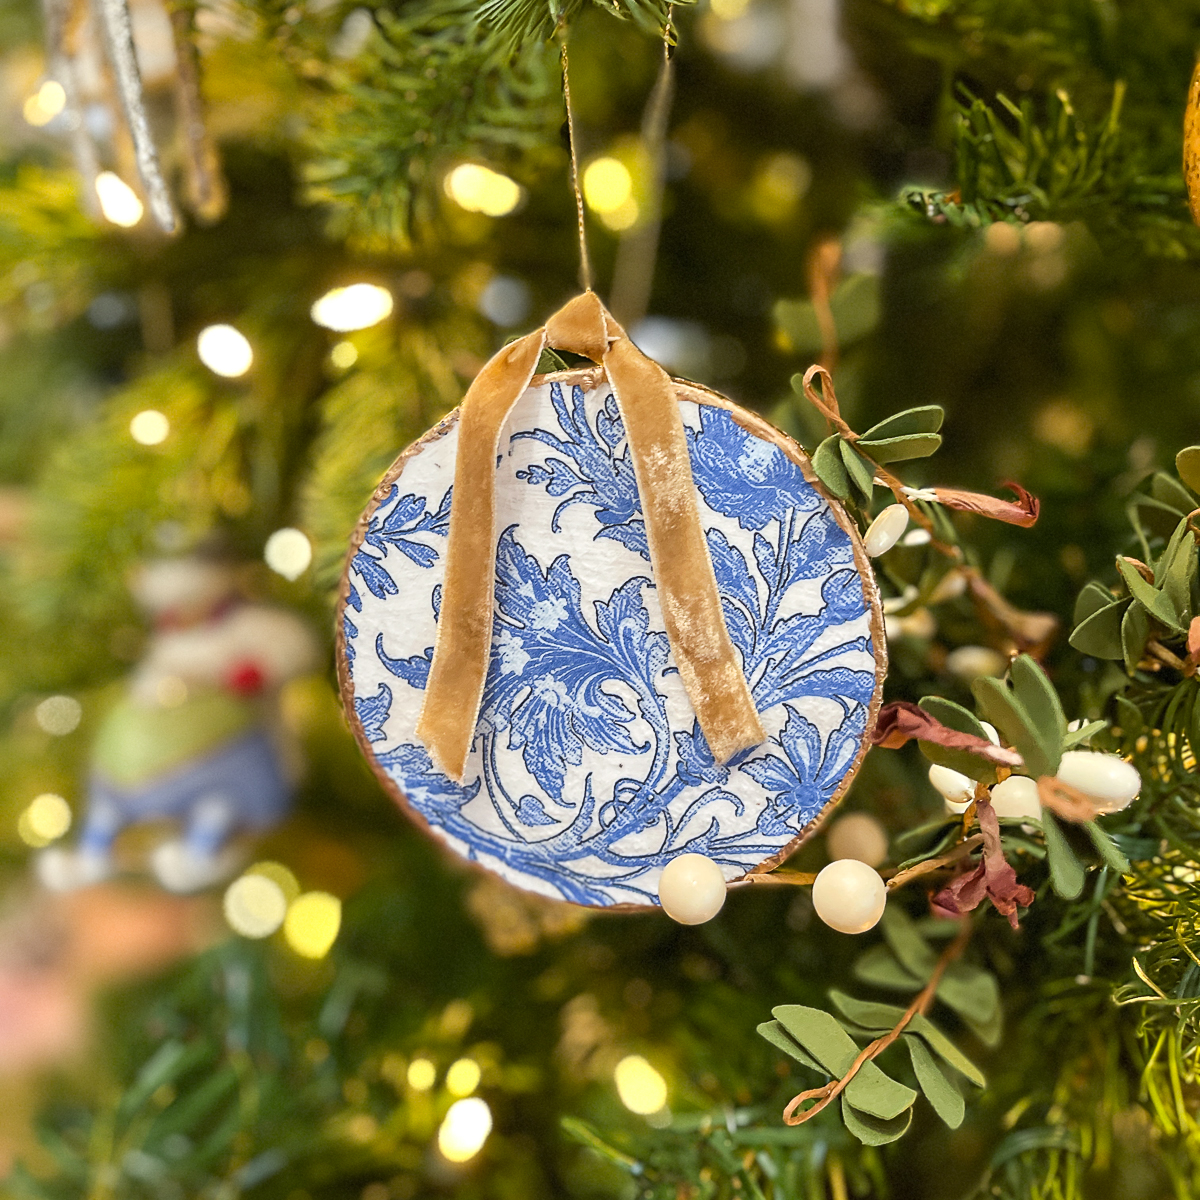
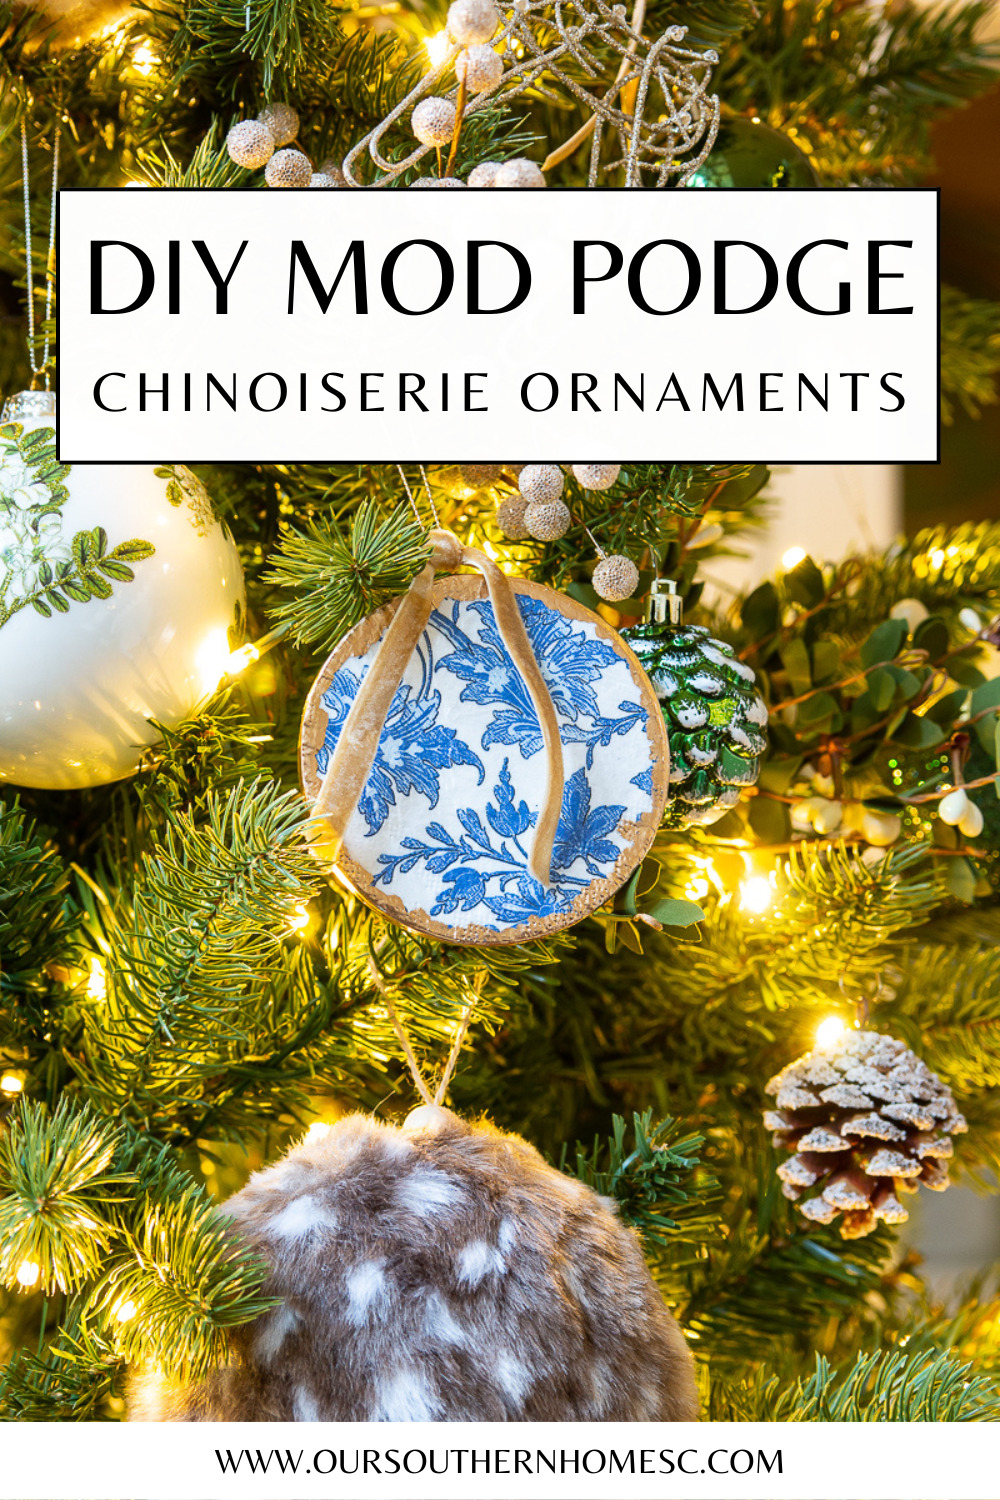
How to Make Decoupage Chinoiserie Ornaments
Learn how to make decoupage chinoiserie ornaments for your classic holiday Christmas tree. They are quite simple to make with Mod Podge.
Latest from OSH
- DIY String Light Containers for Your Patio Lighting
- How to Restore a Lantern for Outdoor Use
- DIY Thrift Store Decoupage Wastebasket Makeover
- 10 Easy Spring Decor Ideas to Refresh Your Home
- Easy DIY Spring Tulip Basket Front Door Wreath
This post may contain affiliate links. If you purchase something using one of my links, I may earn a small commission from the retailer costing you nothing more. You can read more on my disclosure page.

Be sure to visit our fabulous host, Cindy, from County Road 407. She organizes our monthly Pinterest Challenges!
What is the Pinterest Challenge?
Each month, we are given either a topic or a photo for inspiration. Think in terms of looking through Pinterest for inspiration. That is how Cindy gets inspired for the challenge. If it is photo inspiration, she visits the source and asks if they'd like to be our inspiration for the monthly challenge. It's that simple! It's such a fun post each month.
This month we just went with the topic of DIY Christmas Ornaments. This is going to be so fun because you will see quite a few different styles of ornaments. I hope you will be inspired!
If you are visiting from My Family Thyme, welcome! Isn't that jingle bell ornament adorable?
How to Make Decoupage Chinoiserie Ornaments
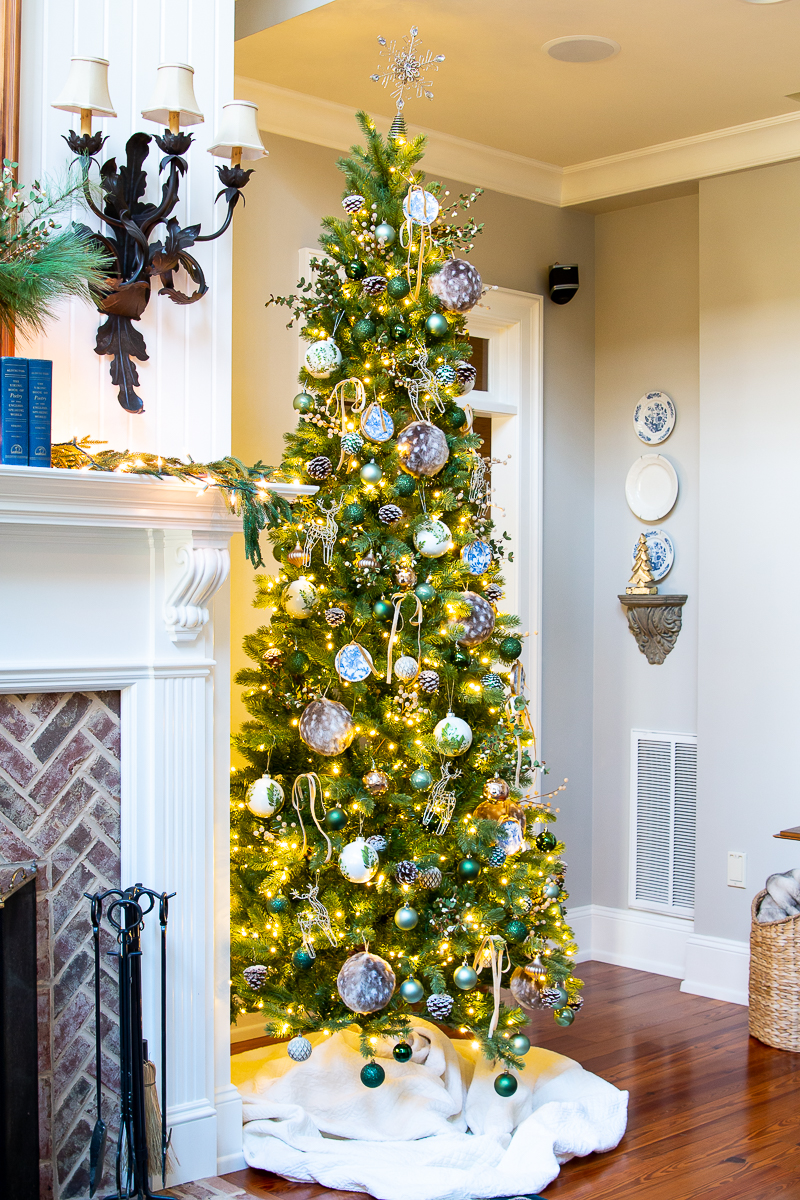
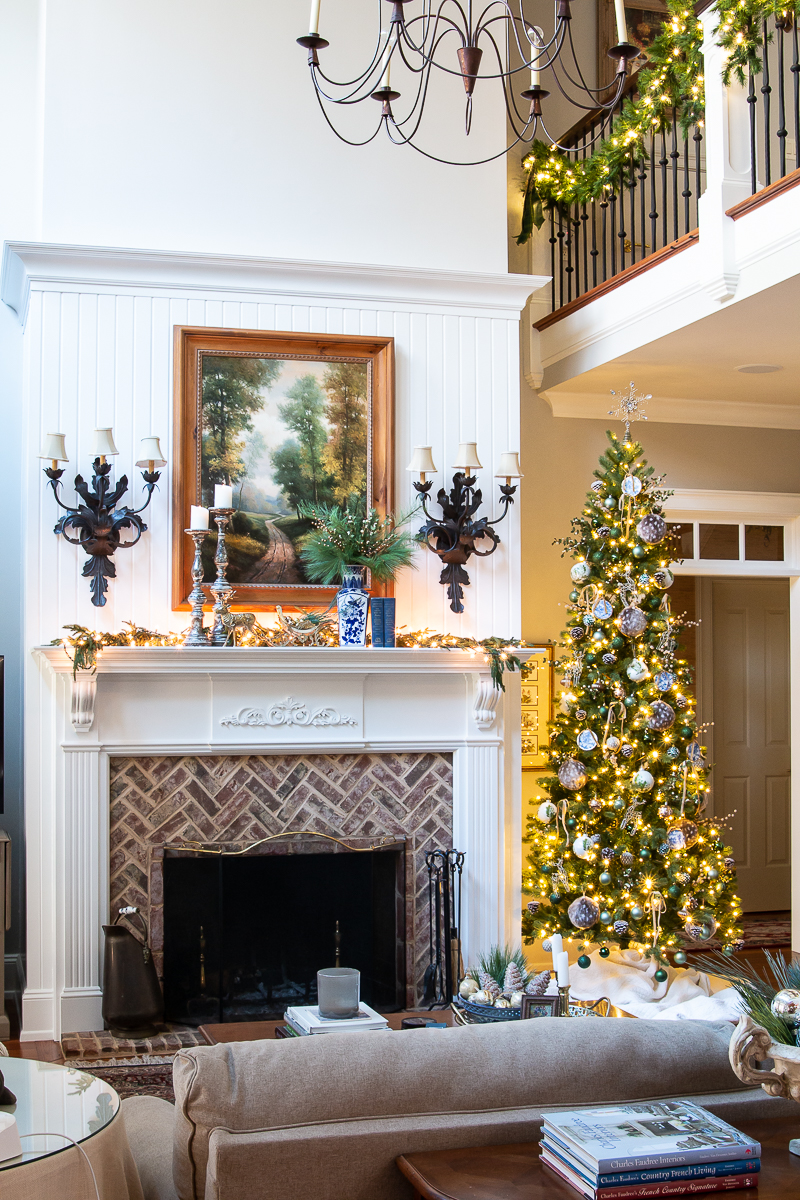
One of our favorite things to do as a family each and every year is to decorate our Christmas tree as a family. It's the tree that goes between the opening of the kitchen and the family room. It's our live tree with all of our precious collected ornaments.
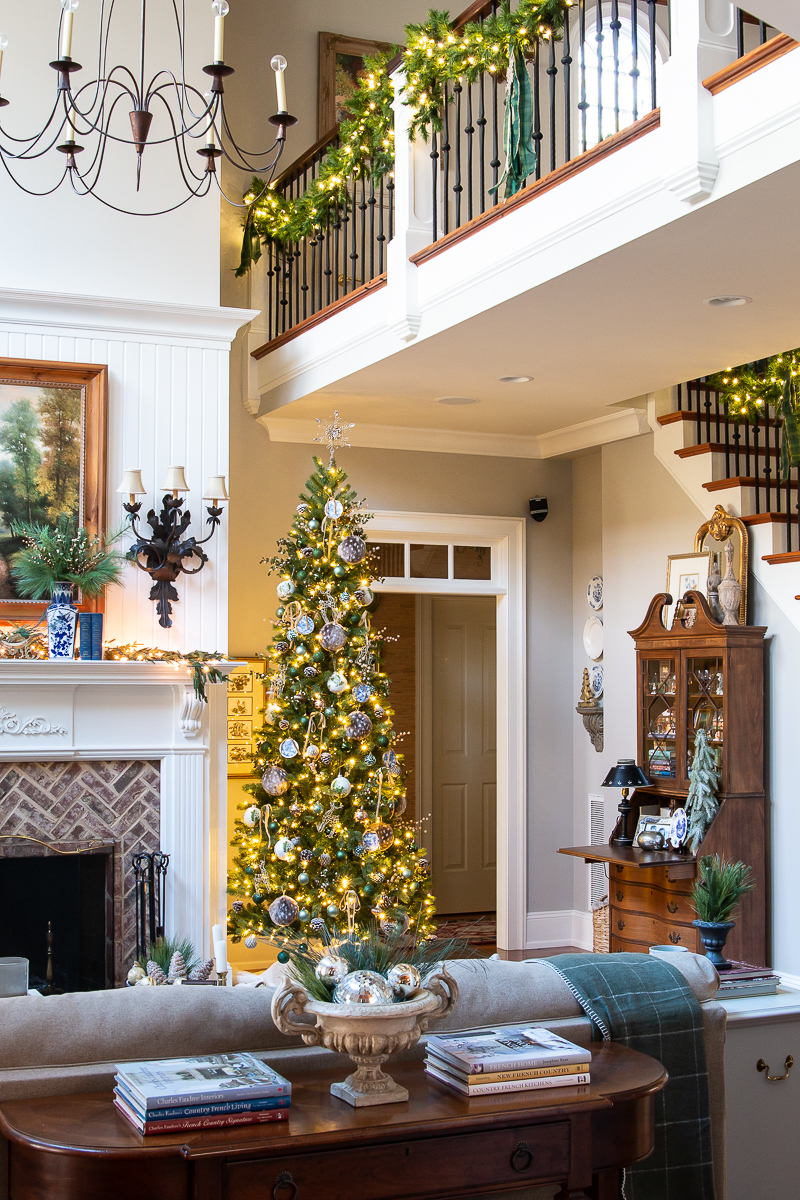
The other trees in our home are more of a styled look to go with the decor, but my favorite is always the “family tree.”
Handmade ornaments are always so special to my heart. The kids have made many through the years that I treasure. I'm now in a season of life, where I am having fun crafting for our empty nest.
It is no surprise that I adore all things blue and white. It's that classic chinoiserie that makes a room swoon.
Chinoiserie ornaments can be quite pricy. I'll have a selection of ready-made beautiful ornaments at the end of the post for your convenience.
I've made several decoupage projects through the years on the blog.
I decided to make my very own ornaments this year for the holiday season.
It's such a simple craft. This project did not cost me anything at the moment because I had all of the supplies in my craft arsenal. The ornament forms had a sticker dating back to 2013! I can't believe that I have had them that long.
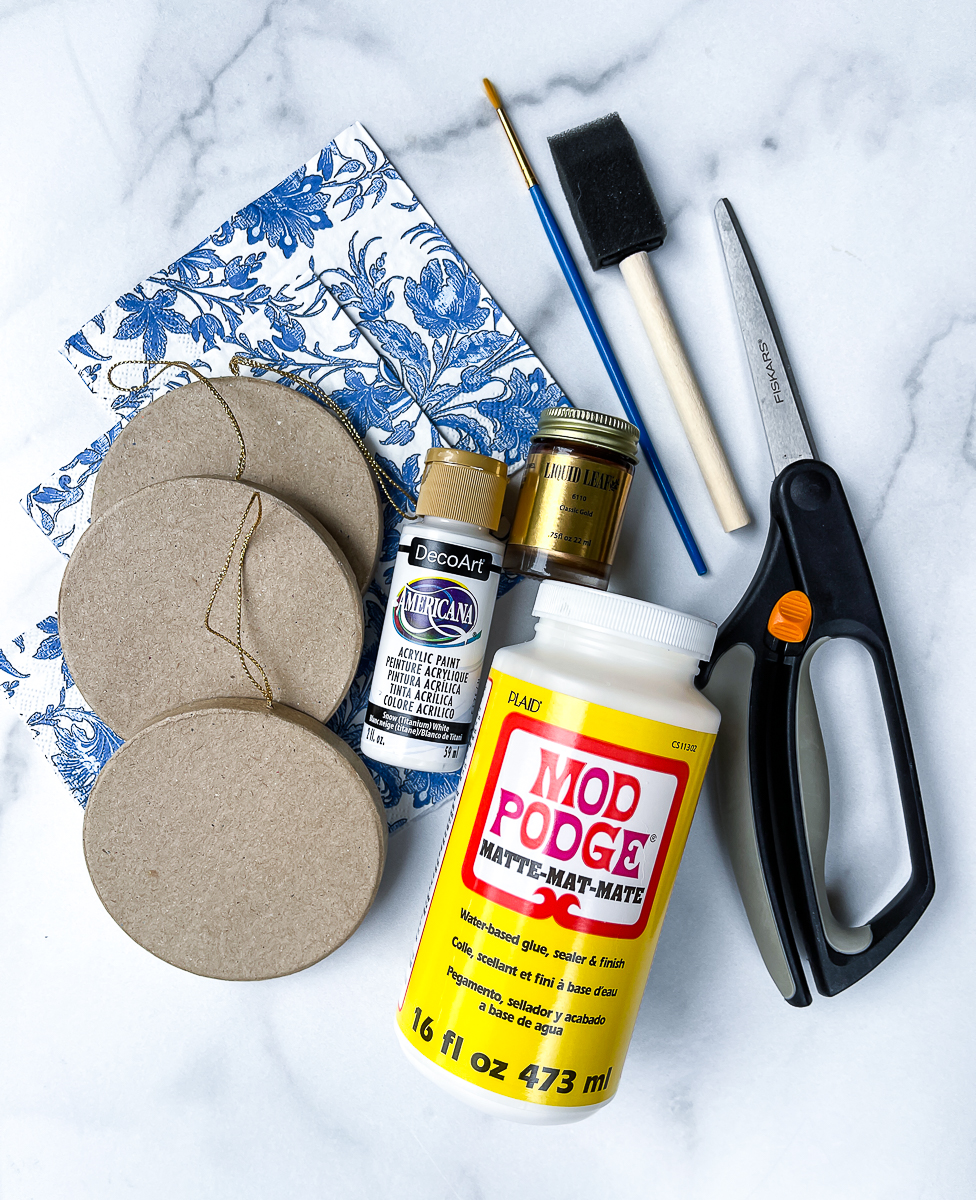
Supplies Needed
- paper napkins
- foam brushes
- white chalk paint or craft paint
- Mod Podge or decoupage medium
- wax paper or parchment paper
- liquid gold leaf
- cheap artist brush
- scissors
- Velvet ribbon
How-To
You will need to decide on the form for your ornament. There are many paper mache ornaments at the craft store.
You could also recycle old ornaments that you no longer use for this project. You just want to make sure they are smooth.
Any kind of smooth crafting ornament with work.
It's best to start with white ornaments.
Your napkins will work best with a white background.
Perhaps the most important part of the project is your cocktail napkins.
Take a look at a chinoiserie vase and draw inspiration from this.
Pick a chinoiserie design or another favorite napkin that matches your color scheme.
Most napkins are great candidates for a decoupage project.
Keep the size pattern of the napkin in line with the ornament that you are using.
Here are several napkin ideas with fabulous patterns for this project.
If you come across a lovely tissue paper, you could also use this in lieu of cocktail napkins.
Let's get started on our DIY chinoiserie Christmas ornaments.
Step 1
The first thing that you want to do is prep your surface with wax paper or parchment paper. This will protect your table or counter.
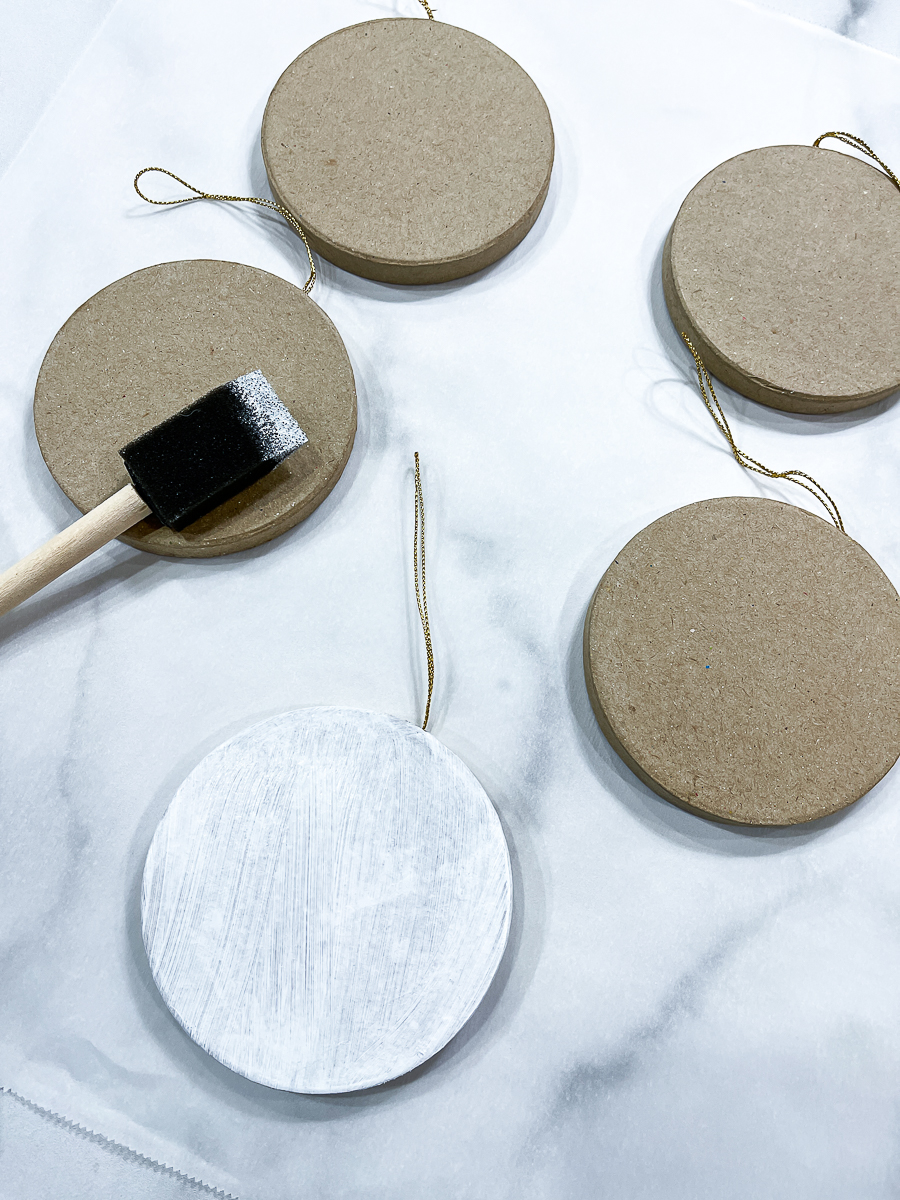
With a foam brush, paint the ornament with a coat or two of white paint. I painted 1 coat.
Let this dry completely
It's easiest to hang these to dry!
I hung mine from the kitchen chandelier.
You could clip them to a coat hanger with clothespins or an ornament hanger.
Step 2
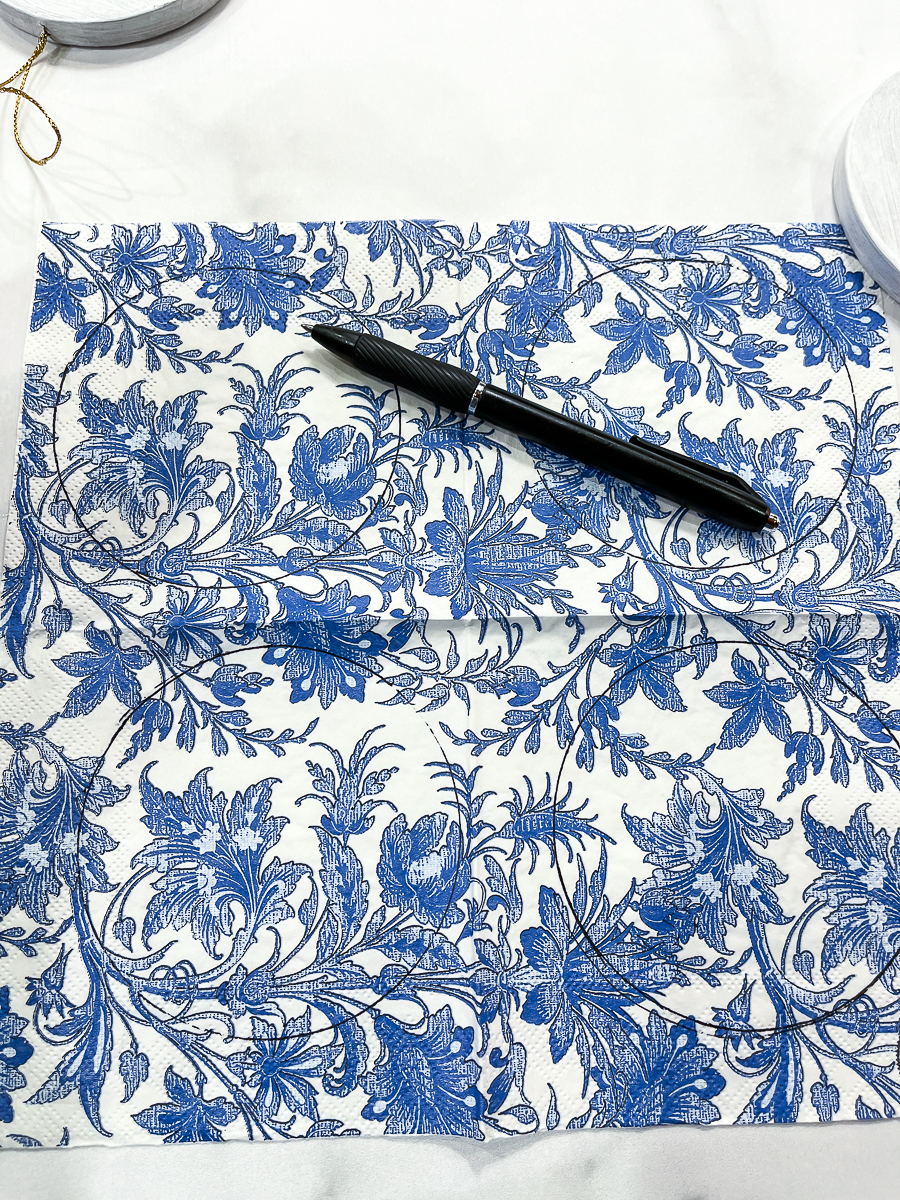
Trace the ornaments onto the cocktail napkin with either pencil or pen.
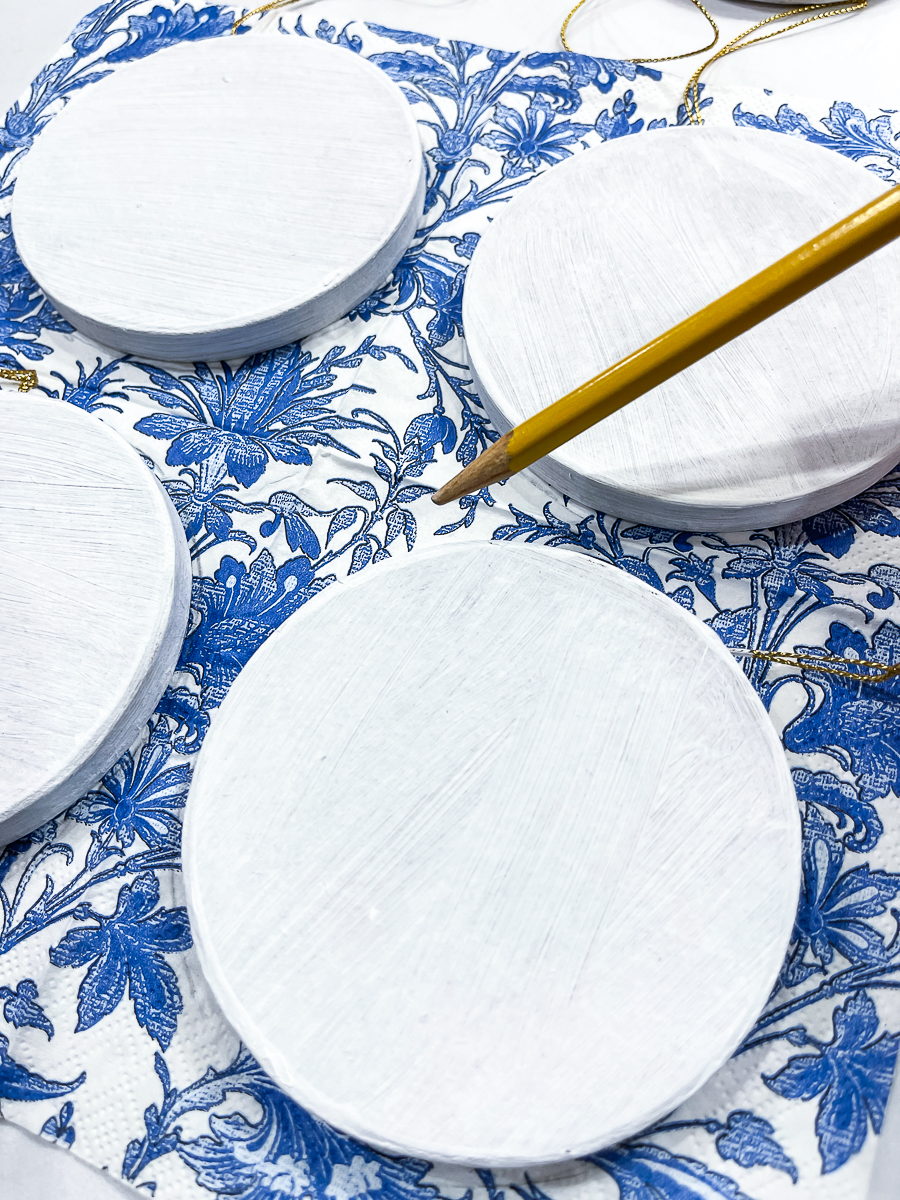
I couldn't see the pencil well enough so I transitioned to using a dark pen.
Cut out the circles with scissors.
You will want to cut on the inside of the circle.
I cut my circle slightly smaller so that the edges would not overhang the ornament.
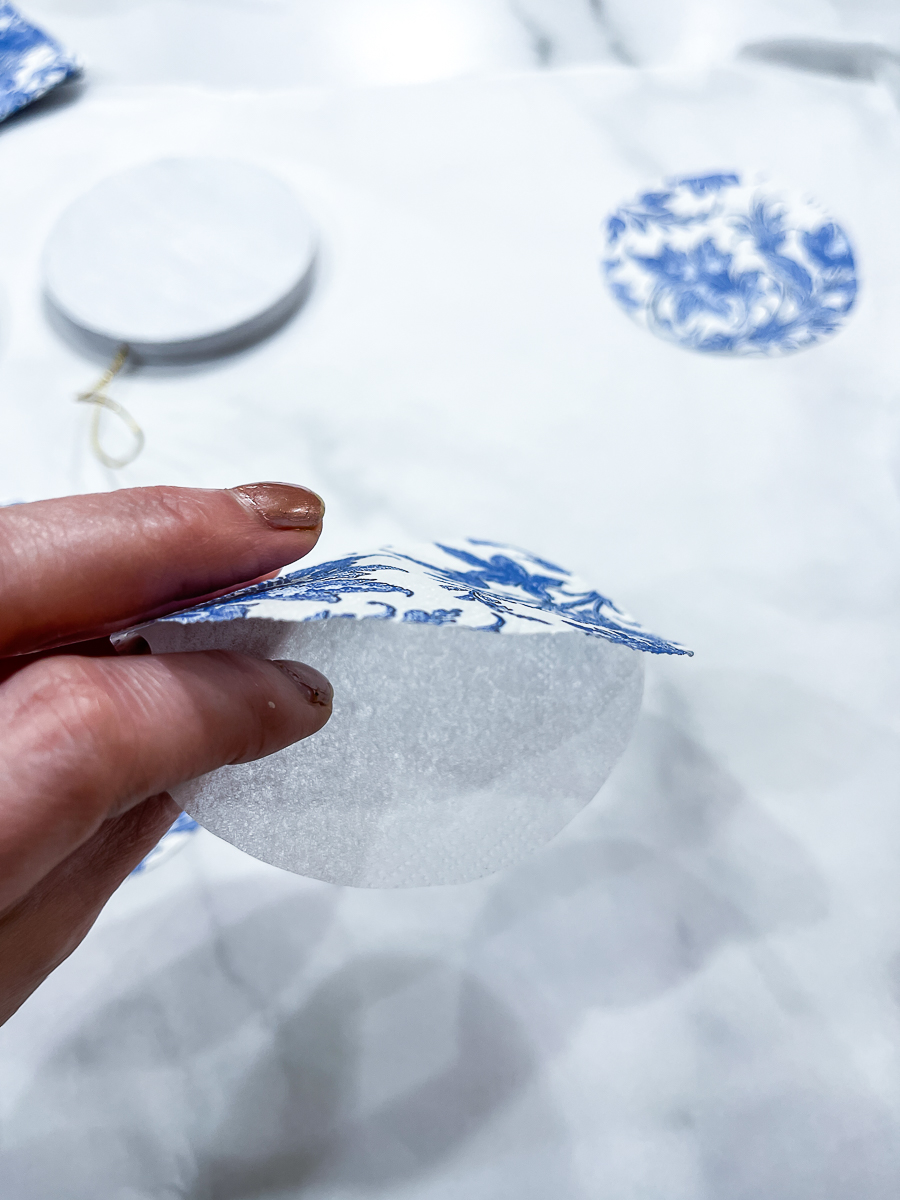
There is usually a back layer to the napkins. Remove this layer so you are left with a single ply.
Step 3
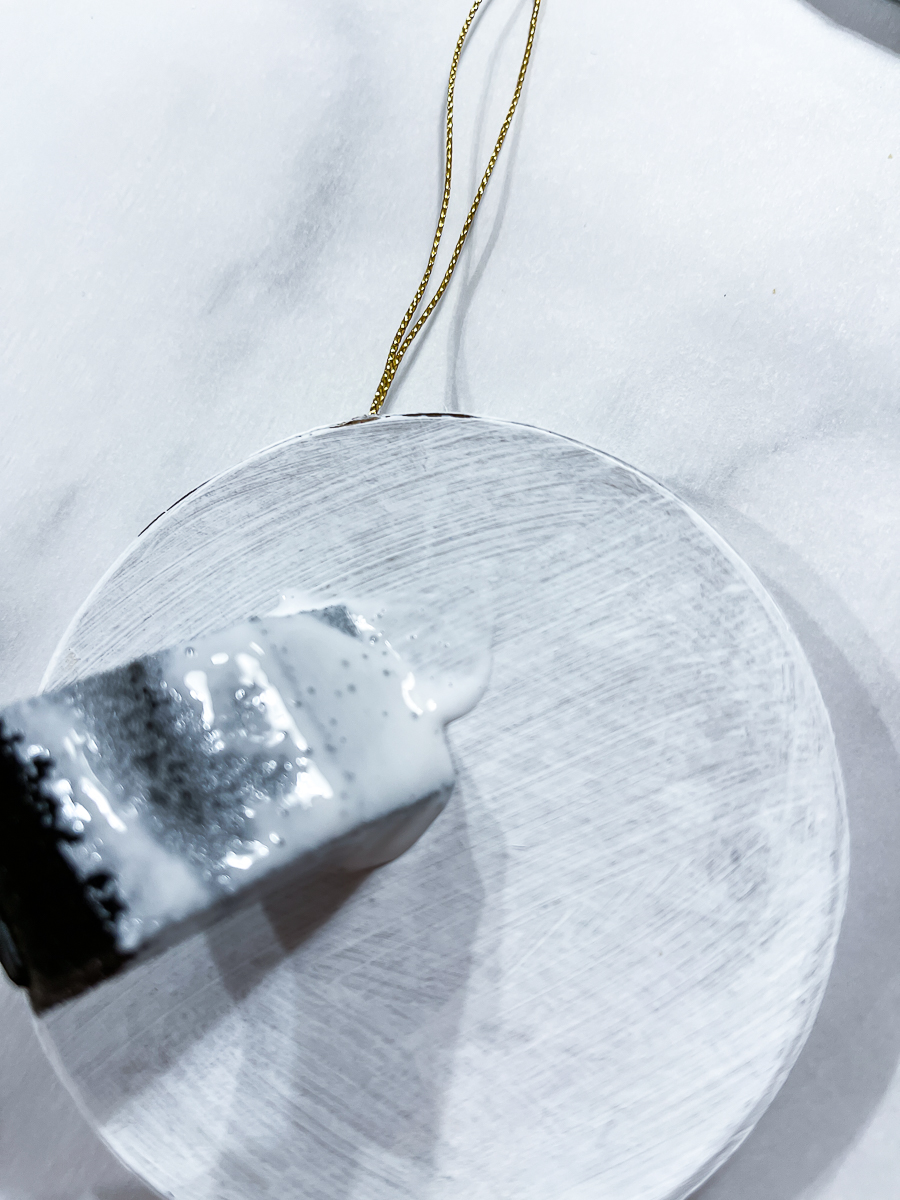
With a foam brush, apply a layer of Mod Podge.
Don't overdo it. I prefer thin, even layers.
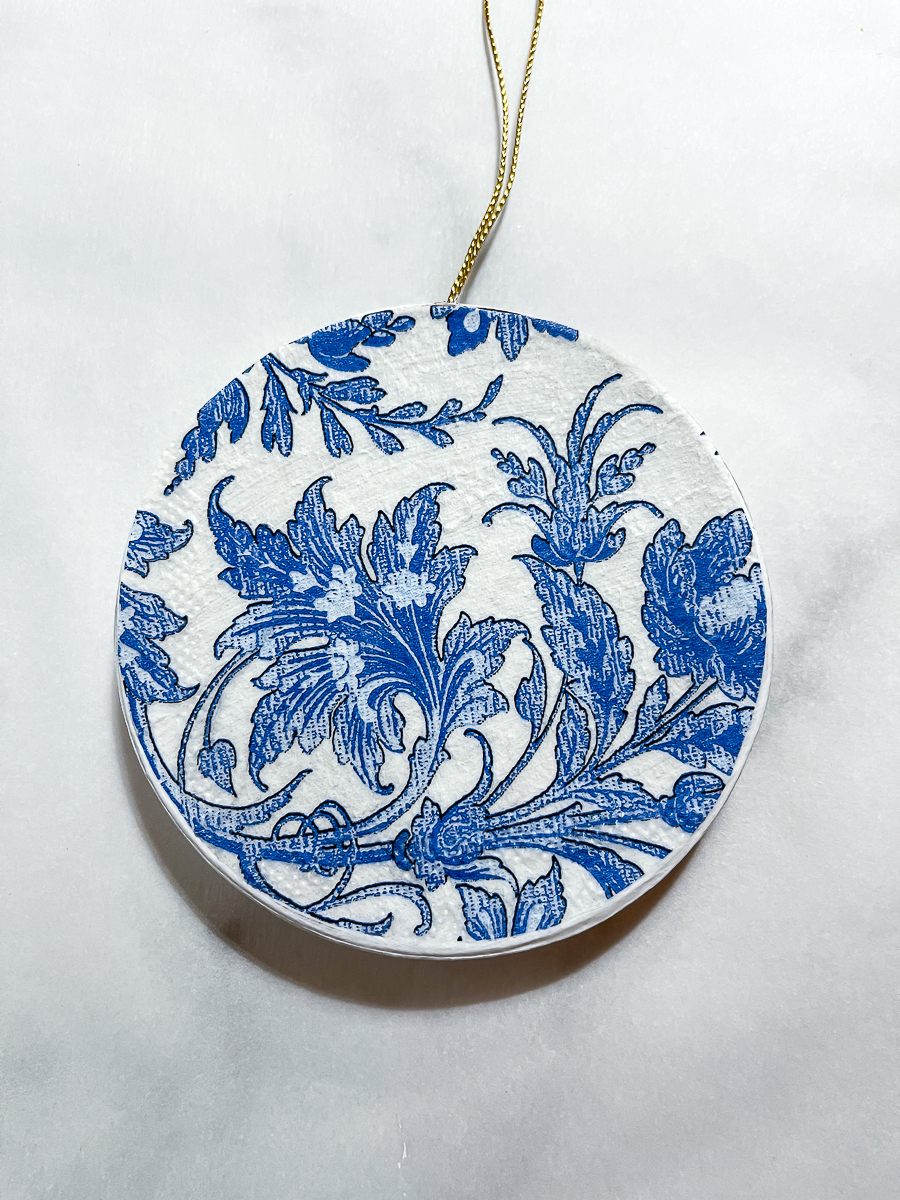
Immediately place your napkin circle in the center.
Gently work from the center out to smooth the circle down.
Apply another coat of Mod Podge on top of this and let it dry thoroughly.
I leave it alone for about an hour or until dry to the touch.
Apply one more coat. Let it thoroughly dry before flipping it over to do the same on the other side.
I let mine dry overnight since I did this the night before.
Step 4
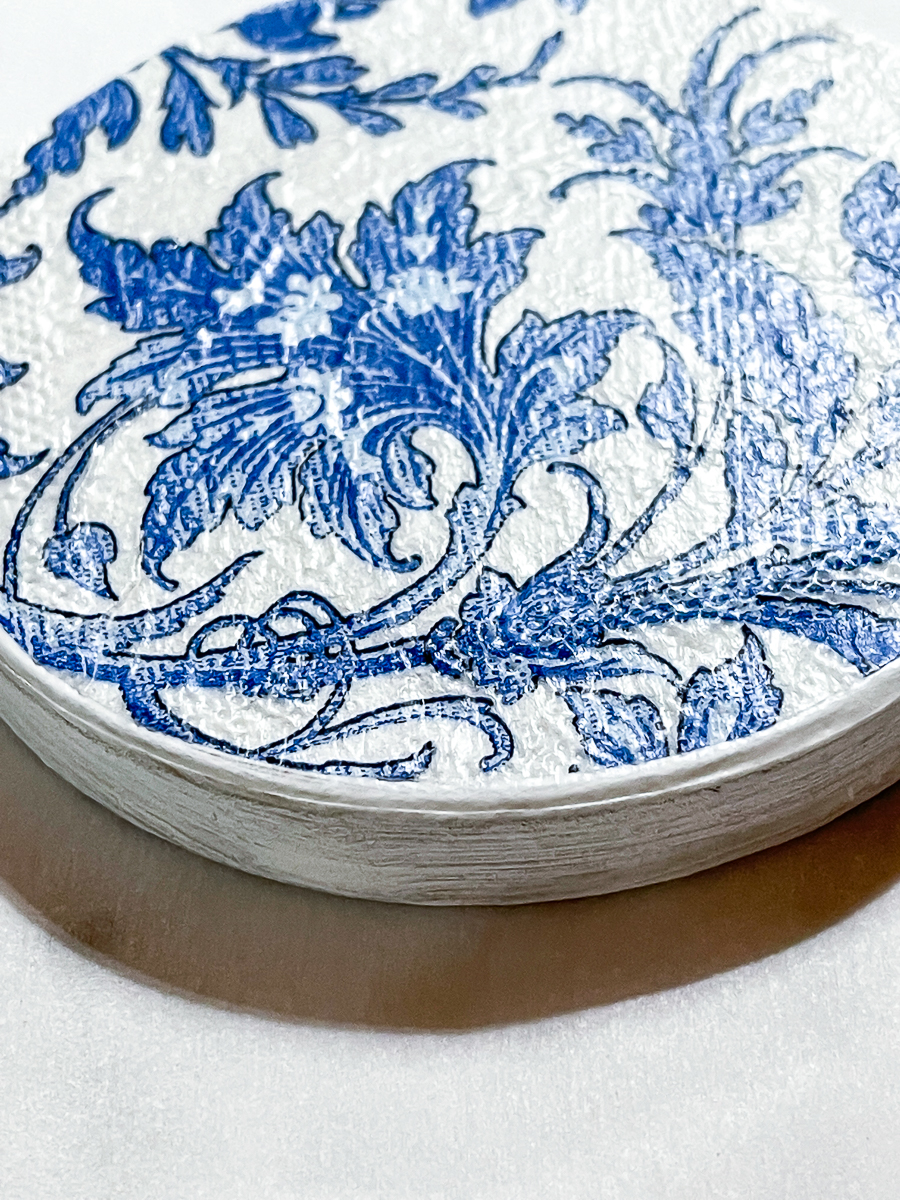
The next step is to use a small artist's brush that you can just throw away, and paint the edges with the liquid gold leaf.
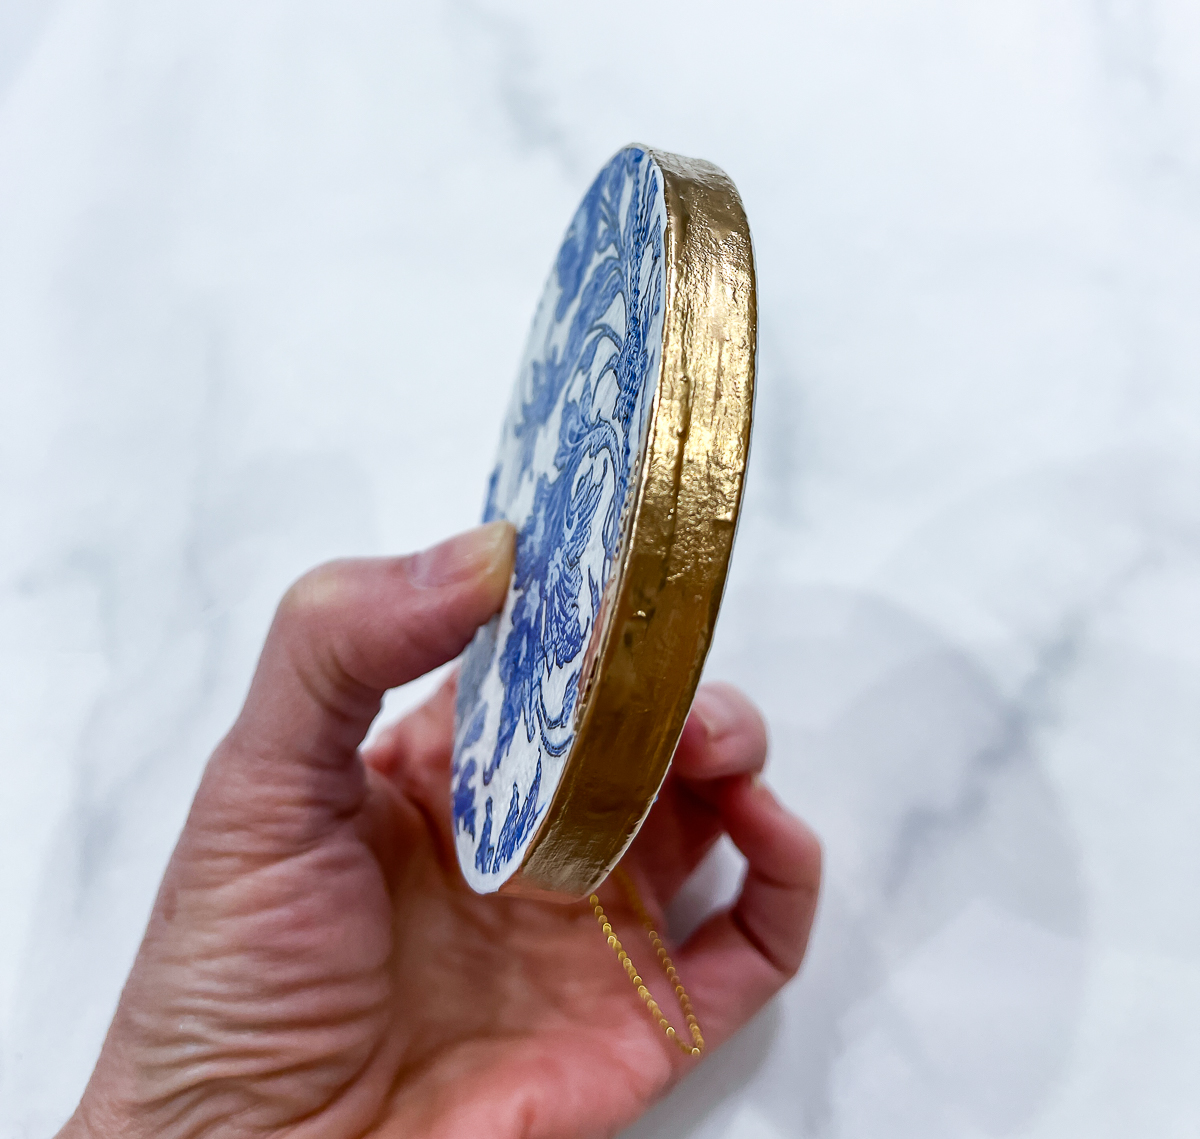
This stuff paints on beautifully. I've been using this brand and color for years.
I hold the ornament in my hand while I paint the edges and the flat tops. Then I hang them to dry on the chandelier.
I wanted a “rougher' looking edge for the tops of the ornaments.
I wanted to almost mimic the look of a gold leaf that is peeling away to reveal the chinoiserie. Plus this makes it easier in that it does not need to be perfect.
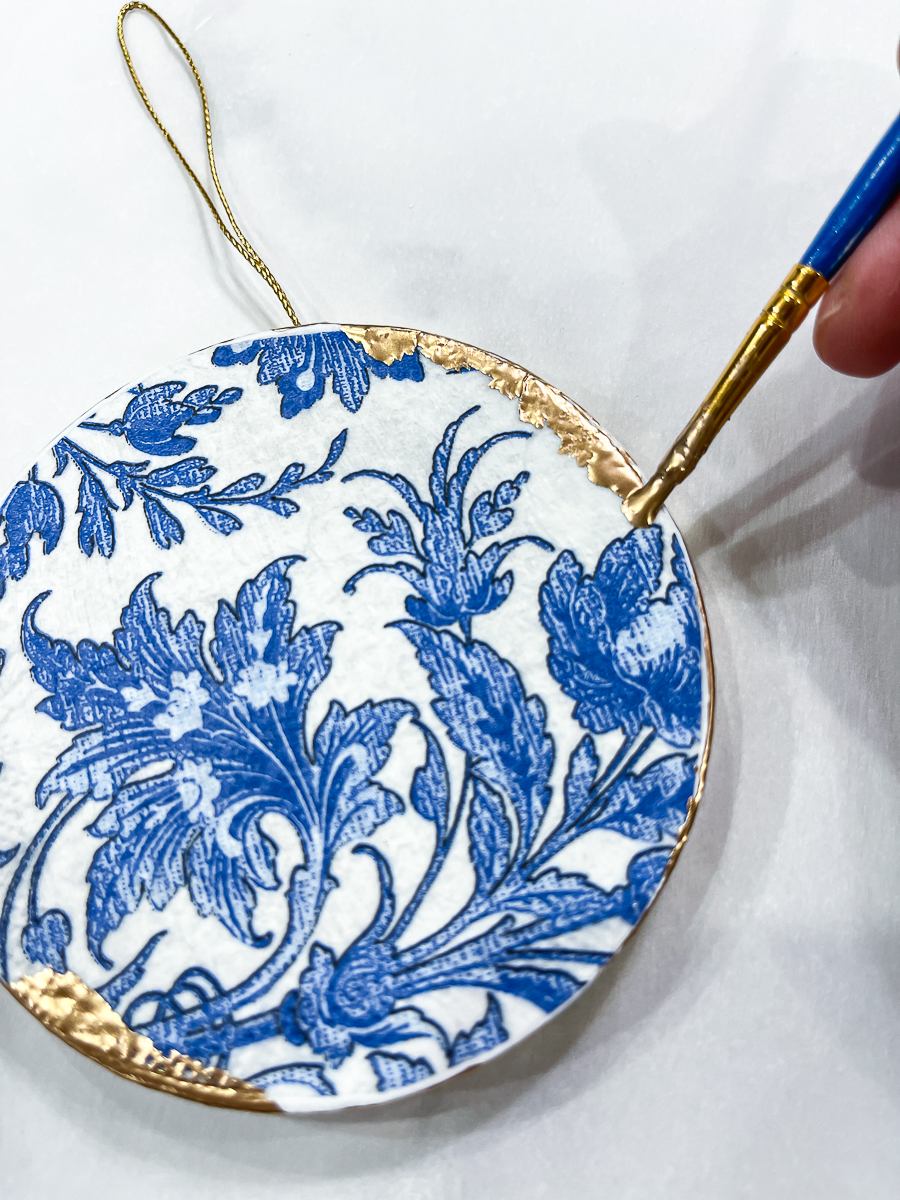
To easily do this, you will kind of blot and press the paint with the brush along the front edges of the ornament.
Step 5
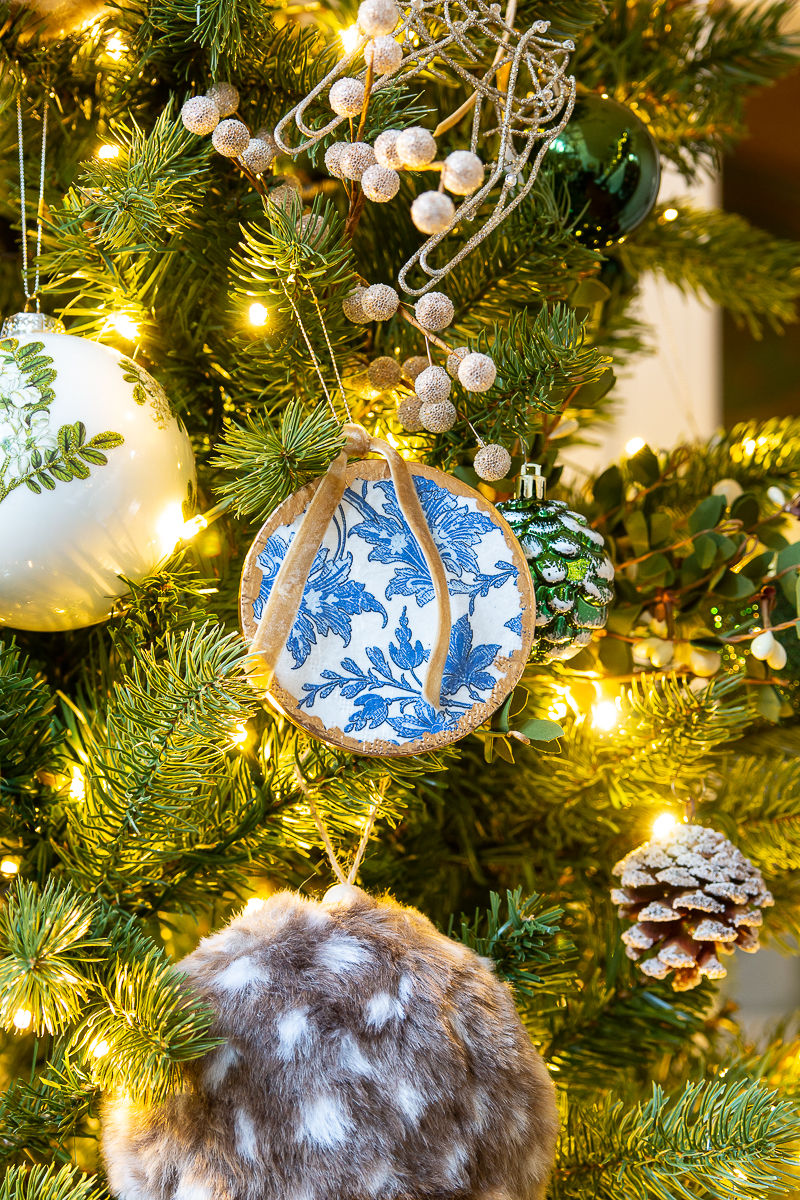
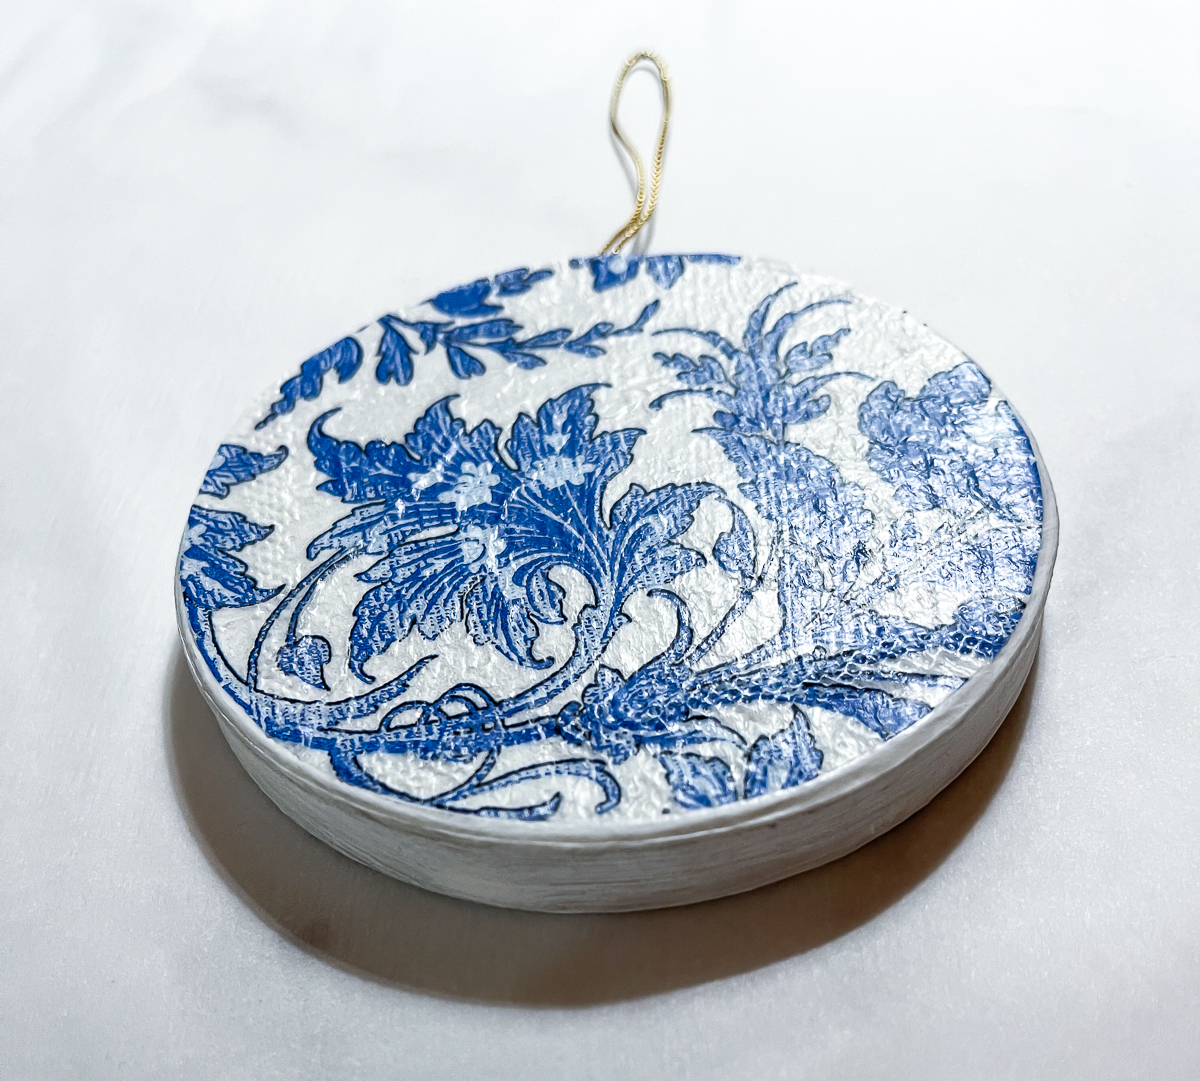
To finish off the ornament, I tied a piece of narrow velvet ribbon across the top.

I only had 6 of these ornaments. I will probably make another set of 6 for this tree. I don't want them to overpower the tree so I want to keep the number small and sprinkled on the tree.
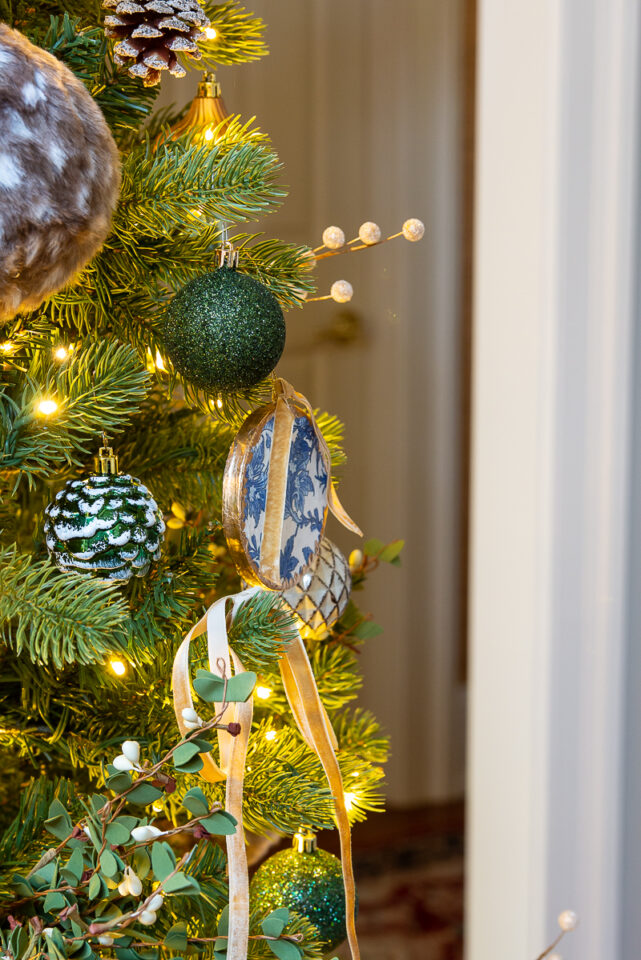
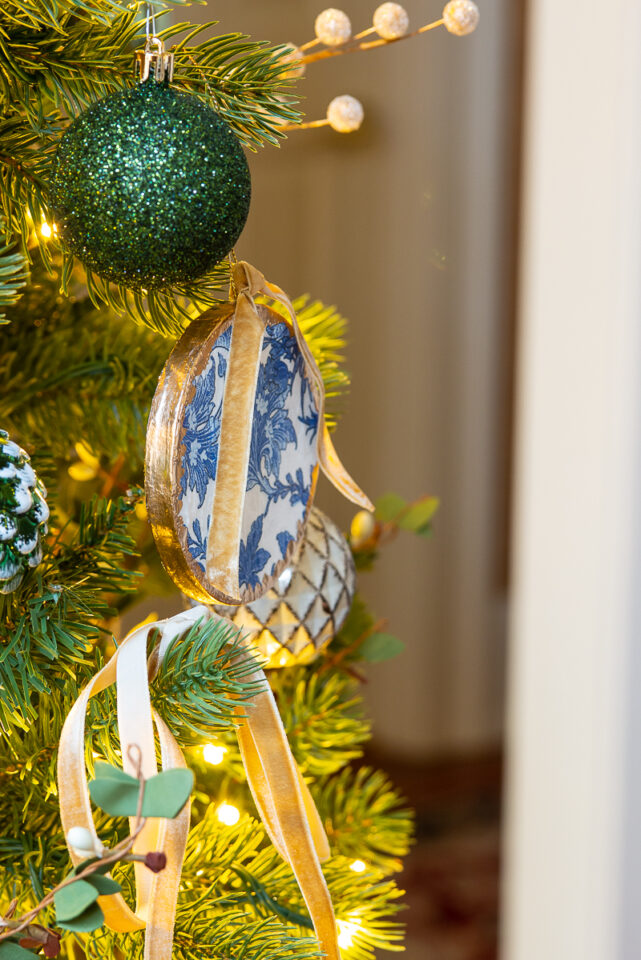
These are truly simple DIY projects and are perfect for the beginner.
DIY chinoiserie ornaments make great gifts!
Up next on the ornament tour is Niky from The House on Silverado. You are going to love her silver spoon ornament.
More Christmas Ornament Ideas


Christy has been creating content for Our Southern Home since 2012. She has been featured in numerous print and online publications. Her classic, eclectic design approach spans her home and fashion style. Christy has a way of mixing store-bought with thrift store, antique and vintage finds. As a recent empty nester, she is having fun navigating this new stage of life. Read more about Christy HERE. Be sure to subscribe below. You can also contact me HERE.


Christy, I love your chinoiserie ornaments!! A couple of years ago, I needed some pots for a few houseplants, so I found some blue and white chinoiserie style pots online. It’s funny now to think that blue & white is now the “in thing.” For people who have always loved b&w, it’s a wonderful time (and you can actually find good amounts of b&w things!). Your beautiful ornaments fill this need beautifully!
Happy Thanksgiving to you and your family,
Big holiday hugs,
These are stunning. I love the added gold paint and glitter and your ribbon choice is perfect.
Decoupage is always such a smart idea, and everything turns out looking so classic! Thanks for sharing your idea, Christy… your ornaments are lovely!
I’ve never seen paper mache ornaments like that. Now I’m on the hunt. I love love love your tree and these ornaments are fantastic! The blue and white looks amazing in your home and the added gold detail puts them over the top. Thank you so much for joining us. Happy Thanksgiving. pinned
Modge podge is definitely a girl’s best friend:) These look beautiful on your tree!
Christy your chinoiserie ornaments look so elegant on your gorgeous tree. The gold paint detail and contrasting velvet ribbon is perfect!
Christy,
These are so cute and I have some similar napkins. Pinned. Happy Thanksgiving
Oh these turned out so beautiful Christy! I can’t wait to make some!!!!
So pretty, yet so simple to make. Great idea. Happiest holidays!
This is simply beautiful! I love how you can customize it to suit any decor. Thank you so much for sharing!
I Love these Christy! In fact, I love them so much that I just made some this week for my bedroom tree, lol! Great minds 😉
HI Christy! Pinned! Love anything with blue and white. Happy Thanksgiving. laura in Colorado
Thanks so very much!!!