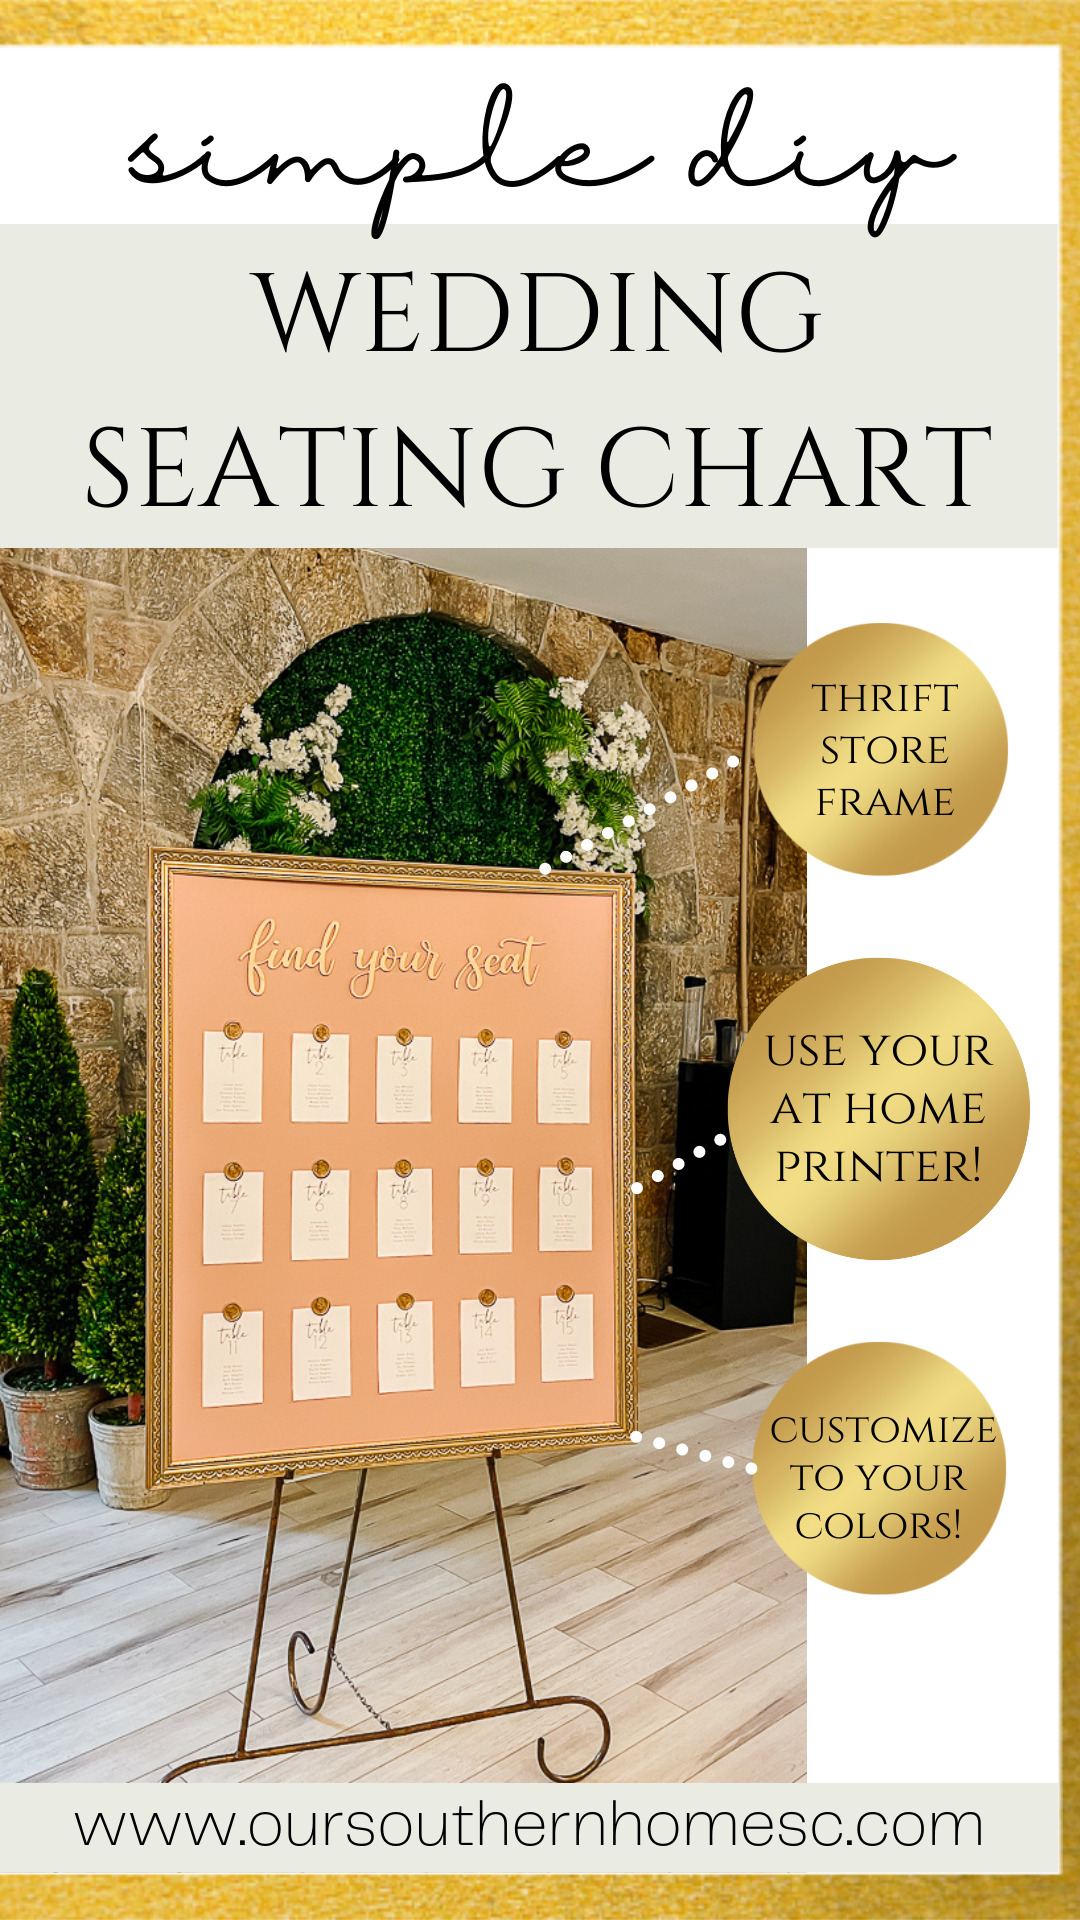
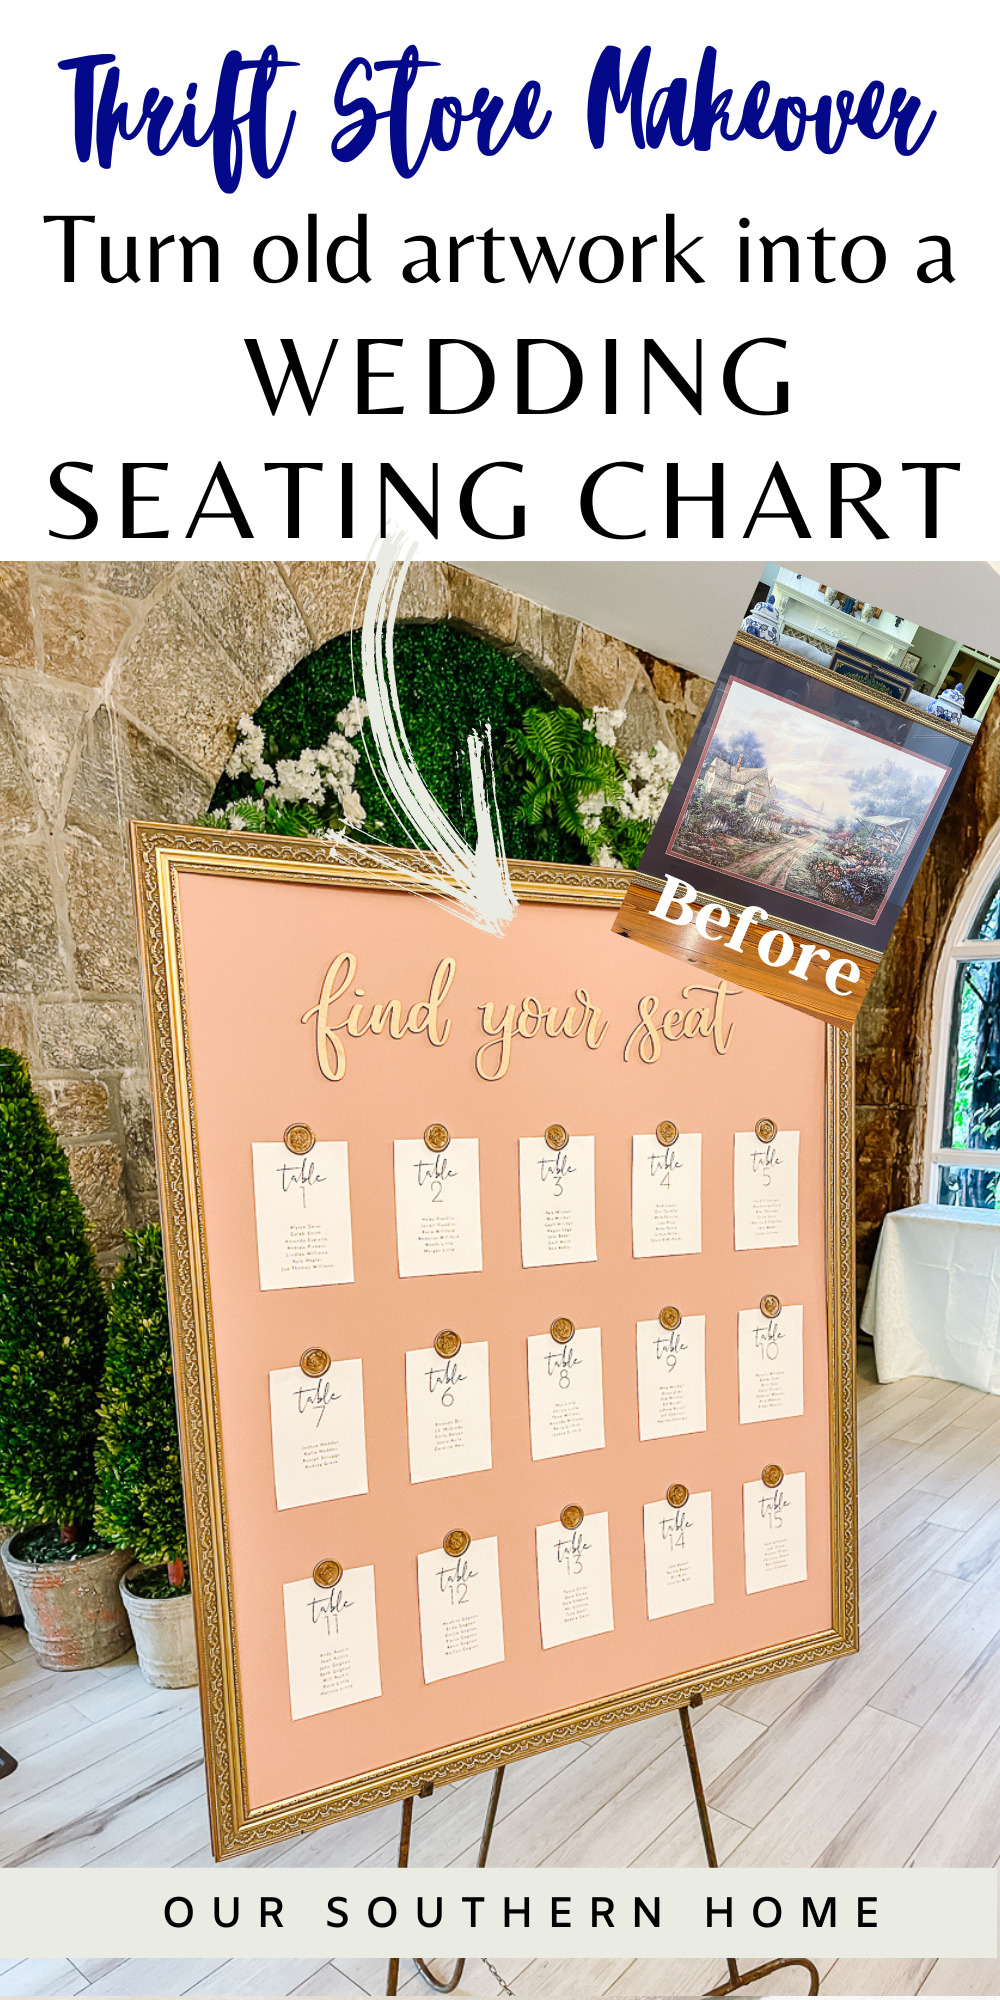
How to Create a Framed Wedding Seating Chart
Learn how to create framed wedding seating charts from oversized thrift store artwork. It's a fabulous budget-friendly project for a wedding.
Latest from OSH
- Saturdays on the Porch #86
- Saturdays on the Porch #85
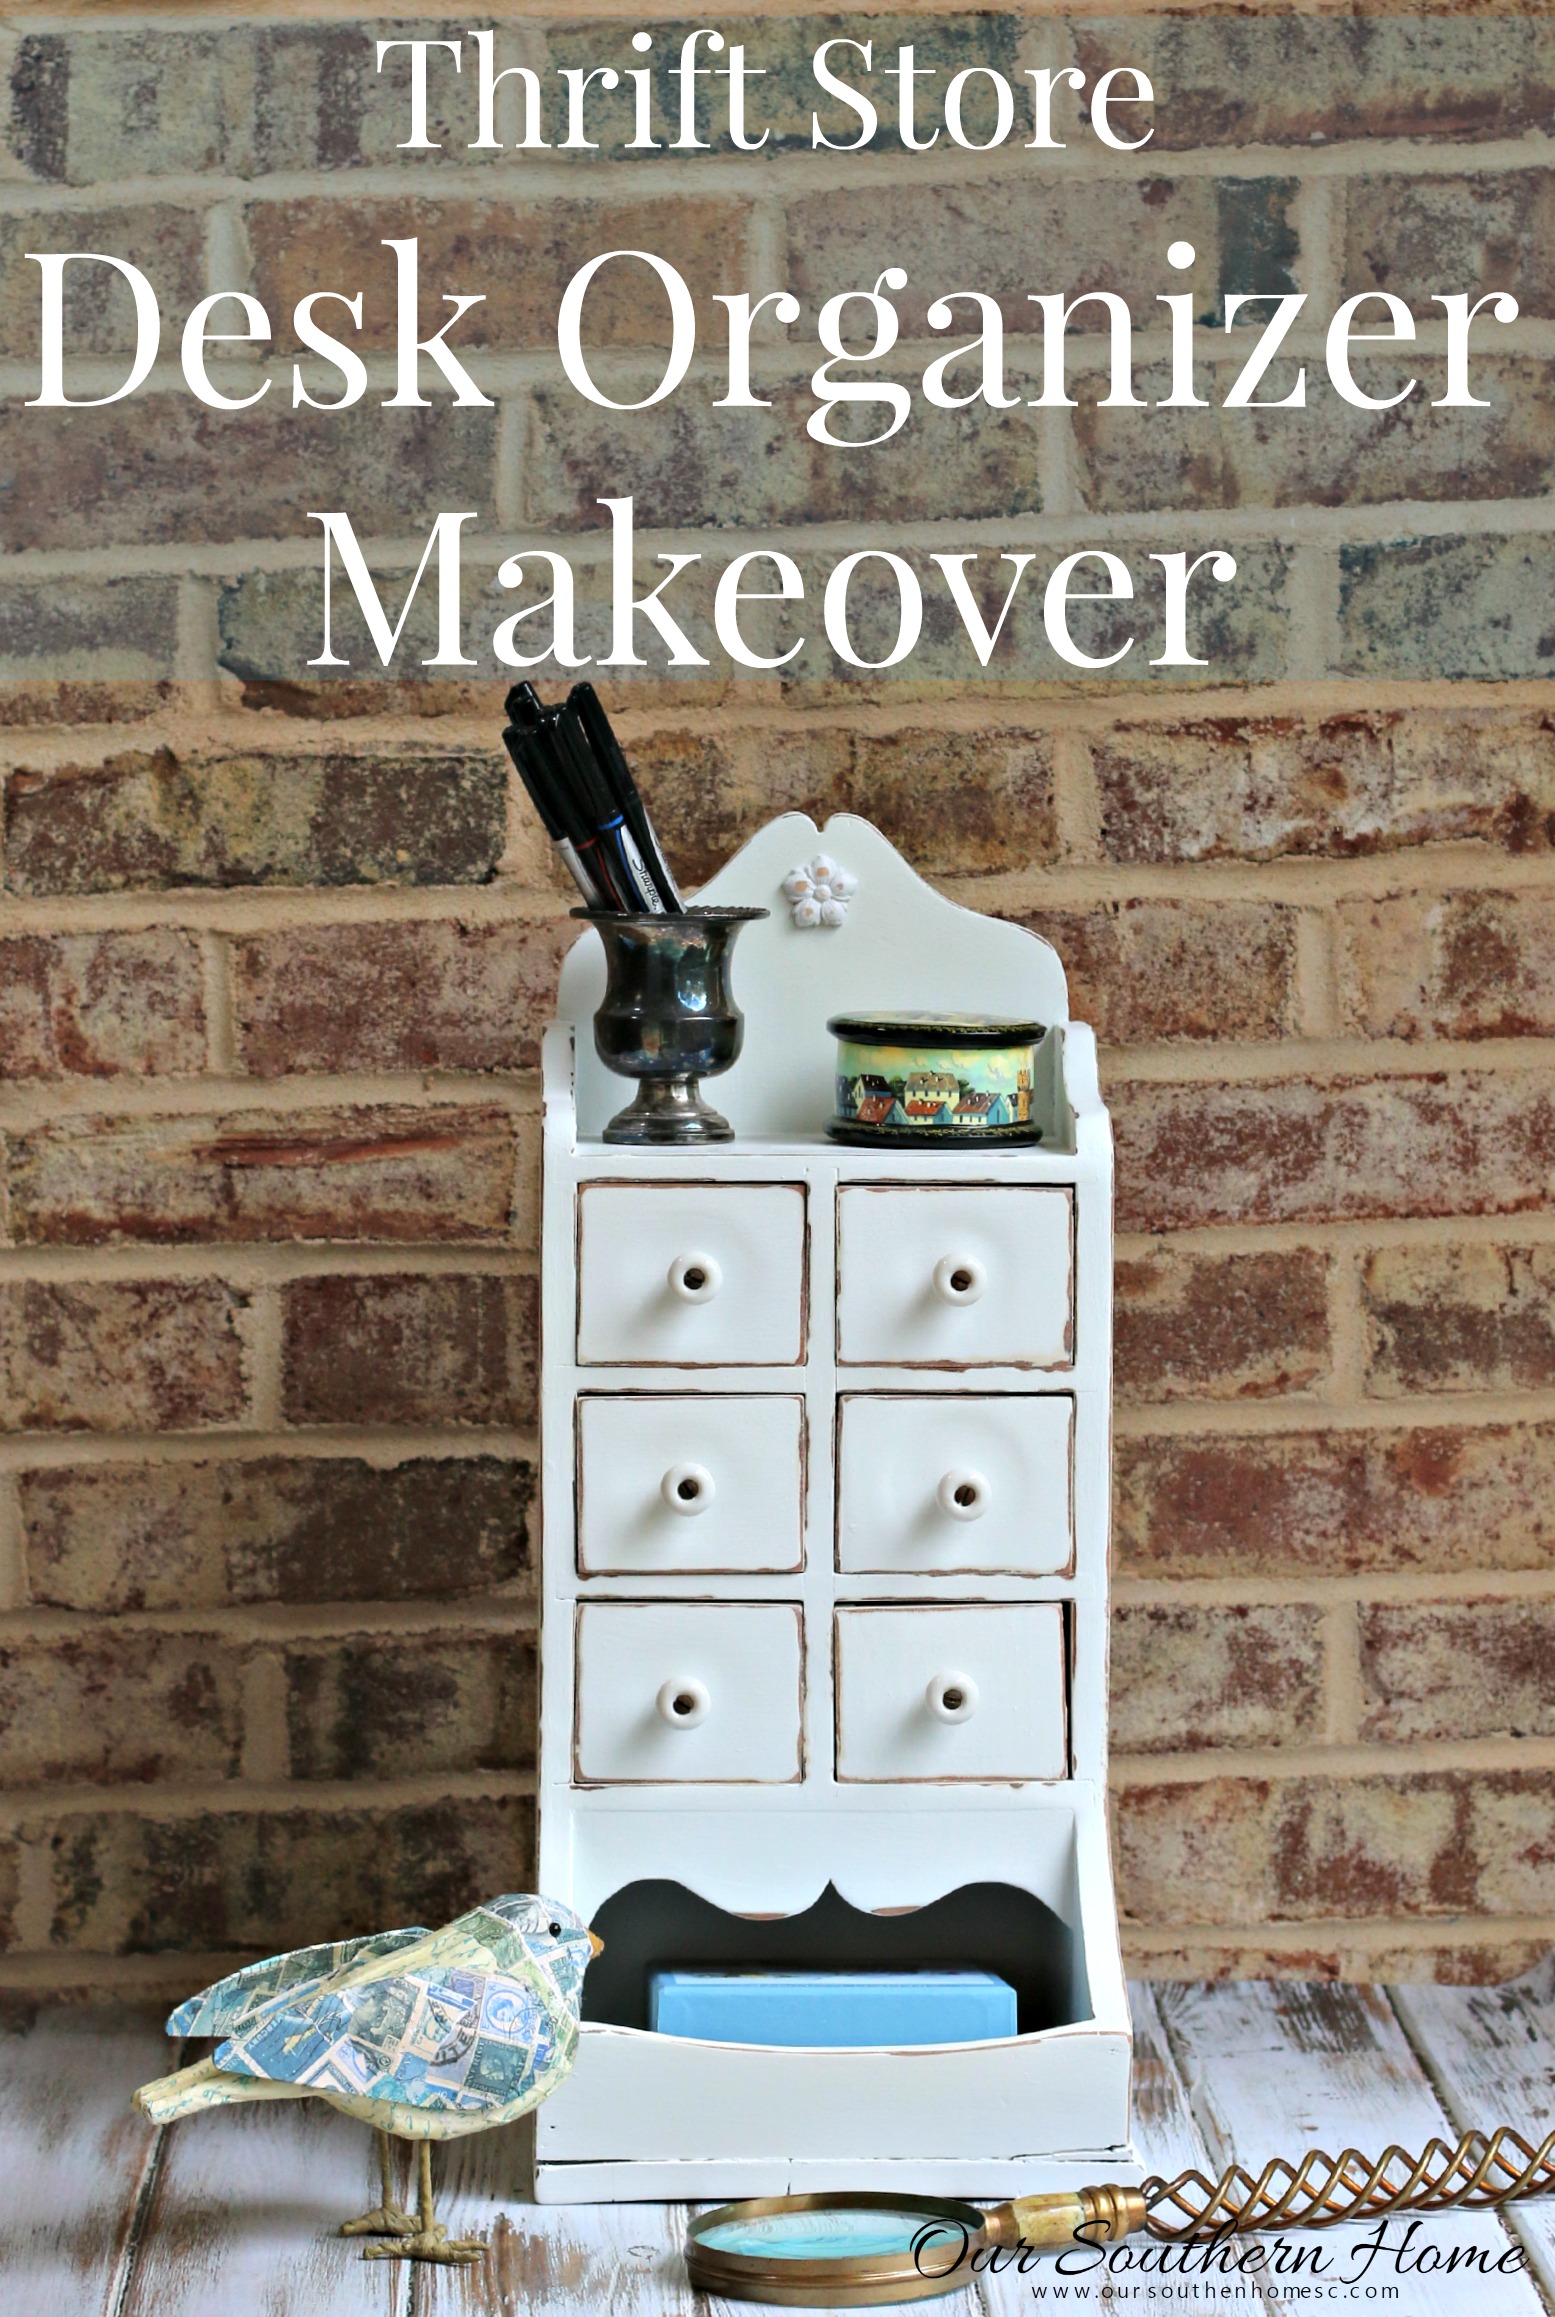
- Easy European Wall Art with Thrift Store Frames
- Piano Bench Makeover with New Color and Fabric
- Style a Classic Coffee Table with Thrifted Items
This post may contain affiliate links. If you purchase something using one of my links, I may earn a small commission from the retailer costing you nothing more. You can read more on my disclosure page. Christy Little of Our Southern Home is a participant in the Amazon Services LLC Associates Program, an affiliate advertising program designed to provide a means for sites to earn advertising fees by advertising and linking to amazon.com.
The Benefits of a Seating Chart
Our wedding planner preferred it. I get it now!
- Great for divorced parties.
- Secure tables for families
- Create tables where you know people will talk and have fun!
- A way to put singles and couples at tables where you know they will fit so everyone has fun and is relaxed!
How to Create a Framed Wedding Seating Chart
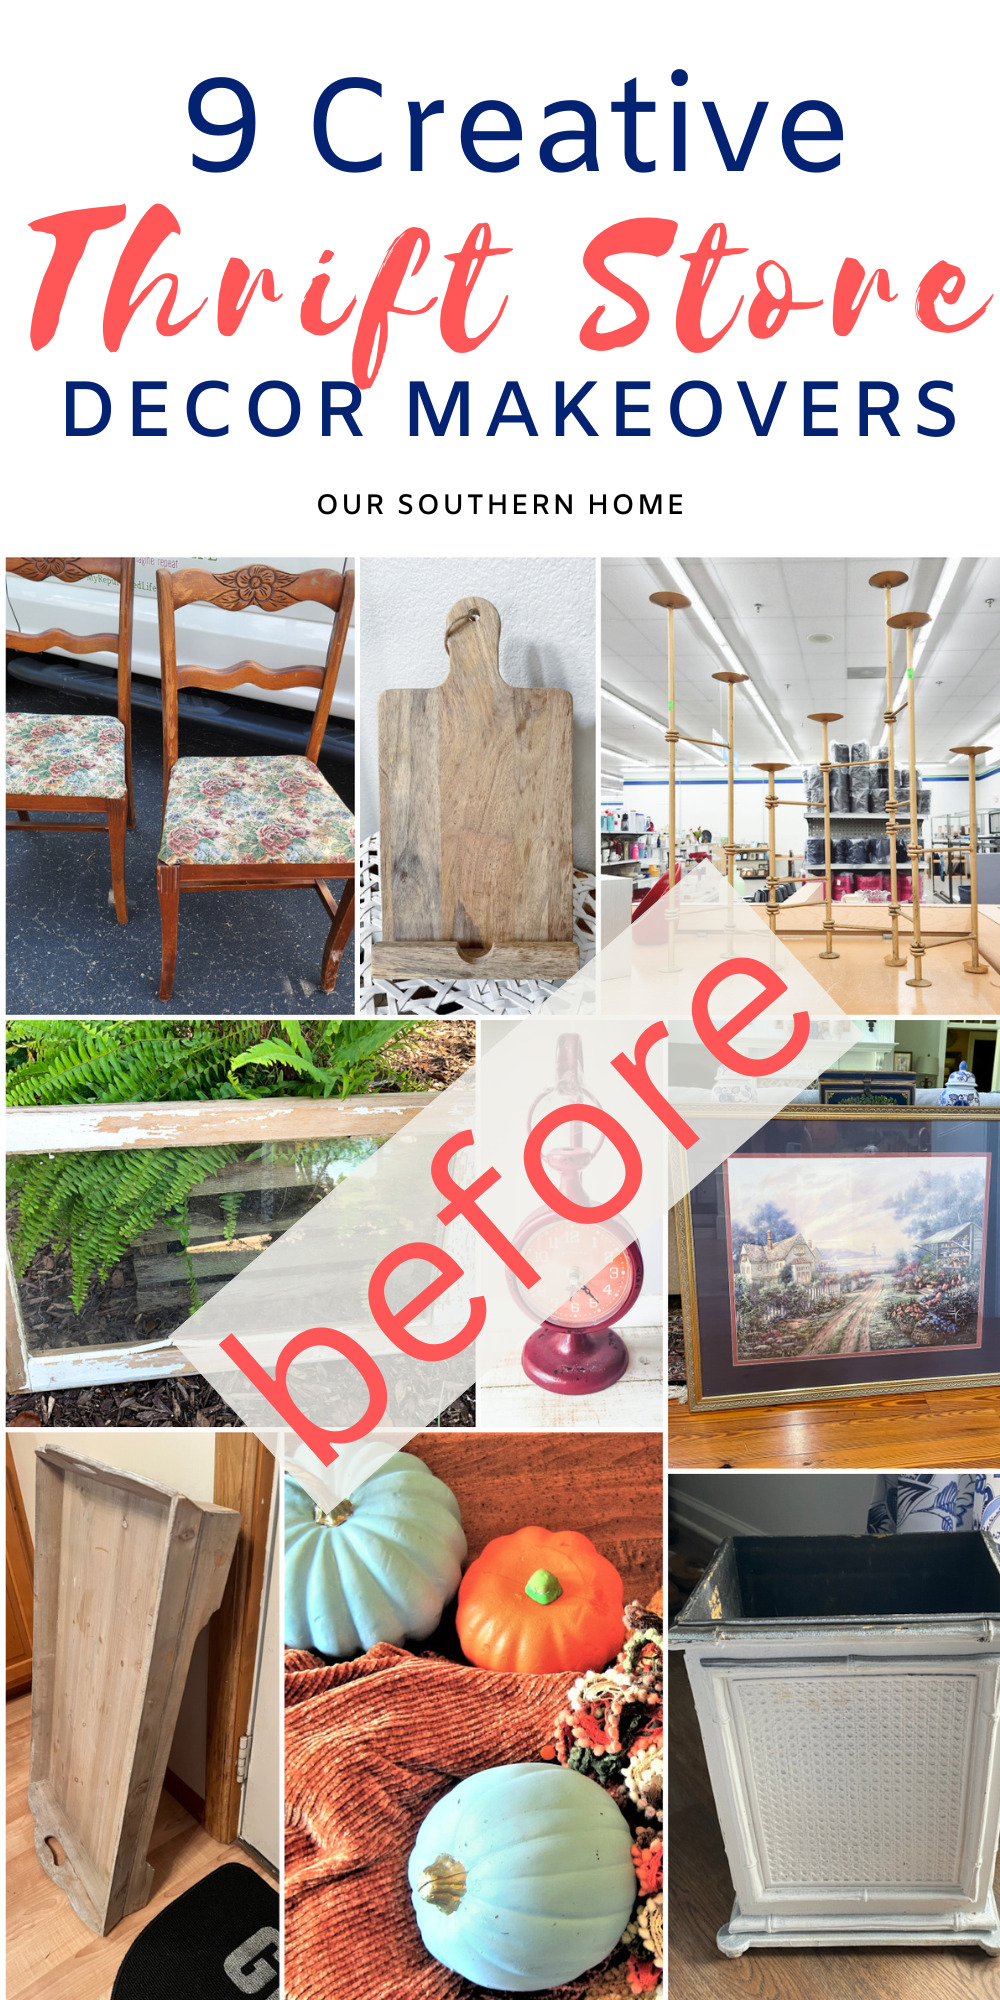
I absolutely love it when our thrift store decor makeover day for the month comes around.
There is no better satisfaction than finding an amazing piece from the thrift store to spruce up a bit or a lot for your home.
You can check out all of my most recent thrift store makeovers HERE.
I have been a member of this group for many, many years! A fun little bit of trivia, I celebrated my 10-year blogging anniversary in August! I kind of let it slip my mind with all of the wedding festivities.

Make sure you follow along to the end where you will find links to the other 8 projects for the month!
The Why
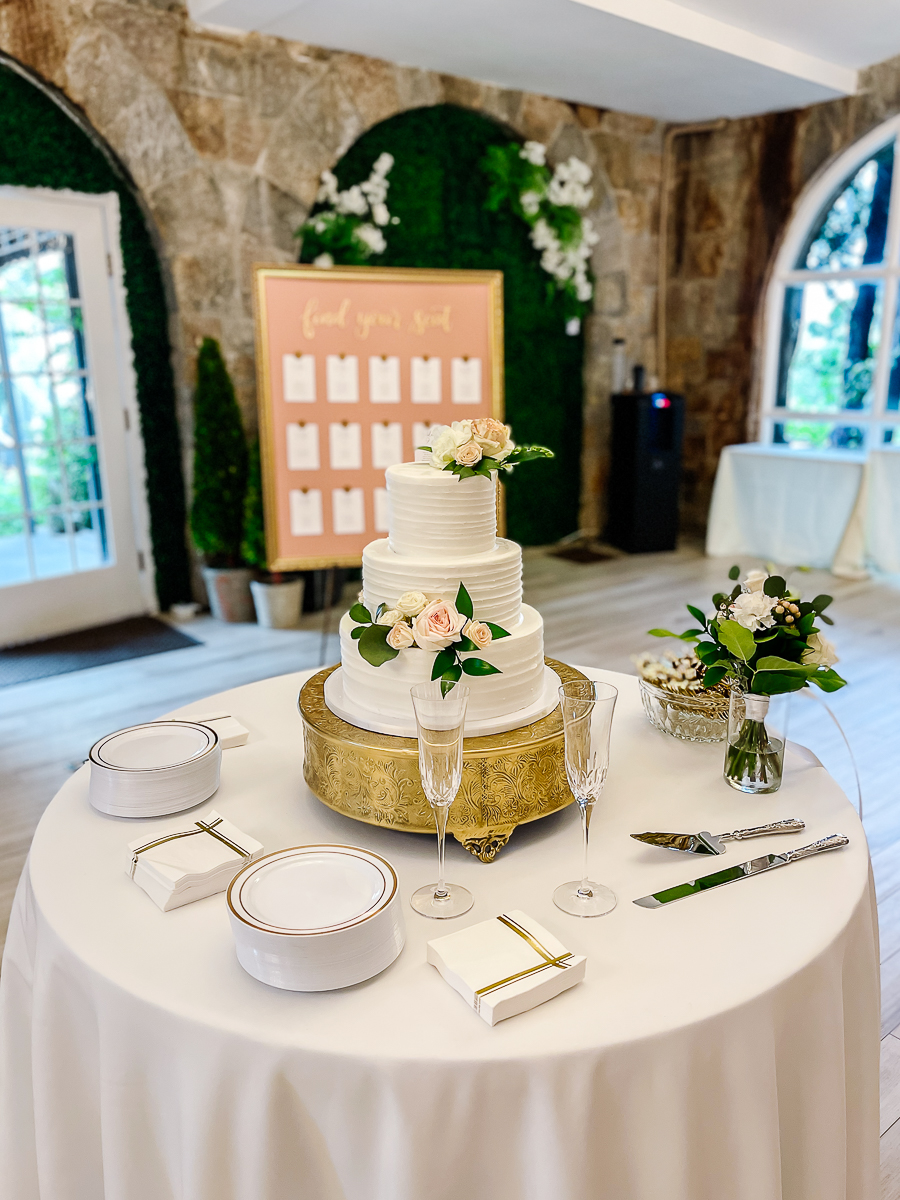
My daughter was married last Saturday. It was truly a magical evening! I won't bore you with all the details now. I plan to write a post when I get the professional photos back.
Our original plan was to have the reception seating chart printed on a large piece of foam core like this one.
I am so glad that I didn't order it! We had our final meeting with the venue, and one of the things that the wedding coordinator said was that it's best not to print one large poster. Things change!
Boy, do they! We had a couple of people have to cancel a few days before, and a few were now able to attend. One of the groomsmen broke up with his girlfriend so she wasn't coming.
Printing tables on individual cards allow you to just reprint tables that you need to.
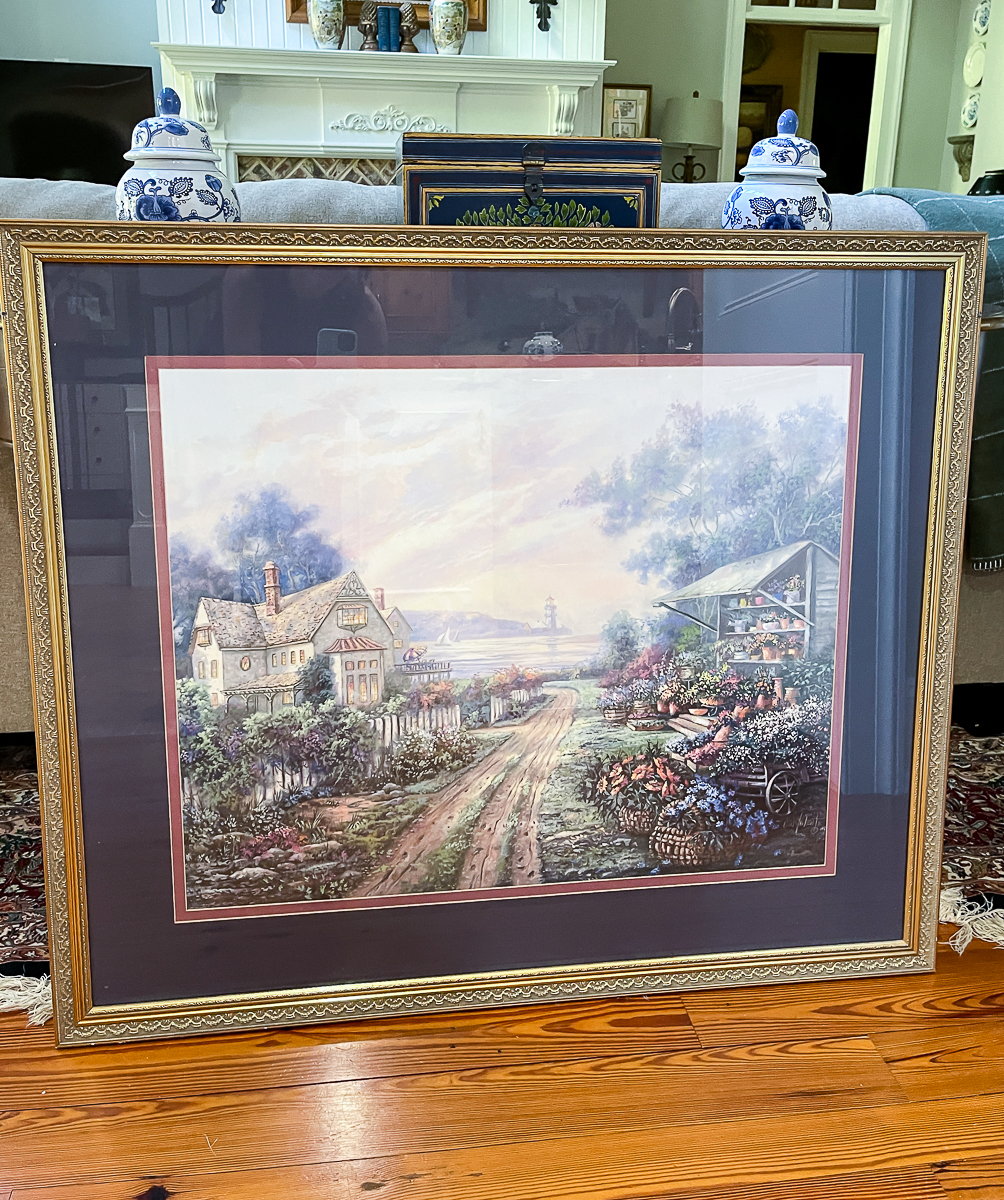
Hunting for a Frame
Two days before I bought this frame, I was at Home with a Heart thrift store (my favorite local store).
They had a frame that was even larger than this one. It had very carved molding with an inner linen liner. Kind of like the one that a portrait or old oil painting was in.
It was only $10!!!! I couldn't think of a need for it. I didn't buy it. Some lucky person would have a treasure on their hands.
TWO DAYS LATER, I was up before 5 am with wedding stuff in my head. It suddenly dawned on me that I could make a sign with that very frame. I had the most extreme regret come over me. When you see a find at the thrift store, chances are that it will be gone if you go back.
Ashlyn and I were there when they opened at 9 am. We asked the manager, and he had already sold it for $10! My heart sank. We found the one above and took it to the register. He felt so sorry for us that he gave it to me for $10 as well.
The moral of the story……don't be like me and pass up a good thing!
The Supplies
- Oversized frame
- piece of foam core
- fabric to cover the foam core
- spray mount
- spray can nozzle
- X-acto knife
- self-healing mat
- rotary cutter
- flat head screwdriver
- heavy-duty stapler
- e6000 glue
- glue dots
- Staples printing
- template for names
- laser cut FIND YOUR SEAT
- paper cutter
- wax seal stamp
- low temp glue gun for wax
- gold wax seal sticks
- silicone mold for wax seals
The Steps
That may seem like a lot of supplies! I had lots of this on hand except for the specifics to create the pretty look of the board.
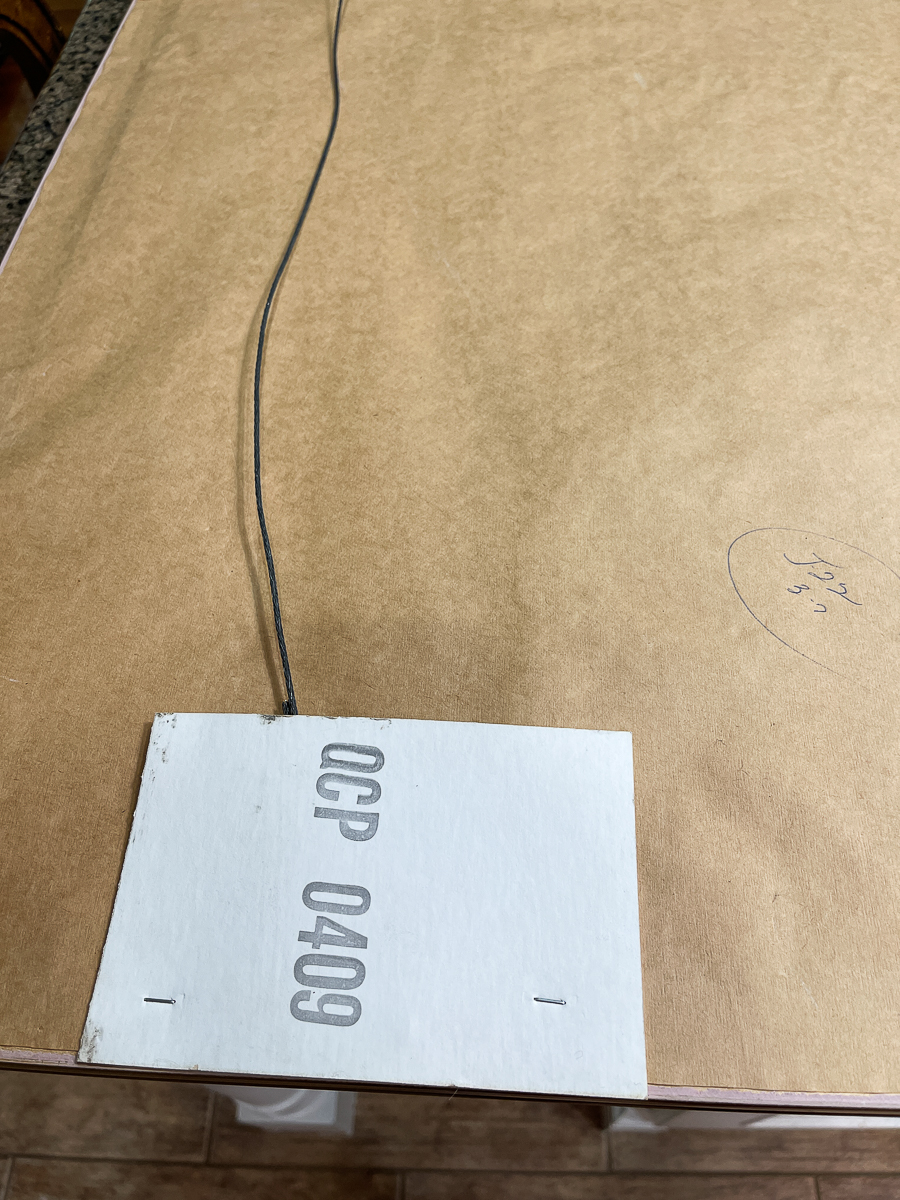
The back of the photos still had the cardboard over the hanging mechanism. It was as if it had never been used.
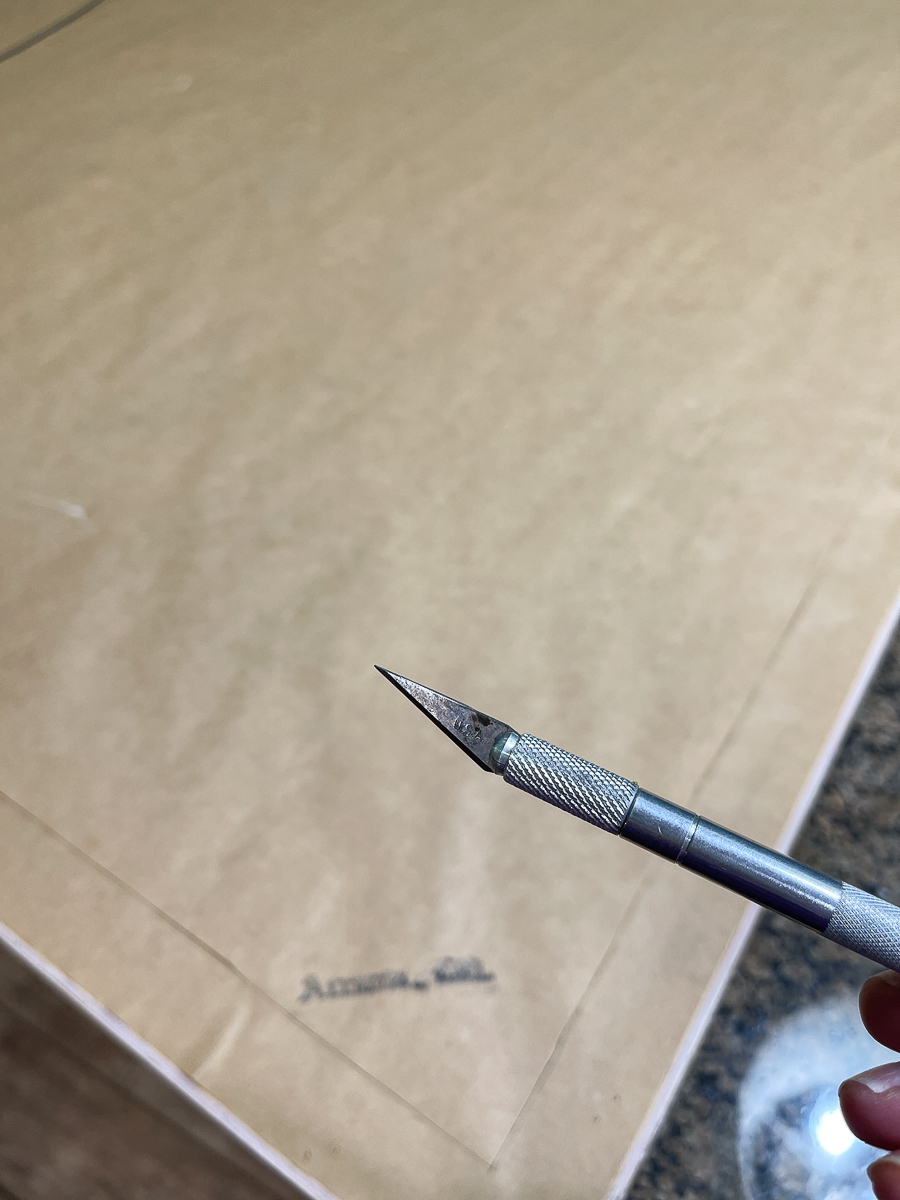
I used my x-acto knife to remove the paper backing.

The backing came off in a nice sheet. I will either reuse it on this frame again or cut it for smaller art.
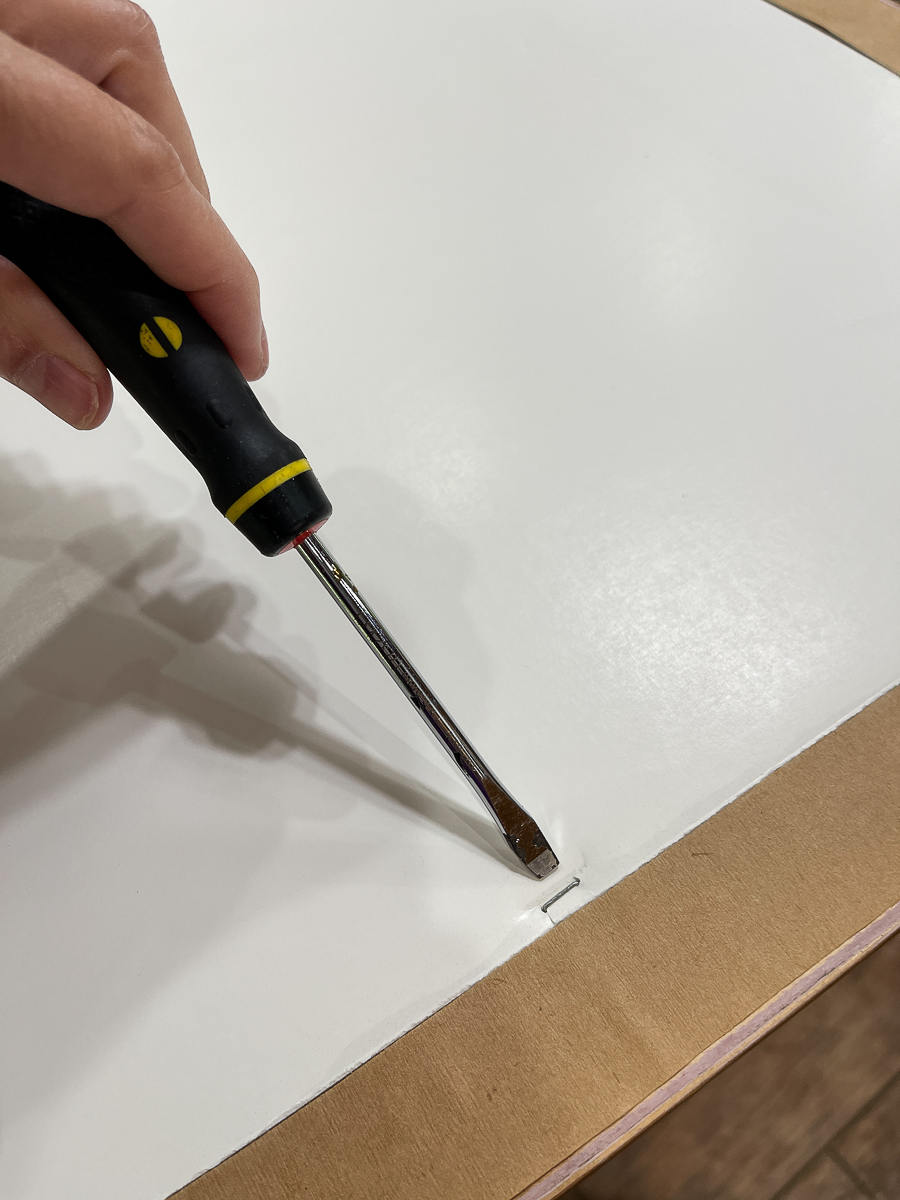
Use a flathead screwdriver to carefully remove any staples.
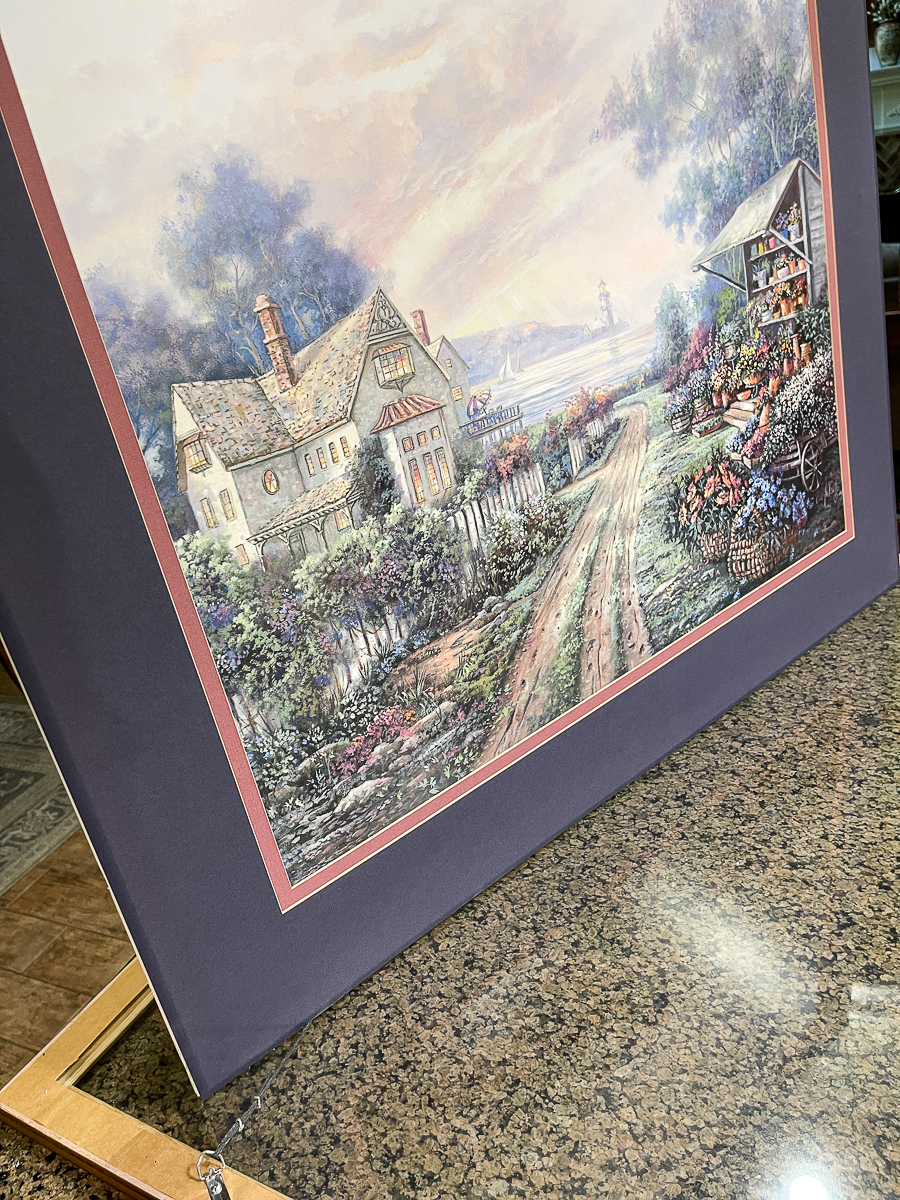
I will donate the print back to the thrift store but will be reusing the frame, glass, and matting. It's a nice print, just not our style.
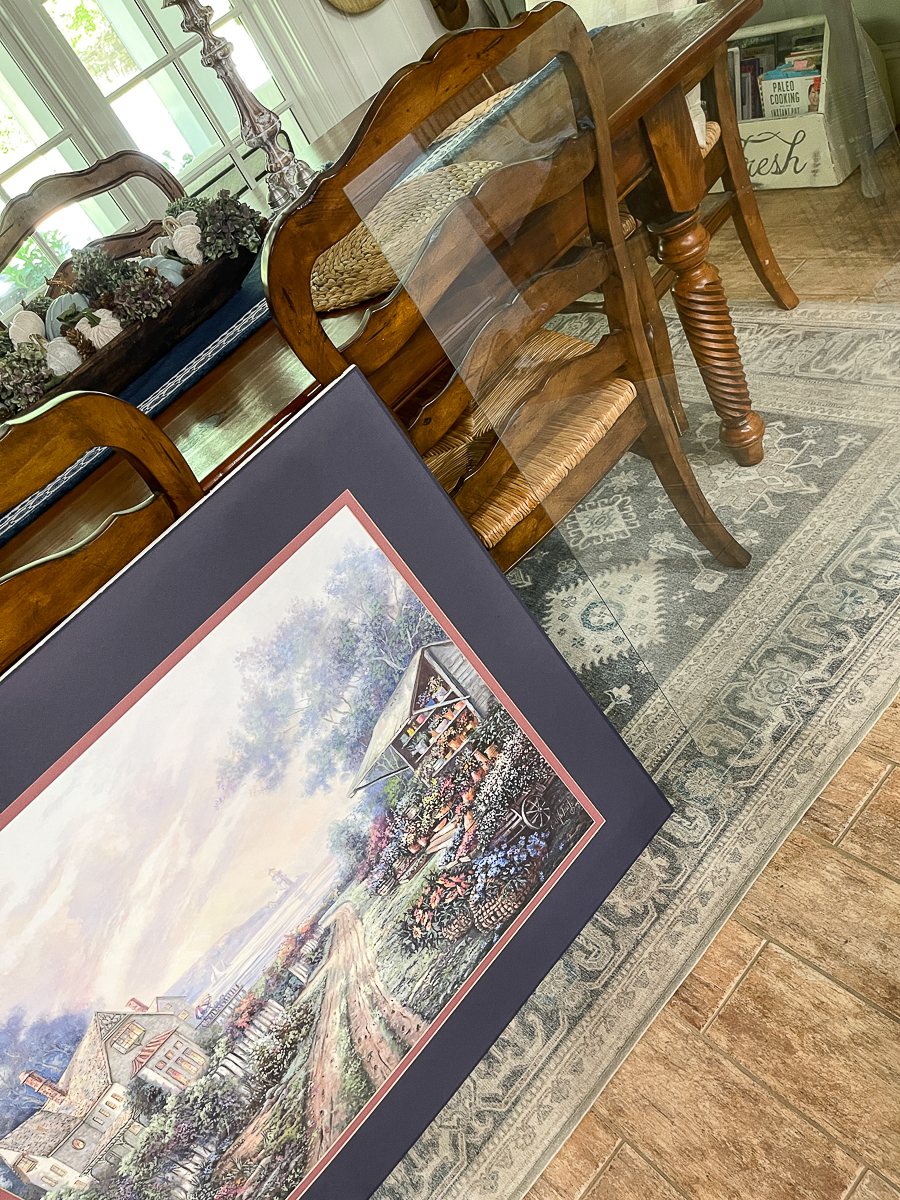
We did not reuse the glass for this project. It would make the chart too heavy. I also didn't want to have to worry about it getting knocked over on the easel. I took this upstairs to a safe place.

My foam core board was purchased in the framing section from Hobby Lobby. It was $7.99.
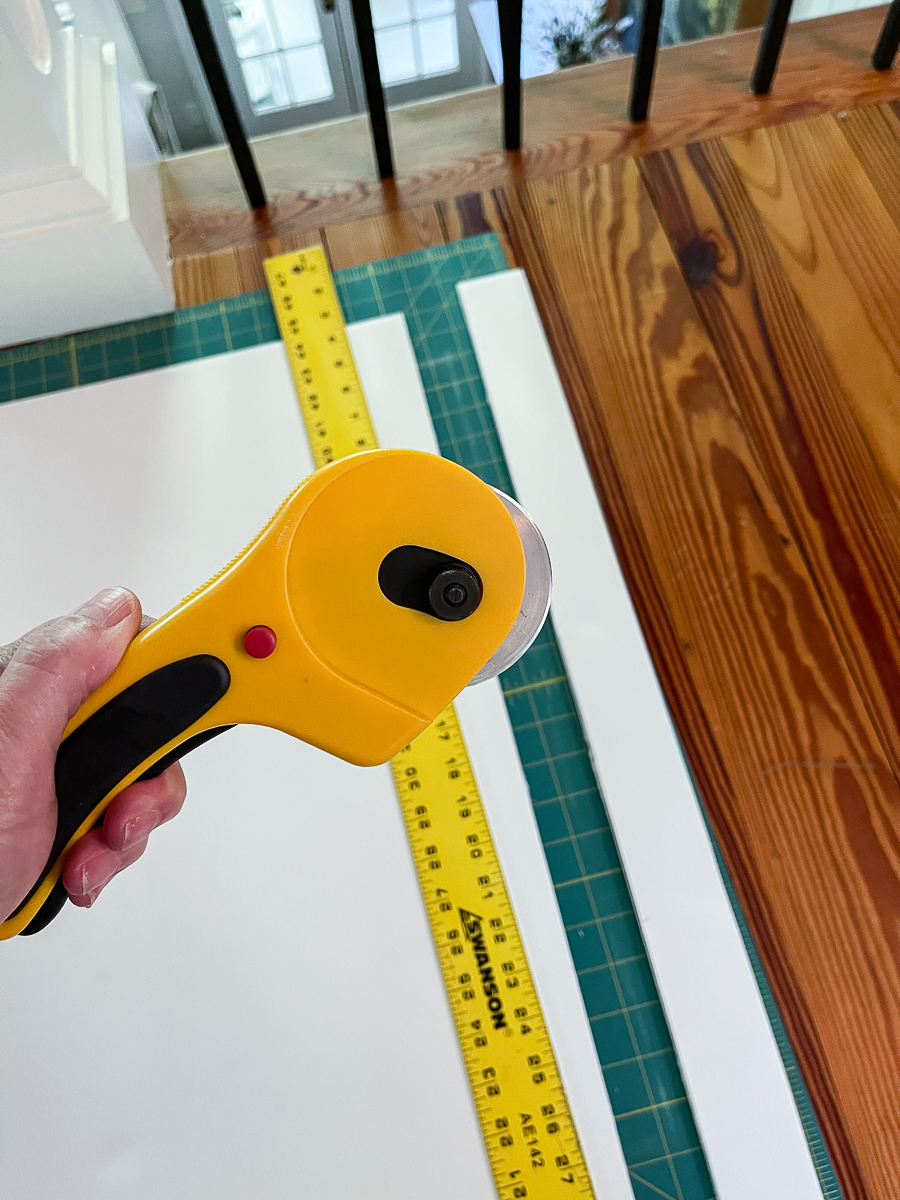
I measured the area to be trimmed. Using a rotary cutter, straight edge and self-healing mat give you the cleanest and straightest cut.
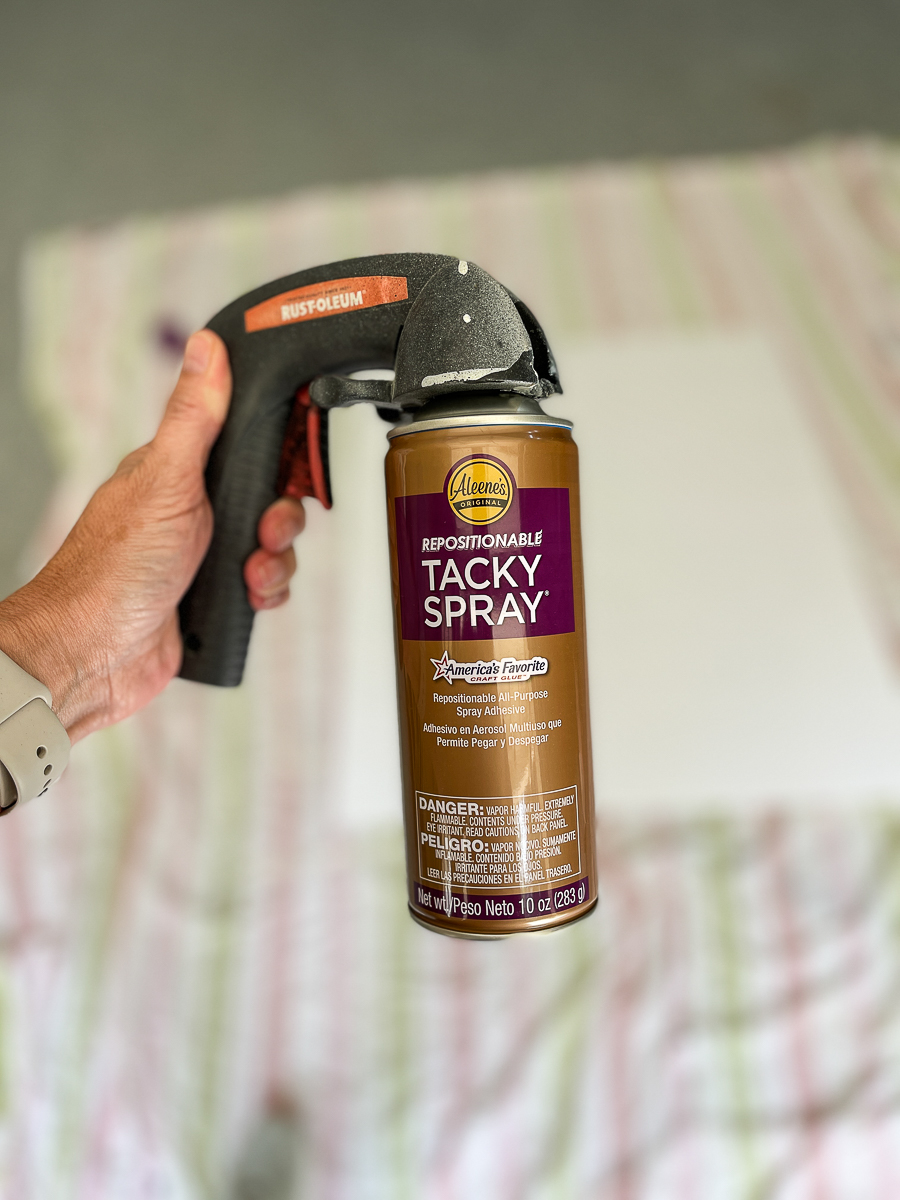
I linked a different spray mount above. The price for mine on Amazon was high! I got it at Hobby Lobby. PLEASE follow the instructions on the can. Spray the entire surface of the board. Protect under the board with an old sheet or drop cloth. Don't use paper!
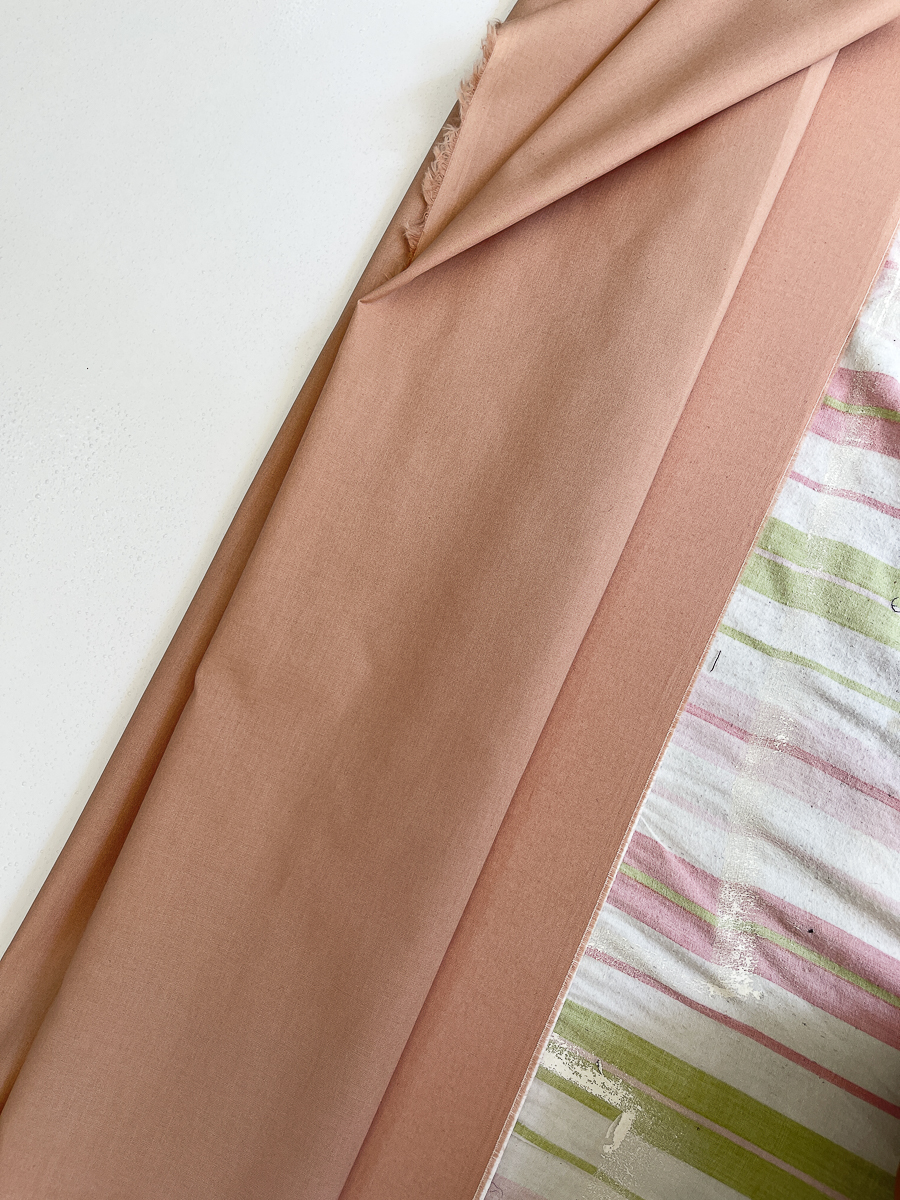
Fold your fabric like you would wallpaper and line up the edge.
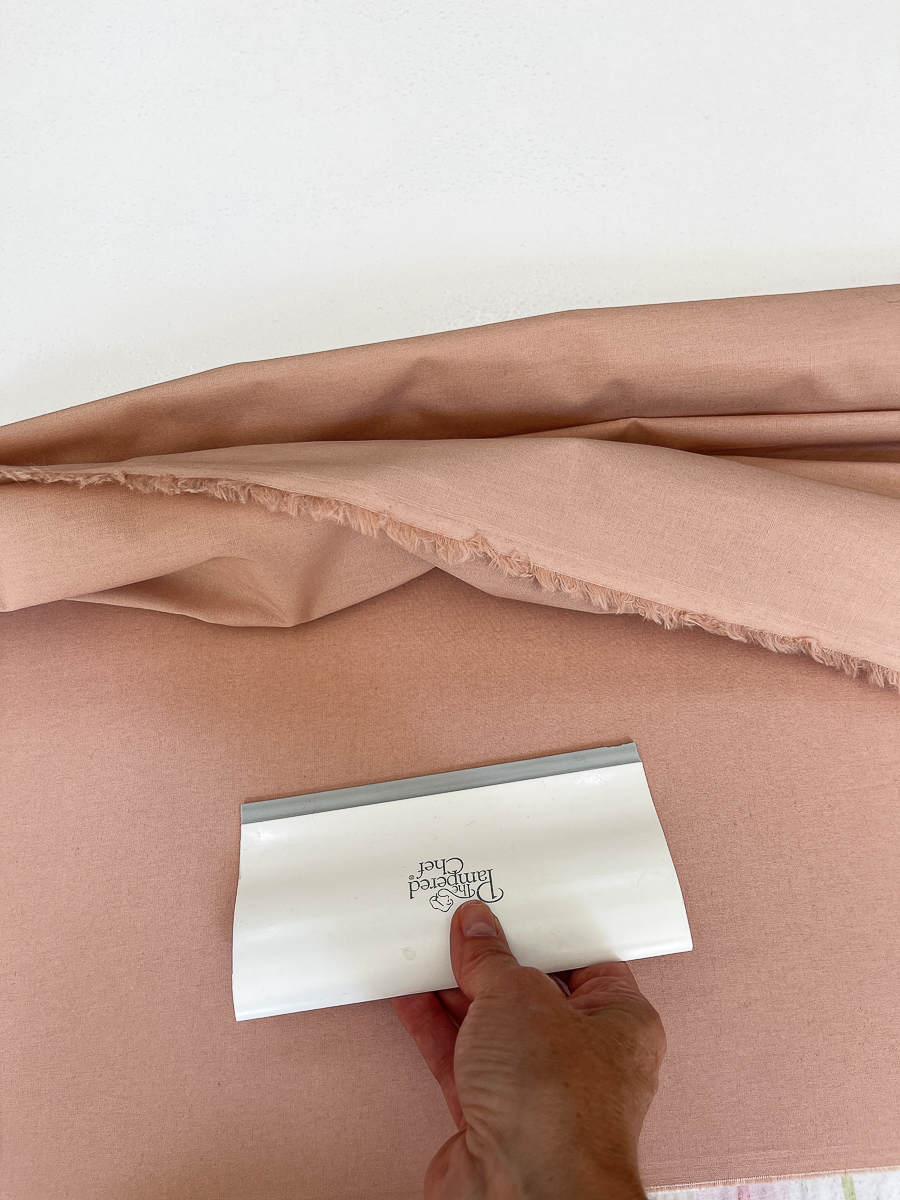
I used my Pampered Chef scraper to flatten it out as I went. This helped to lay it out beautifully with no wrinkles in the fabric. I bought exactly 1 yard of fabric.
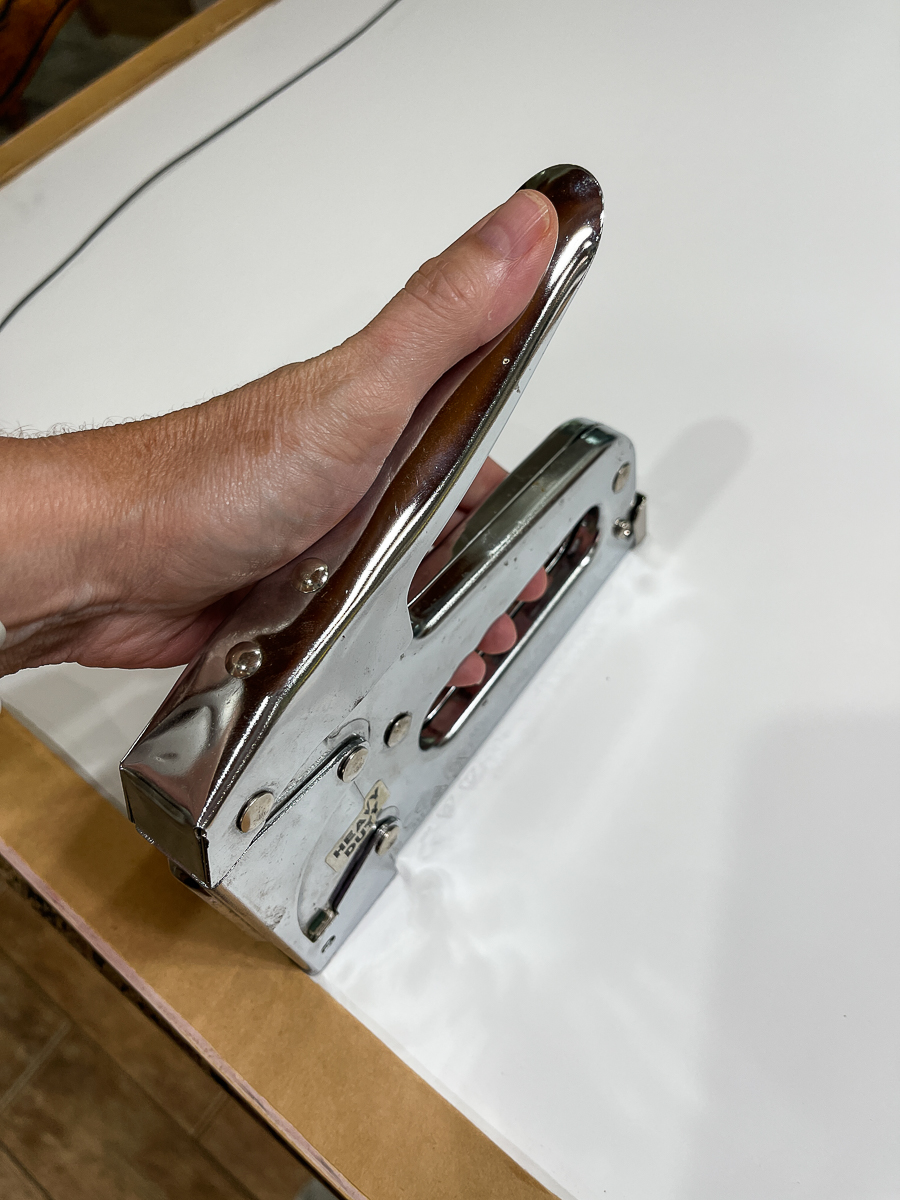
Before stapling to the board, either fold the fabric to the backside or trim it as I did. This would be out in the open, so I wanted the back to look nice. I used my rotary cutter. After the board had dried. I just flipped it over on the mat and trimmed it there with the rotary cutter.
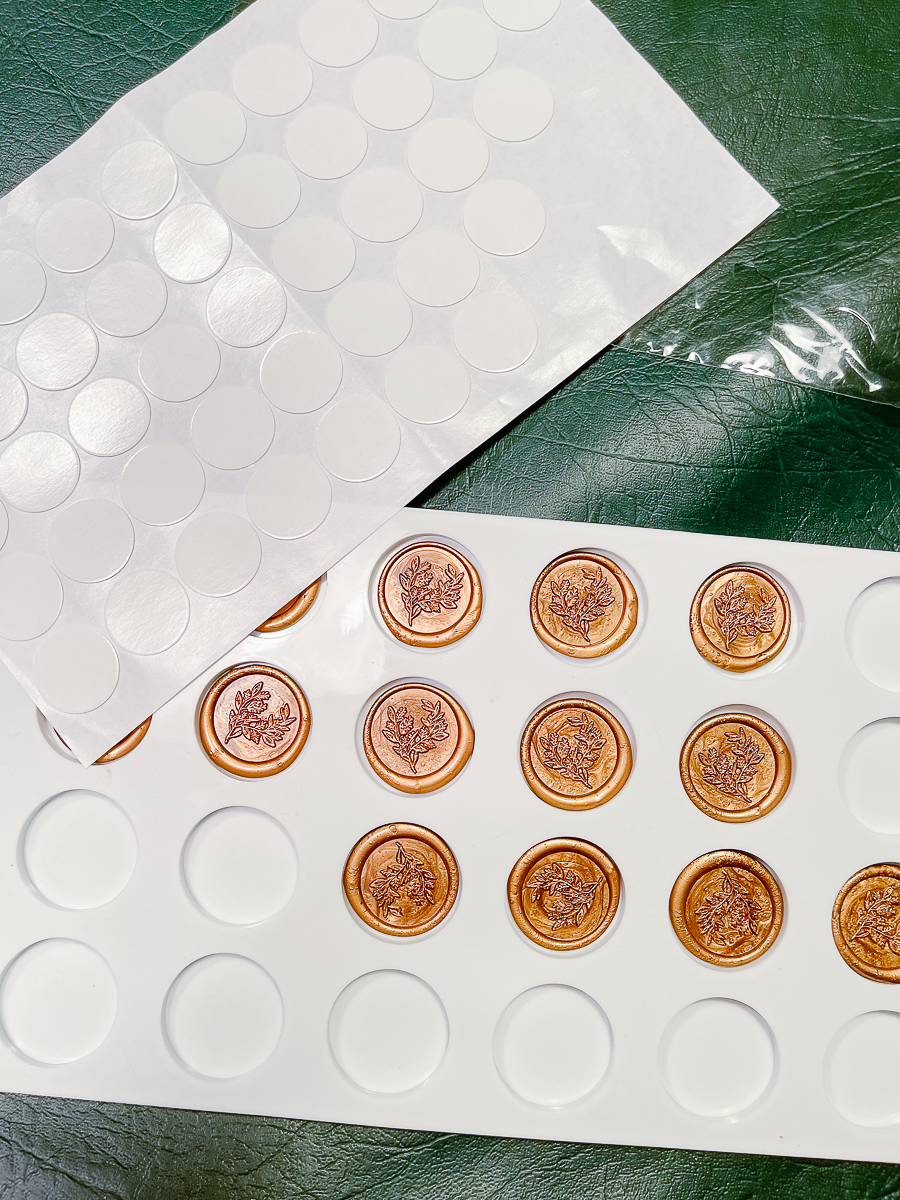
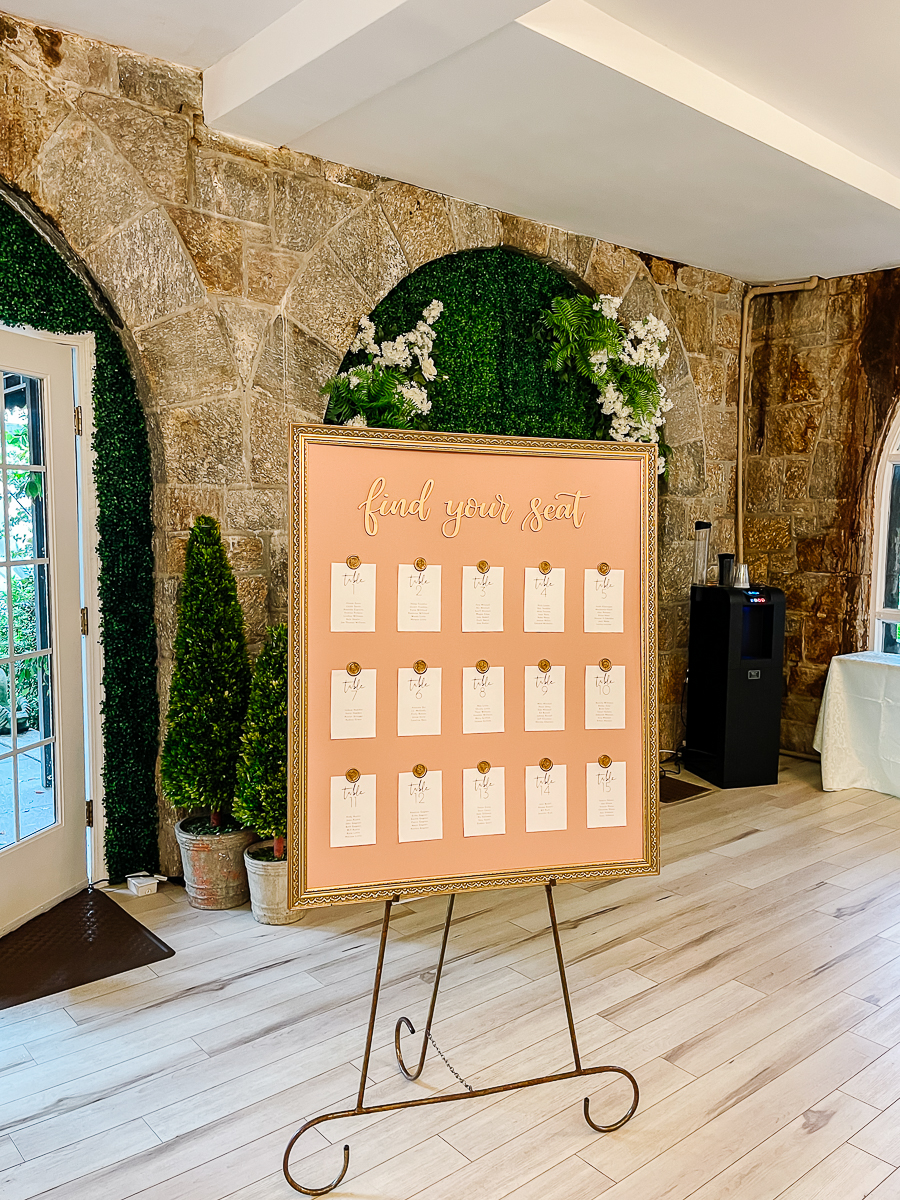
Supplies for the wax seals are listed above. This was fun!!! We are a bit addicted to seals. We used them here and on all the gift tags for bridesmaids, groomsmen, and others. Be sure to watch my reel on Instagram. There will be a video clip making the seals. It is so easy.
I will say that we had originally bought this kit and did not like the wax. It was not a pretty color. Much easier with the wax sticks!
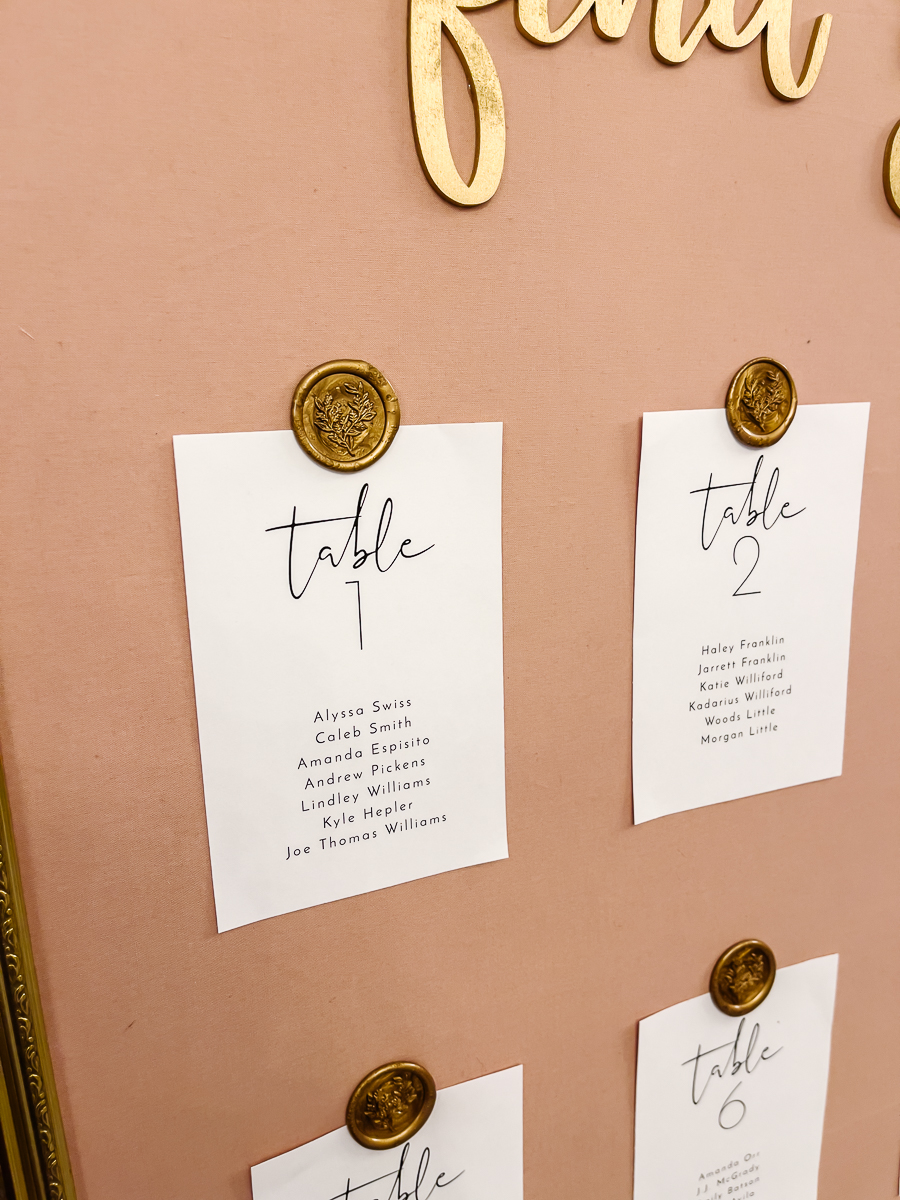
We made 15 seals. Using the mold gives you nice round seals! Then you use the round adhesive circles that it came with to adhere them to the board. It stuck firmly to the cardstock and fabric.
I used to above template on Etsy in the supply list to print the table assignments. I purchased this wonderful box of 4×6 cards to run through my laser printer only to discover that the ink was low and not printing correctly. There was not enough time to order so I sent them to Staples to print. They did print 2 to a sheet of cardstock. I had to trim them with my paper cutter.
TIP: If you have to trim to a 4×6, find a picture frame in your home and use the 4×6 glass. Place it over the card and with a Sharpie, I marked the top of the b with a line. I then used a pencil to mark the paper where it was centered. I then used my paper trimmer to get nice straight lines. The Sharpie will easily wipe off the glass when done. This allows you to not have to measure each and every card.
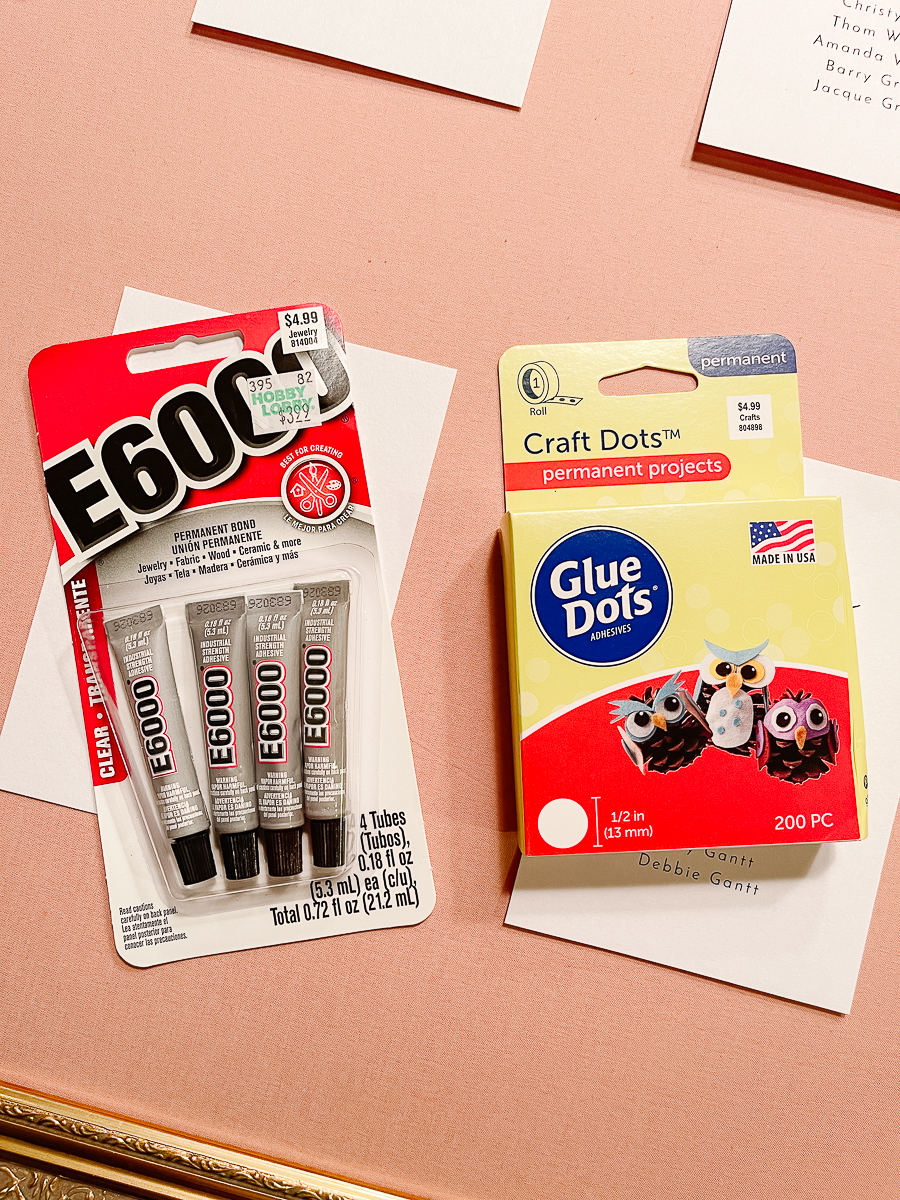
These products were used to adhere to the cards and the laser-cut wood words at the top.
Use the e6000 on the laser-cut wood. Use the glue dots on the cards.
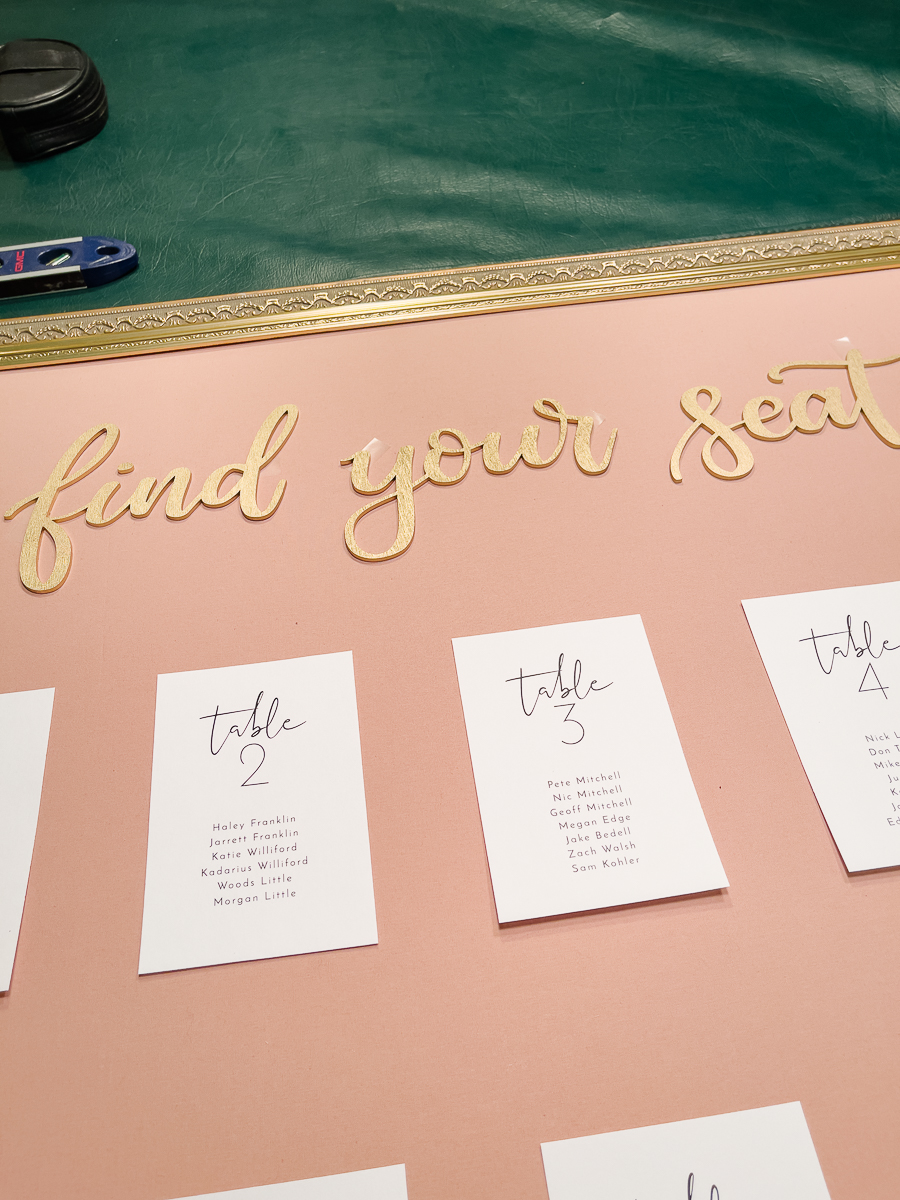
Ashlyn and Tim did the measuring and placement of the cards and words for me. They adhered them temporarily with double stick tape. That made it simple for me to permanently adhere to it.
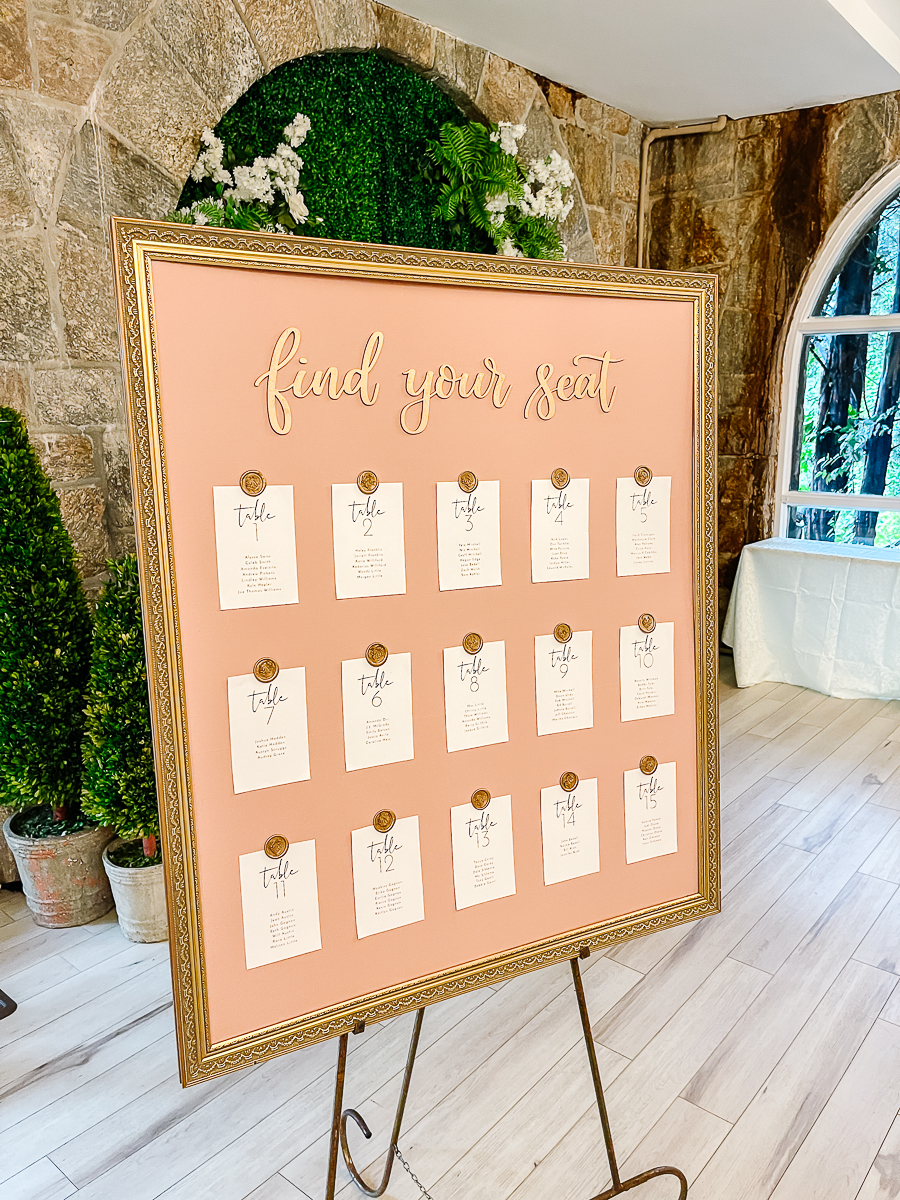
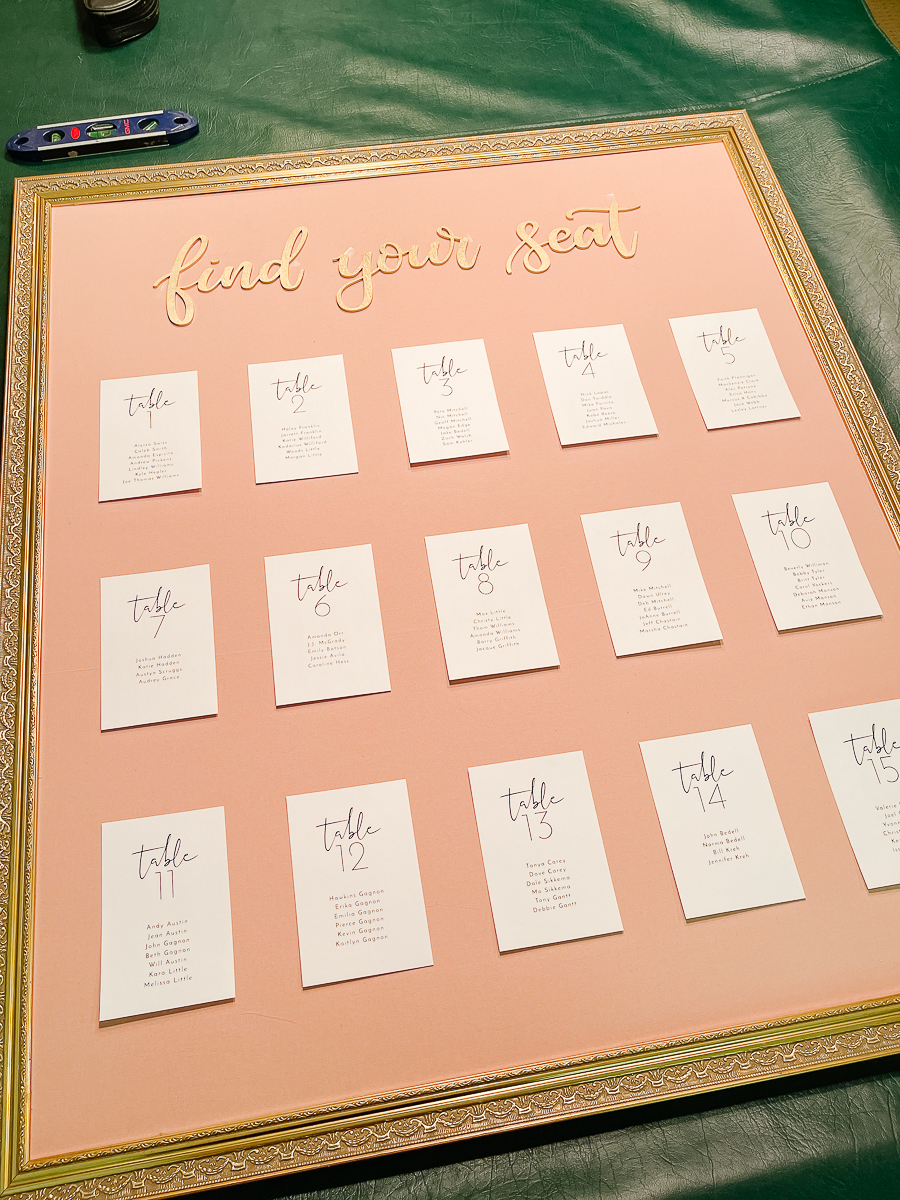
Here it is at the venue on Saturday evening!
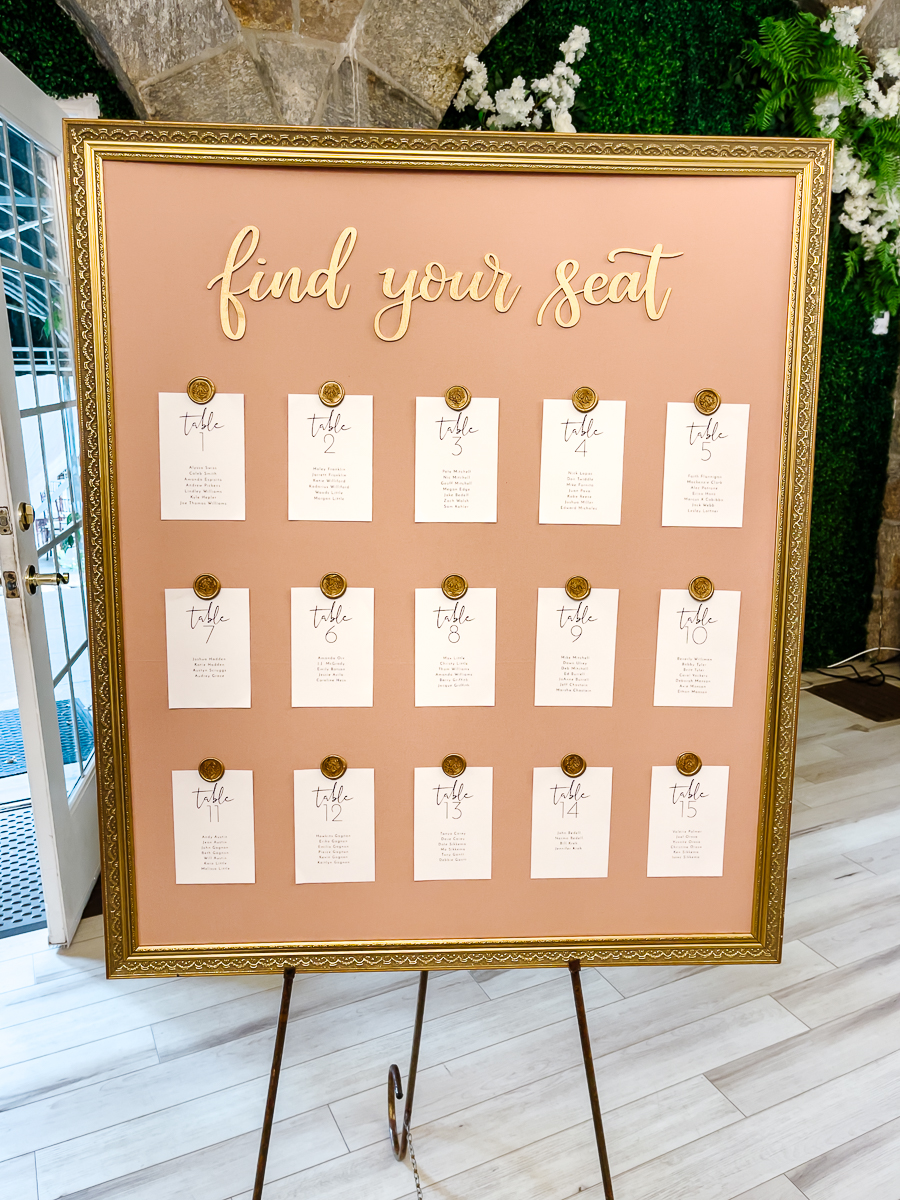
You can customize the chart to your wedding colors.
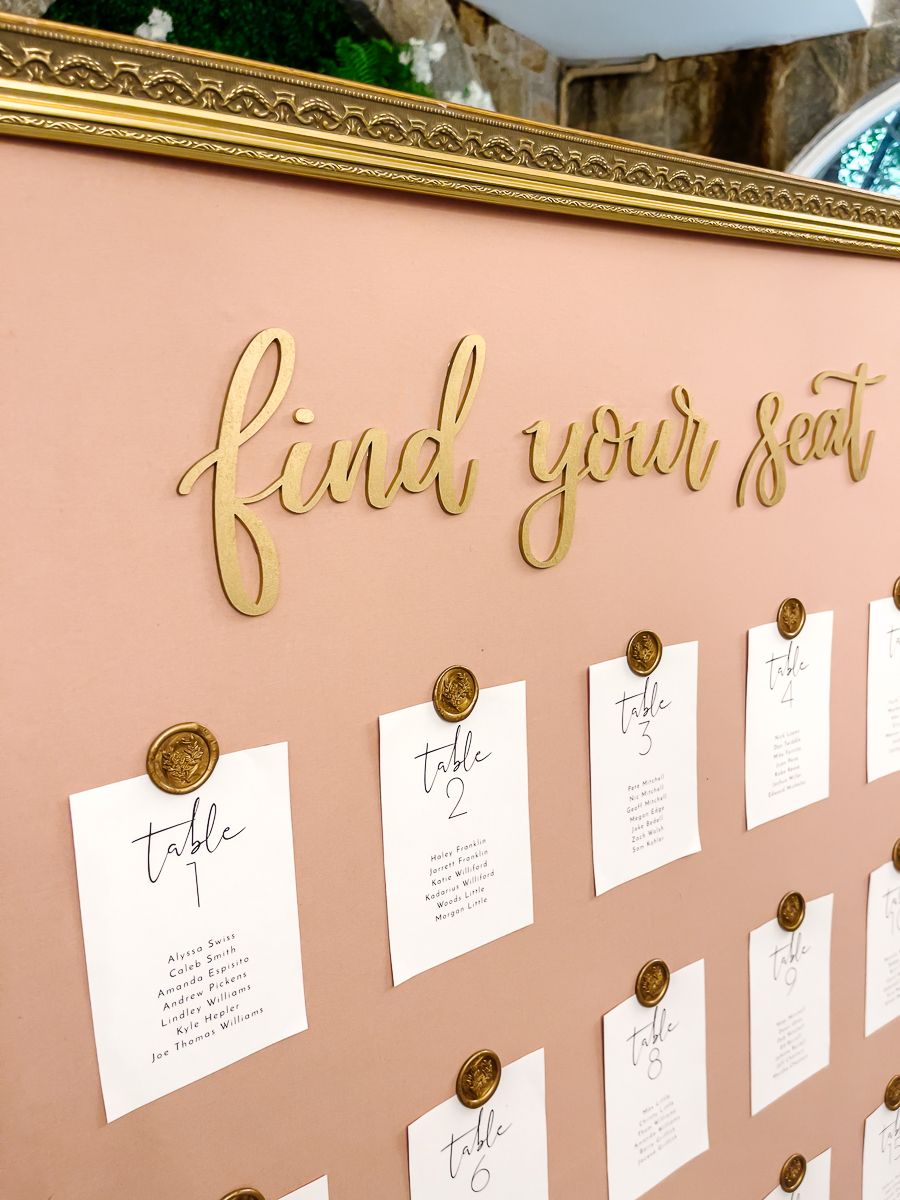
The laser-cut words can arrive unfinished. I purchased them painted gold to save a step since I was running out of time.
The gold seals give a bit of elegance. You can get wax in many different colors. I can't wait to use these on gift-wrapped presents and Christmas cards.
Do you know someone getting married that would love this Framed Wedding Seating Chart? Be sure to share it with them and PIN for later. This could also be used for anniversary parties, birthdays, and other events.
Check out these other fabulous projects from the team!!!
Rose Back Chair Makeover My Repurposed Life
Transfer a recipe to a cutting board My Uncommon Slice of Suburbia
Modern Fall Decor for the Fireplace Sadie Seasongoods
Window Art With Glass Plates House Of Hawthornes
Desktop Hanging Clock Makeover Domestically Speaking
Framed Wedding Seating Chart Our Southern Home
Large Thrifted Wooden Tray Makeover Organized Clutter
DIY Recycled Sweater Pumpkins Petticoat Junktion
Vintage Trash Can Upcycle Shop At Blu


I love the wax seal idea! It takes it to a whole other level!
Oh my goodness, it really turned out perfectly! And the wax seals look AMAZING!
Christy that turned out beautiful!
The seating chart turned out so beautiful! The wedding looked like a dream come true!! Congrat’s!