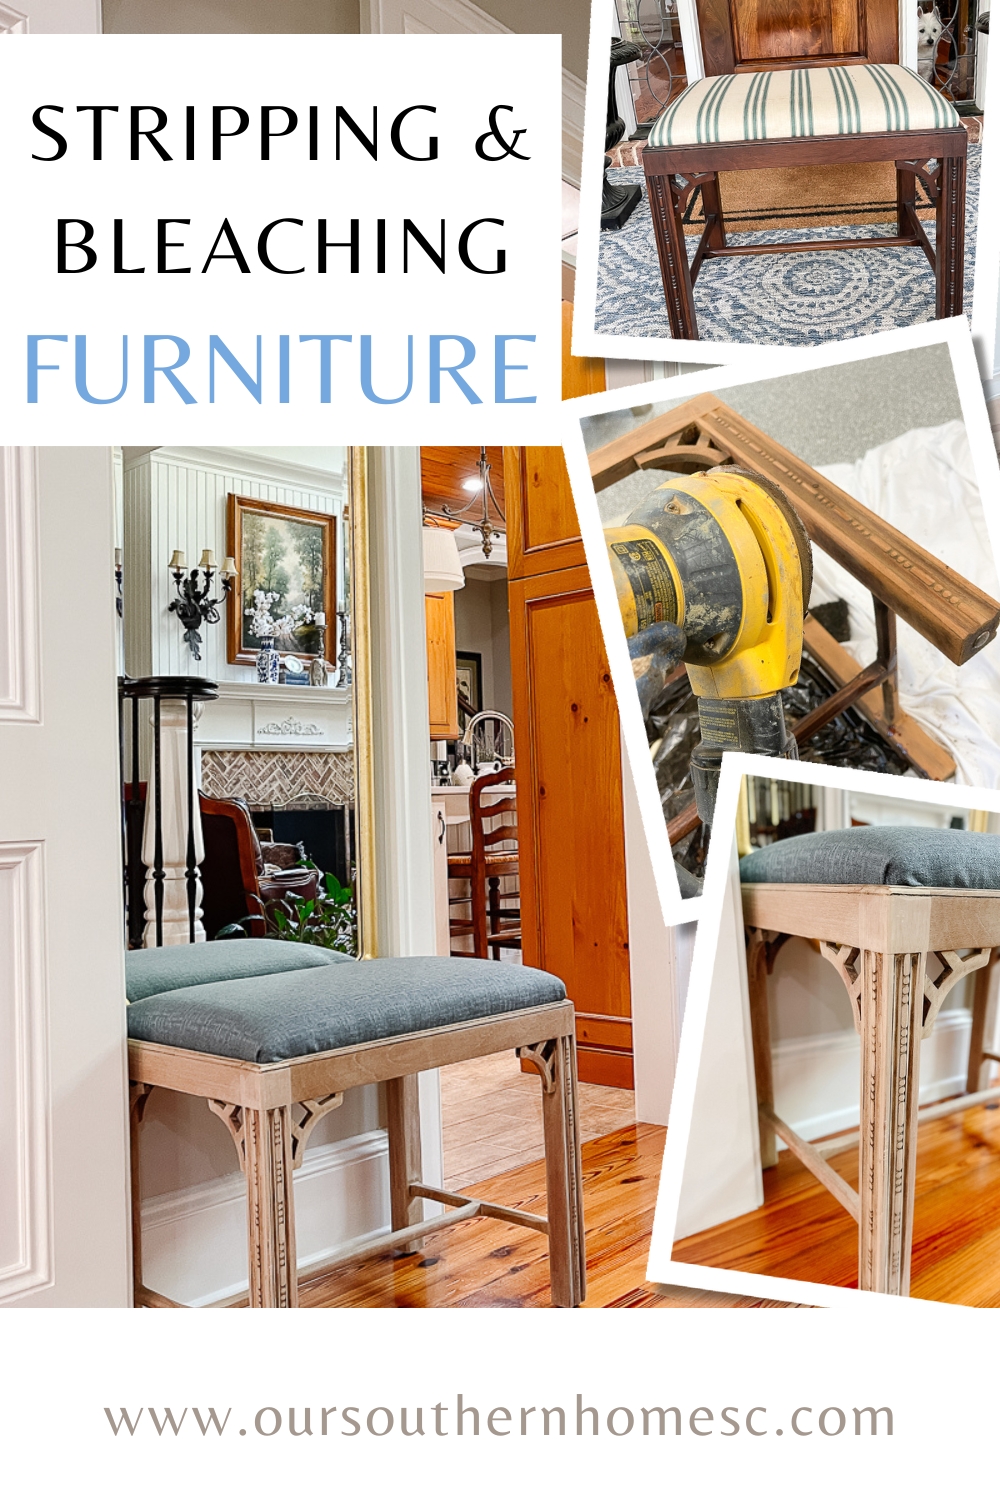
Classic Stool Makeover
Strip, bleach, and reupholster your furniture to give it a new lease on life like this classic stool makeover.
Latest from OSH
- How to Make Piña Coladas in an Ice Cream Maker
- Saturdays on the Porch #86
- Saturdays on the Porch #85
- Easy European Wall Art with Thrift Store Frames
- Piano Bench Makeover with New Color and Fabric
This post may contain affiliate links. If you purchase something using one of my links, I may earn a small commission from the retailer costing you nothing more. You can read more on my disclosure page. Christy Little of Our Southern Home is a participant in the Amazon Services LLC Associates Program, an affiliate advertising program designed to provide a means for sites to earn advertising fees by advertising and linking to amazon.com.
Thrift Store Makeover Day

Join us each month for NEW thrifty ideas from the team. You'll find links to all of the projects below.
Use the slider below to see the before and after!


A little Backstory
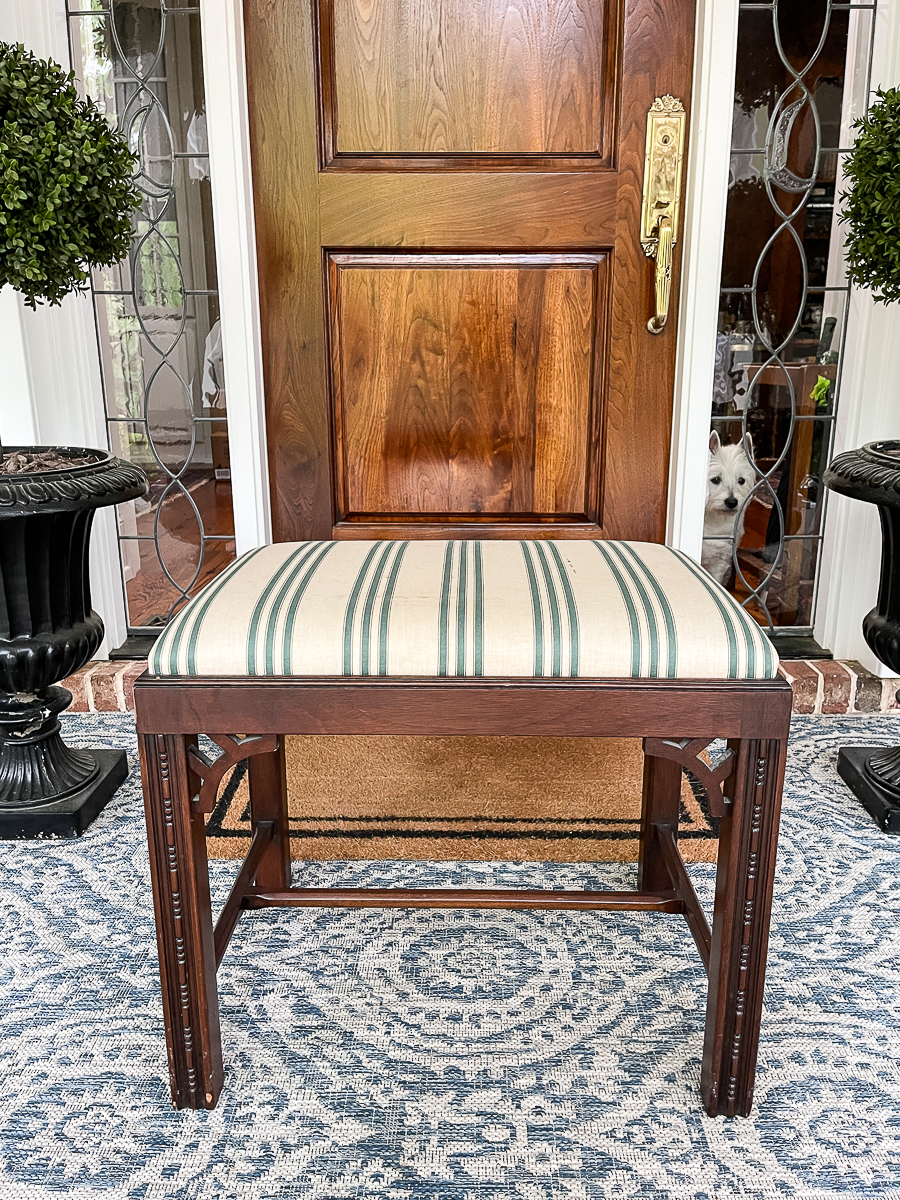
The Stool
In January, I went on a blogging retreat. We took a little afternoon trip to the Tobacco Barn Antique Store in Asheville, NC. It has a little bit of everything.
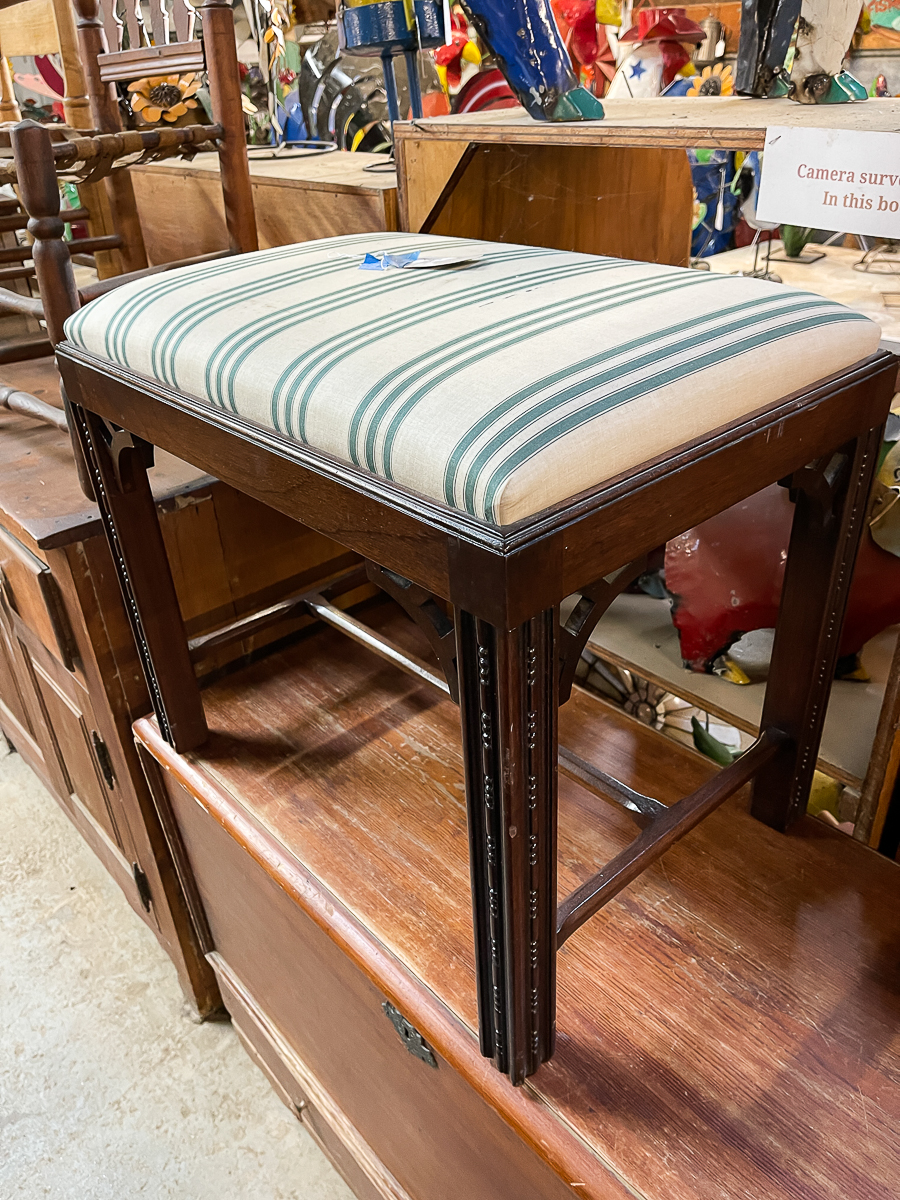
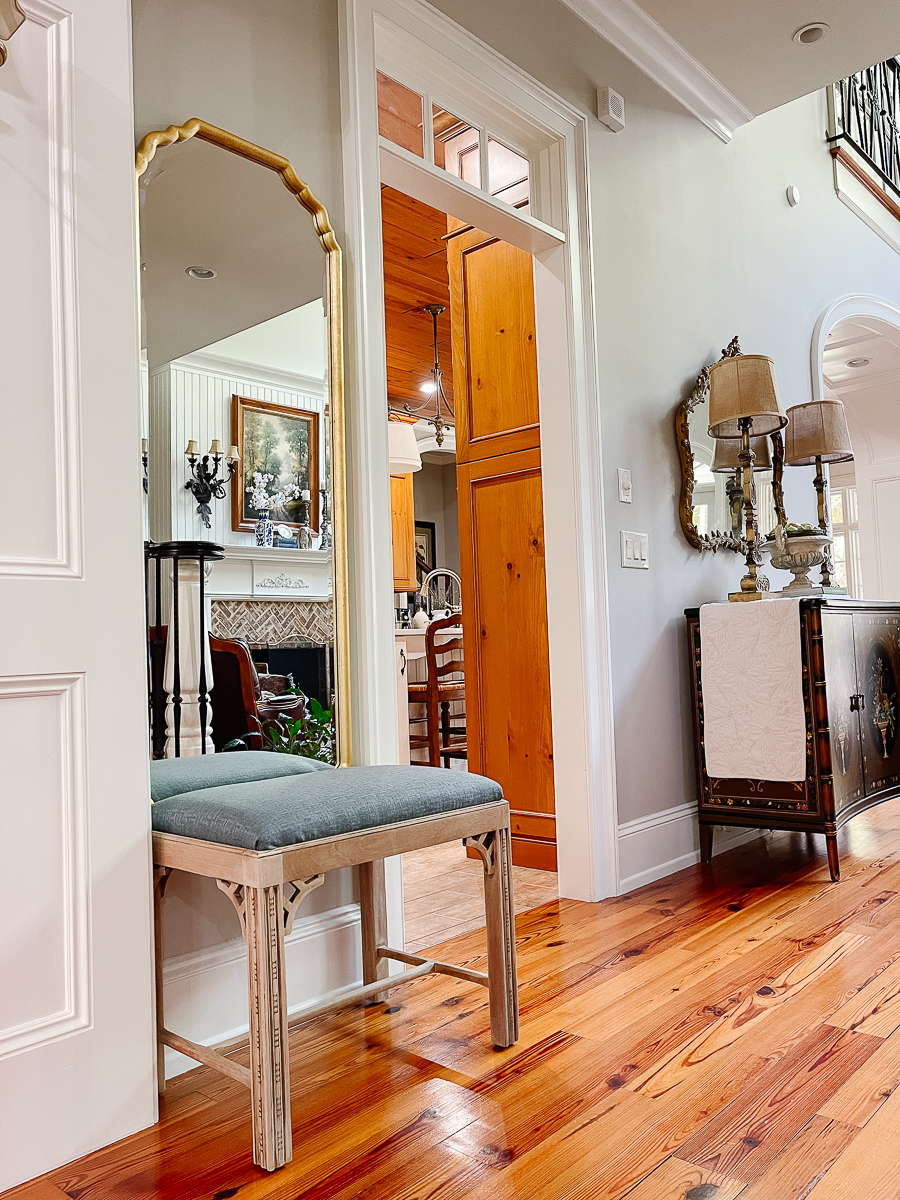
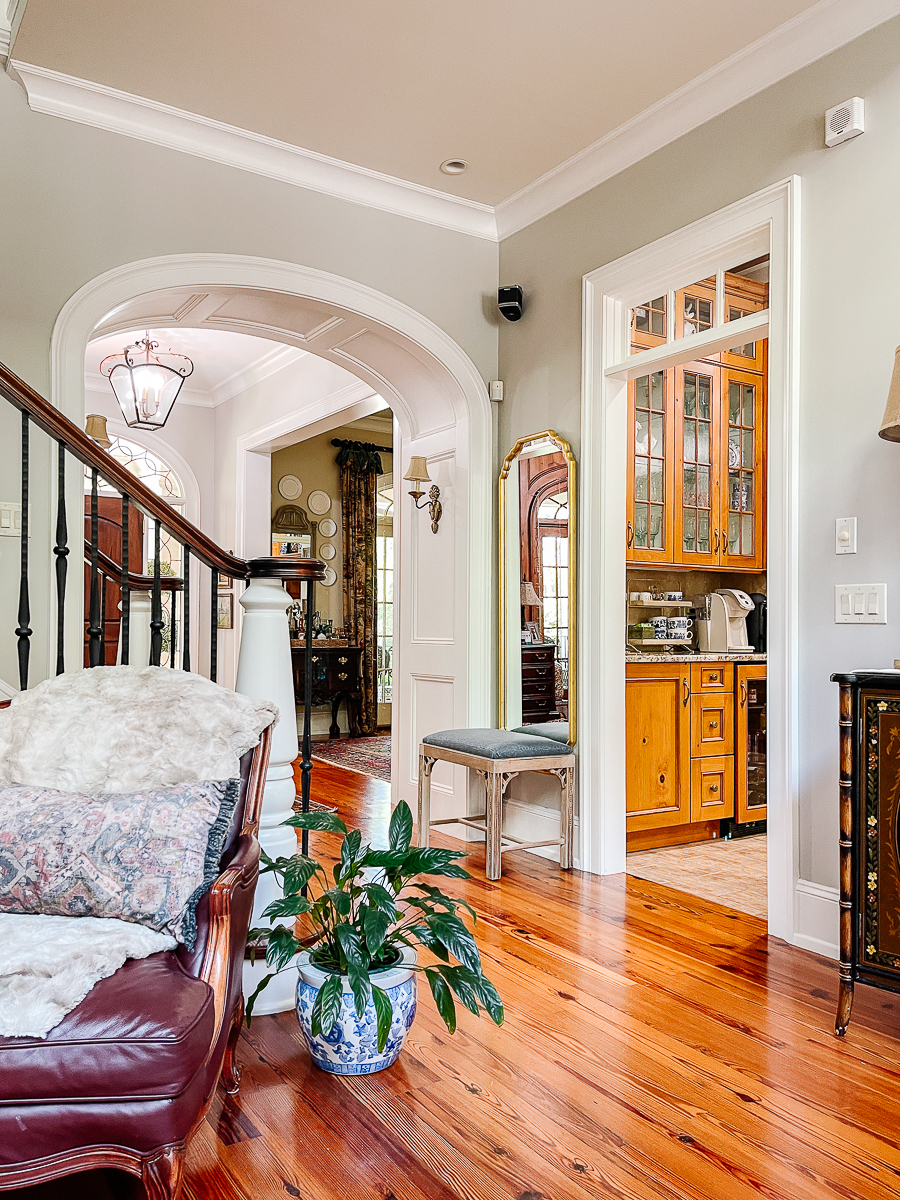
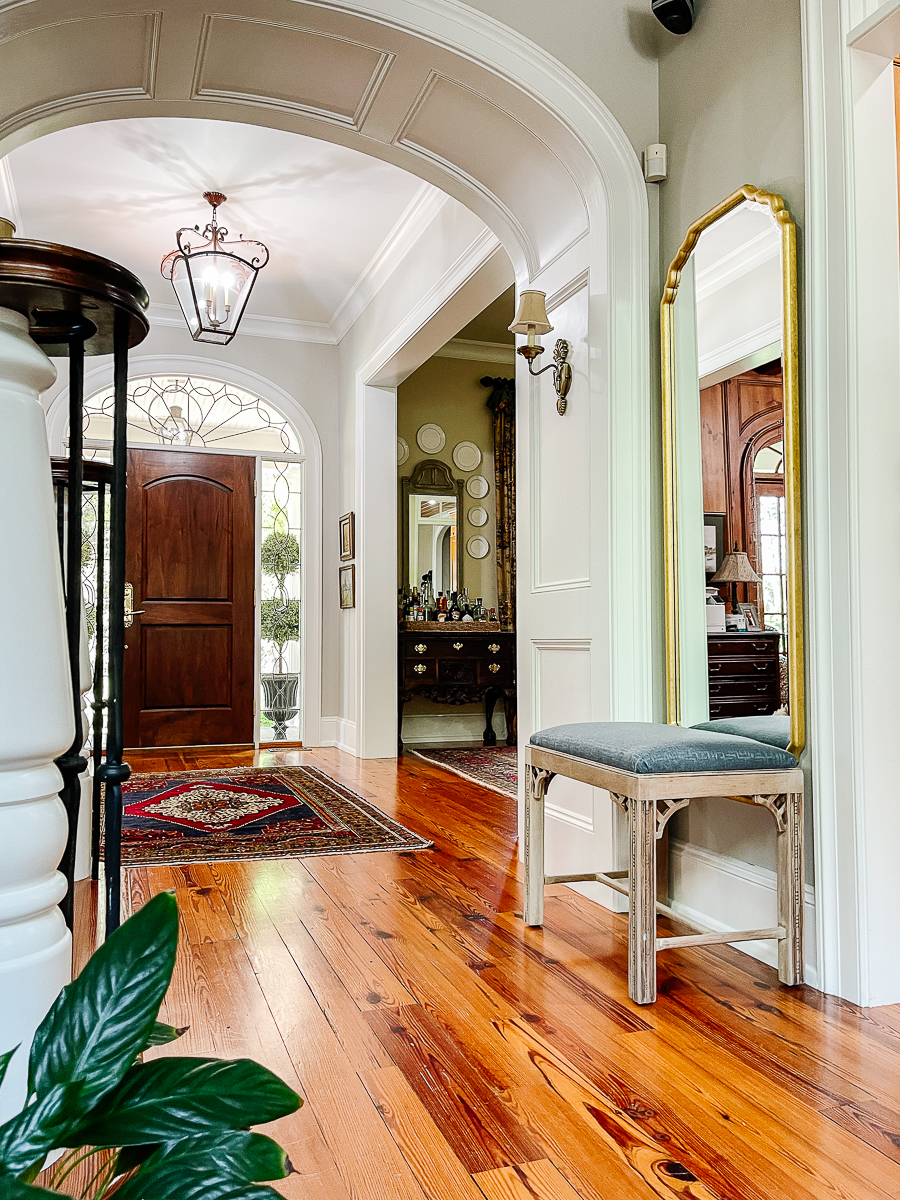
I came across this classic stool that I knew would be perfect in front of the mirror in the family room. The current stool needed to go back to the bathroom vanity.
While this is most likely a reproduction piece, it was still a bit more than I'd liked to have paid at $65. It's definitely something that I would occasionally come across in a thrift store. It was very sturdy and in good shape. I knew it would be a good candidate for paint or stripping. The finish as is was quite flawed.
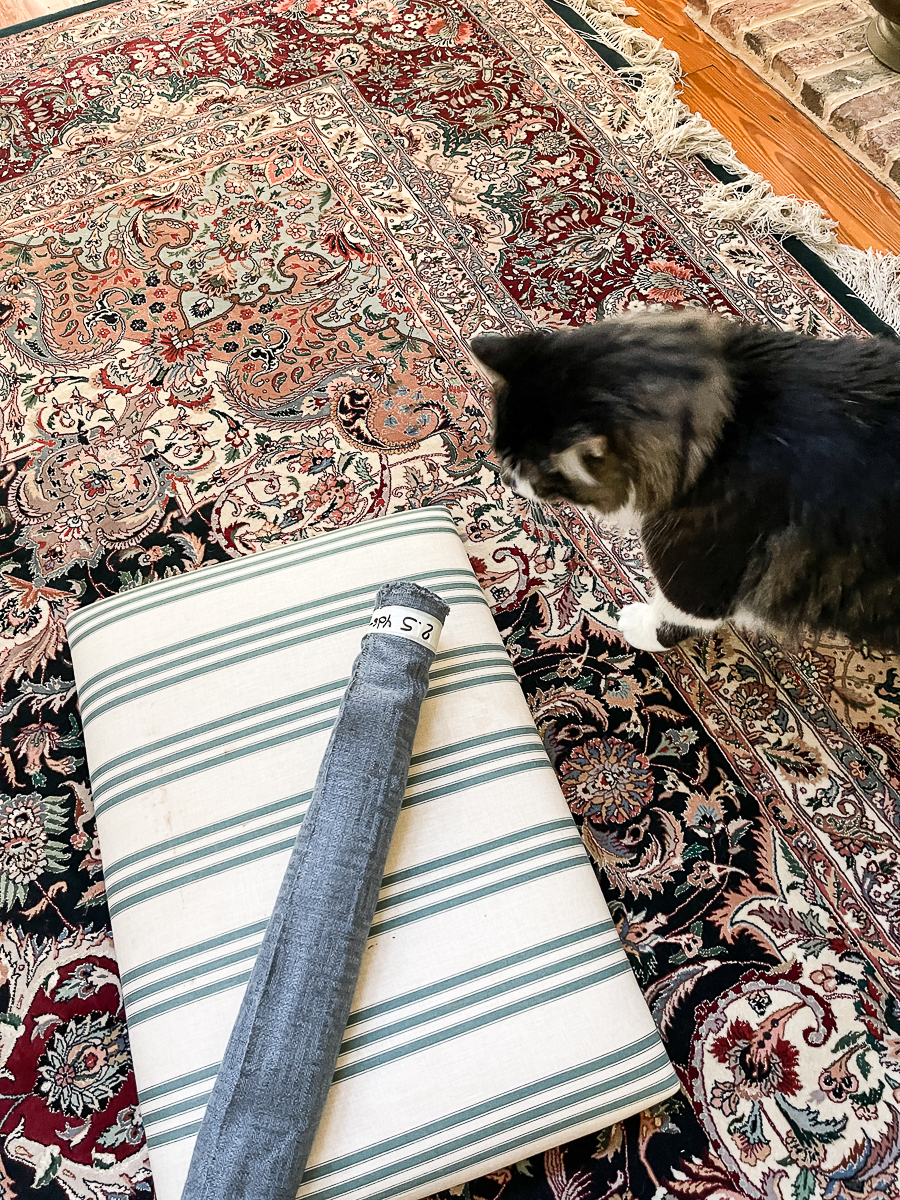
The Fabric
Friday, I went to Greenville to pick up a Honey Baked Ham for Easter dinner. I was also going by the fabric store to buy something to reupholster it. I was prepared to spend $20-35 for a yard of fabric. These 2 places are close to each other.
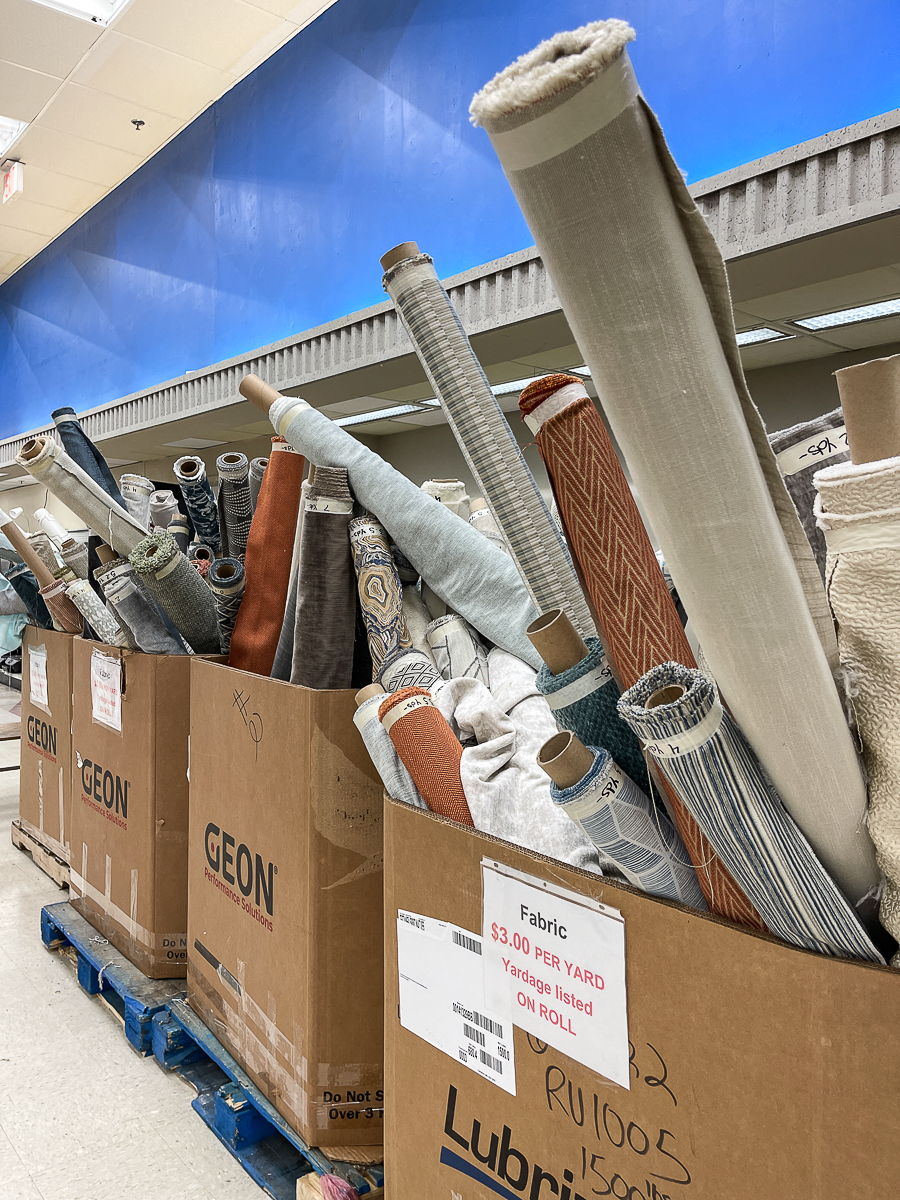
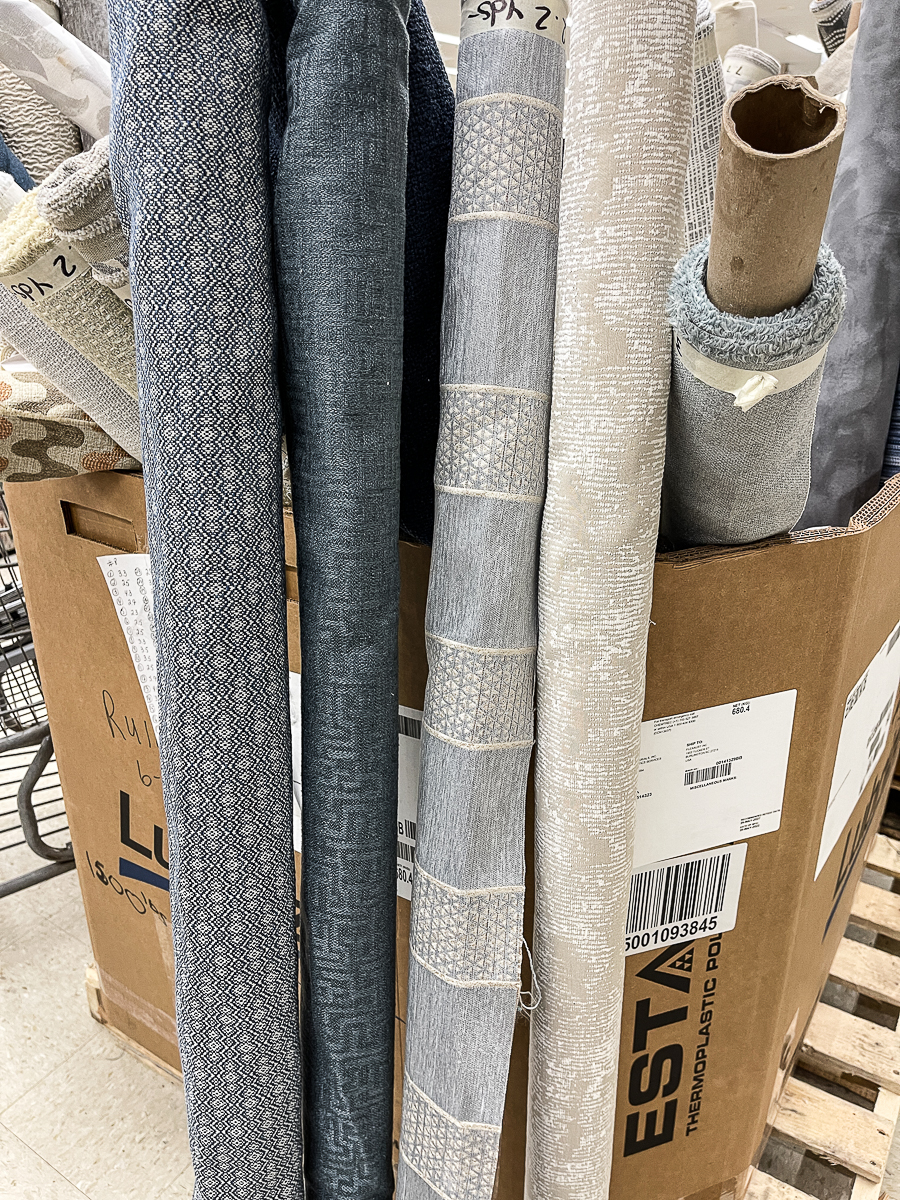
Before going to the fabric store, I decided to pop into the Miracle Hill thrift store. I hit the jackpot. They had bin after bin of partial bolts of fabric. It looked like the smallest amount that you could buy was 2.5 yards. At $3 per yard, I decided to dig through it. I came across several but decided on the tone-on-tone Greek key look. It was classic and would work with the look I was after. It was not exactly what I had planned to look for at the fabric store, but for the price….it was worth it.
I have a suspicion that the fabric in the thrift store might actually be donated from the store I was headed to. Either way….it was a score!
Similar Projects on the Blog
Supplies Used
- Jasco Stripper (cheaper in-store at Lowes)
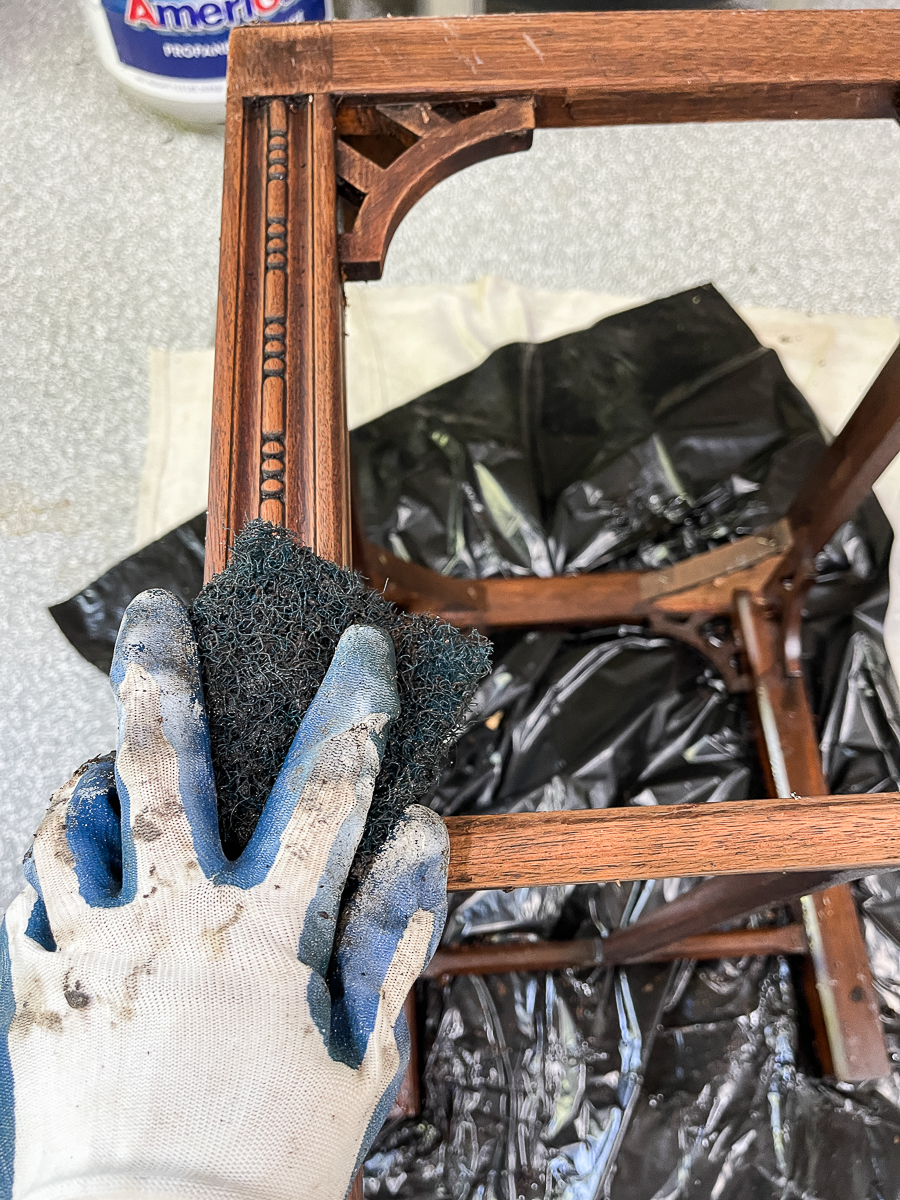
- Stripping Pads
- Scrapper
- Orbital Sander
- Sheets of sandpaper
- Mouse Sander (on my wish list)
- mineral spirits
- bleach
- vinegar
- drop cloth
- rags
- paper towels
- heavy-duty stapler
- scissors
- fabric
How-To
Clean it
The very first thing that I do with my furniture projects is to clean it well. Sometimes I'll use some household cleaning spray or just Dawn dish soap in a little water with a rag. Let it dry thoroughly.
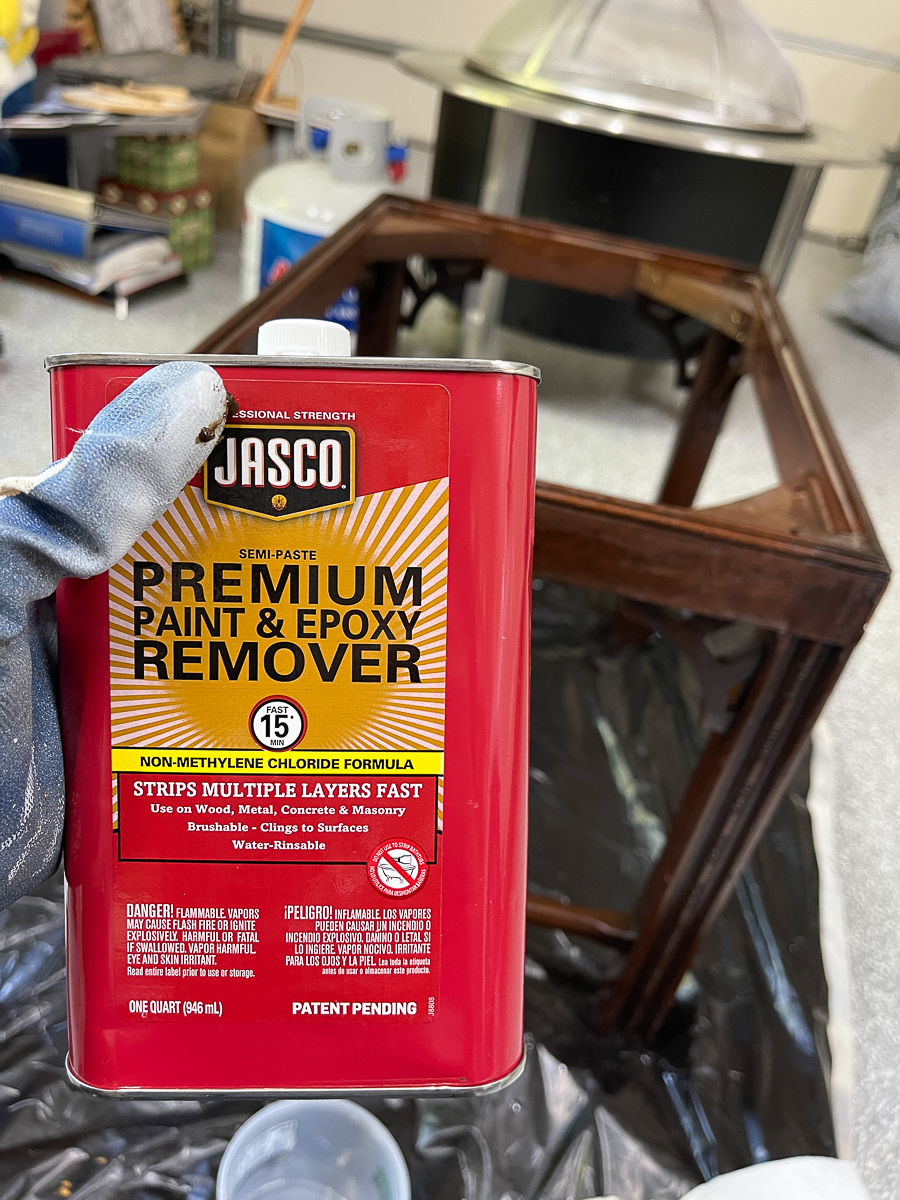
Strip the Classic Stool
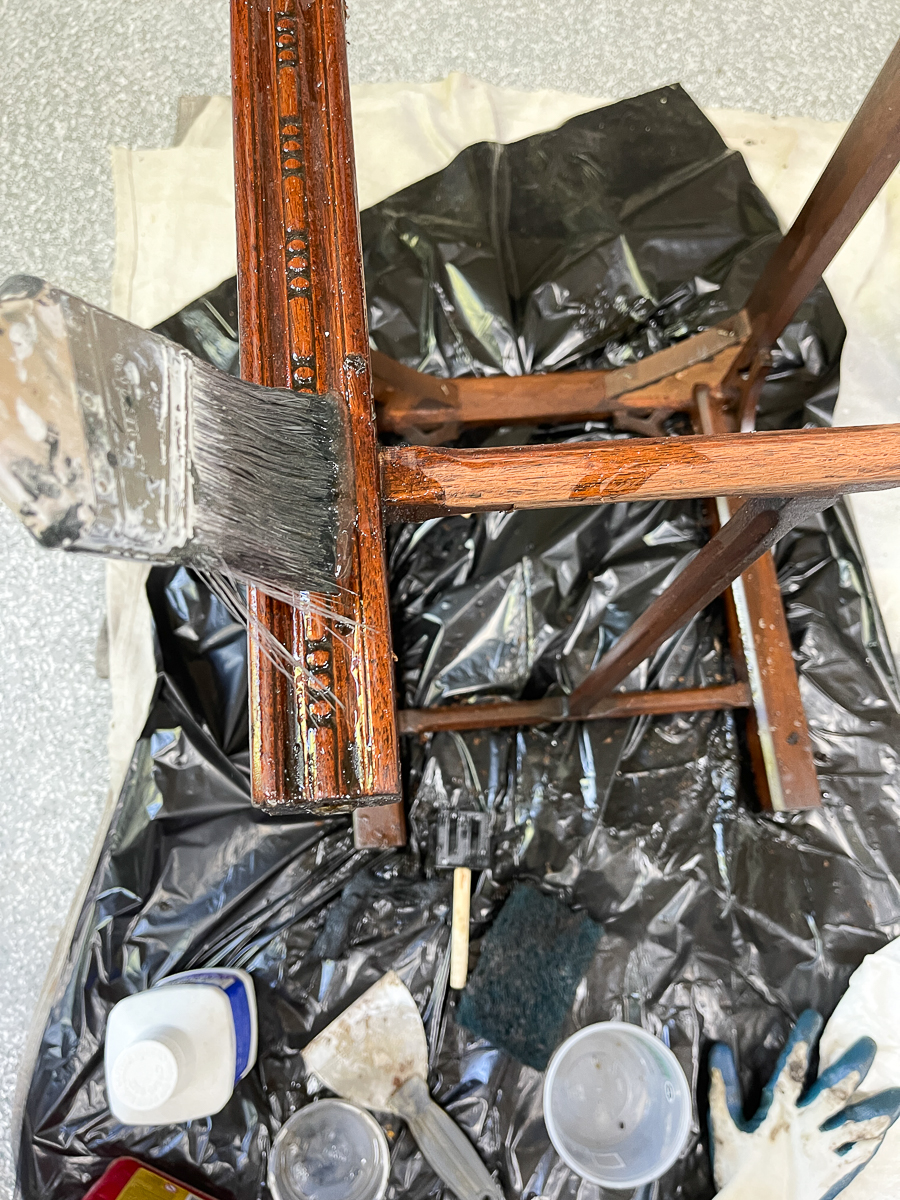
Next, you will want to apply the Jasco stripper to your piece. Just do this in a smaller manageable section. I do one side at a time. PLEASE follow the instructions on the can. You will want to do this in a well-ventilated area. (strong odor) I worked in my garage with the doors up. You should wear a mask and safety eyewear. Use a scraper to remove the old varnish. In the grooved, beaded areas of the legs, stripping pads came in very handy.
Sand the Stool
After I had the top protective coat removed and down to the stain, I started to use my orbital sander. If you remove the top coat first, your sandpaper won't get as gunky. It will last longer. Make sure you sand in the direction of the wood grain.
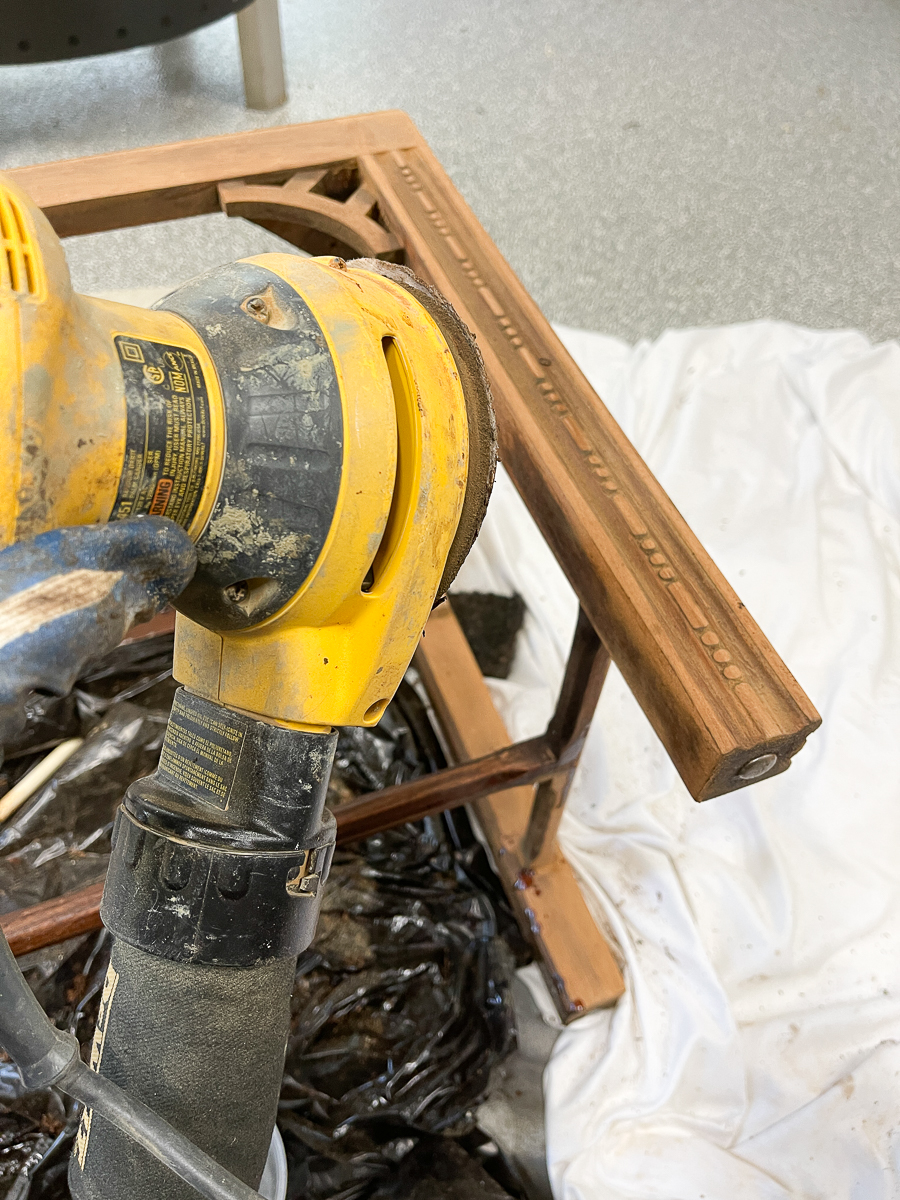
For areas that are not accessible by the orbital sander, you'll want to do it by hand with pieces of sandpaper. This is where I could have really benefitted by owning a mouse sander. I have it on my wish list.
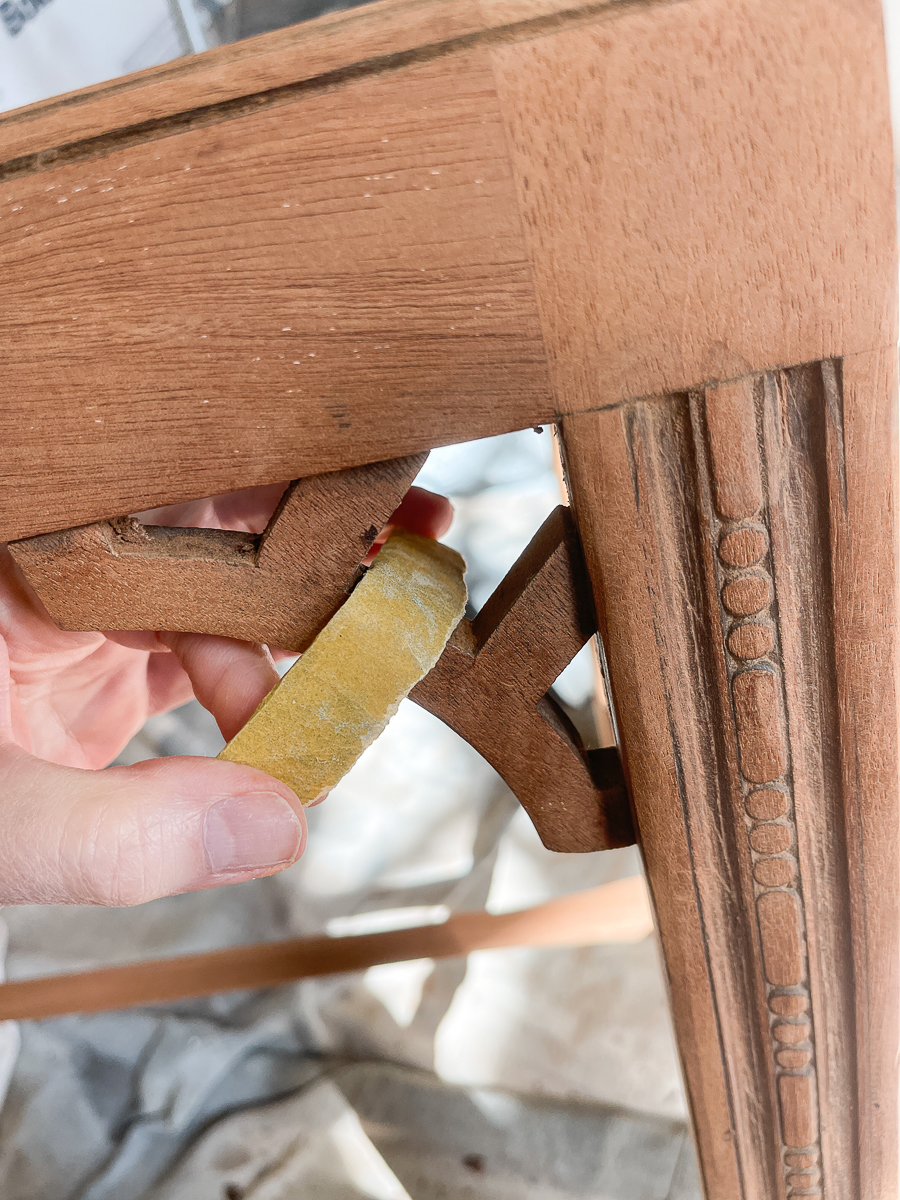
In some of the areas, I had to fold the sandpaper to fit through the little cutouts and sanded as if I was buffing a pair of shoes.
Post Clean
When you feel like all of the sanding is complete, blow it off with a battery-powered blower. This thing is amazing! We use it on both porches and patios. It's so easy for me to use. After that, wipe it down with some paper towels with mineral spirits. Use gloves. Let it dry.
Bleach the Stool
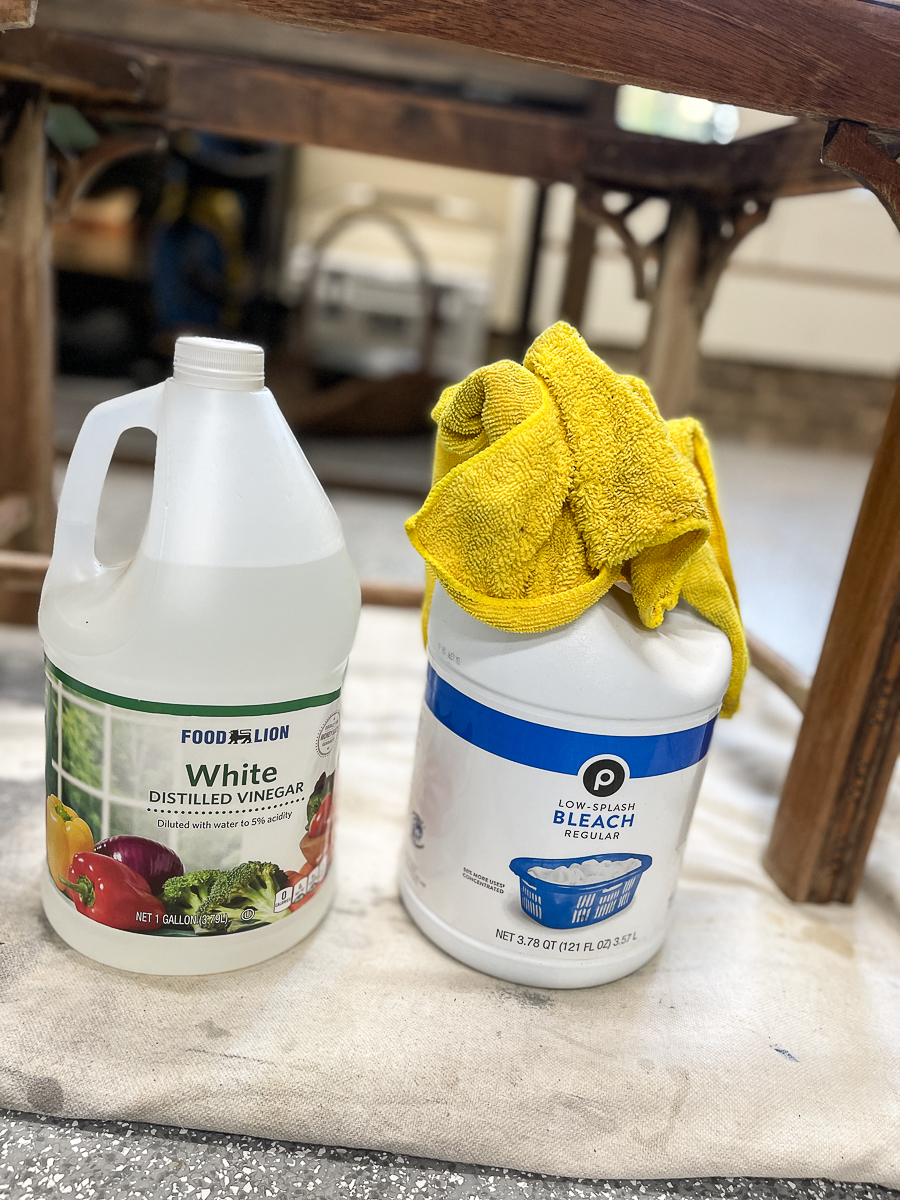
Protect your hands with rubber gloves. I then took the stool to a sunny area in the flower bed away from plants. I applied a generous coat of bleach to the piece. I only had splash-proof bleach which is a bit more of a gel consistency. I prefer regular liquid bleach. If I was doing a dresser or something with more surface area, I'd have preferred straight liquid bleach. Let it dry in the sun for 30 minutes to 1 hour.
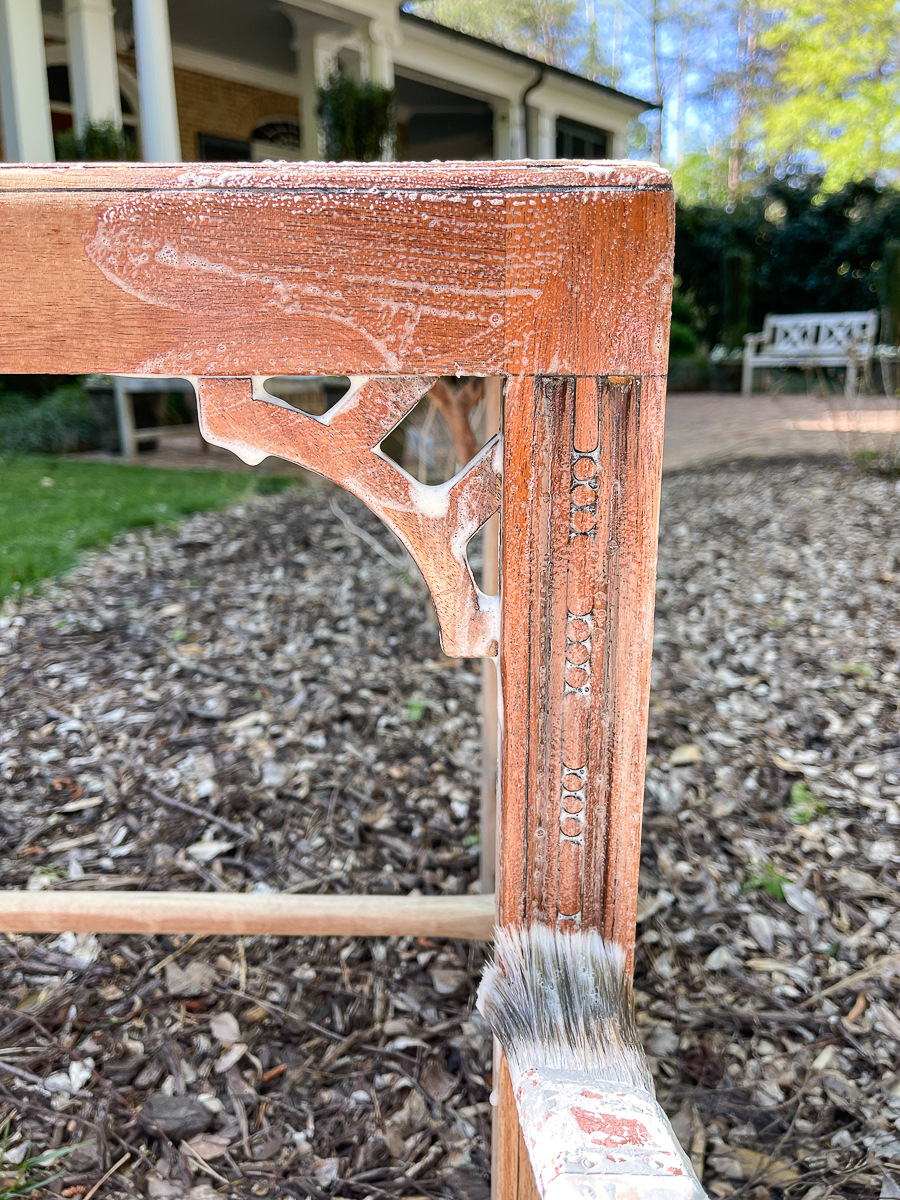
After the first round of bleach, rotate the piece in the sun. You may have to move the piece to find that sun. Apply bleach again and wait. You want your application consistent. I used a brush and rag on this piece with the gel. If a liquid, I'd just use a rag.
Do this for each side or until the desired coloring.
Inspect the piece carefully
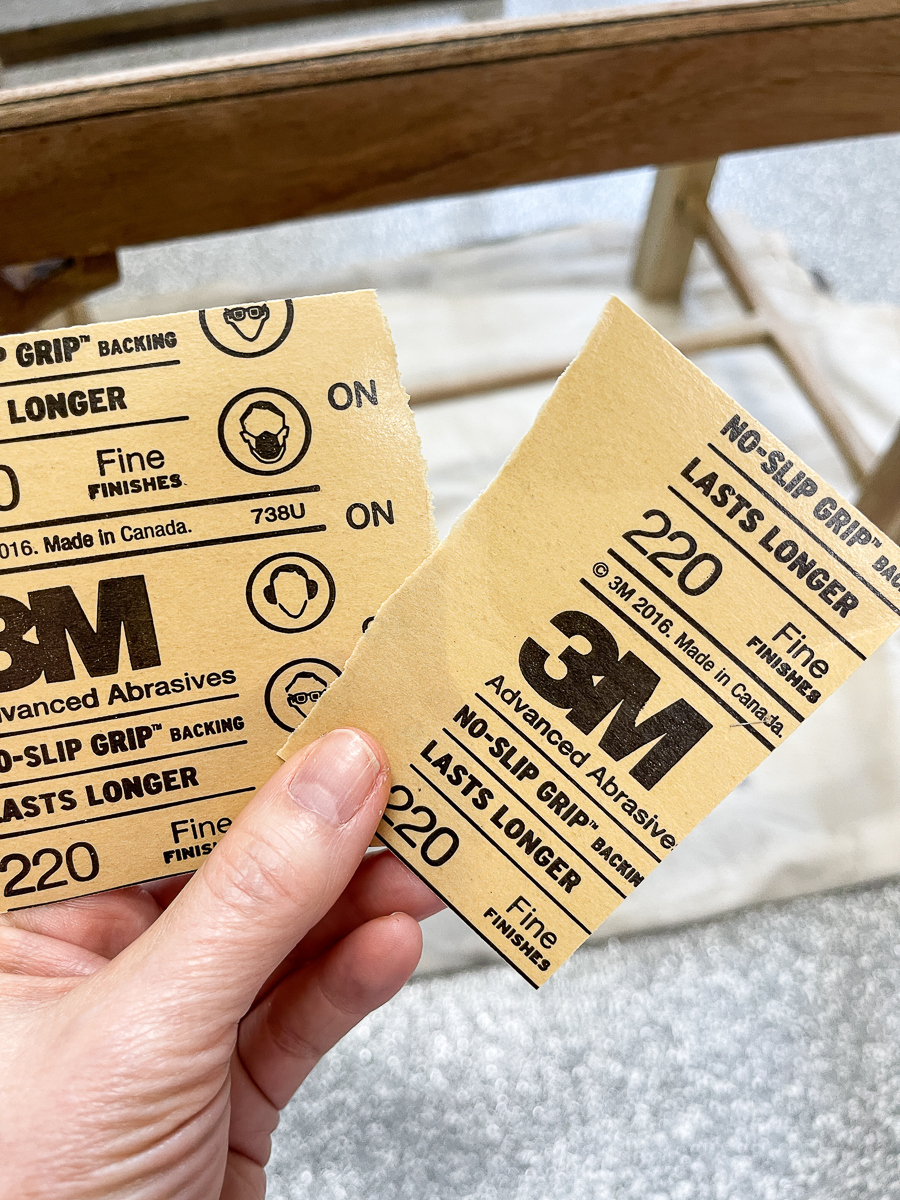
Bleaching brought out the areas that I needed to sand a bit more. I strictly used my sheets of 220 grit paper. This is very fine.
When I was happy with the look. I wiped it down with a rag of white vinegar. Let it dry.
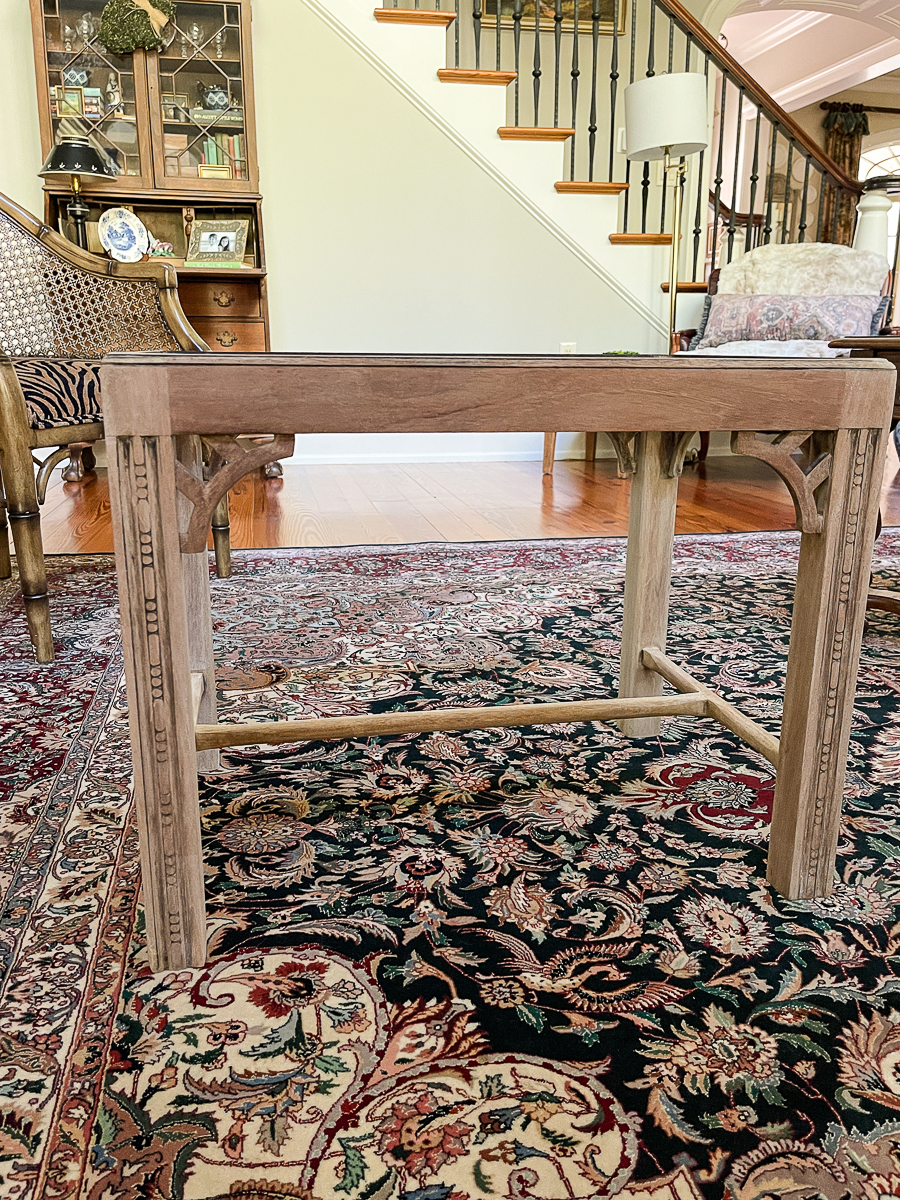
To Finish or Not
I made the decision, for now, to leave the finish in a raw, unfinished state. It's a personal preference. Since this is not a high-use piece, it will be fine. I wanted to live with it for a while. I like the look as is for now.
I may end up going over it with just a matte finish top coat. First I would treat it with a pre-stain wood conditioner.
I could have avoided all of the above and just painted the stool a fun color, but not the look that I was after.
Reupholster the Stool
Measure and cut out a piece of fabric 2-3 inches wider that the seat all the way around. It doesn't have to be an exact measurement. You just want to be able to have enough give to stretch it to the back to staple.
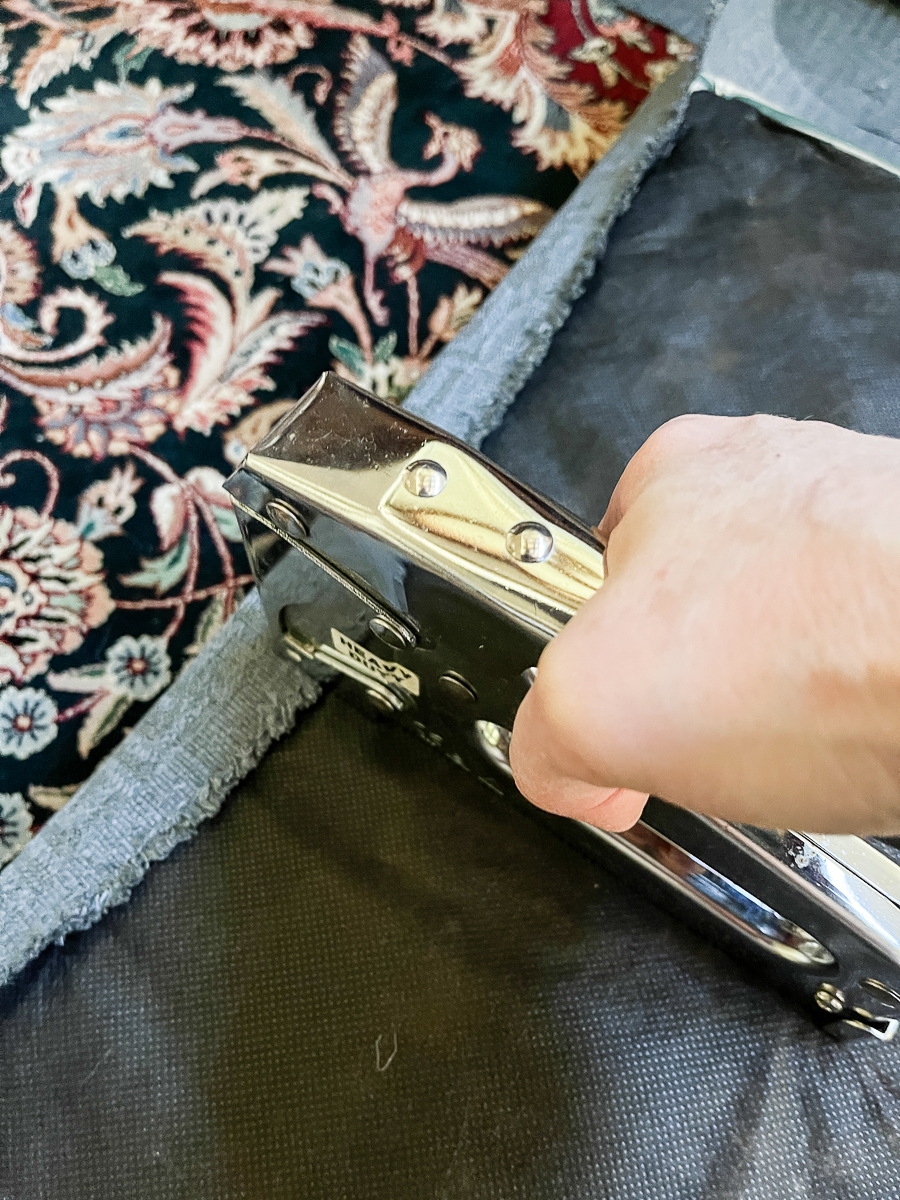
I start by placing 1 staple in the center of each side. Make sure your fabric is centered on the top.
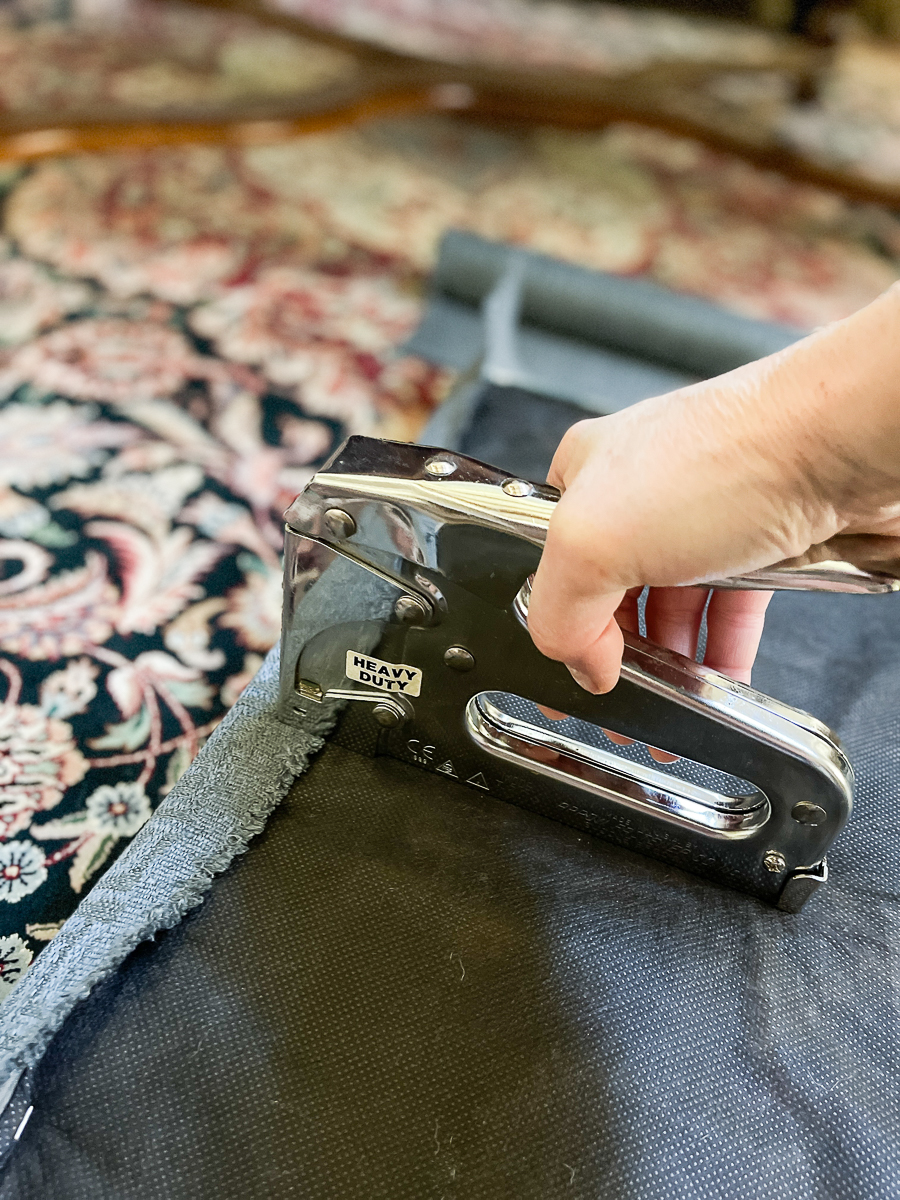
Then you will continue working all around the pieces alternating opposite sides. After doing the center pieces, I like to do the corners.
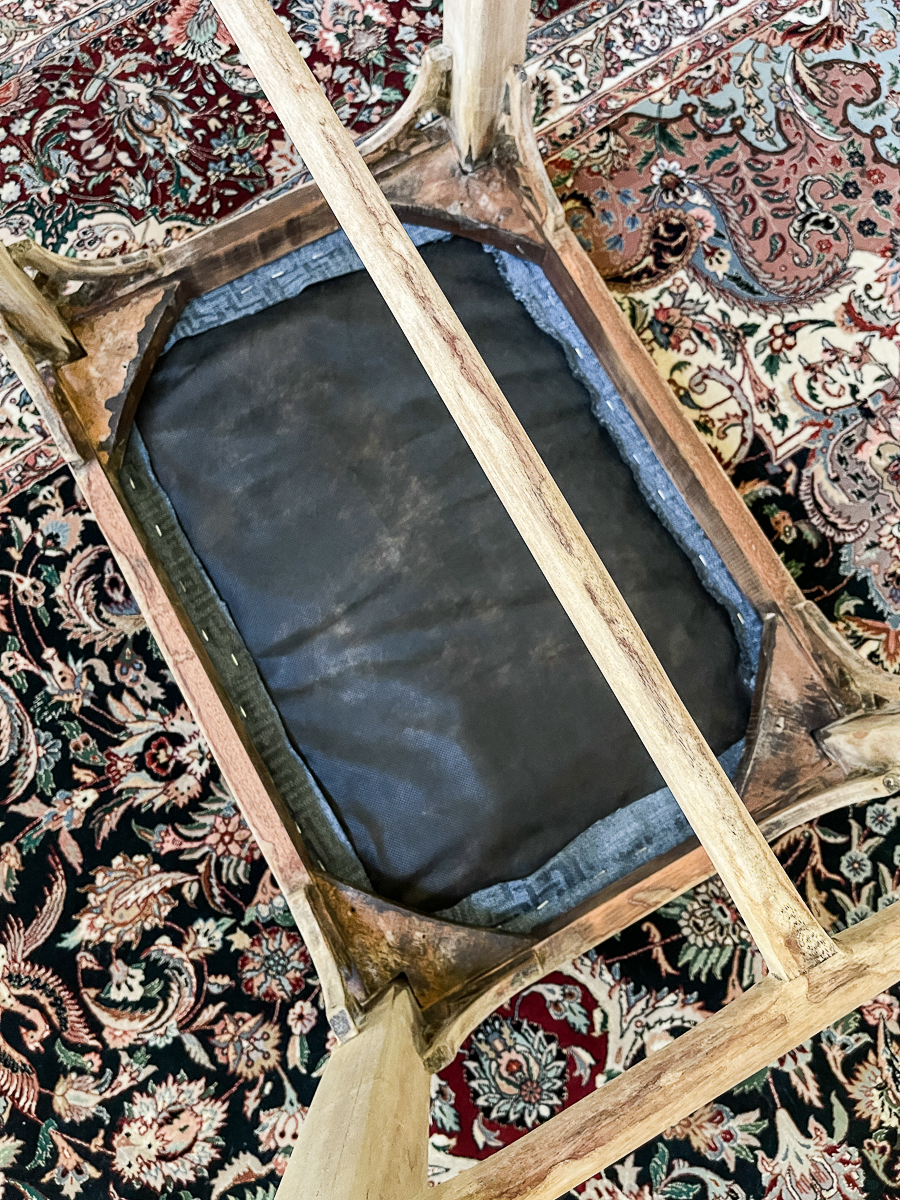
Line up the screws with the old screw holes. I use a flashlight to see. Reattach the cushion to the stool.
I also added some felt to the bottom of the legs to protect the floors.


Now you know how to give your classic stool a makeover and get it looking like new, without having to spend a ton of money on buying a brand new one. Stripping, sanding, and bleaching furniture is quite simple, but a little time-consuming. The effort is worth it. It's an easy, affordable, and fun project no matter your skill level! Plus, you have the satisfaction of knowing that you did it yourself – no professional help is necessary. When you're done, give yourself a pat on the back for the great work and show off your refurbished piece! So, are you ready to put your DIY skills to the test? Have you tried this refinishing technique yet? Gather up those tools and jump right in – good luck!
Before Photos – see below for links
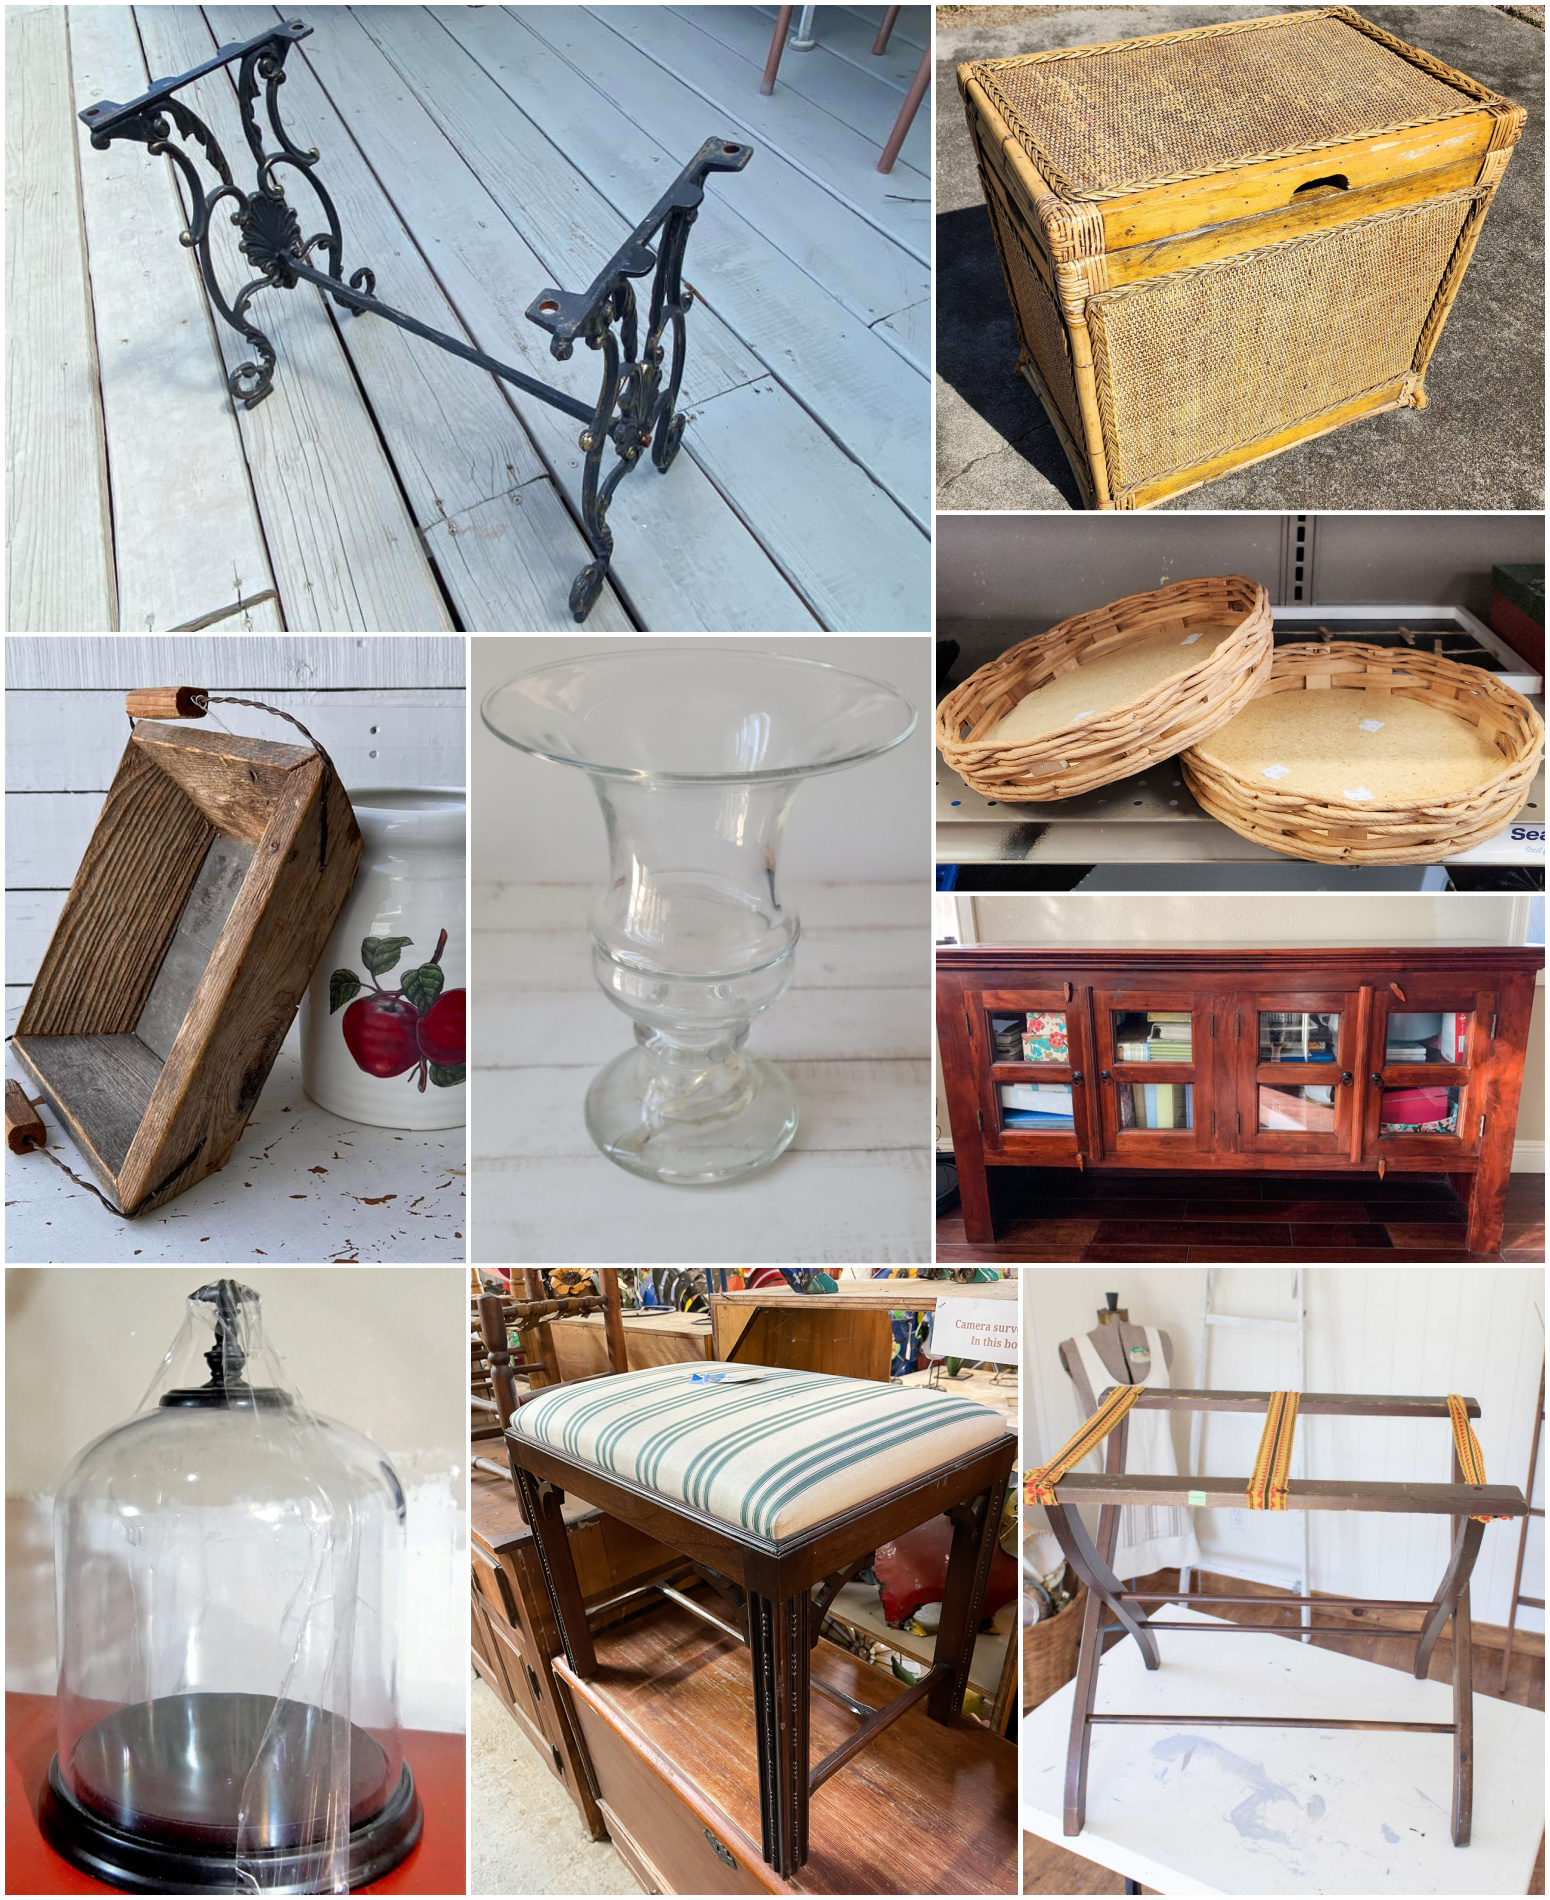
Check out this month's Thrifty Makeovers!
Domestically Speaking- DIY Indigo Handcrafted Vase
My Repurposed Life- Vintage Rattan Trunk Makeover | Extra Storage Option
Petticoat Junktion- Coastal Cloche Idea
Our Southern Home- Classic Stool Makeover
My Uncommon Slice of Suburbia- How to Bleach Wood Furniture
Sadie Seasongoods- Cactus Garden with Vintage Salt and Pepper Shakers
Organized Clutter- Junky Botanical Planter From Thrift Store Finds
Reinvented Delaware- Easy DIY Luggage Rack Makeover for a Guest Bedroom
Shop At Blu- Outdoor Footstool Makeover


Christy has been creating content for Our Southern Home since 2012. She has been featured in numerous print and online publications. Her classic, eclectic design approach spans her home and fashion style. Christy has a way of mixing store-bought with thrift store, antique and vintage finds. As a recent empty nester, she is having fun navigating this new stage of life. Read more about Christy HERE. Be sure to subscribe below. You can also contact me HERE.
Thrifty Makeover Team
Check out this month's projects!
- Domestically Speaking- DIY Indigo Handcrafted Vase
- My Repurposed Life- Vintage Rattan Trunk Makeover | Extra Storage Option
- Petticoat Junktion- Coastal Cloche Idea
- Our Southern Home- Classic Stool Makeover
- My Uncommon Slice of Suburbia- How to Bleach Wood Furniture
- Sadie Seasongoods- Cactus Garden with Vintage Salt and Pepper Shakers
- Organized Clutter- Junky Botanical Planter From Thrift Store Finds
- Reinvented Delaware- Easy DIY Luggage Rack Makeover for a Guest Bedroom
- Shop At Blu- Outdoor Footstool Makeover


After seeing it in place, I think I would have tried gold to match mirror. Nice job on makeover though.
A gorgeous makeover! Pinned!
Christy, this project speaks to me! I love to reupholster pieces. The fabric you found was a steal!! Great job! Pinned 🙂
What a beautiful new finish! You can really enjoy the details! Great job!