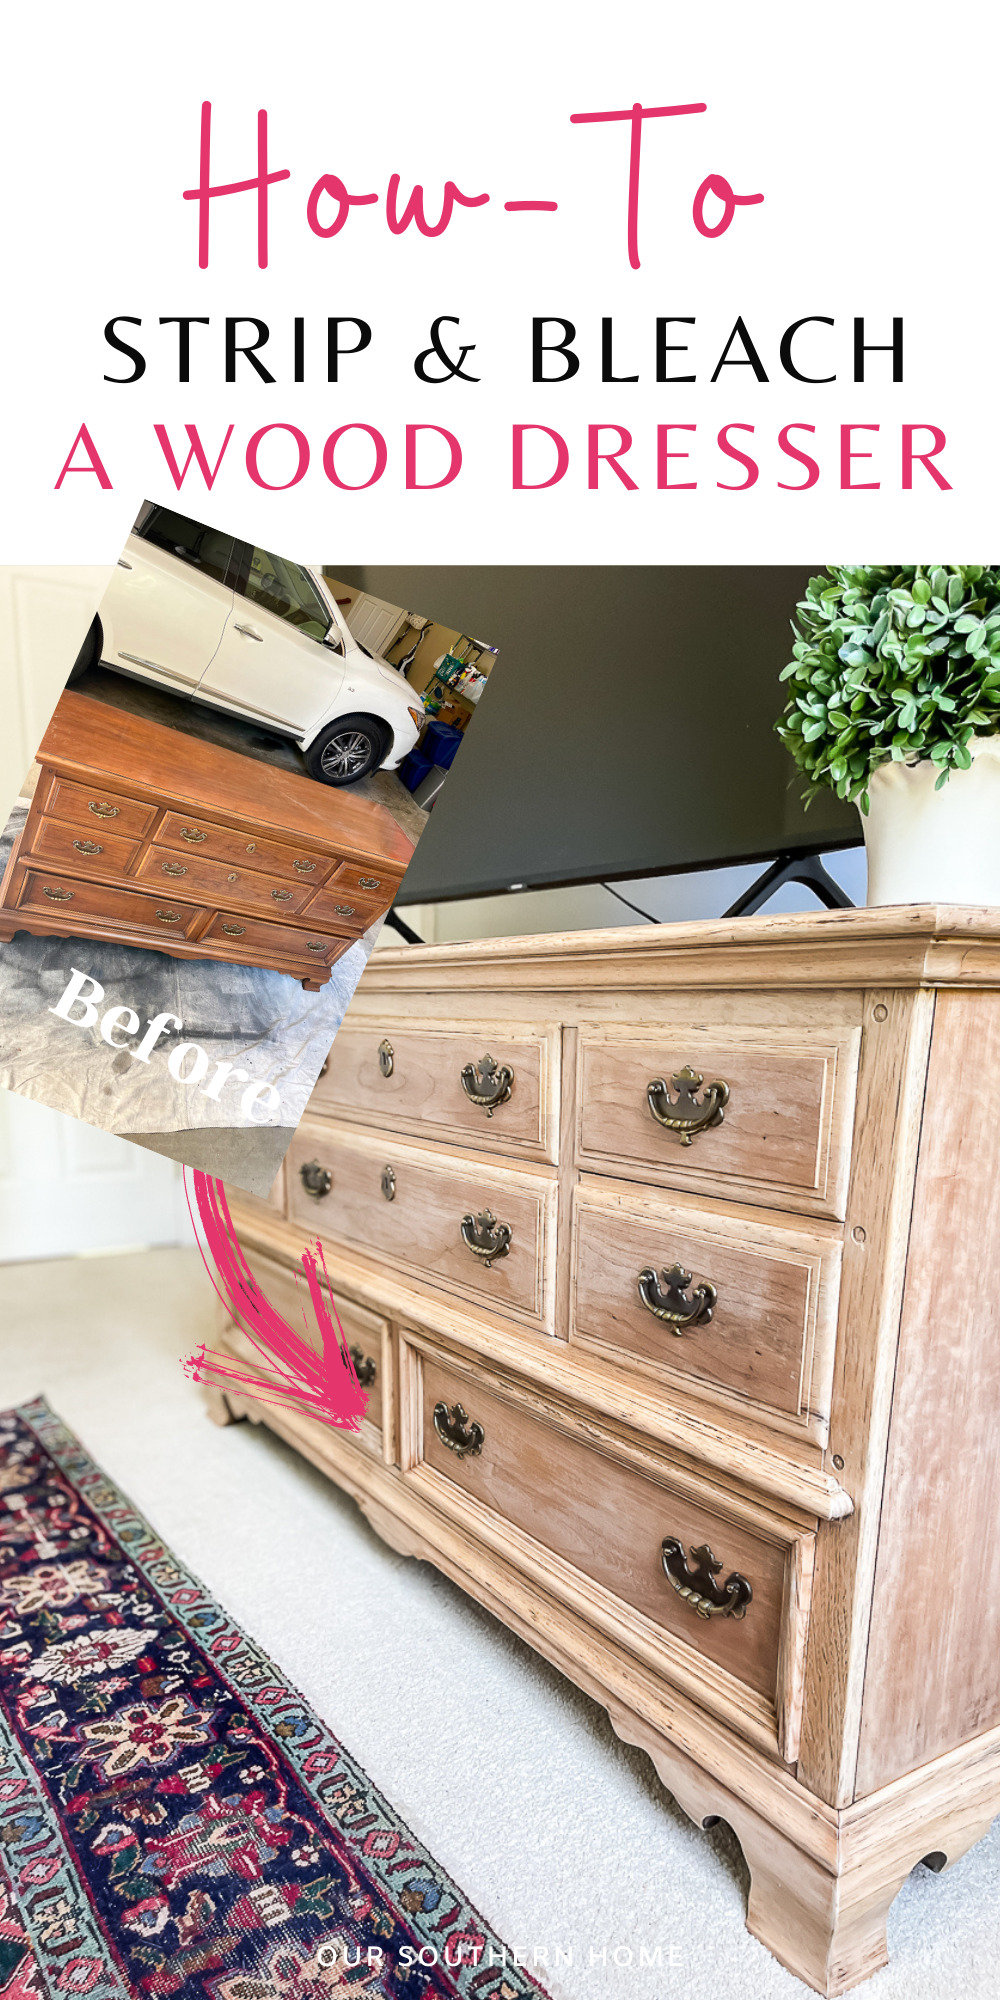
How to Strip and Bleach Wood Furniture
Bleached wood furniture and accessories are so on-trend right now. Learn how to strip and bleach wood furniture to get the look.
Have you ever come across a fabulous piece of furniture that would be perfect in your home? Do you know the one that has perfect lines and dimensions for the space?
Maybe the color of the wood isn't just right.
Natural wood furniture has become so in vogue in recent years in home decor.
It goes with many styles. It tends to look less formal, but can totally be dressed up with accessories.
I personally love the look!

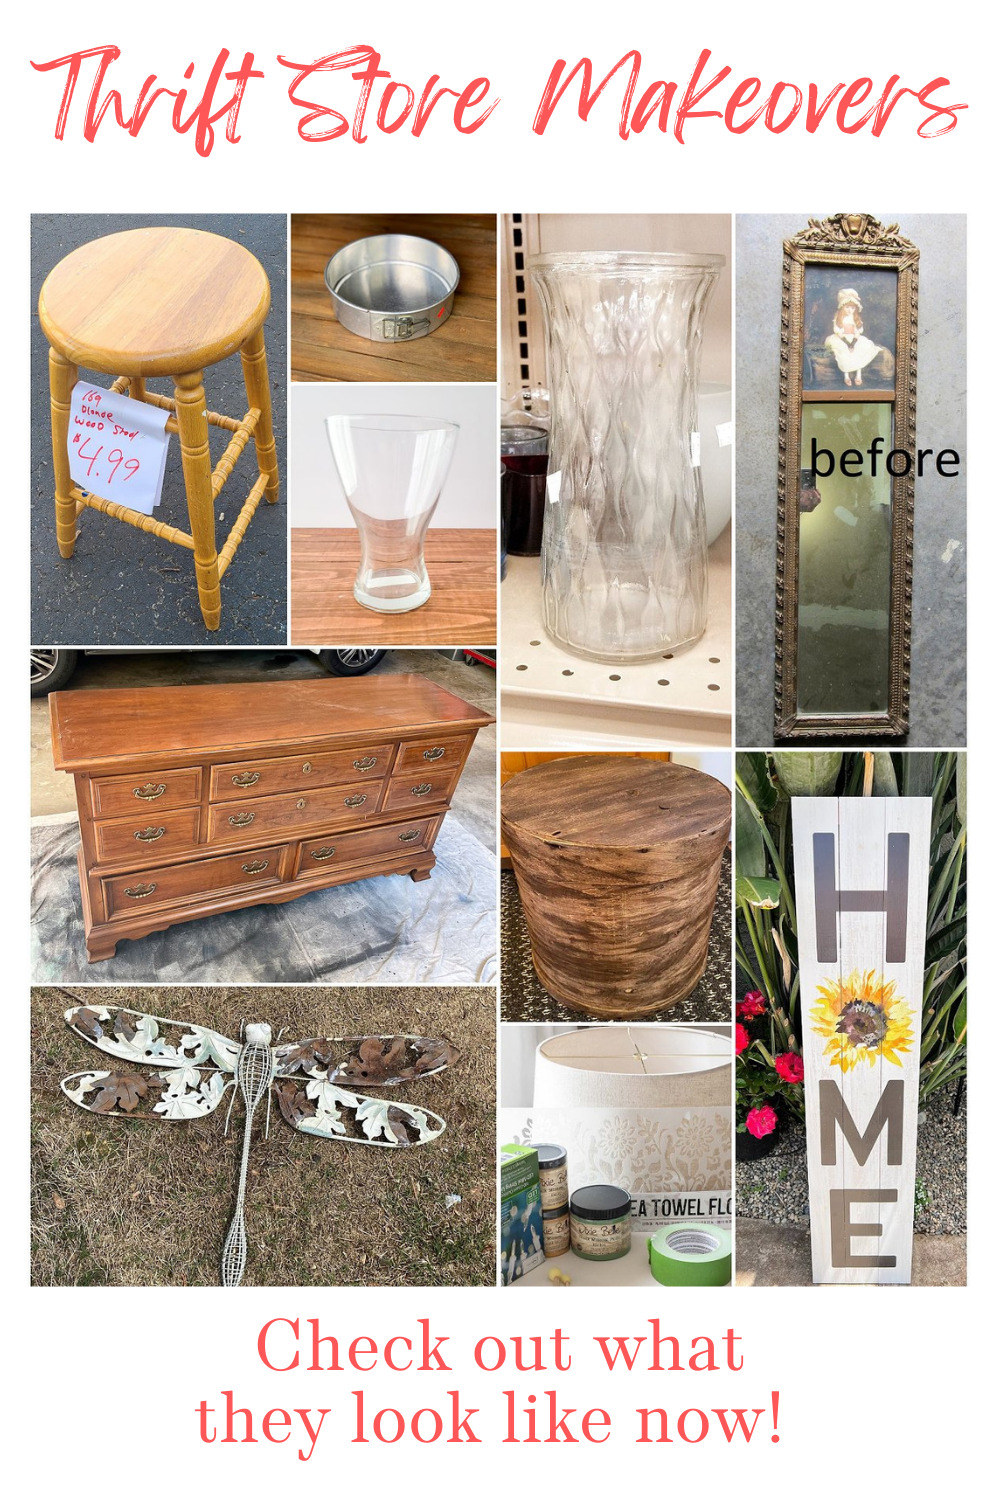
I am sharing this project with today's Thrifty Decor Makeovers! Be sure to look for the links to these projects below!
This post may contain affiliate links. If you purchase something using one of my links, I may earn a small commission from the retailer costing you nothing more. You can read more on my disclosure page. Christy Little of Our Southern Home is a participant in the Amazon Services LLC Associates Program, an affiliate advertising program designed to provide a means for sites to earn advertising fees by advertising and linking to amazon.com.
How to Strip and Bleach Wood Furniture
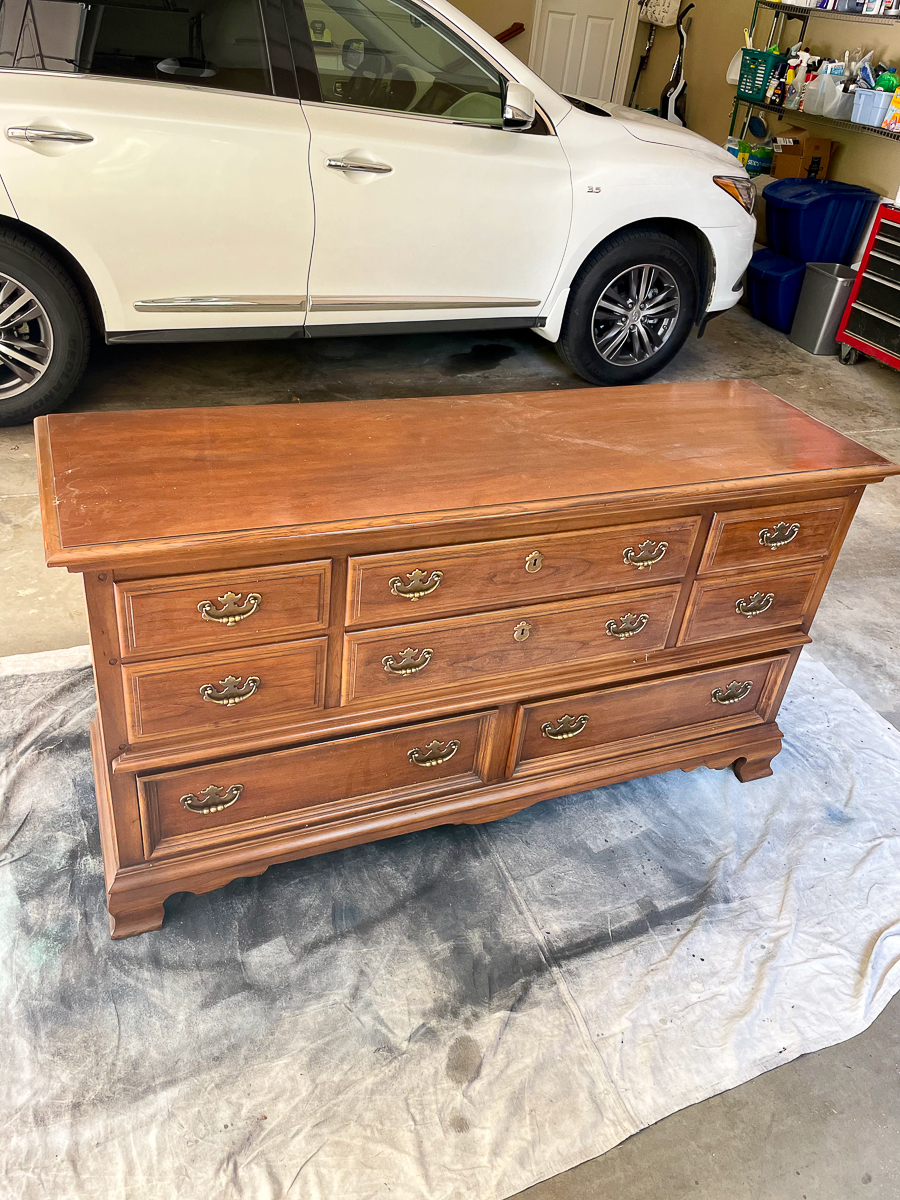
Our son needed a new dresser for his bedroom when he moved back home last year to finish out his last semester of college.
We scoured thrift stores but ended up finding a beautiful piece on Facebook Marketplace.

Facebook Marketplace is an awesome type of online thrift store. It can definitely save you some time when looking for something specific.
I knew that I wanted to try a raw wood or bleached wood look.
Requirements
- solid wood
- long enough for his apartment TV
- smooth working drawers
- charm
- Being able to use existing hardware is a plus
- no repairs needed
- good drawer space for men's clothes
- dovetail drawers
This dresser fits the bill! SOLD!
A little back story…..My husband and I went out for several hours for a lunch date and scoured local furniture stores for a new dresser. We narrowed it down to 2 that we liked, but at $1,000 to $1,400; I thought we could do better.
See my FURNITURE MAKEOVERS here.
Having painted many furniture pieces through the years, I just couldn't stomach this purchase.
We decided to keep looking. I found this dresser on Facebook Marketplace for $300.
While we had to put a little work into it, we saved so much money + it was higher quality.
Supplies
- piece of furniture
- stain or paint stripper of choice: Citristip or Jasco
- chip brush
- rags
- old jar, can, or bucket
- putty knife set
- stripping pads
- plastic tarps to throw away
- orbital sander
- sandpaper
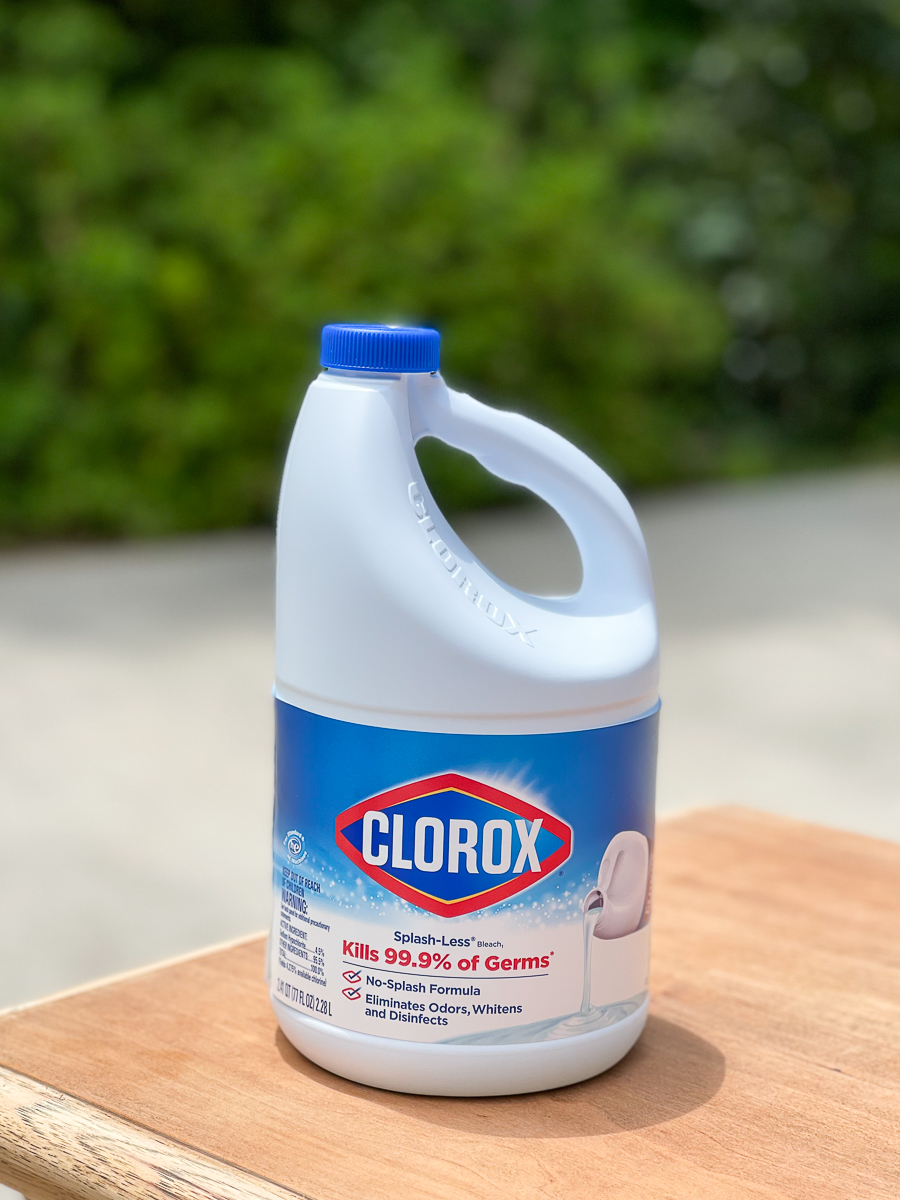
- regular household bleach
- sealer and brush
- rubber gloves
Head to the hardware store or Amazon for supplies.
You will want real wood tone furniture for this project.
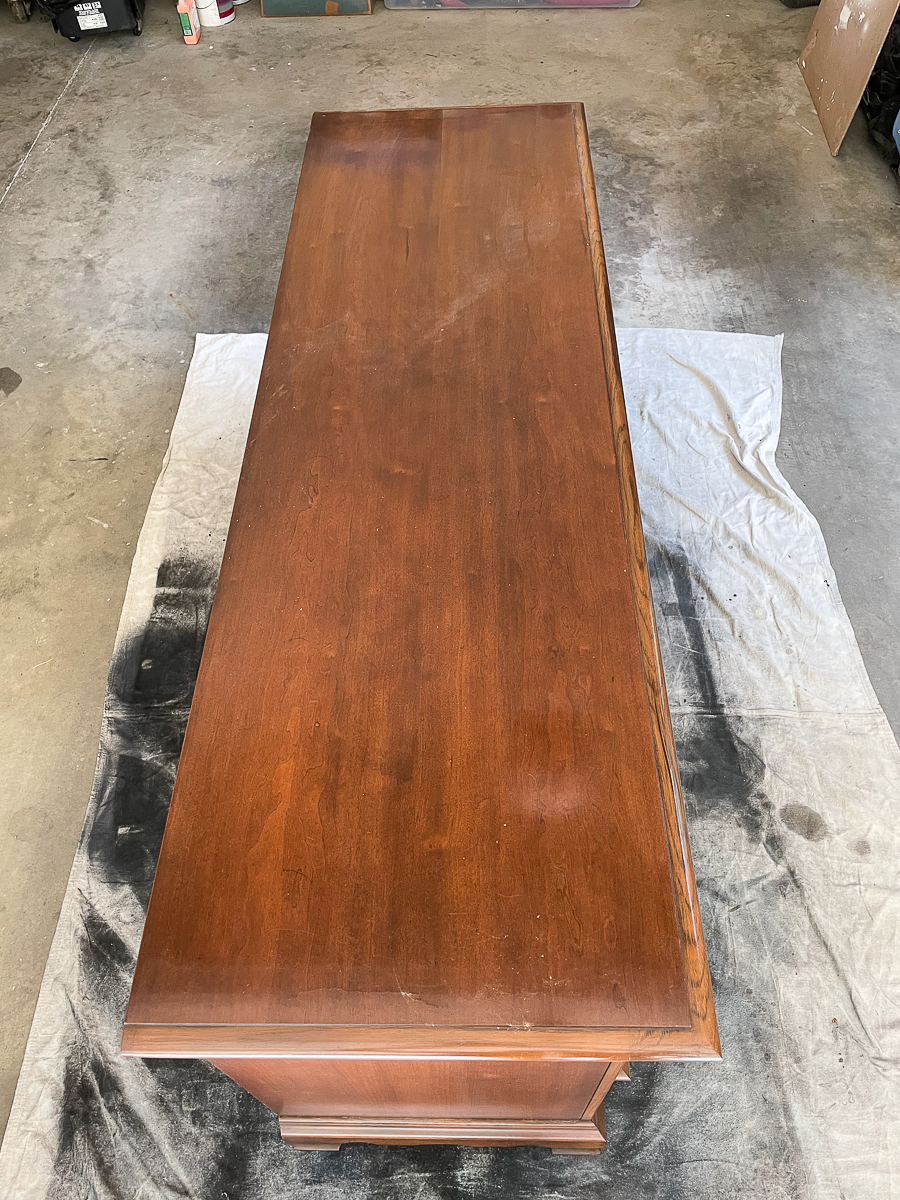
This was a darker wood piece, but once stripped is a good candidate for the bleaching process.
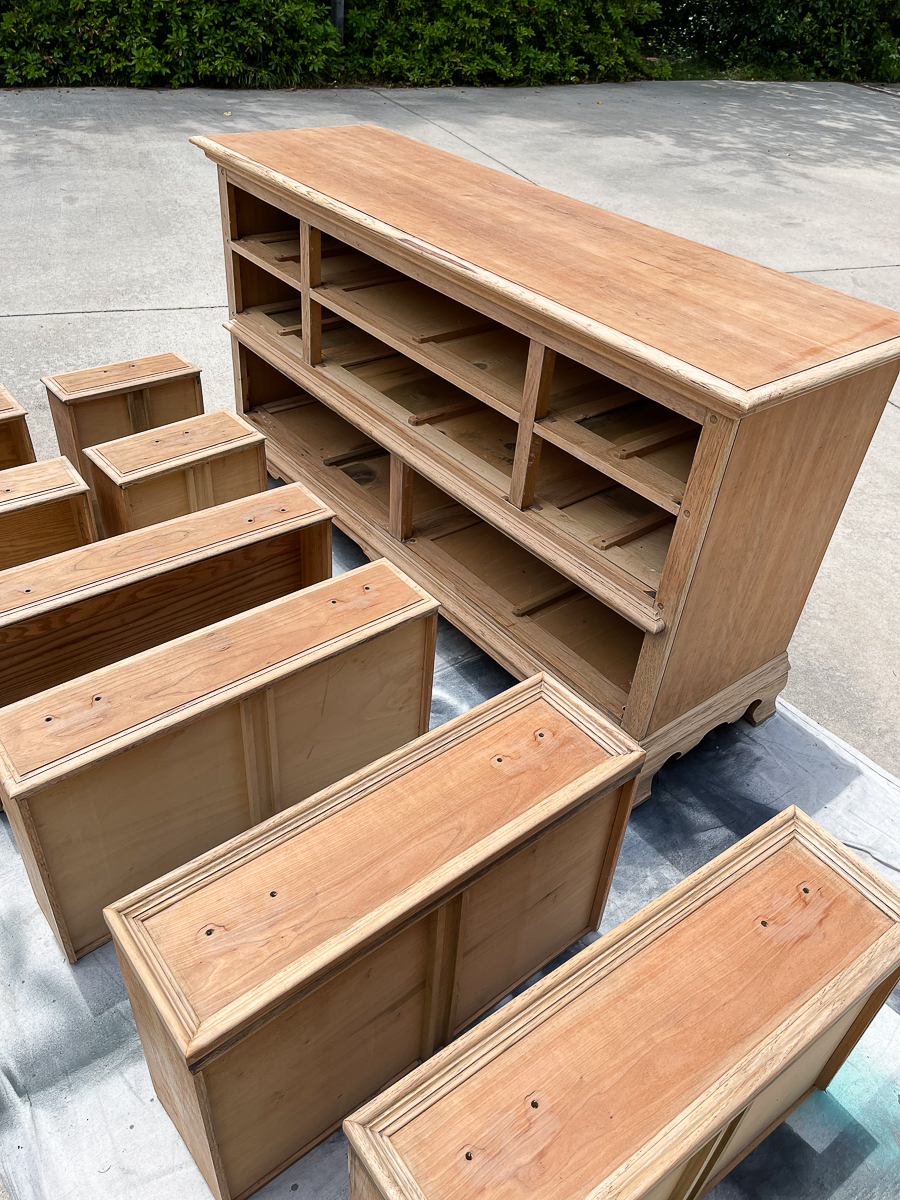
Your goal is to get down to the bare wood.
The first step is to remove all of your hardware. I use this to clean old hardware.
With all furniture projects, give your piece a good cleaning. A damp cloth with warm water and a little Dawn will work wonders. Let your piece dry thoroughly.
Your ultimate goal is to remove all of the old stain or paint from the entire wood surface.
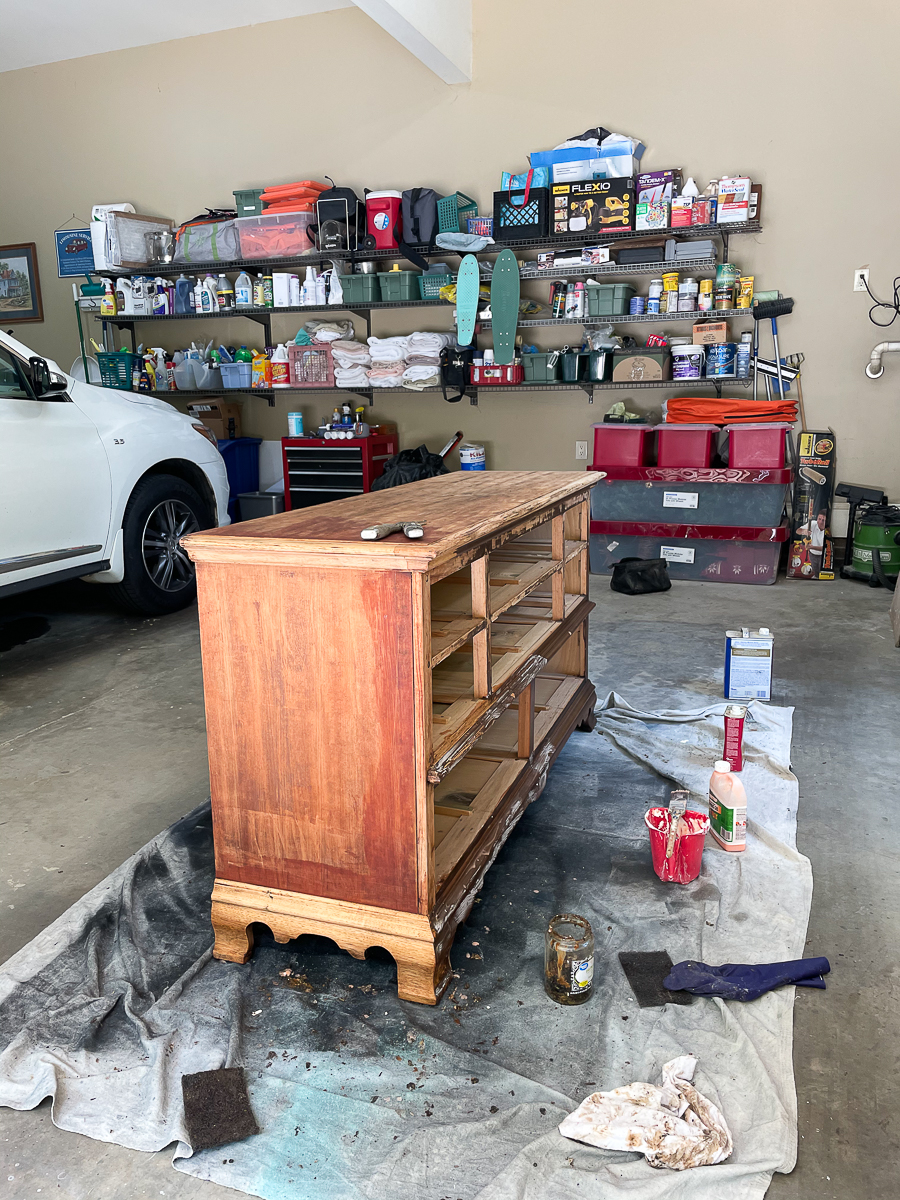
We prefer to use a Jasco stripper. Citristip is a close second. Jasco is more expensive but works quicker. It is best to work in a well-ventilated area for this step. We worked in the open garage. Wear a face mask and safety glasses.
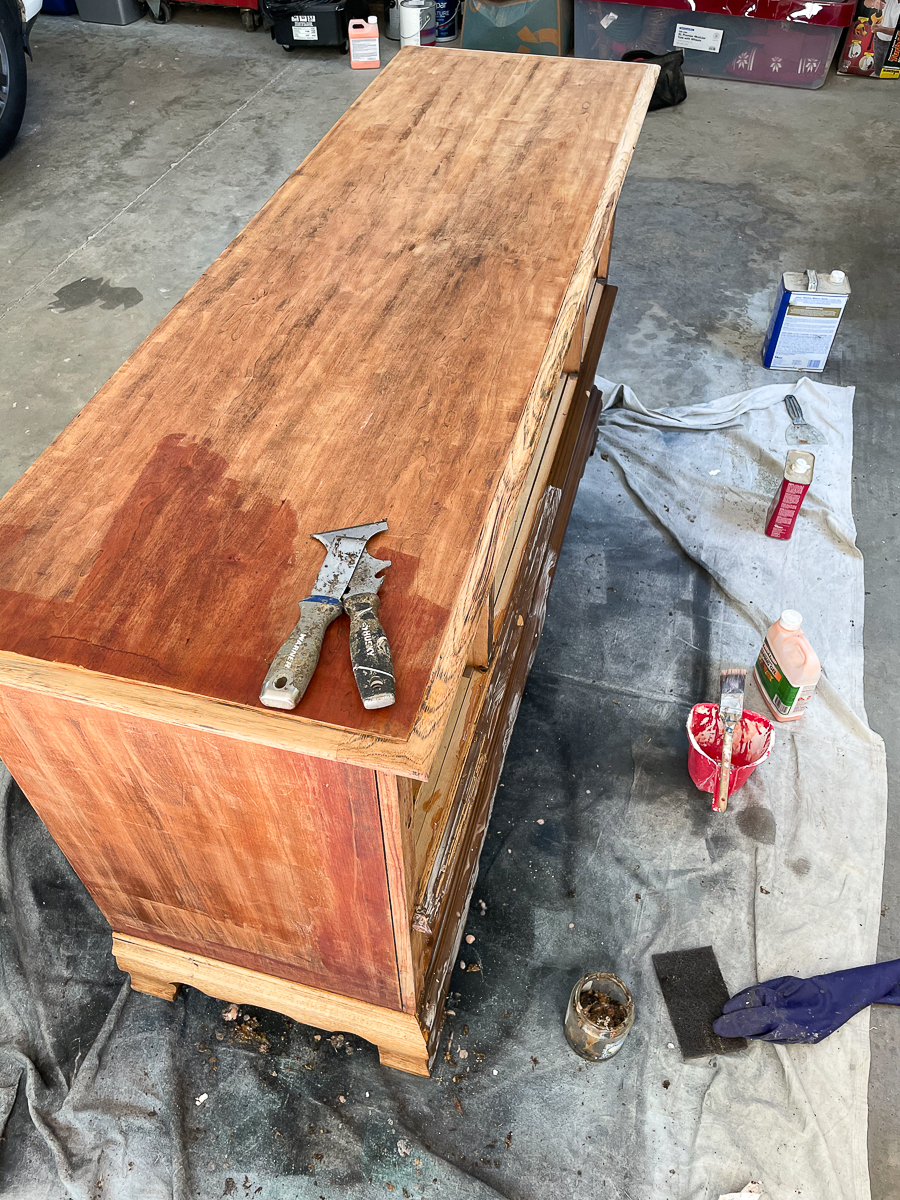
Follow the instructions in the container, but you will want to strip your furniture on a tarp that you can just throw away. This is a messy project.
We use putty knives to scrape away the stain and put it in an old can or jar.
Stripping pads are handy for removing the finish on grooves and molding.
Don't be afraid to remove a dark wood stain. Soon you will be revealing the wood's natural color.
Sometimes you may have to apply a stripper more than once to remove the old finish.
This part is very messy but so worth it.
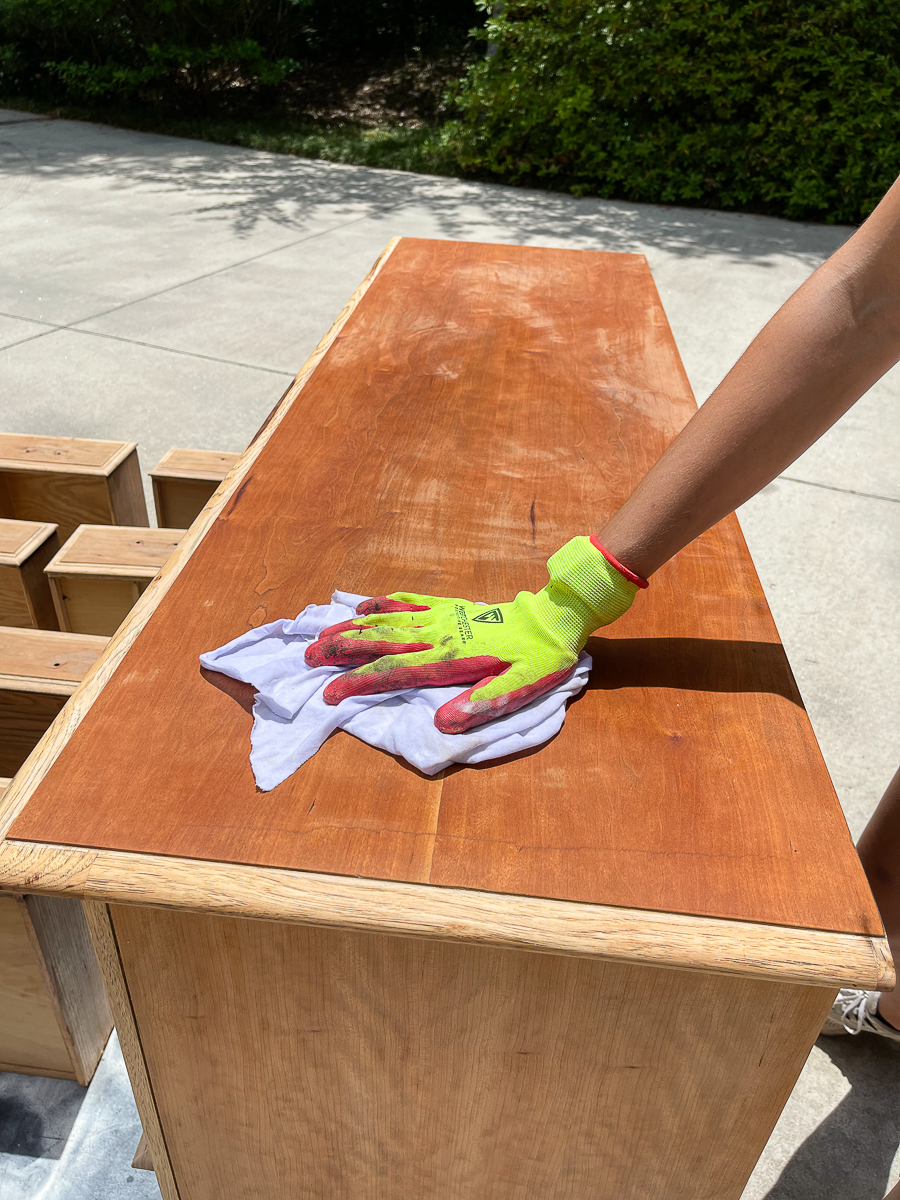
Once the piece is completely stripped, you'll want to clean it again.
Next, you'll want to give your furniture a nice sanding with a palm/orbital sander using 120-grit sandpaper. Always sand with the wood grain.
Remove any dust.
Next, you want to move your furniture outside into the sun.
This is where the magic happens.
Use a clean rag to apply bleach all over the furniture.
We have another dresser project coming up, and I plan to use this.
You will be applying multiple coats of bleach.
You'll want to use household gloves for the bleach part.
We applied the bleach with the grain of the wood as well. I'm not sure if this was necessary but figured it wouldn't hurt.
This was our first time trying this so it was a little trial and error.
Apply a coat of bleach and let it sit in the sun to dry out the bleach.
Fast forward…..we did this 12 times until we had the desired look. It was a quick process.
We washed it well again once the bleaching process was complete and let it dry out.
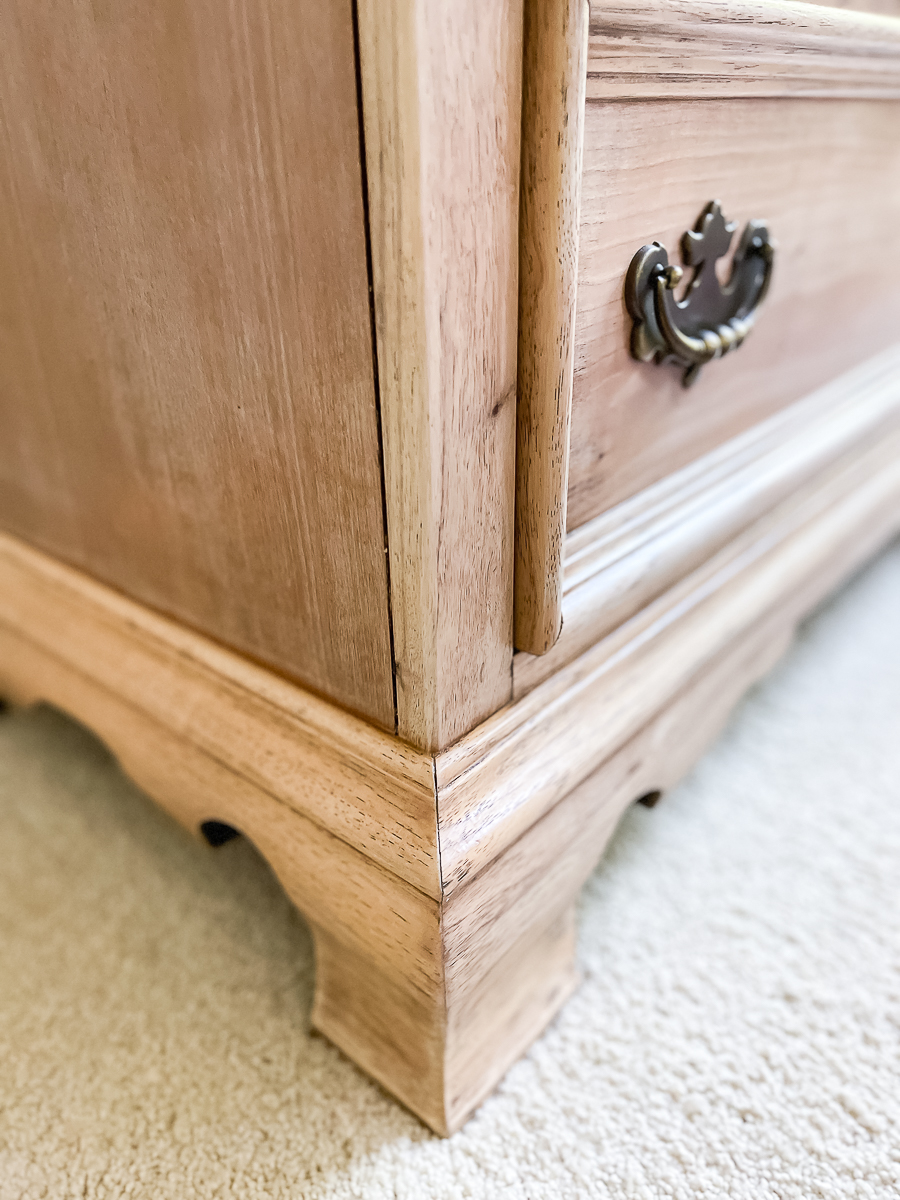
The last step was to apply a couple of coats of sealer to protect the wood.
I applied 2 coats on the body and 3 coats on the top using my favorite sealer with a brush.
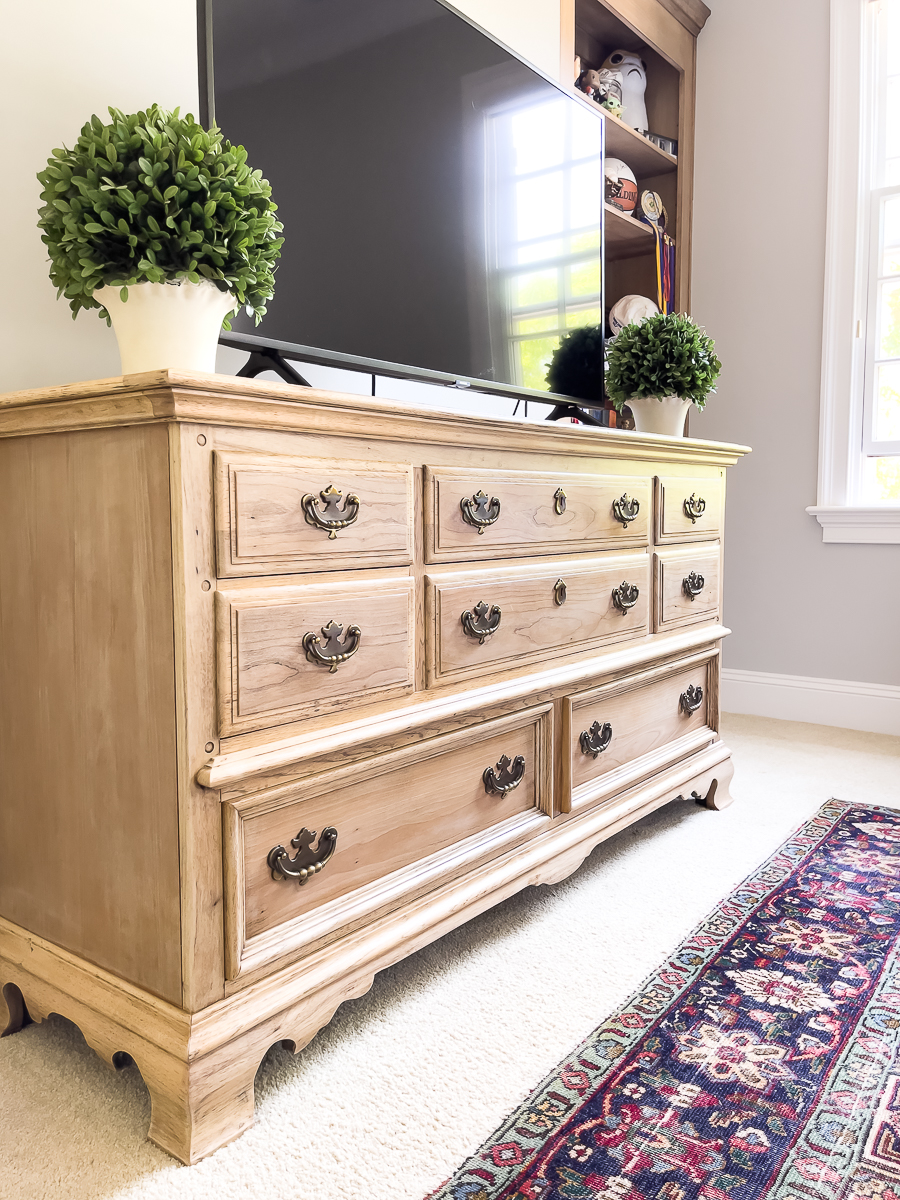
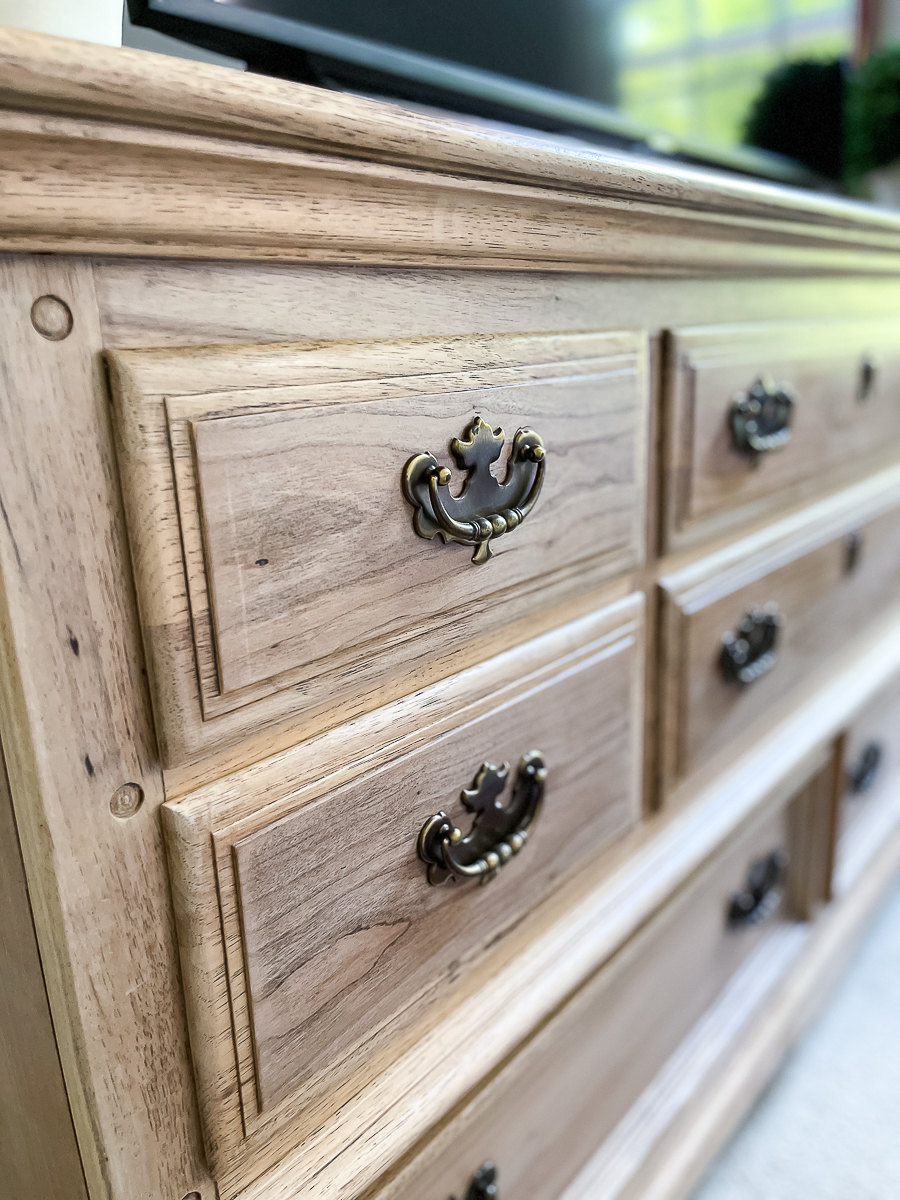
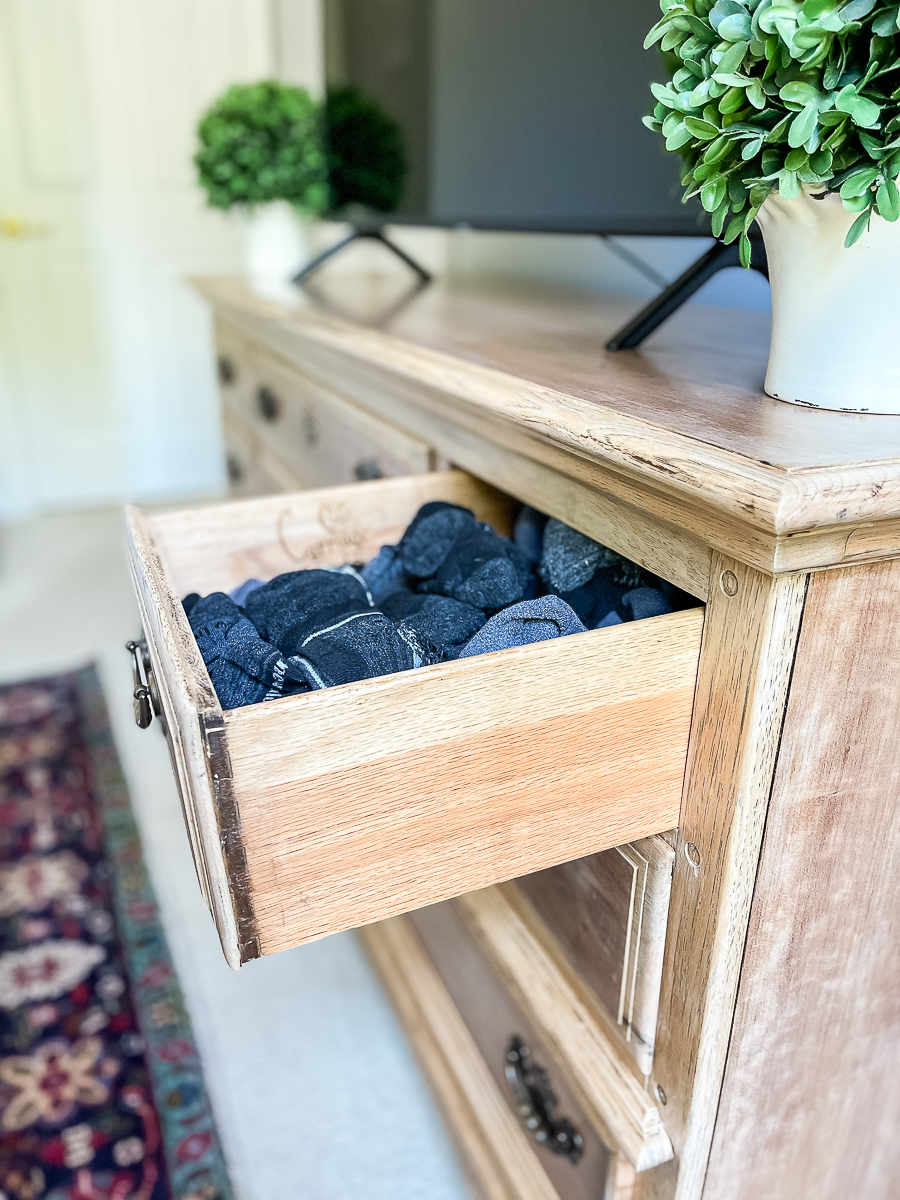
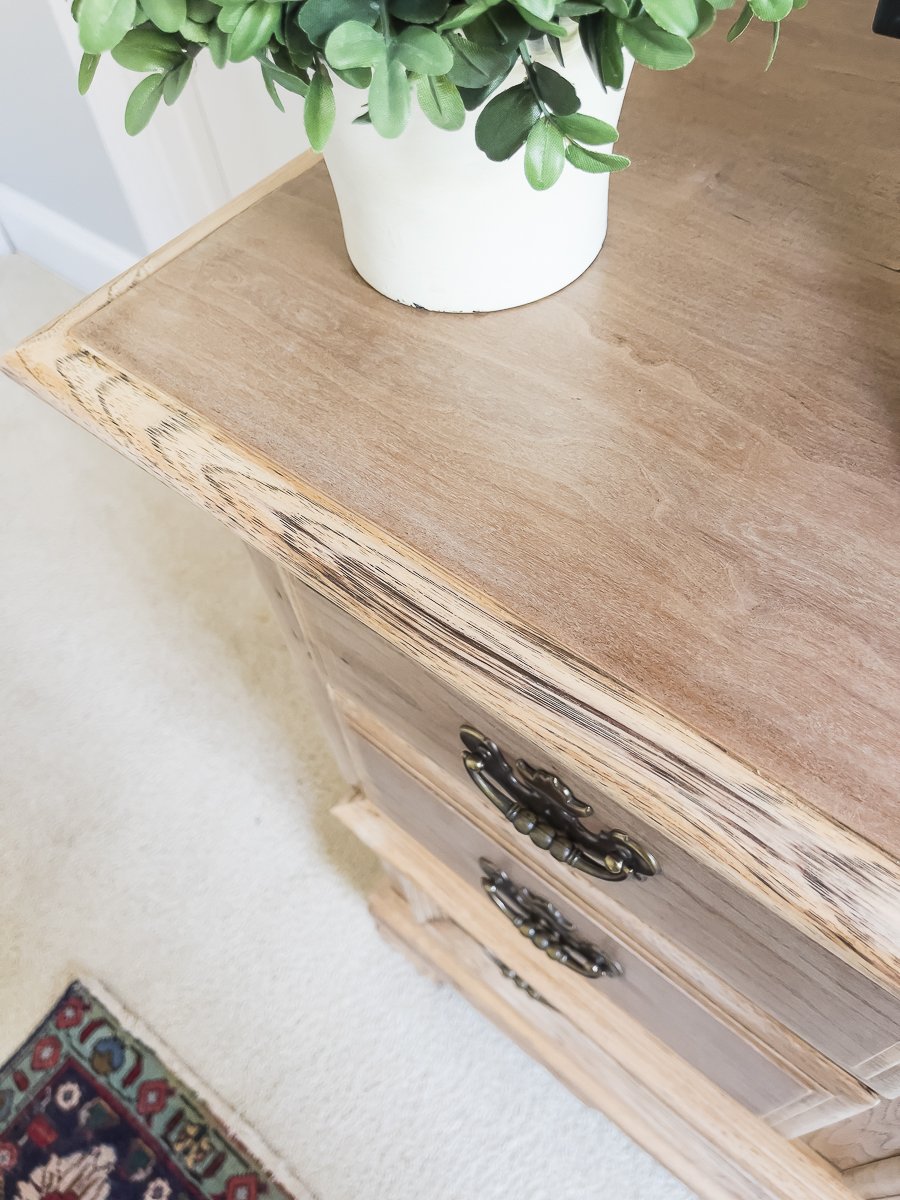
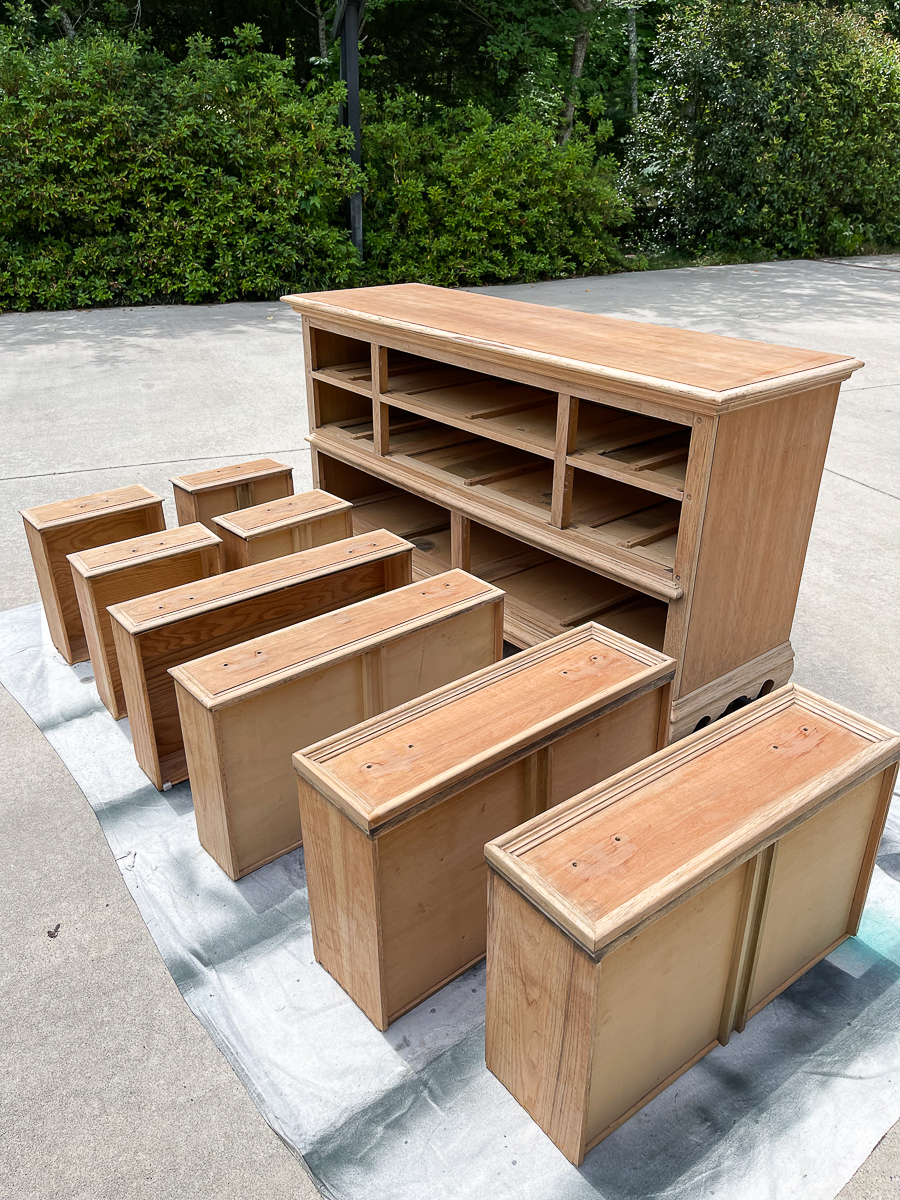
As you can see, this dresser is 2 types of wood. We were told that it was maple and cherry.
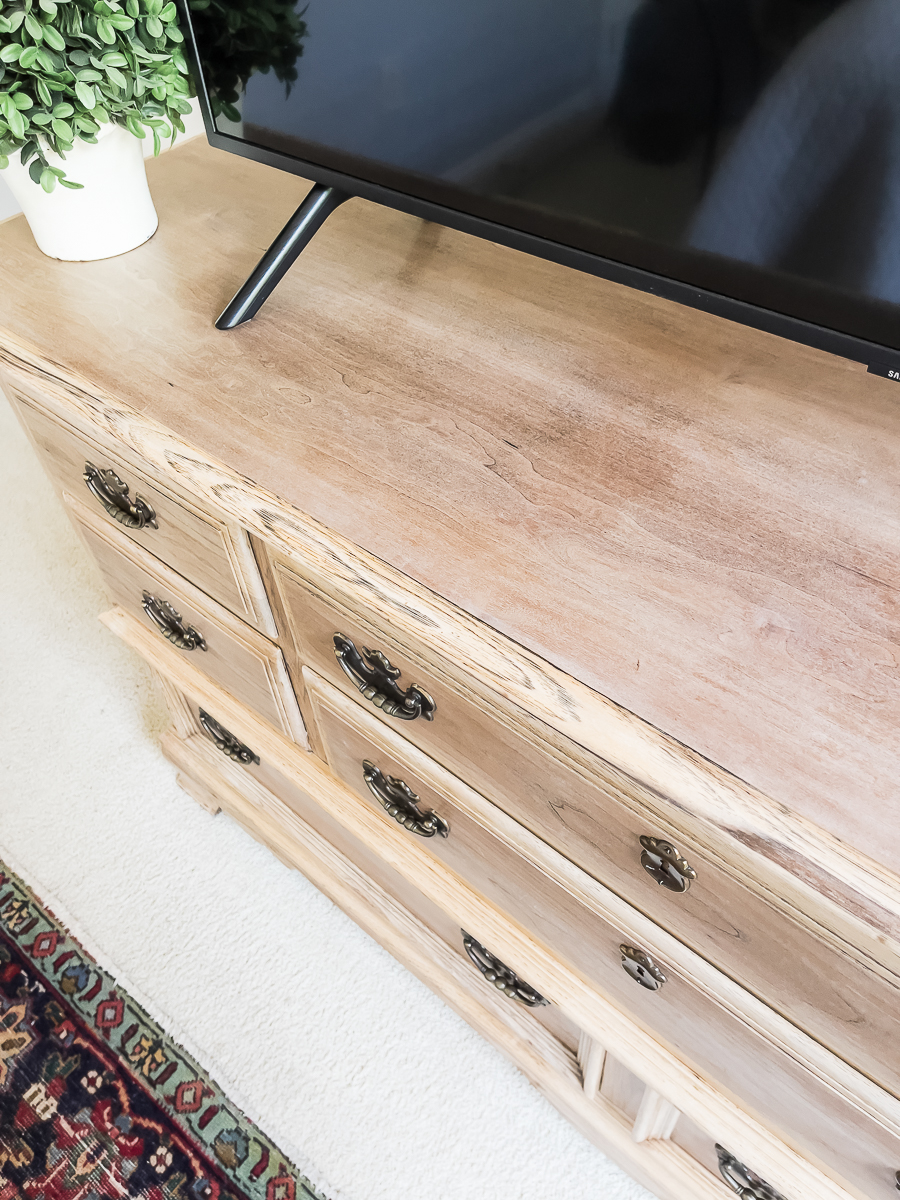
We absolutely love how it turned out. It's unique as well as light and airy.
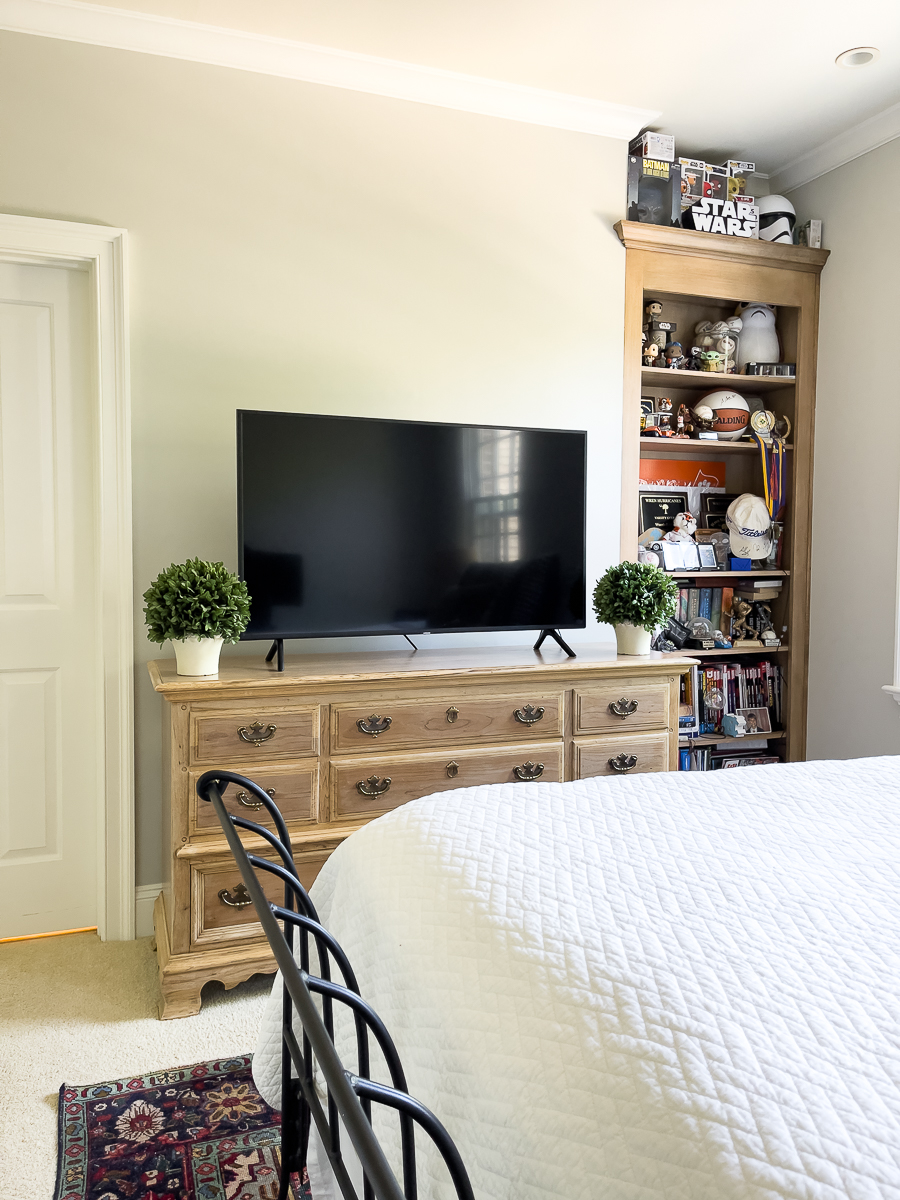
It works well with the gray walls and iron bed.
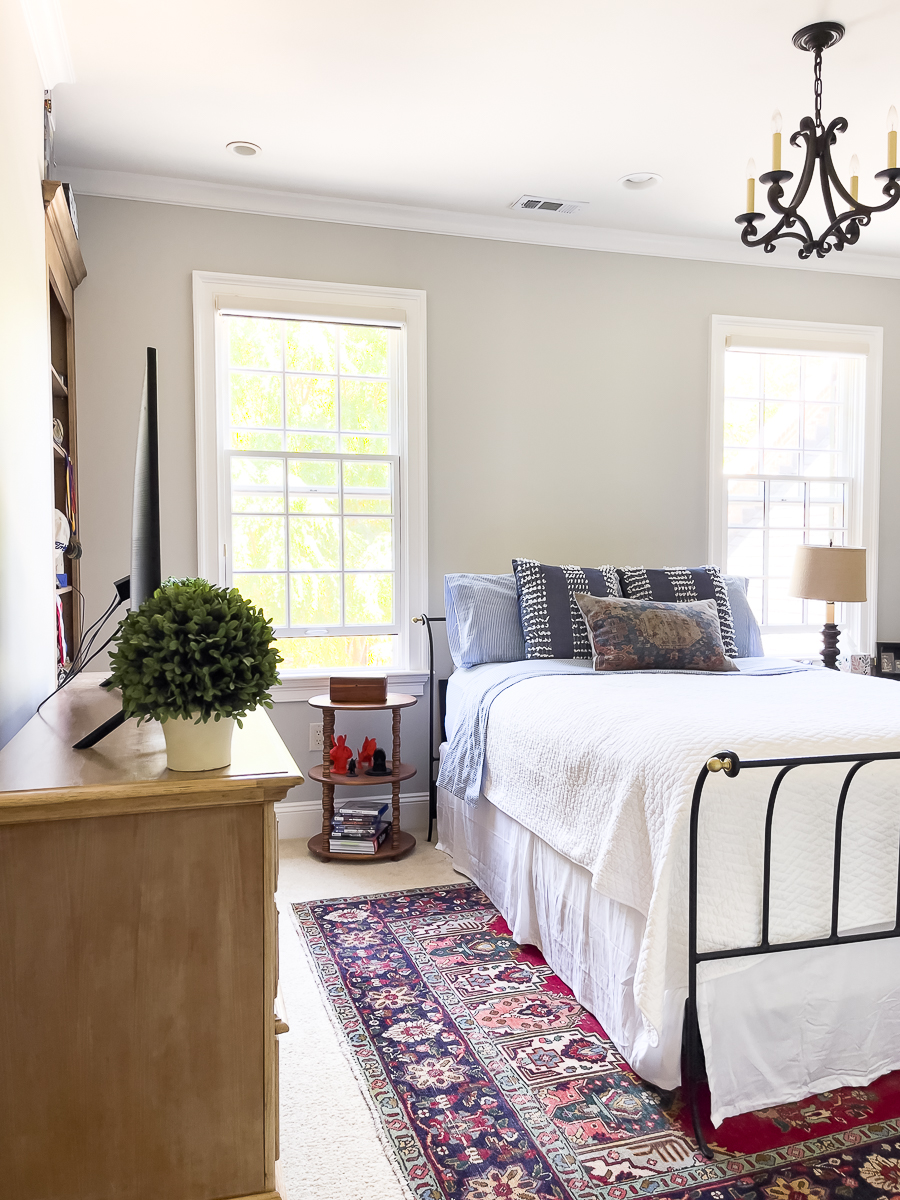
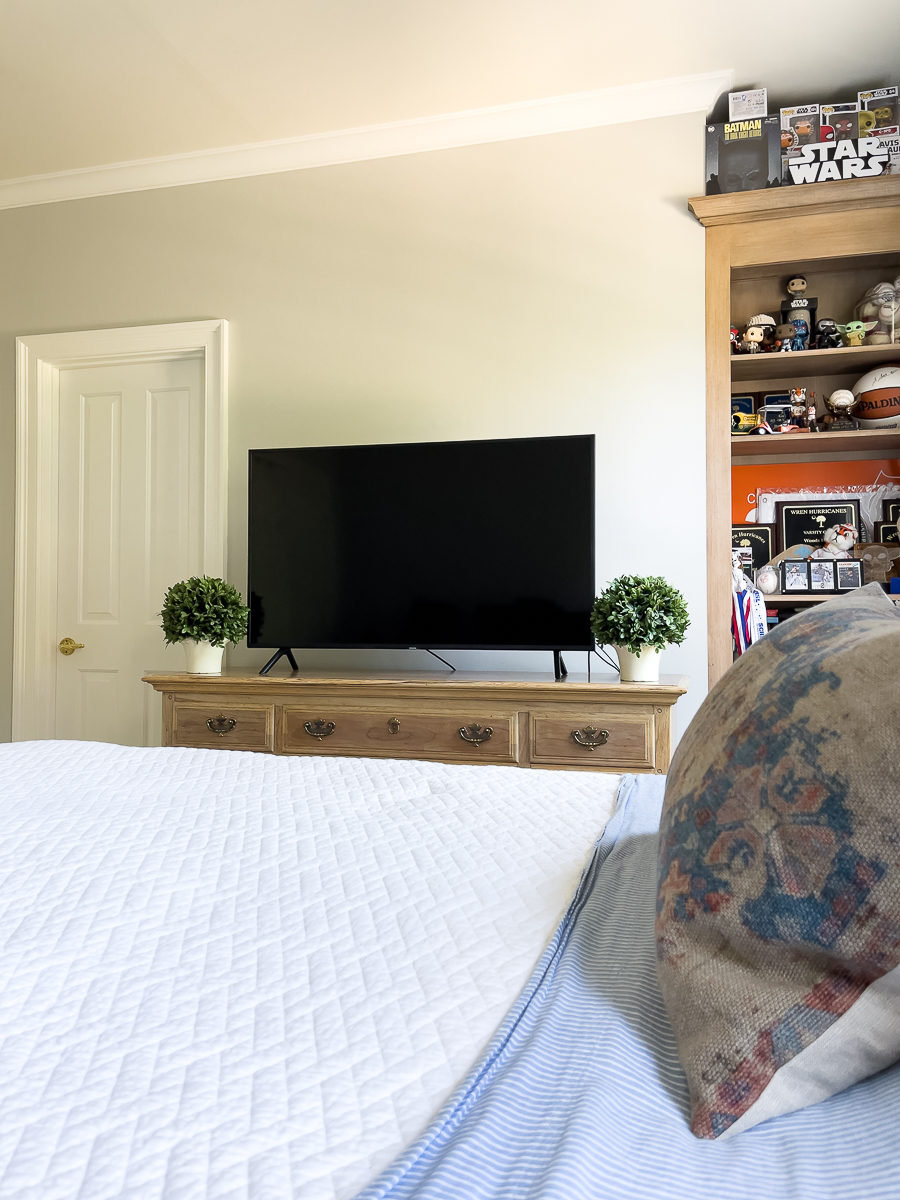
We started redecorating the room in the fall, but put a halt on that when Woods got engaged. He is getting married in July. I didn't want to hang all of his sports memorabilia just to have to repaint.
He will be taking all of his bedroom furniture. He has had this bed in his room since birth. He went straight from a crib to a queen bed.

My initial thought here is to create a home office/studio for me. I think that I'd like to put a pretty day bed in here with a trundle that could be used for overnight guests like grandkids one day!
We already have a true guest room downstairs, and Ashlyn's room will also be a guest room as well.
The great thing about this dresser look is that under the sealer I have raw wood that is perfect for stain or paint if they ever grow tired of the look.
Check out the other projects!


Beautiful!!! I am in the process of stripping and sanding. Curious though if the sealer changed the color of the wood. I have heard that it does, and does the sealer turn yellow in time? Hate to go through all the work and have the color change. Thanks you
Thanks so much, Leeann. I’d say it does deepen/richen the color a bit. Always look for a non-yellowing sealer.
I did this 50 years ago on an antique oak rocker that was dark stained. I had absolutely no idea what I was doing, but it turned out great!! I am liking the bleached wood look a lot more than all the painted furniture. Trends come and go, but wood tomes will always be in style.
I bet that turned out gorgeous! I agree with you…loving the raw wood look these days.
Bleaching wood has been on my bucket list – great tutorial!
Christy,
I.had.no.idea. wow! What an amazing difference! The dresser looks fabulous!
pinned
gail
This turned out amazing. I have a dresser I’d love to “strip” I wonder this method would work on that furniture that has a shiney finish? I’ve seen several IG’ers use the stripper you mentioned as well oven cleaner (!) and another one I don’t remember. Have you seen the ones done with oven cleaner? Thank you for sharing this project, it turned out great!
This is such a beautiful makeover! This project has been on my list to try but the piece I want to do can’t be moved. I’ll have to try something else. Thank you for all of the tips!
This dresser looks amazing and I bet you son loves it! I haven’t tried bleaching wood yet but it is on my list! Thanks for your tips! Pinned 😊
Wow!!! That came out great! It looks like a totally new dresser!
Thanks so much!!! I’m going to hate to see this one leave the house soon!
Wow! This turned out fabulous! The bleached look is perfectly beach meets contemporary!
Thanks so much!!! Yes, love how much more modern it looks now.
Oh Christy! This is amazing! It looks to be a lot of work but the end result is perfect.
Thank you! Yes, a bit of work, but worth it for the money saved.