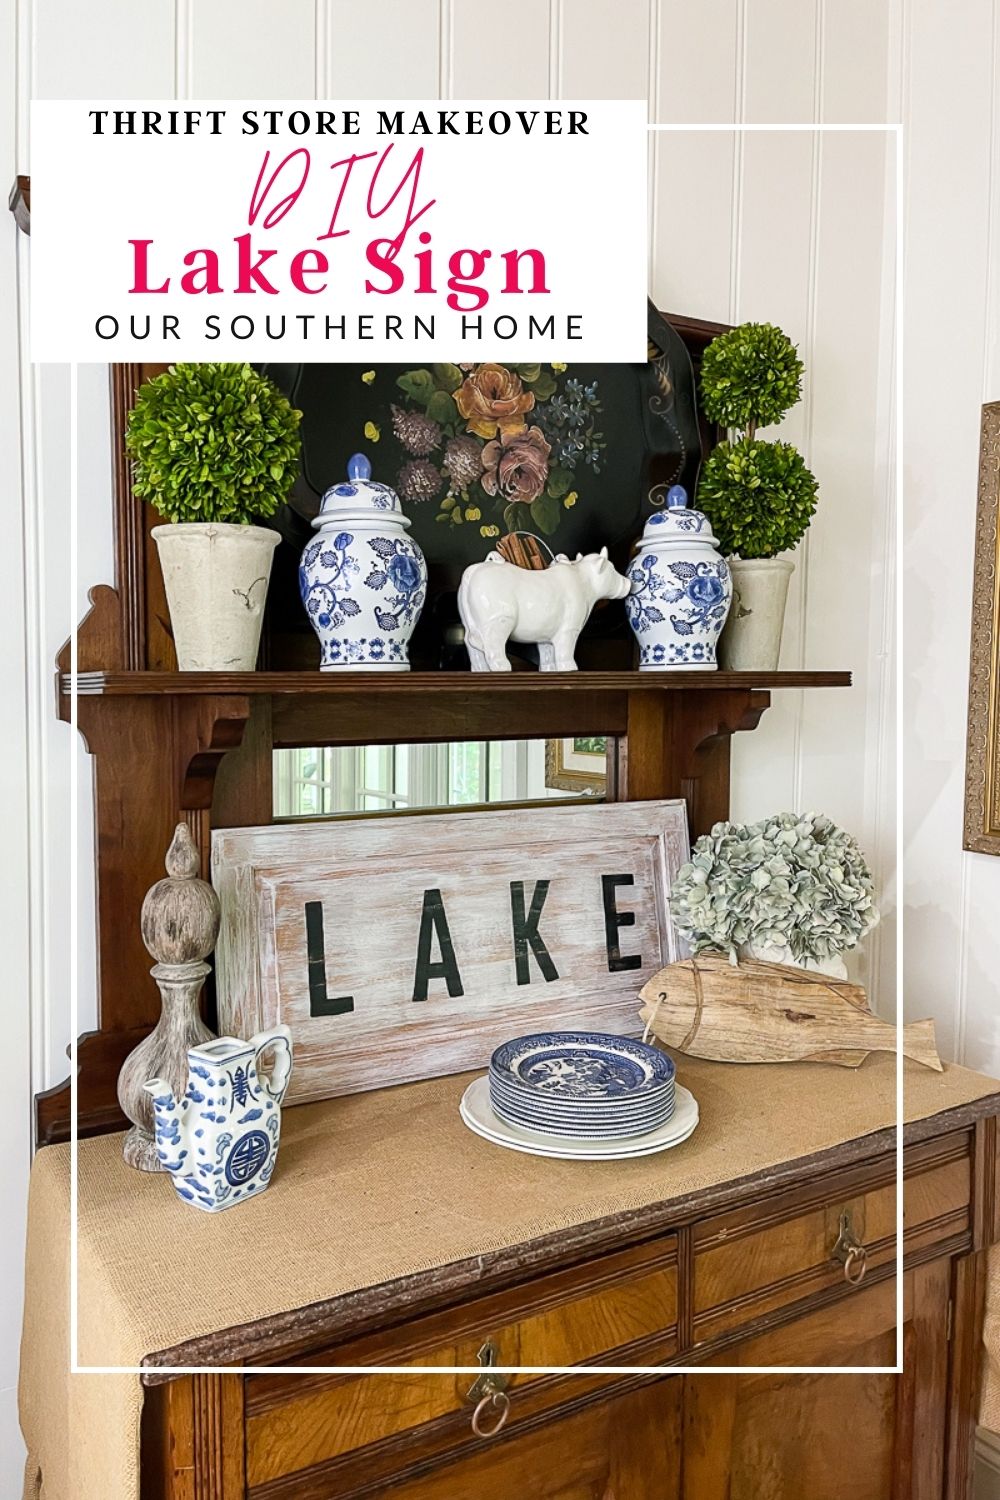
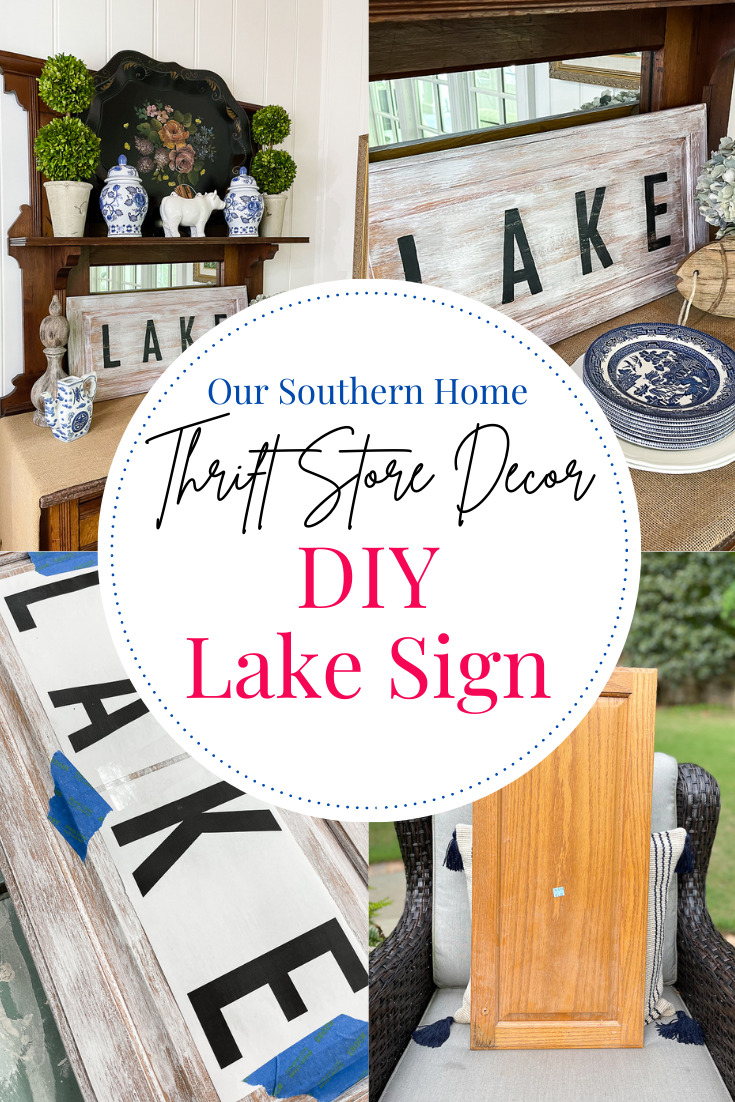
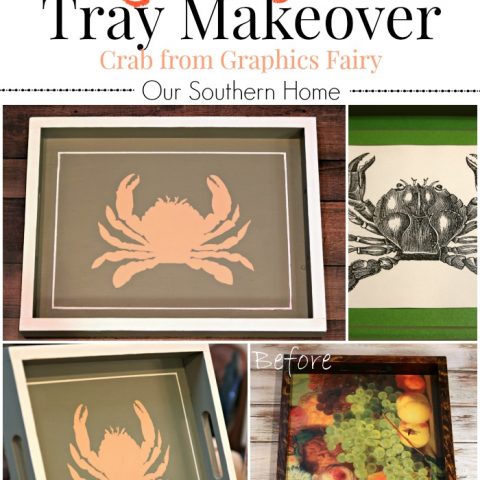
DIY Lake Sign
A thrift store cabinet door was the perfect thing to use for this DIY Lake Sign that is easily completed in a couple of hours.
Welcome to this month's Thrift Store Makeover! It seems like I just completed last month's Balustrade Lamp Makeover. It was one of my favorite lamp makeovers to date. It has a new home at the lake house. It looks fabulous there in the family room. You'll probably be seeing more and more thrifty makeovers for the lake house in that we are still decorating it. It was rented all April and all this month. We will have to pop in over there in between rentals to deliver this month's makeover.
DIY Lake Sign
Be sure to read all the way to the end where you will find links to all of this month's projects from the team.
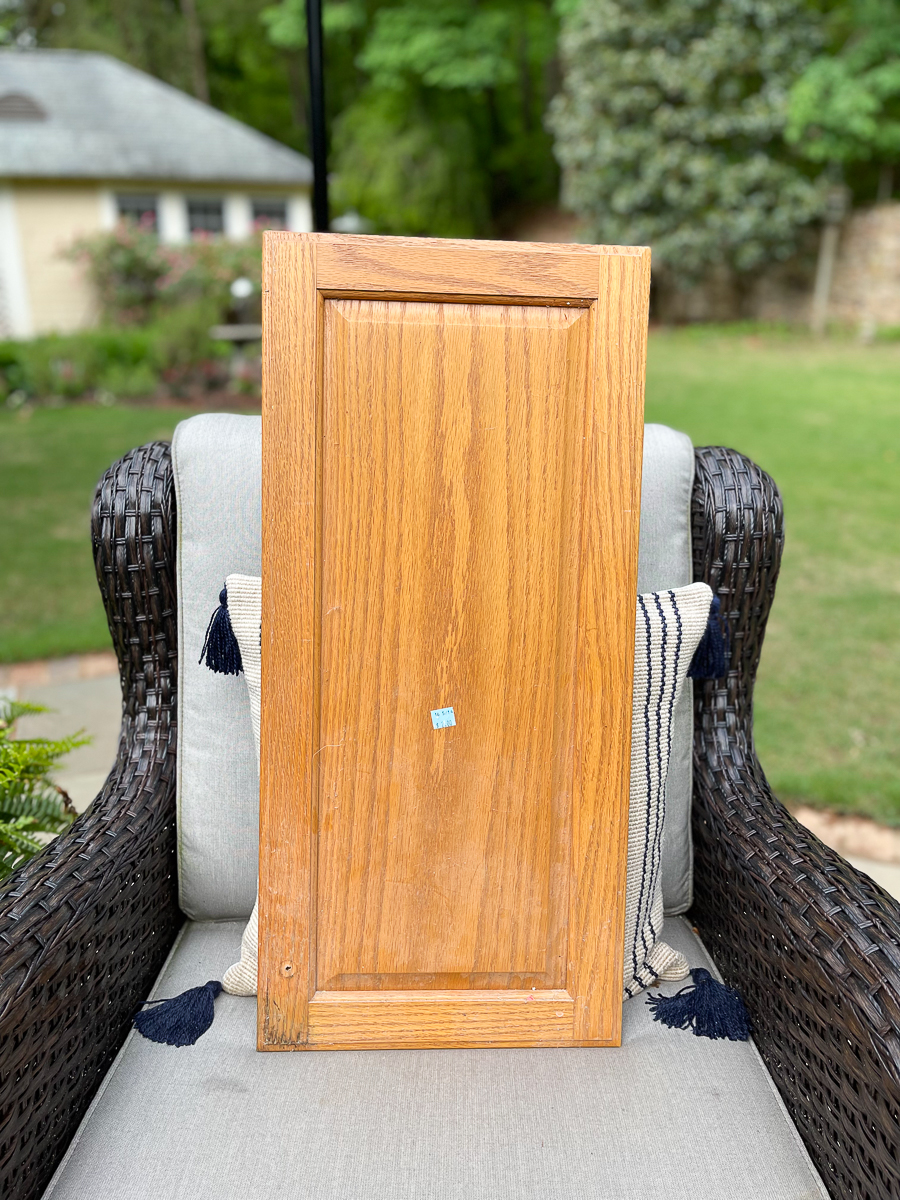
My husband and daughter recently cleaned out the garage. They were sneaky. I am so glad that I checked the trash pile before they loaded the truck up. They had this awesome cabinet door in the pile that is perfect for a sign or a tray.
I can see why they would get rid of it. It still had the $2 price tag on it from 2016. Yeah, I probably would have gotten rid of it as well.
The garage looks so good now! I promised that I would do something soon with the door.
I literally made this sign in like over an hour from start to finish.
Supplies I Used
- stained cabinet door
- white chalk paint
- black craft paint
- sealer
- paintbrush
- artist paintbrush
- paper towels
- foam brush
- Computer
- Printer Paper
- scissors
- clear tape
- painters tape
- pencil
- ballpoint pen
The first thing that you will want to do is clean the surface of the cabinet door very well. Mine was very dusty and dirty. I used some Walmart brand cleaning wipes.
Let it dry thoroughly.
My door was stained so I decided to make my job easier and work with what I had.
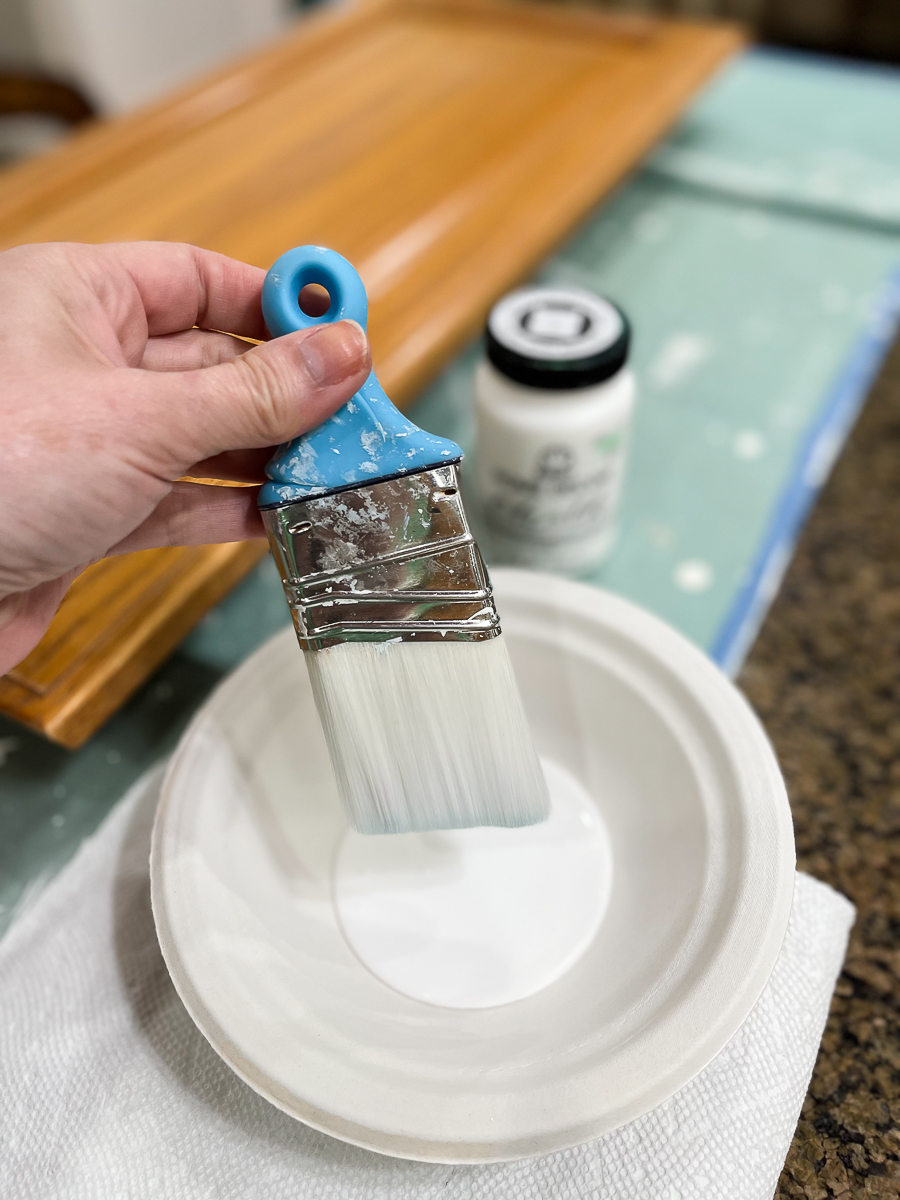
You can easily get a distressed, vintage finish with simply dry brushing.
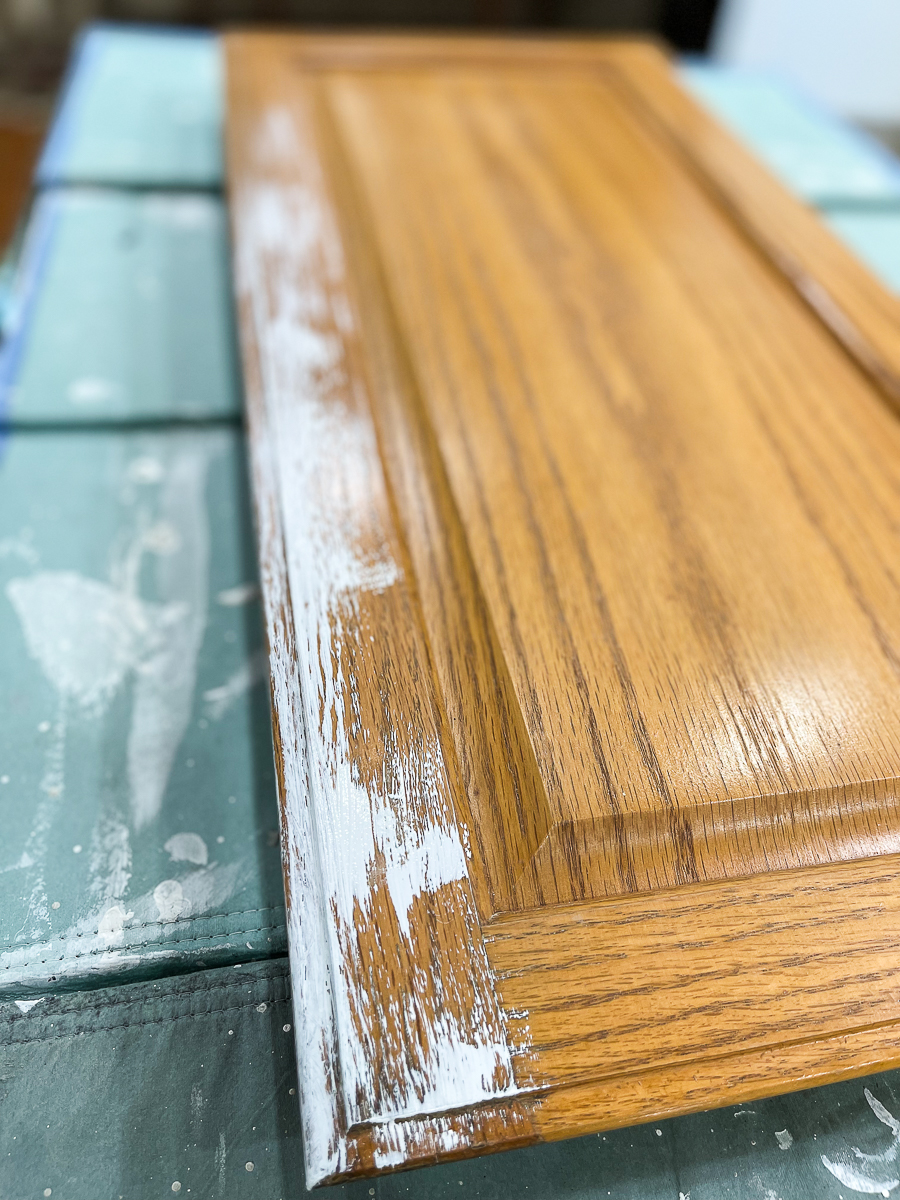
Dry brushing is when you dip the tips of your brush in paint and then blot it with a paper towel. Then use a very light hand to drag the paint across the surface.
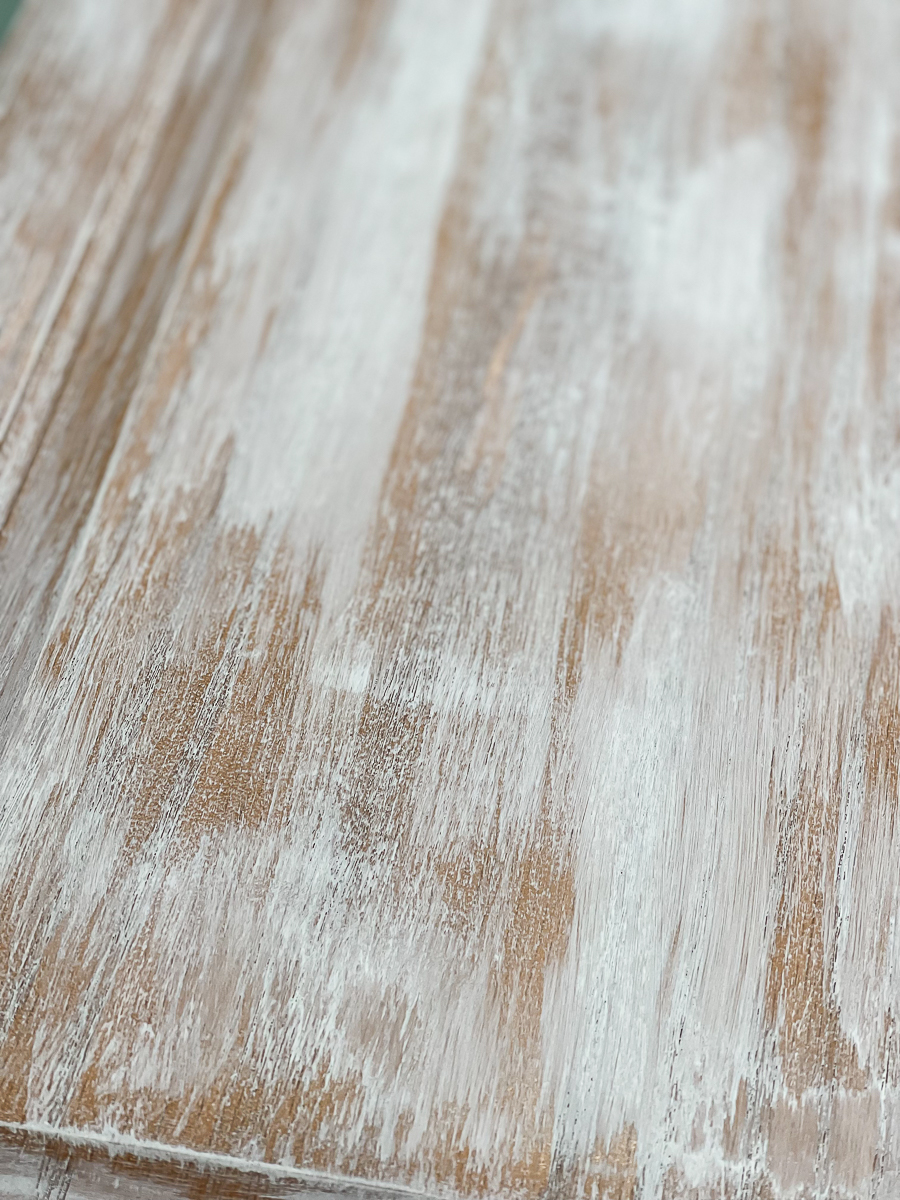
Start out with a little. You can always go back and add more in certain areas.
If you have never dry brushed before, practice on some old cardboard first. It is very easy. I also did a multi-color dry brush technique on this thrift store mirror.
I dry brushed the cabinet door in this white chalk paint. Any kind of white paint will work. I'd personally use chalk paint, craft paint, or a flat finish.
This uses a tiny amount of paint and finishes up very quickly. It also dries quickly because of the minimal use of paint.
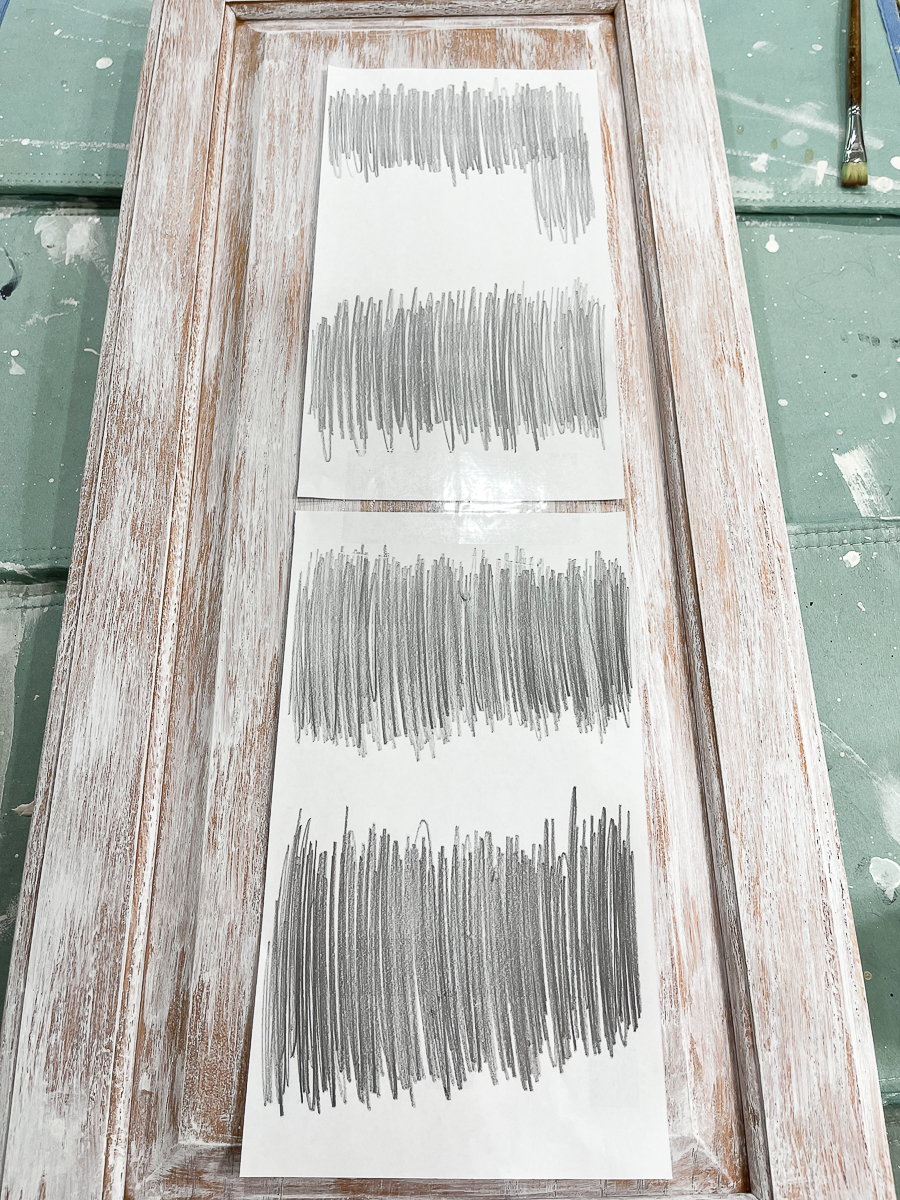
While your paint is drying, design your wording.
I simply did this in Microsoft Word changing the page orientation to landscape. You may need to play around with it and print several times to get the right size.
Look for a thicker simple font that will be easier to paint.
For this sign, I used the font AGENCY FB in Bold with a size 500. I also hit the space bar 2X in between each letter as I type the word. This will print it on a couple of sheets.
You'll want to lay it on your dry board to position it possibly cutting a couple of letters and taping them together to get consistent spacing. Tape the letters together with clear tape if needed.
Check out this post for more details on this method for transferring the design. This was a recent sign that was completed as well.
With chalk, pencil, or oil pastels, flip your word design over and color across the back of each letter until it is completely colored.
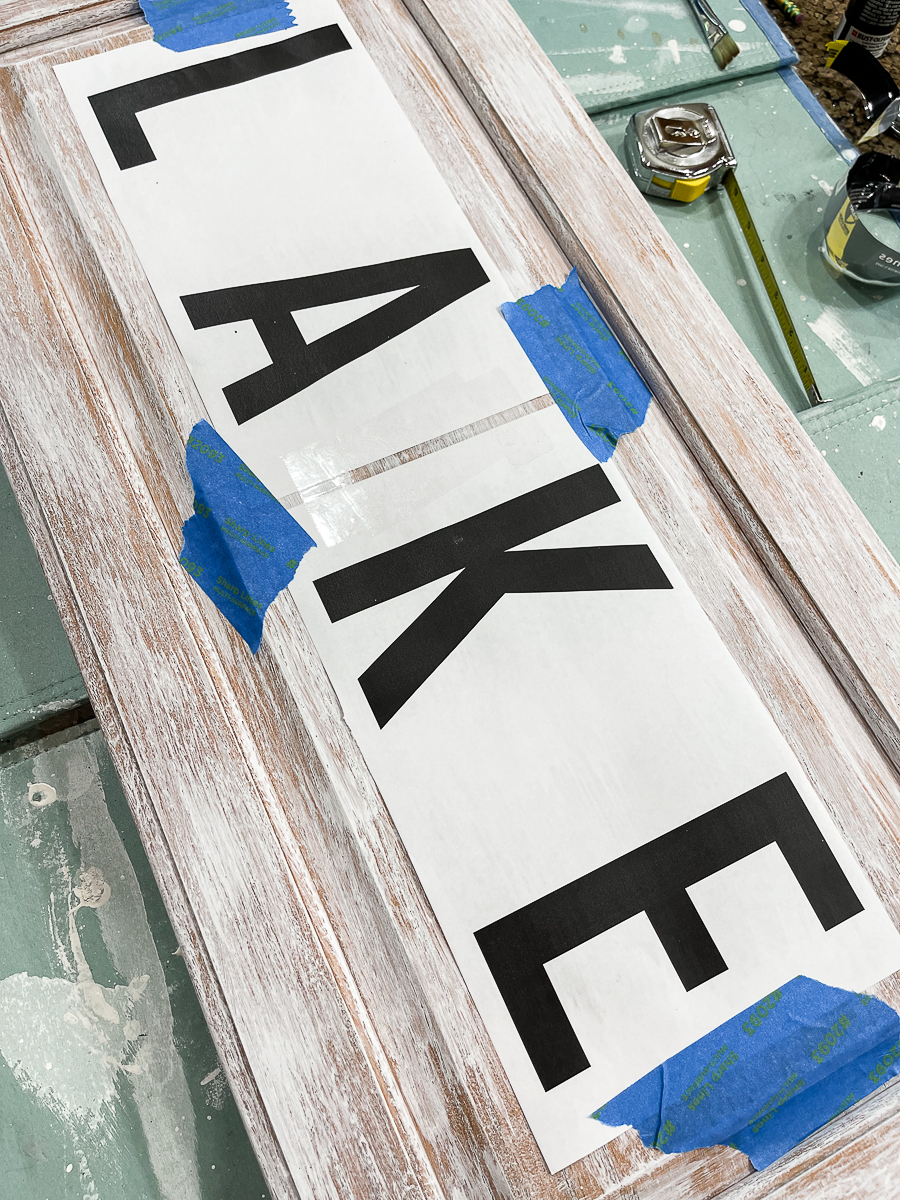
Flip it over and position it on the top of your door. Use painter's tape to secure it in place.
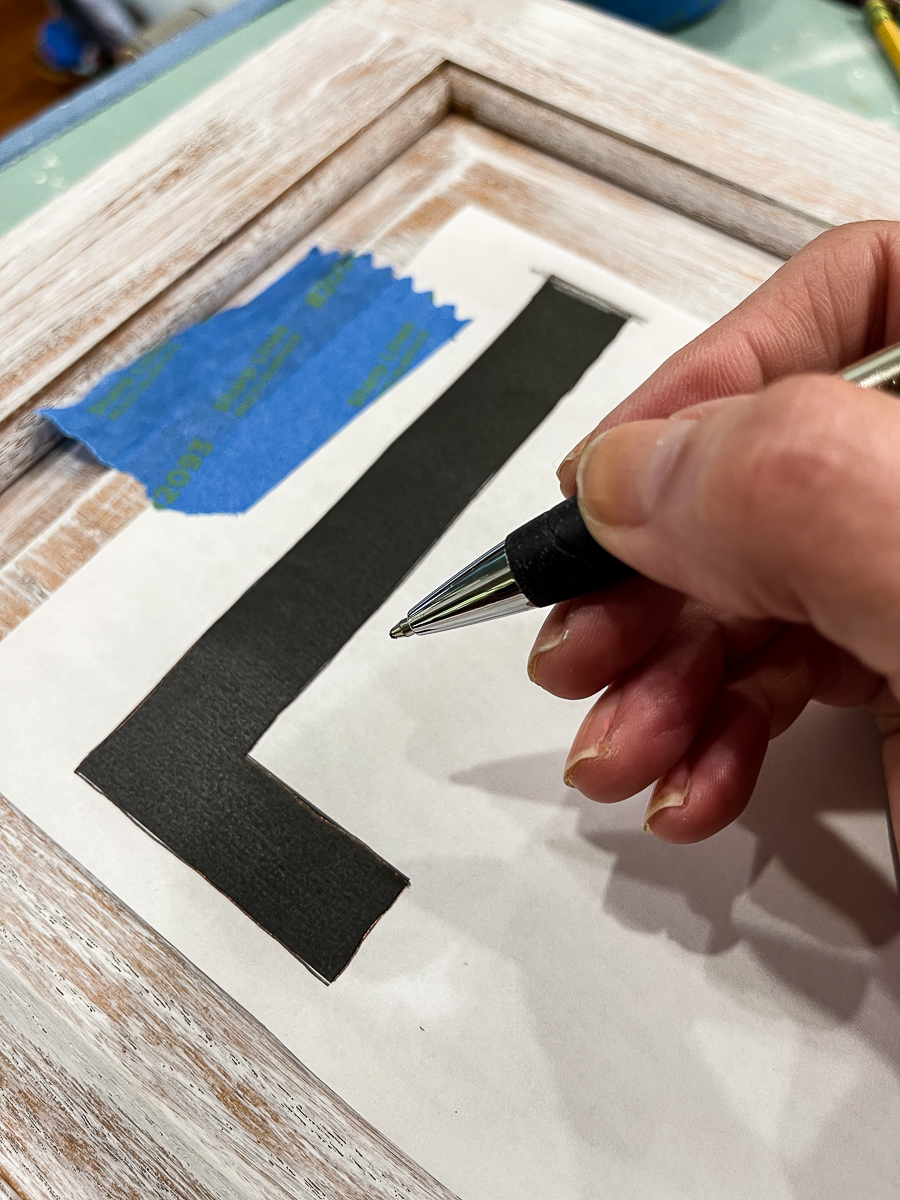
With a BALLPOINT pen only, trace the outline of each letter. This will transfer the pencil onto the board giving me the outline to paint in.

Lift up each end and check to make sure all letters are traced before completely removing your paper. You can throw this away.
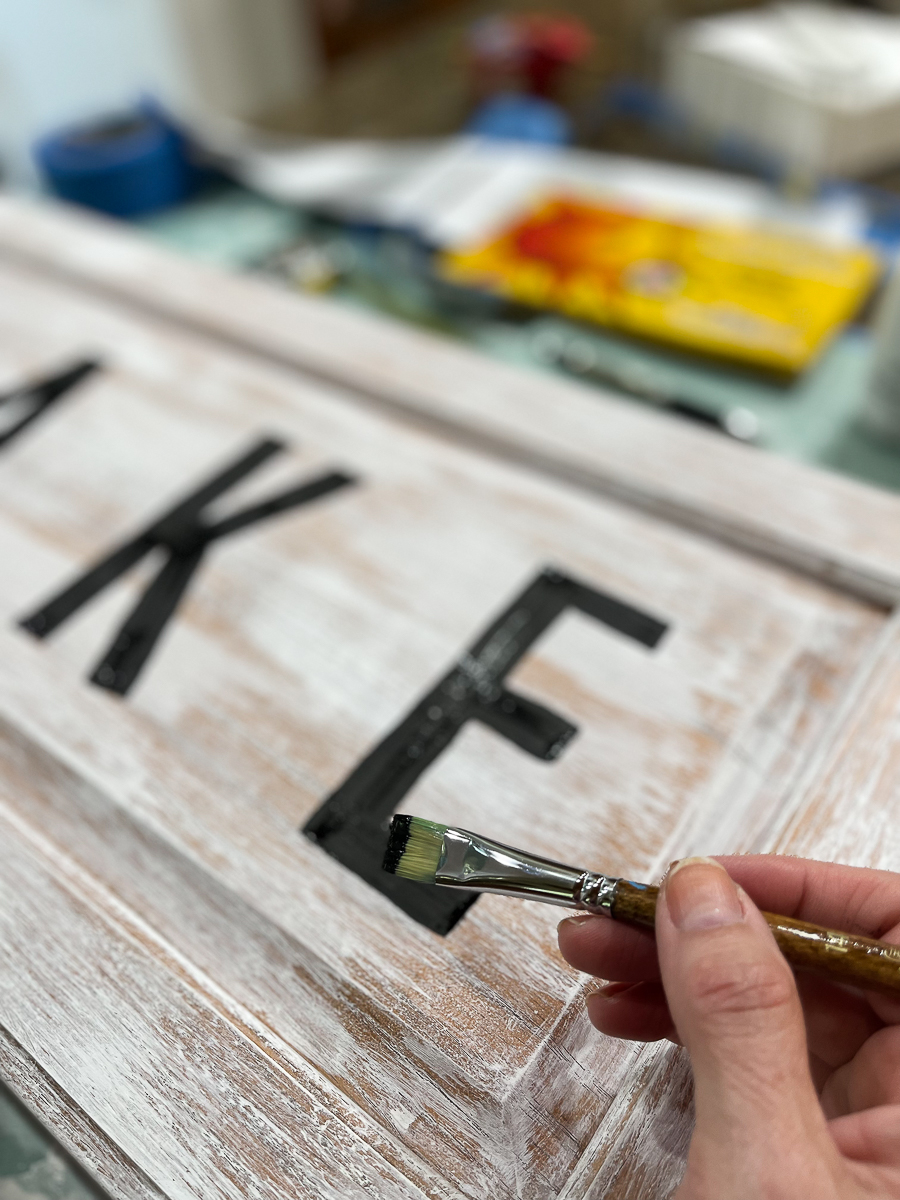
With your craft paint, fill in with an artist brush.
I only did 1 coat. I've discovered that with black craft paint, I can easily get distressing with the application of my sealer when I just do 1 coat.
Try to paint the letter as straight as possible with long, even strokes.
Let them dry completely.
Sometimes I use this clear, spray sealer.
I used this sealer applied with a foam brush.
The foam brush etches the letters as I apply the sealer distressing them somewhat. It drags a little of the black paint with it giving it a more aged look.
I would never do this with anything bold like a red.
If you don't want your letters to do this, I'd add a second coat of color. To be safe, use a spray sealer.
Let it dry thoroughly and enjoy!
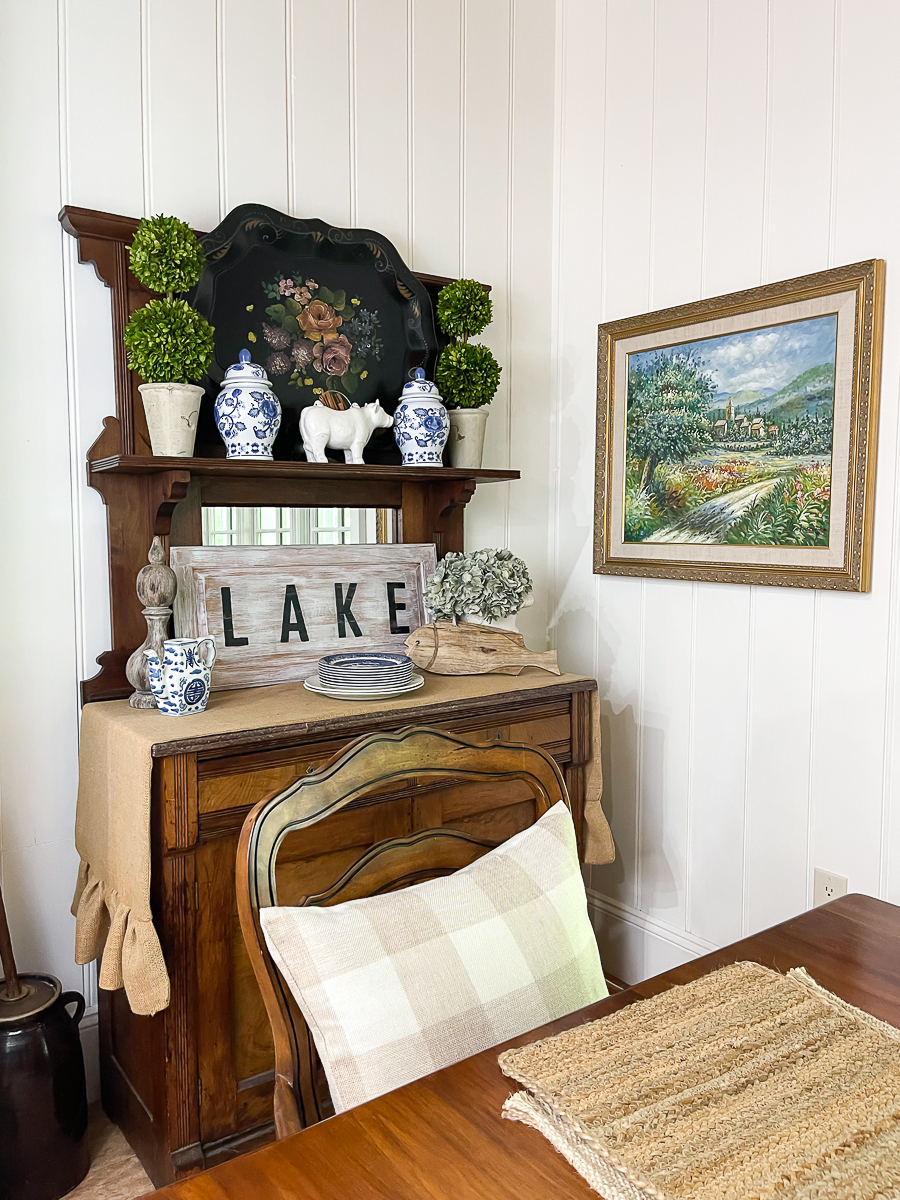
Now, obviously, I have this styled in my kitchen for photo purposes……..and I don't live at the lake.
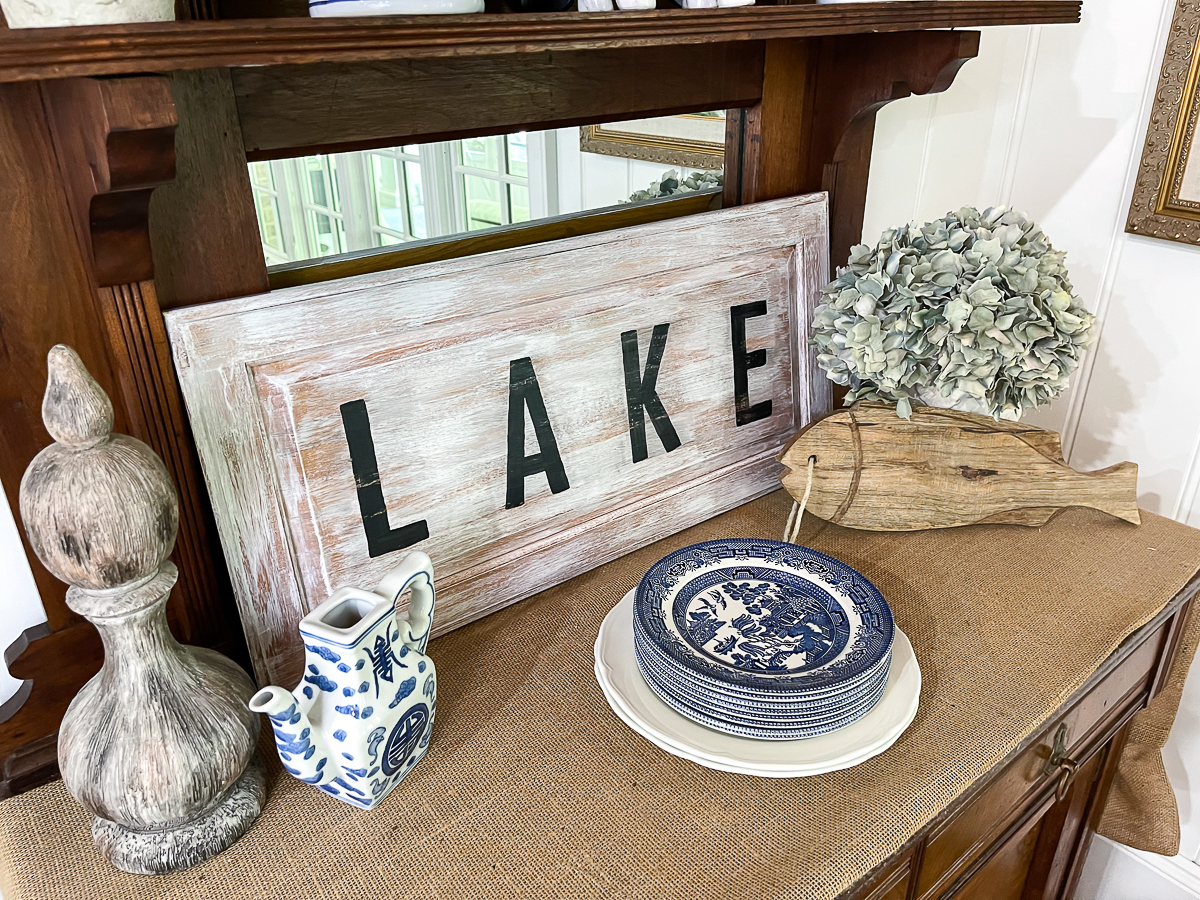
It will be moved to the lake house soon. I'm not sure where I will hang it yet. I'll be sure to update the photos with its the new home.
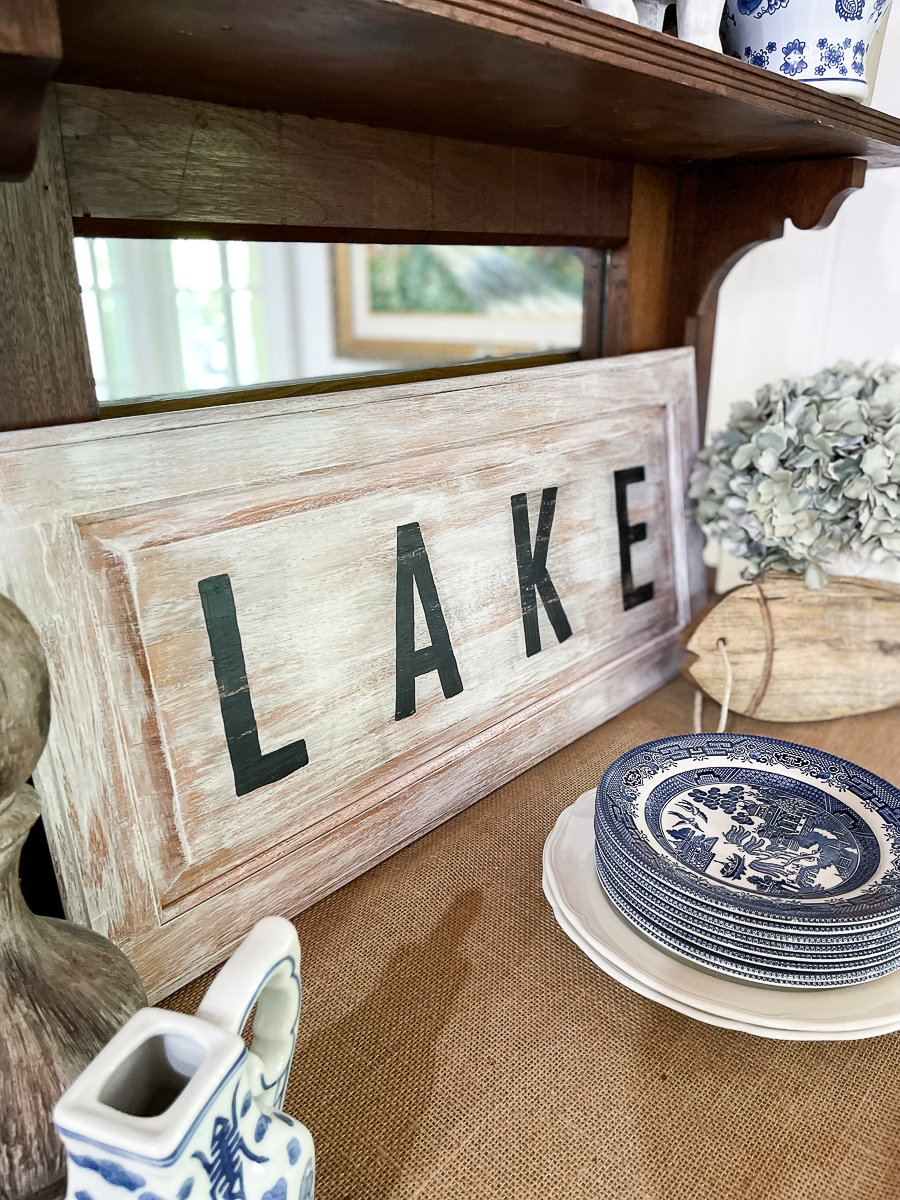
Signs like this are a great way to add affordable art to your home.
Cabinet doors make great signs!
Here are a few ideas.
- LAKE
- BEACH
- PORCH
- PANTRY
- LAUNDRY
More from the Team!
Repurposed Toolbox Jewelry Box Petticoat Junktion
Cutting Glass Domestically Speaking
Clam Shell Bowl With Baking Soda Sadie Seasongoods
Wooden Rocking Chair Makeover My Repurposed Life
Antique Skeleton Key Makeover House of Hawthornes
DIY Lake Sign Our Southern Home

Happy Creating!!!

Thrift Store Makeovers
Thrift store makeovers from the OSH!


I love a great cabinet door sign!! This turned out great Christy. I love the dry brushed color on the cabinet door.
pinned
gail
So cute! I have several cabinet doors in my stash from a previous kitchen remodel and some from the ReStore. I’m inspired to make something with them!
this is going to look great in your new lake house, Christy! I love seeing all of the projects that you have completed for your new home.
Thanks so much, Paula! Would you believe that we have yet to stay at the lake house. It has been rented nonstop. That’s a good thing since an investment property. Hoping for some downtime this summer to enjoy it.