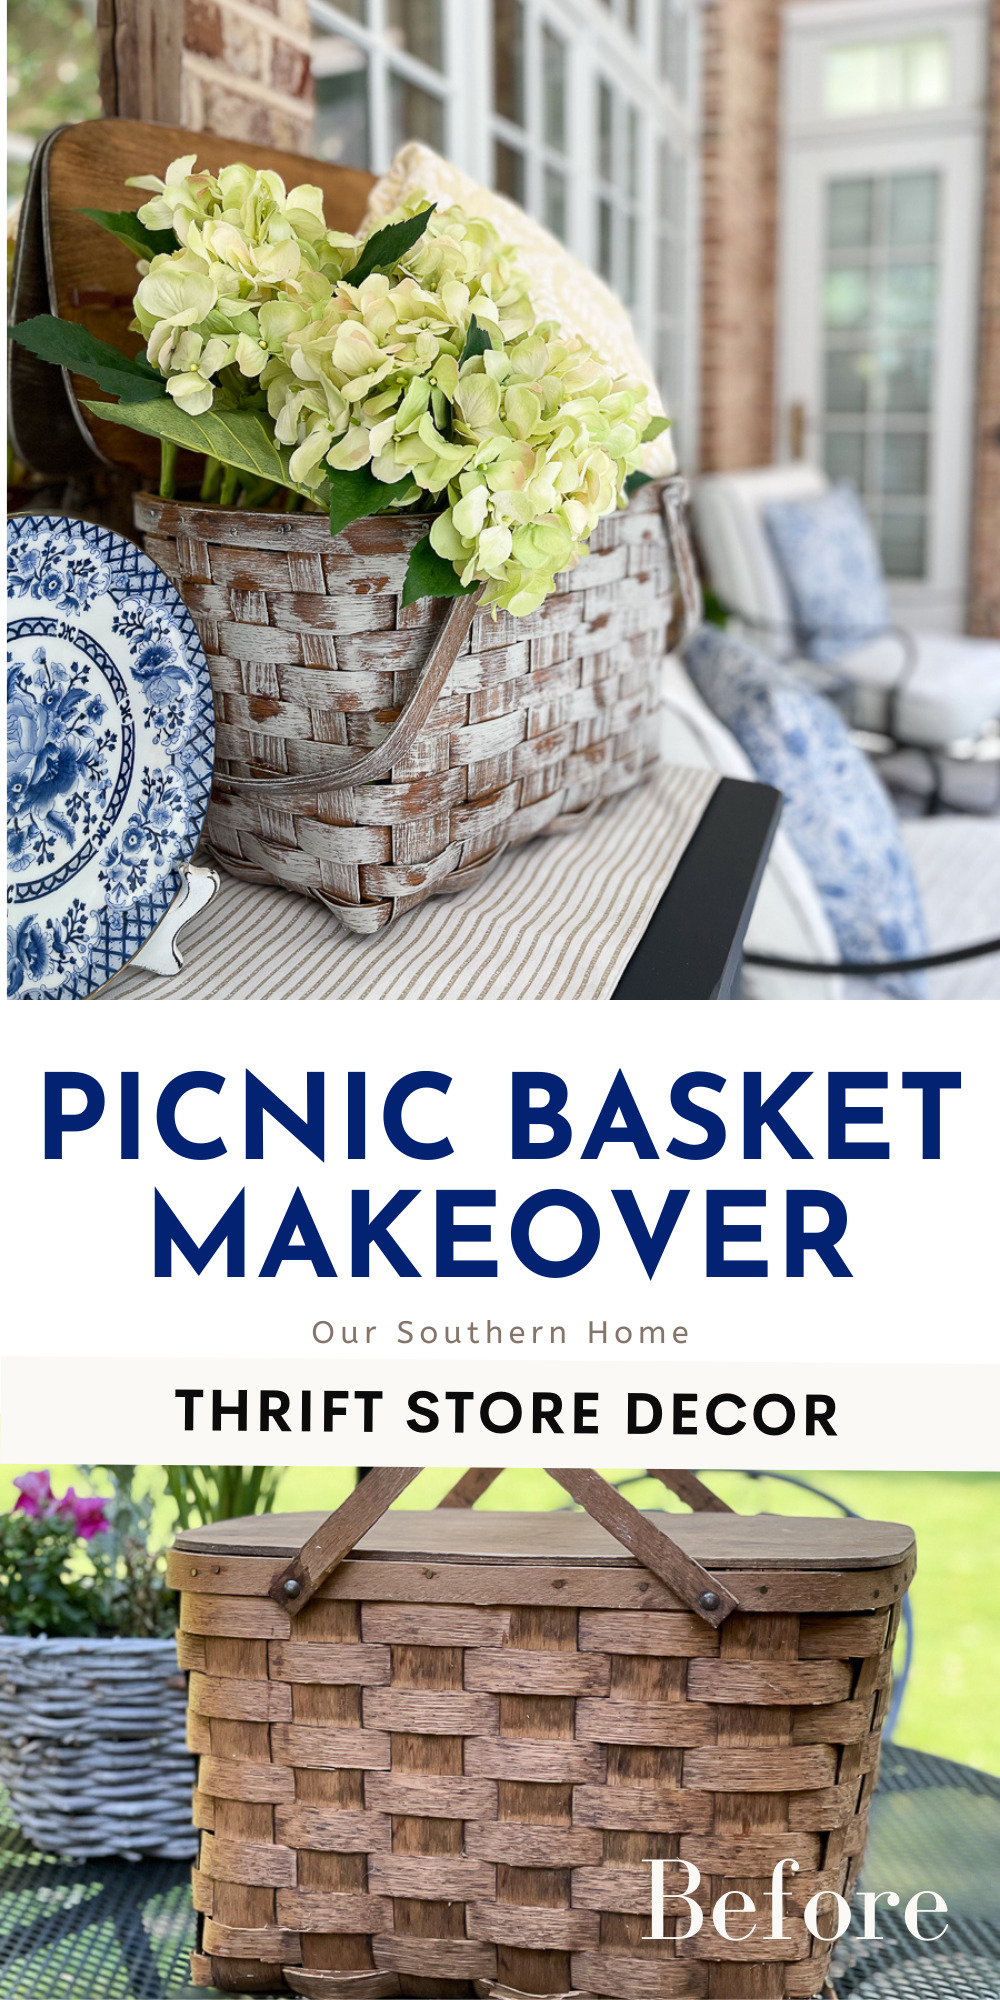
Picnic Basket Makeover
Thrift store picnic basket makeover is simple with this faux finish technique to give it instant cottage charm.
It's thift store makeover day with the team for July! I've actually had this project completed since May, but just getting around to sharing the process on how I achieced the faux finish for it.
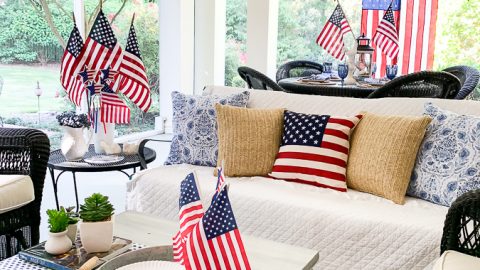
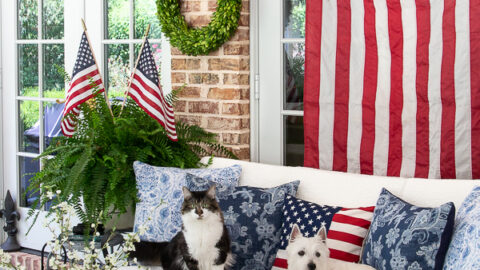
You can see how it was used in this fun Pinterest Challenge with a few blogging friends on how we decorate with picnic baskets!
Picnic Basket Makeover

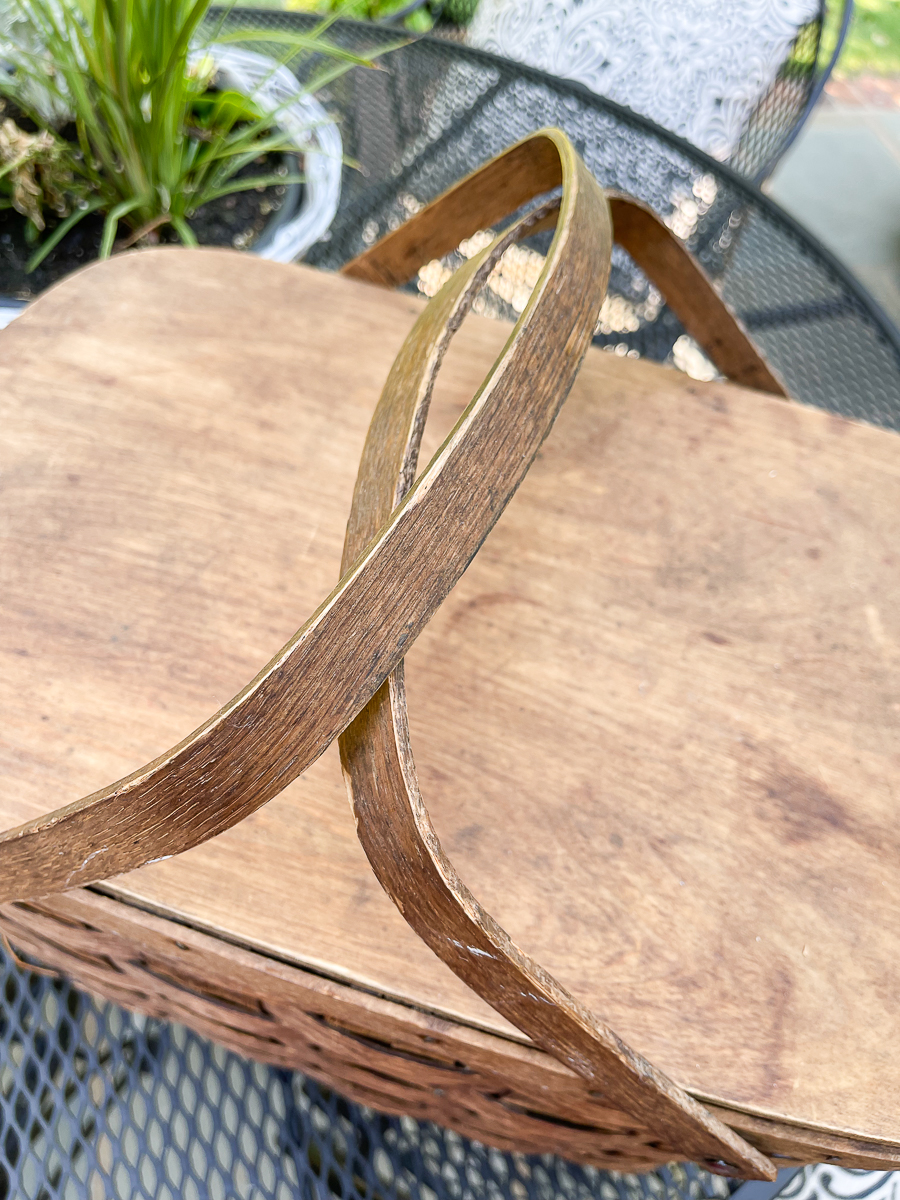
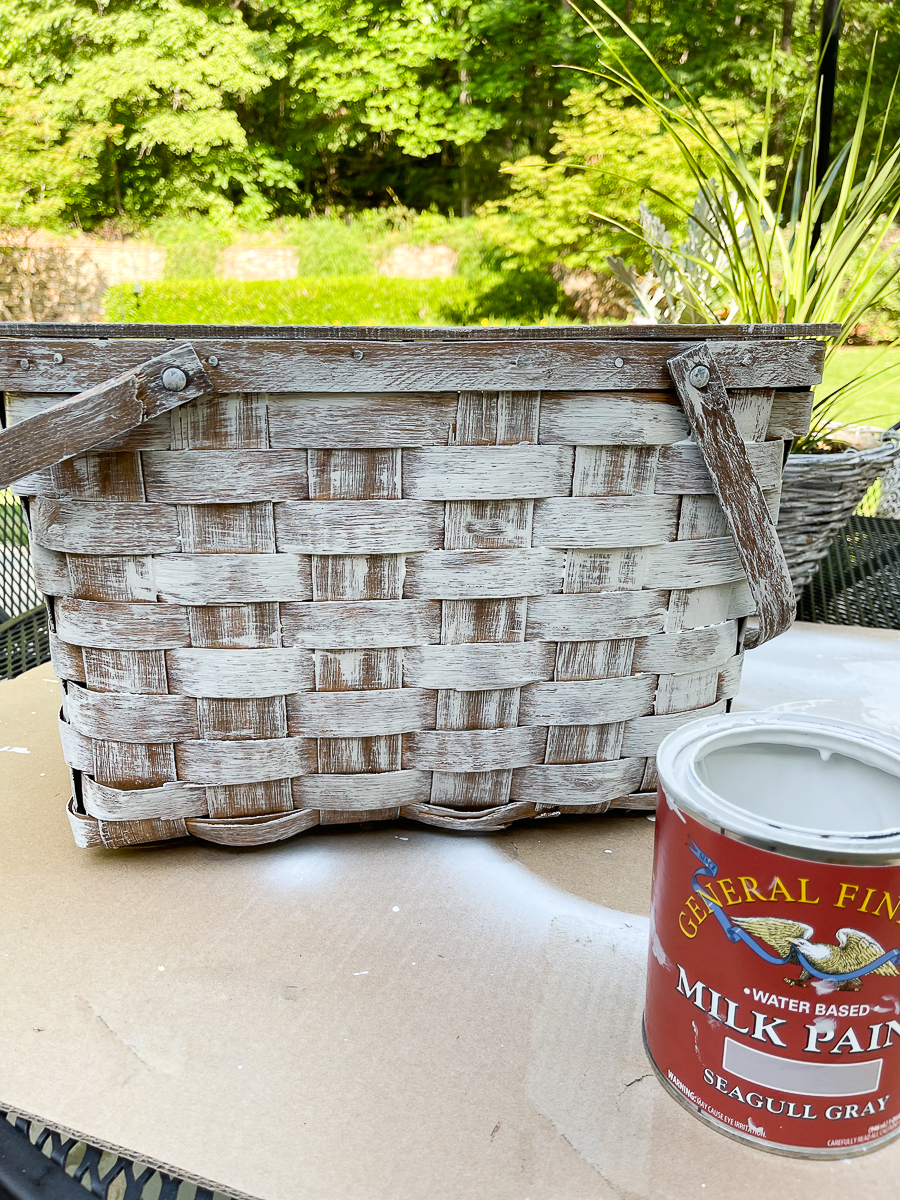
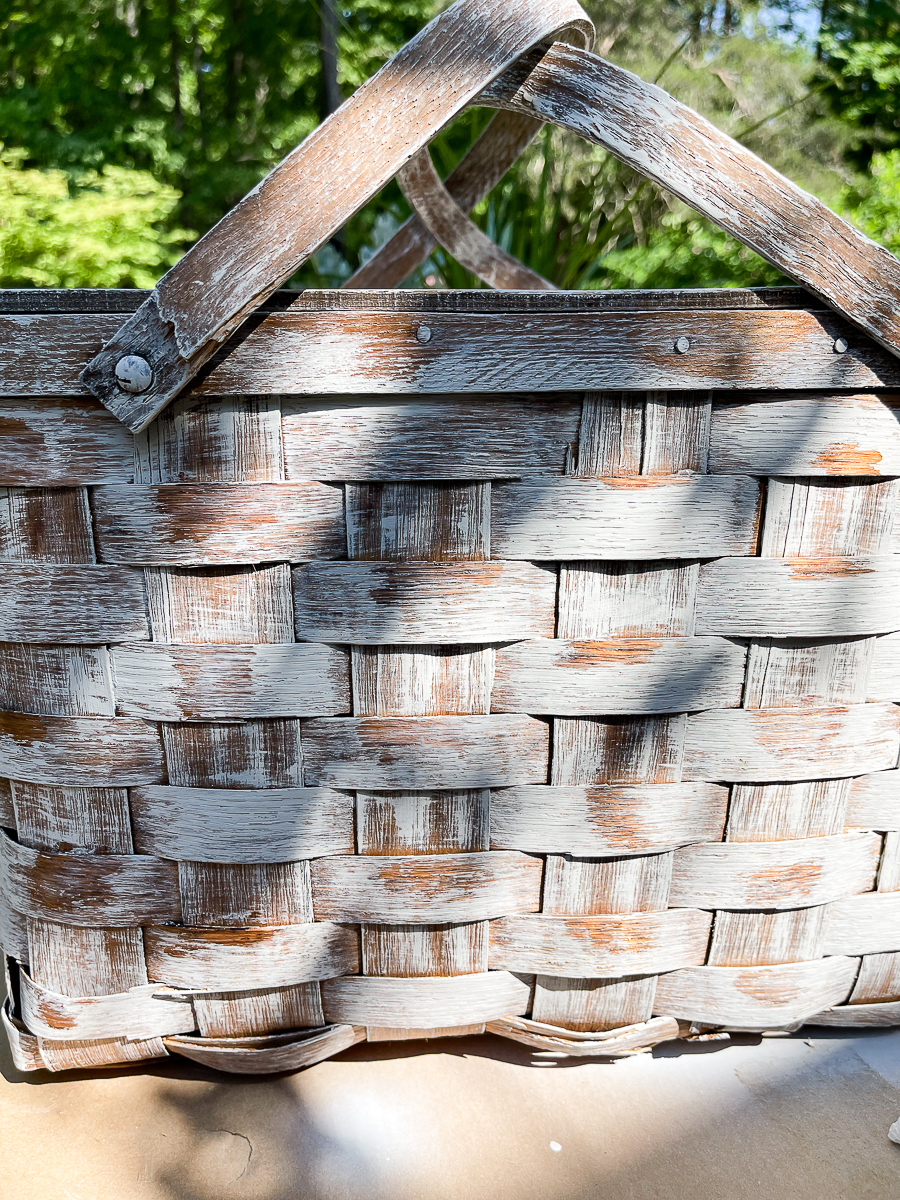
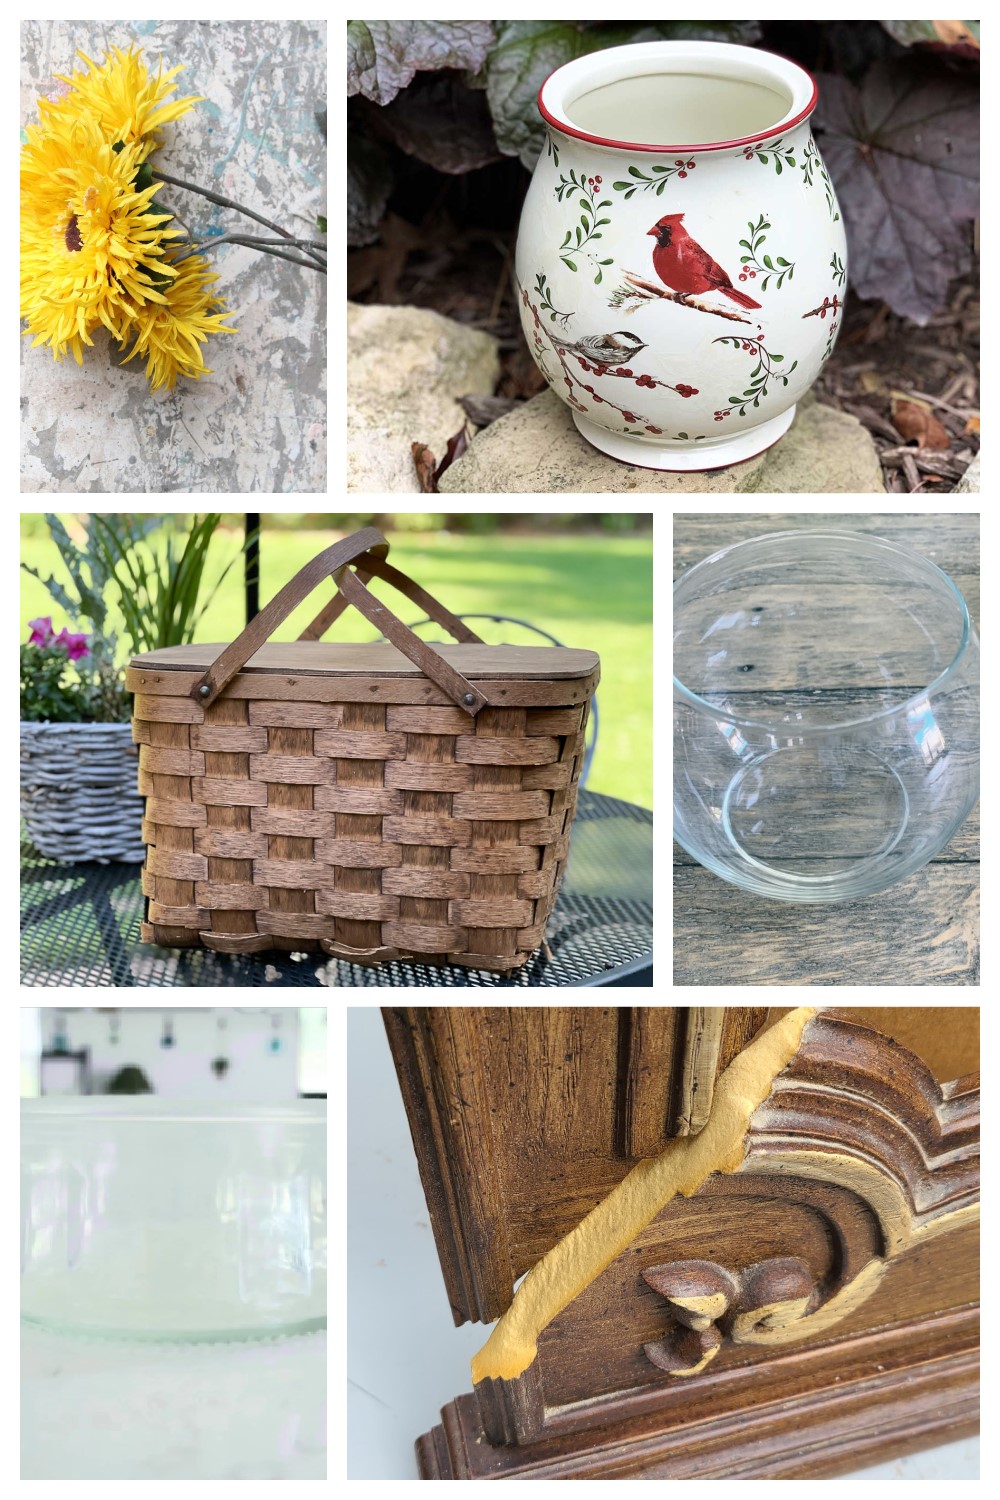
I picked this old picnic basket up at the thrift store quite a few years ago with the intention of giving it a simple paint makeover.
It found its way into the attic where it was lost for a bit.
It was in great shape and quite sturdy.
Lided baskets like this are great for other uses besides the typical picnic.
They are great for hiding and organizing things in your home.
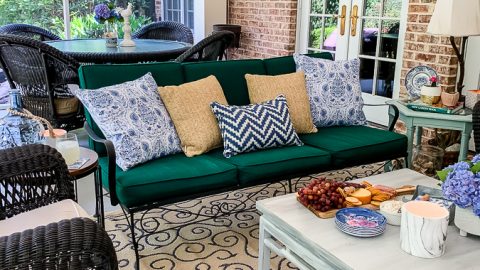
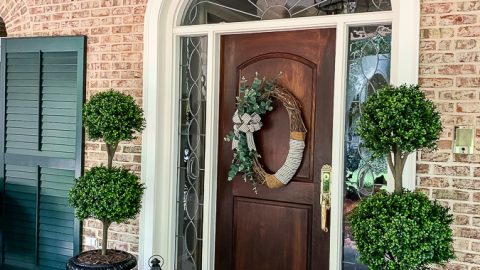
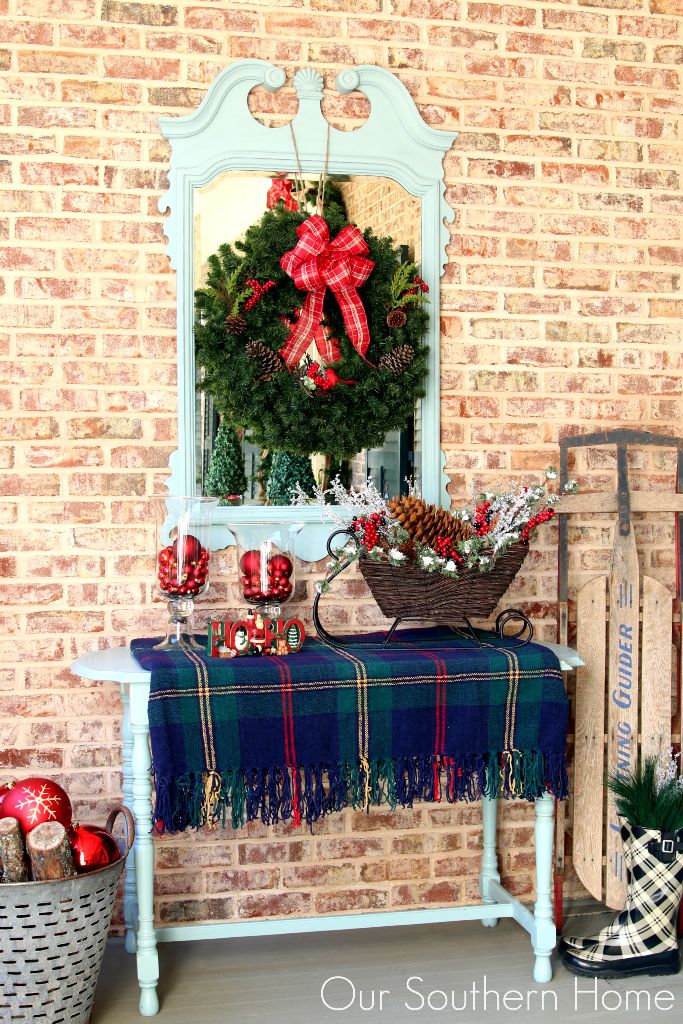
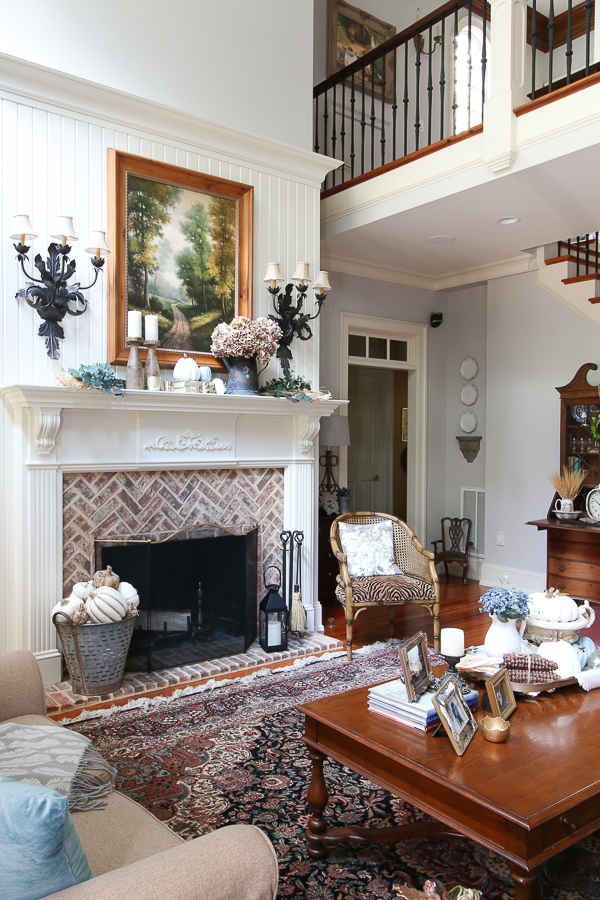
My intention is to take this to the lake house and use as decor on one of the fireplace hearths.
This makeover took no time at all!
Here is a Facebook Live video that I did with more detail on the process.
Supplies Needed
- Basket of Choice
- Vaseline
- Rag
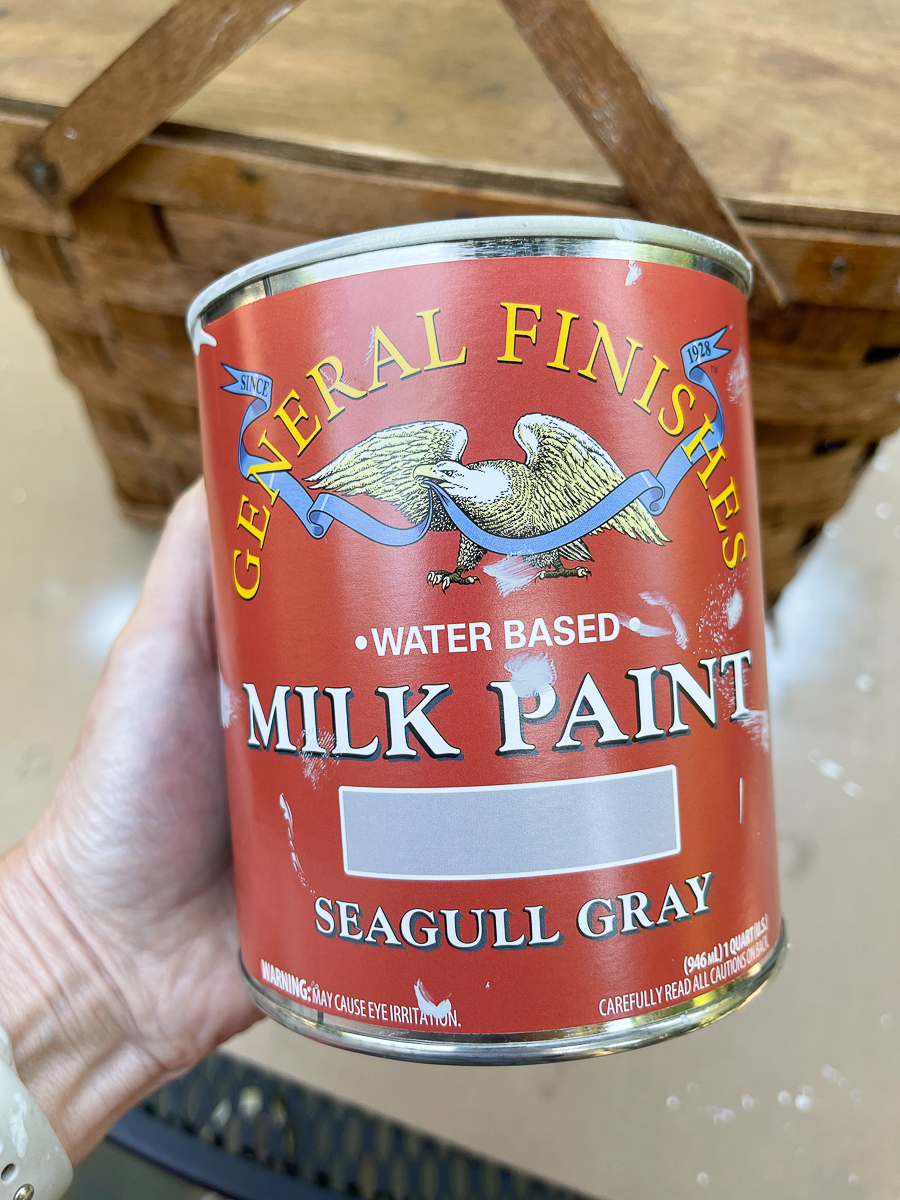
- Gray Paint
- Spray Sealer
- Paint Brush
This project takes no time at all from start to finish.
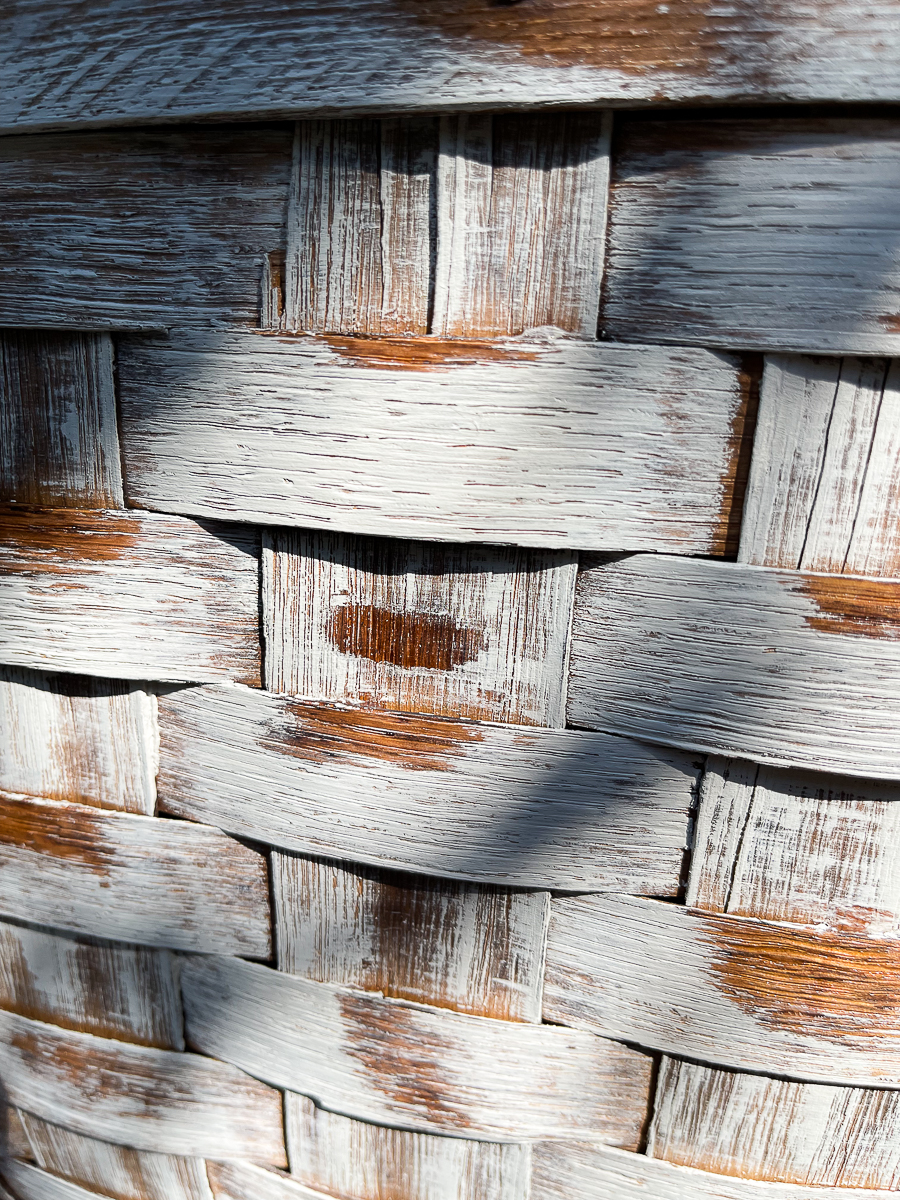
You'll be dry brushing your paint on the basket. Dry brushing is a technique where you slightly dip the brush in the paint. You then remove excess off with a paper towel. With a light hand, you'll lightly paint the basket in a haphazard manner. This allows for the grain and some of the original color to show.
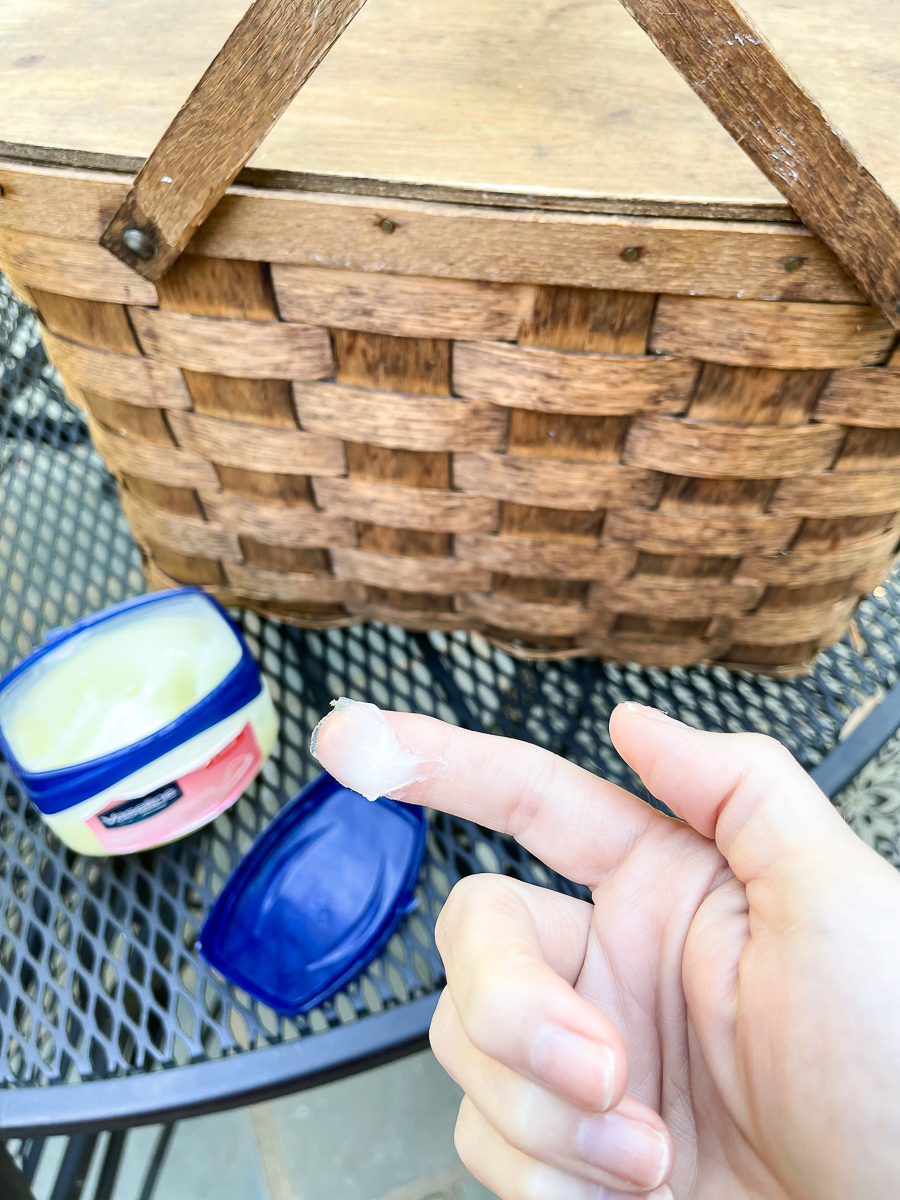
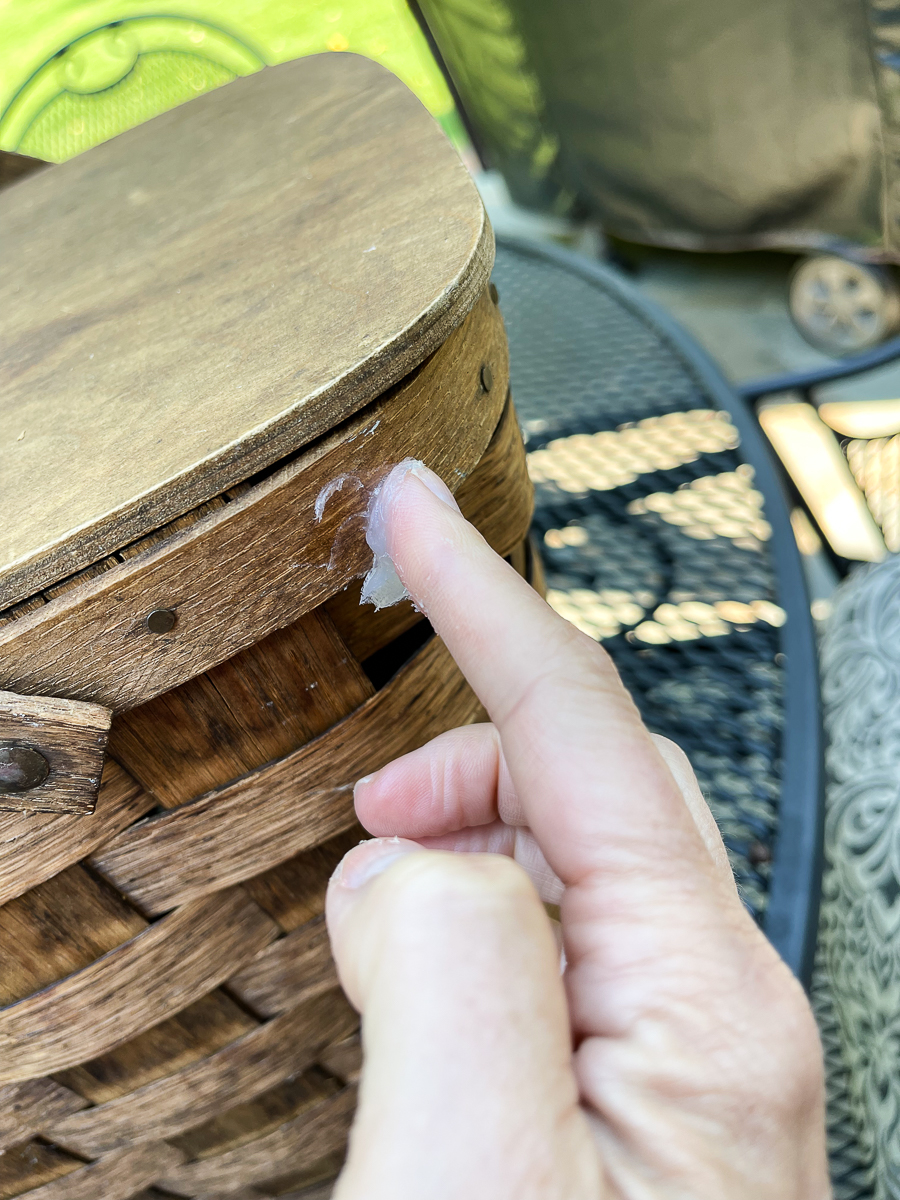
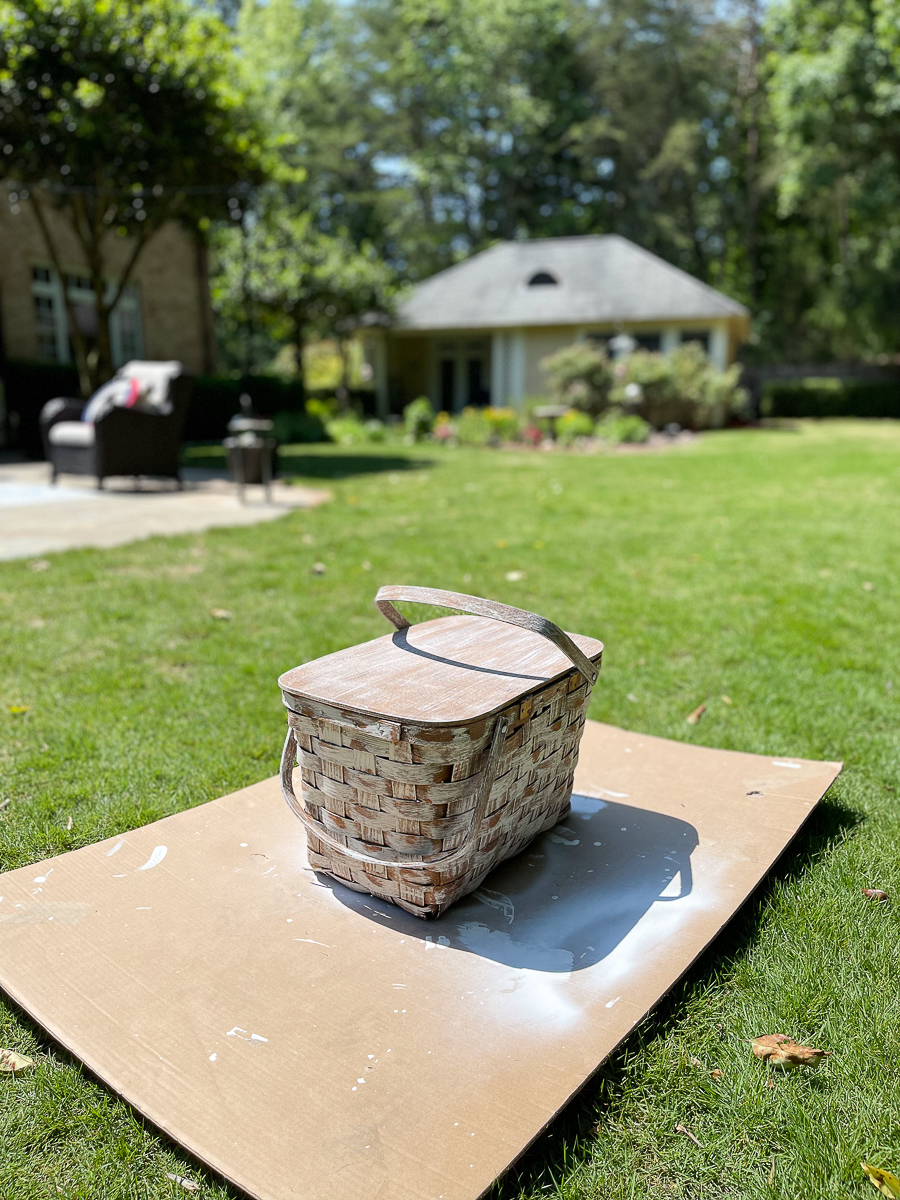
The first thing that you will do is apply Vaseline anywhere on the basket that natural wear may occur.
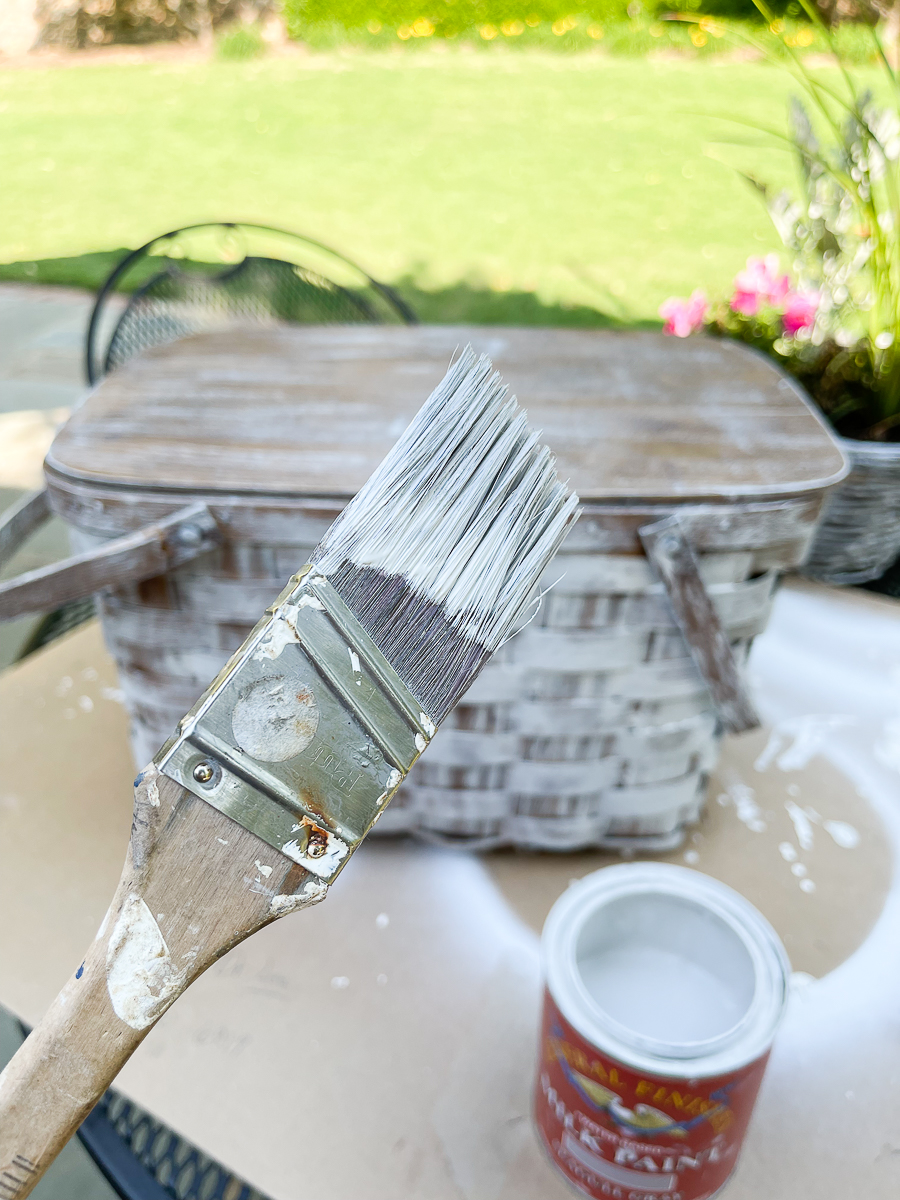
You'll then dry brush paint all over the basket even on top of the vaseline.
Let the paint dry. It won't take long.
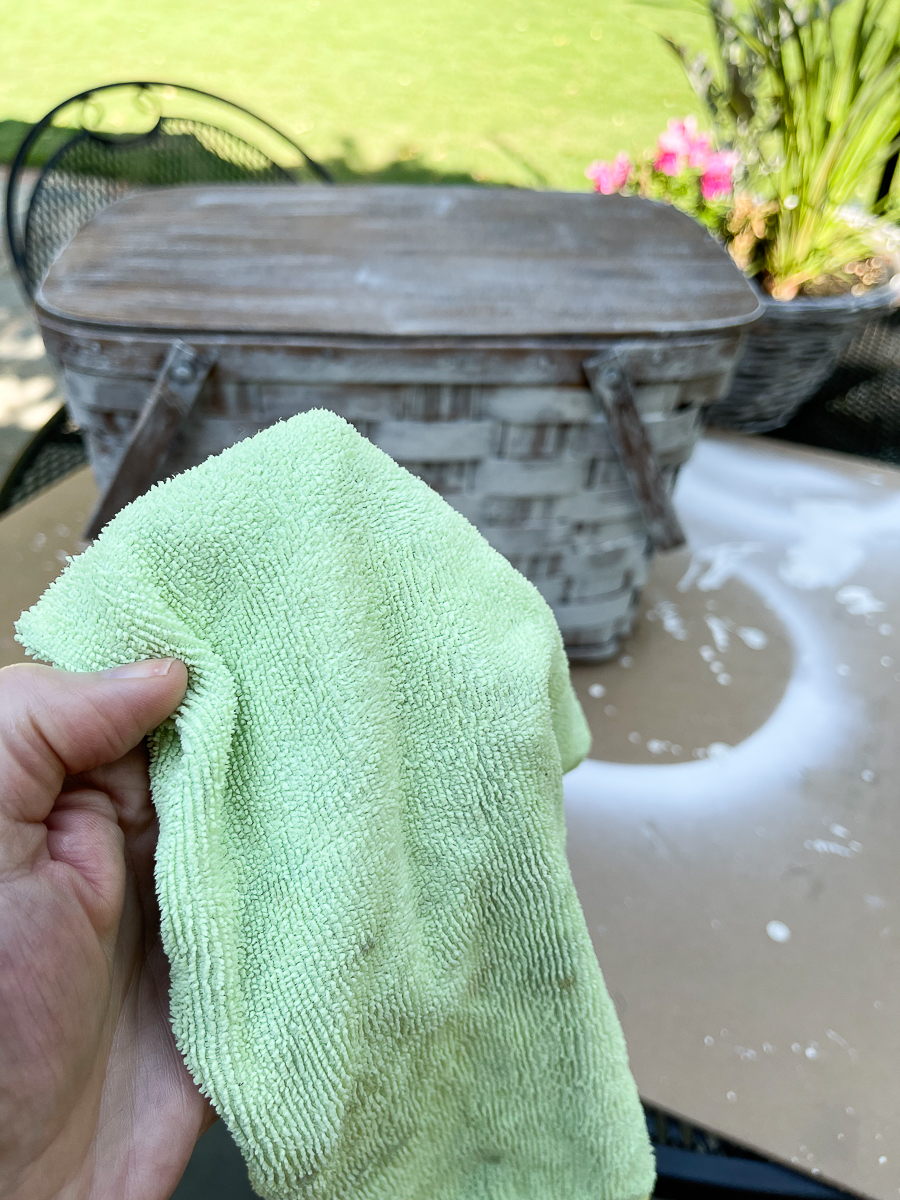
With a damp rag, go over the basket. Any areas with Vaseline will immediately remove paint with no effort. It's such a simple way to distress a piece.
If you have some areas that removed paint that you aren't happy with, you can easily add it back with your brush.
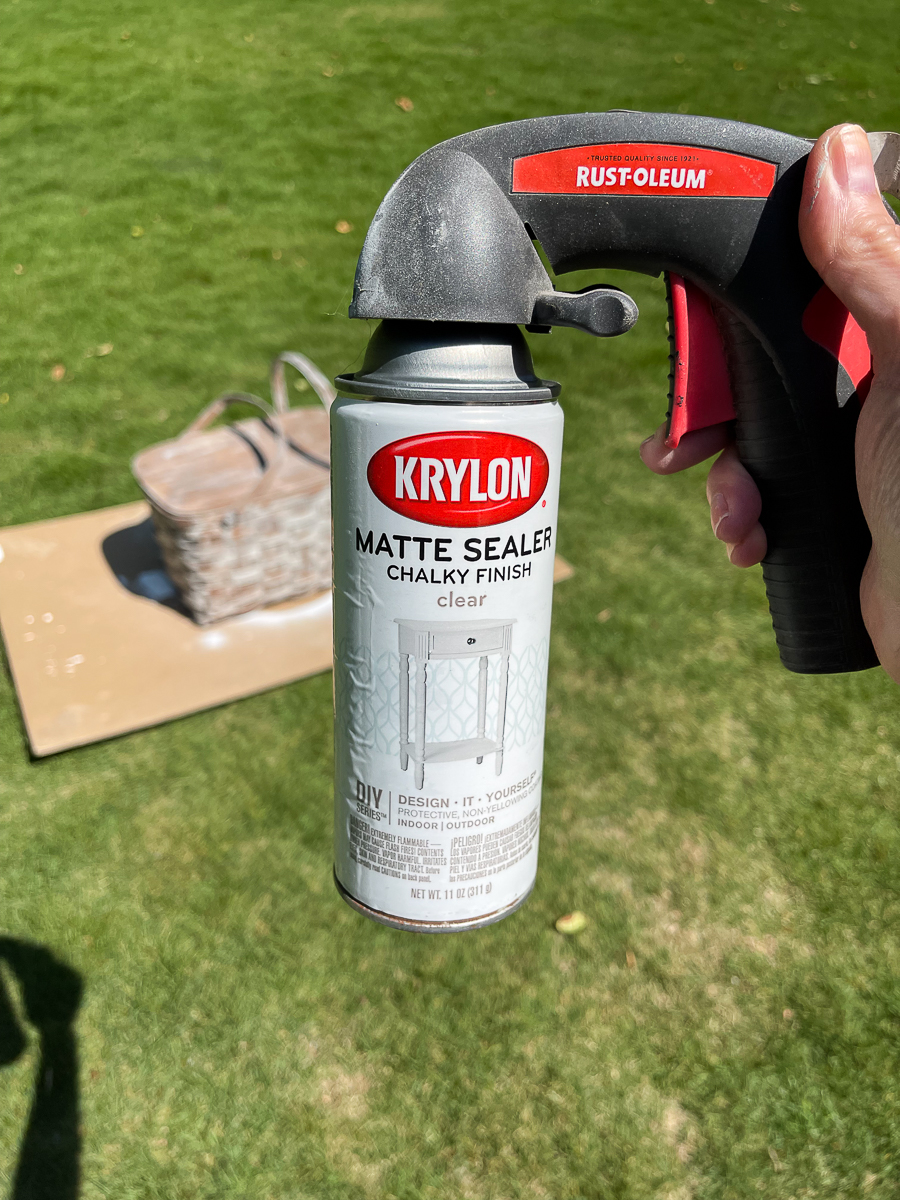
Once any repainted surfaces are dry, seal the basket with a spray sealer.
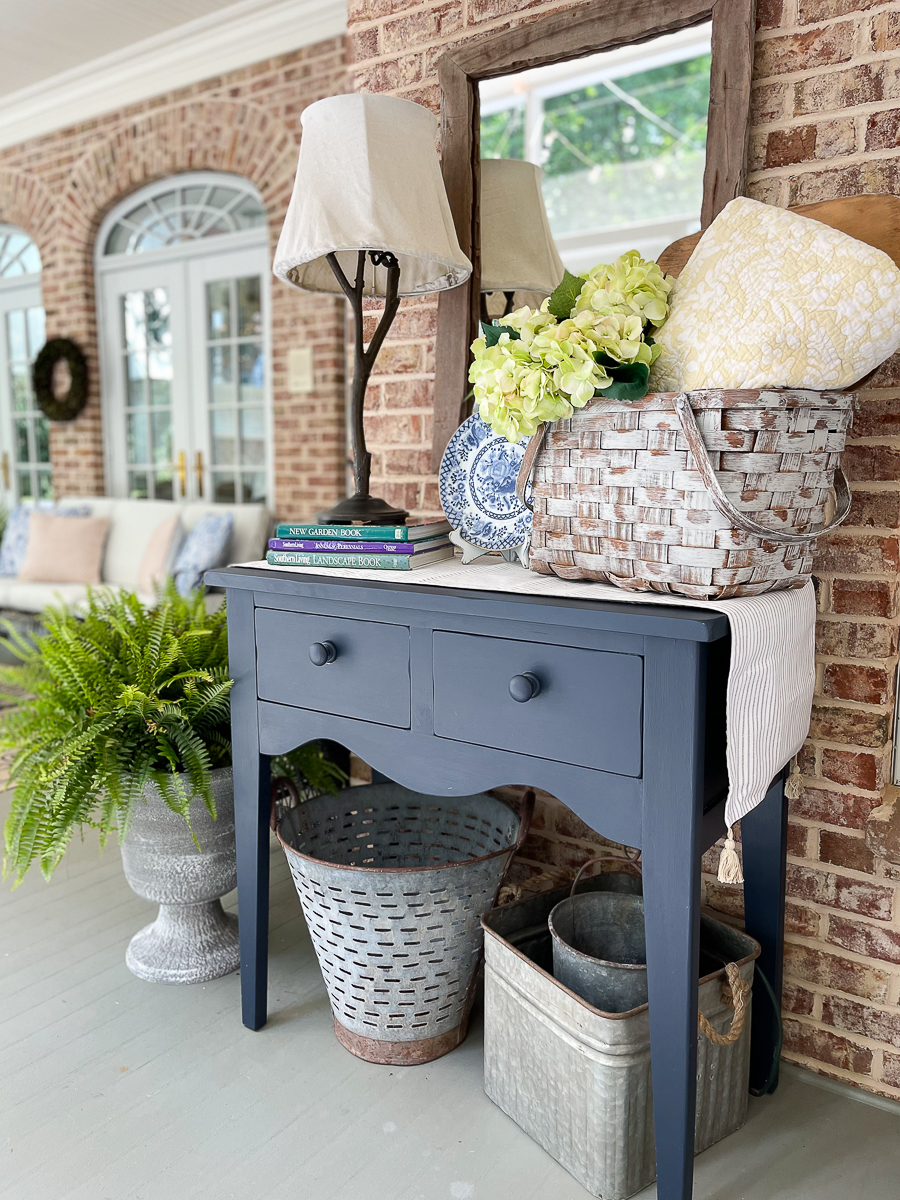
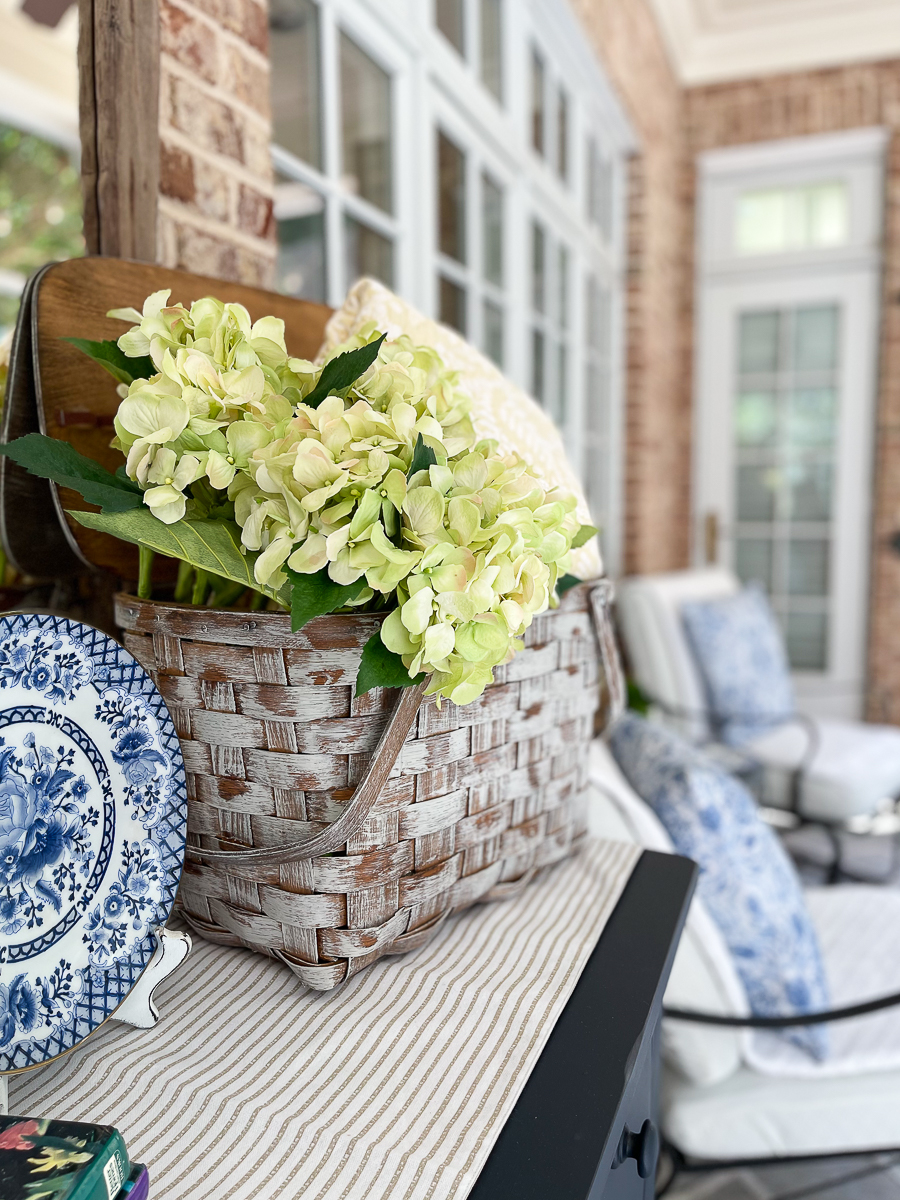
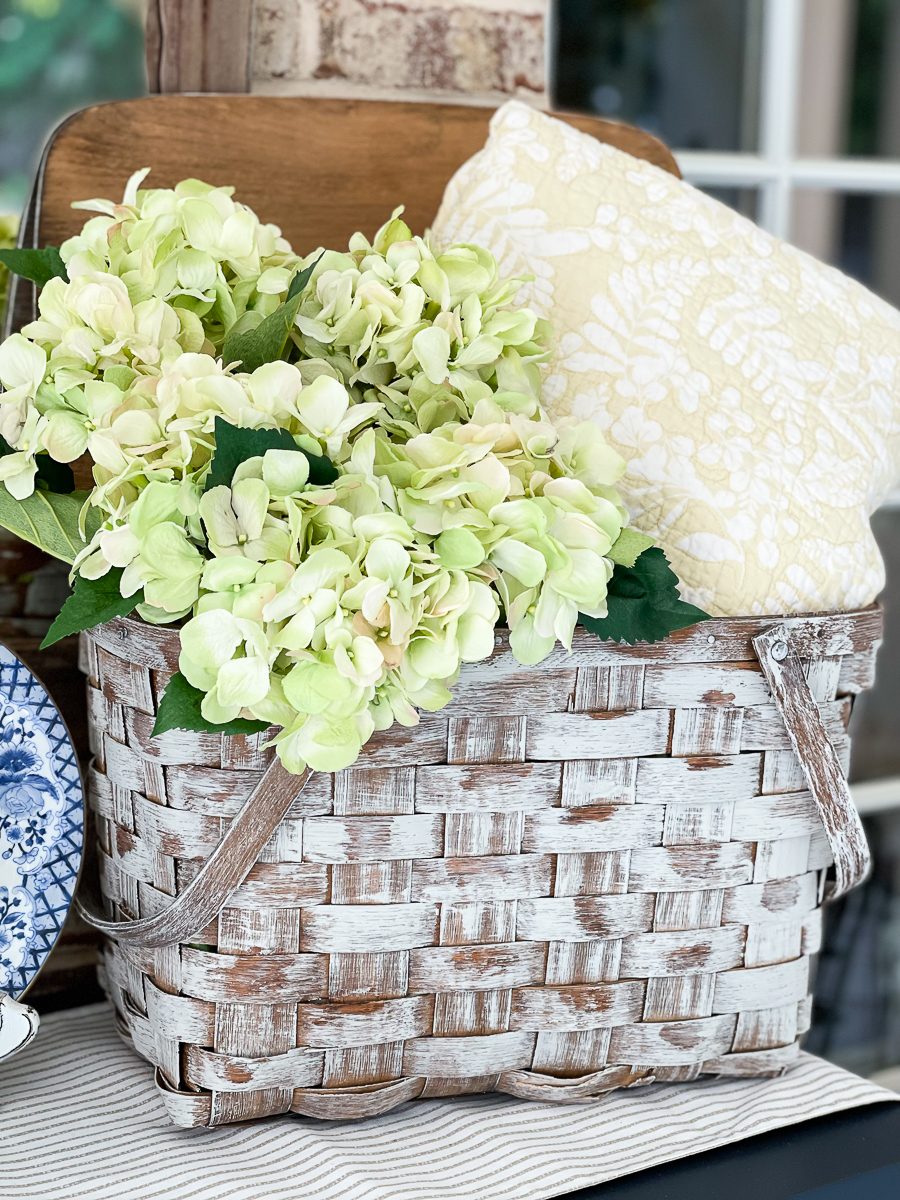
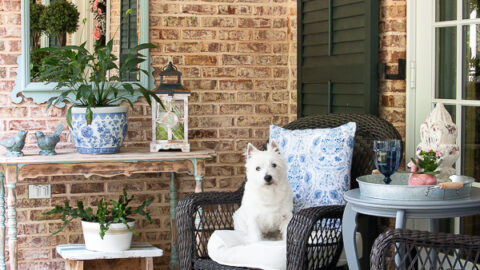
Use it as a picnic basket or in your home decor!
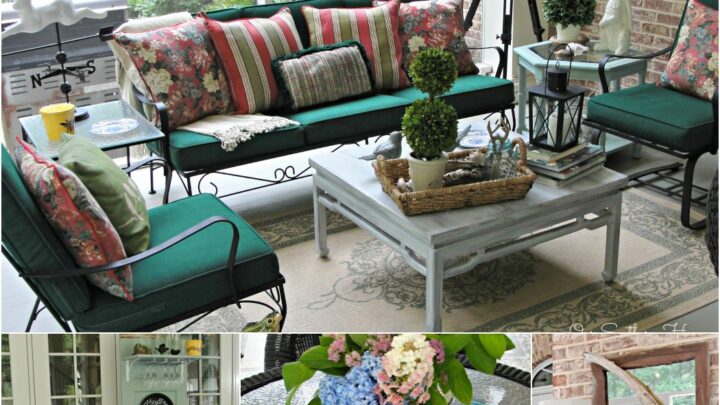
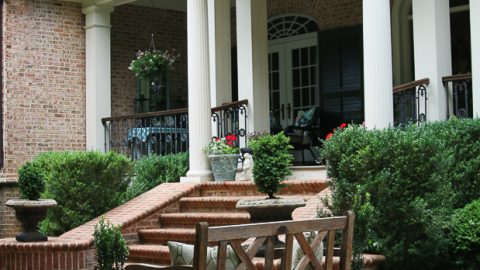
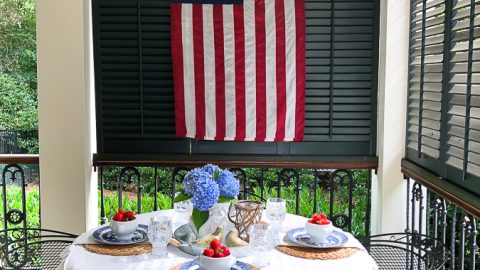
See more of the porch with this Picnic Basket Decorating tour!
Check out the other thrift store makeovers from the team!
- Domestically Speaking
- My Repurposed Life
- Petticoat Junktion
- Our Southern Home
- My Uncommon Slice of Suburbia
- House of Hawthornes


Your basket makeover turned out great! Thanks for sharing the step-by-step process. I found the Vaseline step interesting; I certainly would not have known to do this step.
Thanks so much! It even works on furniture. I’d test it first to get the hang of it.
You can never have too many baskets! I turned out so pretty.
This is so cute, I forgot about the Vaseline trick 🙂
Thanks for the tutorial Christy! I’ve never tried the vaseline technique on anything except furniture. Have to try this.