Thrift Store Trash Can Makeover
Thrift store decorating is a fabulous way to create a beautiful home on a budget! This thrift Store Trash Can Makeover was simple with paint!
Today is the first thrift store makeover of the year with the team! I'm pretty excited for 2021.
You'll find links to the other projects at the end of this post!
I've got lots that I want to do to our home this year to update it. It's amazing what paint can do to change a room.
Thrift Store Trash Can Makeover
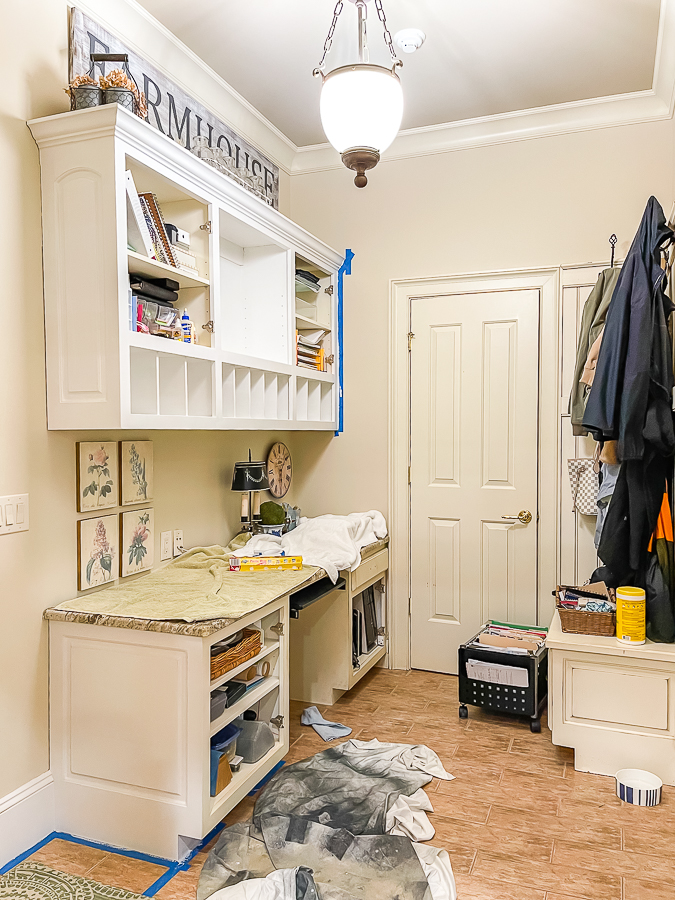
I started working on the mudroom this week. It will be a simple makeover with just paint and a few accessories. I've been organizing like crazy and this room is next! I just shared our PANTRY MAKEOVER earlier this week.
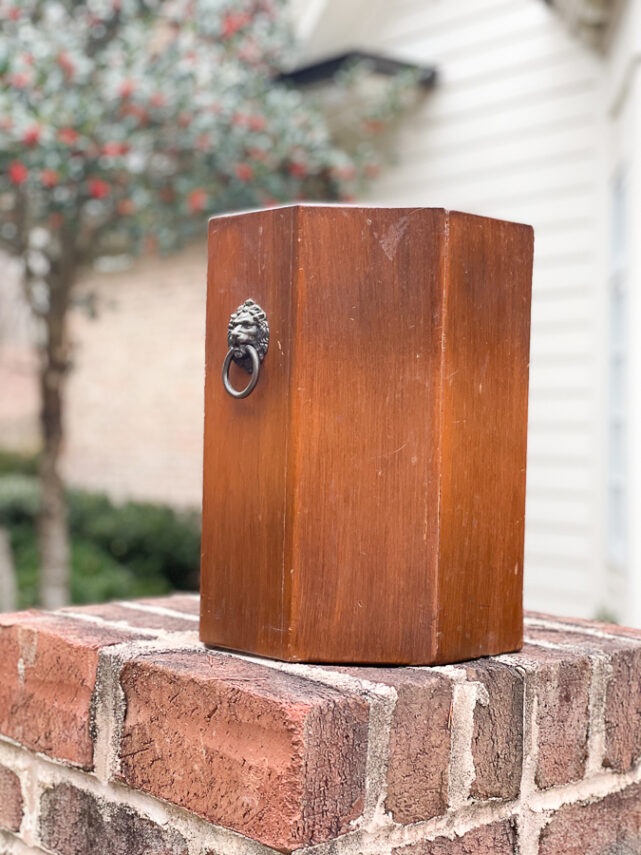
I purchased this really cool thrift store trash can years ago. It needed some repair work but had a great shape and style.
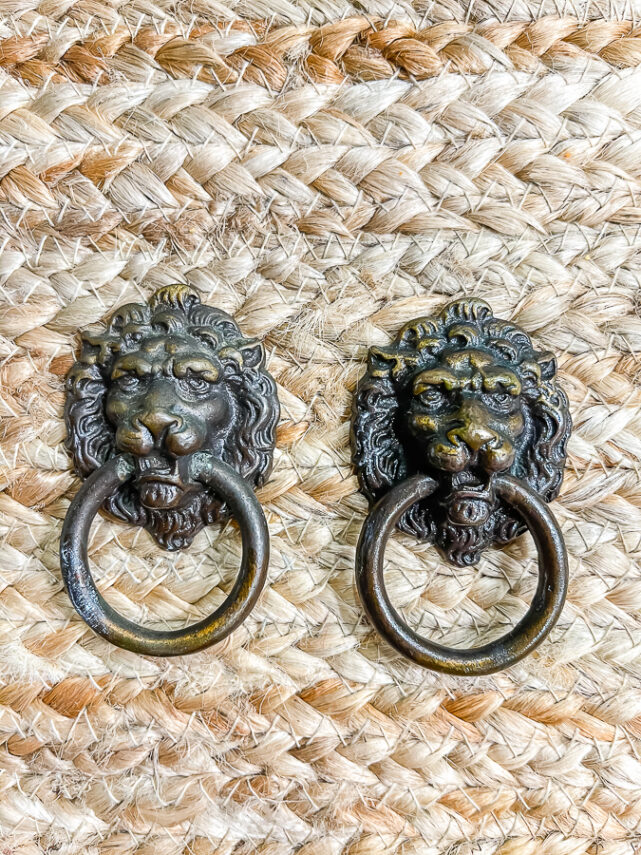
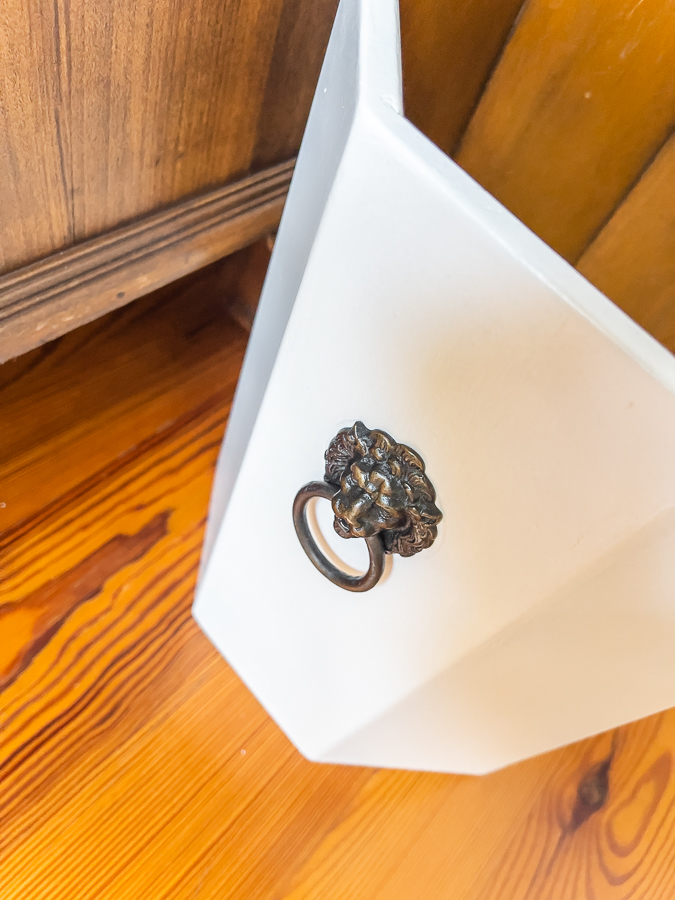
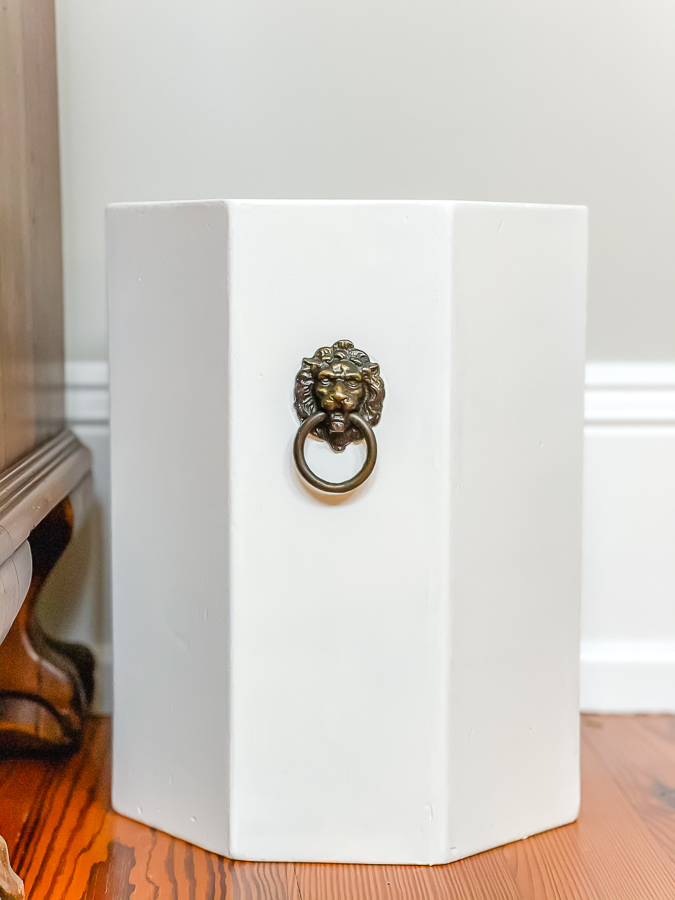
The lion head hardware on the sides is so unique for a trash can.
As always, you probably can't find this same trash can, but you might just have one in your own home that could receive a similar makeover.
This trash can will be going in my mudroom office.
As you can see, this trash can has good bones. It's just pretty beat up and lacks a little pizzaz.
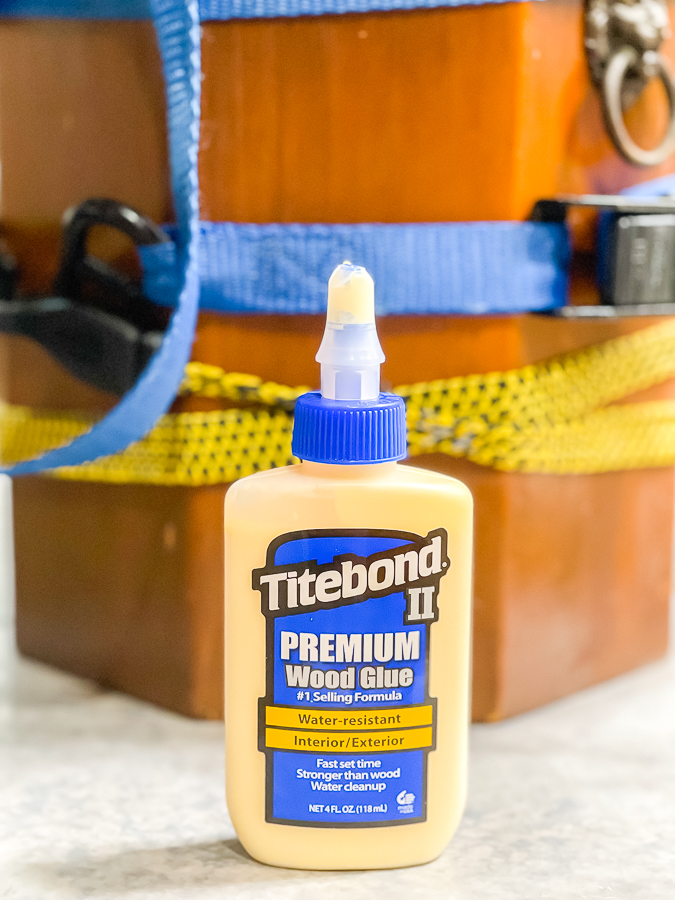
It was actually coming apart on several side areas. It was a simple fix with some wood glue and tie-down straps and bungee cords.
Supply List
I applied the wood glue liberally. Then worked all the sides together. With a paper towel, I wiped off any excess glue that oozed out.
Next, I borrowed my daughter for an extra set of hands to hold it together while I cinched it up with the cords. The tie-downs that have a ratchet system really worked well to tighten it together.
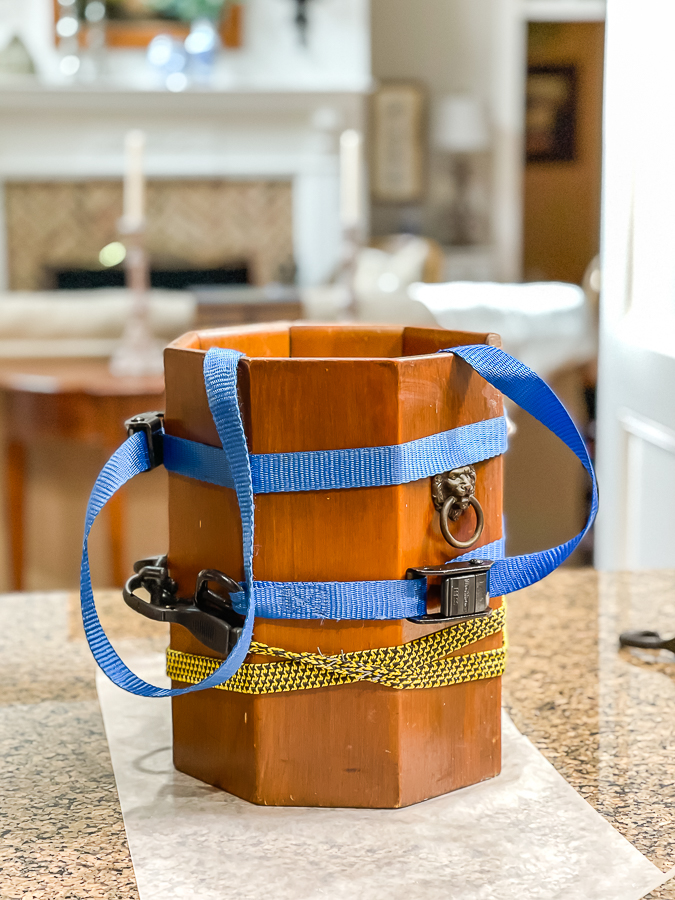
I was not able to use clamps for this part. I let it set up overnight to completely harden. It worked like a charm.
This is where I'd typically break out the spray paint, but our weather has been a bit too cold for that. Since I was working in tandem with this project and painting the cabinets in the mudroom, I used the same materials.
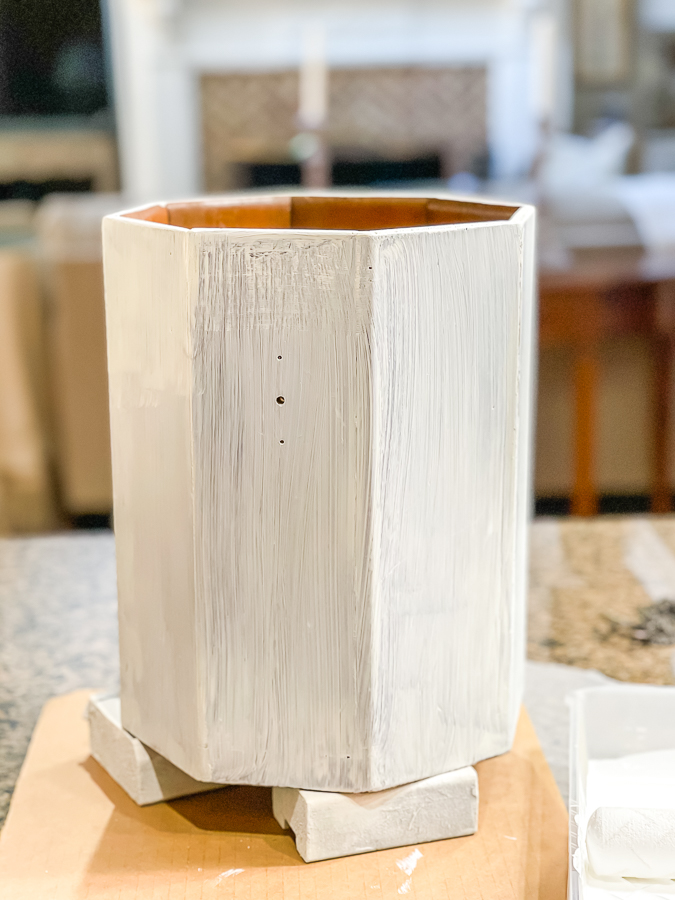
I primed it with Kilz and a brush with 1 coat. I let that sit while I worked in the mudroom.
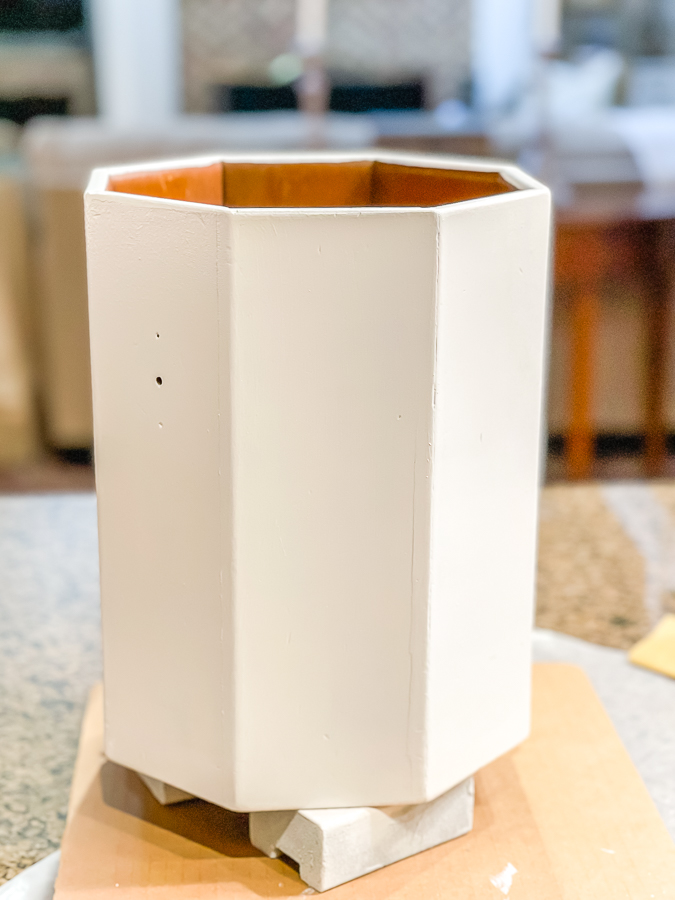
I then applied 2 coats of Simply White with Benjamin Moore's Advance paint in satin. This will give the can's exterior a very durable finish.
I applied these 2 finish coats with the same foam roller that I was using on the cabinets. Let the coats dry completely between applications.
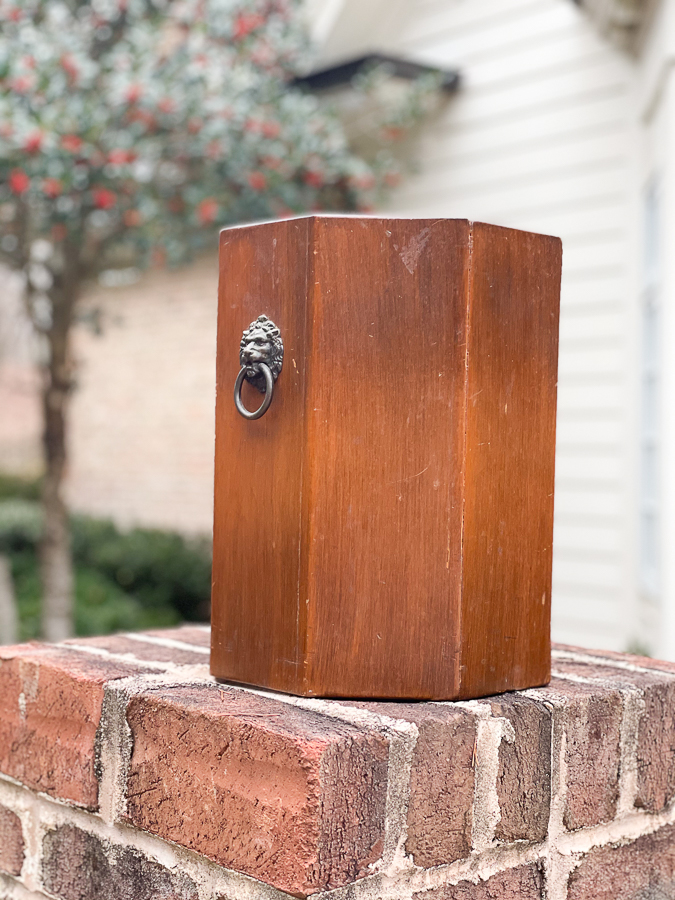

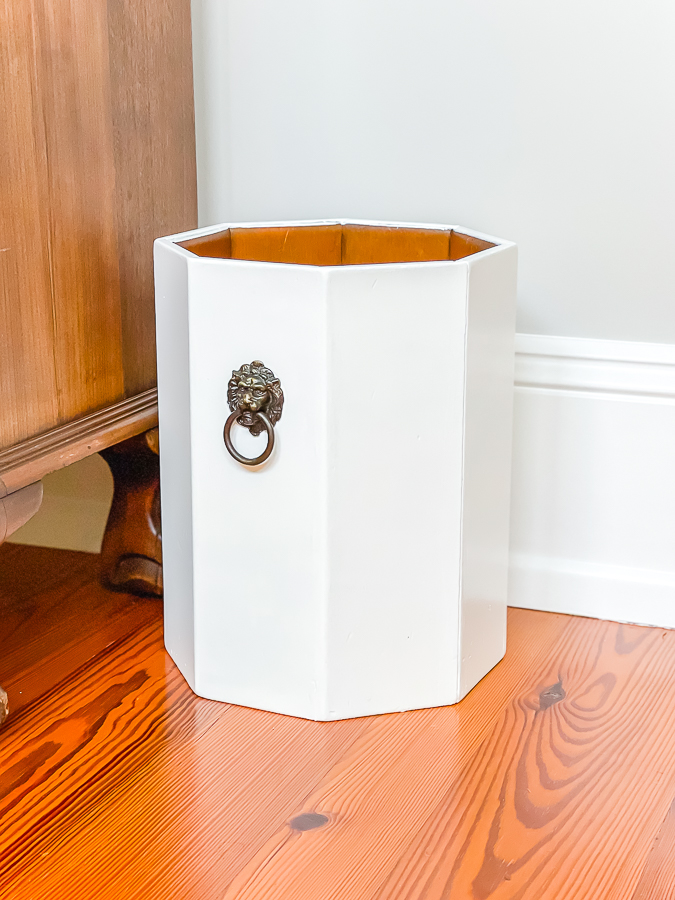
What a difference!
Originally, I thought I'd give the lion head trim a coat of Rub ‘n Buff or a spray of black paint.
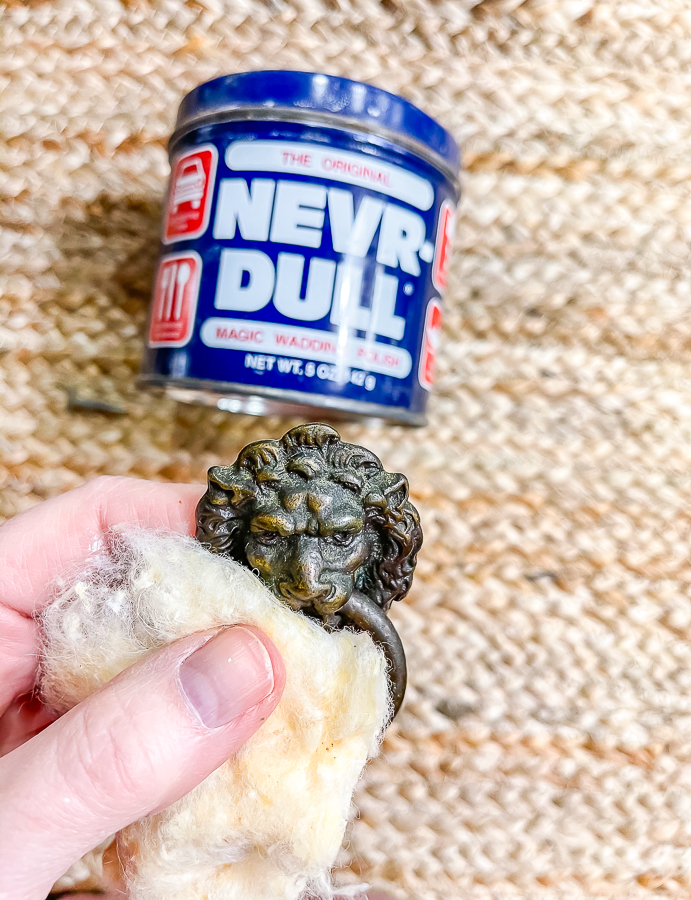
Upon closer inspection, I decided to just break out my Never-Dull and give it a quick polish to clean and restore its luster.
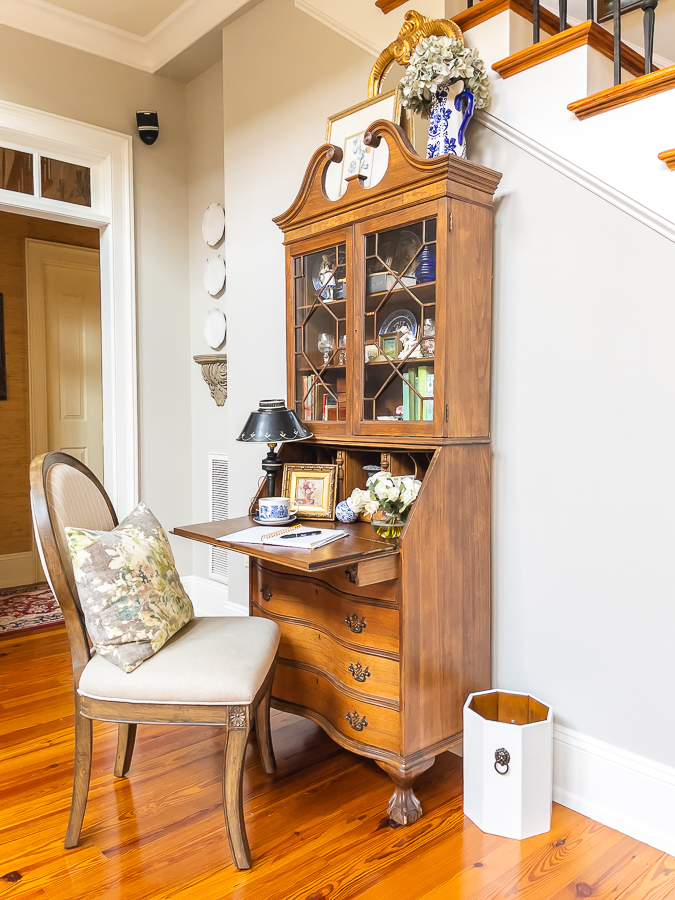
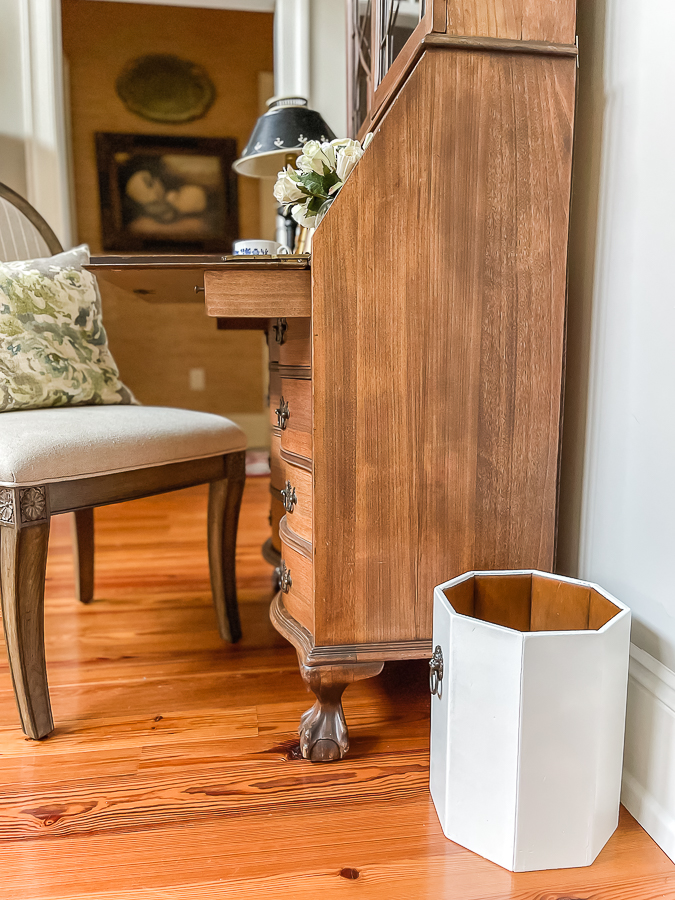
I love its new look. Since the mudroom is nowhere near being ready for pretty photos, I styled it with my antique secretary in the family room to give you an idea of the finished look.
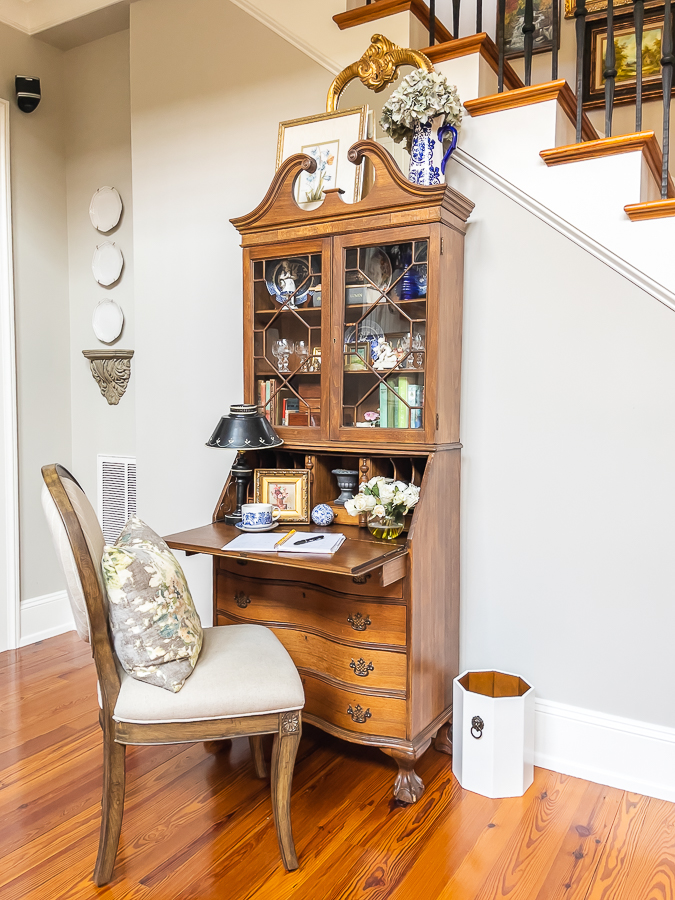
What do you think?
I love the new, fresh look.
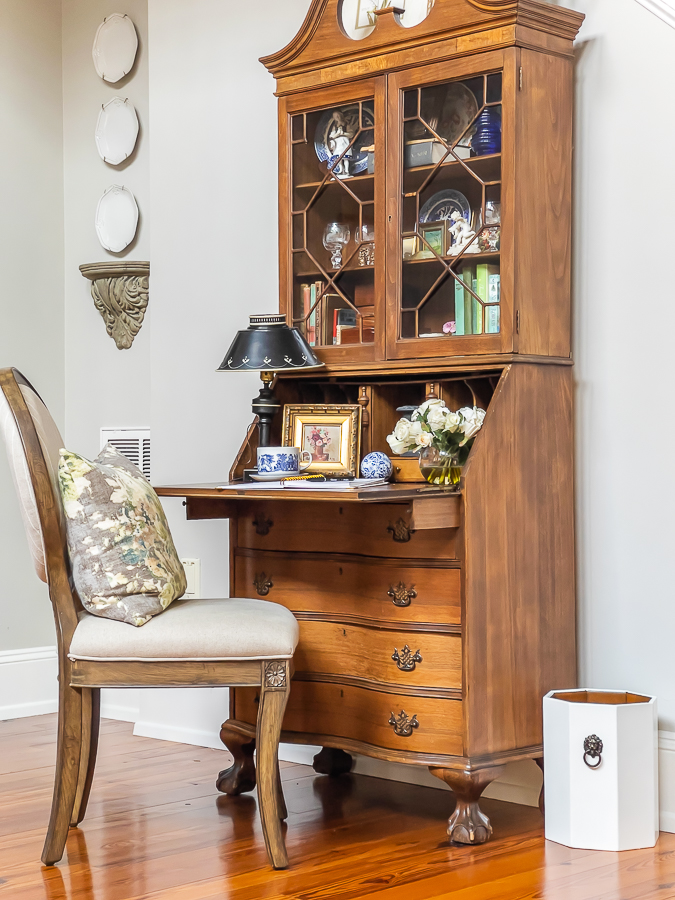
You'll notice that I did not paint the interior. I left it as is. I did paint the top edge. It was so fast with the foam roller.
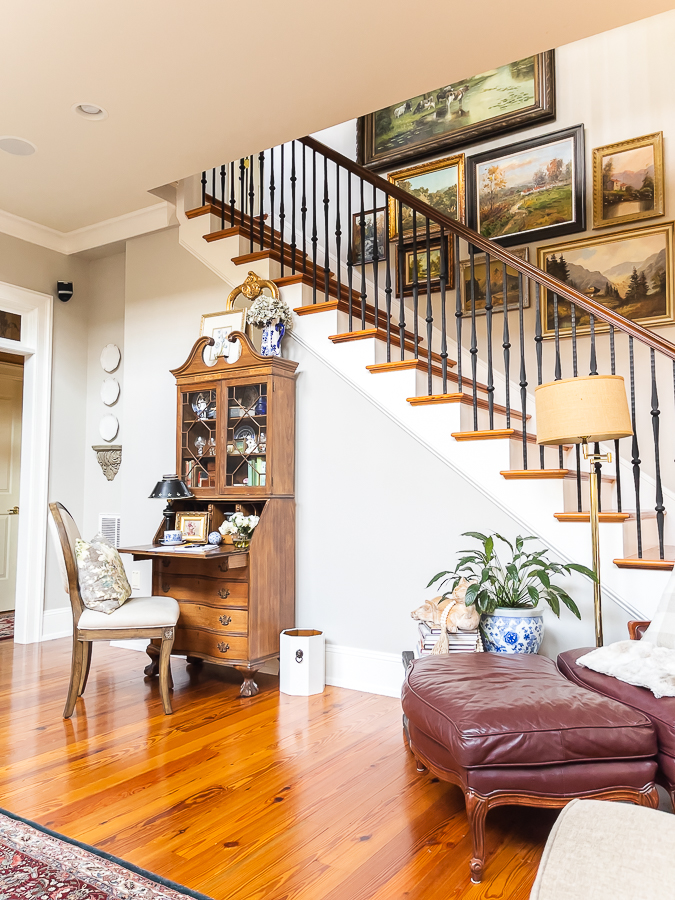
I really love how the white pops against the stain of the secretary.
Do you have any new projects planned for the new year? I'd love to hear about them.
Check out the projects from my friends! (The links will be under this collage.)
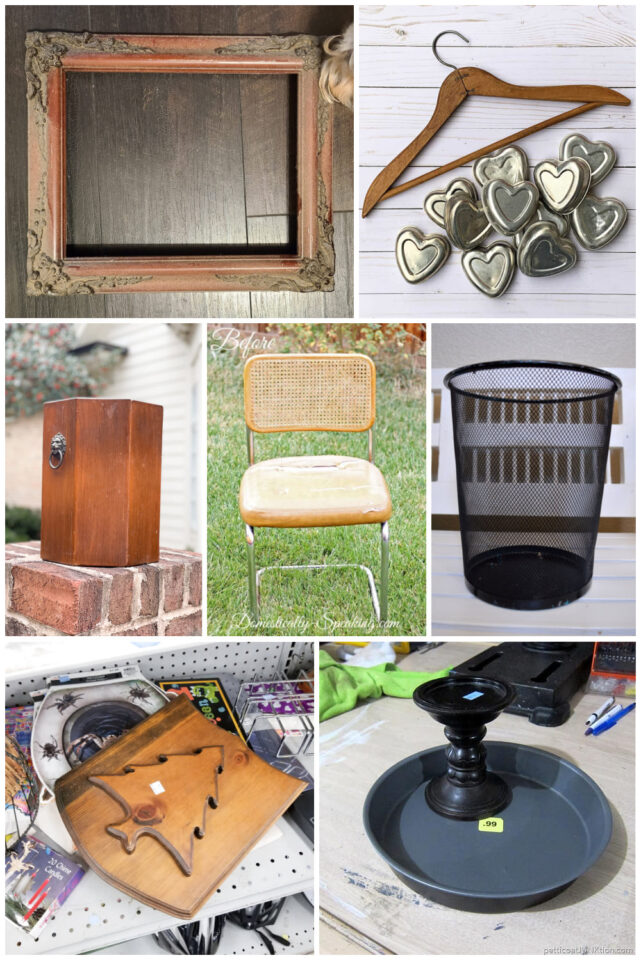
$2 Restore Chair from Domestically Speaking
Picture Frame Valentine | Love from My Repurposed Life
Upcycle Thrift Store Finds Into A Candle Holder from Petticoat Junktion
Thrift Store Trash Can Makeover from Our Southern Home
DIY Nautical Trash Can from DIY Nautical Trash Can
Winter Makeover from Sadie Seasongoods
Tin Heart Valentines Day Project from House of Hawthornes

2020 Favorite Decor Upcycles
Favorites from the Thrift Store Decor Team from 2020!
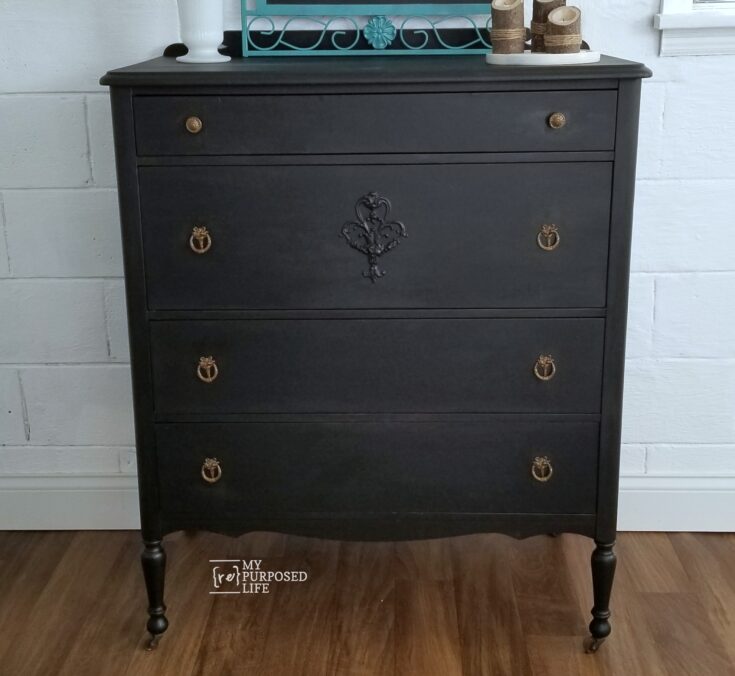
This is one of my personal favorites from the blog. I haven't done a lot of furniture makeovers recently, and this was fun to do. I love the price and how it turned out. The stained top is my favorite part!
The spray paint used in this post is my favorite for any project that involves painting a ceramic or porcelain. The finish is amazing and durable. Hard to believe this used to be red! It's front and center in the kitchen now.
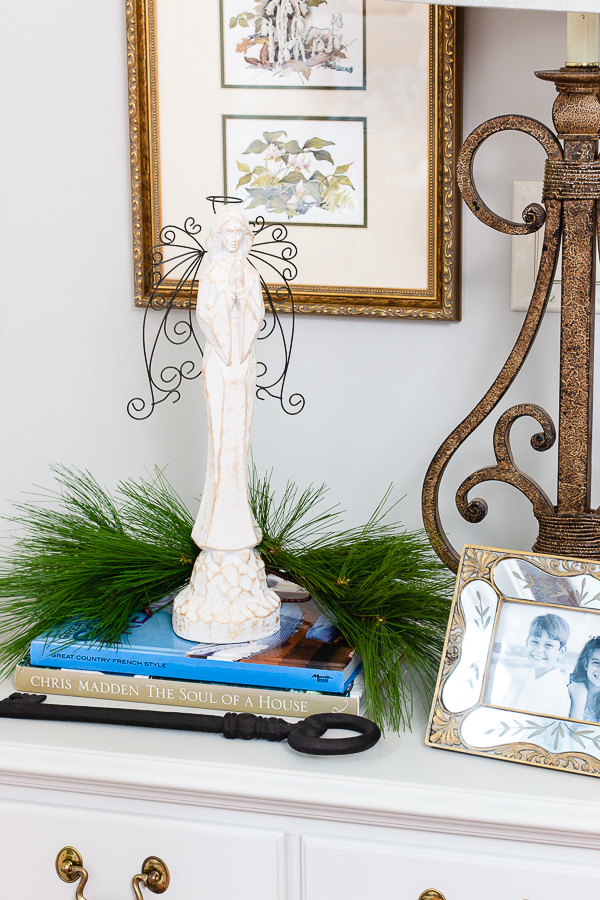
This angel was beautiful regardless, but the new white look with subtle gold accents works so much better with my decor.
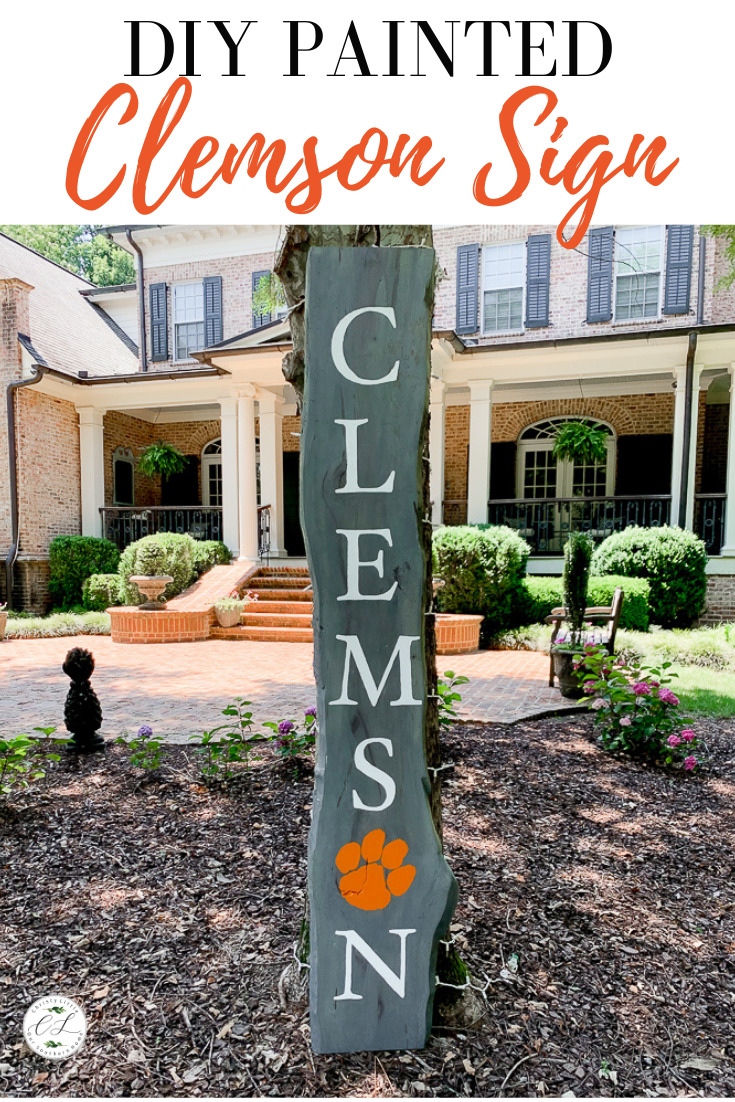
One of the favorites that I didn't even do for the blog! My daughter and her boyfriend completed this sign over the summer for her college apartment (that she isn't even living in.....covid....classes online so she stayed home, but still have to pay for the apartment....insert eye roll))
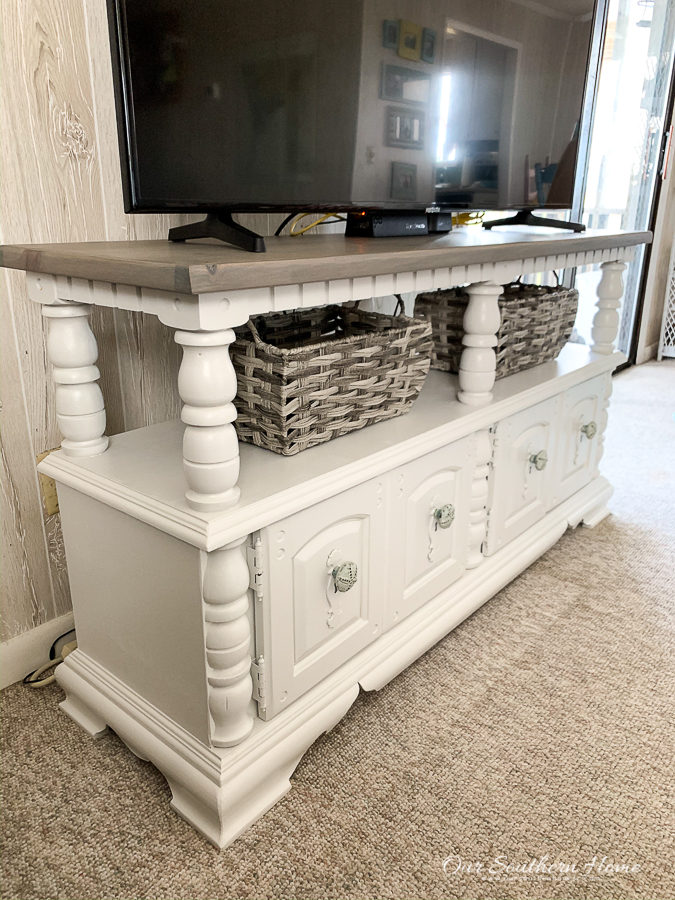
I love furniture makeovers and adore how this one turned out! You don't even have to go to the thrift store for this. Maybe you have a piece that you already own crying for a little paint.
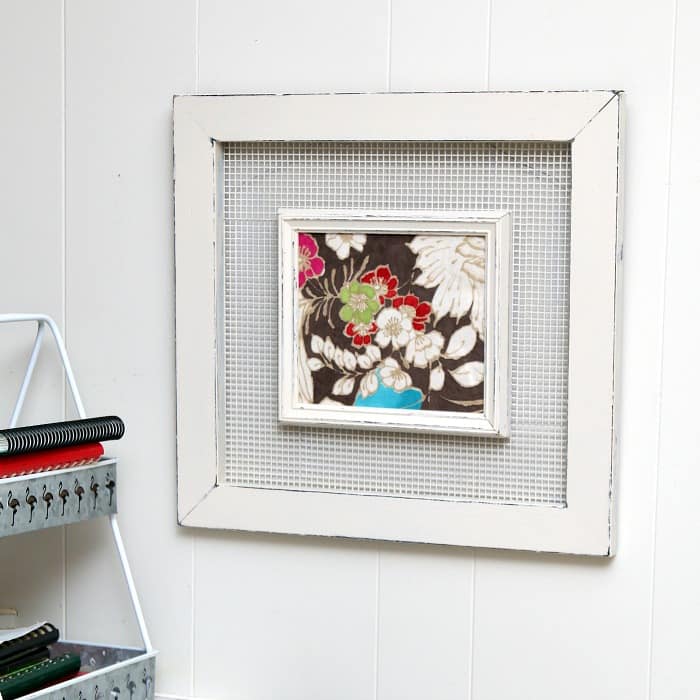
Picture frames are plentiful at the thrift store. They make an amazing makeover! This one really turned out great and so versatile in creating a look to go with your home.
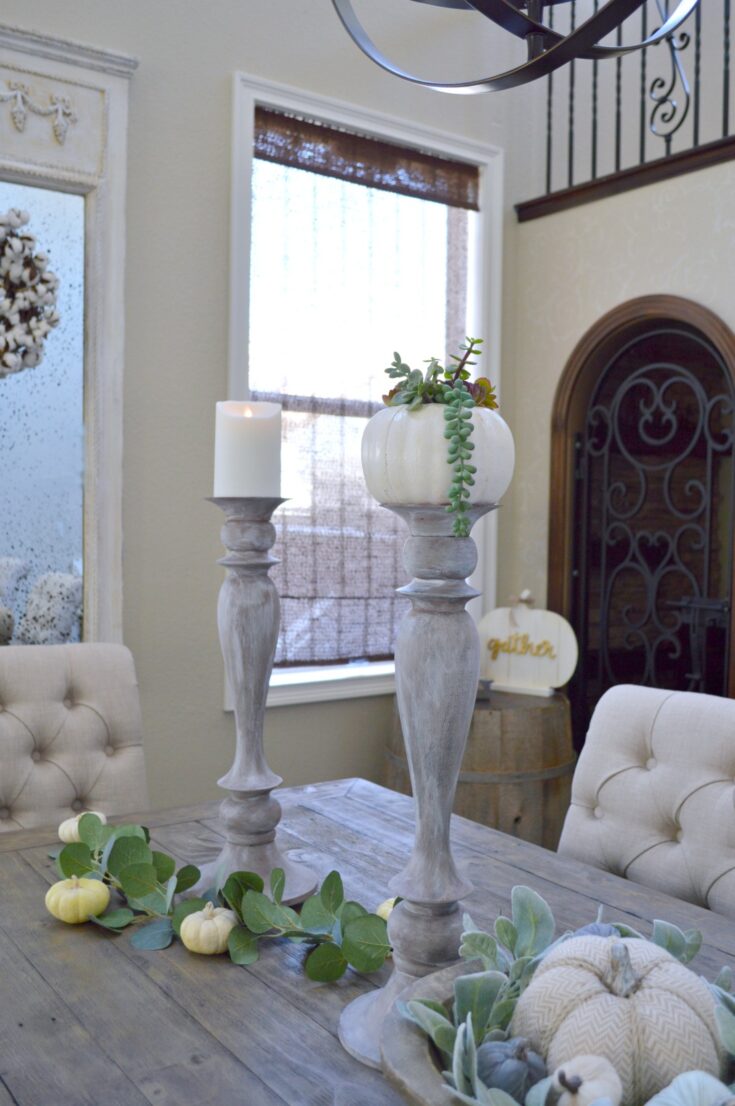
A driftwood finish is not just for coastal decor. It works with so many styles. This finish is absolutely lovely on these candlesticks but would work on furniture and mirrors as well.
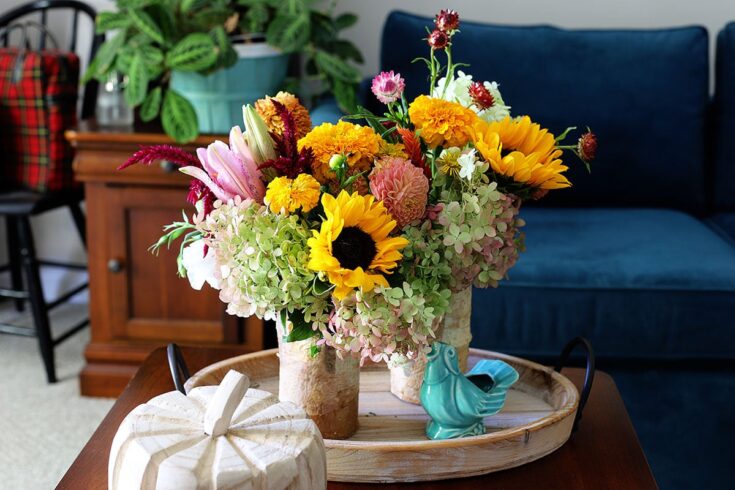
Anything with flowers is a positive to me. They can instantly elevate a room and your mood. Add a bit of a birch bark look and you've got a winner!
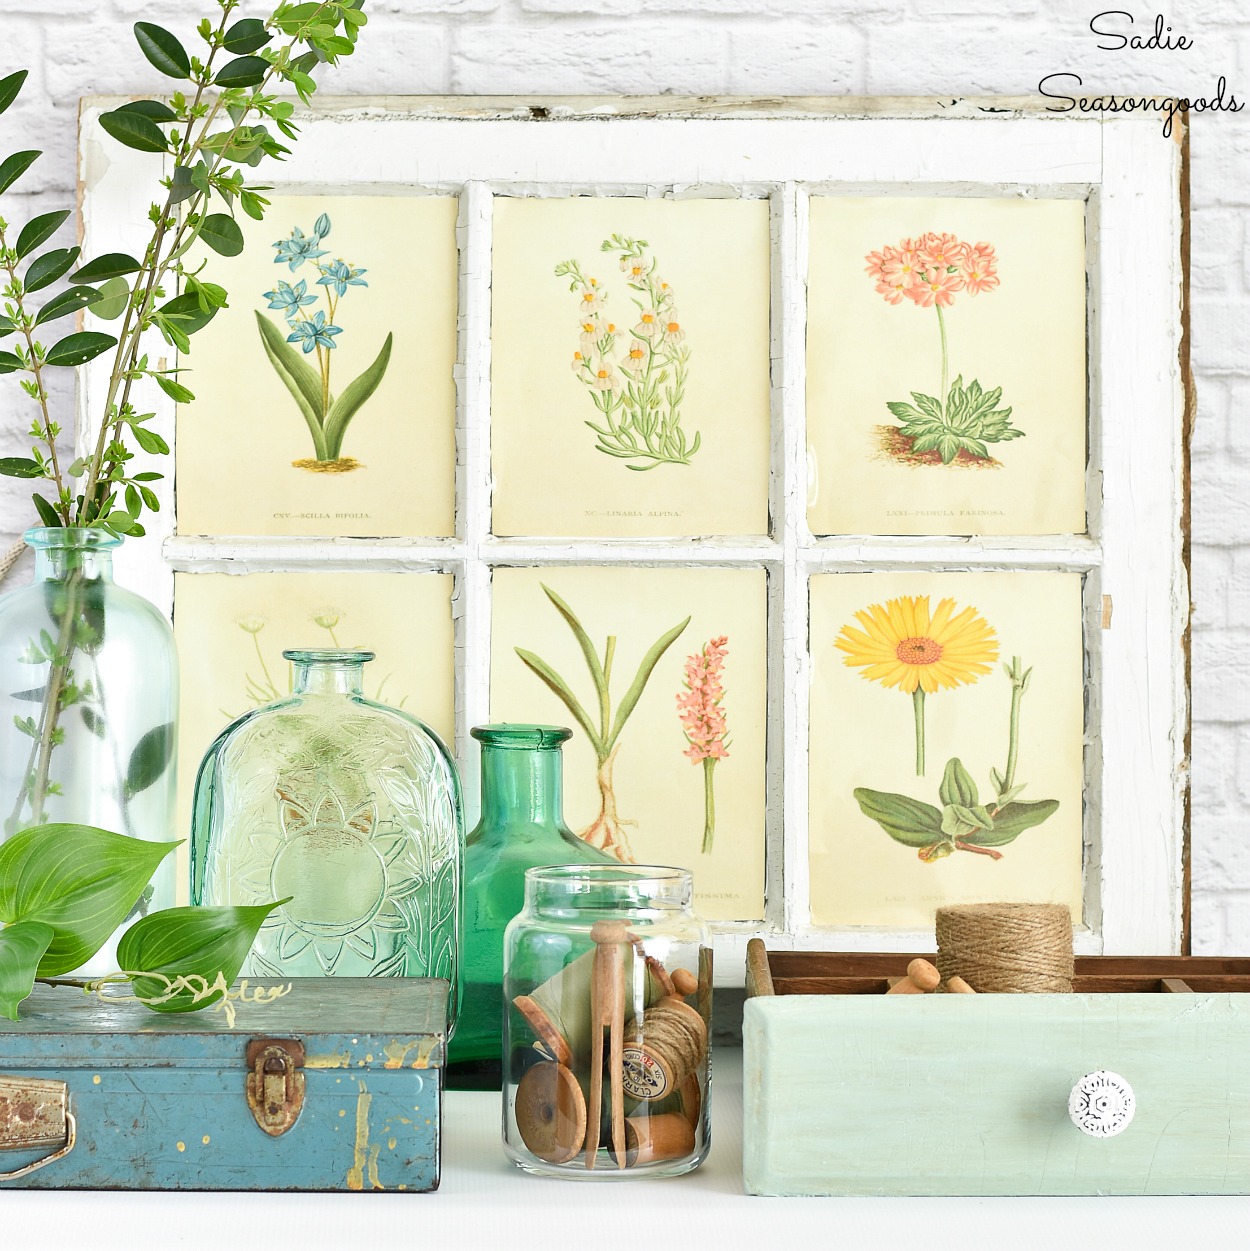
Old windows have so many uses! One of my favorites is to turn those into wall art!
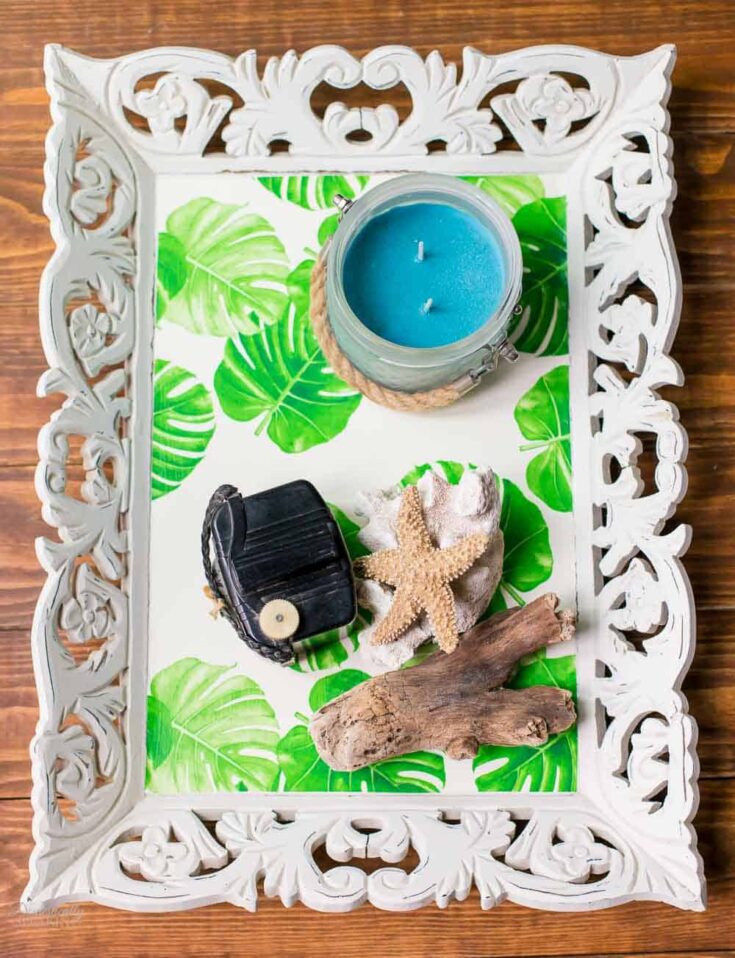
I use trays all the time in our home. They are great for creating vignettes!




wow! What a great quickie makeover! The trash can looks fabulous. I think I need to get some Never Dull stuff!!
pinned!
gail
Turned out so cute! Perfect in that space!
Such a beautiful makeover~
Very cute in white. Love your before and after’s.