Use Wallpaper and Spray Paint to Refresh Dated Wall Art
Learn how to use wallpaper and spray paint to refresh dated wall art to get that grasscloth look on a budget!
Latest from OSH
- How to Make Piña Coladas in an Ice Cream Maker
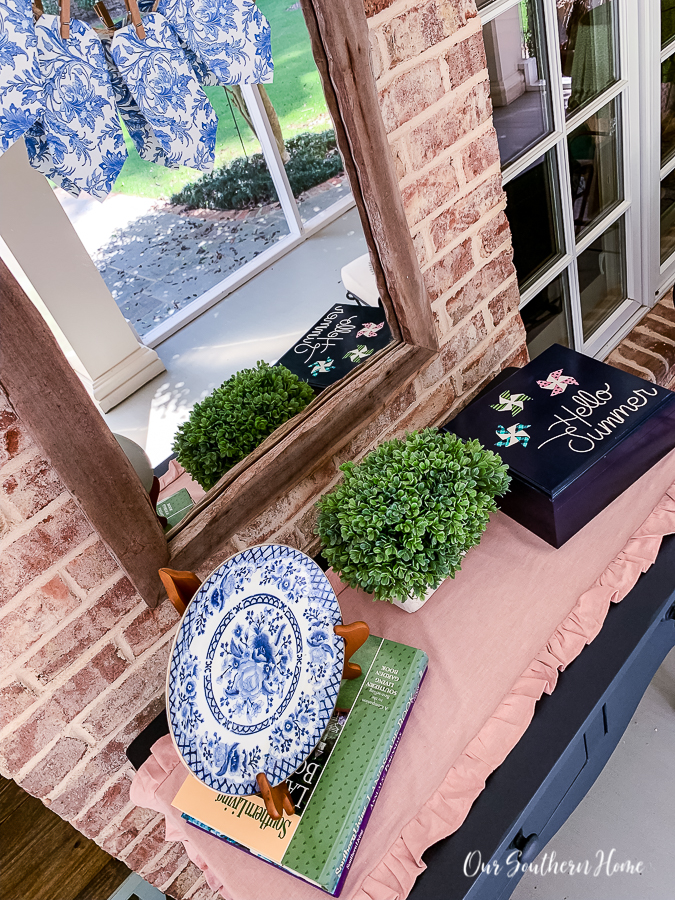
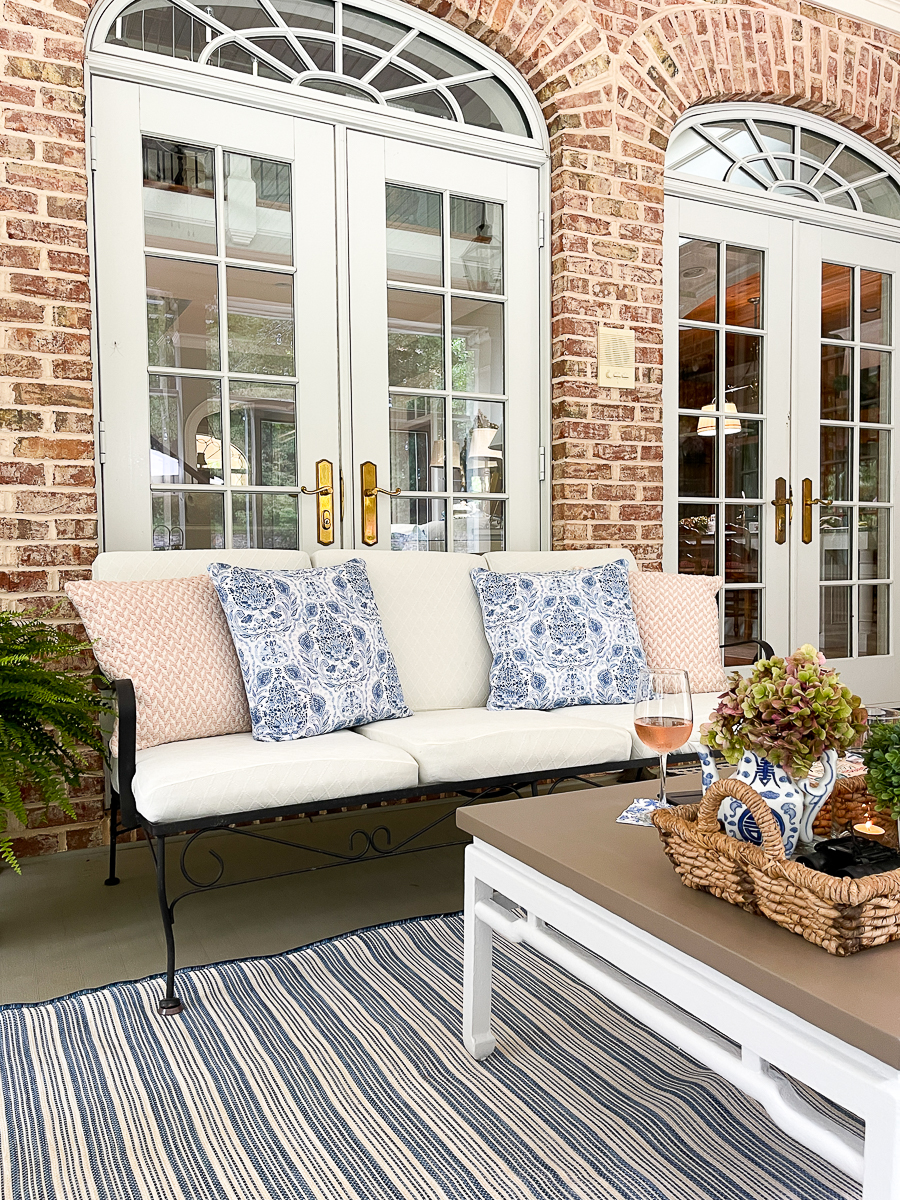
- Saturdays on the Porch #86
- Saturdays on the Porch #85
- Easy European Wall Art with Thrift Store Frames
- Piano Bench Makeover with New Color and Fabric
This post may contain affiliate links. If you purchase something using one of my links, I may earn a small commission from the retailer costing you nothing more. You can read more on my disclosure page. Christy Little of Our Southern Home is a participant in the Amazon Services LLC Associates Program, an affiliate advertising program designed to provide a means for sites to earn advertising fees by advertising and linking to amazon.com.
Thrift Store Makeover Day

Join us each month for NEW thrifty ideas from the team. You'll find links to all of the projects below.
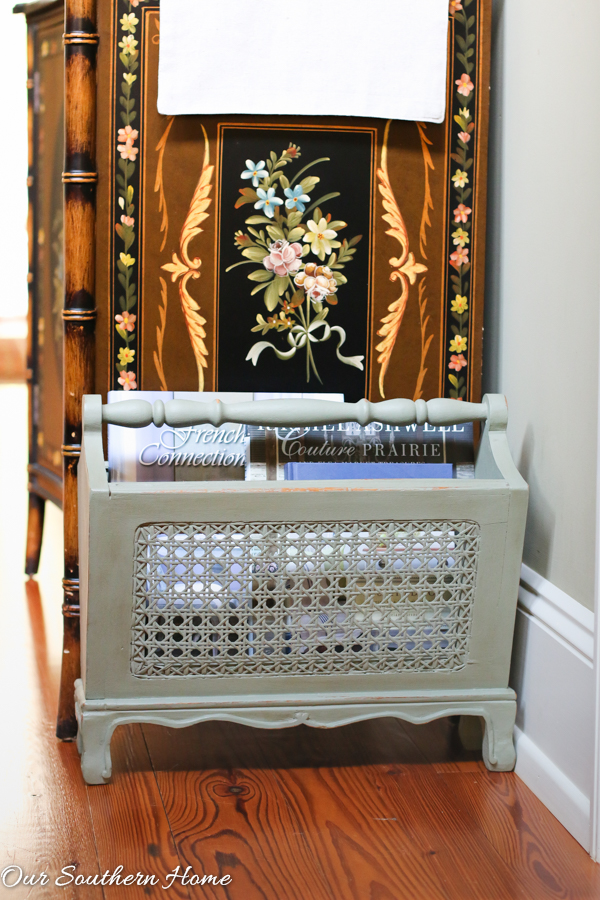
Use the slider below to see the before and after!
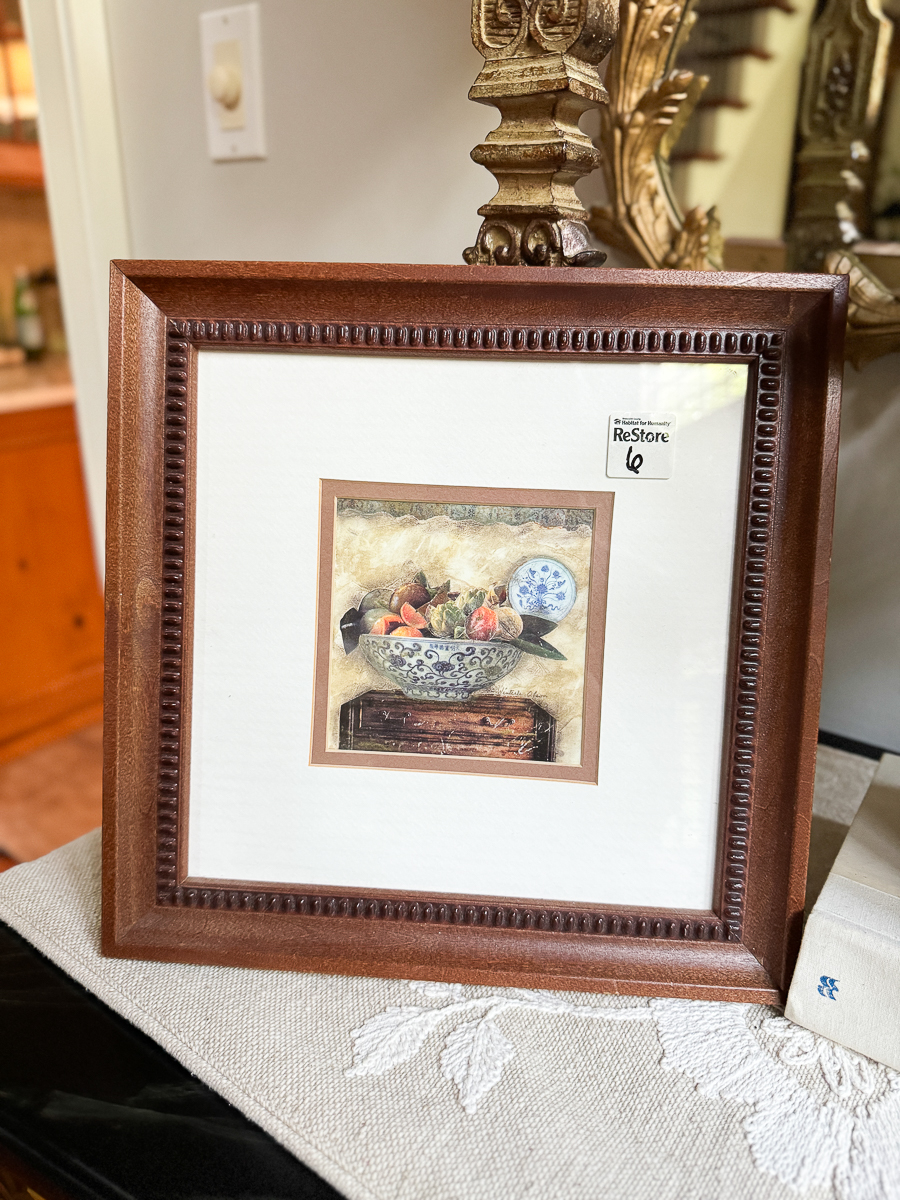

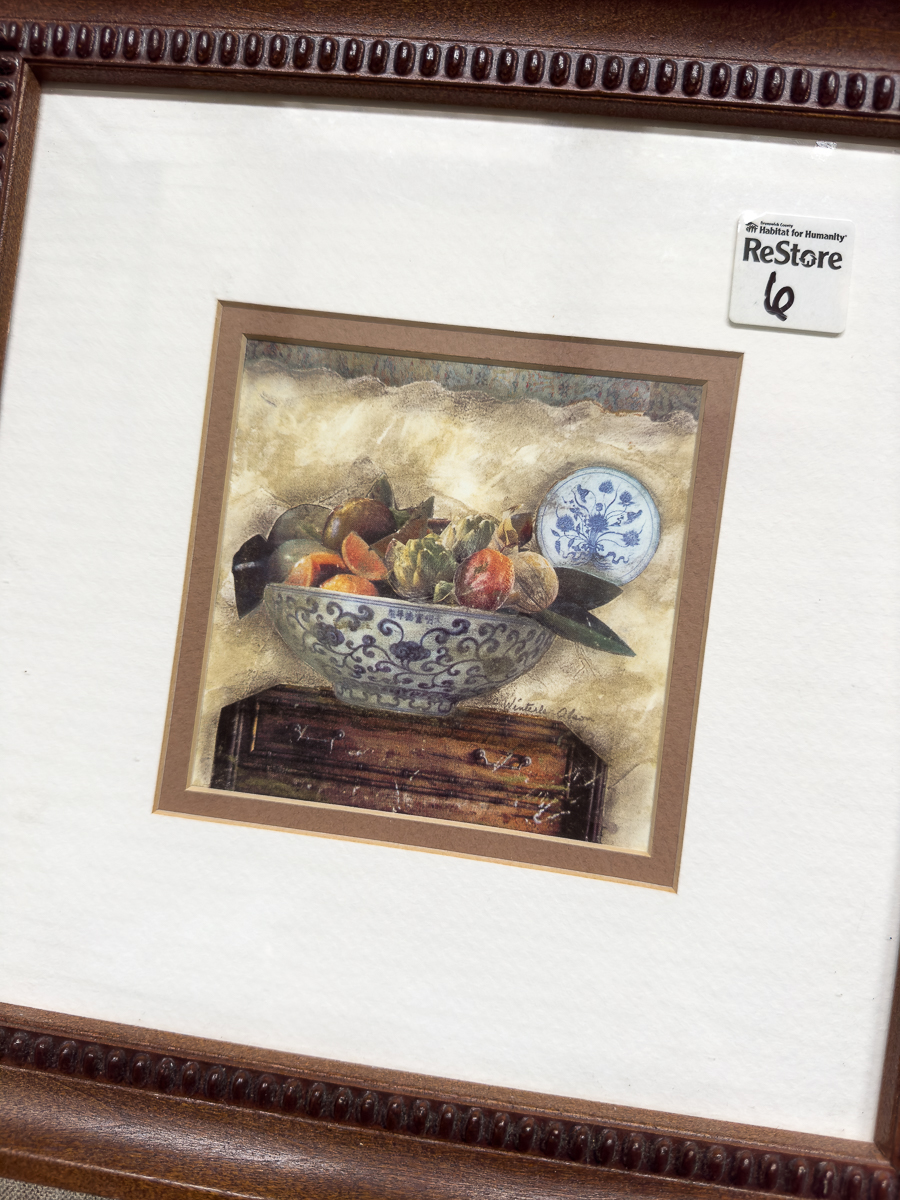
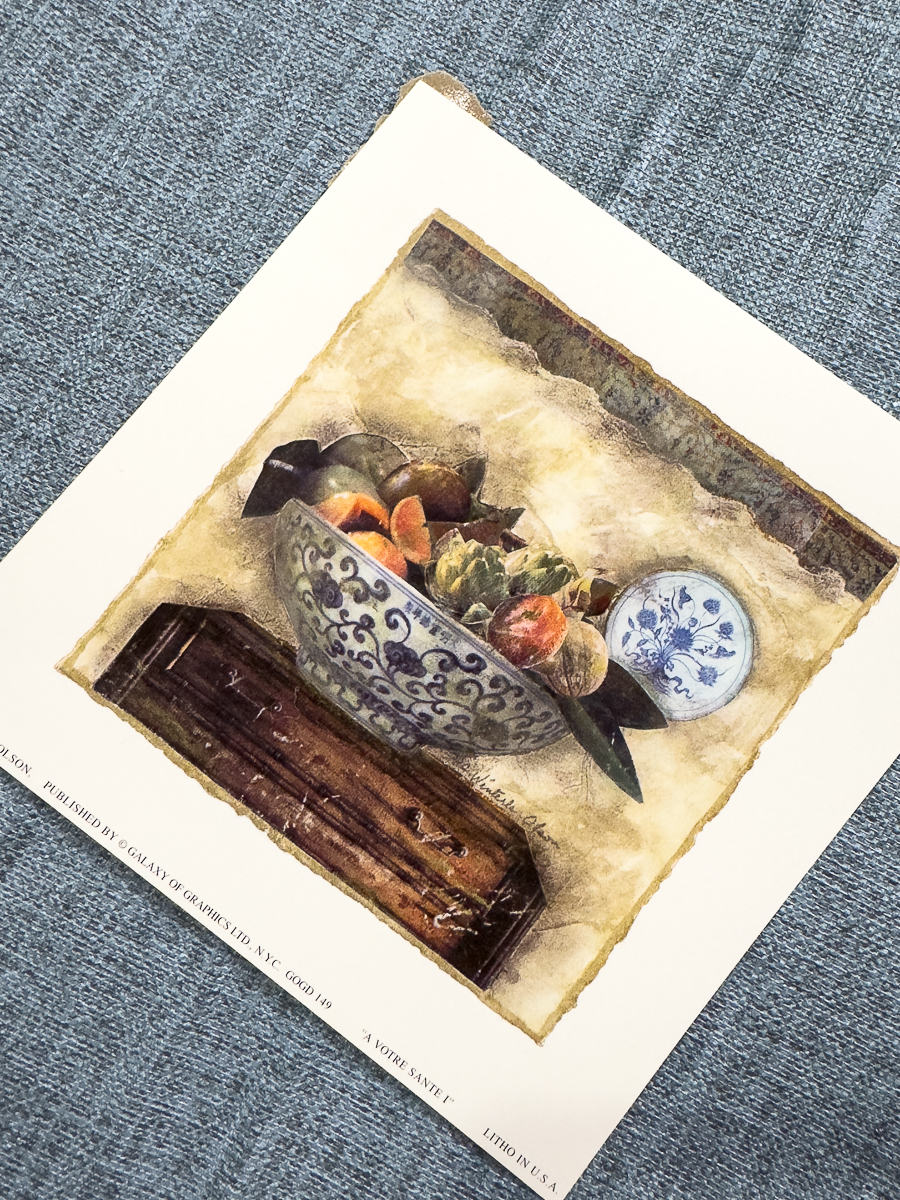
I have an intense love for all things blue and white. When I came across this thrift store art at 50% off, I immediately picked it up. Learn how to use wallpaper and spray paint to refresh dated wall art to get that grasscloth look on a budget!
Use Wallpaper and Spray Paint to Refresh Dated Wall Art
The piece was dated 2000 on the back and was from Target. It was not a prized print, but I knew I could make it work in our home. It was structurally sound and in mint condition.
Supplies Used
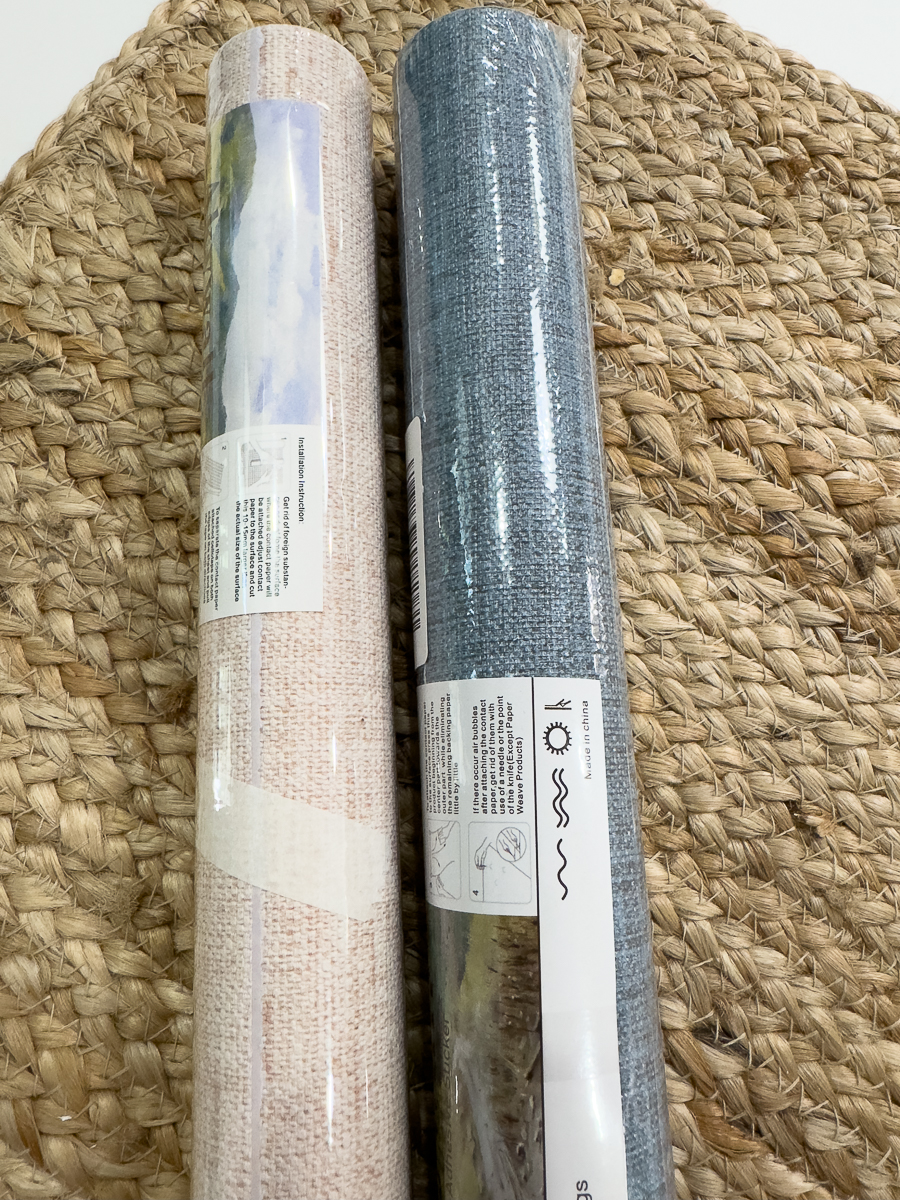
- Faux Grasscloth Peel & Stick Wallpaper (various sizes)
- Metallic Spray Paint in Gold
- White Spray Paint
- Spray Paint Nozzle
- Drop Cloth
- Self-healing Mat (various sizes)
- Rotary Cuter
- Guided Clear Ruler Straight Edge
- Xacto Knife
- Tape
- Command Strips
Shop Directly from here to add to your Amazon Cart
How-To
The first thing that you want to do is take the art and matting from the frame. This means you will cut the paper backing away and pry away any staples.
Take care with this step because you do not want to break the glass or damage the print and matting.
All of the supplies are listed above under the SUPPLIES heading. You will find direct product links in that section.
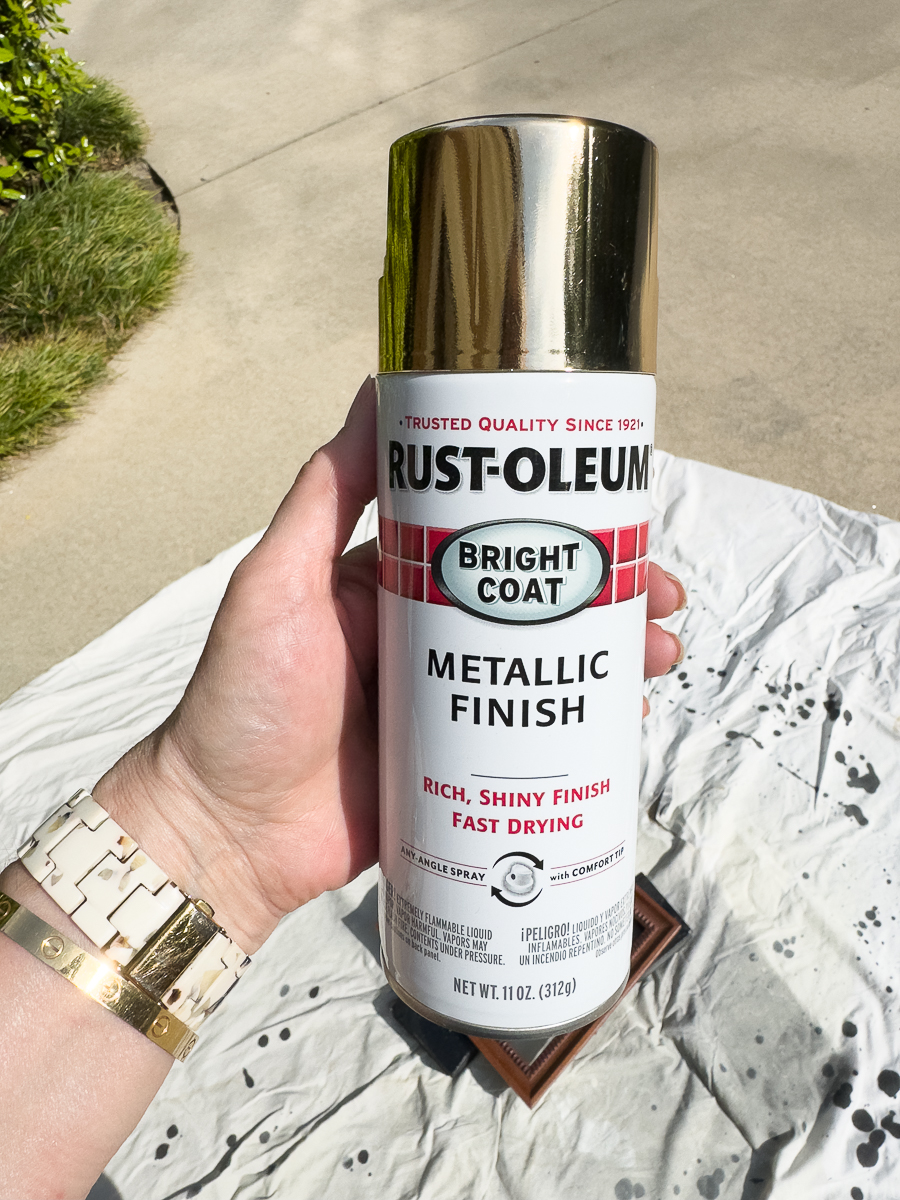
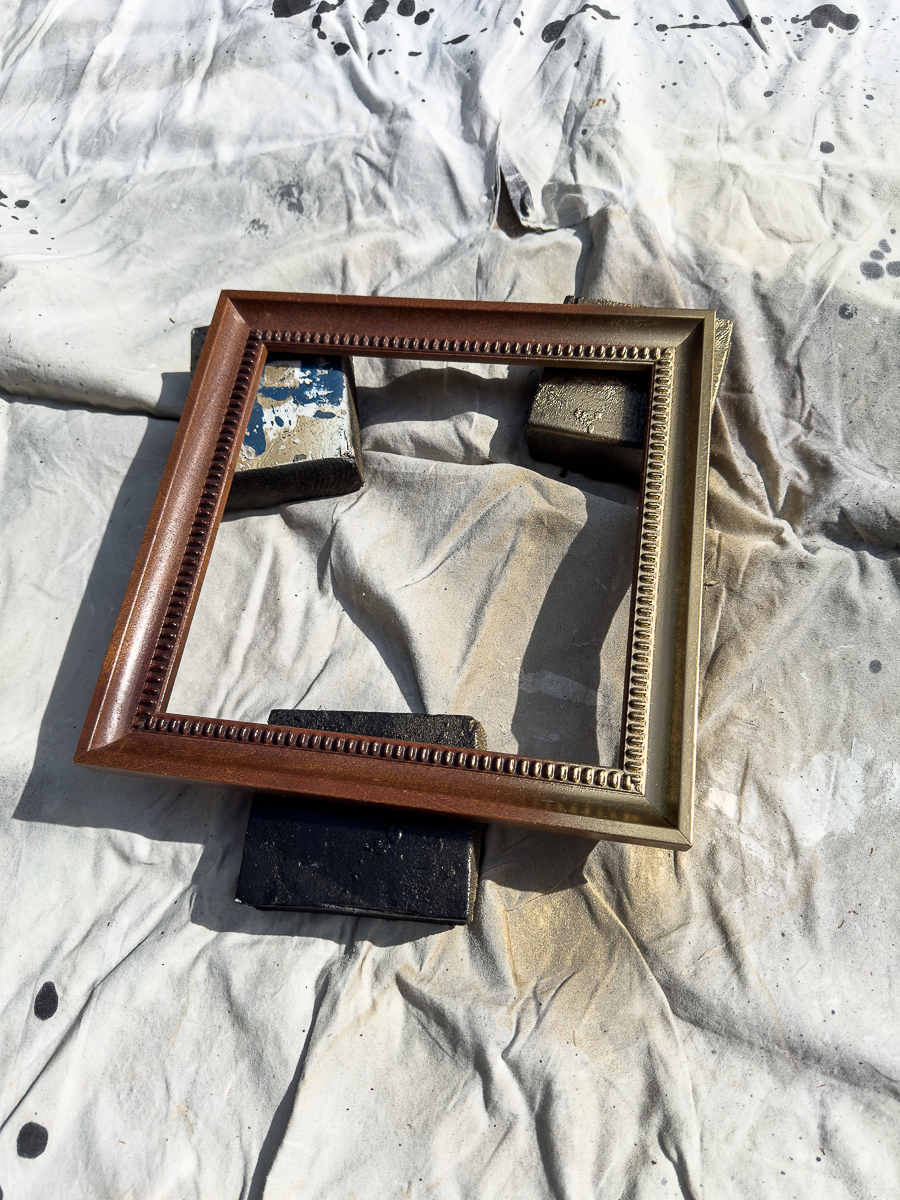
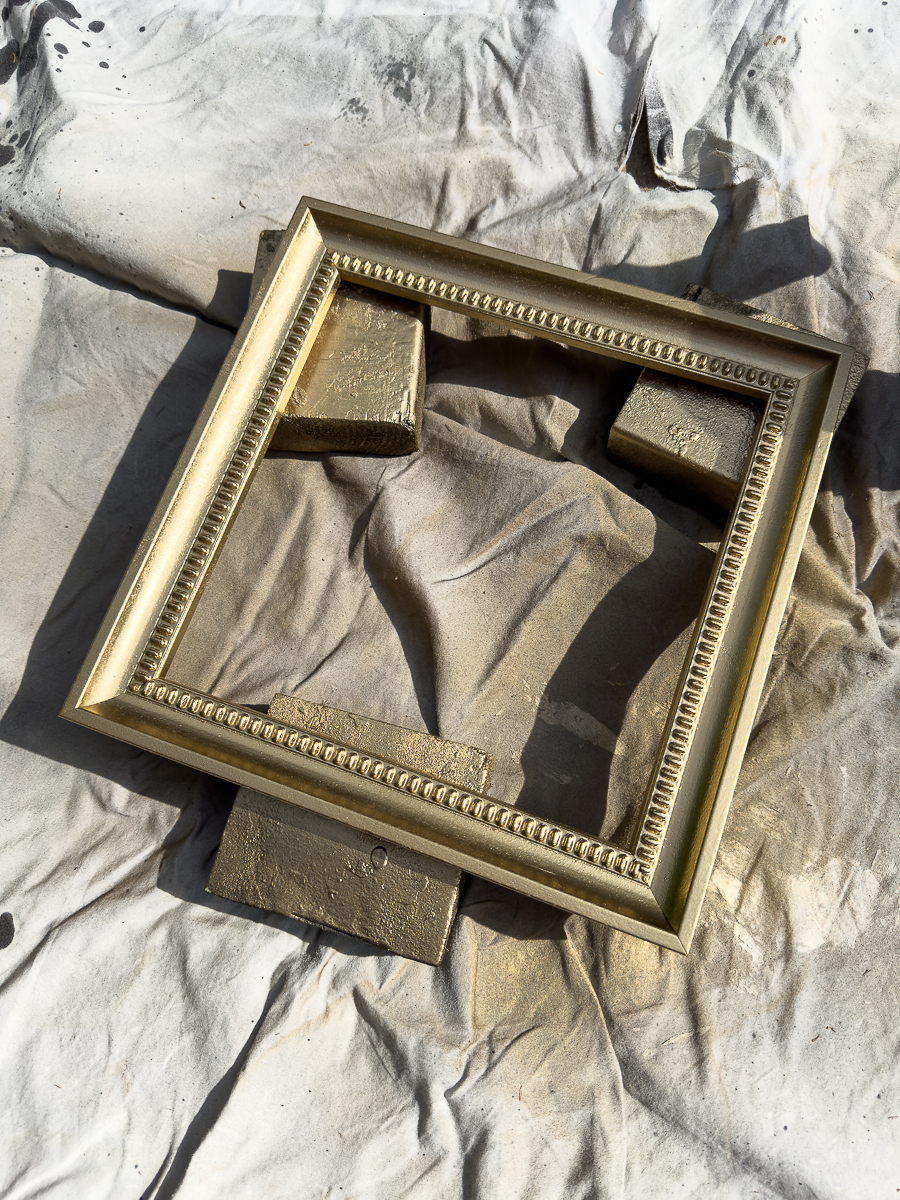
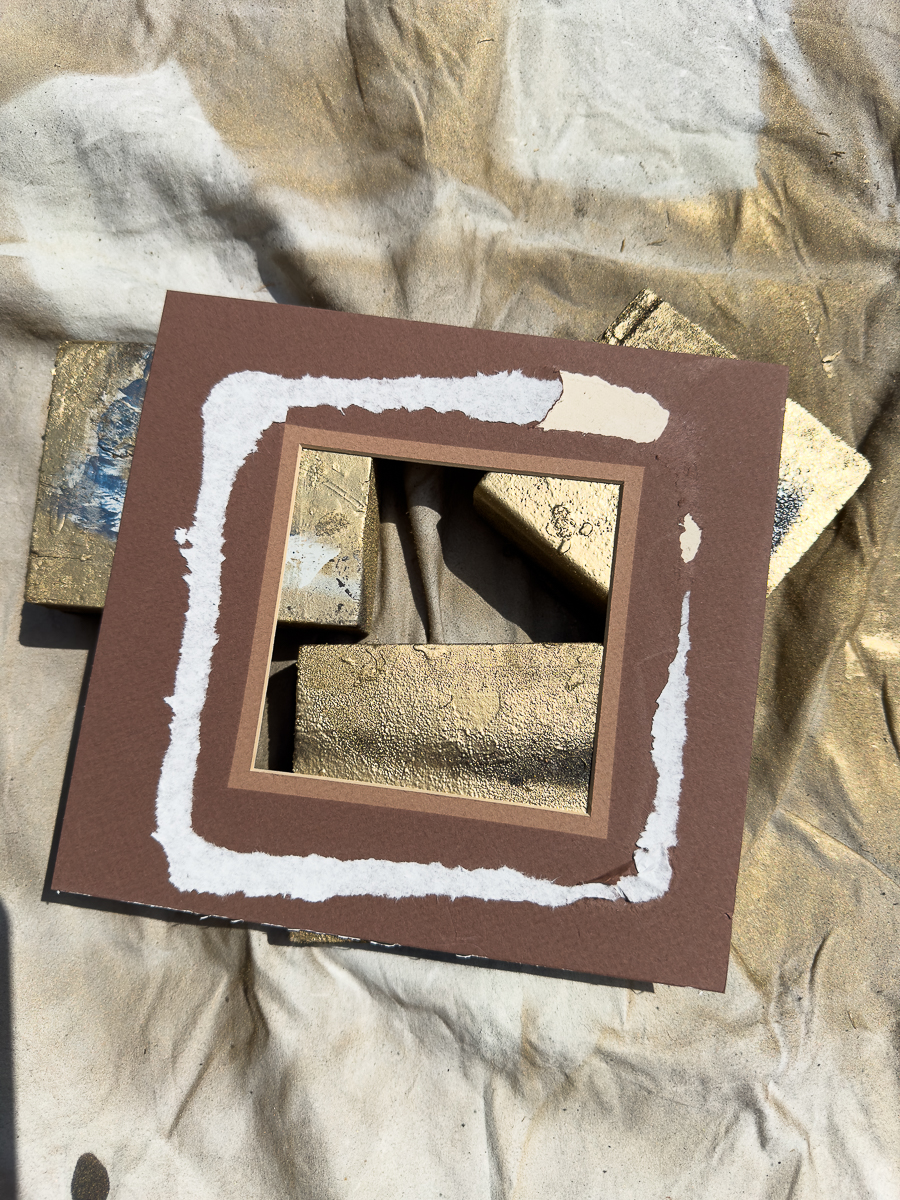
Metallic spray paint dries rather quickly on frames. I sprayed 2 coats drying completely between coats.
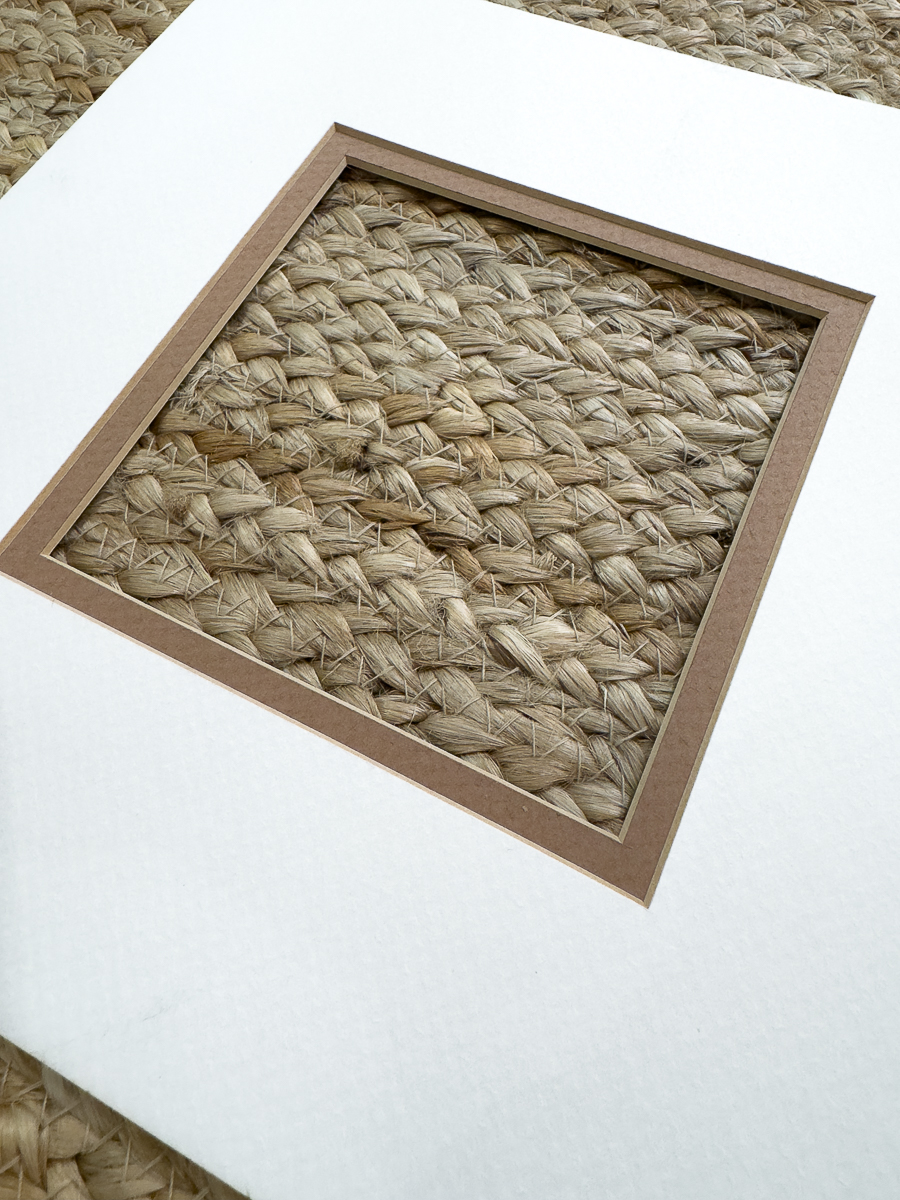
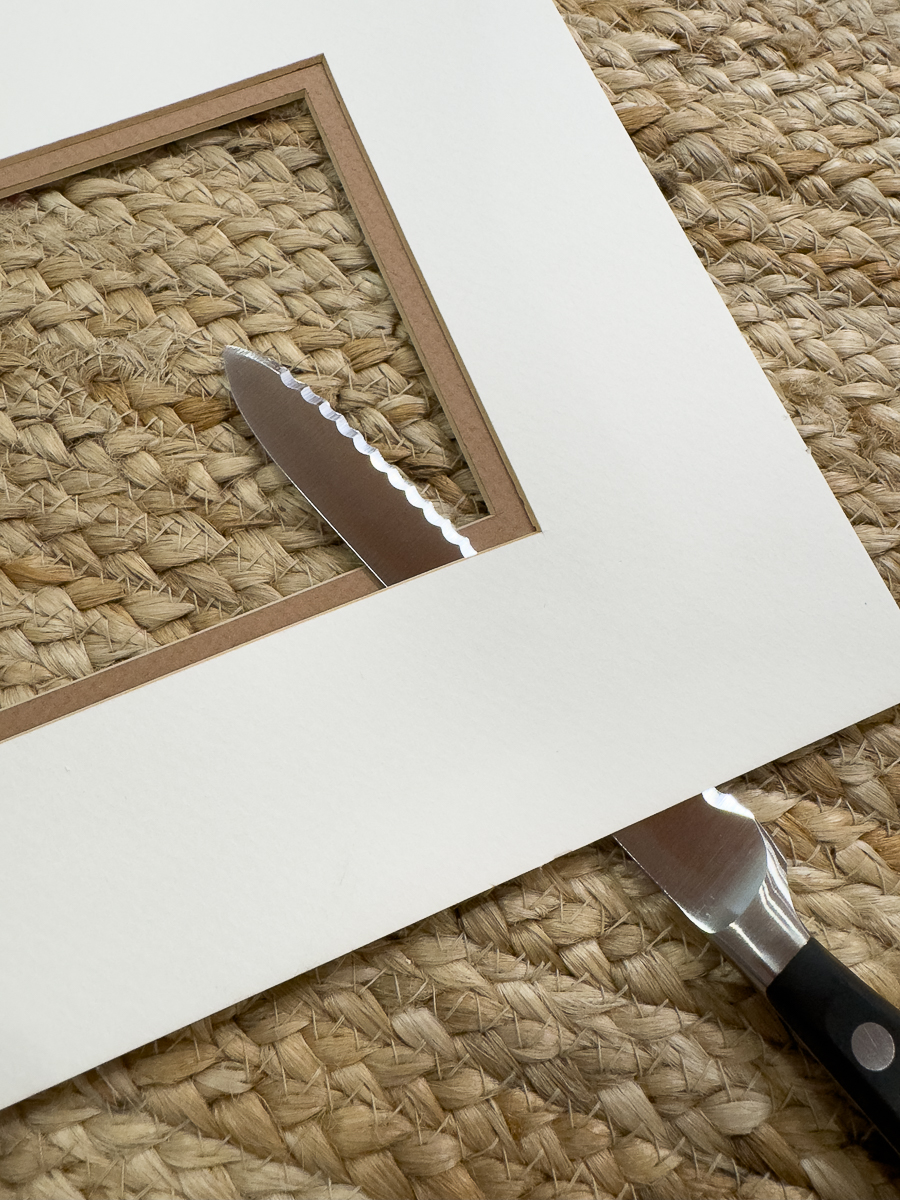
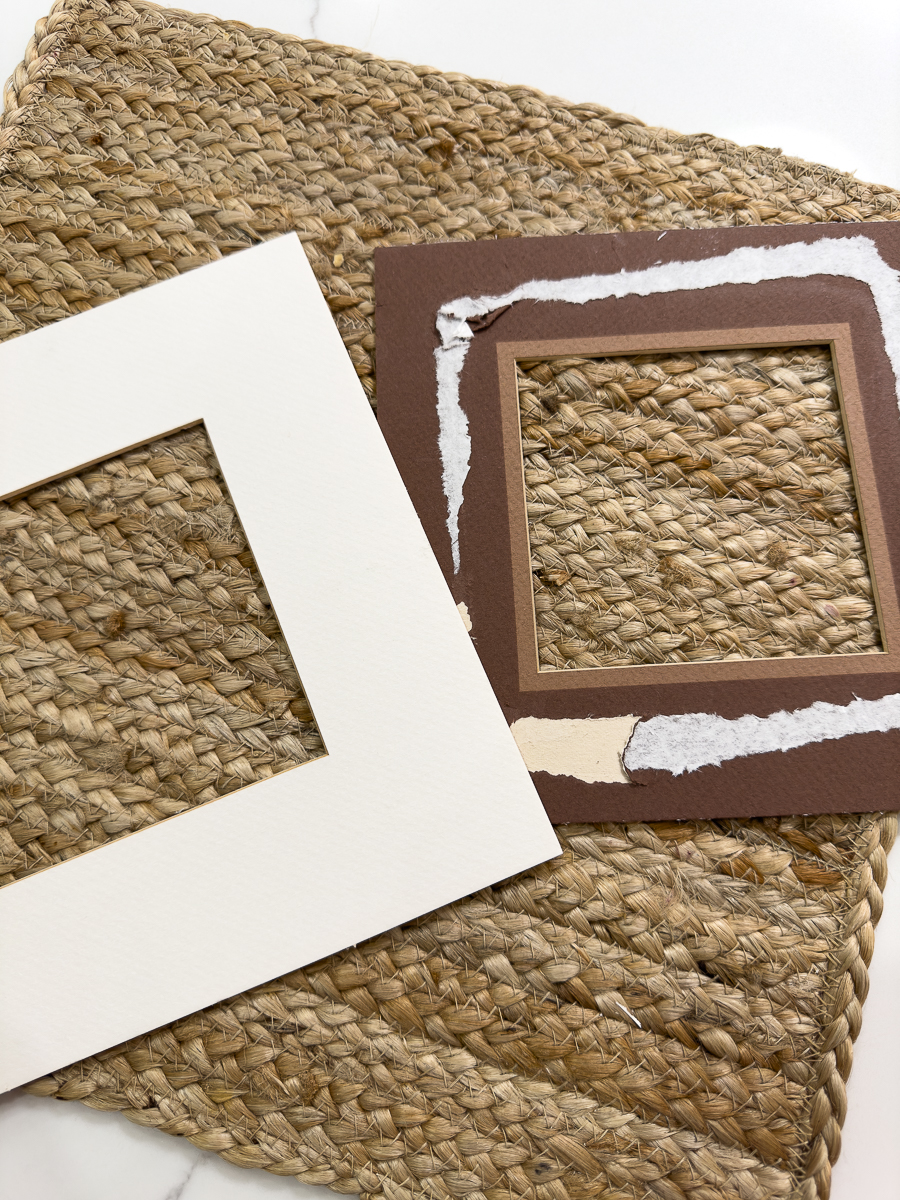
Sometimes in less expensive mass-produced art, you will find that double mats are glued together. That is always unfortunate especially if you want to create matting with 2 colors.
I was able to carefully separate the 2 mats with an Xacto knife and a small bread knife.

Don't worry about the damage. It will not be visible when the framing is put back together.
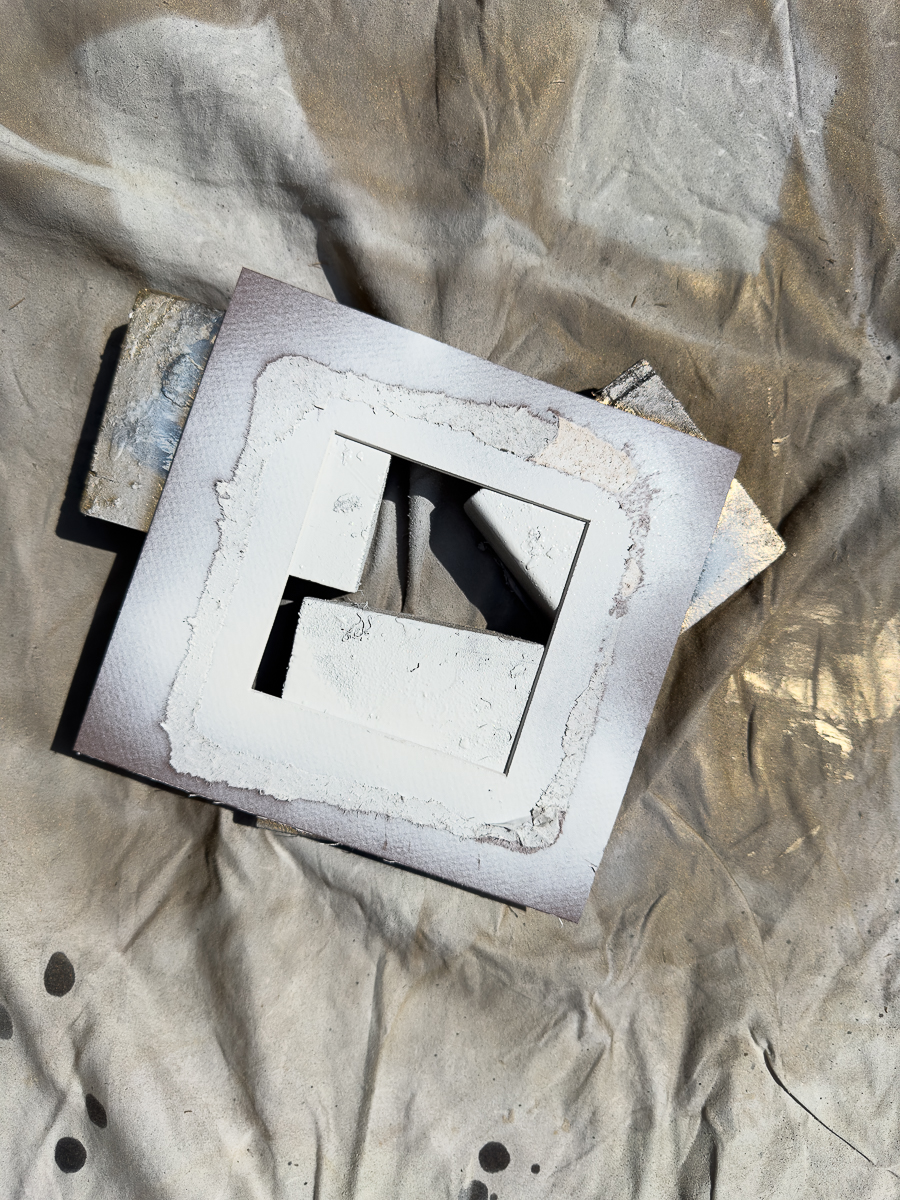
I wanted the inner mat to be white. I typically paint mats with flat wall paint, but I had some matte spray paint and used that for ease.
I was excited to try this faux grasscloth for the first time.
It is peel and stick so fingers crossed that it is easy.
I've been feeling like a wallpapering rockstar lately after wallpapering my granddaughter's nursery for the very first time with prepasted paper. I knew this would be a breeze…..and it was!
I purchased 2 colors because I didn't know which one I wanted to use. I had high hopes that I would end up using all of it in future projects.
ORDERING TIP: Please look at the size options. I ordered the smallest-sized role. It would fit this small piece.
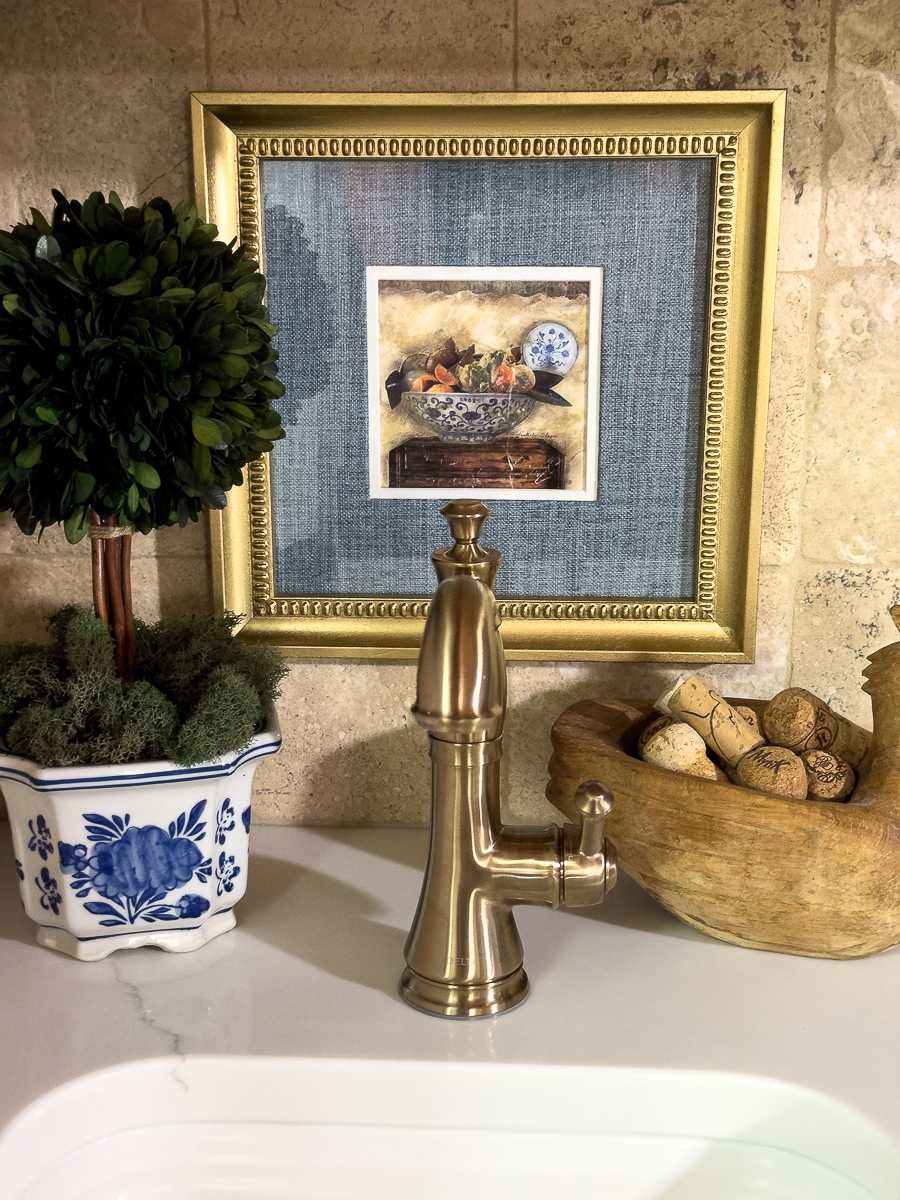
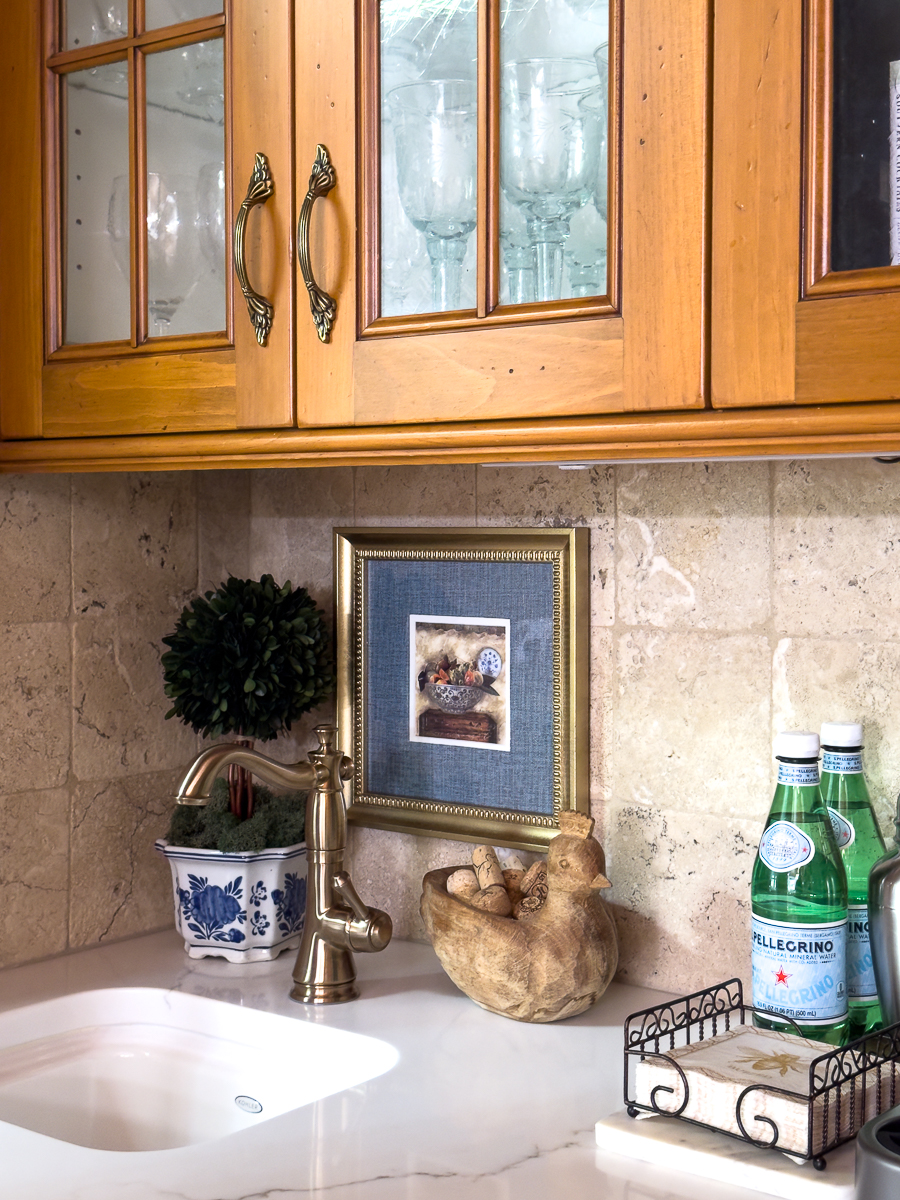
I like the blue with the print. I knew I would be hanging it on our neutral backsplash and the blue would stand out.
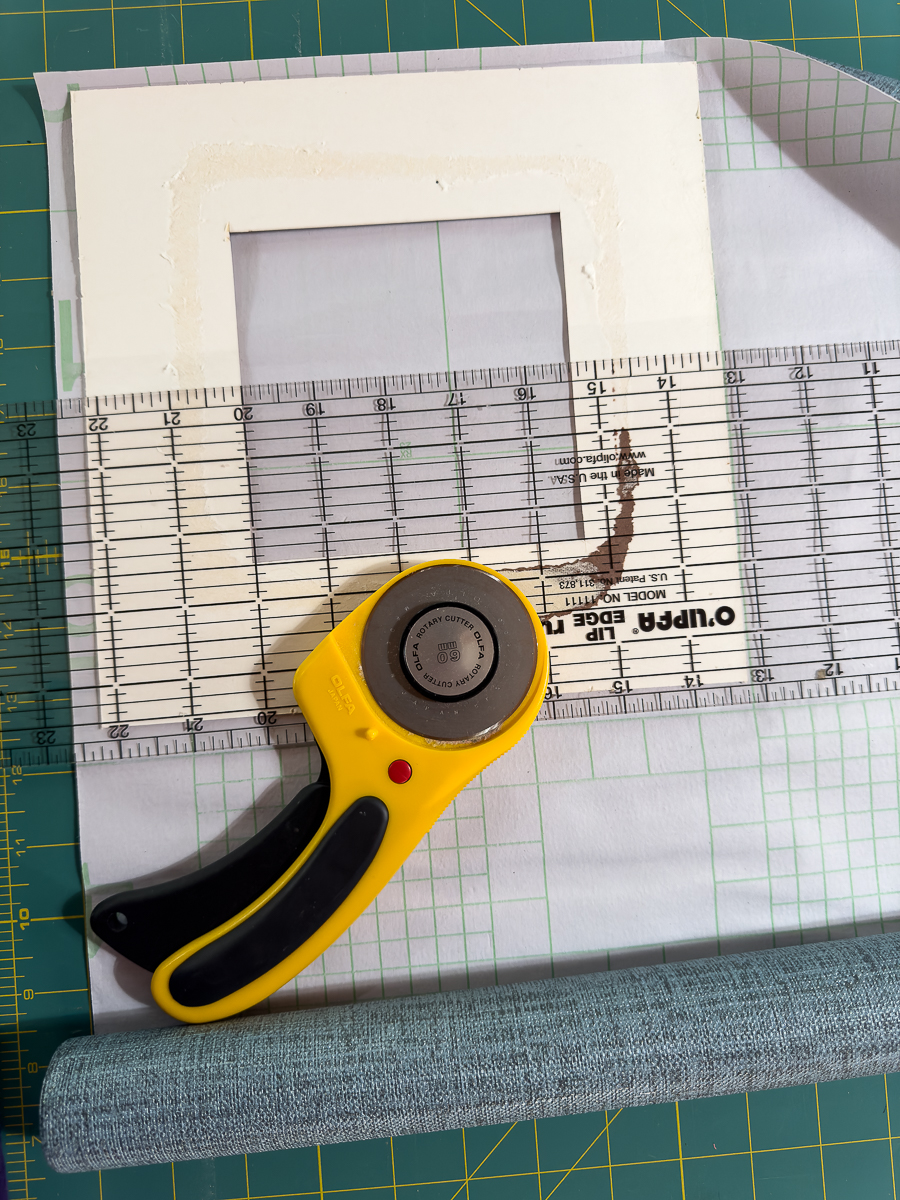
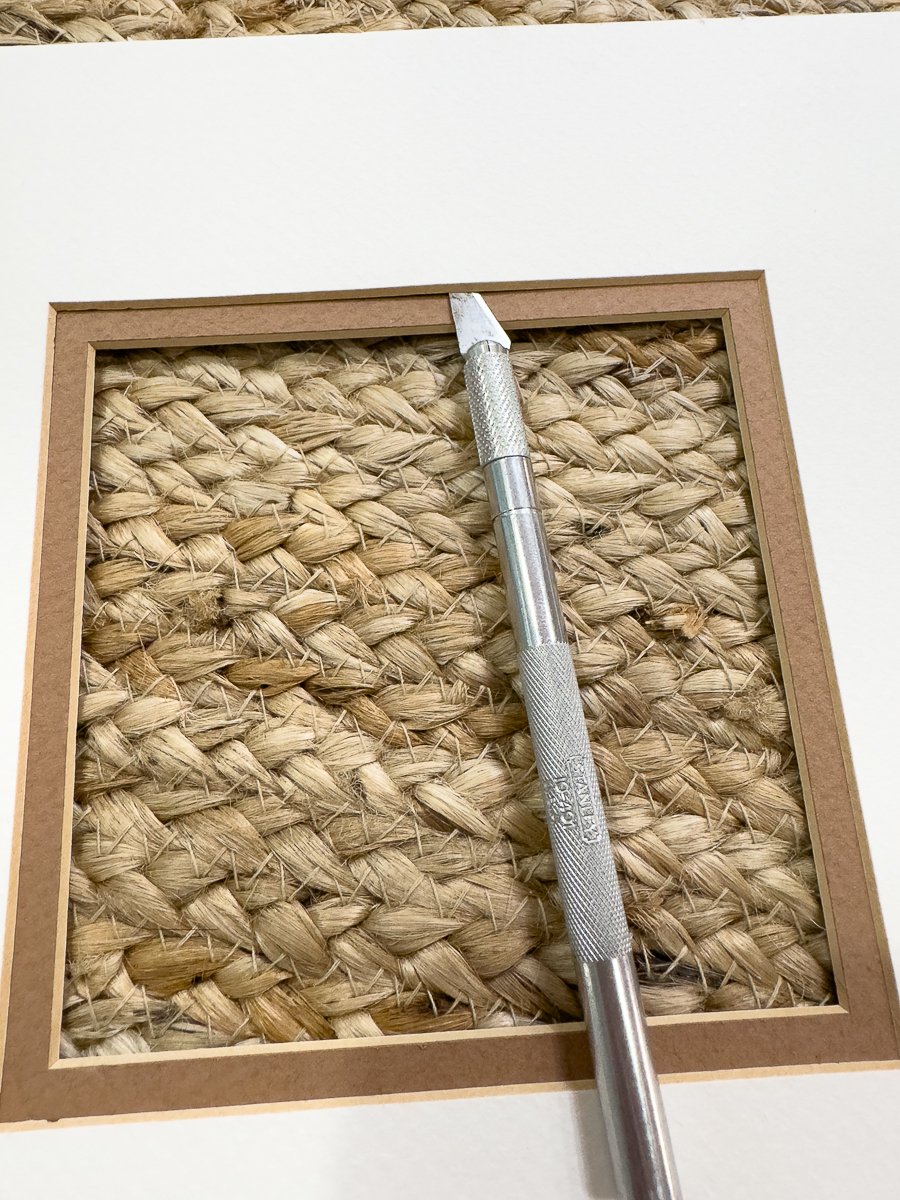
You certainly do not need the following supplies to complete this project. You can use a good old ruler and a pair of scissors. I've had my rotary cutter and mat for many years. I use it for cutting fabric and paper. It's such a time saver.
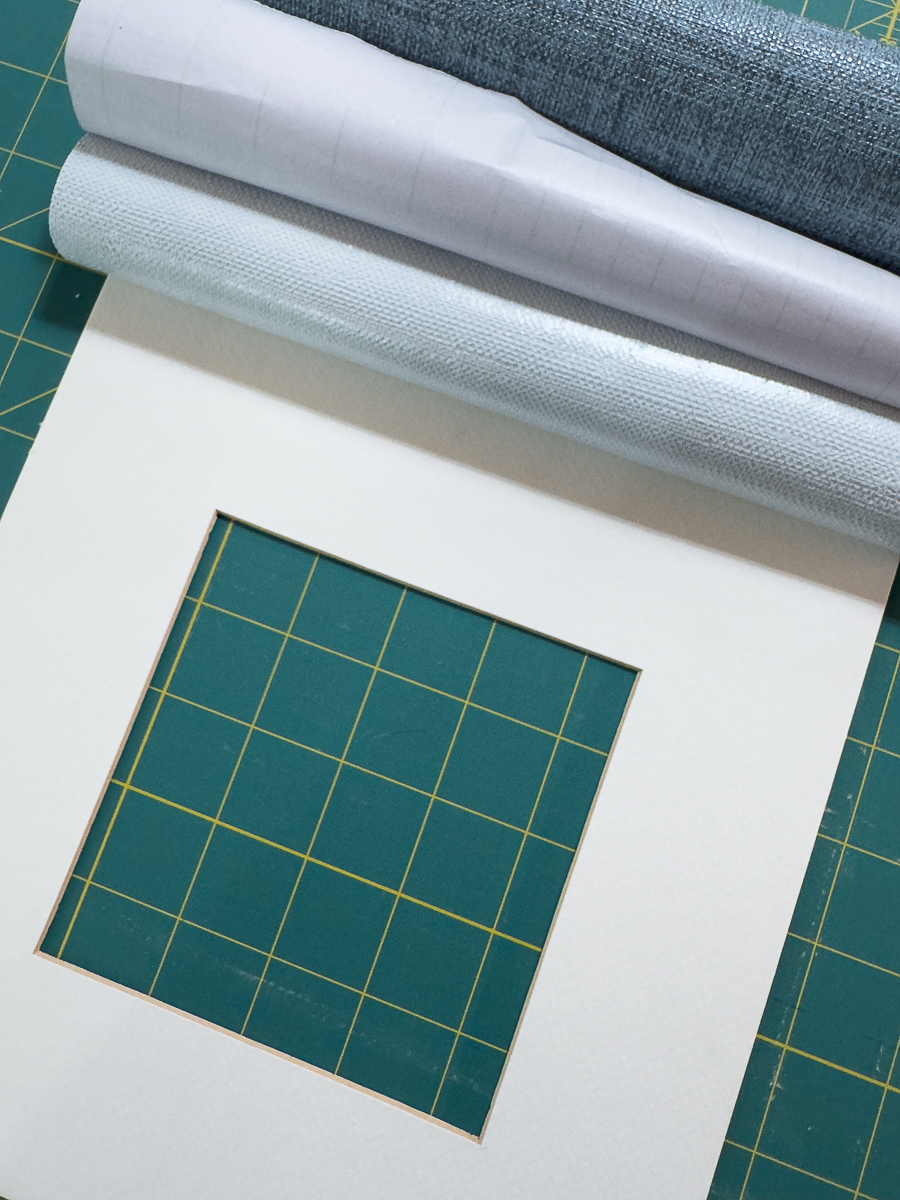
I used the grid lines on the mat to get everything straight.
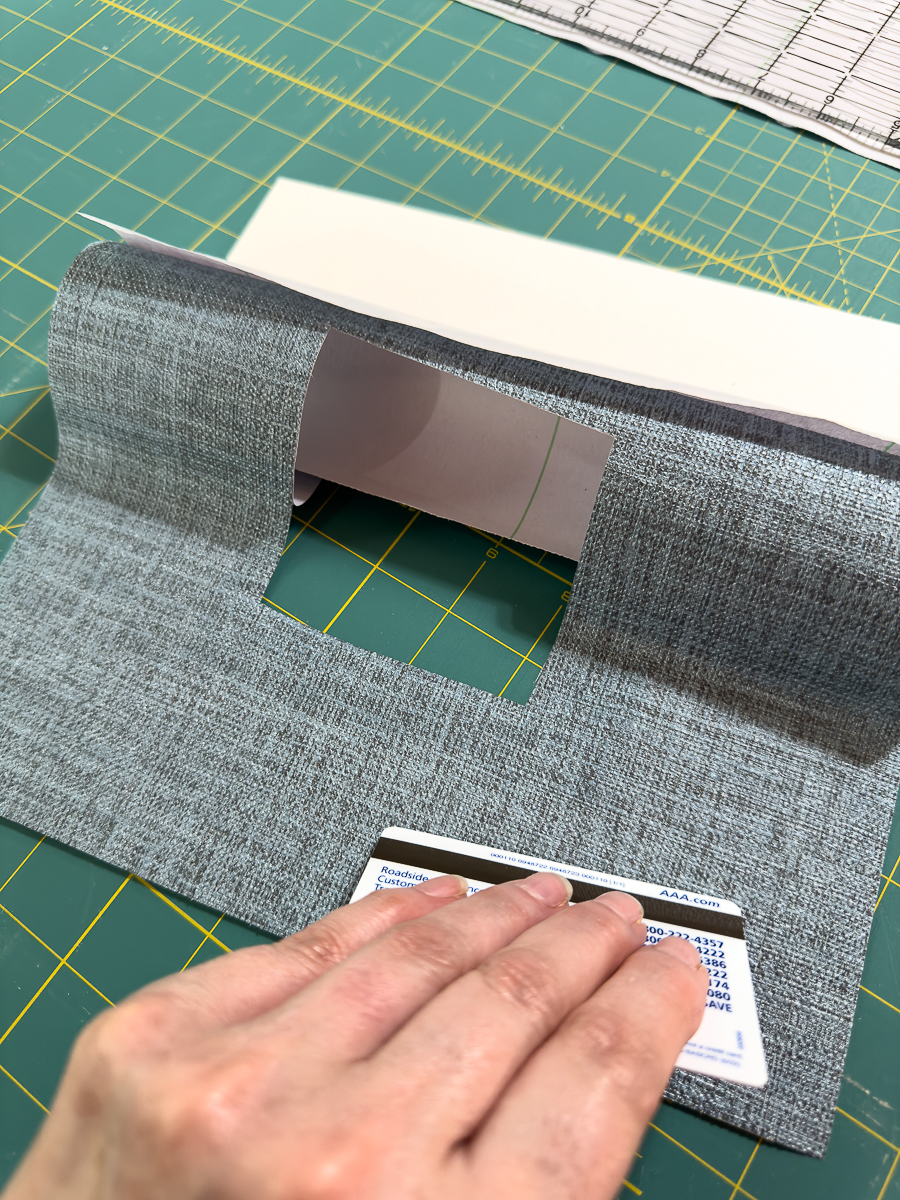
Use a credit card to smooth the peel and stick paper onto the mat.
Mine looked rather wrinkled until I removed the paper backing and smoothed it with the card.
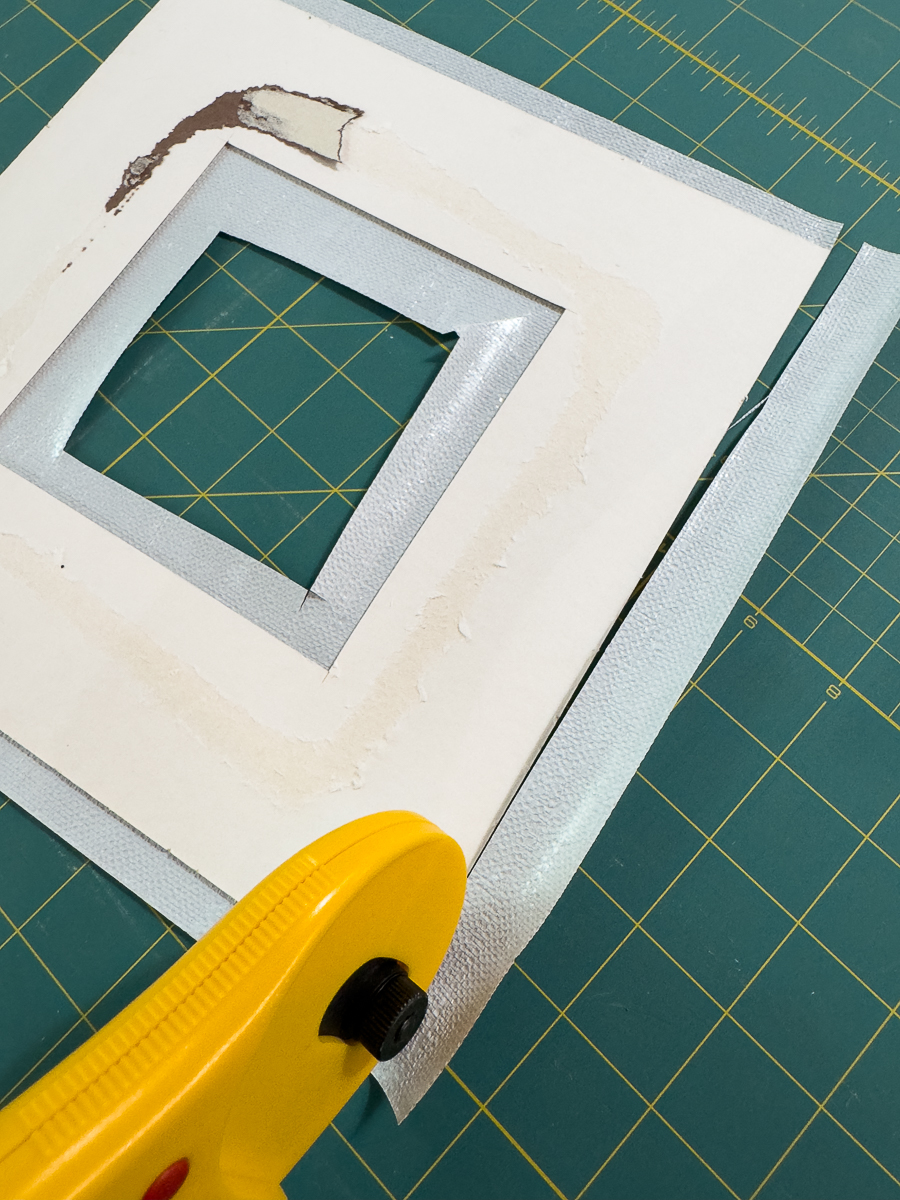
I used the rotary cutter to remove the excess along the outer edges.
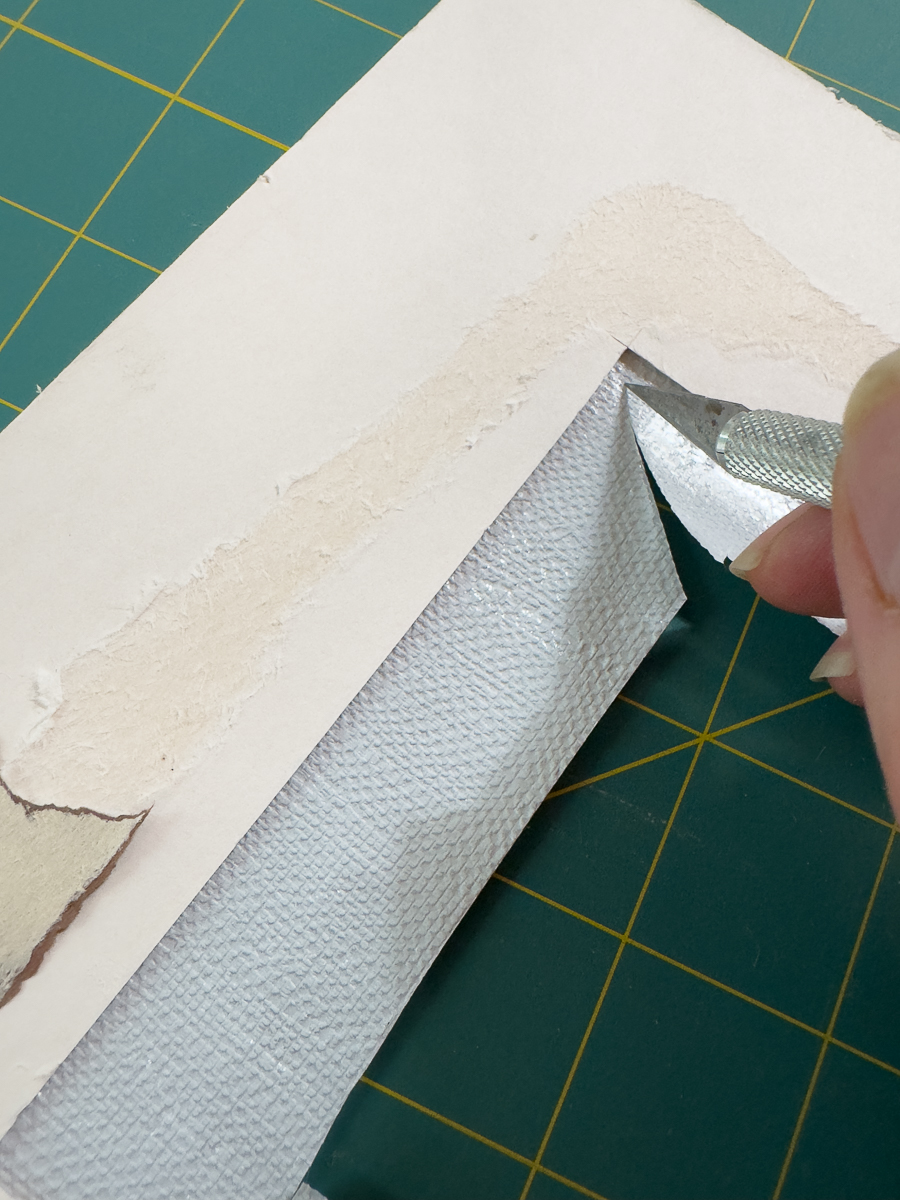

Cut vertical lines at the corners and trim the excess with just a small amount to fold over onto the backside. It gives it a nice, clean finished look.
You will want to carefully line up the 2 mats and tape them together on the backside.
Tape the art to the mats.
Finally, I taped the project back together. It is held with clear packing tape on the back.
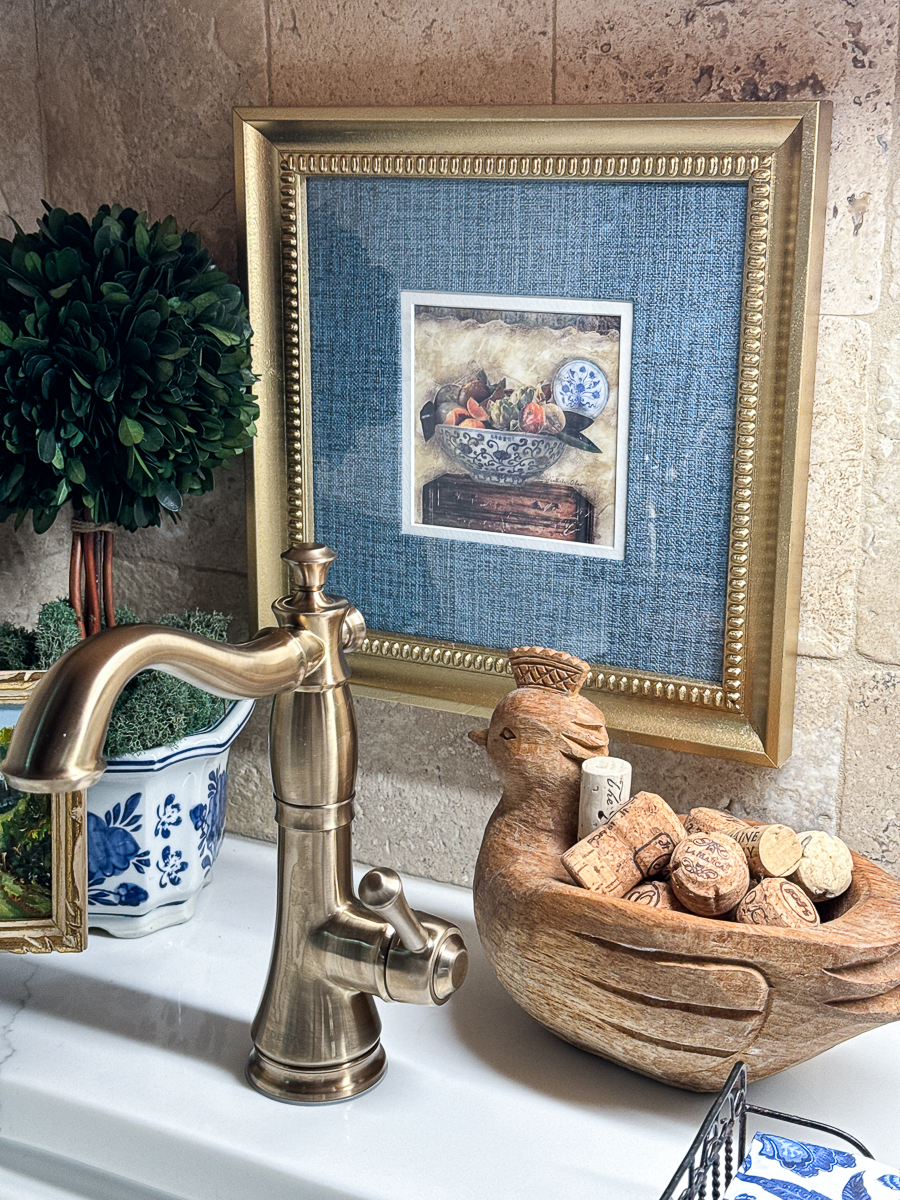
I used 4 Command Hooks to adhere the art to the tumbled marble tiles.
Always follow the instructions on the packaging. Do not skip the step of cleaning the areas with rubbing alcohol.
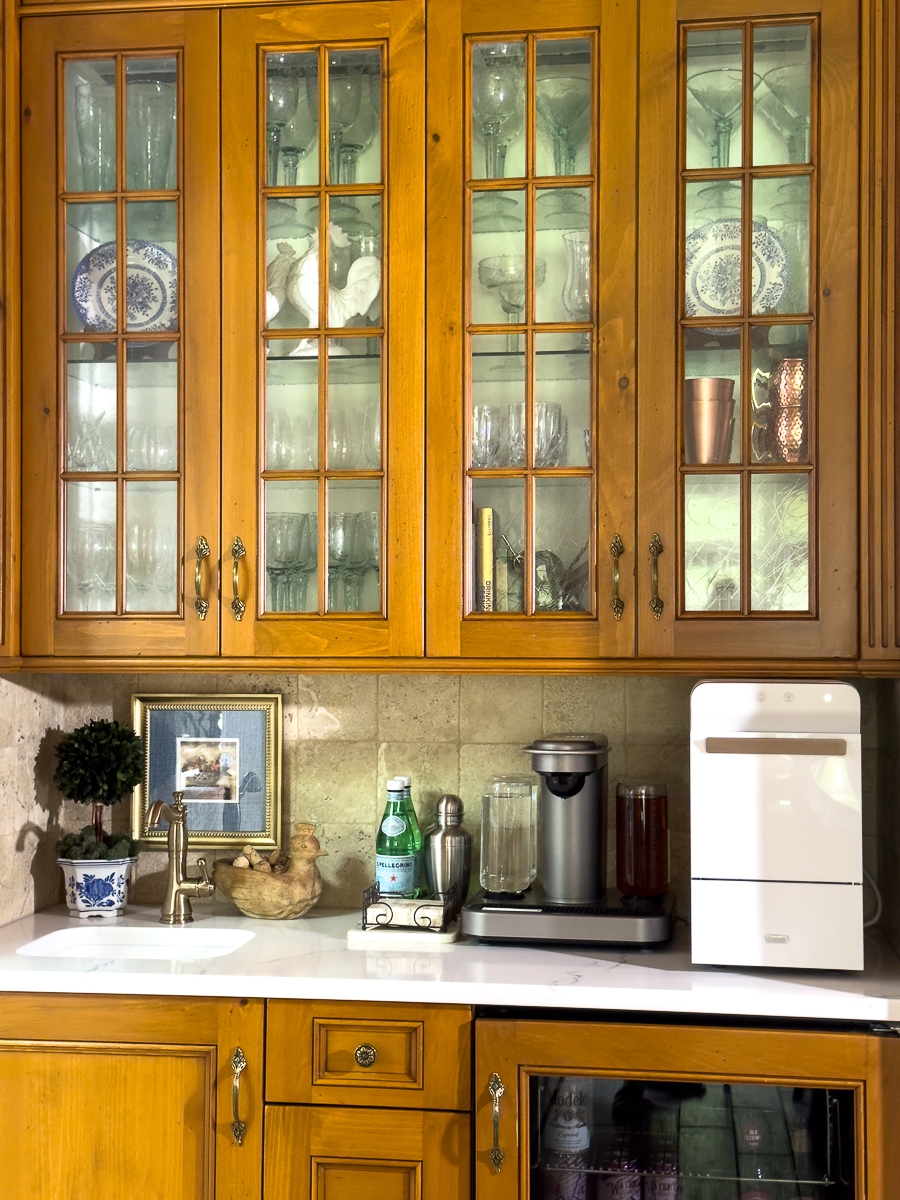
Bartesian Cocktail Machine | Nugget Ice Maker
It's a lovely addition to our wet bar. It fits perfectly over the bar sink.
The cocktail machine was a group birthday gift. It's a big hit with our family and friends.
We use the nugget ice maker daily. We hardly ever use the ice in our freezer door. It makes the best ice.
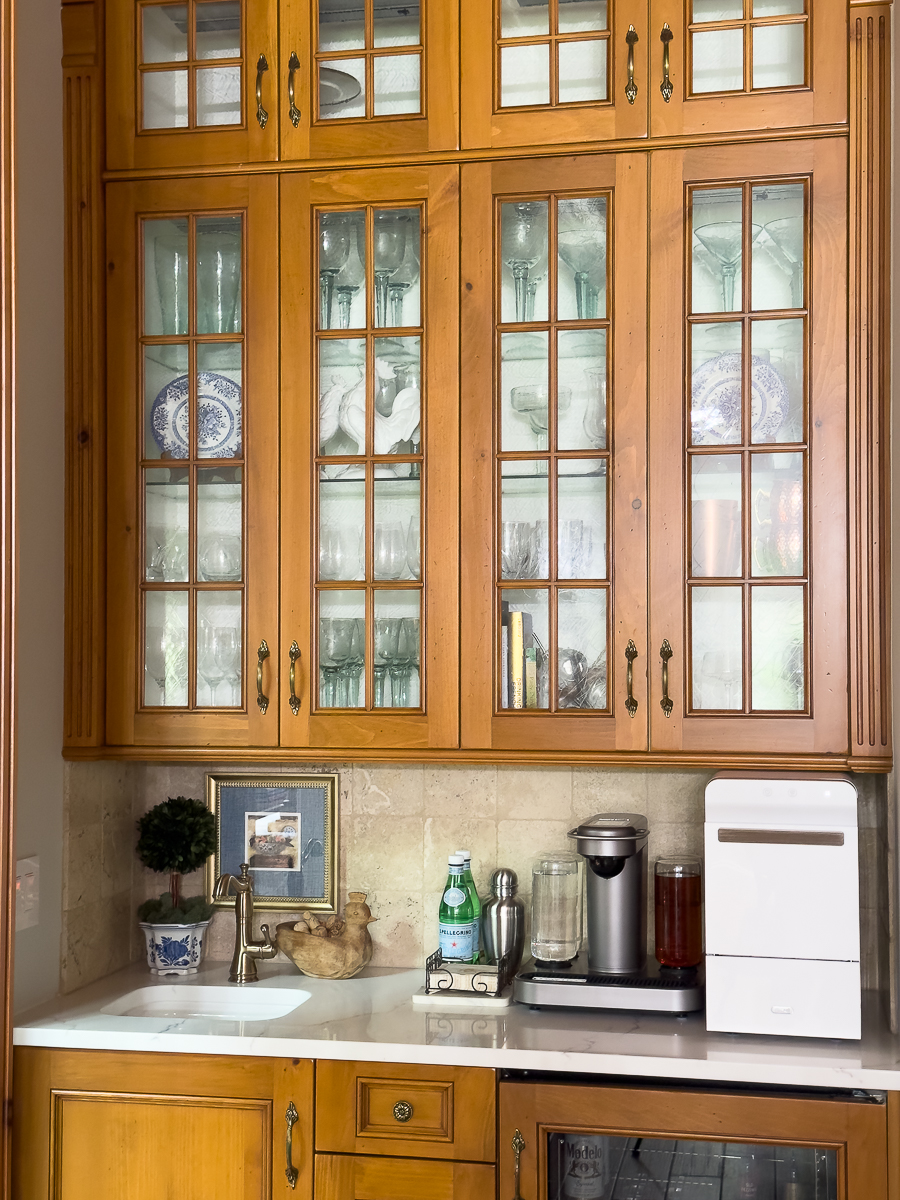
Bartesian Cocktail Machine | Nugget Ice Maker
The new-to-me art gives a nice pop of color to the wet bar area.
I have been wanting to add wallpaper to the back of this cabinet but didn't want to commit permanently to it. I think peel-and-stick wallpaper will be the way to go.

I am overjoyed with how this simple DIY project turned out for our kitchen. It is so easy and mess-free! I hope you are inspired to give this a try!
This Month's Projects
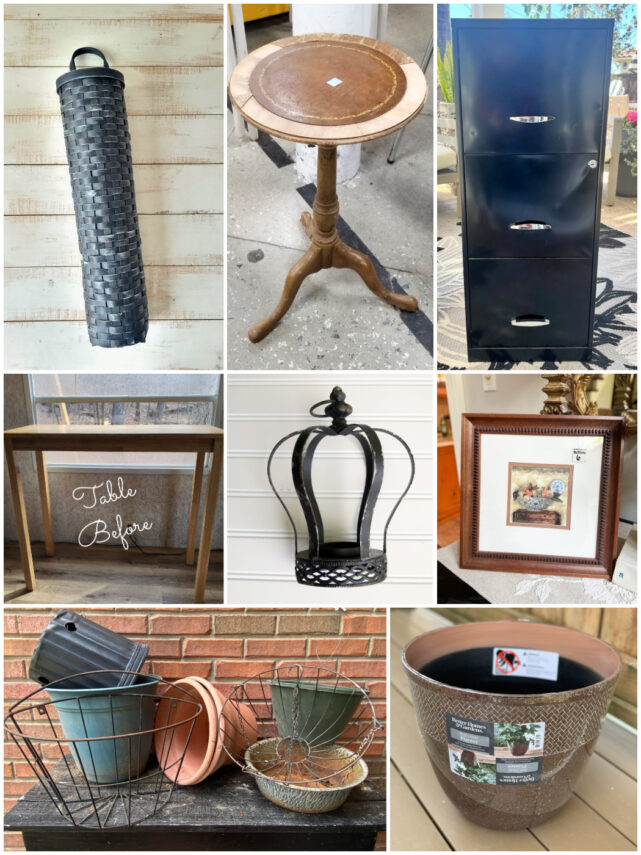
Rope Wrapped Hanging Basket – Domestically Speaking
High Top Table Makeover – My Repurposed Life
Thrift Store Candle Holder Makeover – Petticoat Junktion
Refresh Dated Art – Our Southern Home
Turn A File Cabinet Into a Planter – My Uncommon Slice of Suburbia
Fixing Up a $5 Broken Side Table – Sadie Seasongoods
DIY Garden Hanging Planters – Shop At Blu
Conceal Your Hose with This Simple Flower Pot Hack – House of Hawthornes
More Thrift Store Wall Art Ideas
- Tips for Updating and Decorating with Wall Art
- DIY Halloween Wall Art
- DIY Wedding Seating Chart
- Medallion Wall Art Makeover
- DIY European Wall Art
- Thrift Store Wall Art
- Fabric Wall Art
- Wall Art Ideas
- Chalkboard Wall Art Ideas
PIN for Later!


Christy has been creating content for Our Southern Home since 2012. She has been featured in numerous print and online publications. Her classic, eclectic design approach spans her home and fashion style. Christy has a way of mixing store-bought with thrift store, antique and vintage finds. As a recent empty nester, she is having fun navigating this new stage of life. Read more about Christy HERE. Be sure to subscribe below. You can also contact me HERE.
What a beautiful makeover on your frame, and a great tutorial! I love it in your wet bar area. I have been wanting a ice maker, we are always running out of ice around here.