How to Easily Paint Wicker
Wicker can add instant character and charm to your home no matter the style. Learn how to easily paint a wicker piece for a quick update.
Latest from OSH
- DIY String Light Containers for Your Patio Lighting
- How to Restore a Lantern for Outdoor Use
- DIY Thrift Store Decoupage Wastebasket Makeover
- 10 Easy Spring Decor Ideas to Refresh Your Home
- Easy DIY Spring Tulip Basket Front Door Wreath

I am so excited for this new year for thrifty makeovers! This is the first project of the new year.
Make sure you read until the end. You will find 8 additional projects that are new this month!
Ashlyn and I spent all last week and this weekend cleaning out our two attic spaces. Three dump trips and four donation trips later, and it is done!!!
Y'all…..we had receipts and tax returns all the way back to 1996! We now have about 10 brown paper bags of paperwork to drop off at Staples for shredding. Going forward, I am looking into buying this home shredder to keep on top of things!
Now that we have one major organizing hurdle checked off the list, we can start having fun with new projects.
My daughter is getting married in September. She is really thinking ahead to starting a new home affordable. I've struck a deal with her over the next several months that I will go thrifting with her. Purchase the items for her to transform for the blog that she can use when she moves! Win…win!!
It was kind of funny…..we dropped off a huge load at Goodwill last Thursday. Then we parked and immediately walked into the shop. We came home with a few great finds!
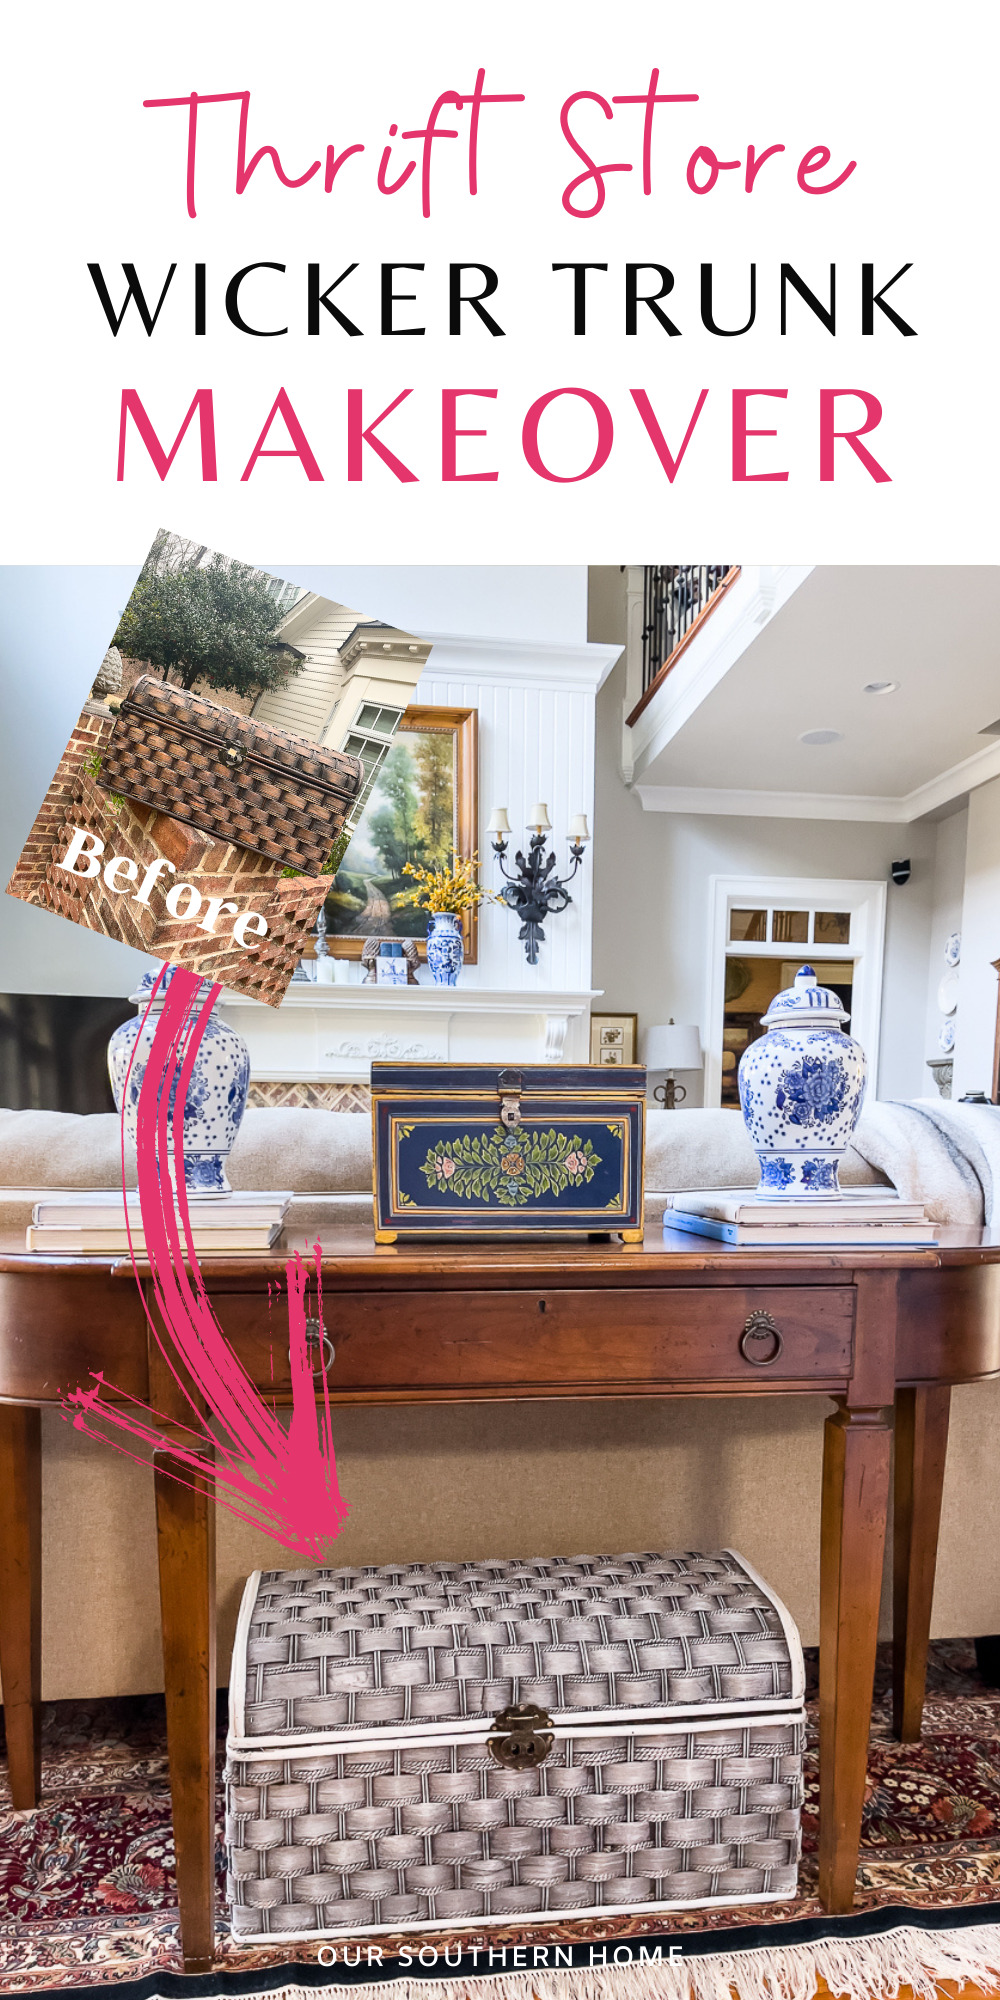
How to Easily Paint Wicker


The first project that Ashlyn decided to do was this wicker and rope chest. Living in an apartment will mean getting creative with storage.
It has a great shape and was in really good shape.
Boxes, trunks, and wicker baskets work wonders for organizing. You can totally give a new look to thrift store finds and furniture pieces with a little paint.
They are all great candidates for a fresh coat of paint with paint sprayers, cans of spray paint as well as chalk paint, and more!
While she isn't quite sure what she will store in this fabulous chest, she's thinking of their board and card game collection. They both love to play games.
Where to Find Trunks
Trunks and boxes are great thrifty finds, and I rarely pass them by. They are usually a fun and useful makeover for the home.
Be on the lookout in the following places!
- thrift stores
- Facebook Marketplace
- vintage shops
- antique shops
- attics
- big box stores like Big Lots and sometimes you can find lidded baskets at Dollar General.
Materials Needed
- chest
- wood glue
- cheap chip brush
- assorted artist brushes for small spaces
- Waverly Chalk Paint in Elephant
- Fusion paint in Sterling or similar light gray
- paper towels
- Alternative to Elephant for the dark gray to use with this alternative to Sterling (light gray).
- Spray matte sealer
- Spray can handle grip
The Technique
Dry brushing is a fabulous technique that I use a lot when painting accessories. It's a great way to add dimension to a piece. It is also fast, simple using very little paint.
It can very often mimic distressing without the added work.
Here are the Steps
Clean your piece very well before painting.
Be sure to remove any chipping or peeling paint with a wire brush from any visible areas.
Wicker can benefit from good vacuuming with a brush attachment.
After you have removed dust, debris, and any cobwebs, you can now proceed to clean.
I like to clean it with a wet rag with a cleaner or even Clorox wipes.
Let it dry thoroughly.
Make any repairs! We glued down a few pieces.
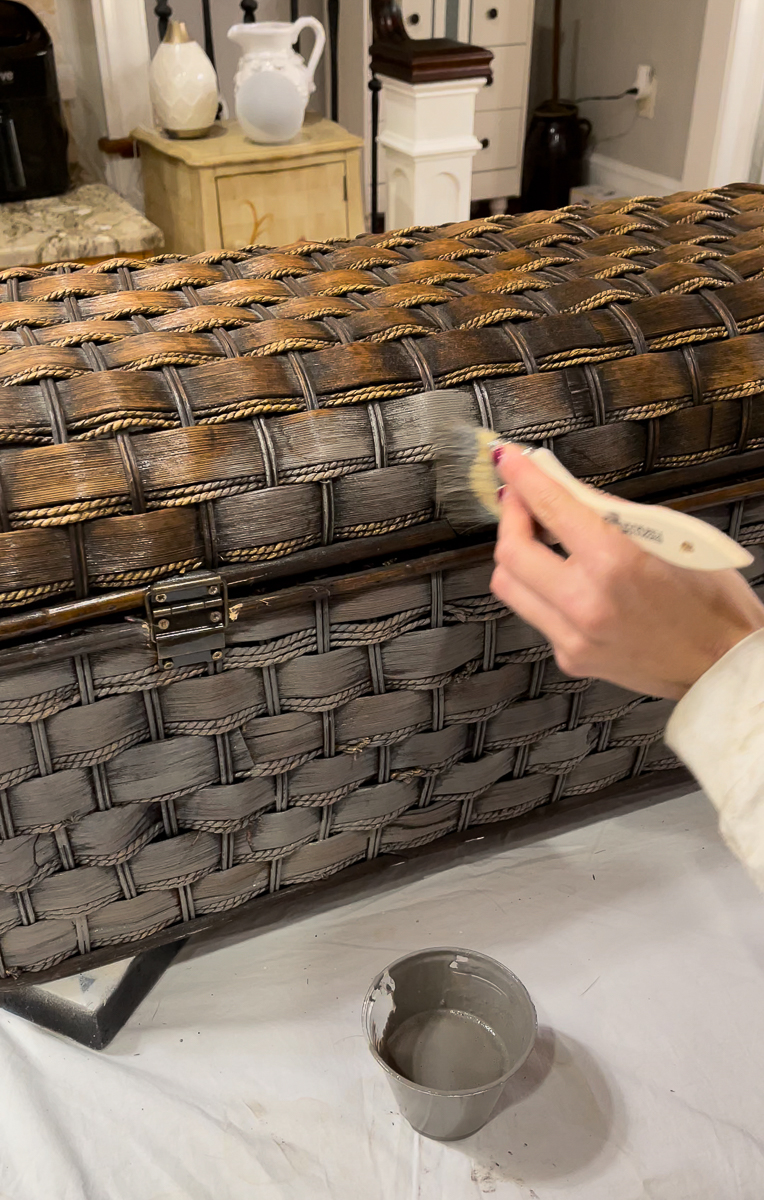
Paint the base color with the darkest gray.
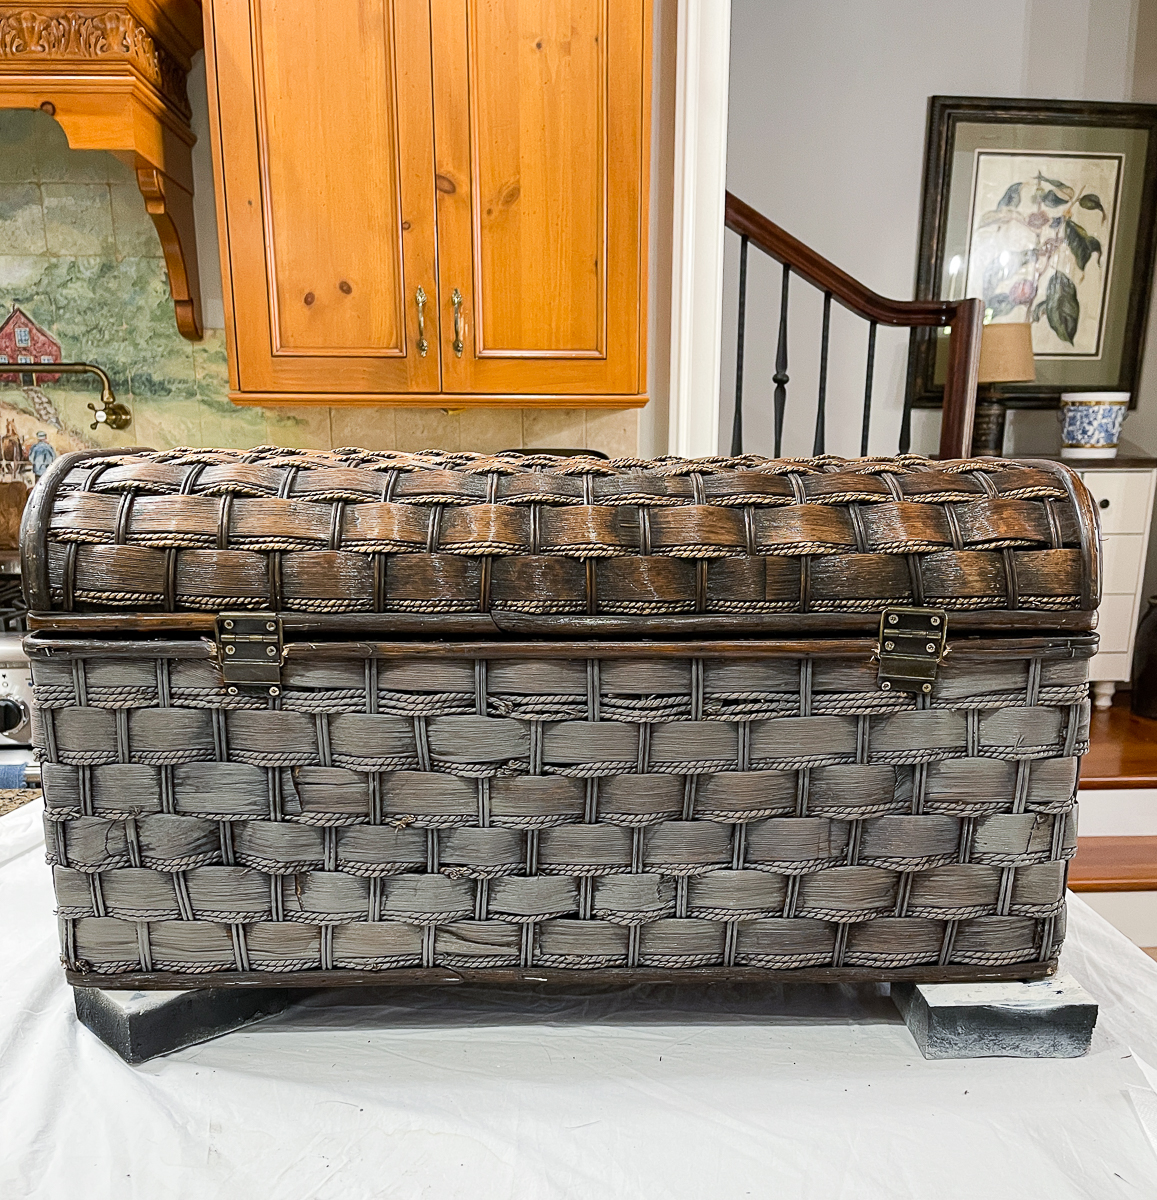
I use a chip brush and roughly paint it. You only need one coat.
Don't worry about all the crevices. You are going for an older-aged look so this is ok.
This will dry rather quickly.
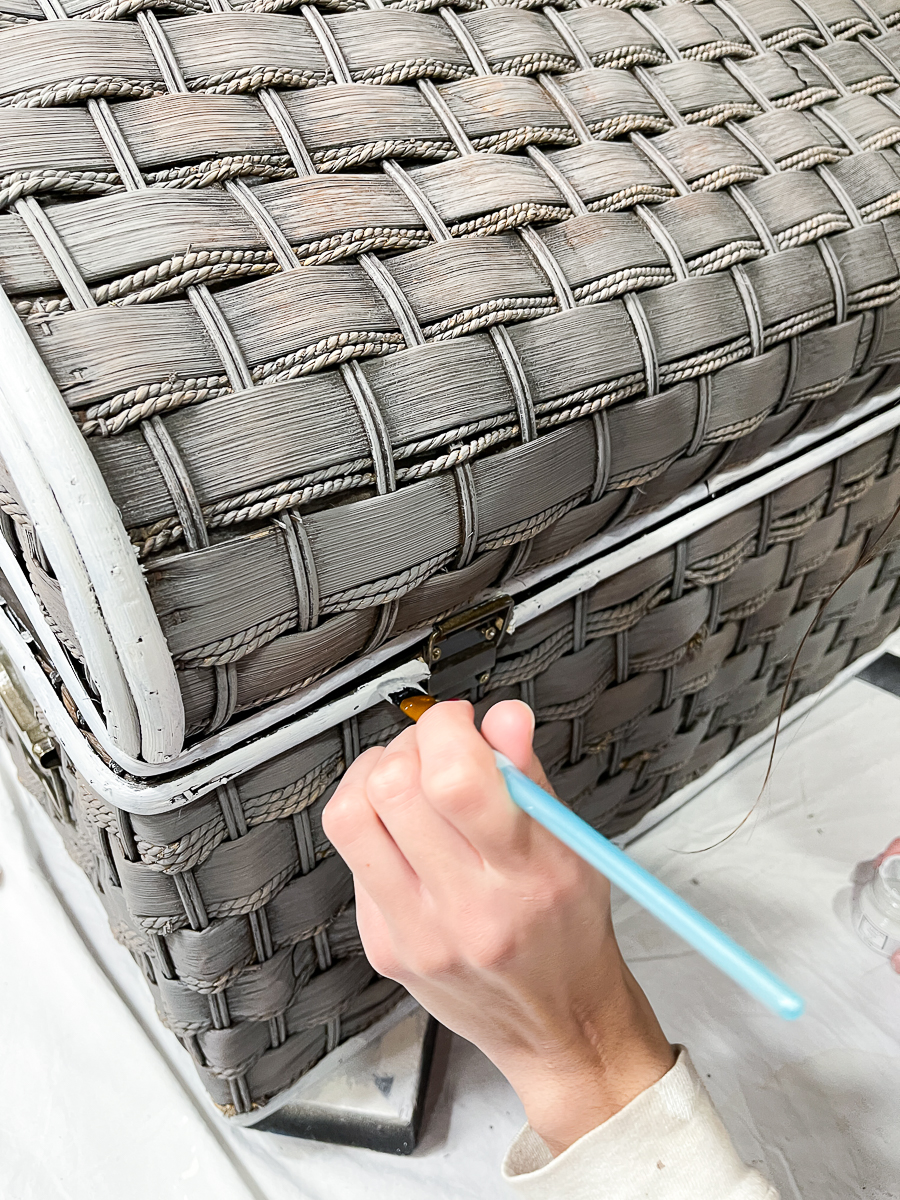
The trim areas of the trunk were painted with a light gray color using an artist brush. This part took the most time, but still went rather quickly. Only one coat was done. It's ok if some of the brown still shows through.
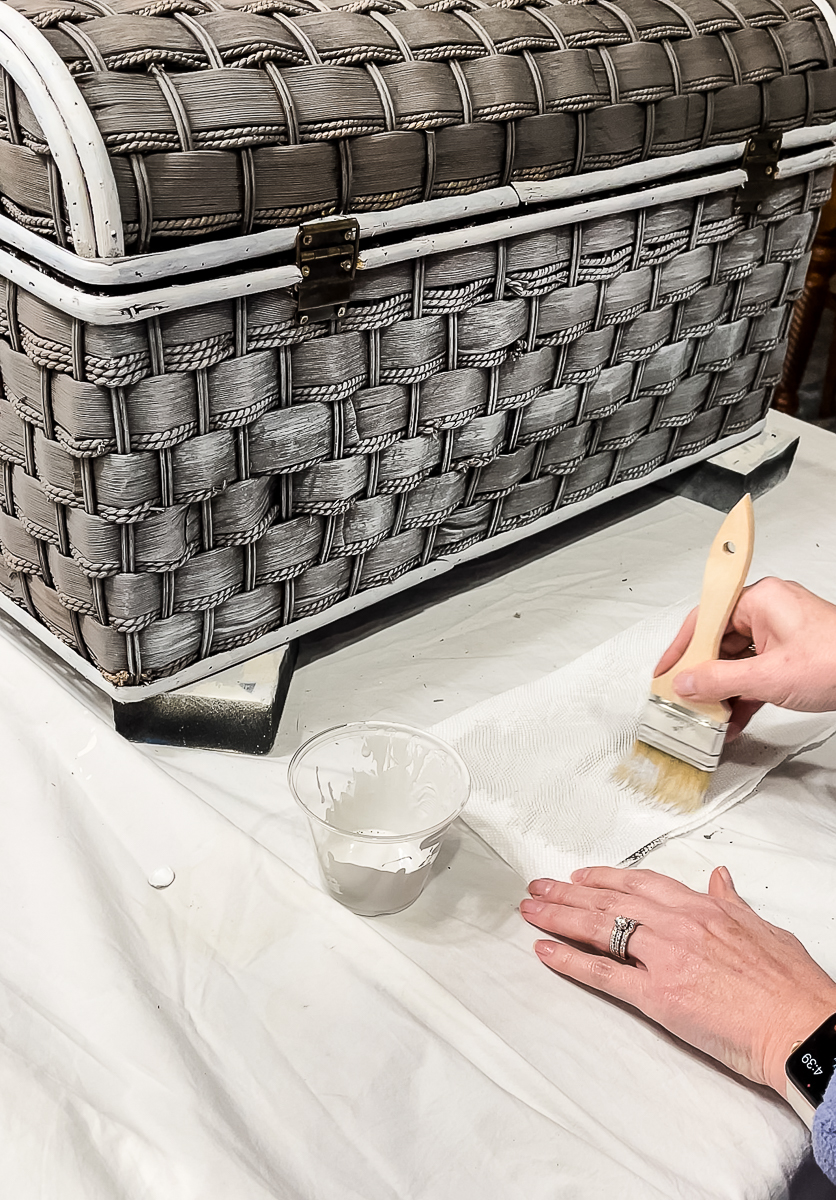
Once dry, you can move on to the dry brushing.
Dry brushing is very simple and requires little time and paint.
Barely dip your chip brush into the paint. Then swipe the brush on paper towels to remove paint.
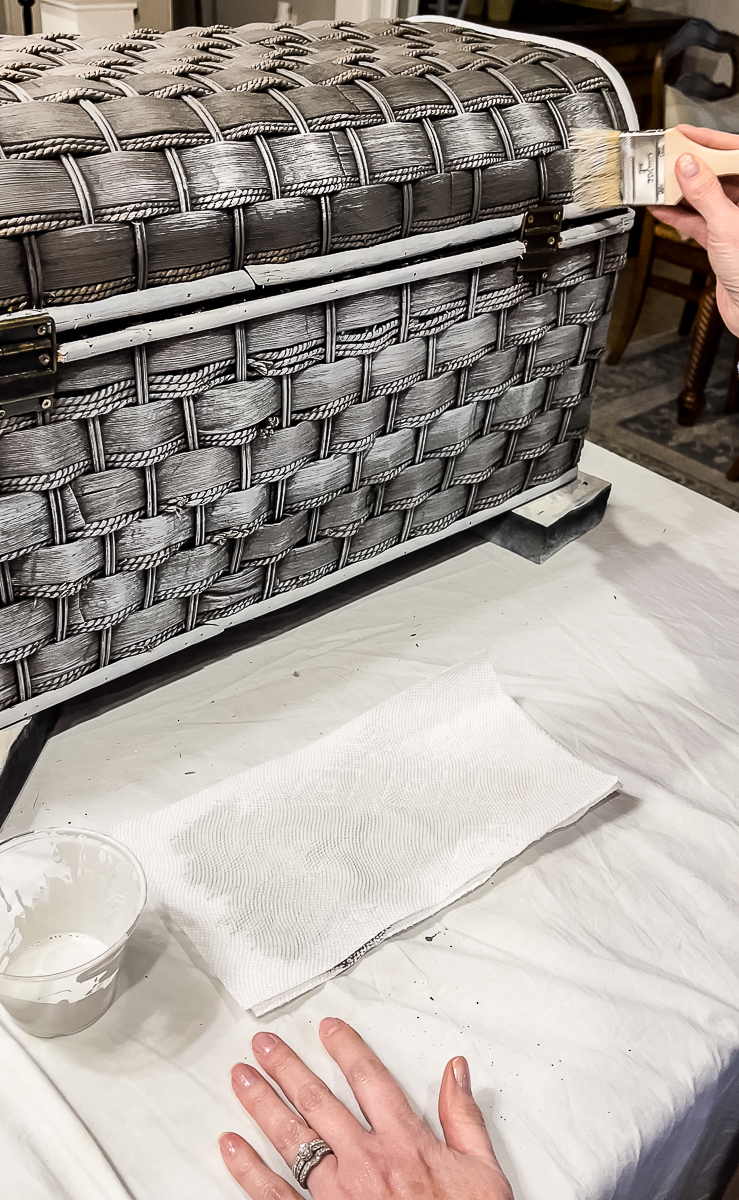
You want to be applying light whispy swipes of paint to your trunk. This allows the dark gray to show through.
This lightens the gray while adding depth to the piece.
This will dry very quickly.
Affix your hardware back if you removed any. We only removed the front lock which is actually broken.
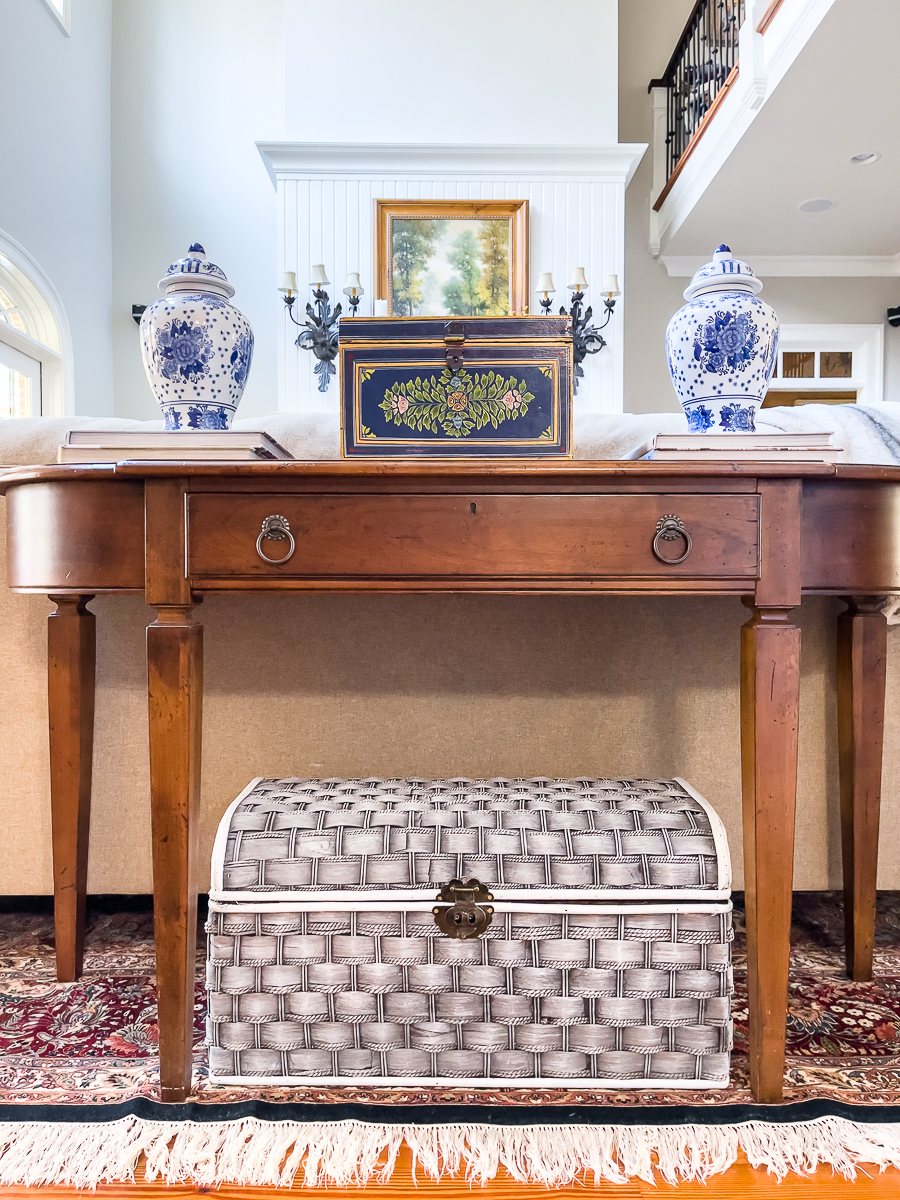
Our temps are really chilly right now so once we have a warmer day, we will take the trunk outside and add a couple of coats of spray matte sealer.
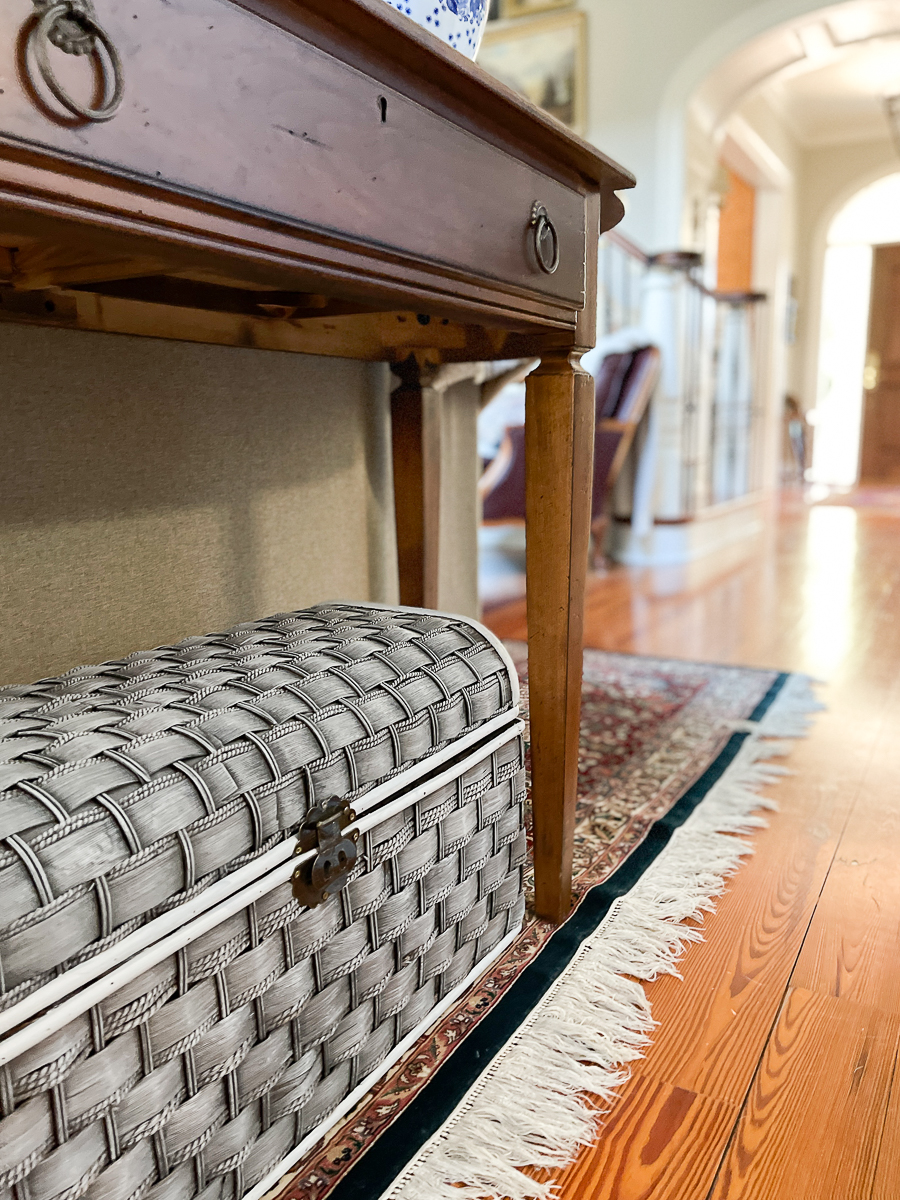
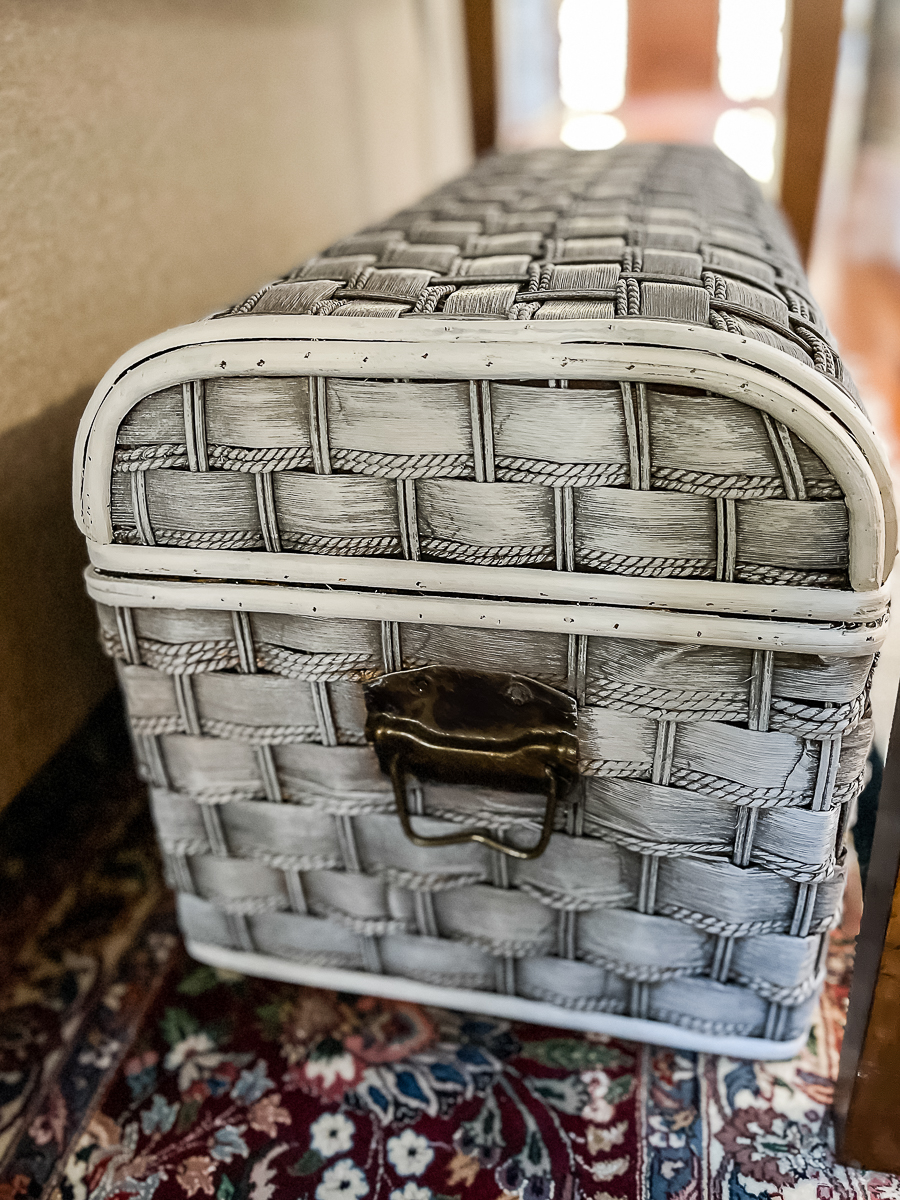
Ashlyn and Tim are tickled pink with this vintage-looking trunk.
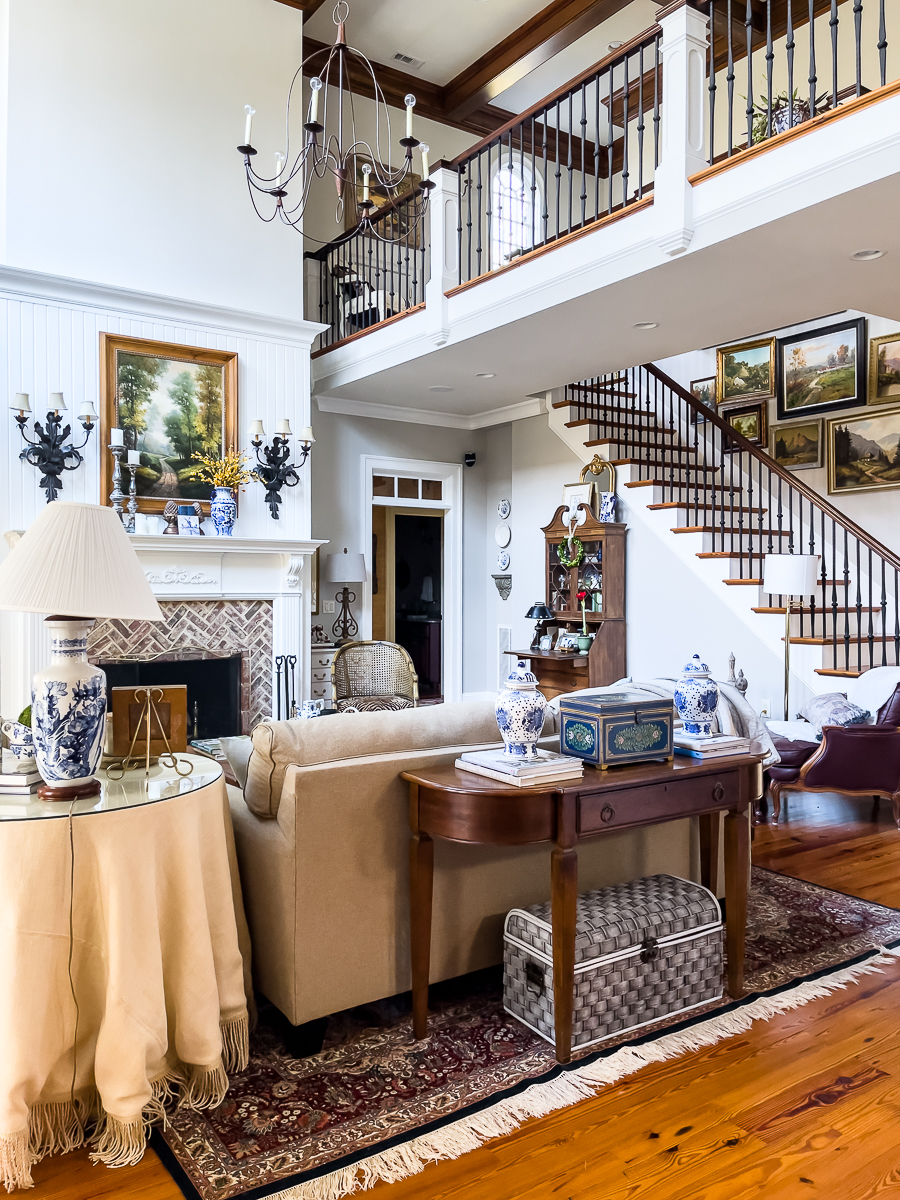
We placed it here for photo purposes. She will store it upstairs until the big day. We've got plenty of free attic space now! Ha, ha!
You've got to check out these projects!

More Projects from the Team!
How To Spray Paint Wood Furniture
Upcycle Vintage Metal Library Stool
How to Upcycle a Floral Centerpiece
Upcycling Plates into a Snowman
Pine Tree Embroidery for Winter Decor
Thrifted Wooden Box Boho Makeover
Upcycled Stepladder Decorating Ideas




So very pretty, it looks so updated with the dry brushing! I bet things are getting so exciting for you and Ashlyn, what a special time!
Great job! I love the color. It goes great in your home.
Amazing! I love the added dry brushing. I mean, the gray helped, but the final result is amazing. Awesome deal to work out with Ashlyn. 🙂 My daughter use to say to me when she bought her first house “need some blog content mom?” hahahah Mothers and daughters!!!
pinned
gail
Great makeover Christy! I’m sure you are so excited to do projects for your daughters wedding!! BTW, I cracked up when you said one of the places to find trunks is attics – I envisioned myself knocking on my neighbors doors asking if I can rumage through their attics!! That could be interesting! Pinned!😊
Great refresh on the wicker trunk! Dry brushing looks great!
Thanks so much! Dry brushing makes a project go by really fast.