Thrift Store Mirror Makeover
I so look forward to the last Wednesday of each month because it is Thrift Store Makeover Day!
Thrift Store Mirror Makeover
This just may be one of my favorite makeovers. Have you ever finished a project and kind of wowed yourself? LOL! It doesn't happen very often, but this one sure has my heart.
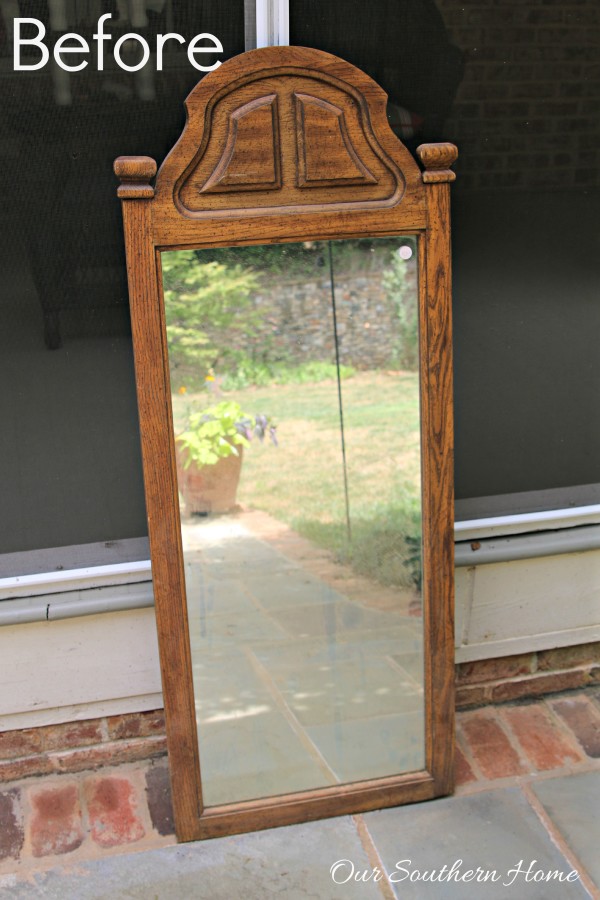
This mirror was part of a set. It lost its dresser.
I've described my style to you before as Eclectic French Country Farmhouse, and this mirror so falls into that category.
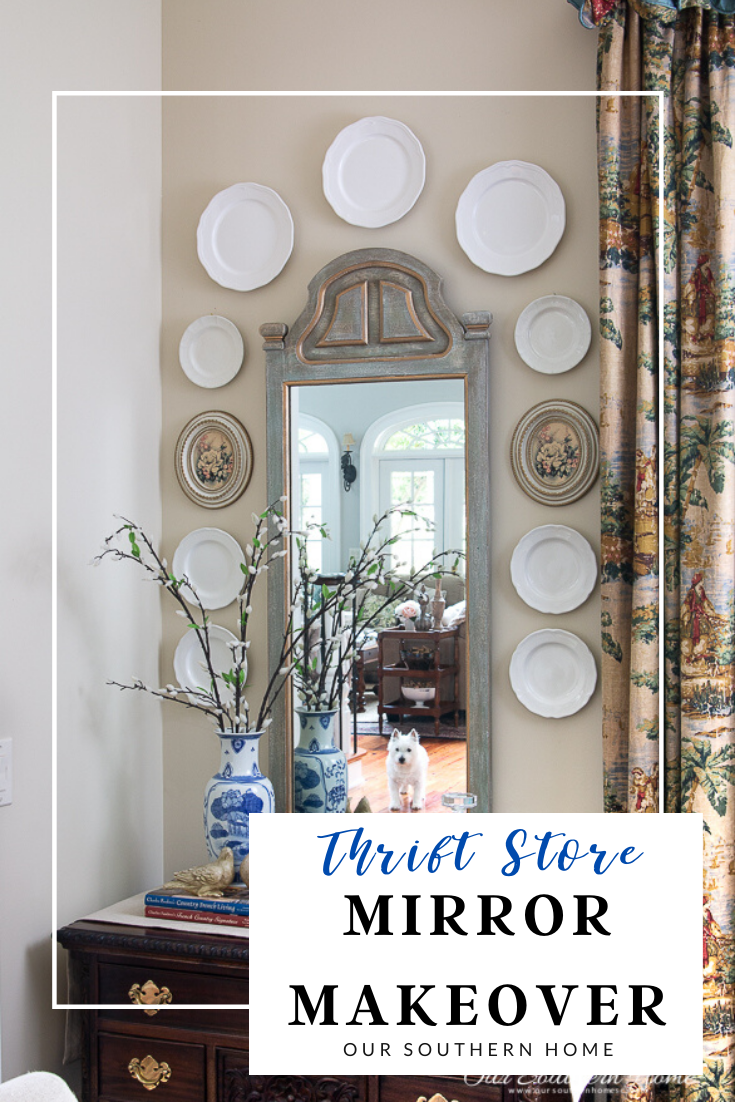
This thrift store mirror becomes a French Country treasure with a simple paint technique.
This baby was $10 at Goodwill. It most likely came from a dresser in the 1970s. It's real wood and very heavy.
I like the narrow shape. It is the perfect mirror for our dining room.
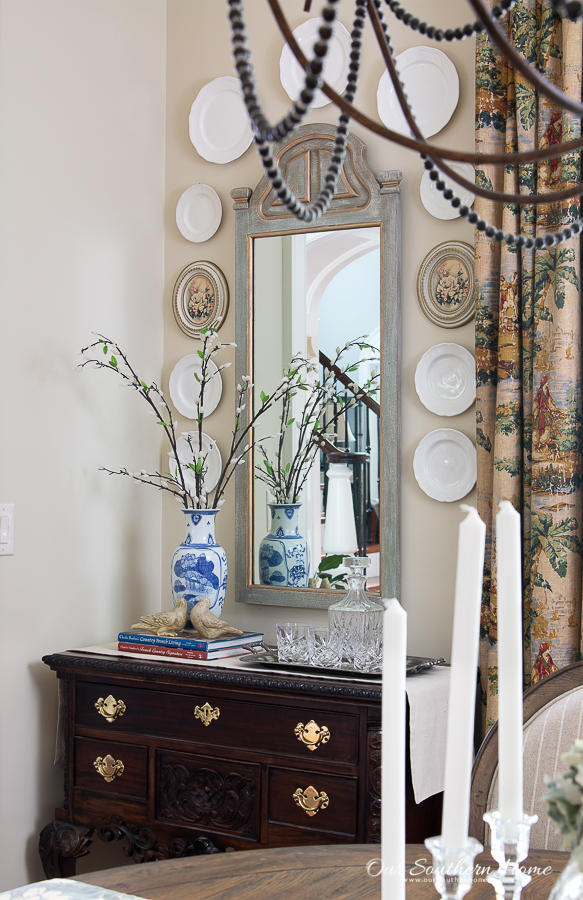
I adore the color on my new neutral walls. It brings out the teals in the fabric panels. I adore my blue and white vase and need more! Here is one similar.
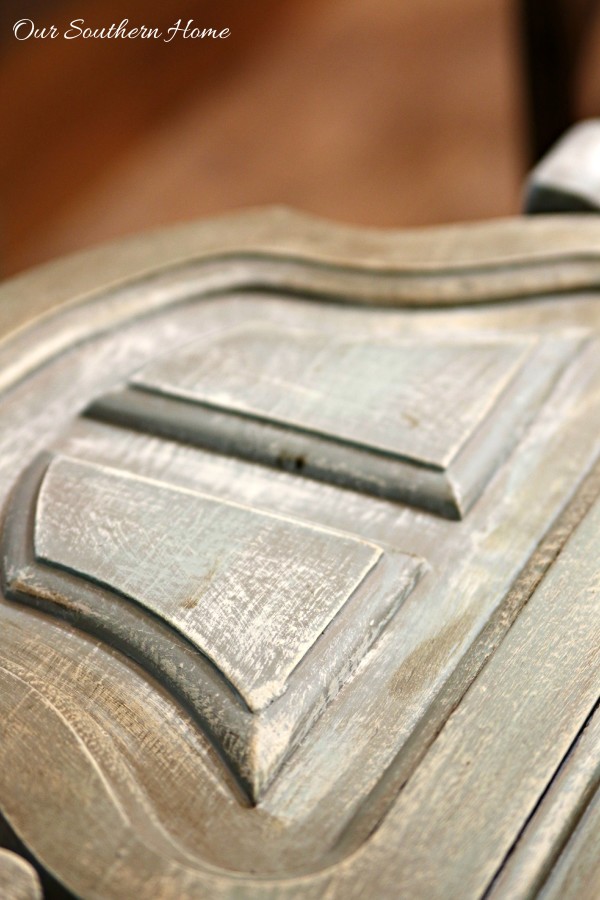
Let's talk about how I achieved the look. The trick is layering the paints.
I used all Annie Sloan Chalk Paints. You'll find the exact colors in the printable instructions.
I know it may sound c-r-a-z-y, but I completed this mirror in a little over an hour start to finish.
Thrift Store Mirror Makeover
Layering paints create a fabulous finish for vintage-looking pieces.
Materials
- Annie Sloan Chalk Paint in Duck Egg
- Annie SLoan Chalk Paint French Linen
- Annie SLoan Chalk Paint Old White
- Annie Sloan clear wax
- Annie Sloan dark wax
- Gold Leaf
- Plaid Gold Leaf in Classic Gold
- Paint & Waxing Brush Set
Instructions
Application Steps
Clean the surface to be painted thoroughly.
Paint 1 coat of your base color. Mine was French Linen. Let dry.
Dry brush Duck Egg. Dries almost instantly.
Dry brush Old White.
Repeat dry Brush Duck Egg.
Let dry.
Apply one coat of clear wax.
Apply one coat of dark wax.
Buff to a sheen.
Now I know y'all are wondering what dry brushing is. It is so easy.
Dry Brushing Technique
Dip your brush lightly in the paint color.
Now wipe that brush on a paper towel to remove it slightly.
With a slight touch, ever so lightly brush the paint on.
Do this quickly.
You want to start out ever so lightly so that you don't have a highly concentrated area of paint to start.
As a result, you will see lots of the base color coming through.
Continue to layer the colors that you want to use.
I used 3 colors which I think has a good blend. Less is more.
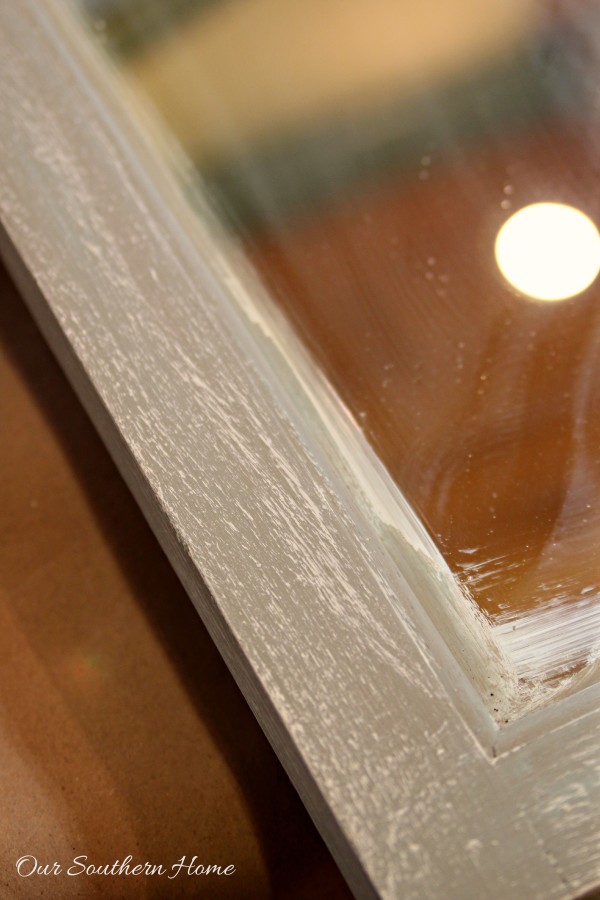
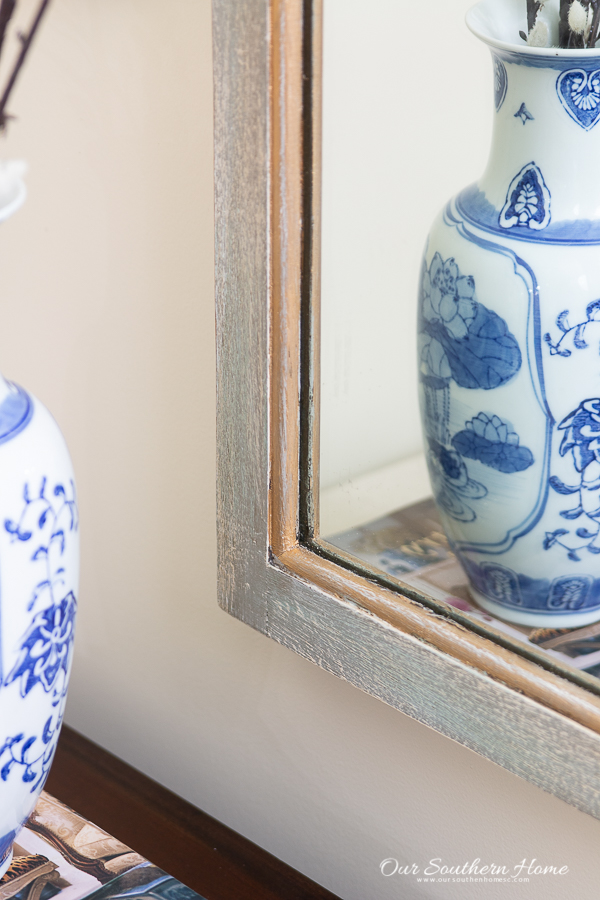
The mirror has one coat of clear wax. Always apply clear wax first if using dark. Look closely. I have applied the dark wax to the outer edge. Can you see how the dark wax ages it? Of course, I went back and wiped a lot of the dark off in the process. This shows where the wax was initially applied. The entire mirror received a coat of dark wax.
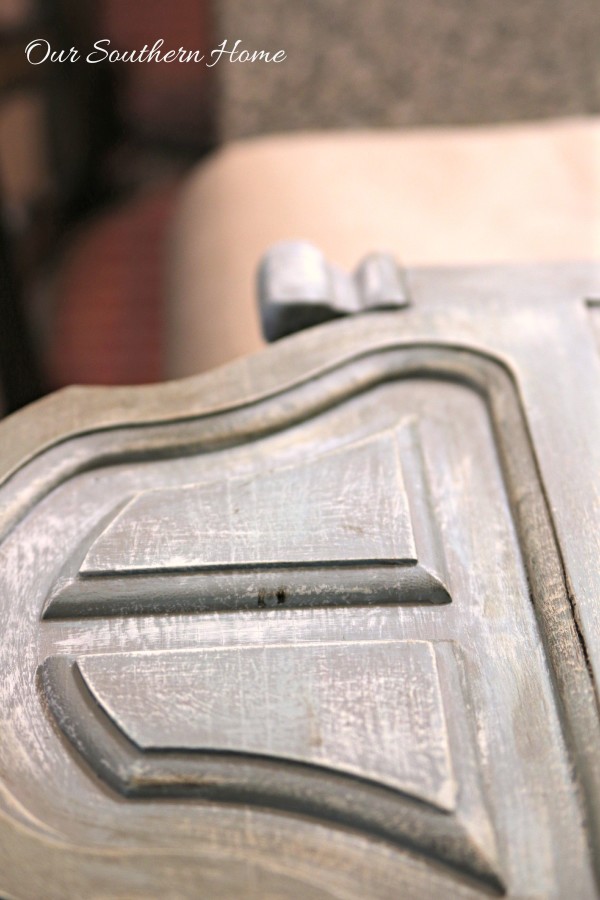
Here is another angle of the dark wax going on.
I didn't originally plan on adding gold leaf. It just looked like it was missing something. It looked boring.
I had a new bottle of Plaid Gold Leaf in Classic Gold. It is a liquid. I used an inexpensive artist brush and just toss it when finished. One bottle has lasted me for years. I let it dry then went back and very lightly distressed with a fine-grit sandpaper. It took very little sanding. Apply a coat of clear wax over the areas painted gold to seal.
The only distressing that I did was on the gold areas and along the outer edges of the mirror. The dry brushing gives it all the aging you need.

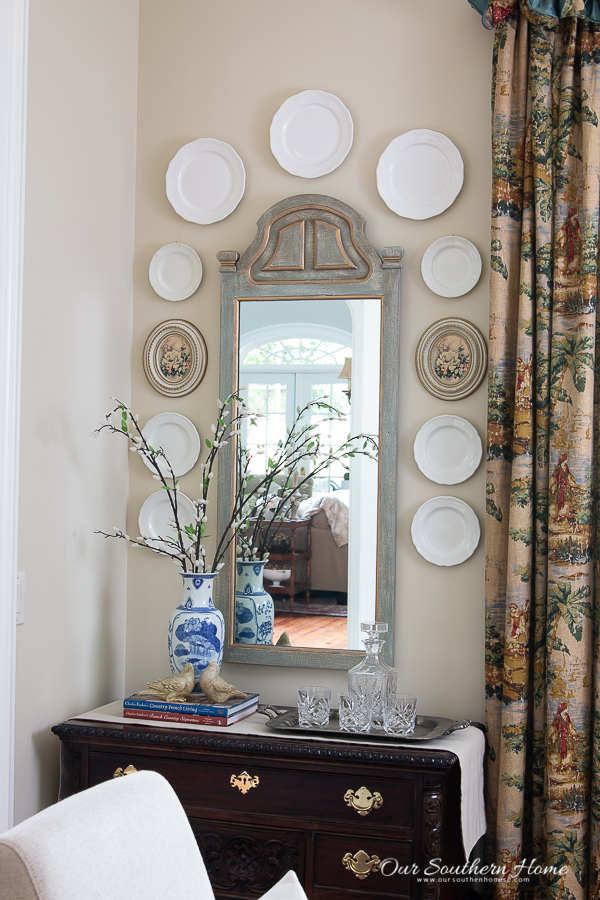
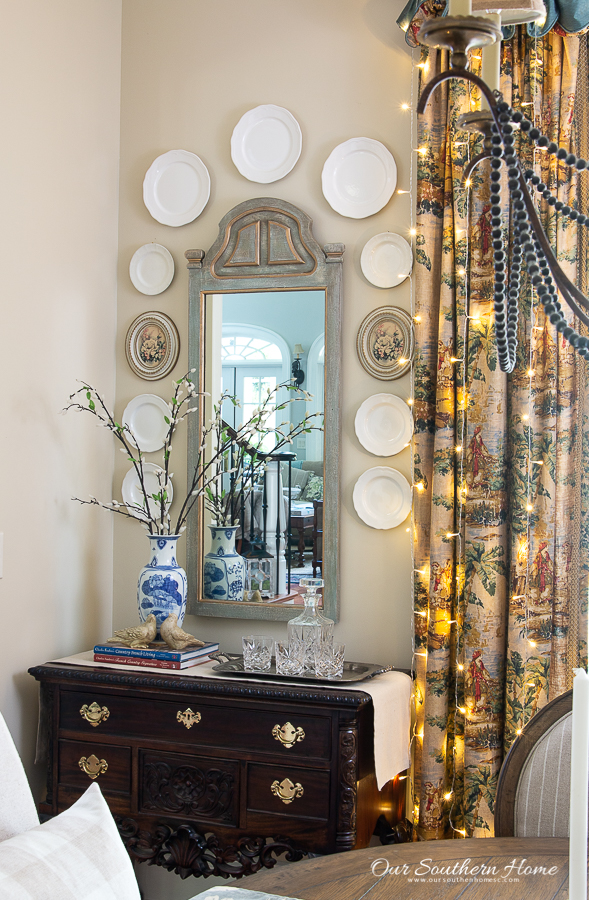
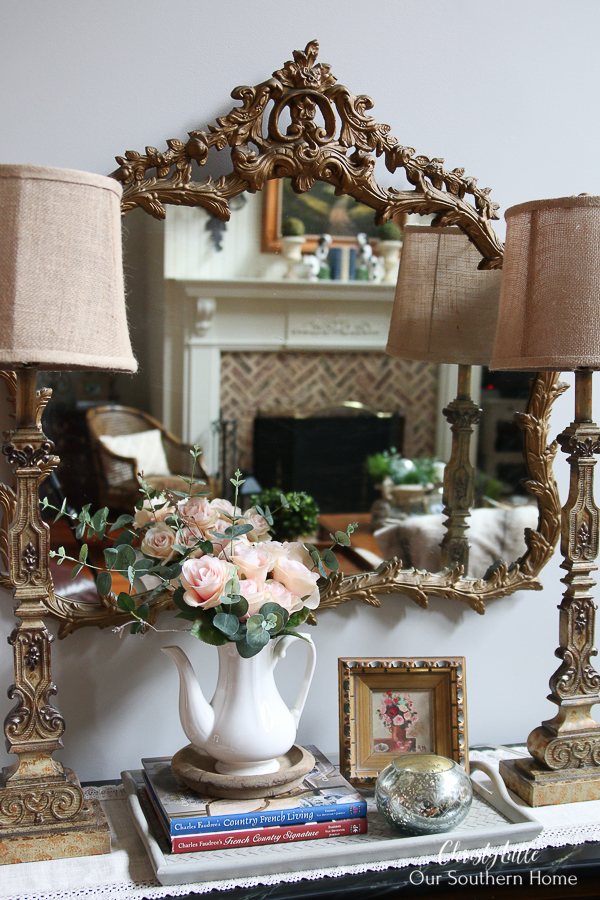
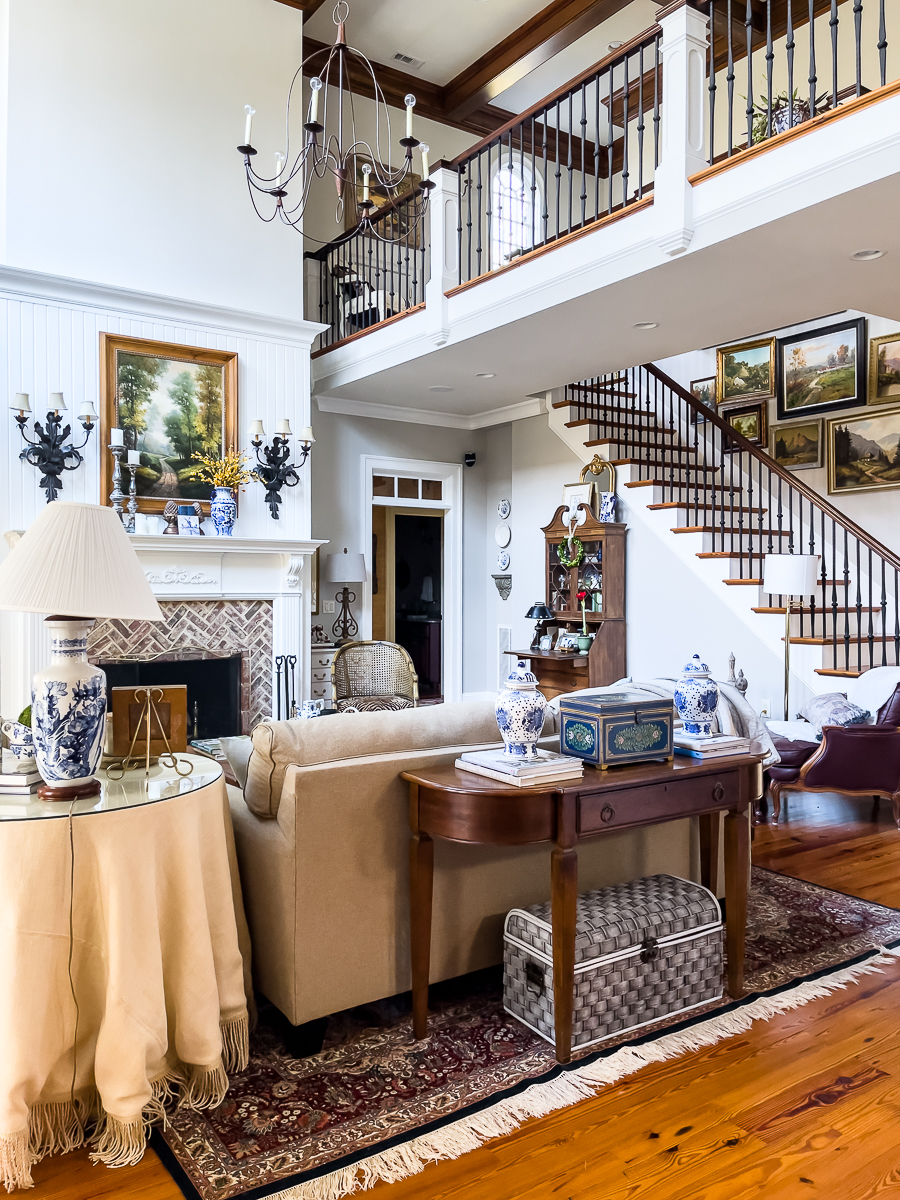
Now I have a very inexpensive vignette over the antique reproduction lowboy in the dining room with an expensive look!
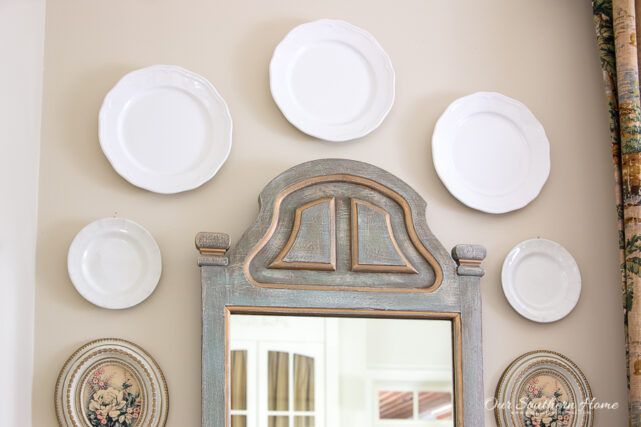
The 3 larger white plates that are hung above are from Ikea. The other plates are ironstone from the thrift store as well as the vintage art. The vintage art was a set of 2 for $1.25.
The blue and white vase was under $15 from a vintage store that we visited over Valentine's Day weekend in Georgia.

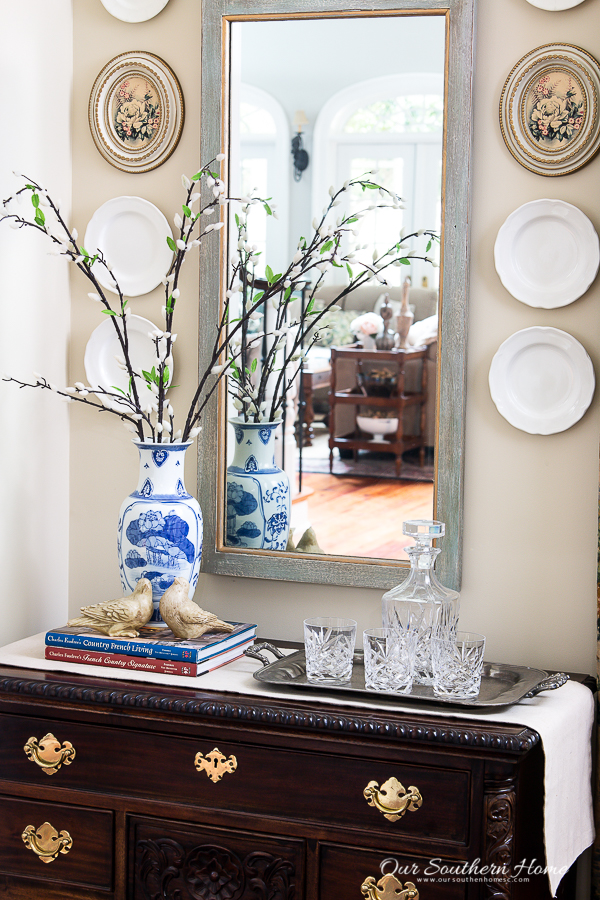
I now have a beautiful French Country vignette for my dining room for very little money!
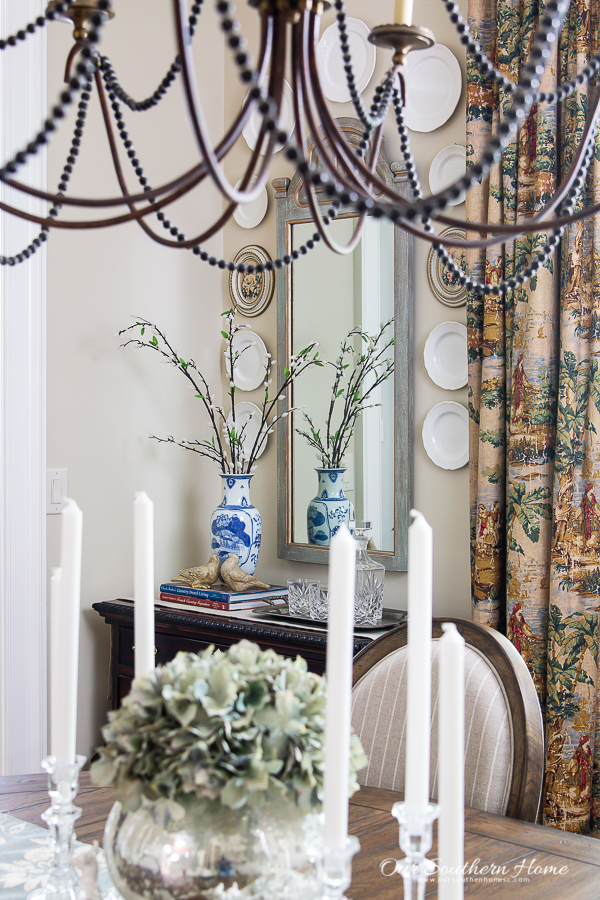
With all of the dark tones in the room, the addition of the painted mirror adds a touch of freshness.
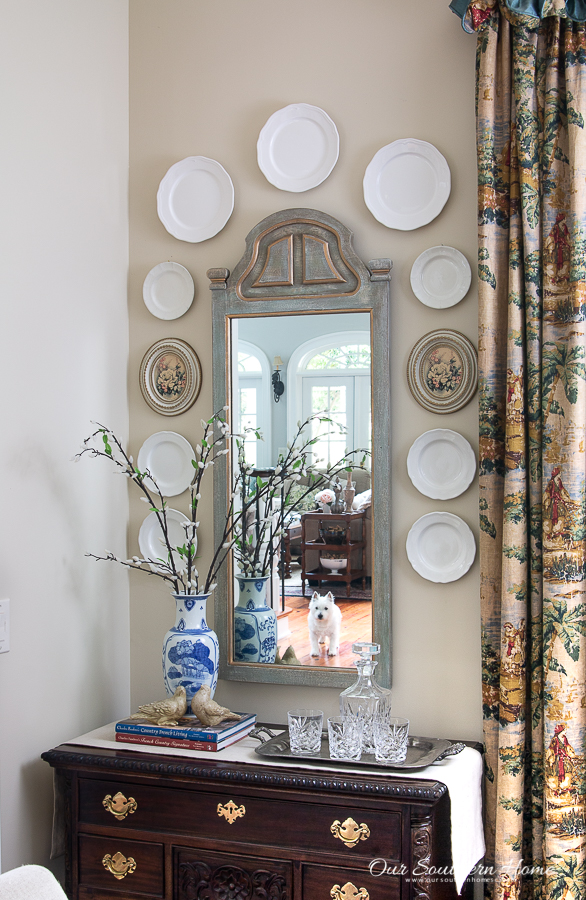
Do you see the cutie in the reflection of the mirror? Bentley is such a camera ham!
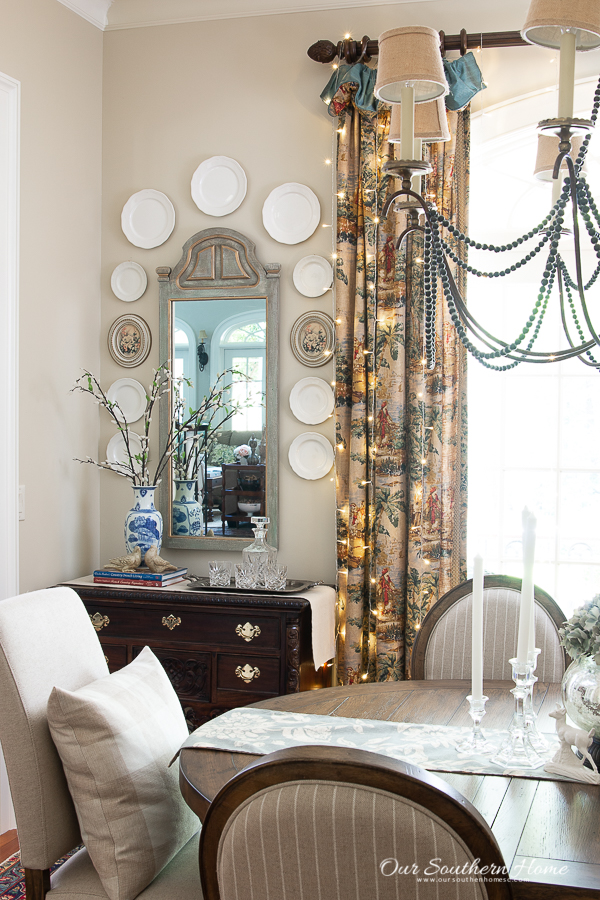
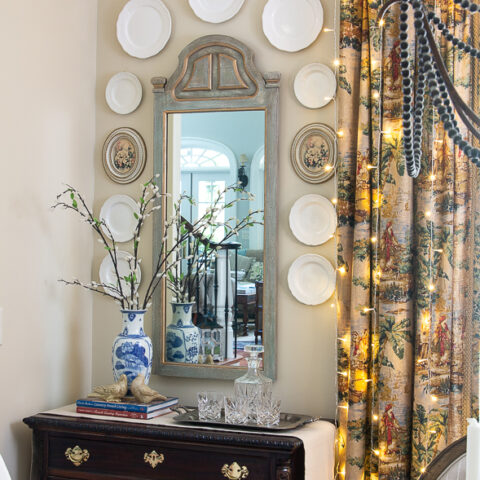
We didn't take the curtain lights down after Christmas. They have been a lot of fun to keep up. They are so magical at night when eating here.
The lights are a clear wire and very tiny. They look like a curtain.

Be sure to check out the other thrift store projects from the ladies below. Next month there will be a surprise guest blogger so be sure to subscribe so you don't miss it!
You might like to see my other projects in this series:
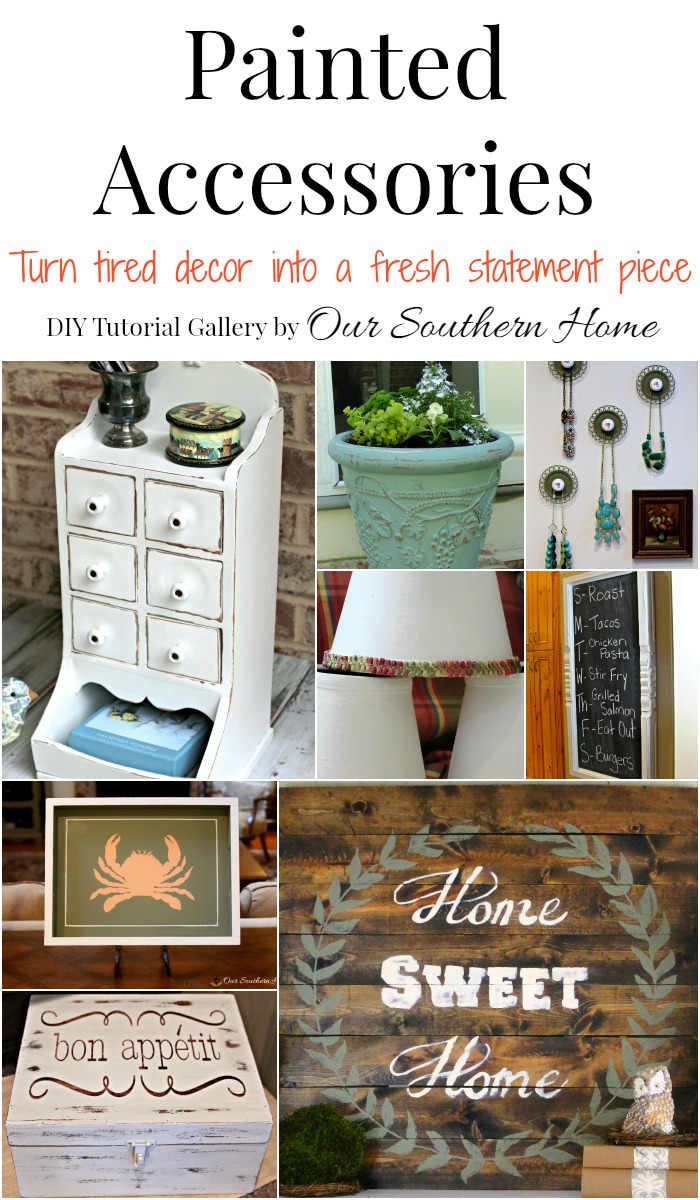
CLICK THE COLLAGE below to see all of my accessories in one place!
I’d love for you to follow along on social media!
–>> Facebook | Pinterest | Instagram | Twitter
Best Thrift Store Decor of 2019
Fabulous ideas to decorate your home with budget friendly ideas! Just click the Continue Reading button to go to the project details.
Check out the bottom of the post for a comprehensive source list of my favorite things for DIY projects.

This layered paint finish drastically changed the look of a pot that no longer worked with our color scheme.
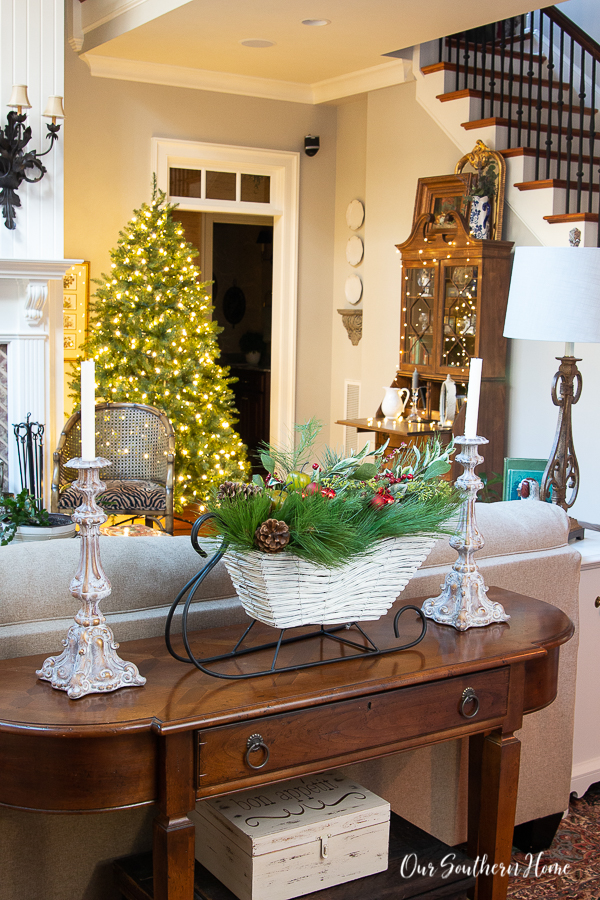
It's amazing what paint can do! Now it looks bright and fresh. The white really makes those holiday greens pop.
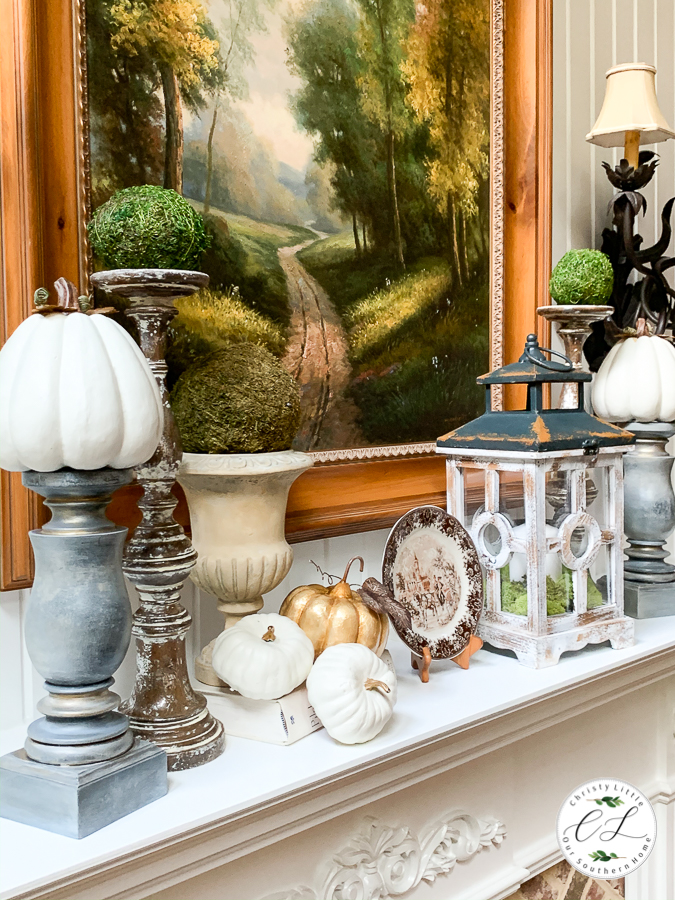
These weren't bad in their before state. Now, they feel fresh, but with a vintage feel.
This little guy is so versatile now. It can work for a floral arrangement, candles, terrarium and even hang with string lights inside it.
Urns and boxes are two of the things that I always take home with me. These 3 urns needed nothing done to them at all. They have so many fabulous uses.
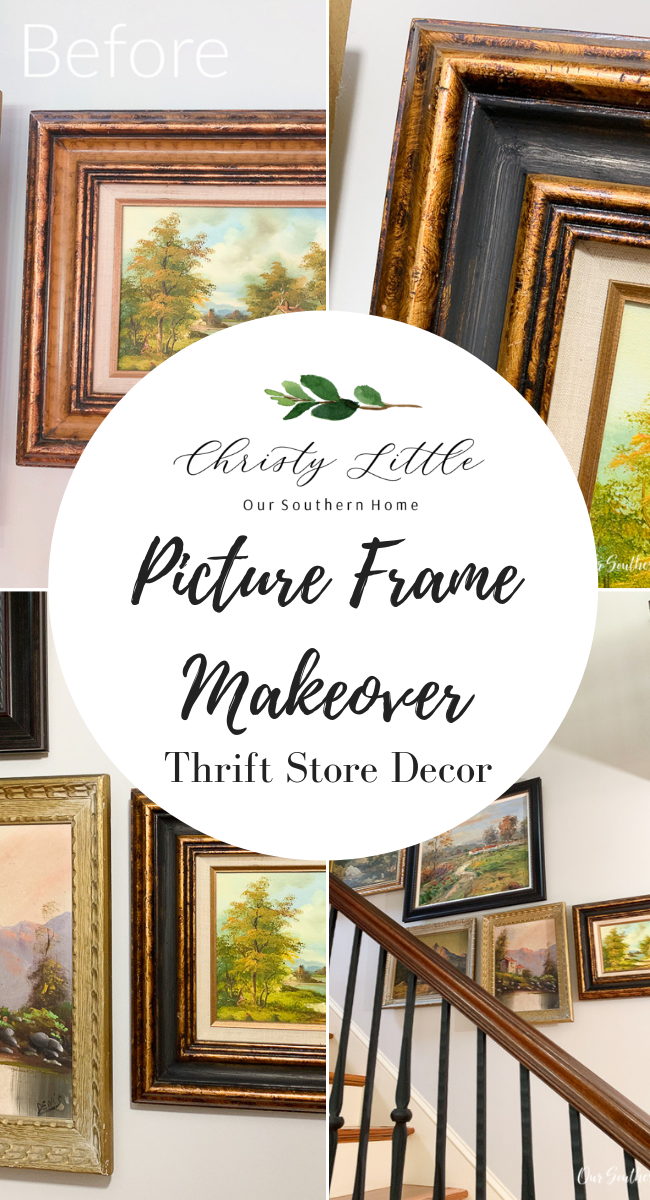
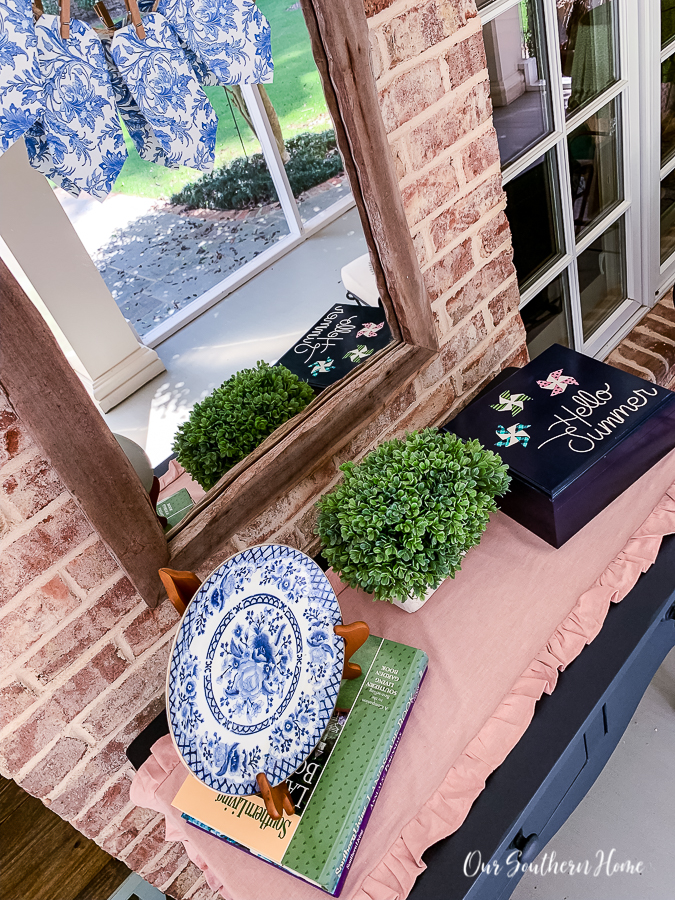
I've been designing this gallery wall in my mind for years. I finally had enough pieces to take it to fruition. Paint is an easy way to update the look of the frames.
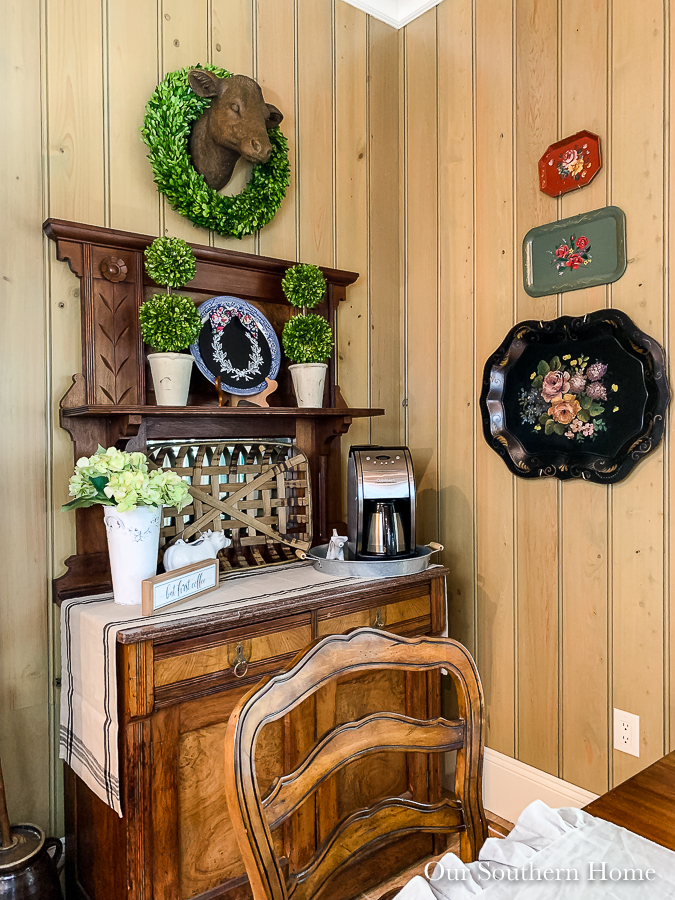
This freshly painted tray quickly gained center stage in our home this year. Trays are great for adding layers of texture to your vignettes.
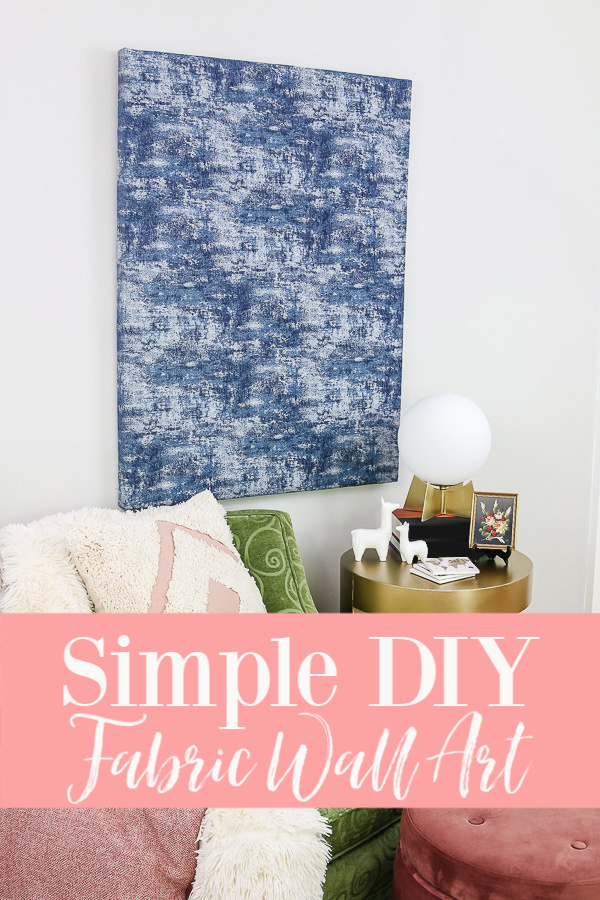
This is a fun way to make over a piece of art without damaging what's underneath it. It's currently in my daughter's college apartment hanging over her bed.
Paint to the rescue again for a nice, bright yet vintage look.
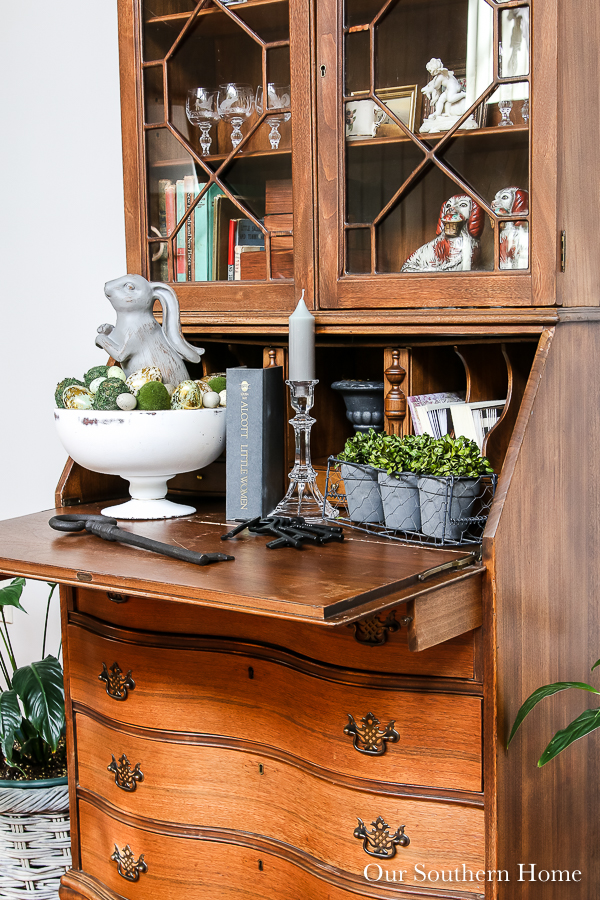
This bowl was rather boring before , but now it shines with a little rustic glam.
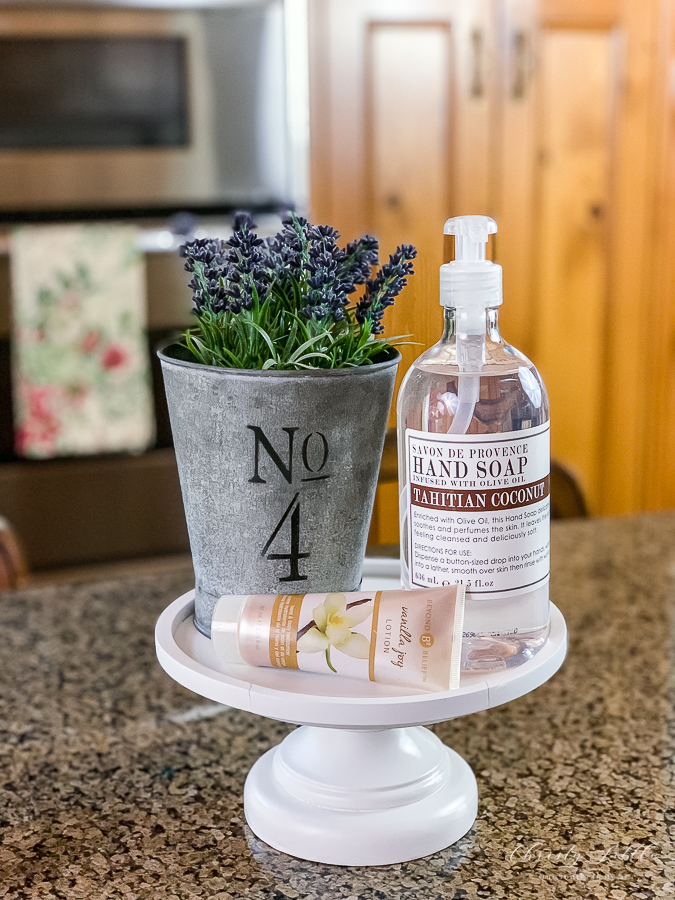
This little cutie is still hanging out by the sink in the kitchen. Makeovers are just as simple as picking up a can of spray paint.
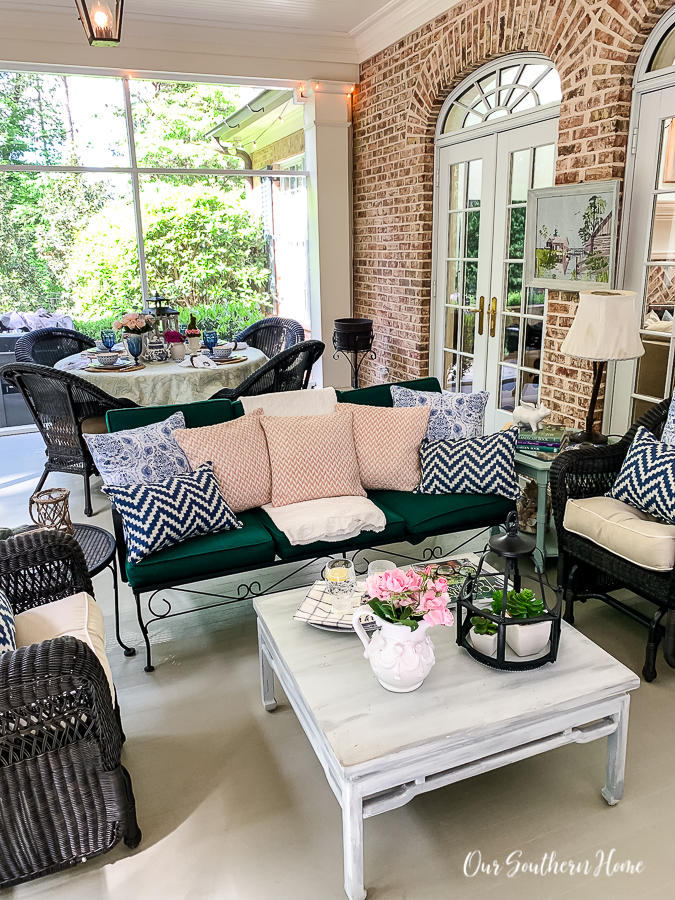
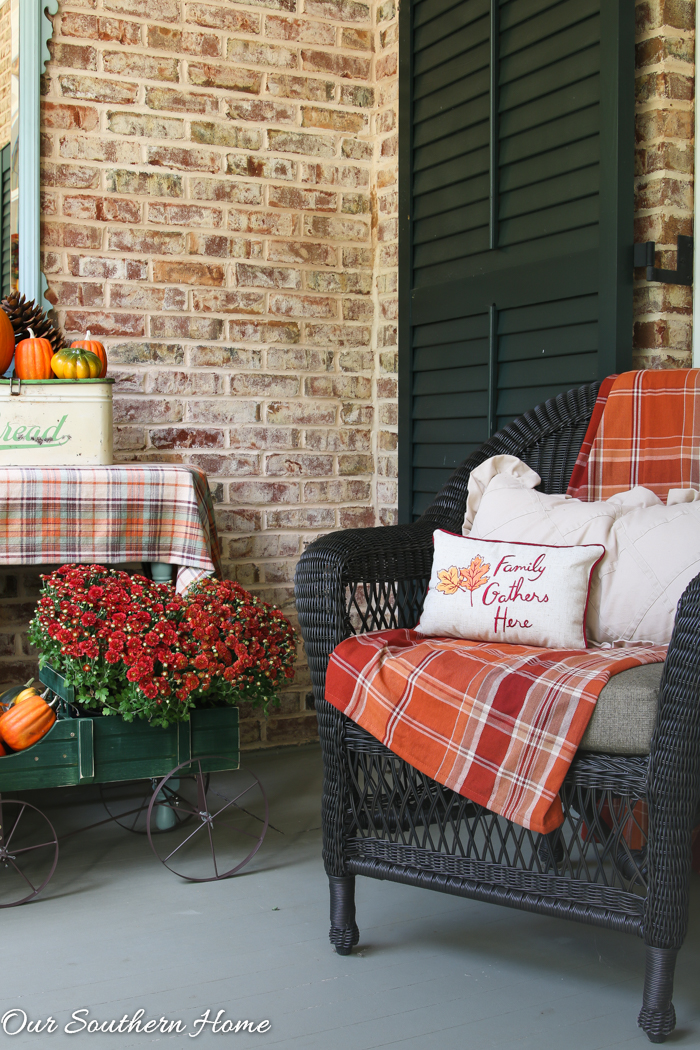
Boxes are perfect for corralling your stuff. This one on the screened porch holds playing cards and such.


Now that’s a lovely makeover. Color everywhere, with a few judicious touches of white, including the pup. LOL. I love your drapes. All the decors seen in all the pics above are charming, inviting, attractive, well chosen.
Absolutely perfect! Love your choice of paint colors! I do have a question…what kind of hanger did you use to hang such a heavy piece? I have 2 very similar mirrors and now have inspiration on what to do with them but I need to know how to secure these heavy things on the wall! Thanks so much for sharing your wonderful ideas! Love the blog!
Thanks so much!!! With very heavy items like mirrors, we use wall anchors. Look for ones that handle the weight of your mirror. Most have a wire on the back. What you’ll want to do for extra support and too keep it straight on the wall is use 2 wall anchors side by side. Then hang the mirror wire on it. This will keep it in place on the wall. Let me know if you have other questions!
This is one of my favorite makeovers ever – so beautifully done and I love how the colors work together to achieve the aged look. Makes me want to challenge myself to a thrift store makeover for our new home! Thank you for the inspiration!
Thanks so much! One of my favorite makeovers!
What a gorgeous mirror makeover Christy! It goes so well over that buffet too. Congrats to your son too btw:) I just read your comment on my blog. I would love to hook up with you sometime. I don’t imagine we will be there often. Lots of drop and runs or pick up an go’s lol!
This is absolutely lovely! I love how you layered the paint and then added the gold. You find the best things at Goodwill and thrift shops!
WOW! I had to SUCK my breath in when I saw this! I think this may be the BEST transformation I have ever seen. It looks stunning (and very pricey). I cannot believe the difference. GREAT JOB!!!
Best,
Michelle from simplysantabarbara.blogspot.com
Christy I love how your mirror turned out! Love your paint color choices.
Wow! the way you made this mirror lively again increases the value of it, I think for 50 folds or so!
I am really a fan of your creations. Awesome!
Hi, I stopped by from Bliss Ranch to see what your makeover was for the Thrift Store Decor challenge and wow, I love how that mirror turned out! I have one very similar that I made into a chalkboard a couple of years ago.
Tania
Love the colors you used and a bit of shimmery gold too! It coordinates with your drapery so well!
Oh WOW this is beautiful! You never would know it was the same mirror, wonderful job!
Your $10 mirror turned out fabulously! Most folks would wonder how much you paid to buy it retail with a finish like that. Thanks so much for sharing your talents and time in posting for strangers.
WOWZIE!!! That mirror is GORGEOUS!!!!
Your mirror looks wonderful. You have a good eye. I love projects like this where you take something forsaken and make it look wonderful! I have been doing this for years…it is fun to read other’s ideas.
Gorgeous. You did an amazing job and this mirror looks fabulous.
Thanks so much, Marty! I am so pleased with it!
OK… that turned out excellent. I pass by those old mirrors all the time, but I won’t anymore!
Thanks bunches! I was pleasantly surprised!
Wow Christy! That mirror looks like a million bucks. The whole display is gorgeous.
Thanks so much Kathy!!!
I so love this makeover….this is inspiring me to take a mirror out of my attic and add more layers of paint!
Thanks Shirley! It’s amazing what a little experimenting can give you!